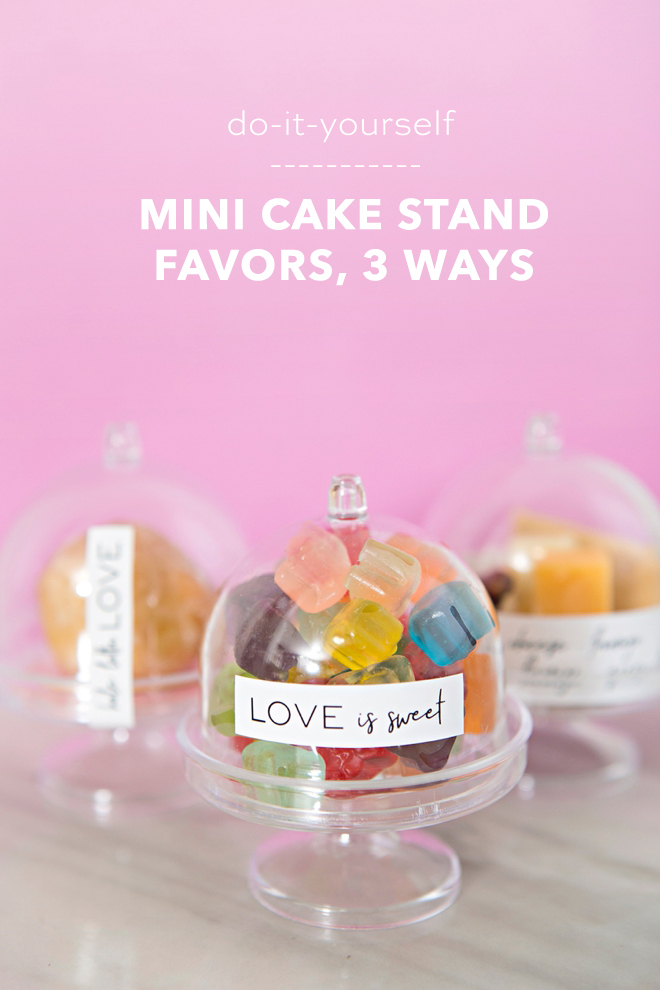
It’s well known that anything “mini” tastes much better and looks much cuter than it’s typical sized counterpart – especially when it comes to favors. Example, mini Tobasco, ketchup or mayo, yes, please. Mini grilled cheese sticks with tomato soup shots, um duh. Mini bottles of champagne, always yes. Mini taco appetizers, I’ll take the whole tray. So today we’re filling the most adorable mini cake stand holders with super yummy treats. One sweet, one savory, and one candy idea. Your guests are sure to go crazy for these minis just like me!
Candy, Savory, Sweet
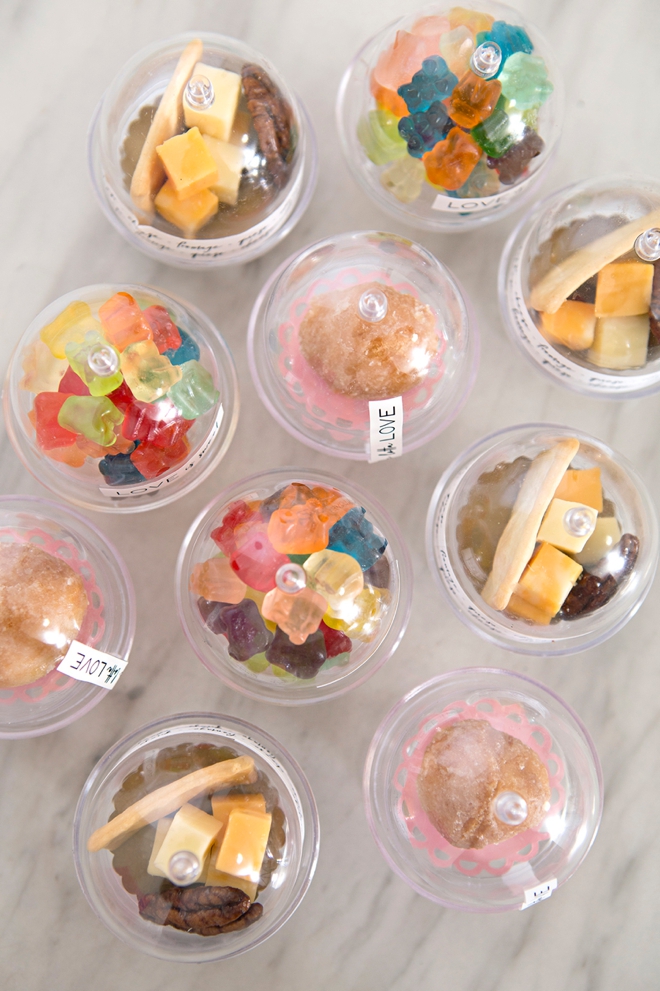
I’ve got 3 ideas on how you can fill these darling mini cake stands, with things other than cake: mini gummy bears, donut holes, and a mini cheese plate!
SUPPLIES:
- Mini Cake Stand Holders with Lids
- 8.5″ x 11″ White Sticker Paper
- Yummy Things To Fill Them (donut holes, gummy bears, cheese, etc!)
- Hot Glue Gun
- Scissors
- Cardstock (optional)
- Cricut or 2″ Circle Punch
- Our custom, printable labels for sale in our shop for only $1.99!
Download + Print
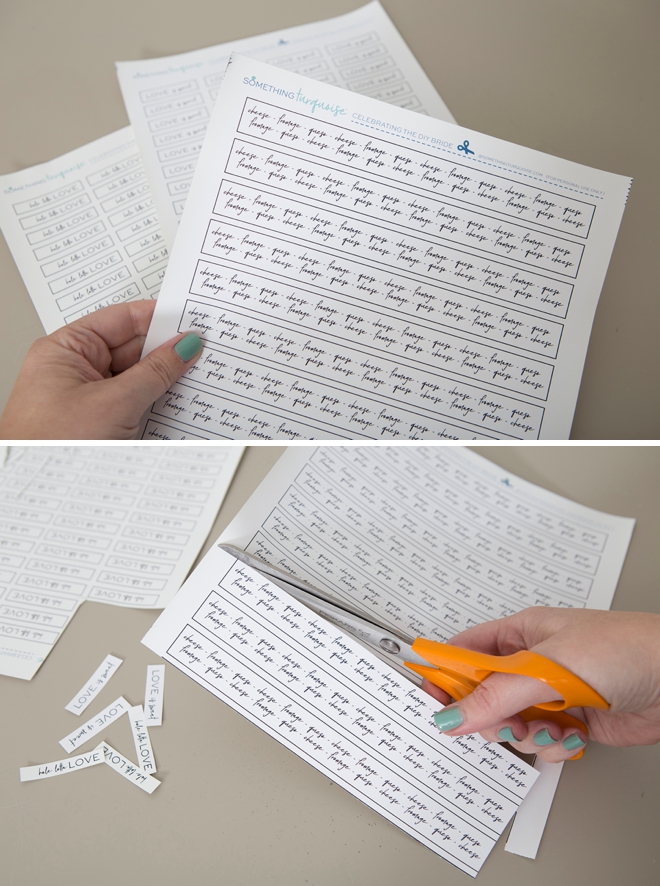
Visit our craft file shop to purchase these adorable labels for only $1.99. Download and print your choice onto 8.5″ x 11″ white sticker paper. Then cut out as many as you need.
Glue
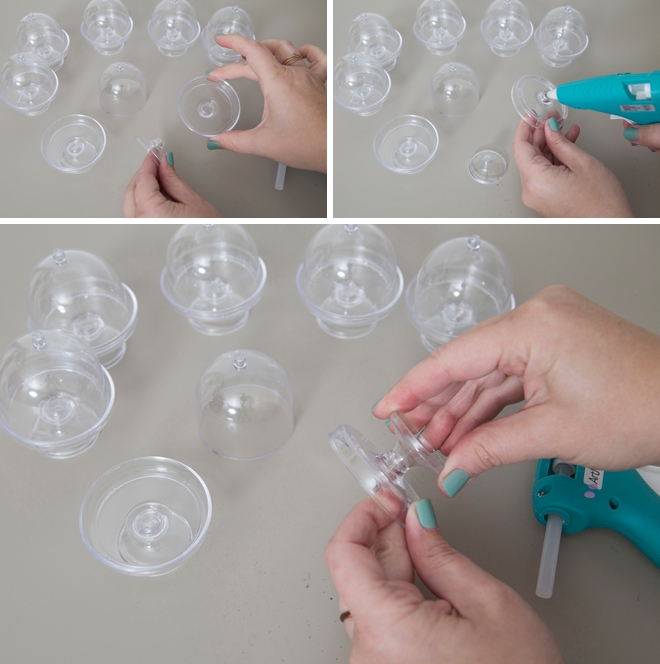
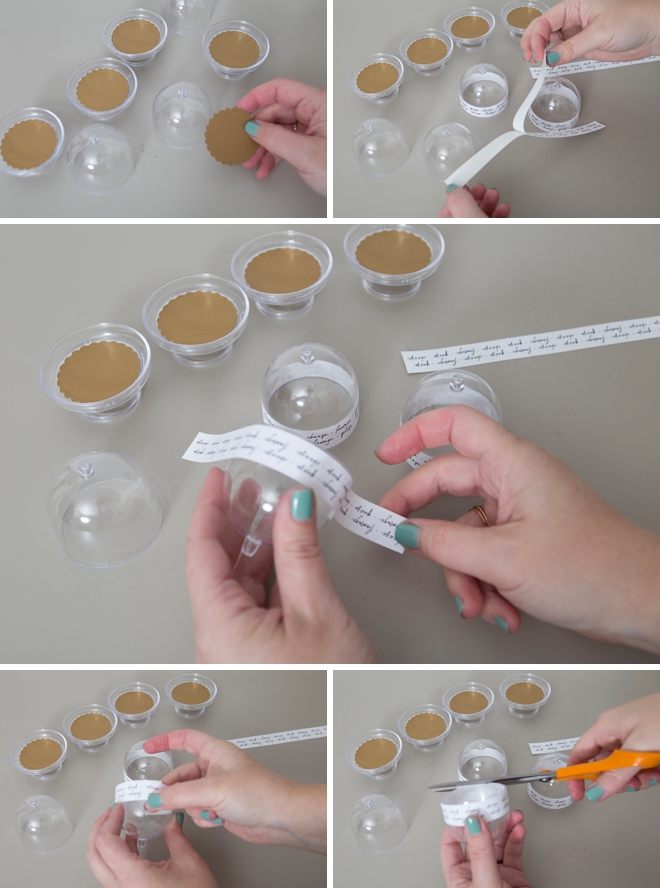
I found it was best to hot glue the bases to the stands. These are lovely, high quality stands but with a quick bump or jostle, they can come apart.
Mini Gummy Bears
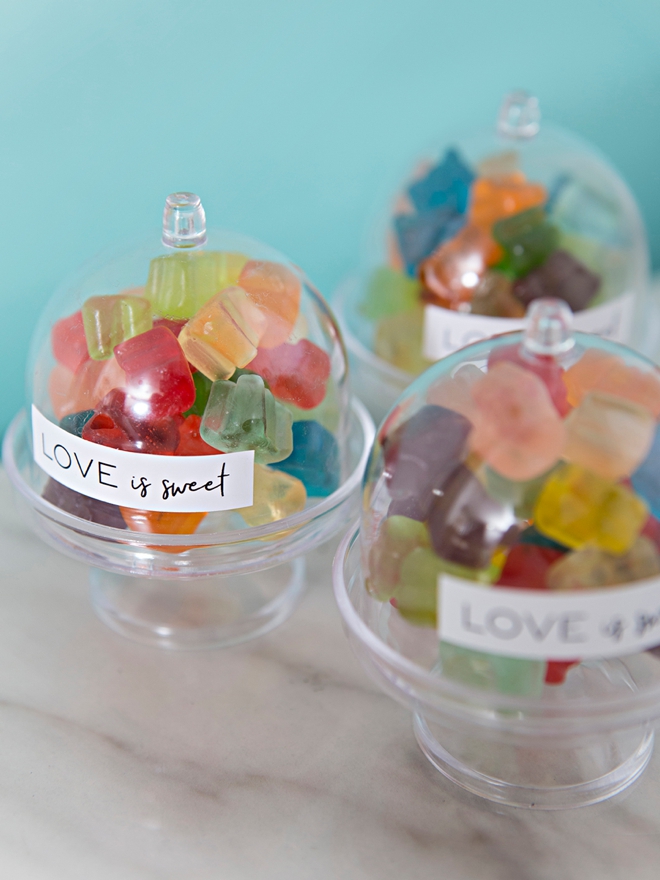
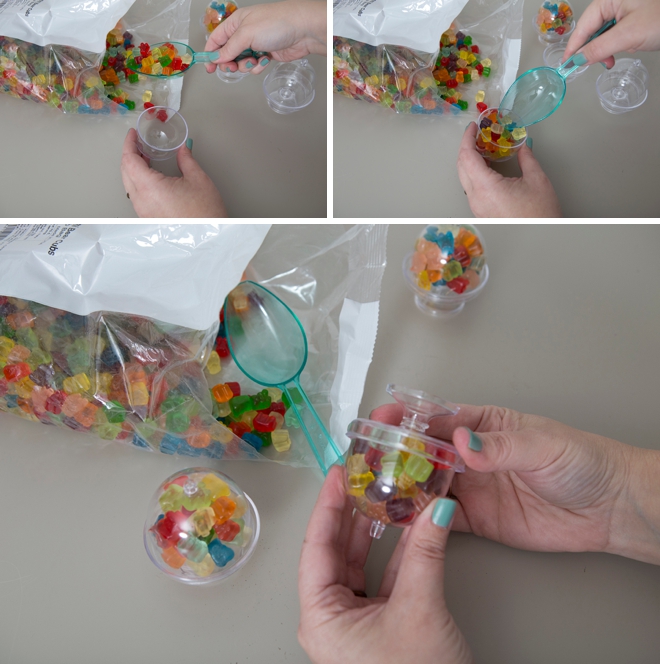
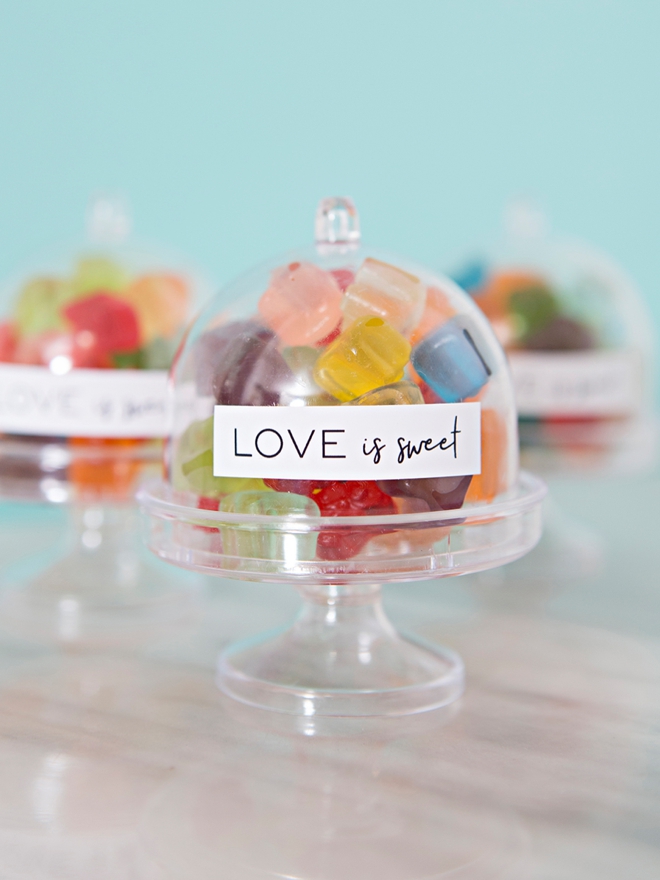
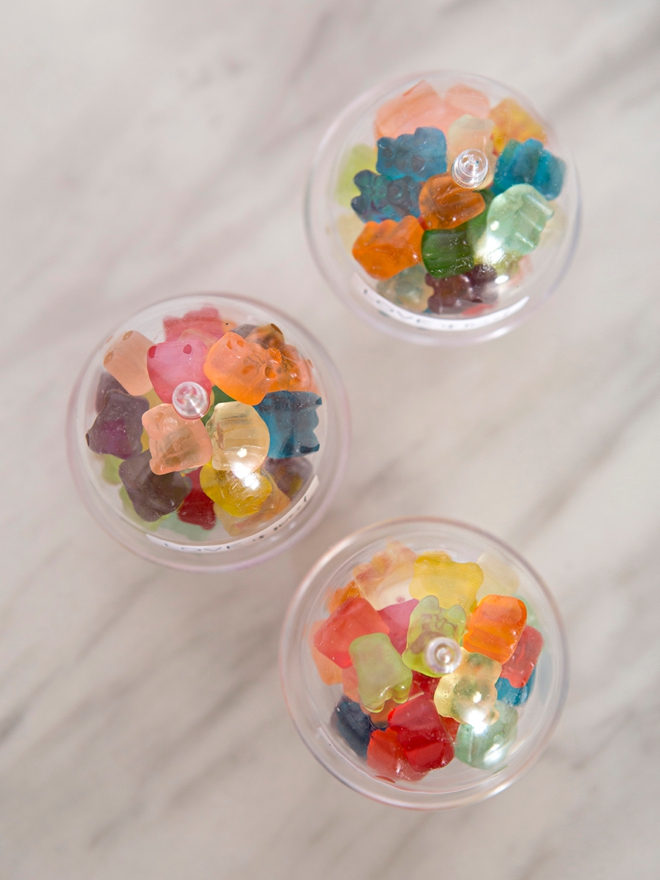
Idea number one is super simple: fill these darling mini cake stands with mini gummy bears! The lid clicks into the stand at three small places so the bears won’t fall out.
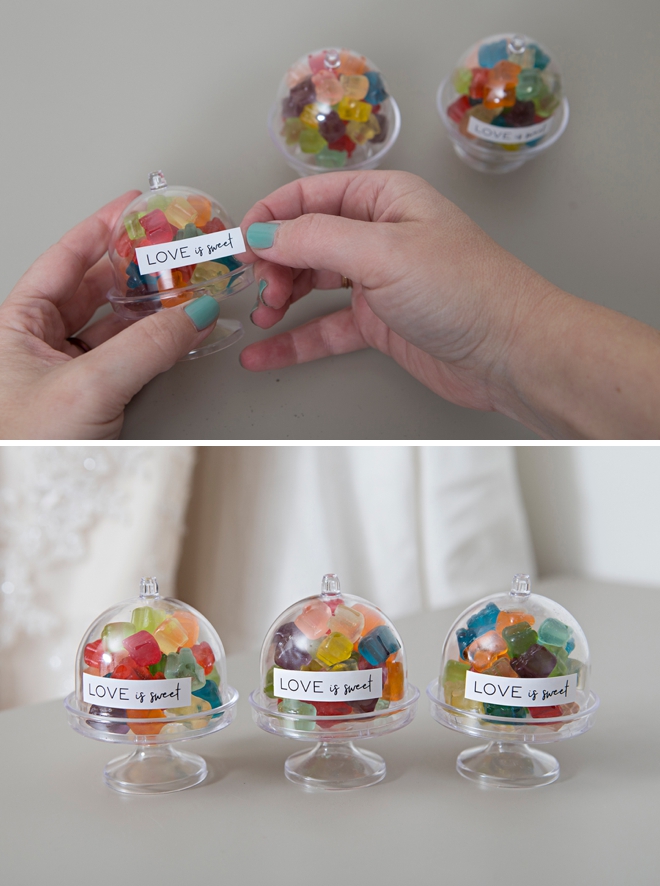
Add our cute “love is sweet” sticker to the front and let your guests enjoy!
Custom Doilies
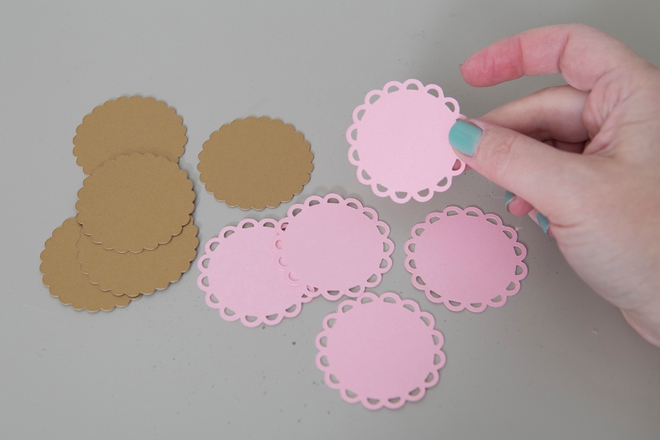
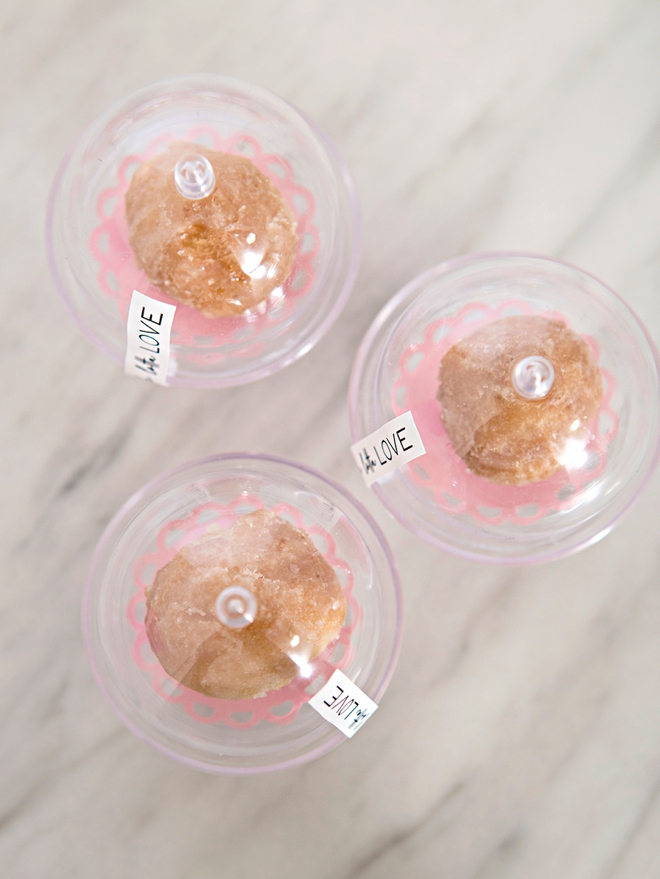
On my Cricut I cut two different cardstock doilies for the next two ideas, one regular scallop circle and one with little detail cuts. If you don’t have a Cricut you could use a 2″ circle punch instead. The doilies add color and a little touch of class.
Donut Holes
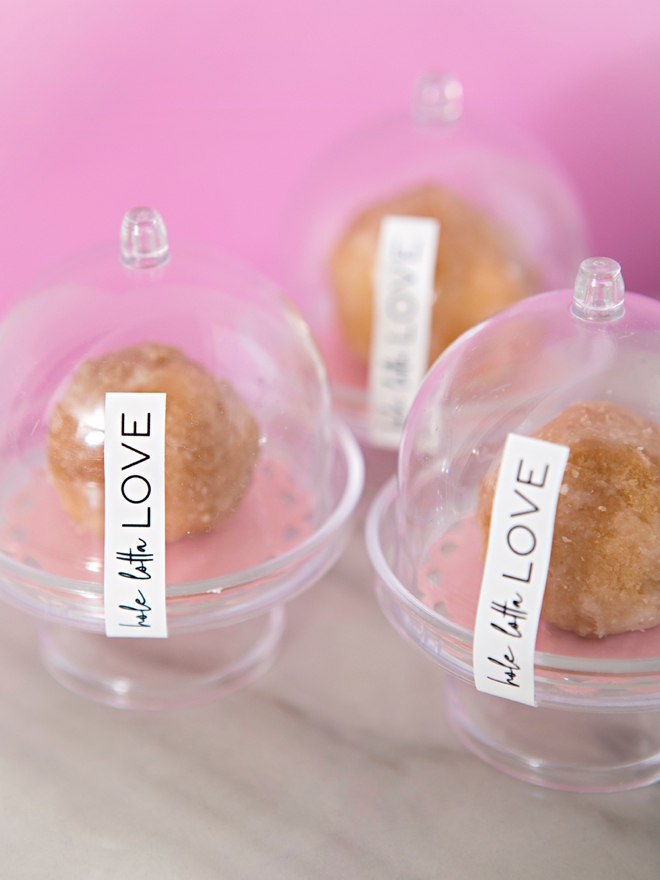
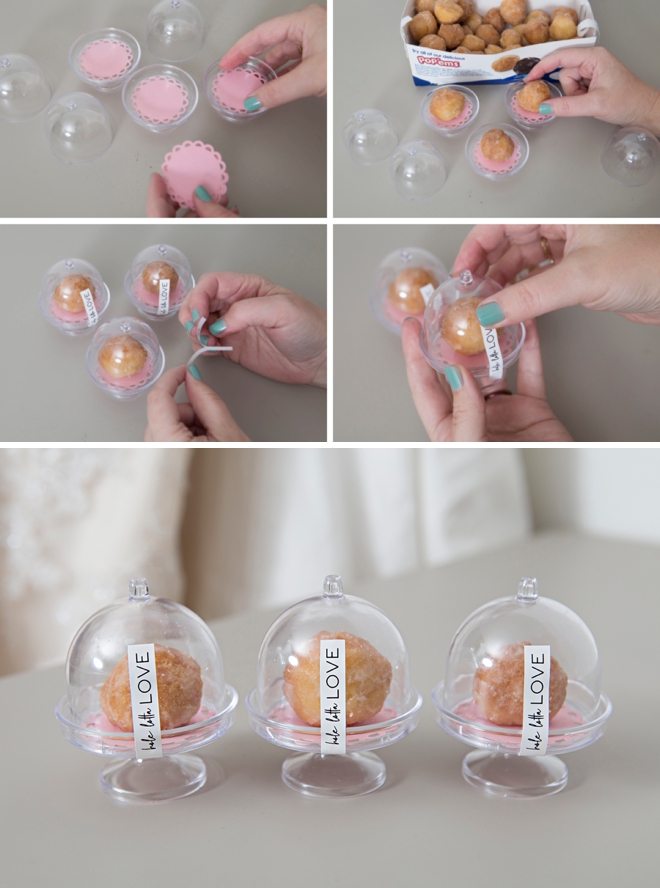
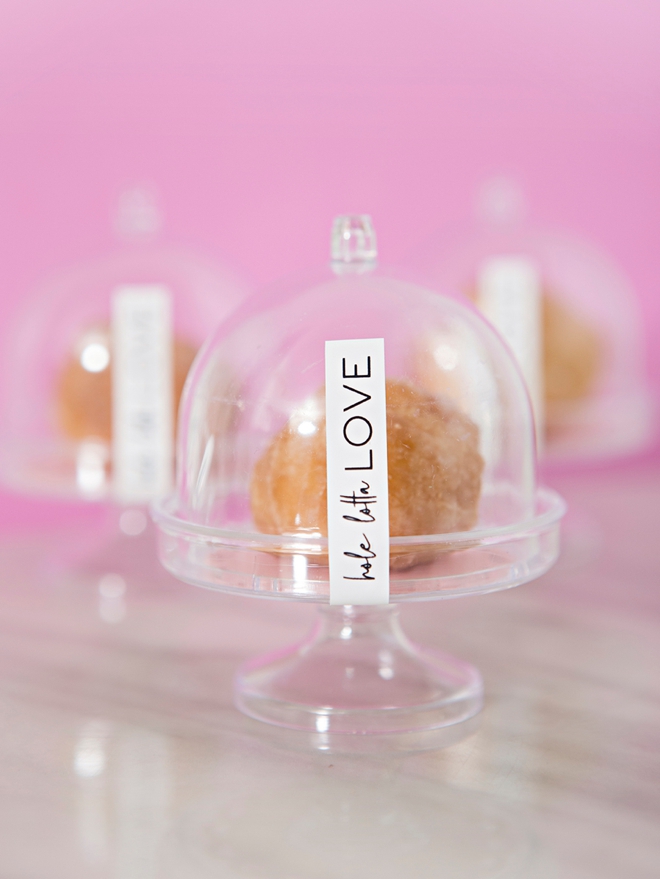
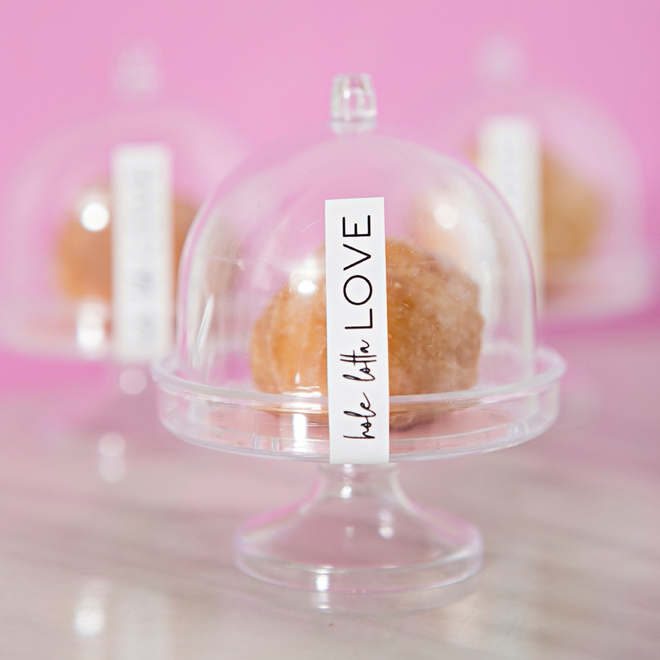
Add a doily and a donut hole, then add the lid and seal with our little “hole lotta love” label. The lid clicks into place in 3 spots so it will stay closed, the label is just for looks.
Crafters Tip: I bought a few different donut holes around my town and all of them were too large for these cake stands, but the Entenmann’s Popp’ems worked perfectly! Take the stands with you when you shop!
Cheese Plate
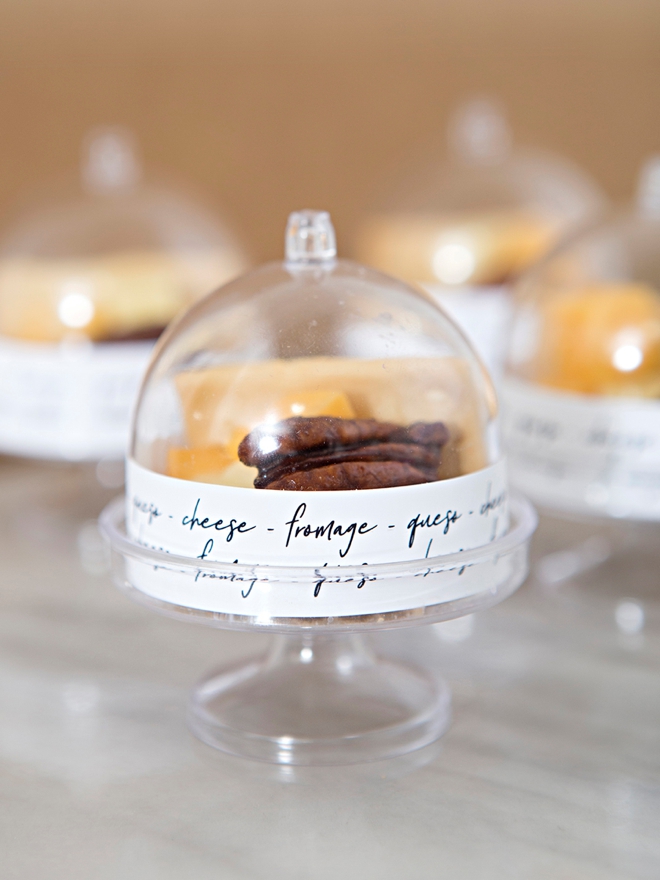
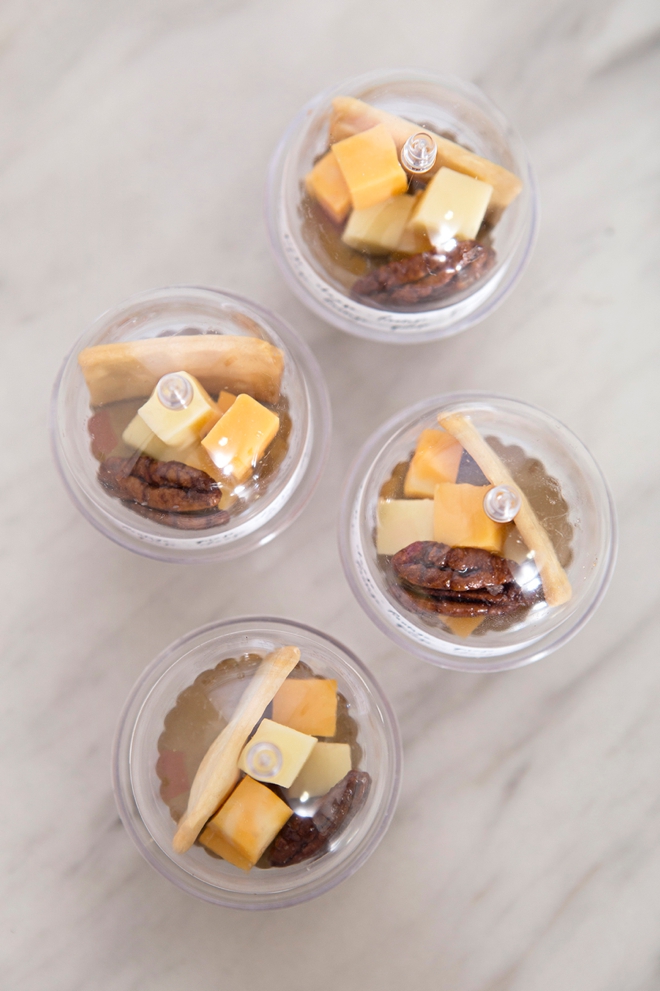
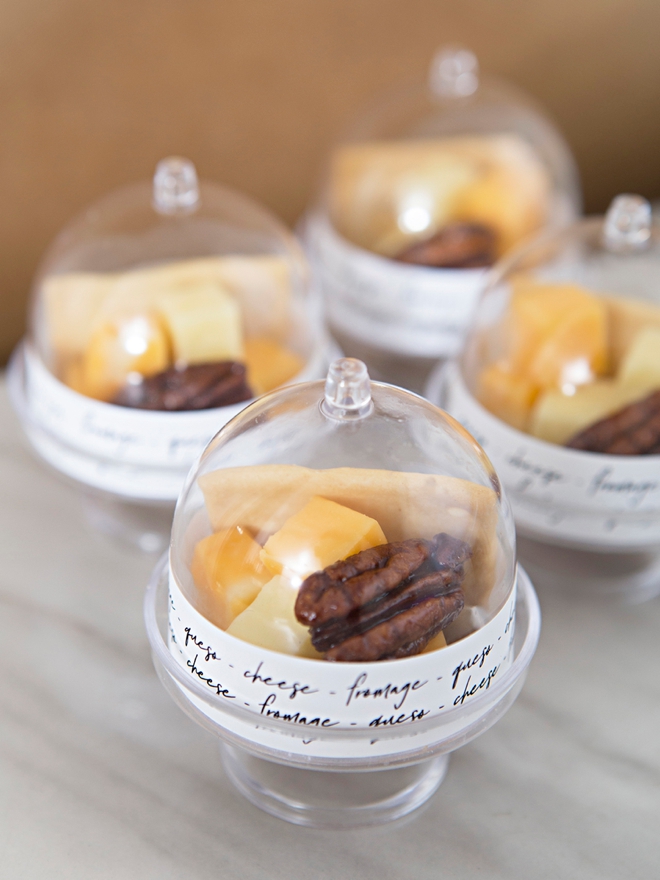
Savory! My favorite! Assemble your own mini cheese plate for each guest. Start by adding the cheese label around the base of the lid. Start applying in the center and tightly wrap around. There is a slight curve so you’ll end up with a tiny overlap of sticker which you can just cut off.
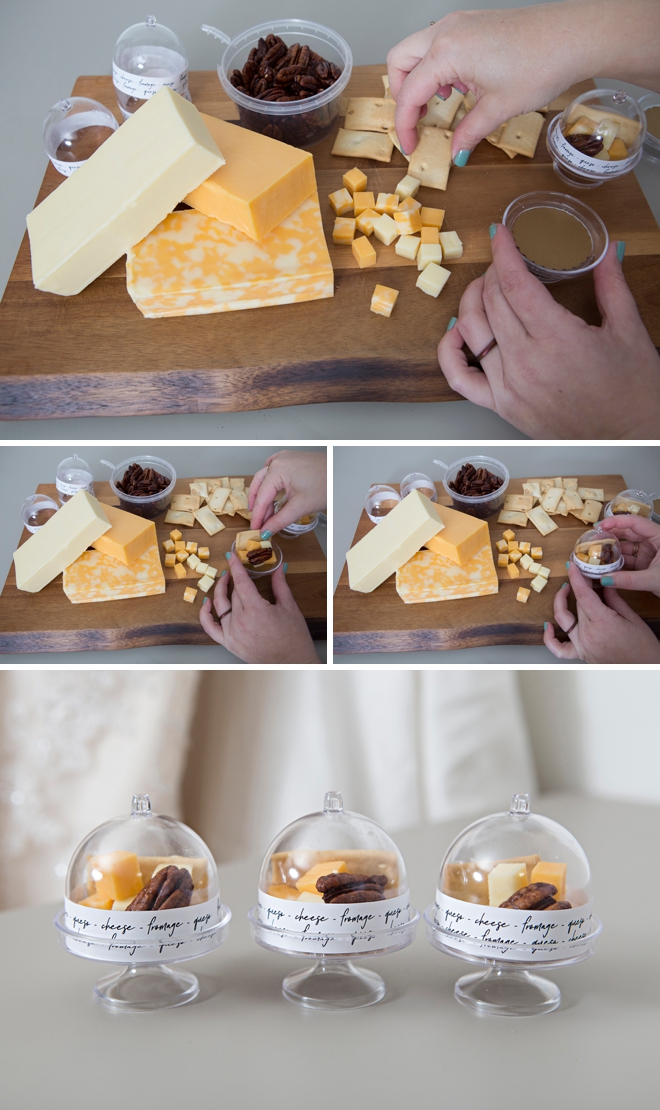
Add tiny cubes of cheese, a cracker, and maybe a candied pecan or two!
Which Is Your Fav?
Having a hard time deciding? Which one would you be most excited to receive at your next shindig? I think I’d have to say the cheese…
As with all our DIY tutorials, if you create one of our projects please send us a picture – We Love Seeing Your Creativity! If you use Instagram or Twitter please use the hashtag #SomethingTurquoiseDIY and it will show up on our Get Social page. Happy Crafting!
DIY Tutorial Credits
Photography + DIY Tutorial: Jen Causey of Something Turquoise // Mini Cake Stands with Lids: Amazon // 8.5″ x 11″ White Sticker Paper: Amazon // Mini Rainbow Gummy Bears: Candy Warehouse // Italian Crackers: Amazon // Carmelized Pecans: Amazon // Entenmann’s Donuts: Target // Nail Polish: OPI – Withstands the Test of Thyme
Shop The Supplies:
Find the supplies you’ll need for this project from our affiliate links below:


Comments