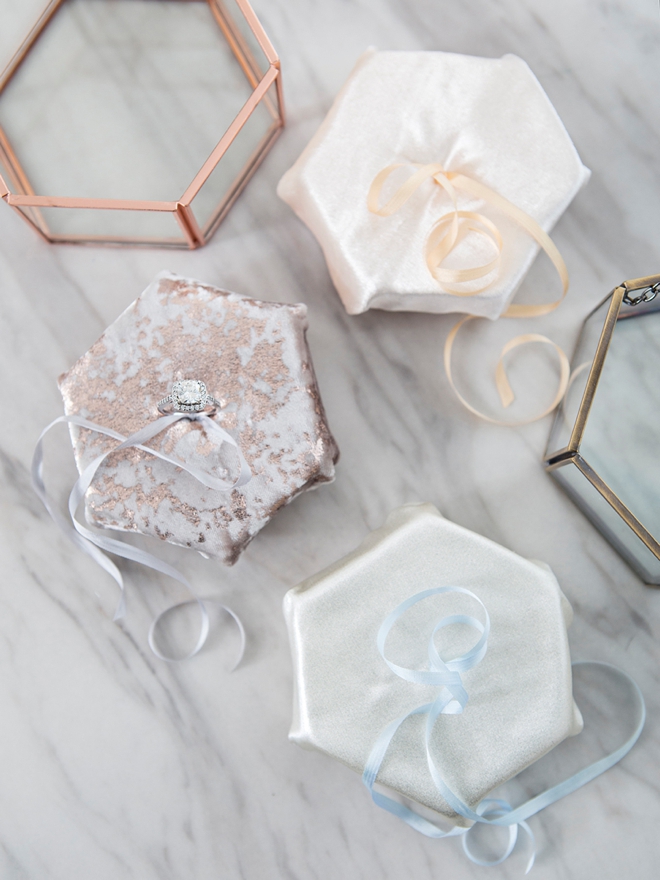
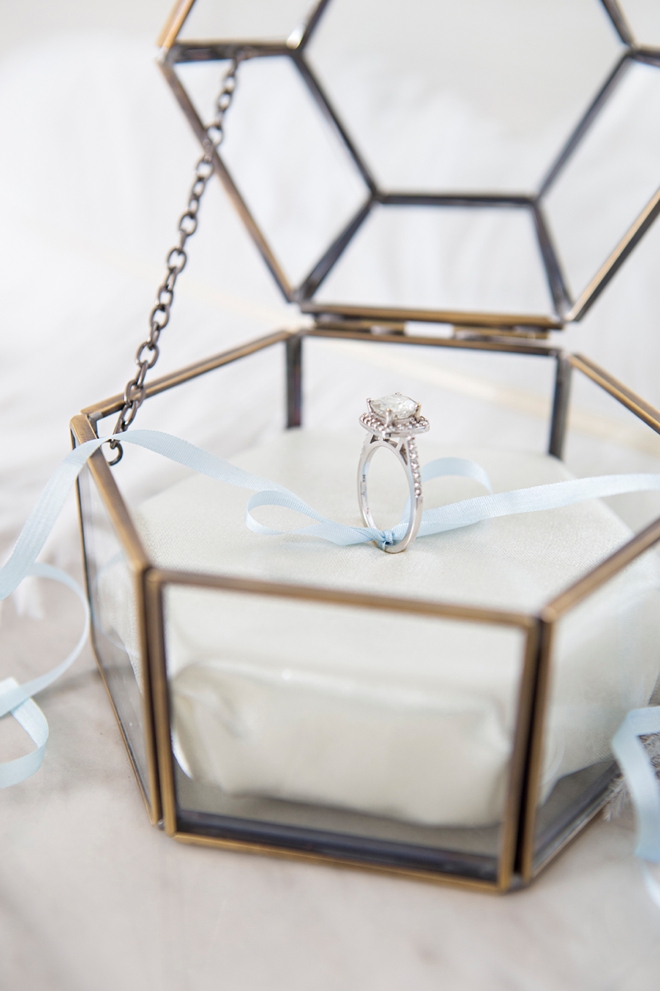
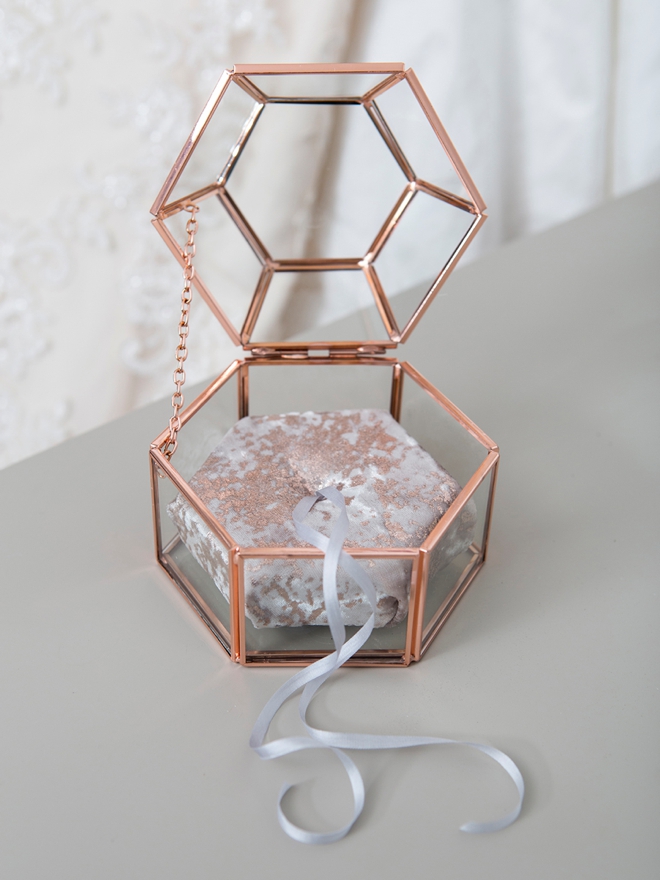
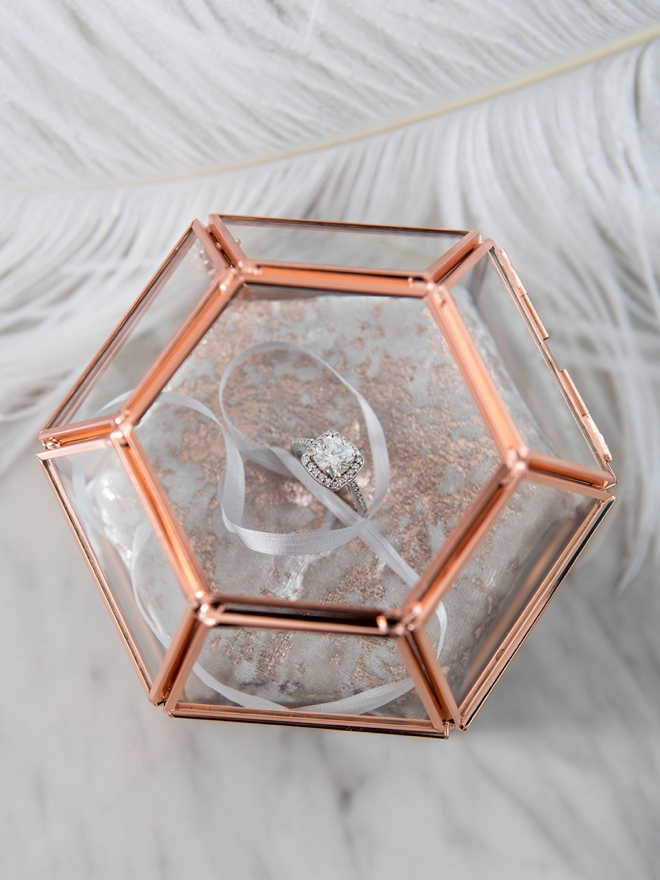
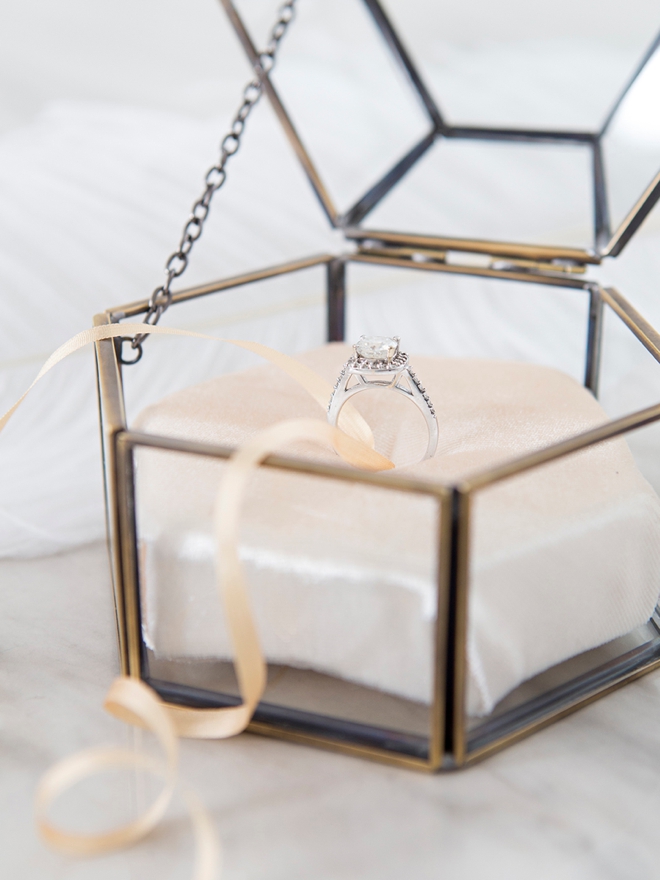
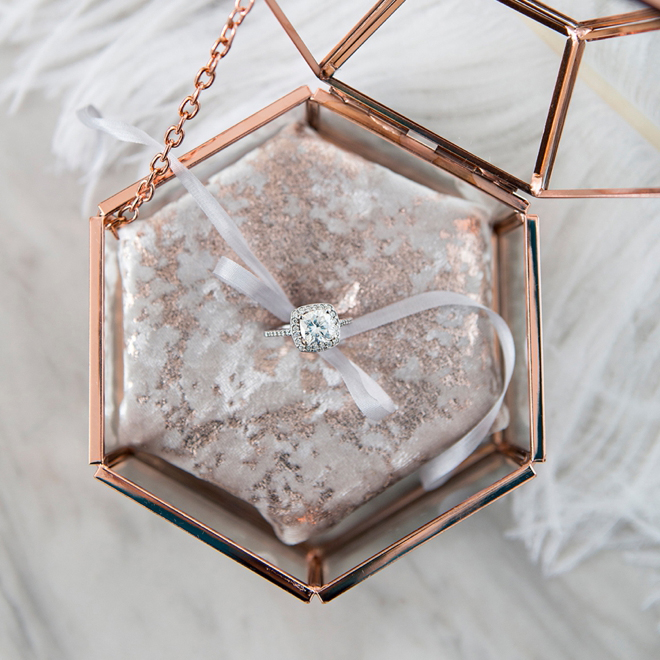
Today we’re whipping up some ultra pretty pillows to hold your most prized possession, that new engagement ring! The best part is that you can create one of these easy-to-make pillows to fit any size box. So if you’ve been looking for that extra-perfect, custom ring box to fit your unique engagement shoot or wedding day – this can be it.
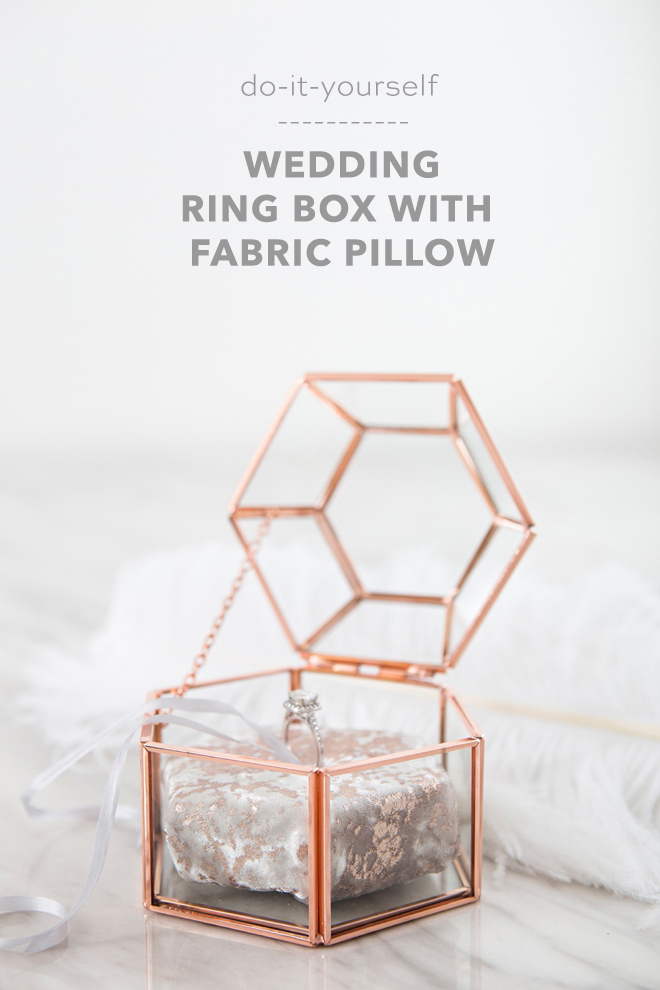
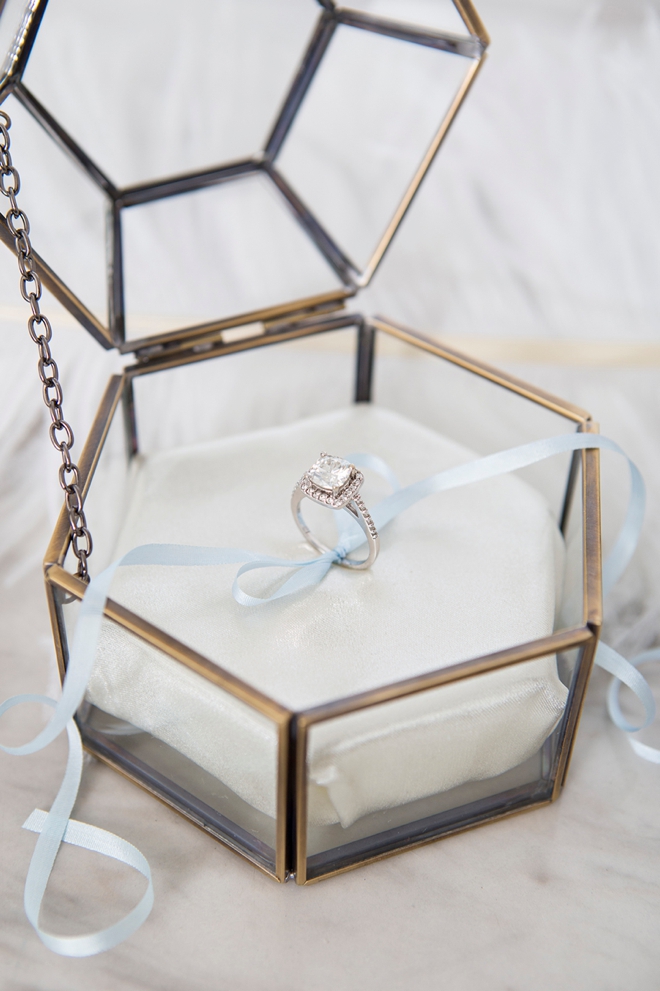
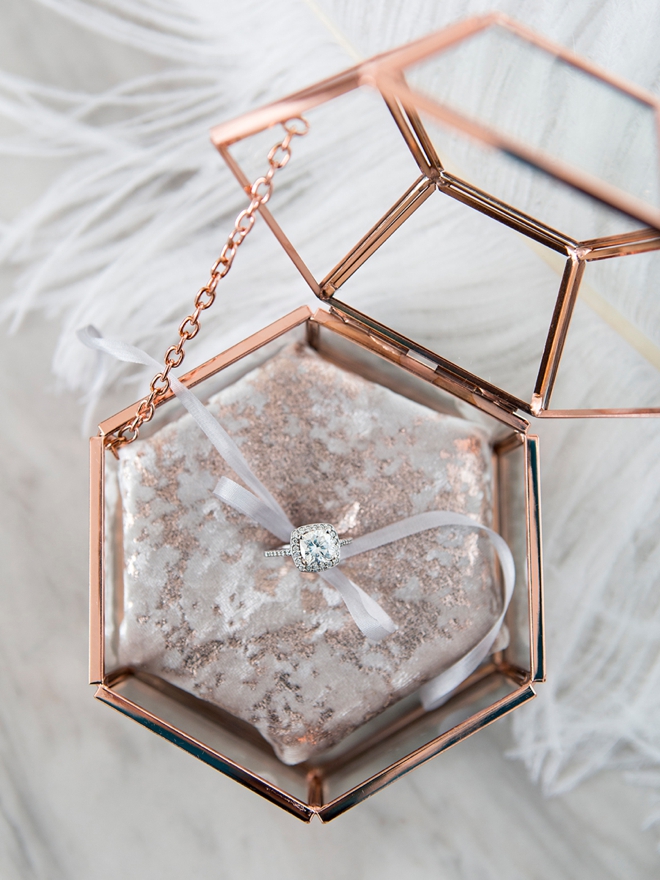
Any Shape Or Size Box Will Do
I’m excited to share that the project steps below will work for ANY size or shape box that you want to use. Use something old, something new, something borrowed, or one of these gorgeous boxes I found on Amazon! (not the ending you were expecting?) Find the perfect box for your wedding style and easily and quickly make a custom pillow for it.
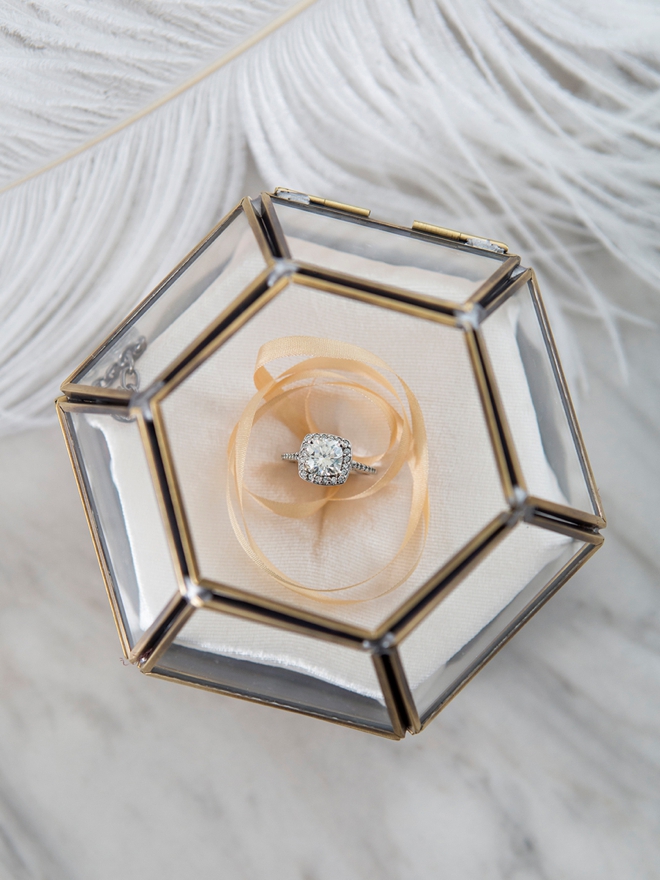
SUPPLIES:
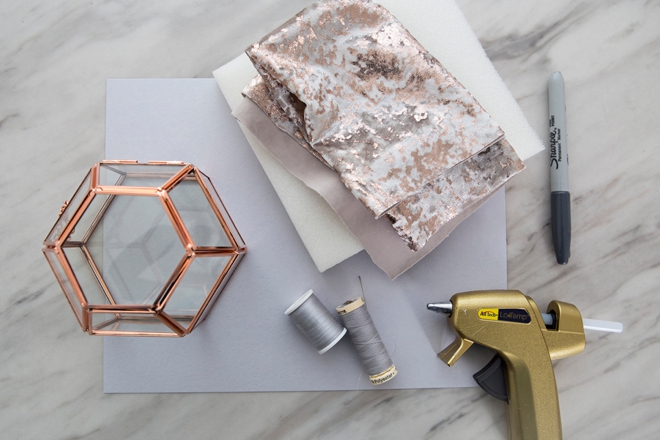
- Terrarium Style Hinged Glass Box, these are from Amazon
- 12″ Square of Pretty Fabric
- 1″ x 6″ Piece of Craft Foam
- Scrap Piece of Cardstock
- 1/4″ Silk Ribbon
- Thread and Needle
- Hot Glue Gun
- Scissors
- Pencil
Trace The Base
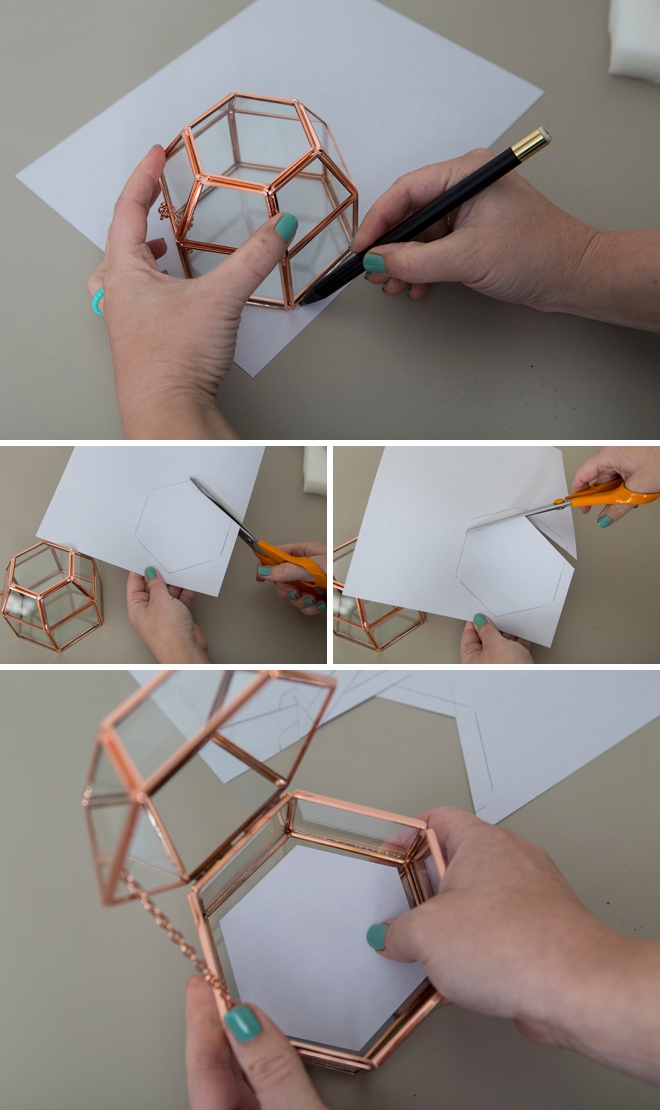
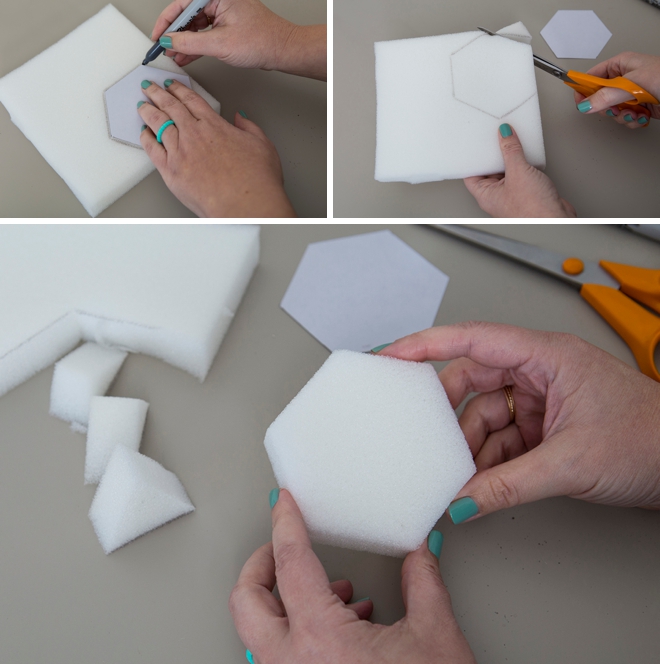
The first step is to trace the base of your box on a scrap piece of cardstock. Then cut out the shape about 1/3″ smaller than the original. We’re trying to get the perfect size for the foam pillow that will fit within the box. Place your new template inside the box to make sure it fits with about 1/4″ around all sides. This can be done with any shape box.
Cut The Foam
The craft foam I used was for chair cushions and it was 1″ thick at medium density. Place your template on top of the foam and trace with a marker, then cut it out with sharp scissors.
Cut The Fabric
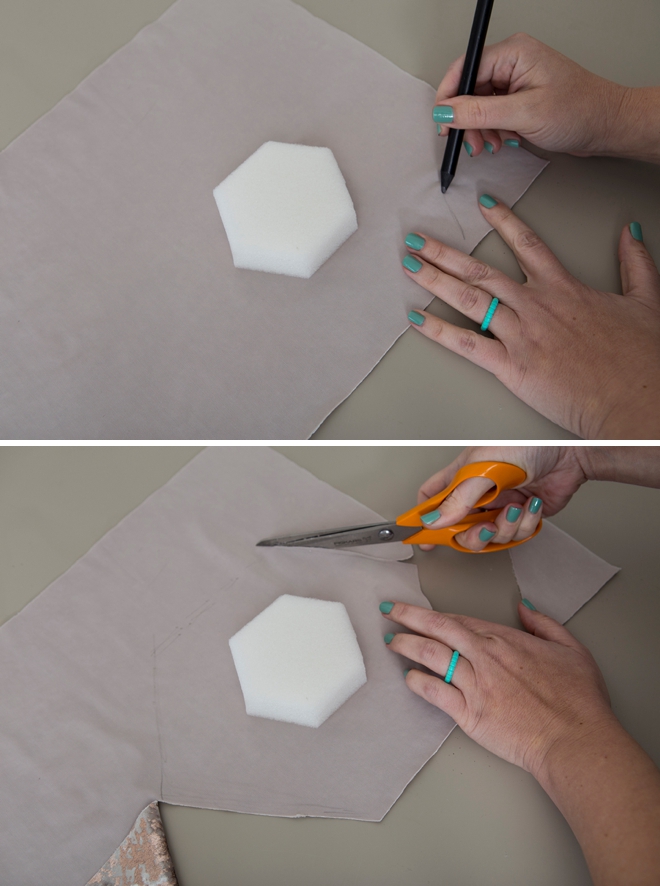
Place your foam on top of your fabric and trace the same shape roughly 2″ larger on all sides. Then trim the fabric to match. This doesn’t have to be perfect, you’ll see in the next step.
Wrap + Glue
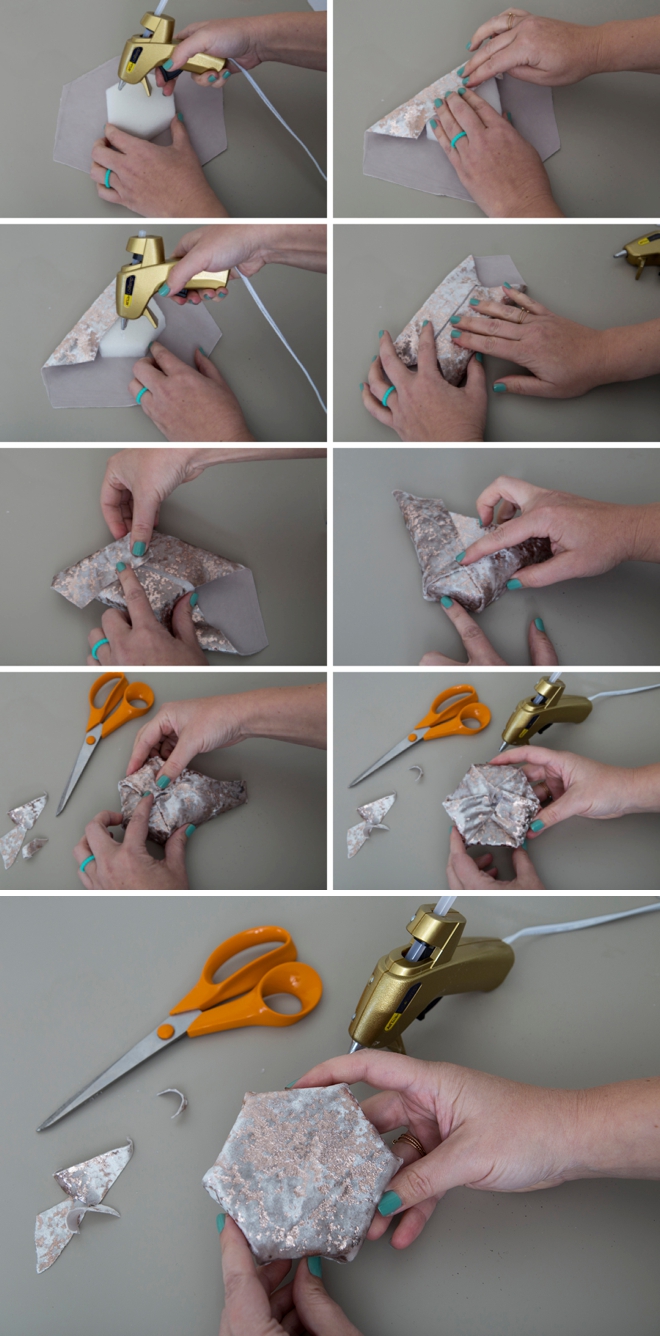
Now we’re going to wrap and glue the fabric around the foam. This is super easy and just like wrapping a gift box! I started with opposite sides first, carefully folding the edges in so that they look neat. Wrap, hot glue, wrap, hot glue. If needed, trim away excess fabric to get a better fold just like you would with wrapping paper.
Add Ribbon
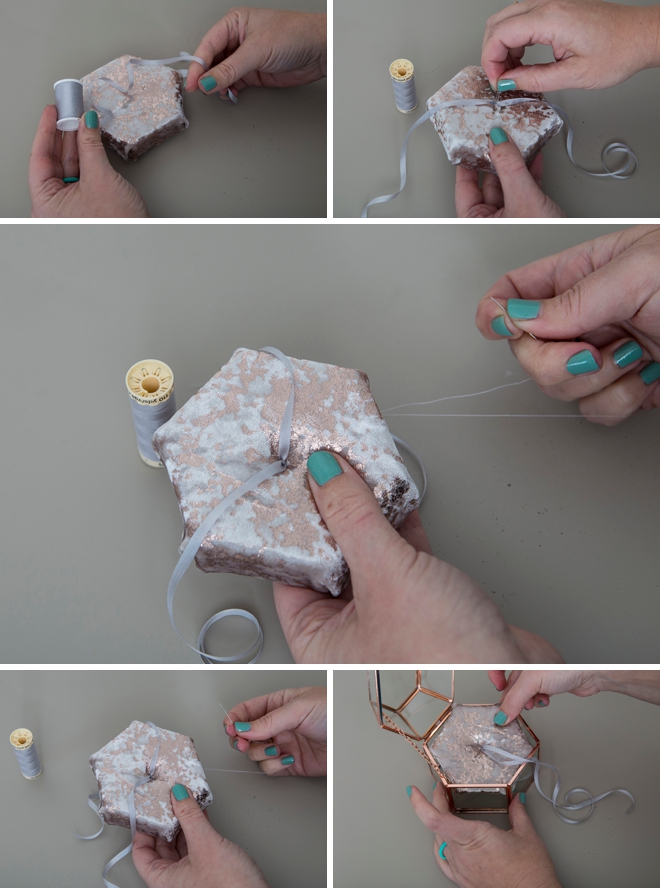
Just a few hand sewn stitches will attach a pretty little ribbon to the middle of your new pillow. Use any ribbon or twine you’d like to match the fabric or box. I stitched all the way through the foam with a little tension to get that tiny divot in the middle of the pillow. Then simply place the pillow inside the box!
To Glue Or Not To Glue
You can glue the pillow inside the box if you’d like, I recommend using a strong multi-surface glue like E6000. Or you can leave it as is so you can remove the pillow and use it for a different purpose down the road…
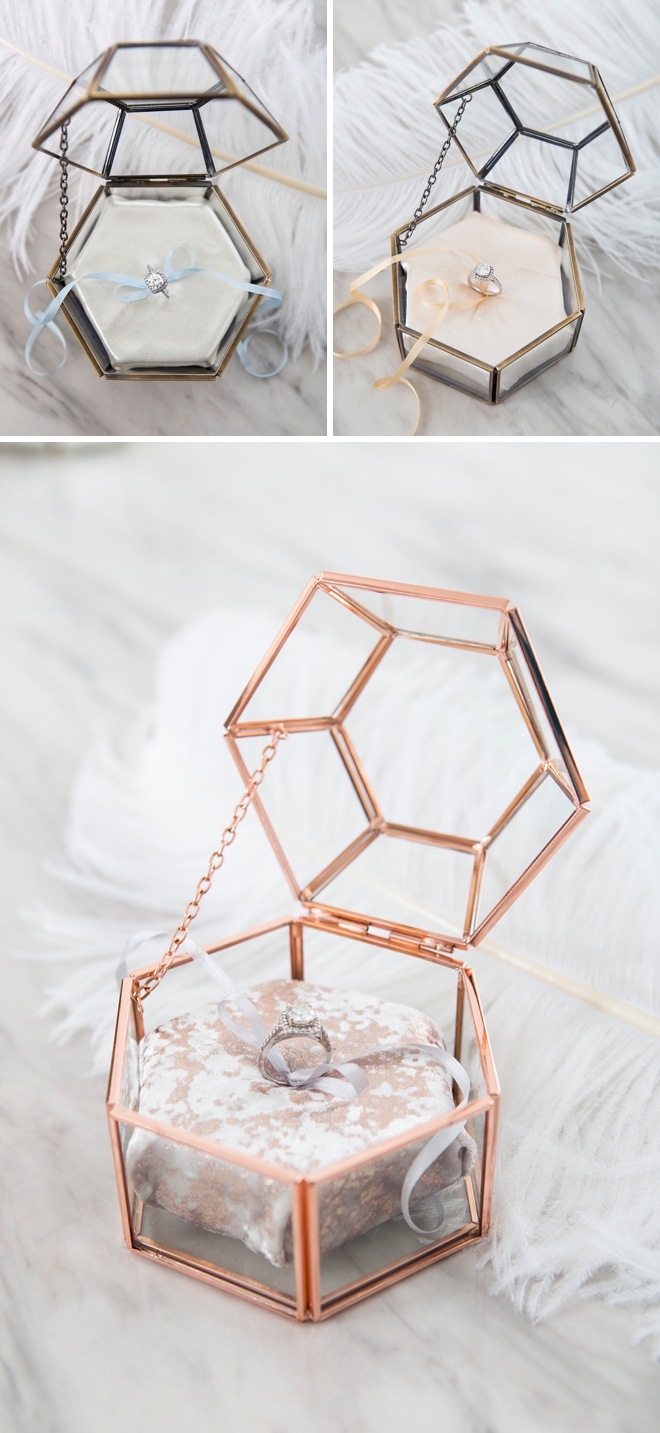
Quick + Stylish
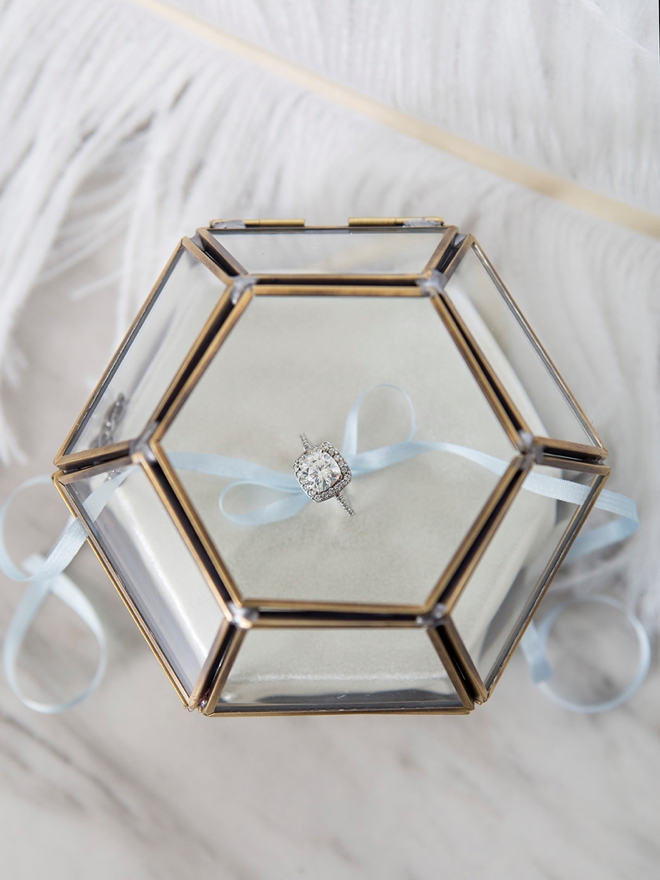
I was able to make all three of these pillow boxes in about 1.5 hours. So one should take you about 30-45 minutes. Quick, super easy, and ultra pretty. Such a great photo prop for your engagement shoot or wedding day!
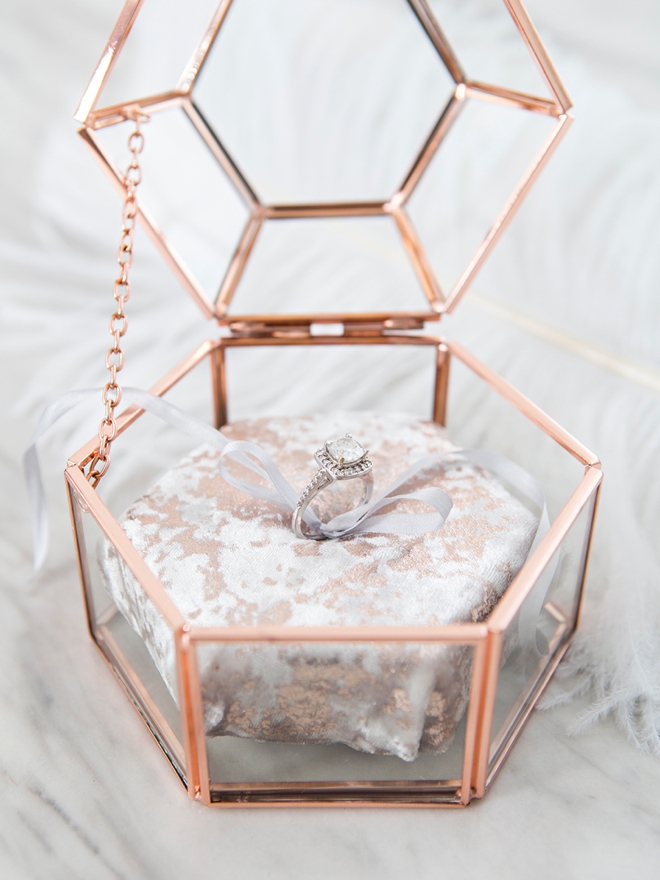
As with all our DIY tutorials, if you create one of our projects please send us a picture – We Love Seeing Your Creativity! If you use Instagram or Twitter please use the hashtag #SomethingTurquoiseDIY and it will show up on our Get Social page. Happy Crafting!
DIY Tutorial Credits
Photography + DIY Tutorial: Jen Causey of Something Turquoise // Hinged Hexagon Terrarium Boxes: Amazon // 1″ Craft Foam: Amazon // Scissors: Fiskars // Hot Glue Gun: Amazon // 1/4″ Silk Ribbons: Amazon // Nail Polish: OPI – Withstands the Test of Thyme
Shop The Supplies:
Find the supplies you’ll need for this project from our affiliate links below:


Comments