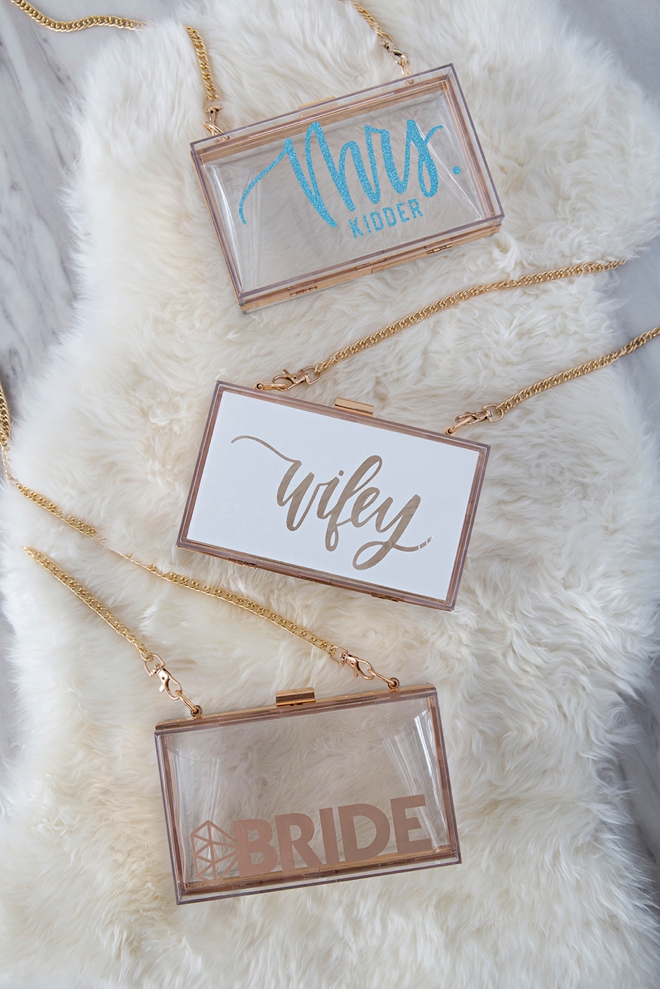
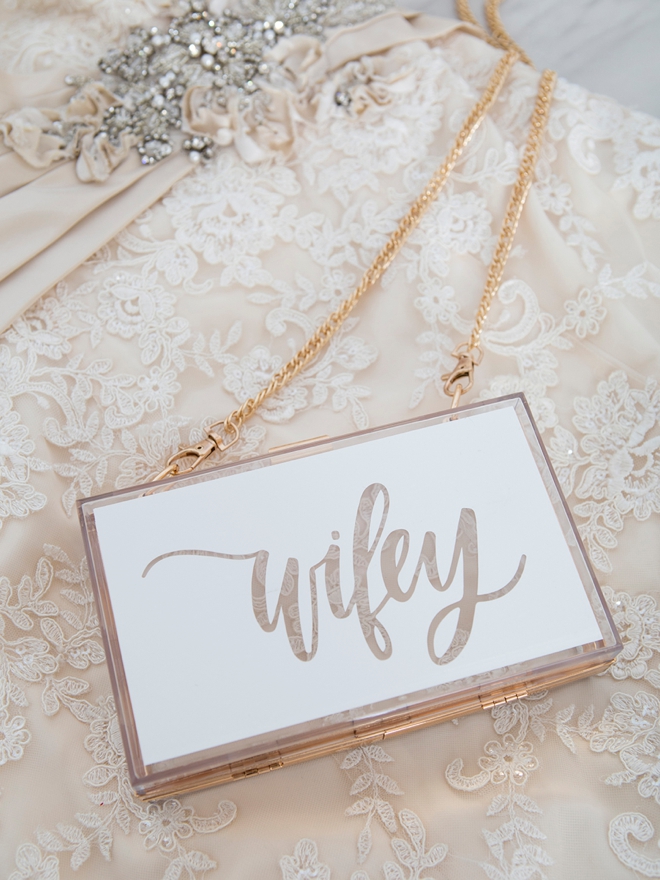
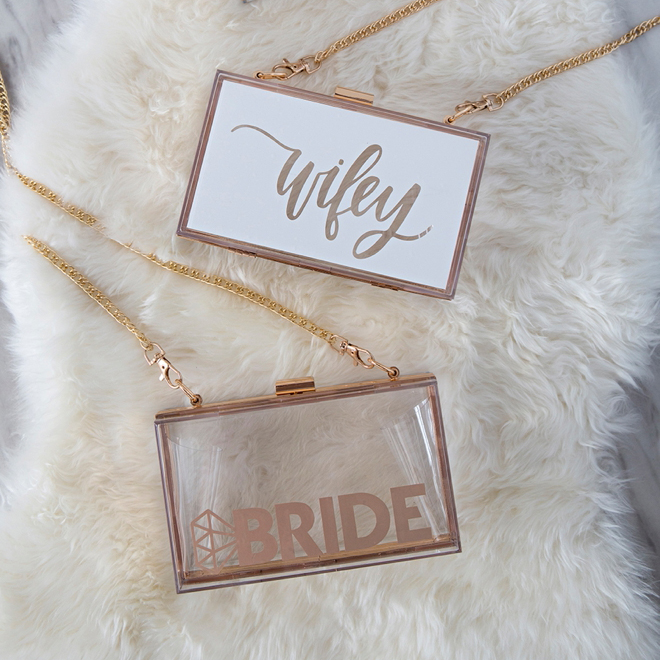
I’m a huge Amazon fan and I’m on the site almost every day. It shows me recommended items I might like and when I saw these gorgeous clear acrylic clutches, I was thrilled to add them to my cart because I knew you gals would love to personalize them! I’m sharing three personalization ideas, all using vinyl and your Cricut Explore or Cricut Maker. The clutches are only $18 and let me tell you, they are far nicer than I had expected. They’d obviously be perfect for the bride and at that price a terrific gift for the rest of your bridal party as well!
Something Blue
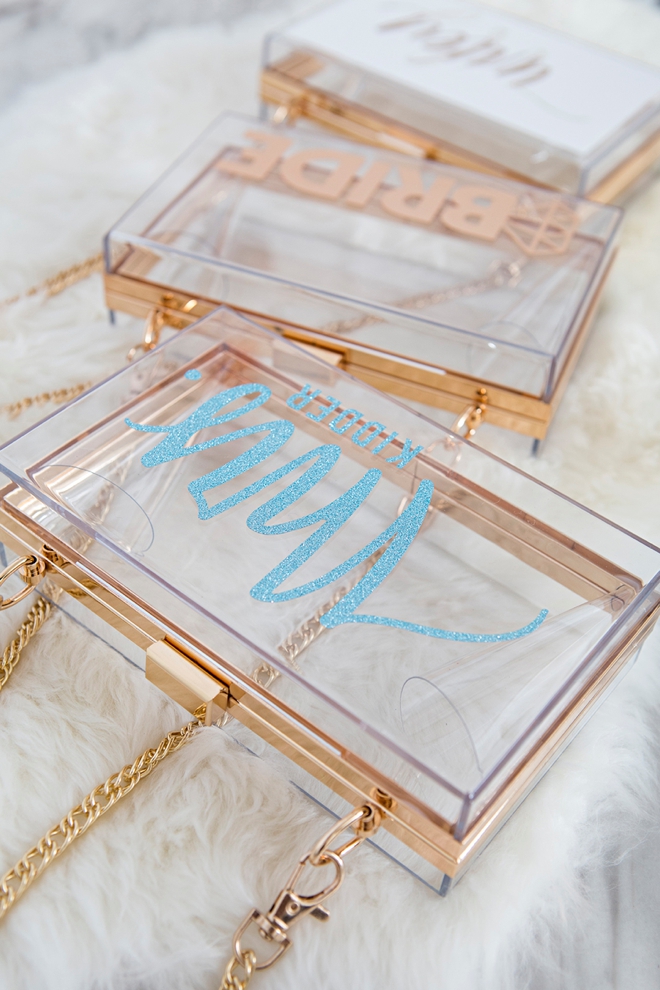
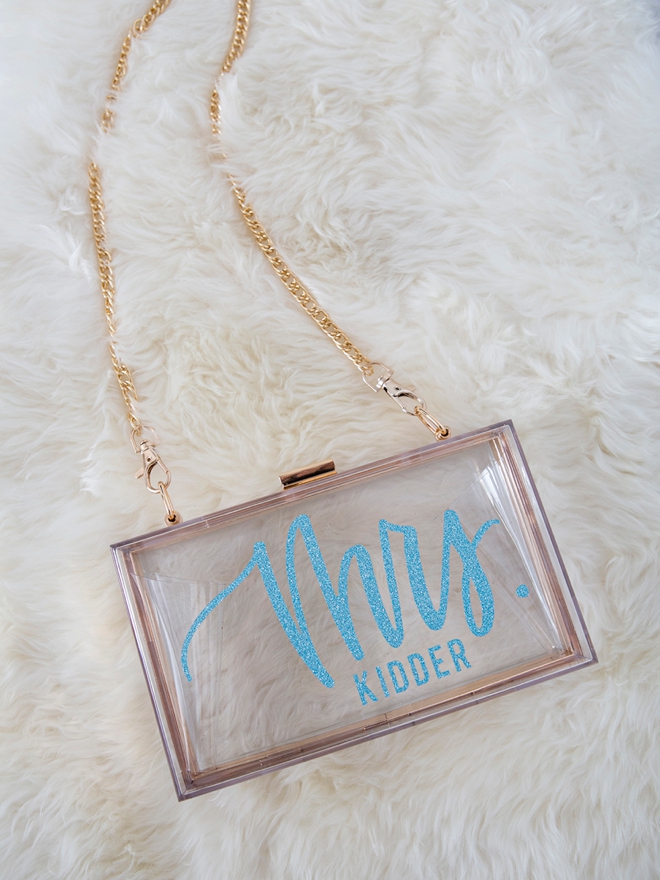
I’m just obsessing over how these turned out. They are so freaking cute! The Mrs. Kidder is definitely my favorite, it’s the perfect, subtle something blue! …yes, yes, or something turquoise! I really thought about using turquoise vinyl but there is something so sweet about this pale blue glitter!
SUPPLIES:
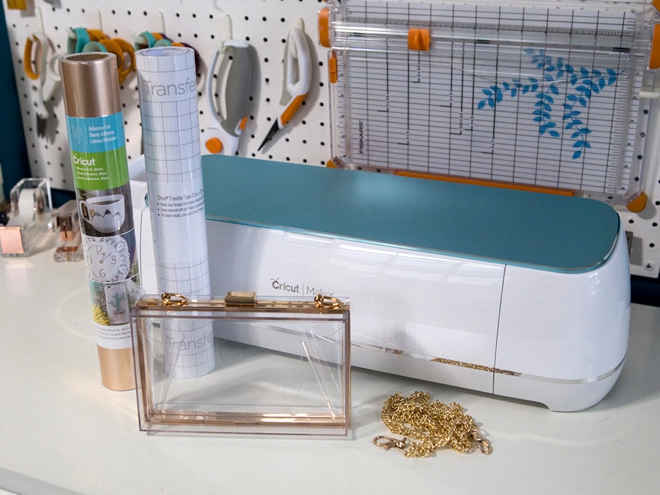
- Cricut Explore or Cricut Maker
- Clear Acrylic Clutch
- Your Choice of Vinyl (I used White, Pink Champagne, and Light Blue Glitter)
- Transfer Tape
- Our exclusive .SVG cut files that you upload to Cricut!
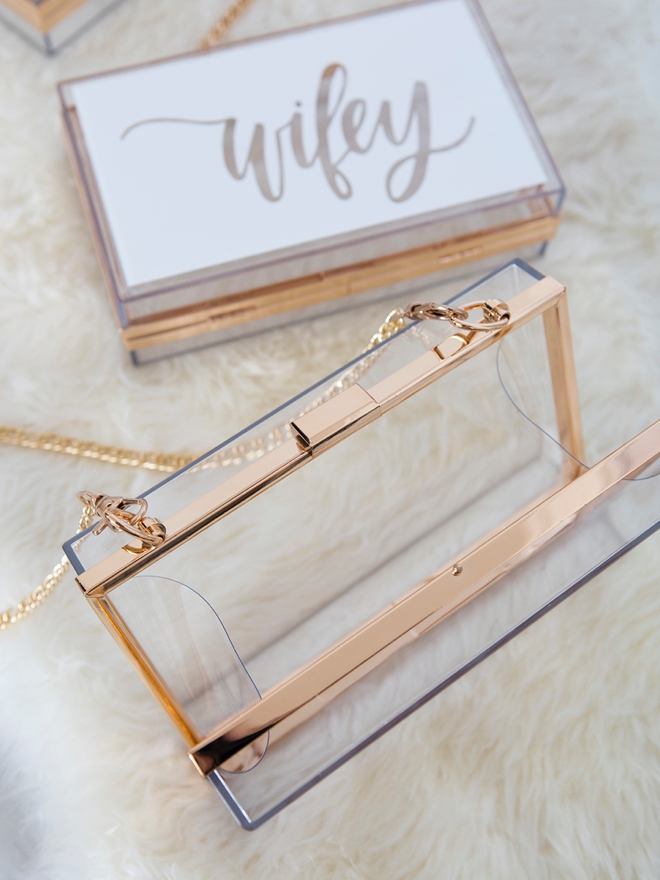
- You can find the wifey file I used here for only $1.99, bride comes with it too!
- You can find the bride file I used here for free!
- You can find the Mrs. file I used here, for only $1.99 and Mr. comes with it too!
Create In Design Space
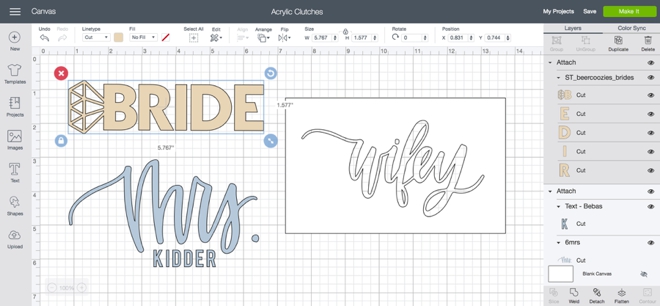
The first step is to login to Design Space and start designing your clutch! Upload our exclusive Cricut cut files by using the “upload” button on the left tool bar. Locate the file on your computer and select to add it to your canvas. Then drag, resize, and add personal touches like maybe your new last name or the date of your wedding. Prepare your mat and get ready to cut!
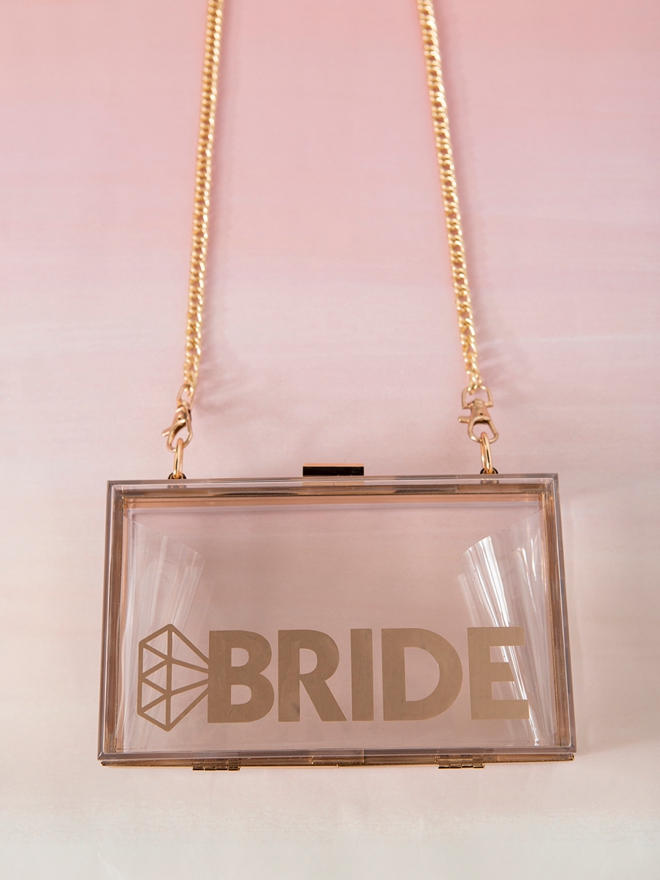
- The bride design I used as is.
- The Mrs. design I added a last name to using the font Bebas.
- The wifey file I sliced from a rectangle the same size as the clutch. Never used slice in Design Space before? It’s so good! Add a rectangle to your cutting mat, place the wifey file on top, select both and hit slice. Then click to remove the pieces of the slice you don’t need. You’re literally slicing the word out of the shape!
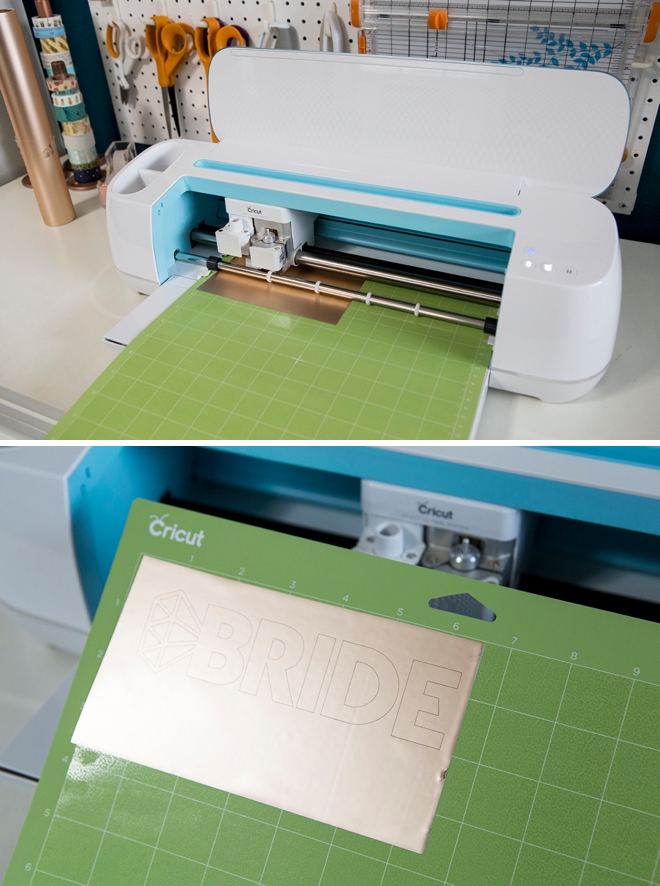
Let Your Cricut Work It’s Magic
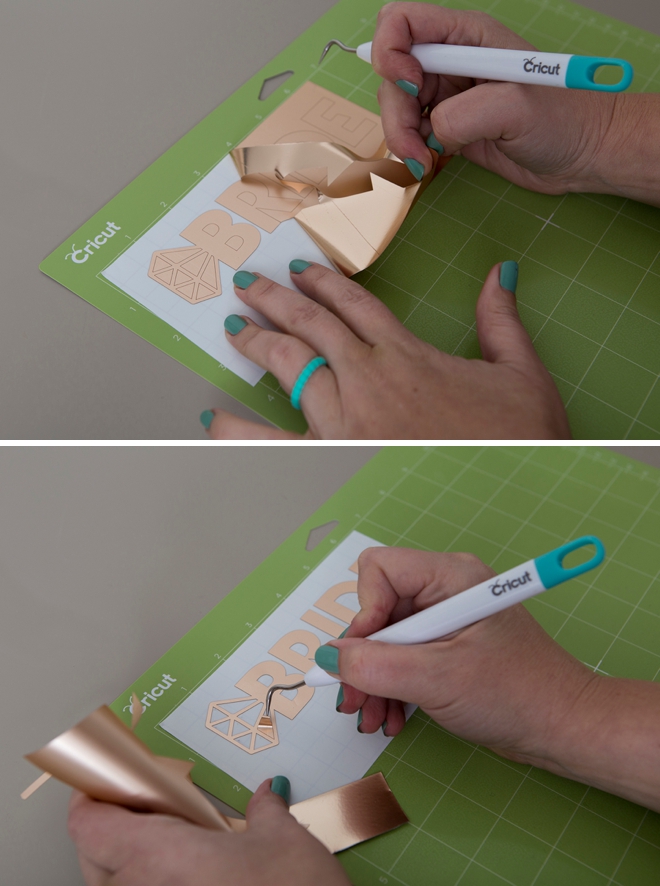
Weed The Designs
Weed, (aka. remove) all the excess iron-on material that isn’t a part of your design. Using the Cricut weeding tools makes the removal of intricate pieces super easy.
Transfer Tape
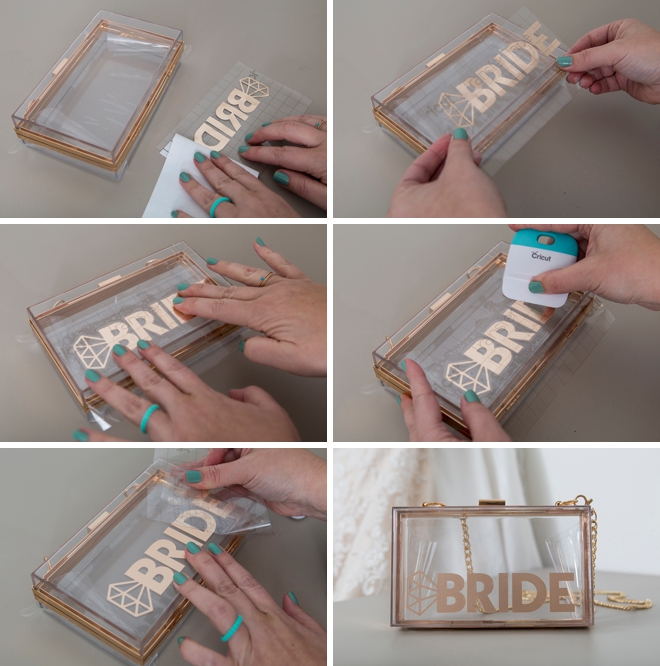
Transfer tape is the BEST and if you’ve never used it, you must try it. Basically you transfer your new vinyl stickers from their base to a clear film so you can properly position them on their final resting place. Cut a piece of transfer tape just larger than your designs, peel and evenly smooth on top of the vinyl.
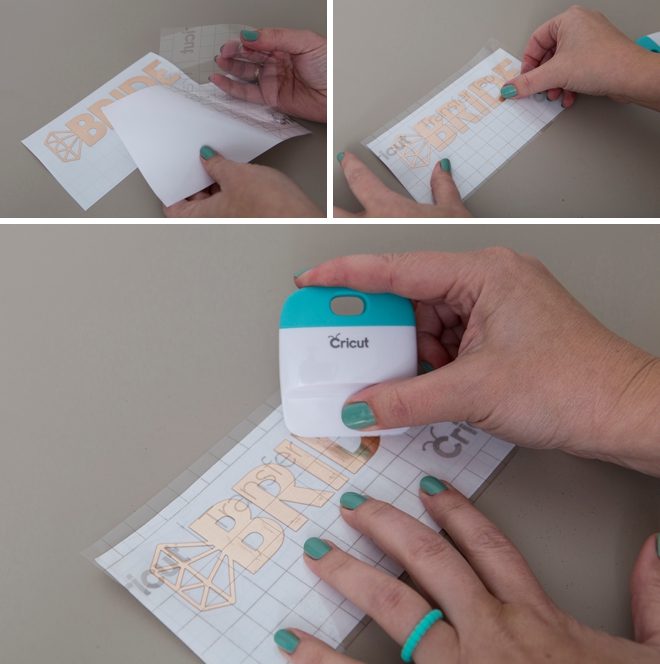
Apply To The Clutch
Now carefully peel the transfer tape and your new Bride sticker from the vinyl backing and then carefully place onto the clutch. Burnish a little with the scraping tool and carefully peel the transfer tape off, leaving a perfectly personalized clutch to hold your most important things on your wedding day!
Personalization Made Easy
If you’re on the fence about getting a Cricut, or you need a gentle nudge to make the decision to buy one – our projects are it! Seriously, the sky is the limit when it comes to what you can make for your wedding with the Cricut. From simple personalized clutches like these to a felt flower wedding bouquet and everything in between. It will be your number one wedding crafting tool and after your wedding, you can use it to personalize your home, make fabulous gifts and more!
As with all our DIY tutorials, if you create one of our projects please send us a picture – We Love Seeing Your Creativity! If you use Instagram or Twitter please use the hashtag #SomethingTurquoiseDIY and it will show up on our Get Social page. Happy Crafting!
DIY Tutorial Credits
Photography + DIY Tutorial: Jen Causey of Something Turquoise // Cricut Maker + Supplies: courtesy of Cricut // Clear Acrylic Clutches: Amazon // free BRIDE cut file: Something Turquoise // Wifey + Mrs cut files: Shop Something Turquoise // Nail Polish: OPI – Withstands the Test of Thyme
Shop The Supplies:
Find the supplies you’ll need for this project from our affiliate links below:


Comments