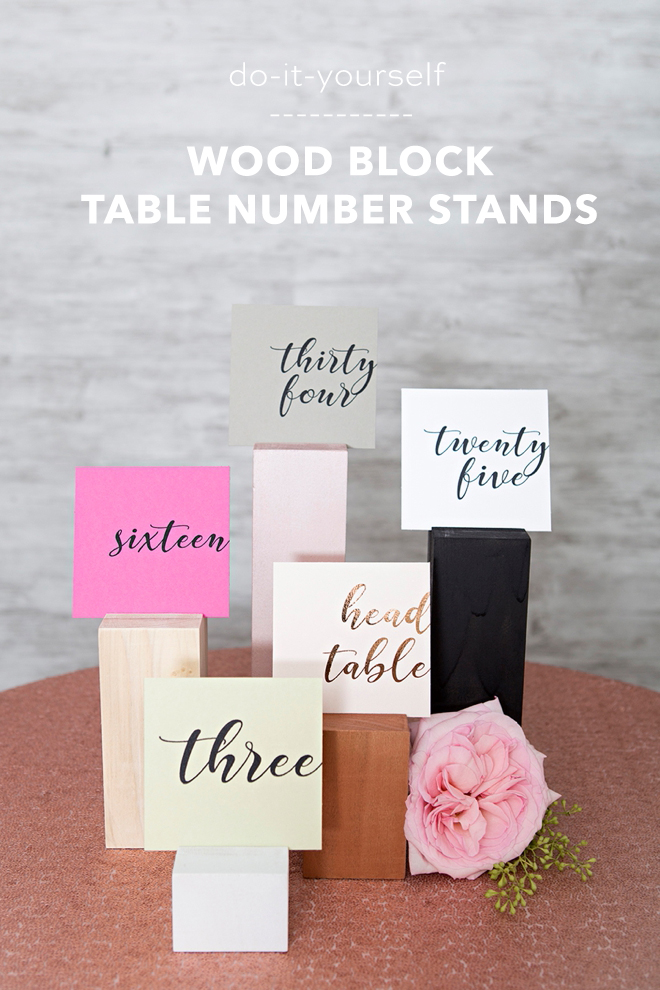
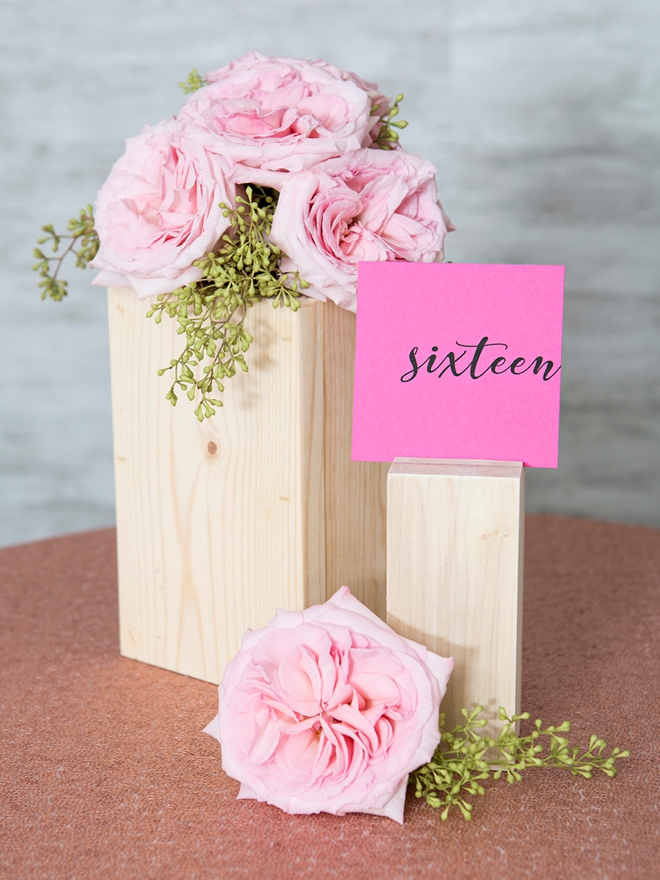
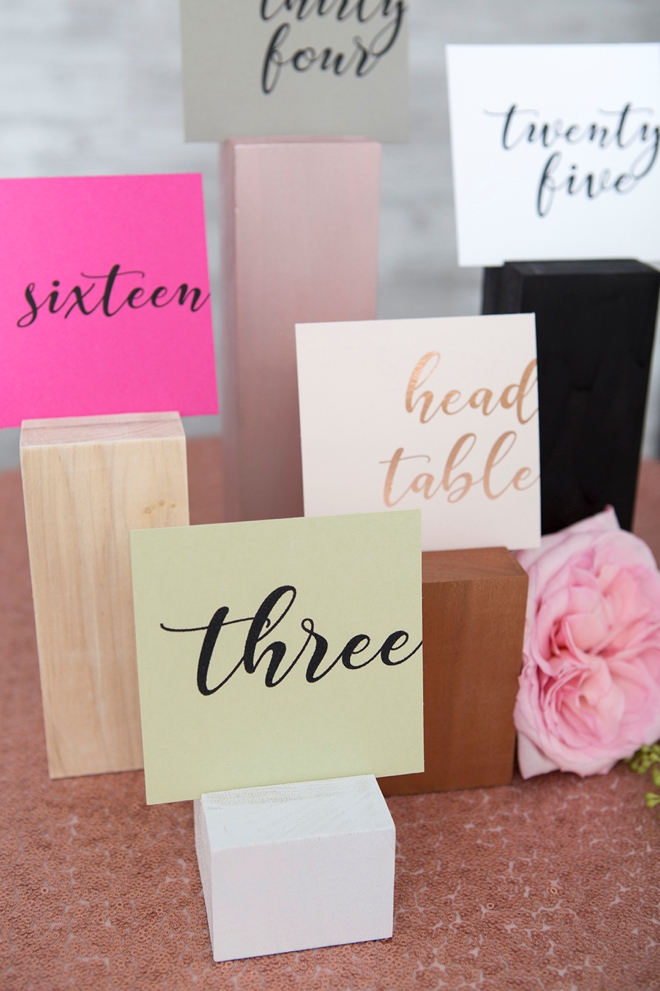
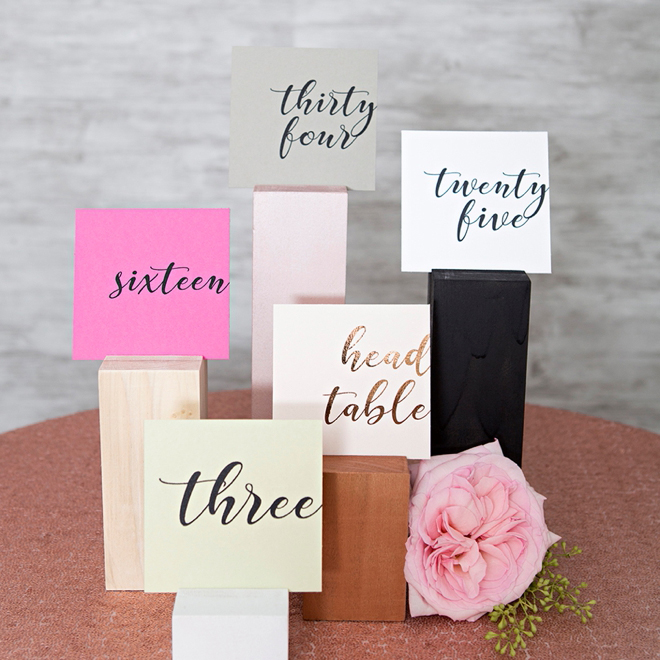
A few months ago I shared that I had been on an influencer panel for the past two years, who helped develop a new line of DIY tools for Fiskars, and today I’m using the hand saw to rock these wood block table numbers! You choose the height, the color, and the paper to perfectly match your unique wedding. Why use your venues boring table numbers when these are so easy to make!
Versatile
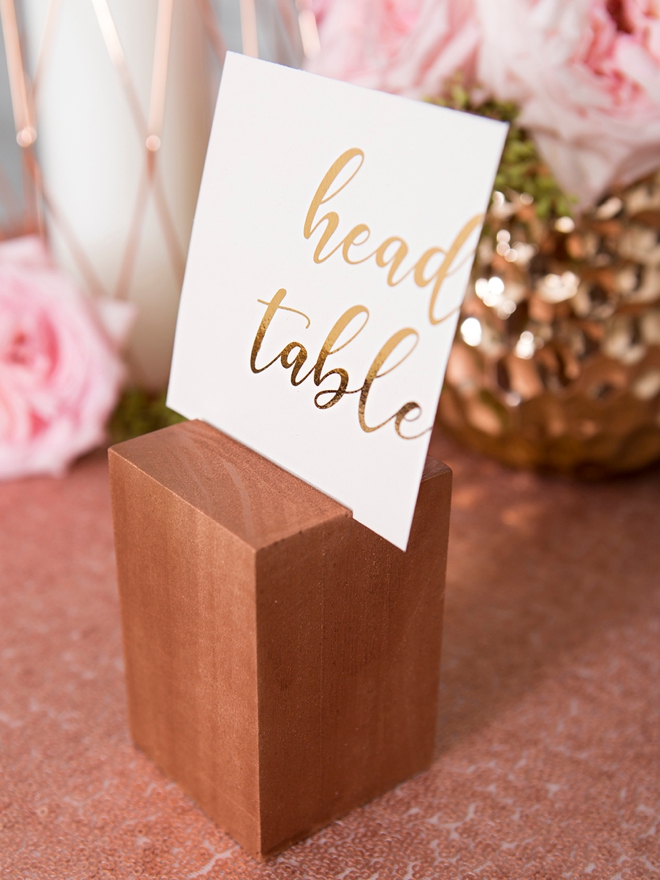
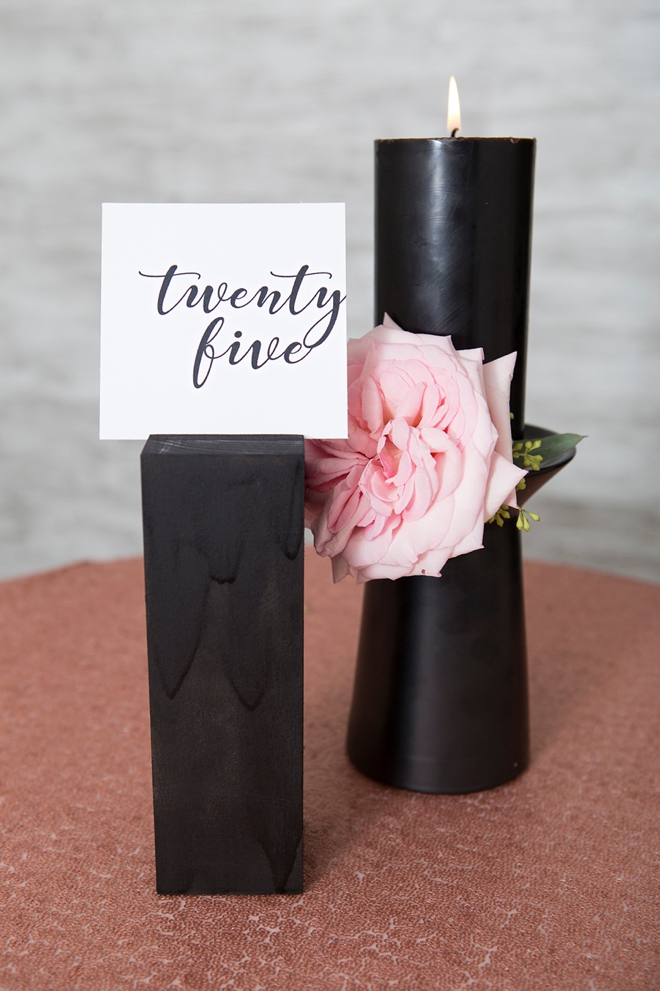
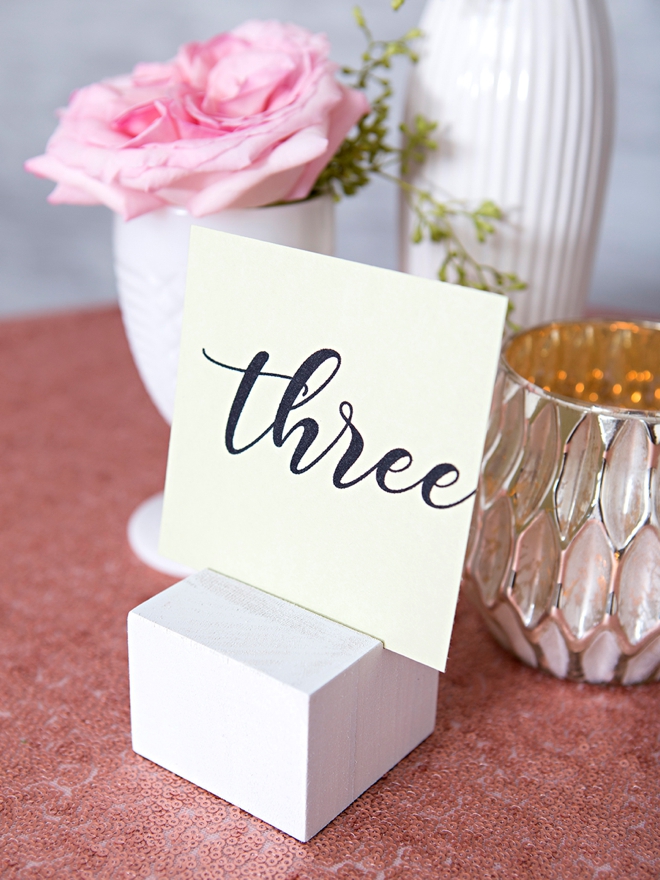
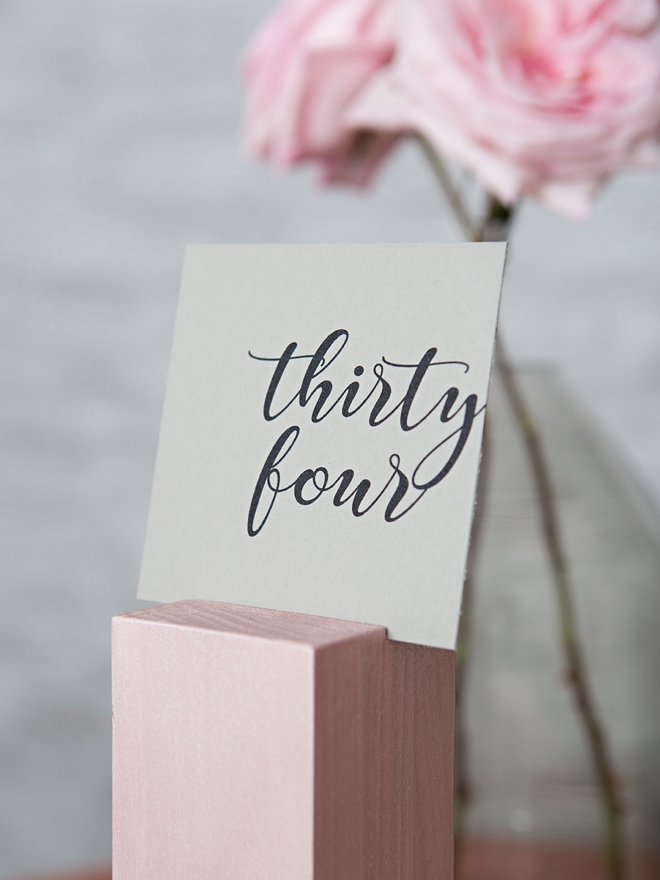
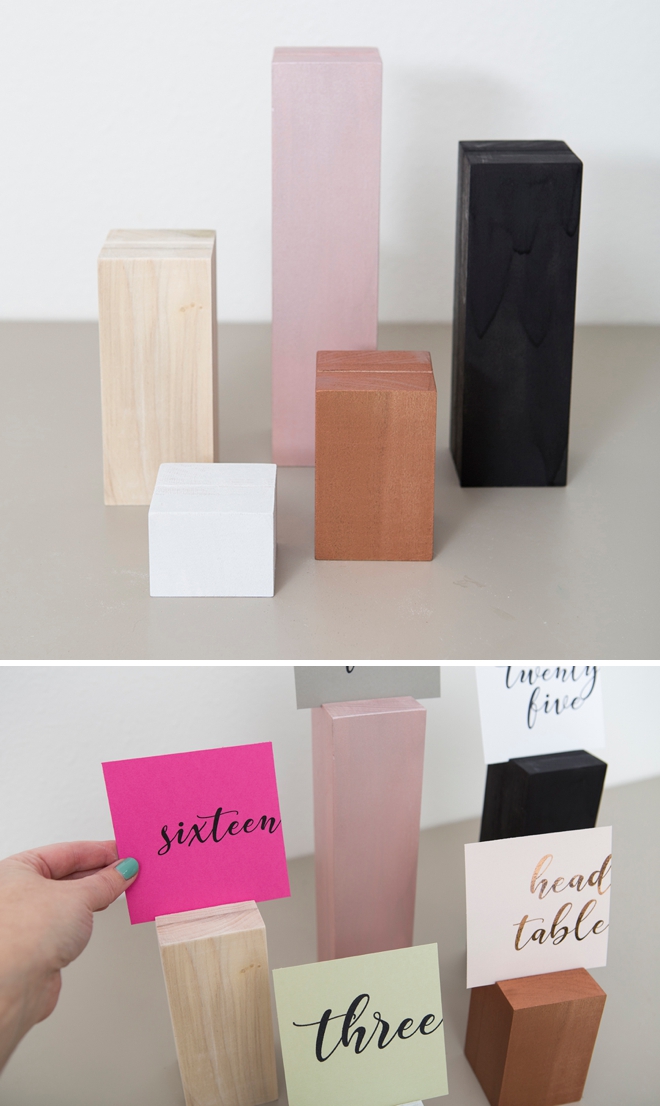
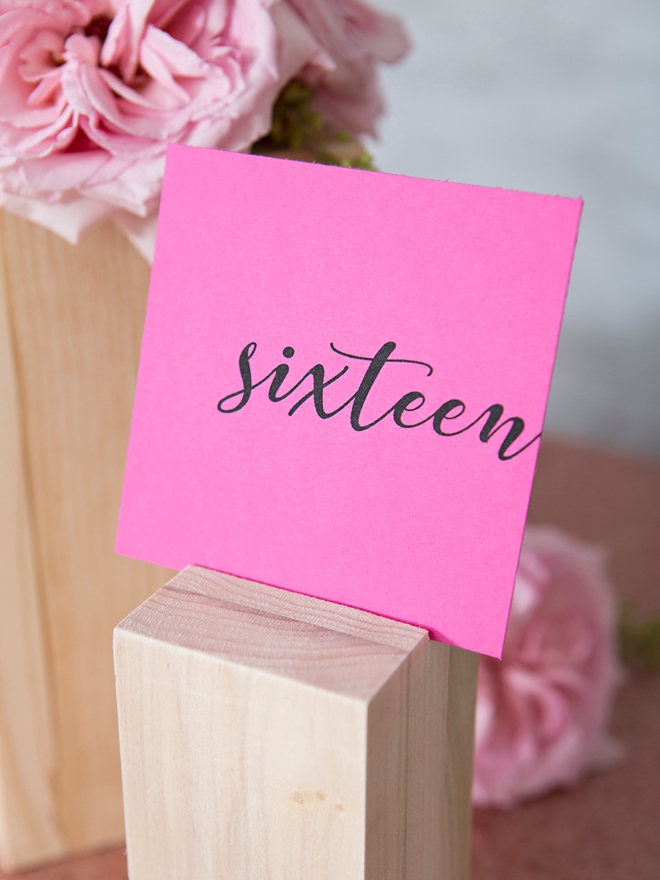
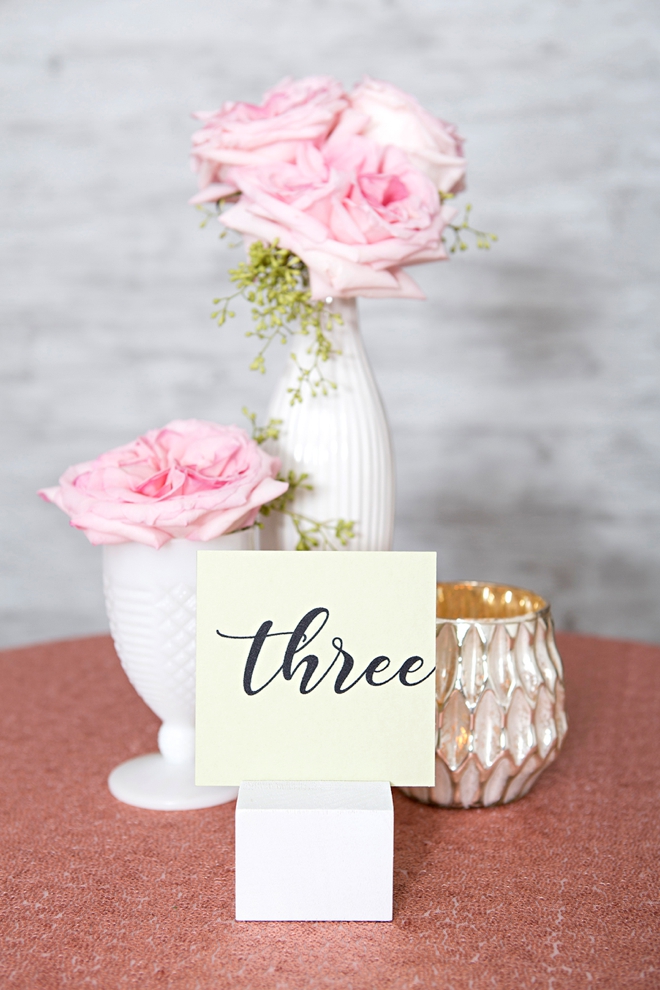
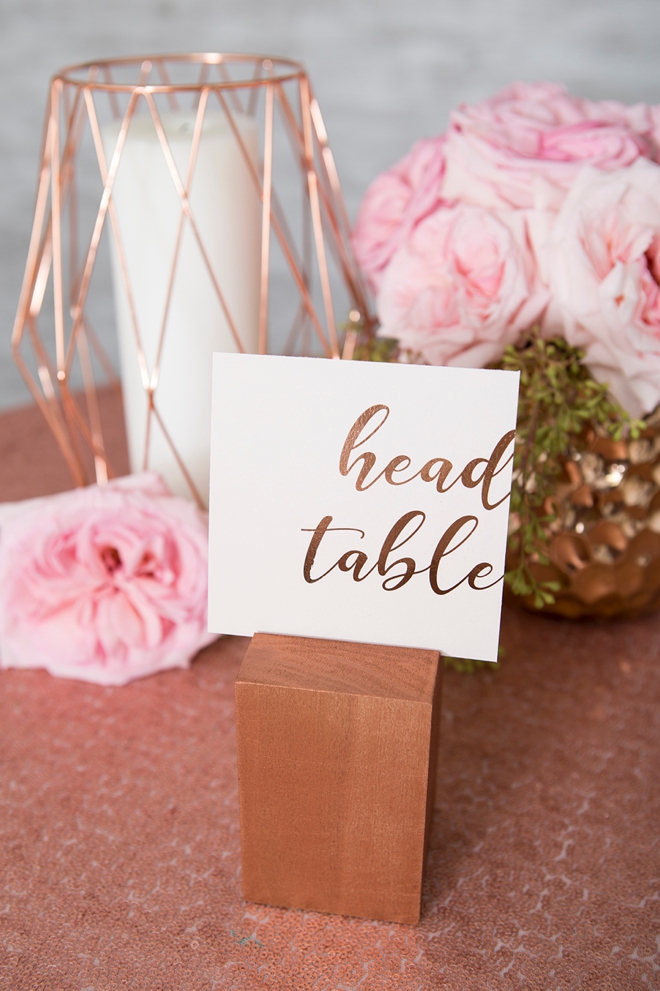
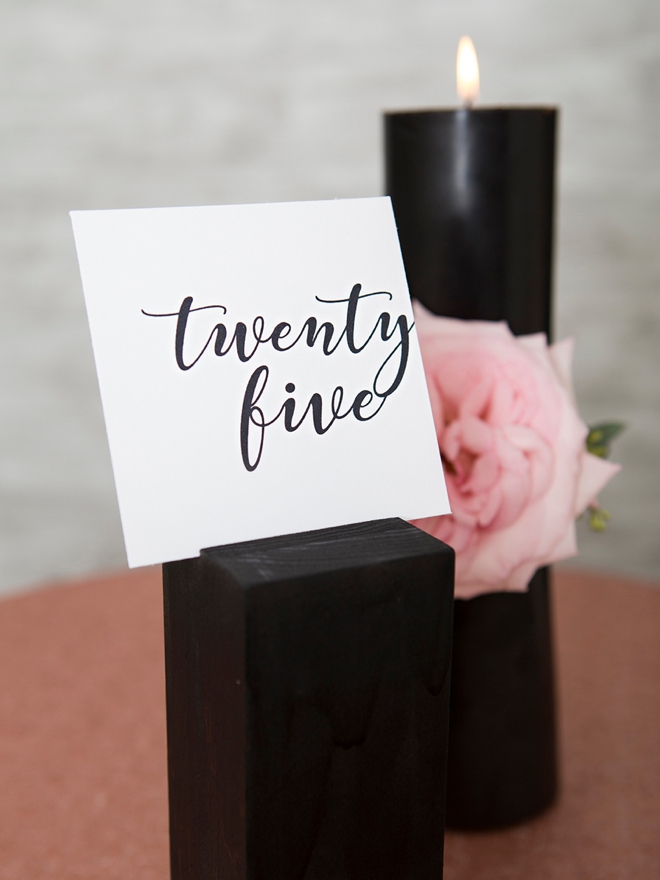
I really wanted to share some major versatility with this idea. The height and the color of the wood, plus the color of the cardstock and potentially some metallic foiling can make a HUGE difference in the look of this project. Which one is your favorite? I for sure thought the copper would be my favorite but I ended up loving the black and white the most!
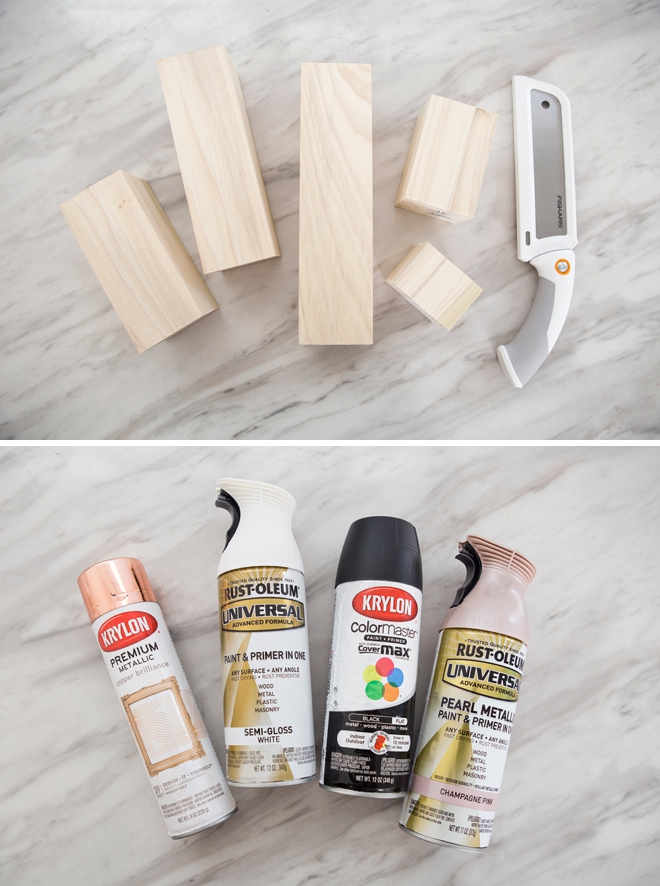
SUPPLIES:
- 3″ x 3″ x 3′ Poplar Wood, cut to your choice of height
- Fiskars, New 7″ Hand Saw
- Spray Paint
- 8.5″ x 11″ Cardstock
- Sand Paper
- Paper Trimmer
- Home Printer
- Our exclusive printable table numbers for sale in our shop for only $2.99! Numbers 1-40 plus head table, bride and groom, mr and mrs, and kids table!
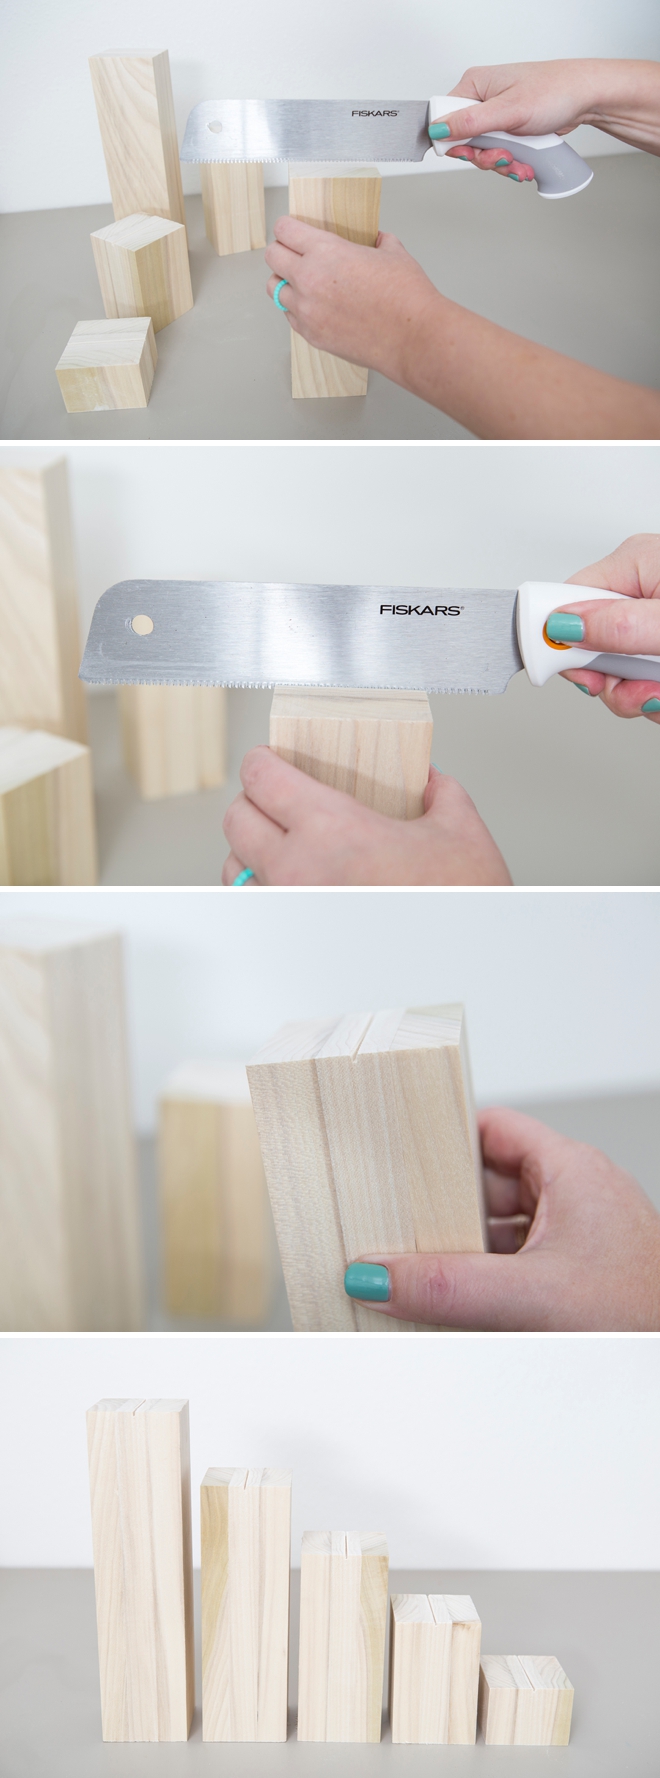
The poplar wood came 3″ x 3″ at 3 feet long. I had the hubby cut the long piece down to 10″, 8″, 6″, 4″, and 2″ blocks. You choose the size. You can cut at home with a chop saw or have the workers at the hardware store do it for you.
Buy + Print
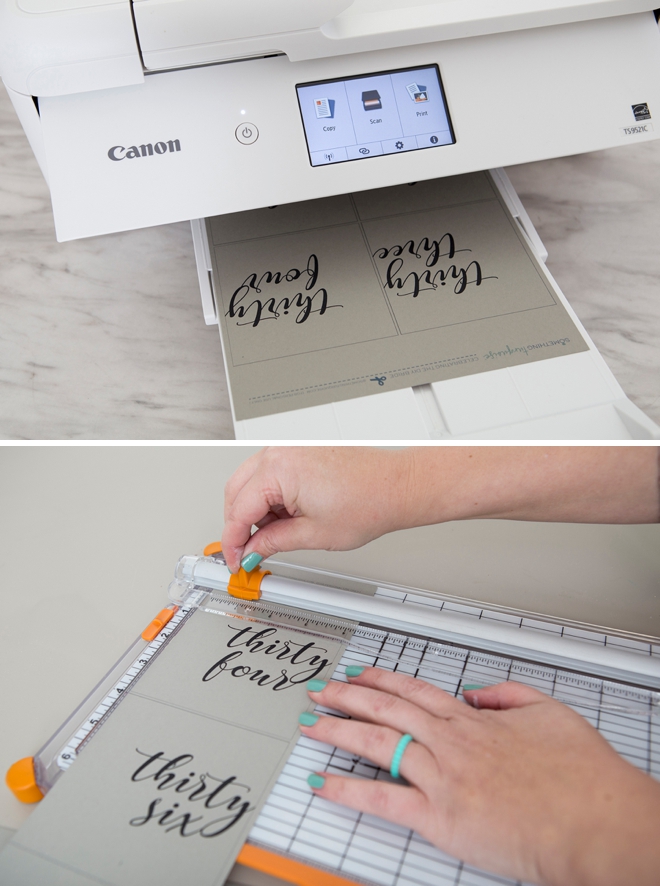
Visit our shop to purchase the table number printables. The file contains numbers 1-40, plus the sayings; head table, kids table, mr and mrs, and bride and groom. Print onto 8.5″ x 11″ cardstock and trim using a paper trimmer or scissors. There are four table numbers per page and they are 4″ square, all black designs on a transparent background, there is no color to the printables.
This would be a terrific project to add metallic foil to (aka. Minc)! If you don’t know how, visit this post. I did it using rose gold foil on the “head table” version shown.
Slice
Using my brand new Fiskars 7″ hand saw I sliced a slit in the top of the wood blocks to hold the table numbers. This saw is super sharp and super easy to hold so it made this step really easy. I made each one about 1/4″ deep.
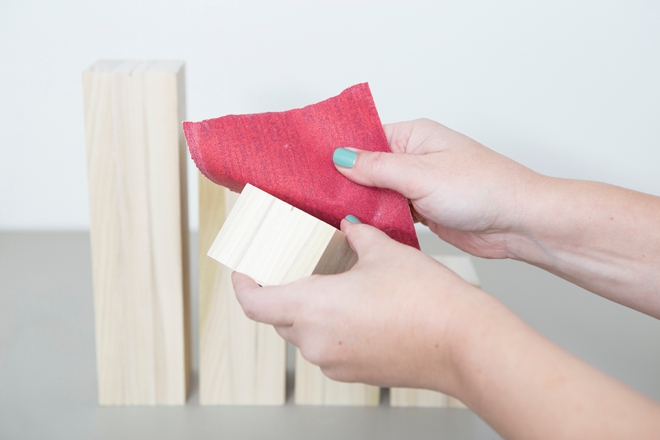
Give Your Blocks A Nice Sanding
Paint
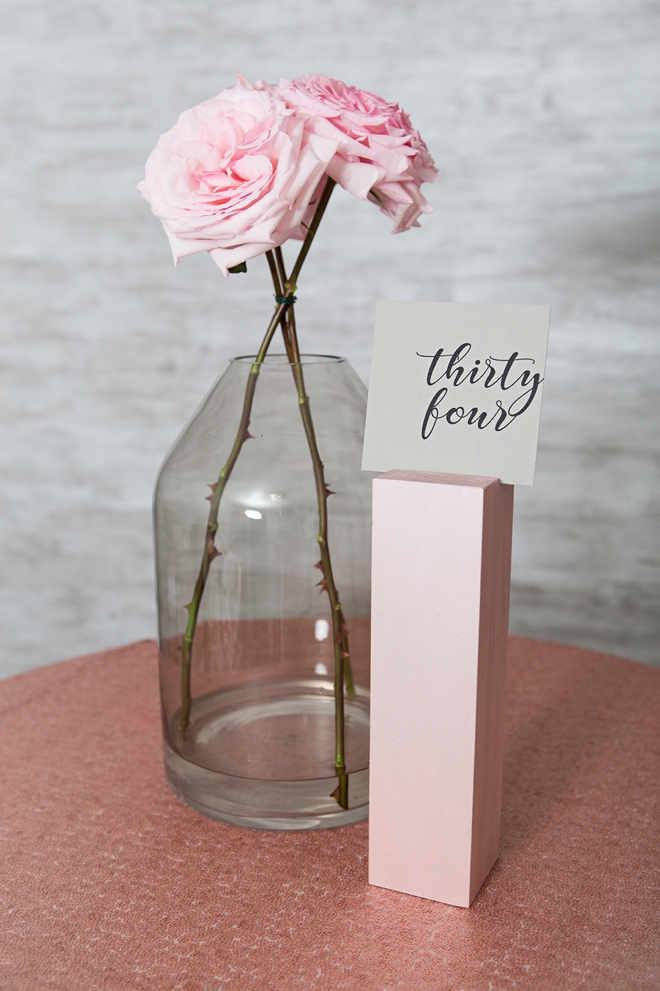
Spray paint your blocks any color you want, or leave them raw… then add the table numbers!
Our Custom Files
In case you haven’t seen it, we have a shop full of exclusive craft files, some for sale as low at $.99 each! From printable table numbers like these to unique Cricut cut files, we’ve got lots of fun stuff to choose from!
As with all our DIY tutorials, if you create one of our projects please send us a picture – We Love Seeing Your Creativity! If you use Instagram or Twitter please use the hashtag #SomethingTurquoiseDIY and it will show up on our Get Social page. Happy Crafting!
DIY Tutorial Credits
Photography + DIY Tutorial: Jen Causey of Something Turquoise // Printable Table Numbers: Something Turquoise Shop // Fiskars 7″ Hand Saw: Joann // Flowers: courtesy of FiftyFlowers.com // 3″ x 3″ x 3′ Poplar: Lowes // Fiskars Paper Trimmer: Amazon // 8.5″ x 11″ Cardstock: Amazon // Spray Paints: Amazon // Font: Prestige // Nail Polish: OPI – Withstands the Test of Thyme
Shop The Supplies:
Find the supplies you’ll need for this project from our affiliate links below:


Comments