– Sponsored Post –
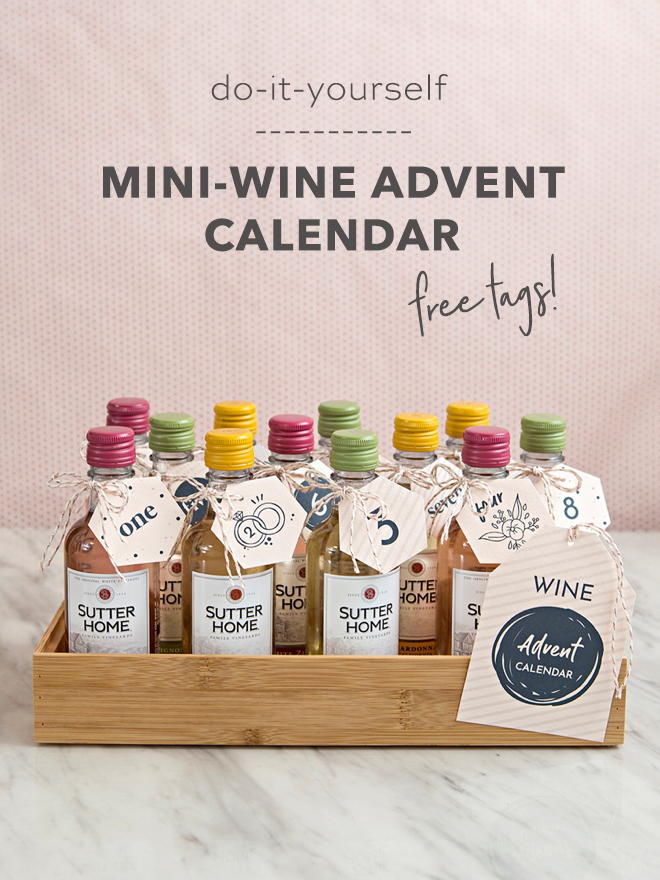
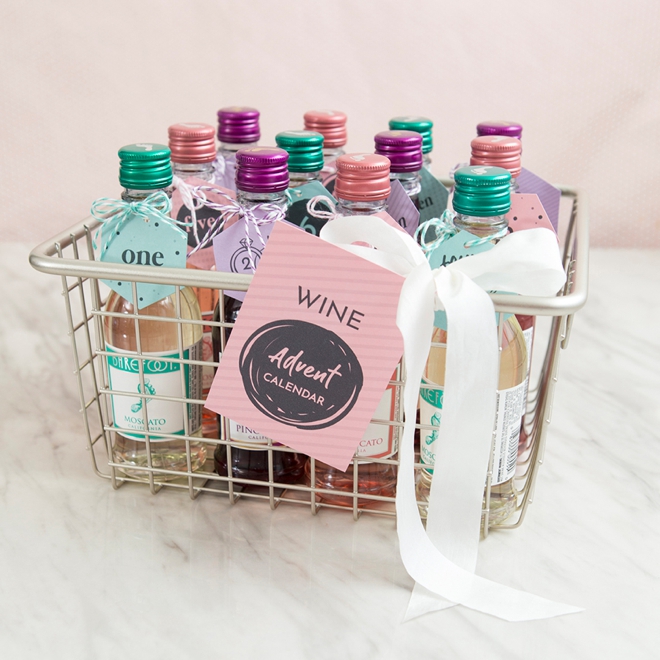
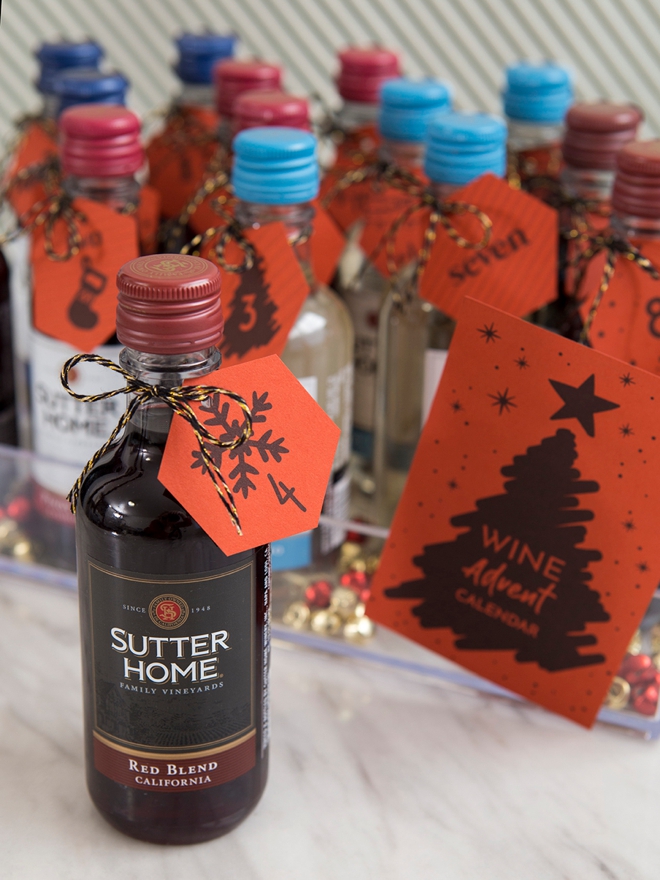
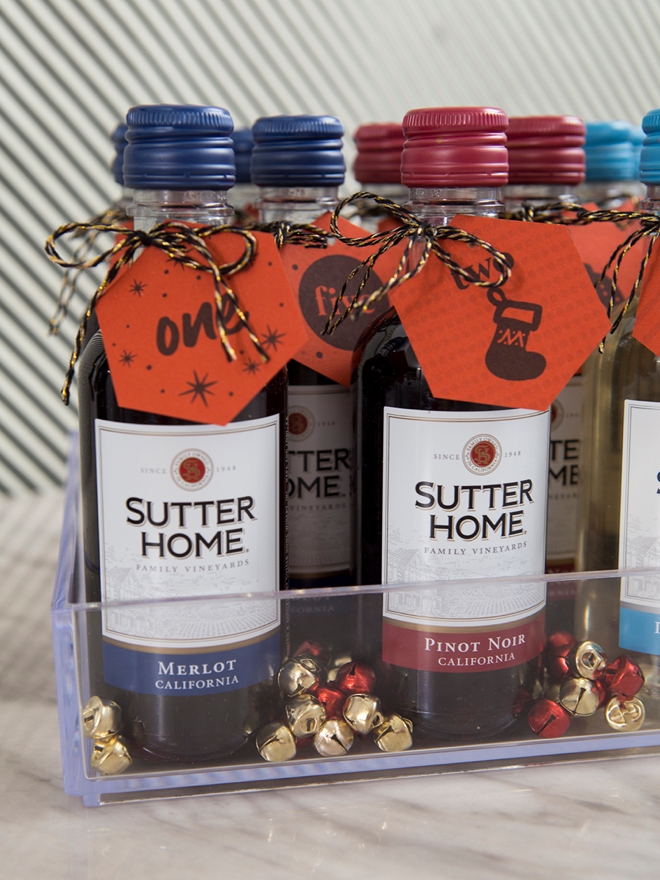
Ahh… finishing off #favorweek strong with this fabulous idea! Make yourself, your friend, your sister, or some lucky person this amazing Mini Wine Advent Calendar! Yes, we did. And thanks, I know, I’m obsessed too. These type of adult alcohol advent calendars run anywhere from $150 to $300, when you can make this one for well under $50. We’ve partnered with Canon to bring you the free printable tags for both wedding and holiday calendars! This is the perfect way to countdown the last few days until your wedding… and you know you’re already drinking for the holidays so why not make it extra fun and cute!
Wedding or Holiday
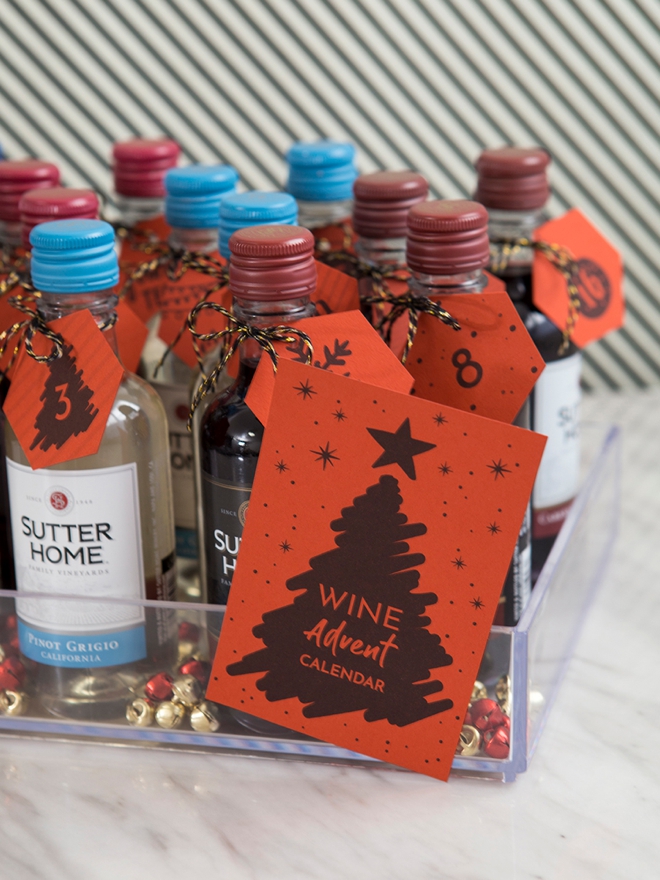
Wedding planning can be rough and the holidays can be tough. So what better way to relax and enjoy each day that brings you closer to your wedding (or Christmas) than with a small little glass of wine. Each night enjoy a mini-sip and look forward to that special day being closer than it was before.
SUPPLIES:
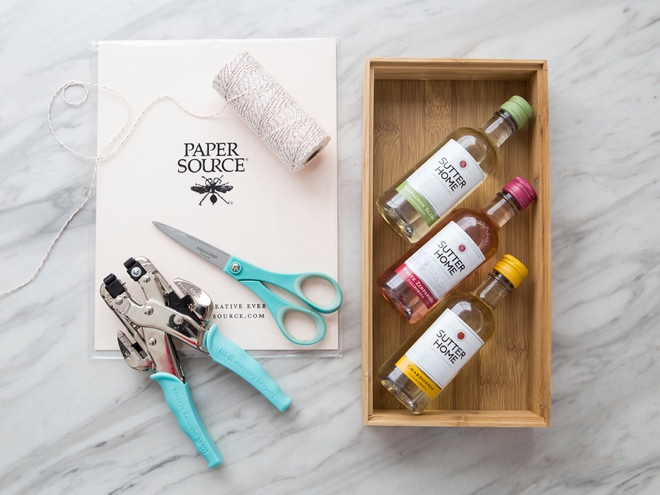
- Canon PIXMA TS9521C All-in-One Crafting Printer
- 8.5” x 11” Colored Cardstock
- Cute Container
- Twine or Ribbon
- Scissors
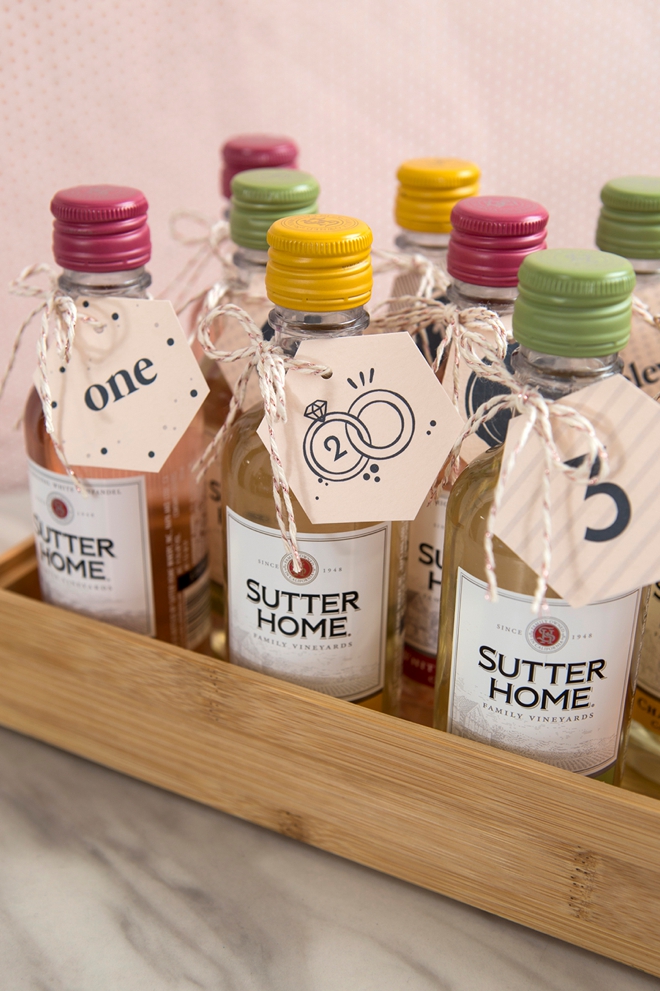
- Mini Wines
- Our FREE printable gift tags (both in wedding and holiday) at the end of the post!
Choose Your Container + Size
First up, you’ll need to decide what kind of container will hold all your fabulous mini wine bottles and how many you’re going to use for the countdown. My advice would be to go shopping with a few wines to make sure they fit the way you want in the container.
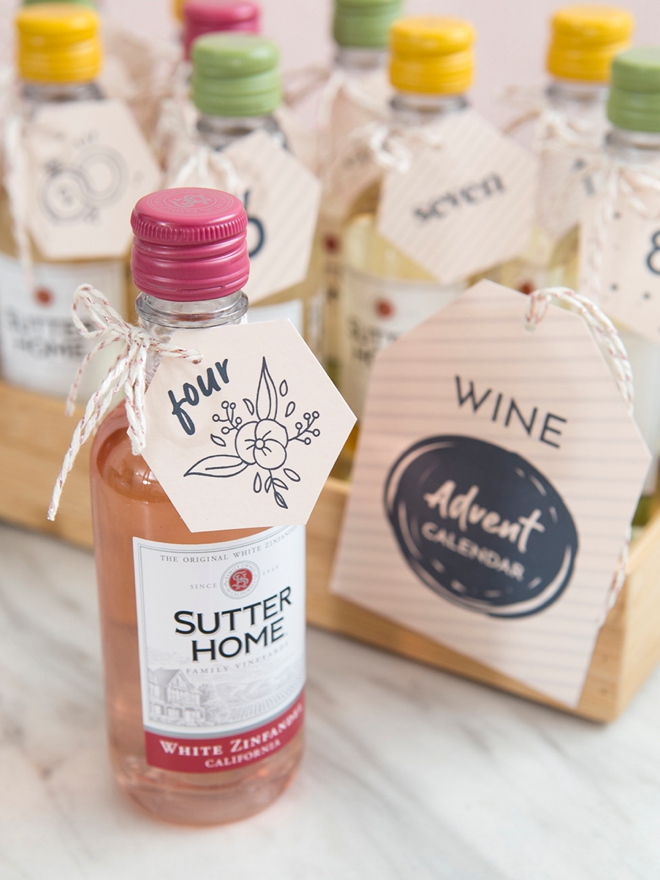
- Bamboo Wood Tray: 6” x 12” = 12 mini wines
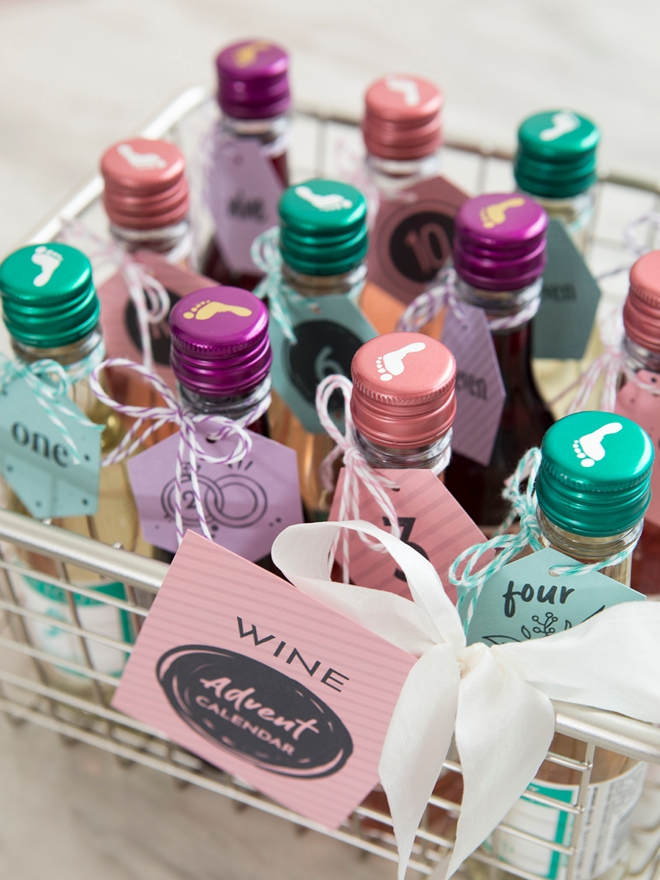
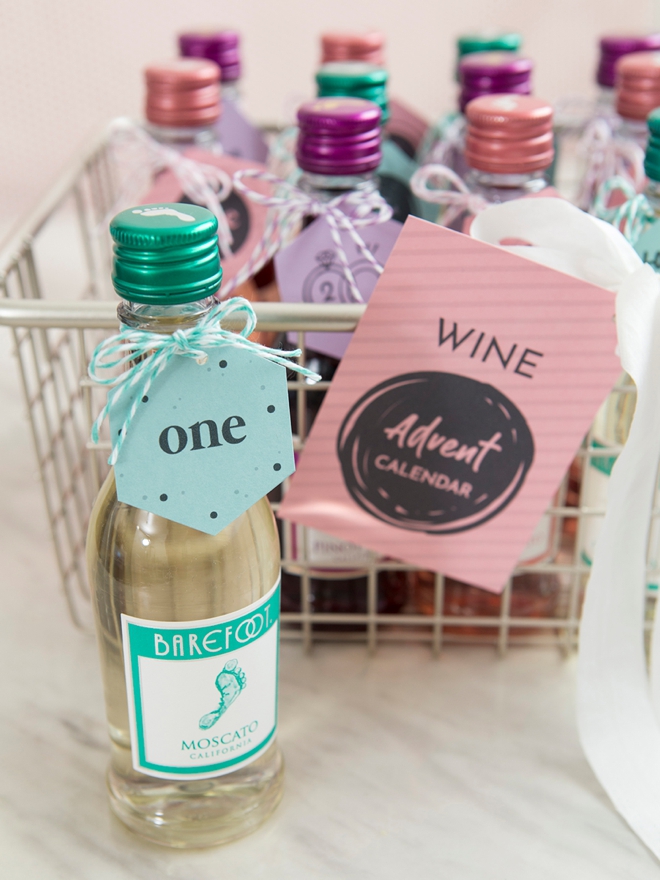
- Silver Wire Basket: 9” x 10” = 12 mini wines
- Clear Acrylic Tray: 8” x 12” = 16 mini wines

Download + Print
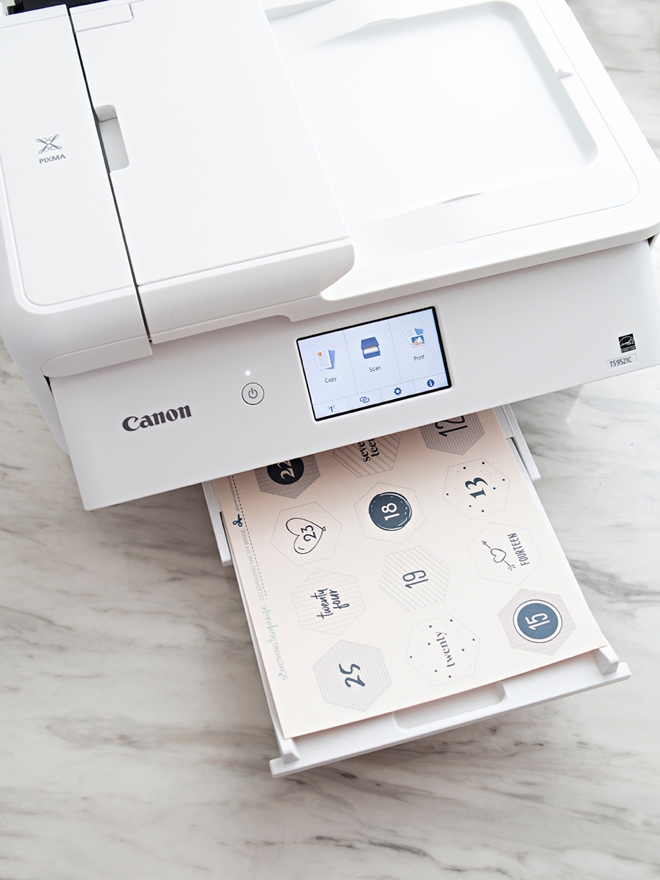
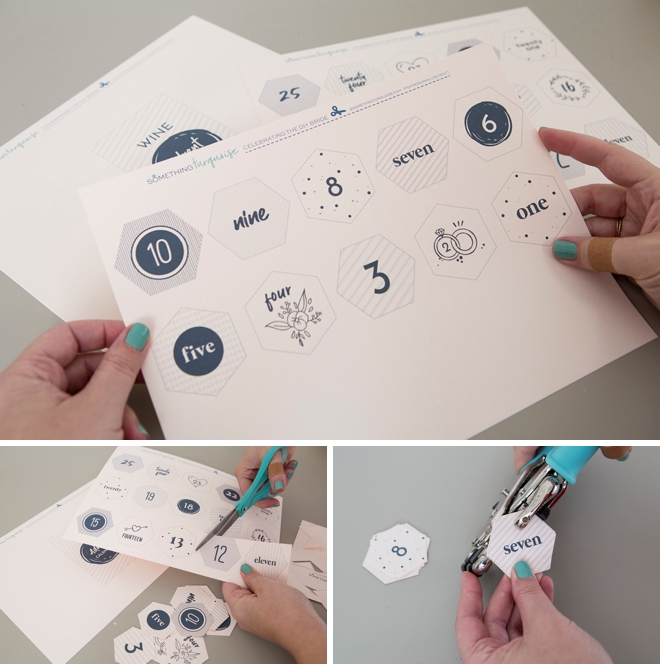
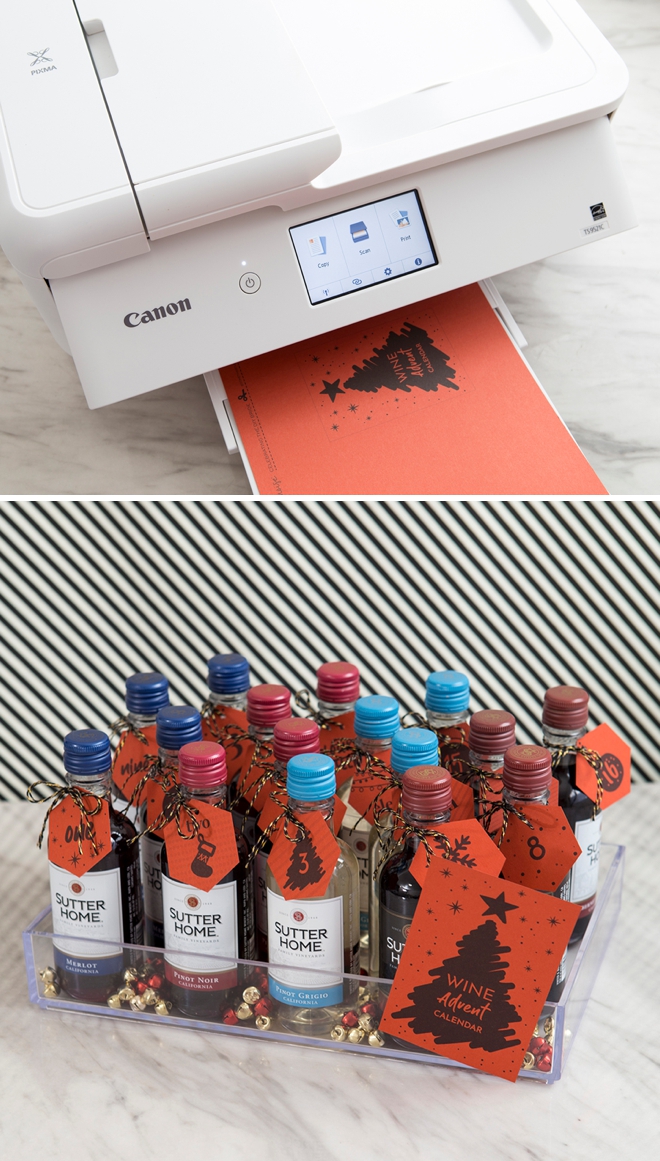
Click the graphic at the end of the post to instantly download both the wedding and the holiday advent tags. Print the tags you need onto 8.5” x 11” colored cardstock using your favorite Canon printer. I’m using my gorgeous new Canon PIXMA TS9520C Crafting Printer!
Cut + Punch
Next up cut out the tags you need and punch a hole in the top for tying.
Tie
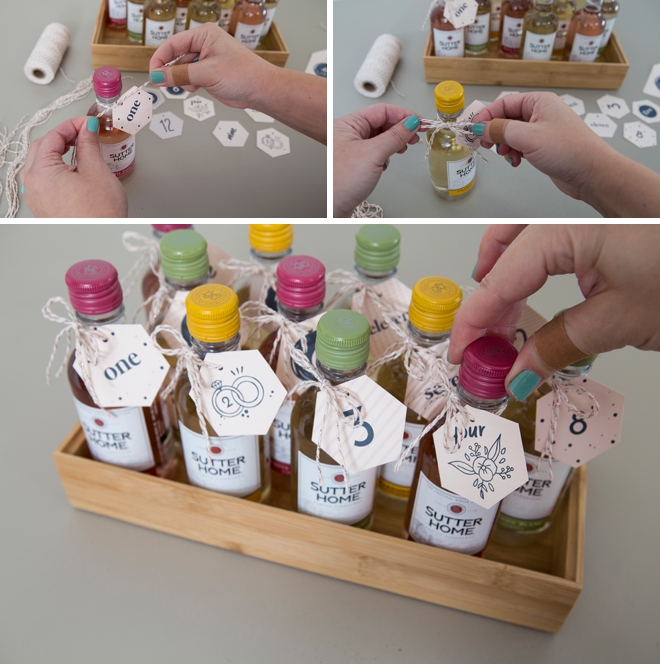
Tie each tag onto a mini-bottle of wine using cute twine or ribbon.
Add The Advent Tag
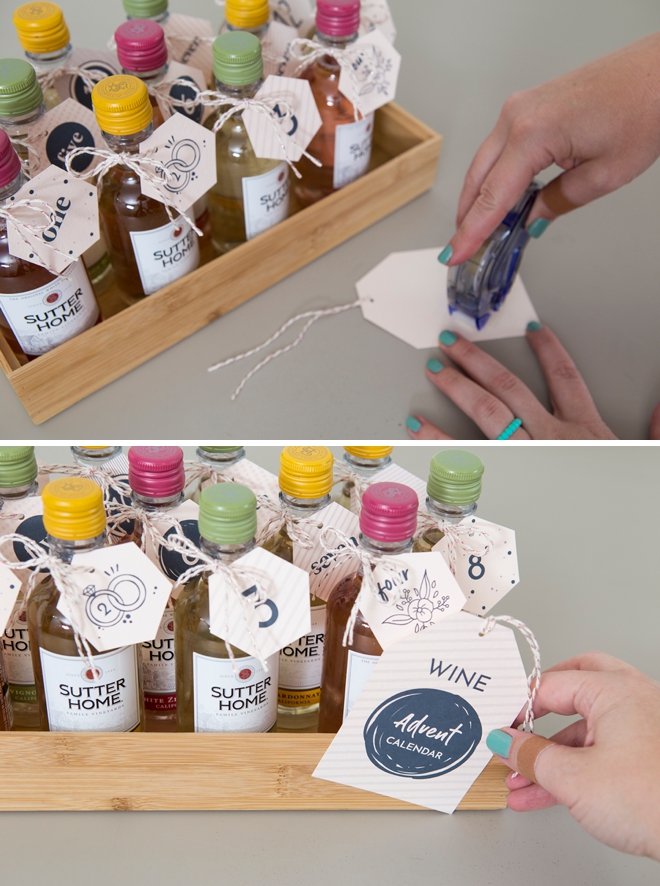
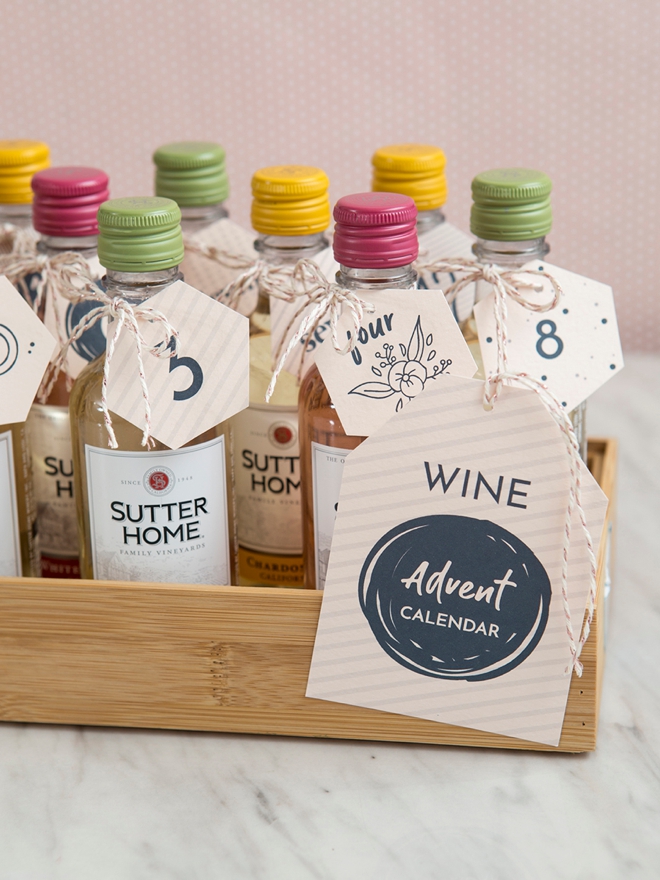
You can cut and use the “wine advent calendar” tag anyway you’d like. Here I cut it to look like a tag and used glue tape to adhere it to the front of the tray.

Style
Situate your mini wine bottles and their darling tags to make the display look cute. Then get super excited to give this present to it’s very lucky recipient… or get even more excited to celebrate a little every night until that special day!
Canon For The Win
Our printers are a HUGE part of our crafting over here at Something Turquoise. The quality, speed, and easy to use features of the amazing Canon PIXMA TS9521C take our projects to the next level. If you don’t have one already, maybe you should ask Santa for it!

DIY TUTORIAL SPONSORED BY:

Canon U.S.A., Inc. prides itself on allowing consumers to create and preserve beautiful imagery, from capture to print. With wireless technology and seamless printing capabilities, you can print your photos and printables with precision and ease.

As with all our DIY tutorials, if you create one of our projects please send us a picture – We Love Seeing Your Creativity! If you use Instagram or Twitter please use the hashtag #SomethingTurquoiseDIY and it will show up on our Get Social page. Happy Crafting!
DIY Tutorial Credits
Photography + DIY Tutorial: Jen Causey of Something Turquoise // Canon PIXMA TS9521C Wireless Inkjet All-in-One Printer: courtesy of Canon // 8″ x 12″ Clear Acrylic Tray: Amazon // 10″ x 9″ Wire Basket: Amazon // 6″ x 12″ Bamboo Tray: Amazon // 8.5″ x 11″ Cardstock: all colors used from Paper Source // Crop-a-Dile Hole Punch: Amazon // Twine: Divine Twine // Mini Wines: Total Wine & More // Nail Polish: OPI – Withstands the Test of Thyme
Shop The Supplies:
Find the supplies you’ll need for this project from our affiliate links below:


Comments