-Sponsored Post-
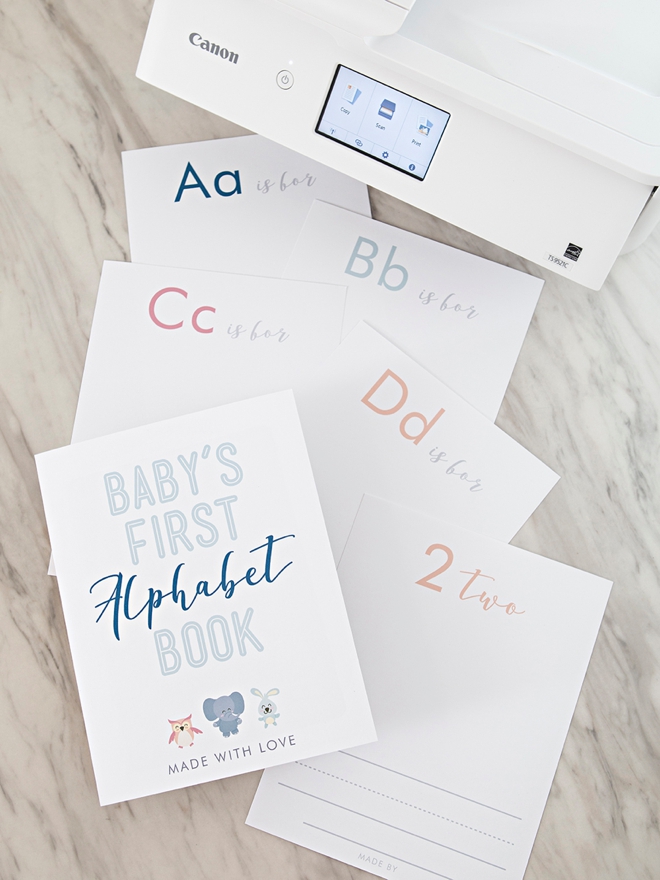
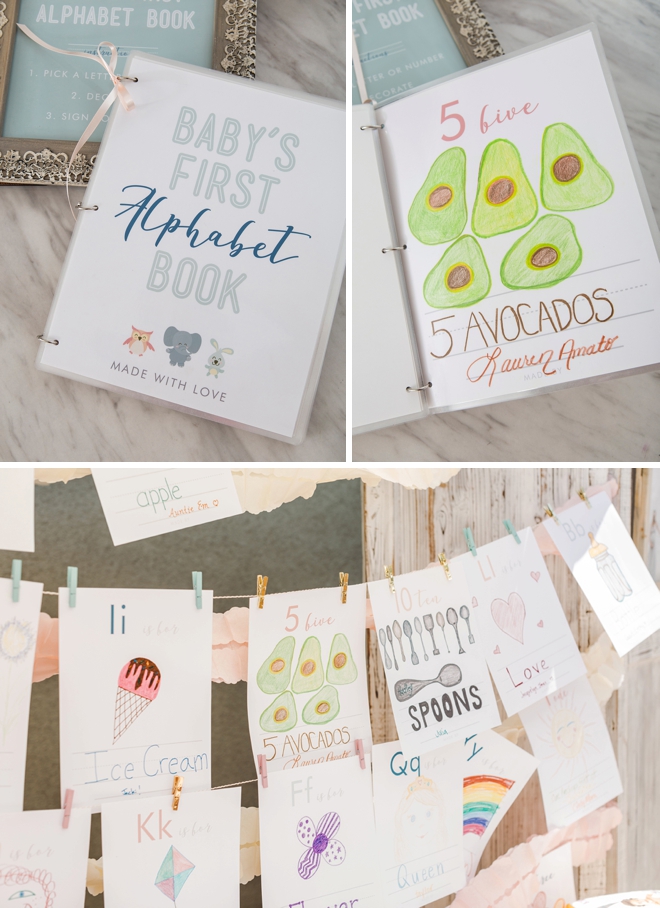
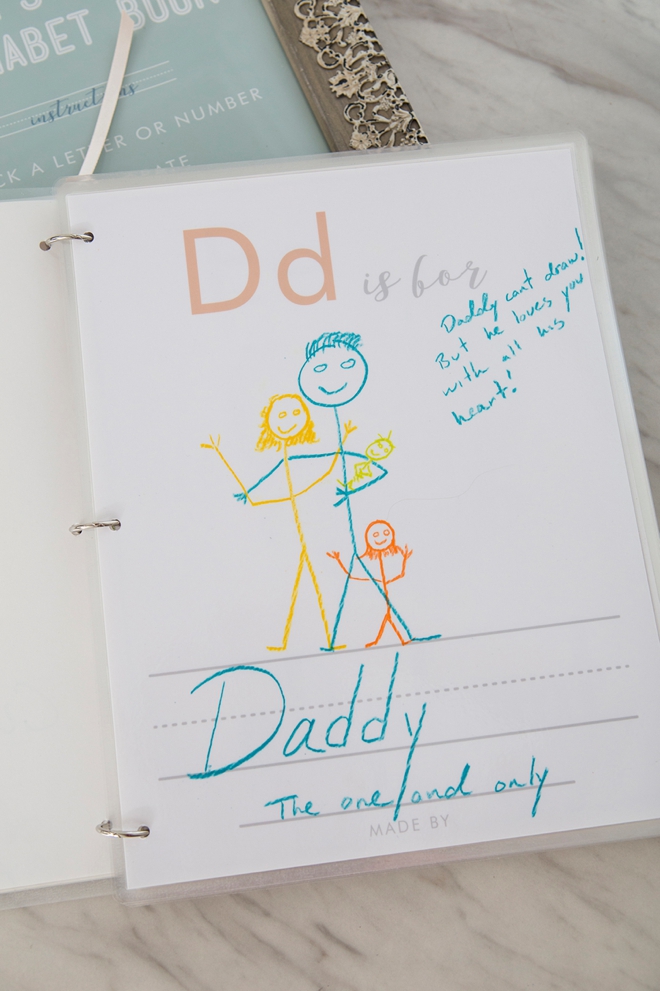
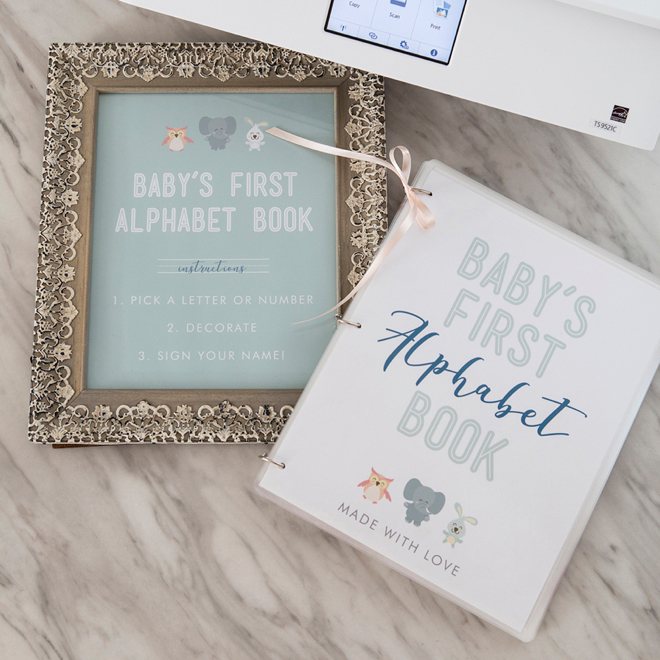
Oh my, I might just start crying thinking about how special this custom alphabet book is! At my cousins baby shower a few years ago, she did something similar to this project I will be showing you and it was absolutely adorable. I knew I wanted to make one of these “guest colored” alphabet and number books for my baby shower, and I figured that you ladies would love it! I partnered with Canon to bring you all my printable design files for free! There are 38 sheets total, a sign for your shower, the book cover, letters A-Z and numbers 1-10. Simply print onto 8.5″ x 11″ white cardstock and then have your guests create all the letters and numbers. It’s such a special thing for me to read through this book as I can feel the love of all my friends and family shine through their drawings. I know that Hadley Jane will treasure it forever.
Baby Shower Week: To see the full baby shower feature, visit this post.
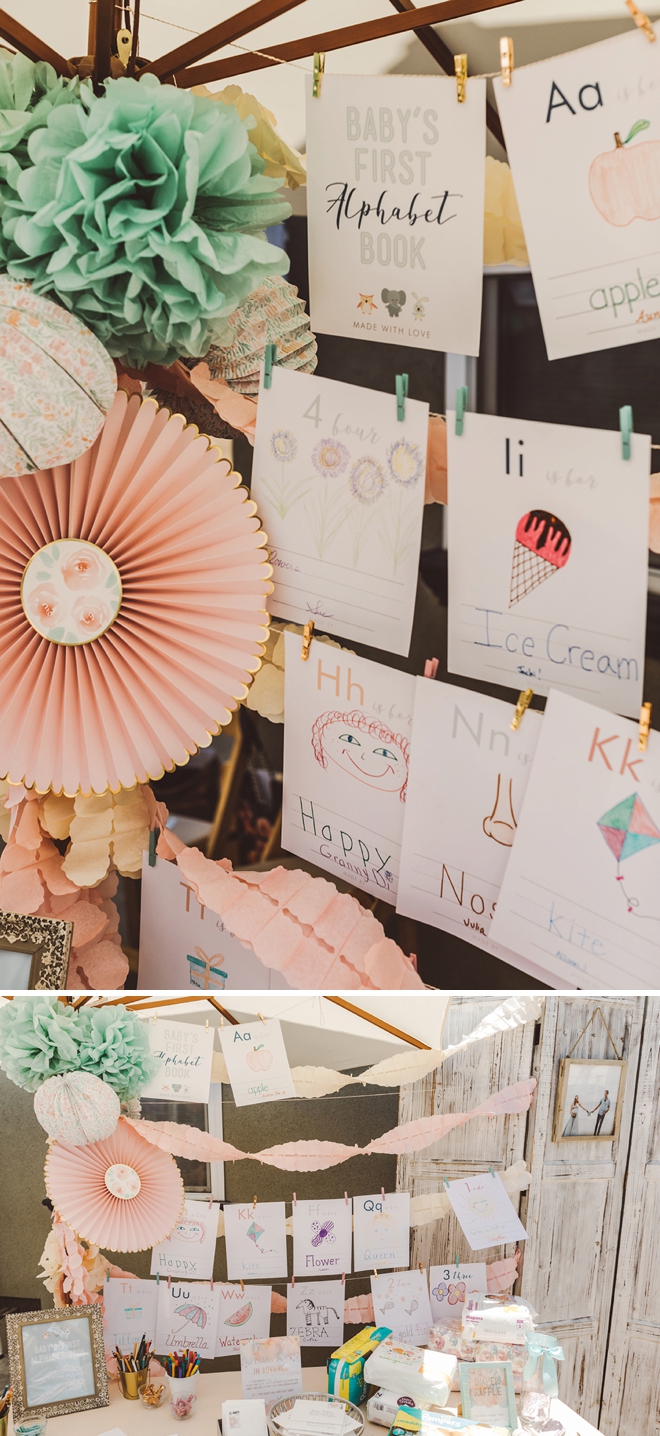
Shower Display
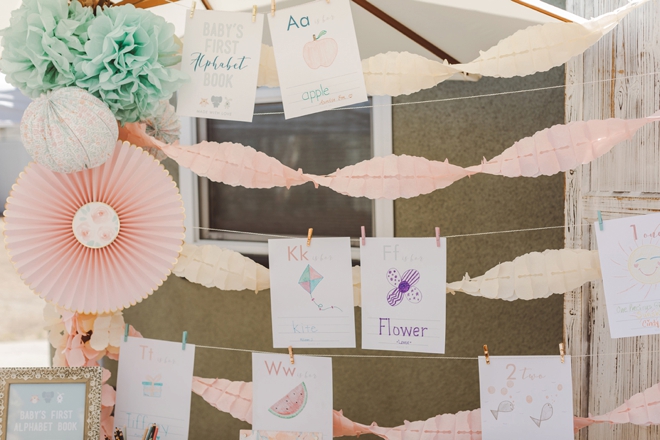
I wanted my guests to be able to show off their artwork and so we hung a few strings between an umbrella and one of the room dividers to create a display for the finished sheets. It was so much fun seeing everyone’s unique drawings!
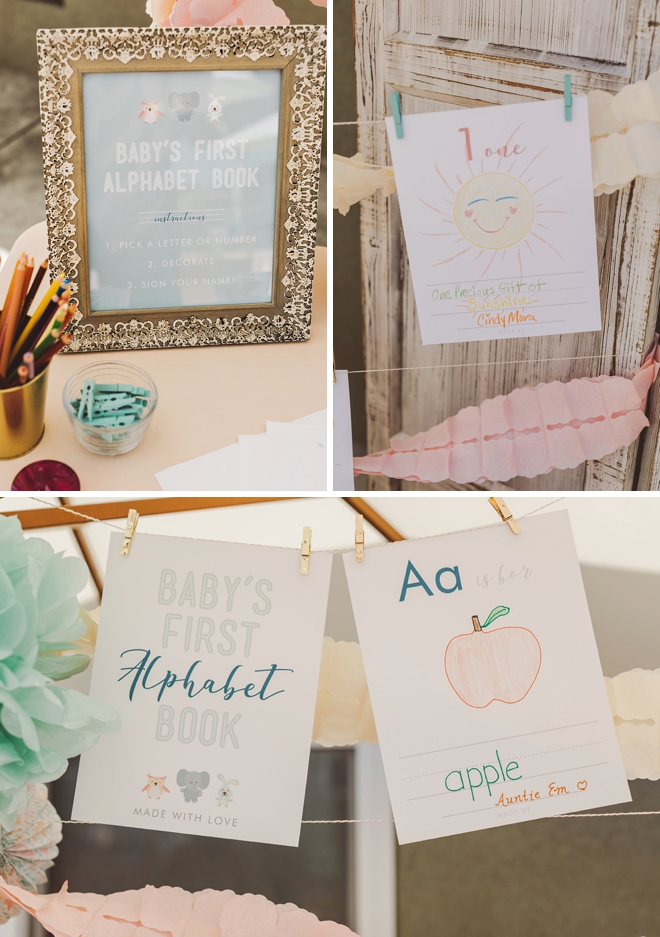
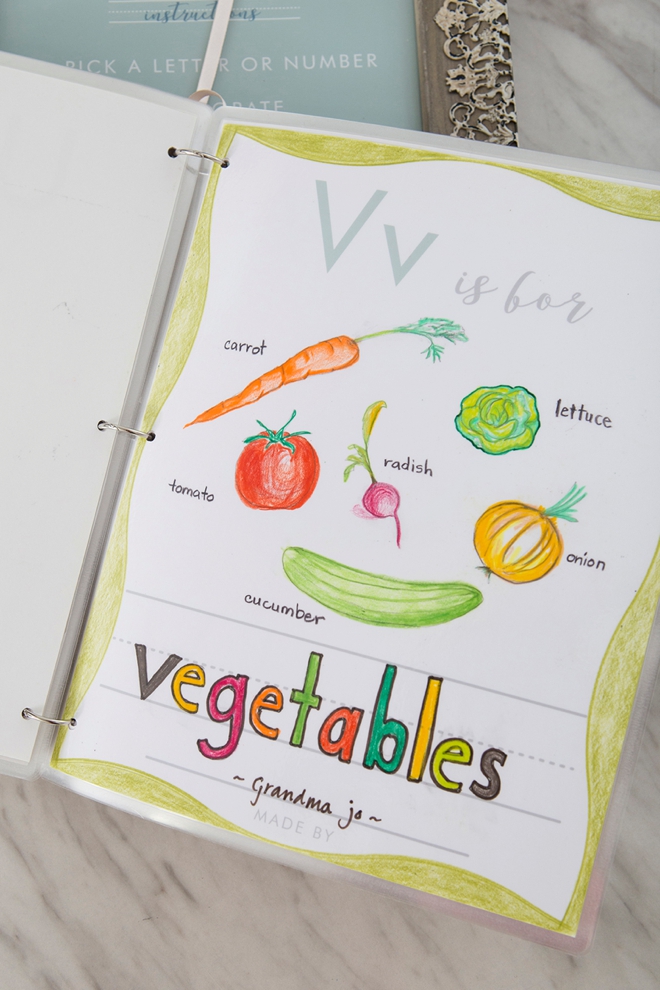
SUPPLIES:
- Canon PIXMA TS9521C Wireless Inkjet All-in-One Printer
- 8.5″ x 11″ White Cardstock
- 8.5″ x 11″ Laminating Pouches
- Laminator
- 1″ Binder Rings
- 8 x 10 Frame
- Markers and Colored Pencils
- Our FREE printable designs at the end of the post!
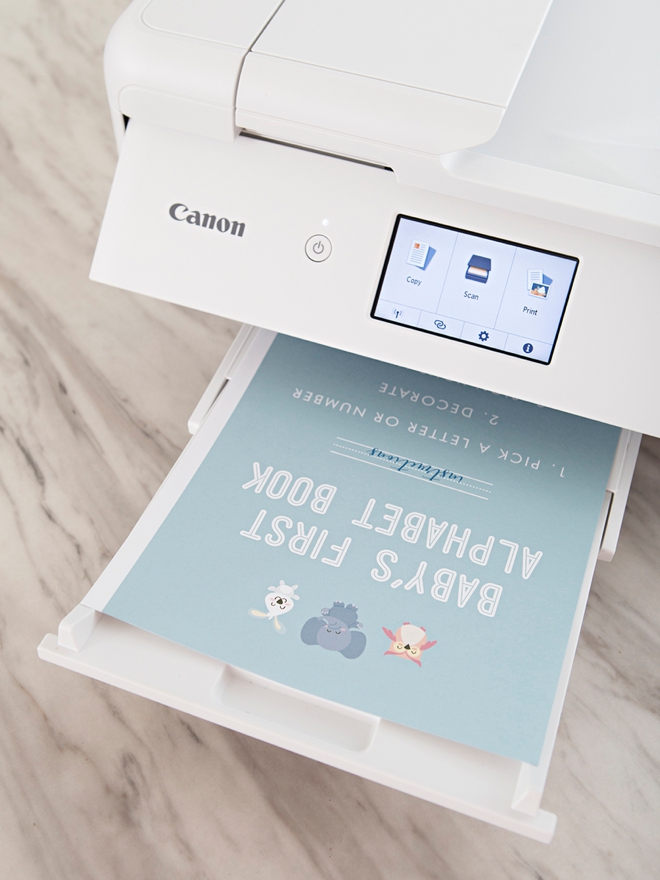
Download +Print
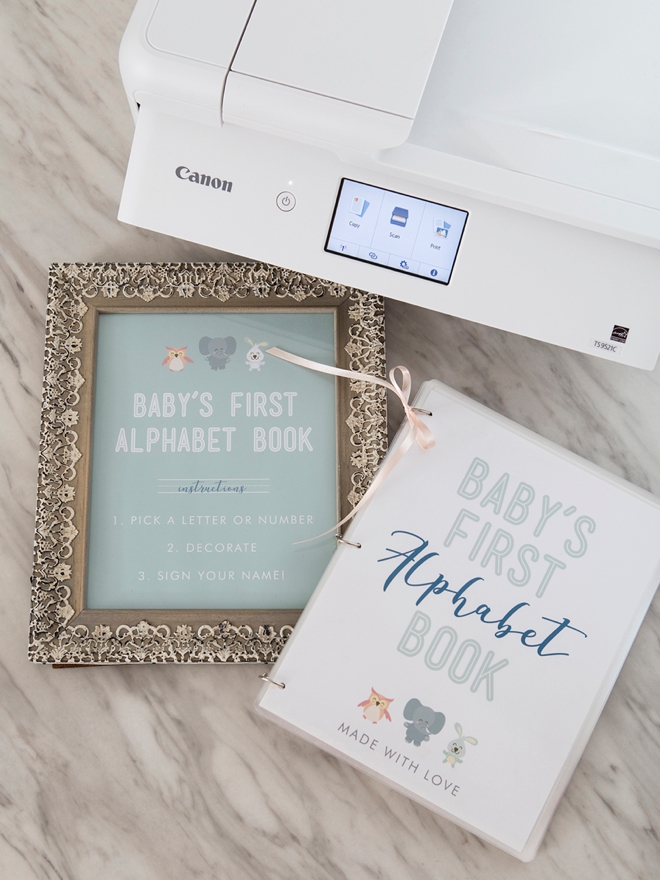
Click on the graphic at the end of the post to save our free printable files. First print the 8×10 sign, trim down to size and then frame.
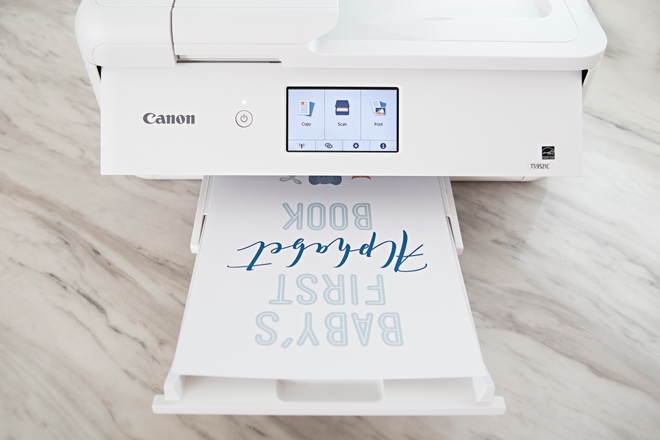
Next, print all the coloring sheets and the book cover. There are 38 pages total. I used my fabulous new Canon PIXMA TS9521C Crafting Printer for this job because the print quality is exceptional and it can handle thick paper with ease.
Guest Coloring
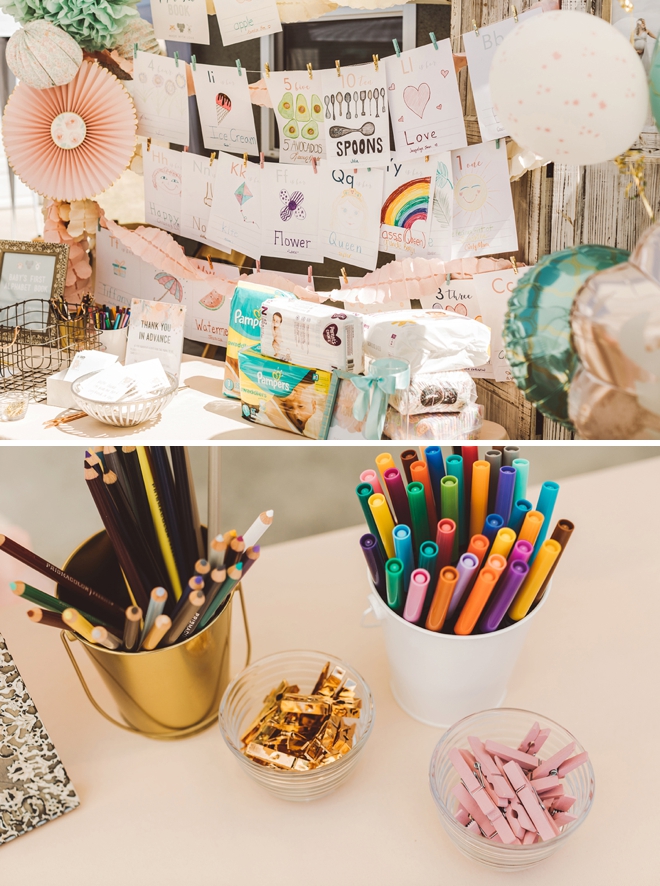
Create a cute table set up and display for your shower including colored pencils and markers for your guests to create with. You then get to color any pages that aren’t colored at the end of your event.
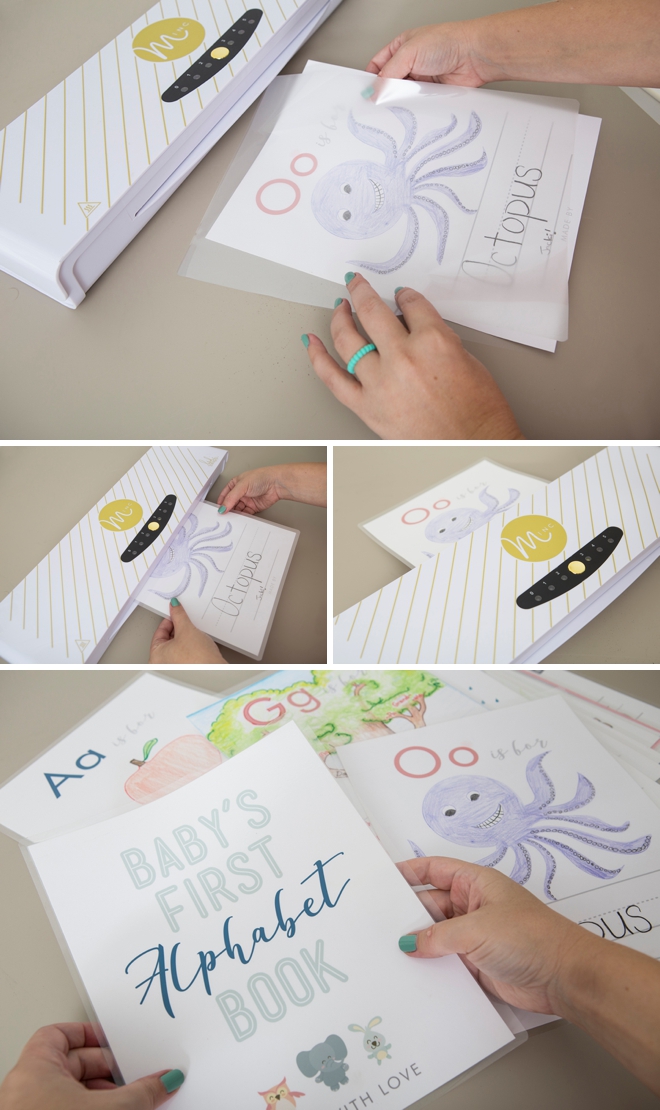
Laminate
To ensure that these sentimental pages last through many, many readings you can laminate them! Totally optional, but highly recommended.
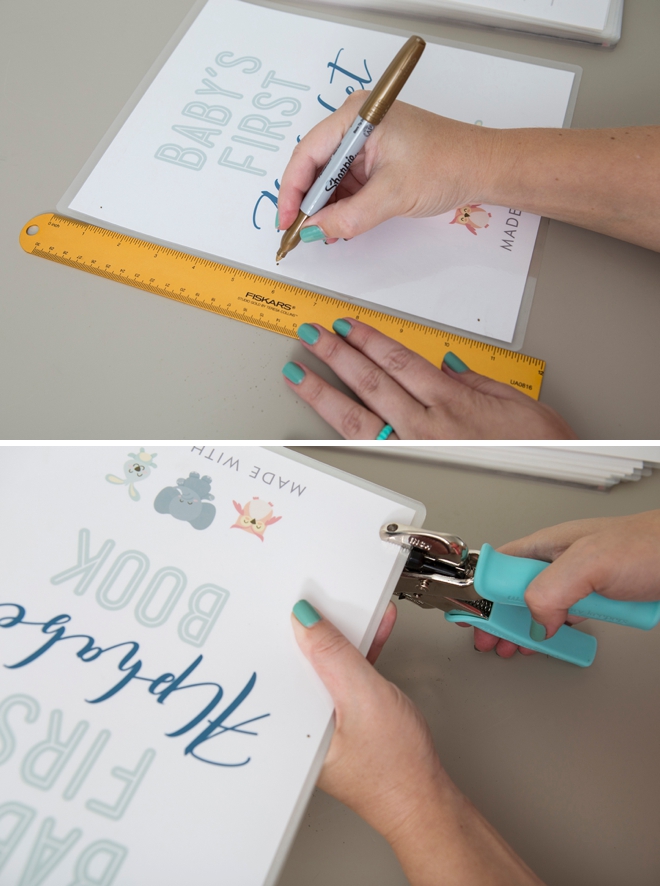
Hole Punch
Mark 1″ in from both the top and bottom, then also mark the center of the laminated pages and hole punch. My Crop-a-Dile could punch 6 laminated sheets at one time.
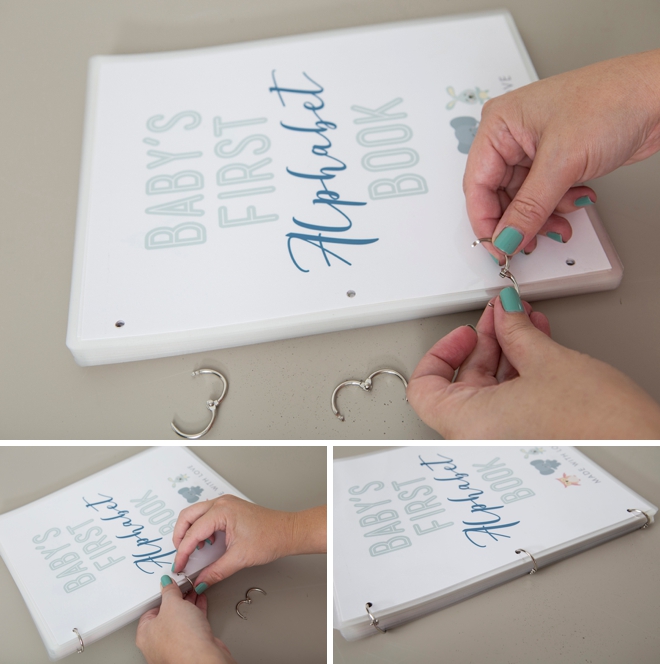
Binder Rings
Next, make sure all your pages are in the correct order and add the binder rings to secure. Finish with a little ribbon bow if you’d like.
Please Share
We can’t wait to see how you and your guests color these lovely alphabet and number pages so please share your pictures with us on social media!
DIY TUTORIAL SPONSORED BY:

Canon U.S.A., Inc. prides itself on allowing consumers to create and preserve beautiful imagery, from capture to print. With wireless technology and seamless printing capabilities, you can print your photos and printables with precision and ease.
As with all our DIY tutorials, if you create one of our projects please send us a picture – We Love Seeing Your Creativity! If you use Instagram or Twitter please use the hashtag #SomethingTurquoiseDIY and it will show up on our Get Social page. Happy Crafting!
DIY Tutorial Credits
Event Photography: Steve Cowell Photography // Step-Out Photography + DIY Tutorial: Jen Causey of Something Turquoise // Canon PIXMA TS9521C Wireless Inkjet All-in-One Printer: courtesy of Canon // Alphabet Book Designs: Julia Ensign // 8.5″ x 11″ White Cardstock: Amazon // Laminating Pouches: Amazon // Binder Rings: Amazon // Nail Polish: OPI – Withstands the Test of Thyme
Shop The Supplies:
Find the supplies you’ll need for this project from our affiliate links below:





Comments