– Sponsored Post –
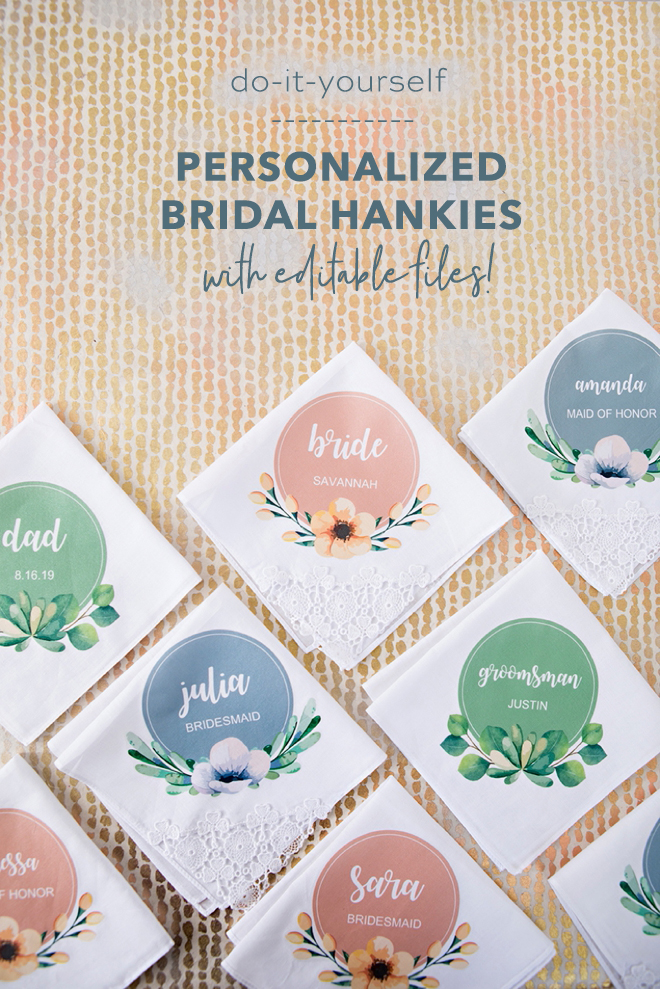
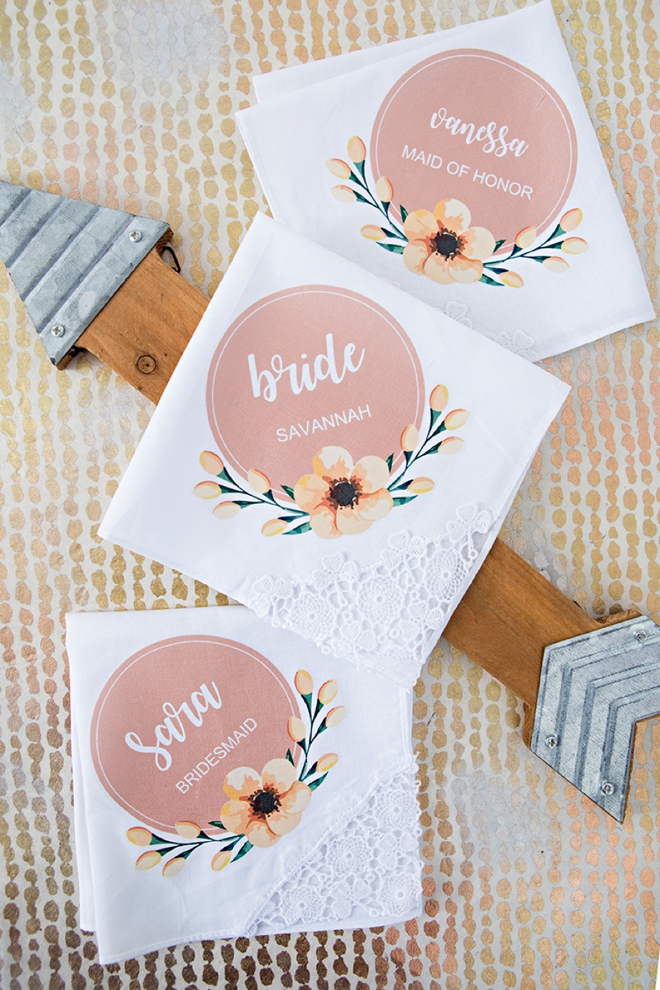
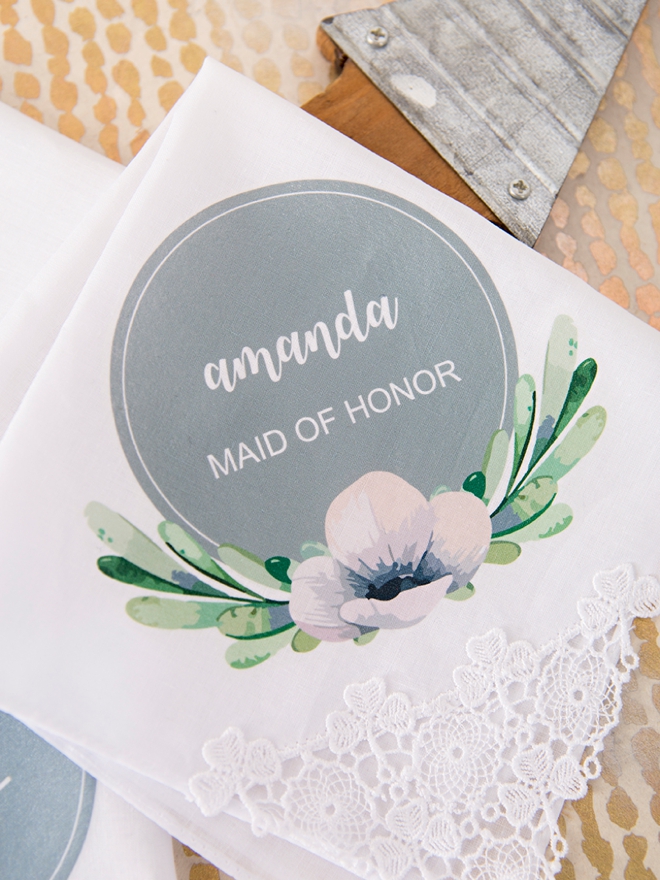
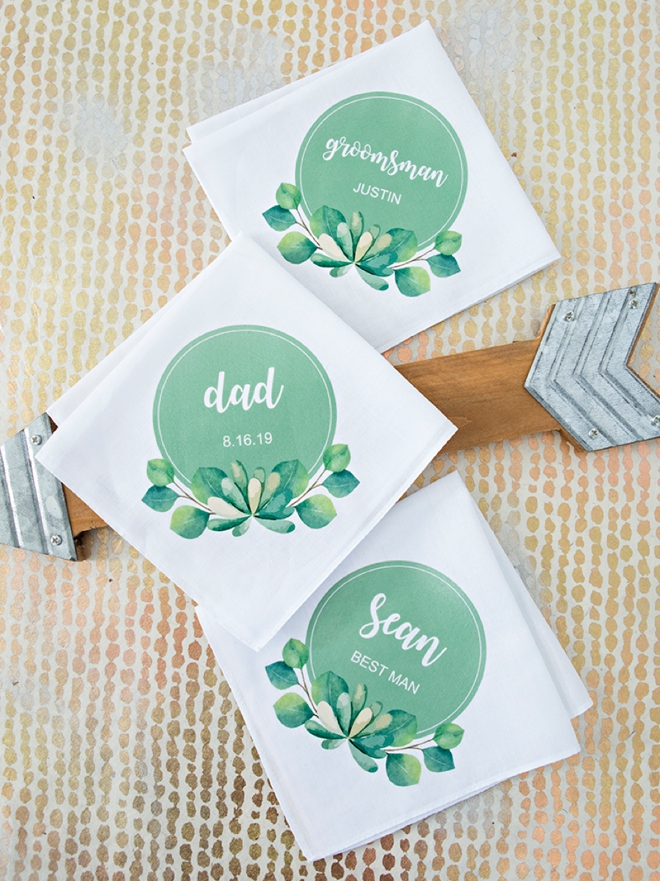
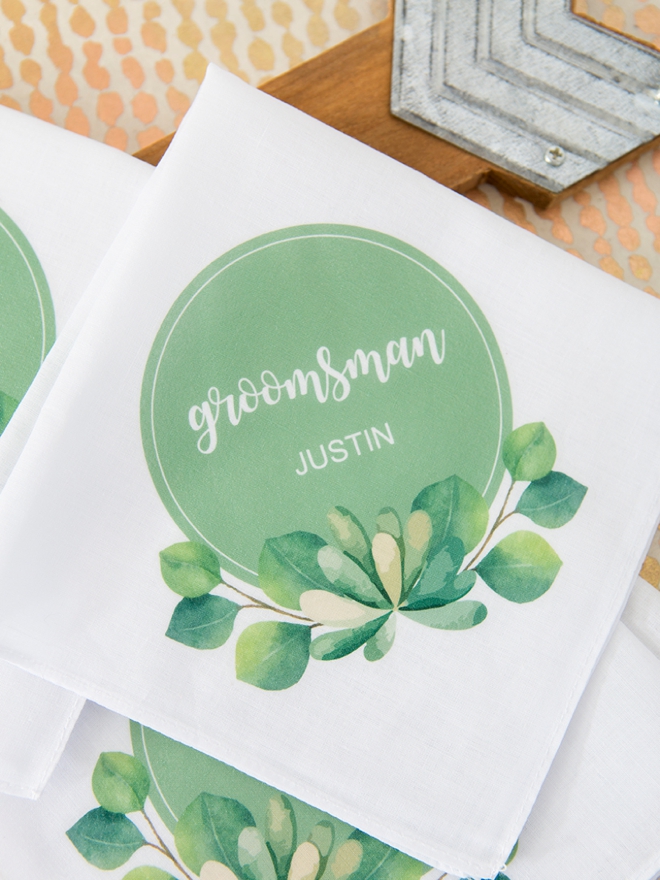
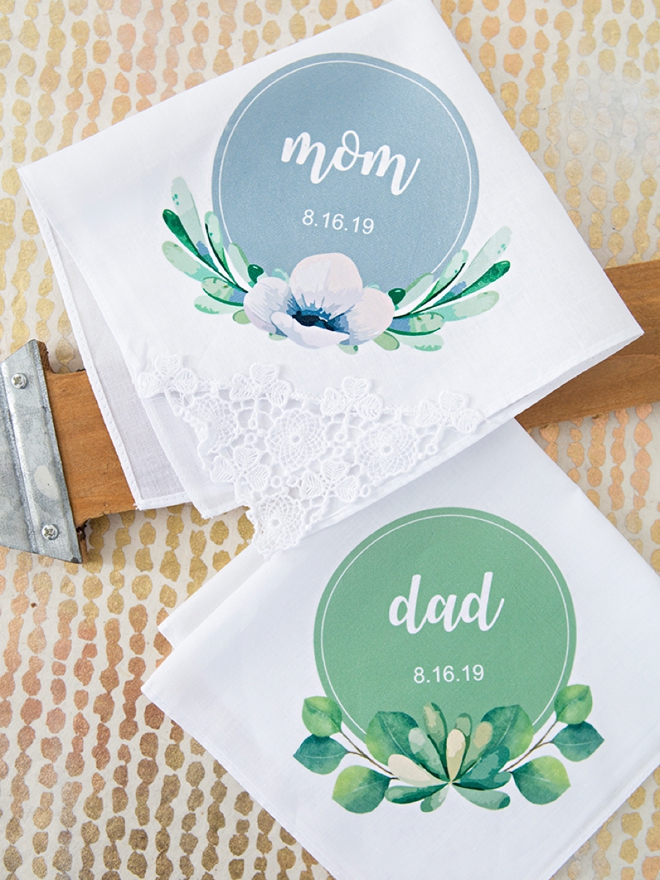
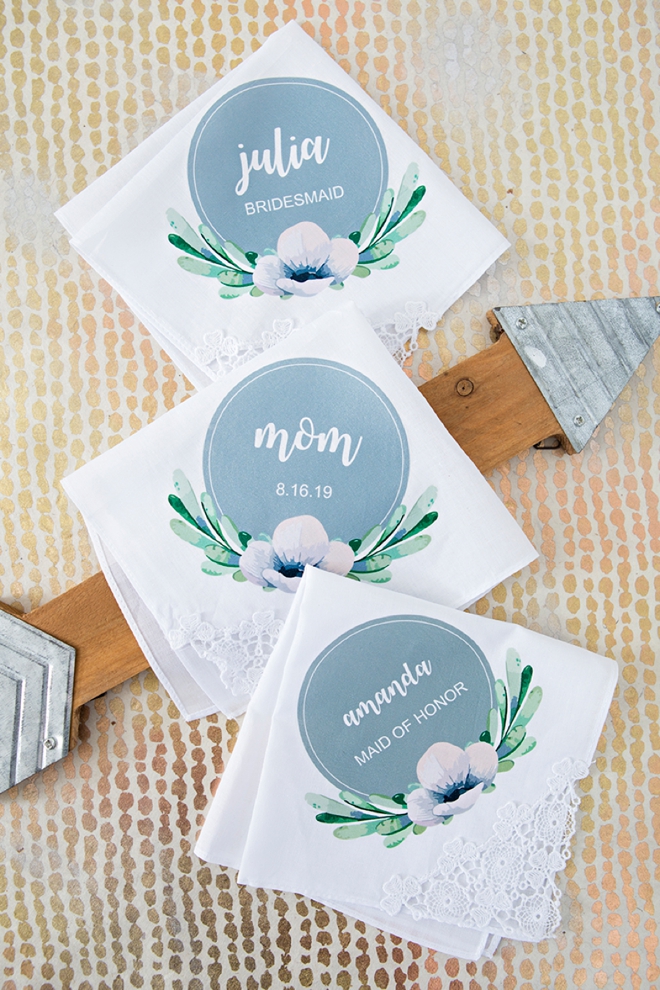
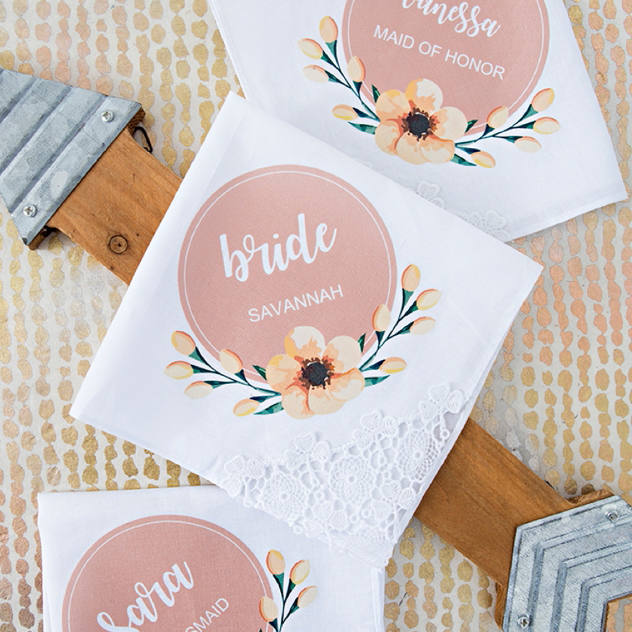
On this fabulous DIY Friday, we’re personalizing some adorable handkerchiefs for your entire bridal party! From Mom and Dad to your Maid of Honor and Groomsmen, we’re sharing free, editable designs in three different colors. This quick project, that is also budget-friendly, will be a wonderful addition to your bridal party gifts or something sweet to give them on the morning of your wedding. I know they don’t look like we used “iron-on” but we did, it’s the print from our Canon TS9020 that makes them look so good!
Large, Small, Blank
We have 3 editable design files for you in 3 different colors. We have the large scripty font, where you can add shorter names and words. Then the small scripty font for longer names and words. Finally we’re also sharing a fully blank design for those who are a little more design savvy and would like to add their own wording. We’re sharing all three types in peach, gray and green at the end of the post!
SUPPLIES:
- Canon TS9020, All In One Printer
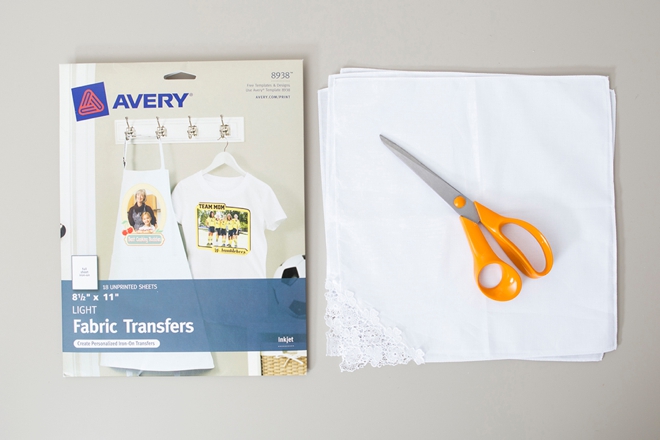
- 8.5″ x 11″ Inkjet Iron-on Material
- Cute Blank Handkerchiefs
- Iron or Cricut Easy Press
- Scissors
- Our FREE, editable designs at the end of the post!
Watch How Easy They Are To Make:
Edit To Personalize
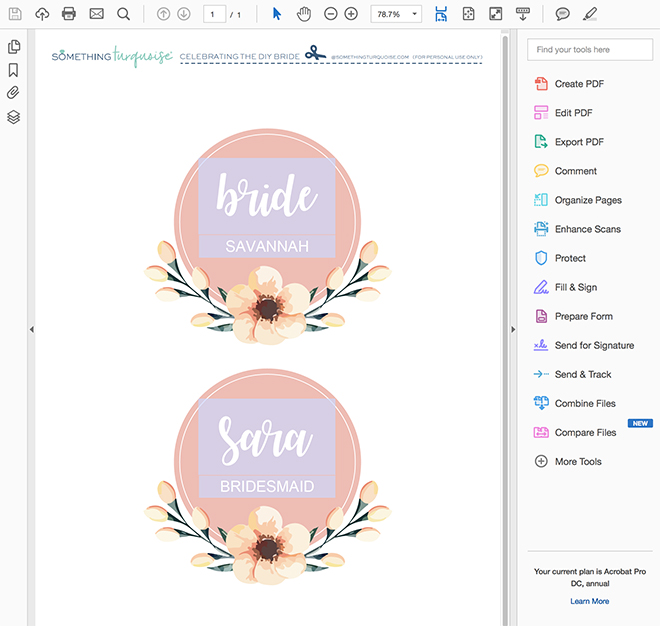
After you download the .zip folder of files at the end of the post, open the design you’d like to use with Adobe Reader or Adobe Acrobat to edit them. Click on each box to add the wording that you’d like. Save the file.
Script Font: Watermelon Script, download it for free!
San-Serif Font: Ariel, everyone has this already!
Printer Settings
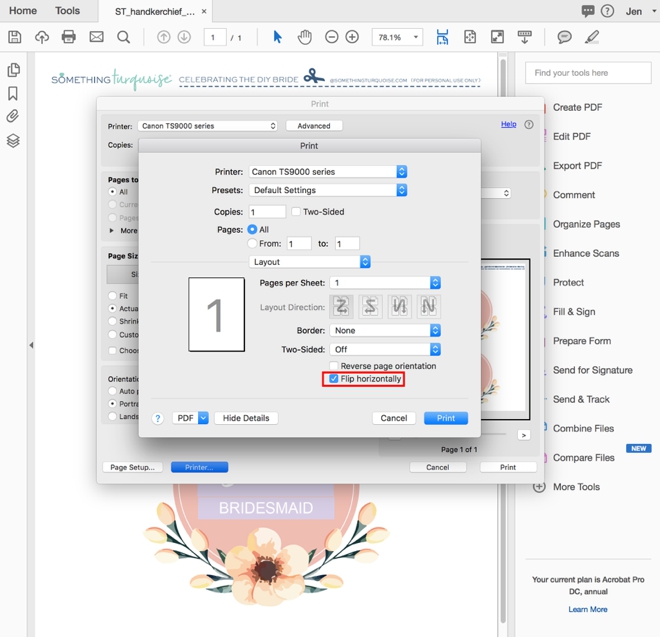
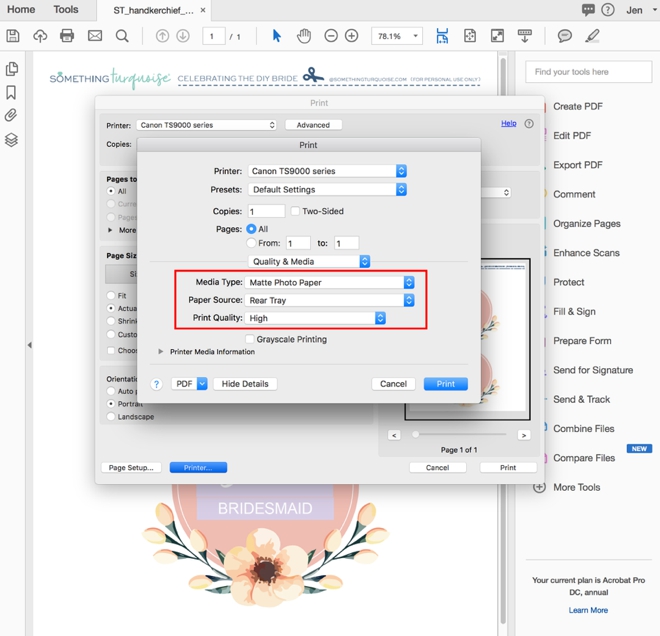
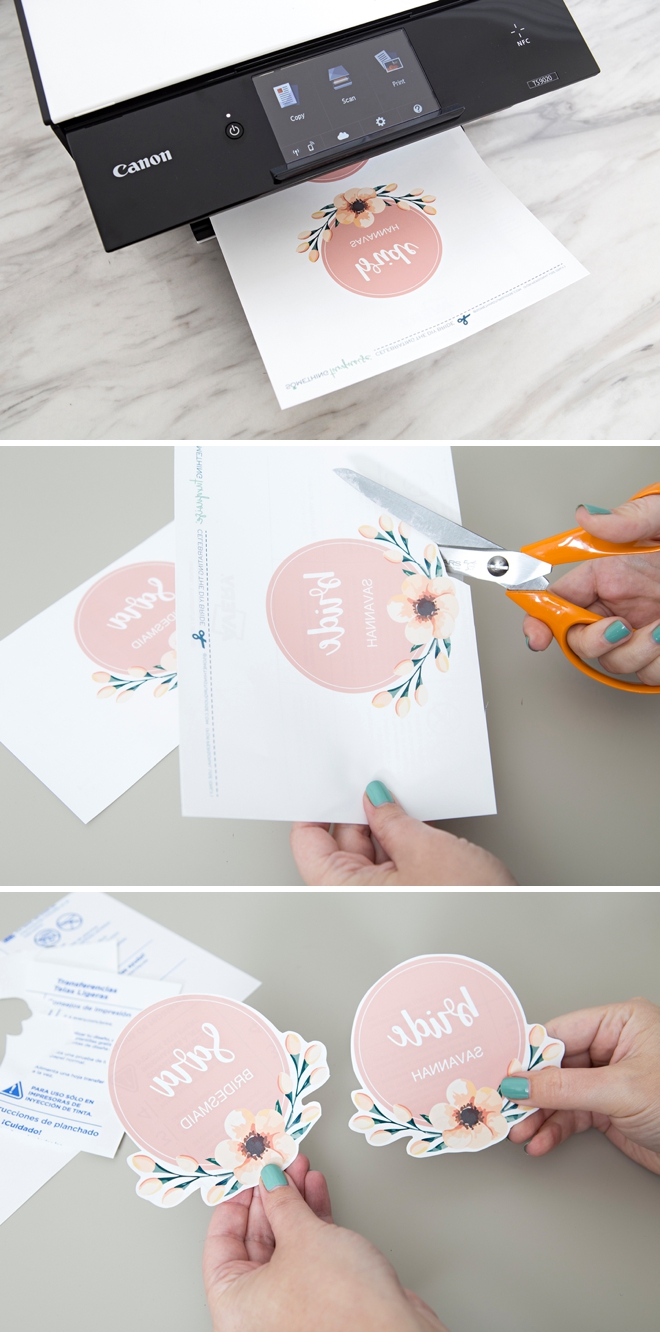
To properly print these for iron-on, there are two settings you need to be aware of. Click to choose them both within the printer box pop-up.
- Flip Horizontally: mirrors the image for iron-on, otherwise the writing will be backwards
- Matte Photo Paper, High Quality: creates the best print for the iron-on paper
Print + Trim
Print your personalized designs onto 8.5″ x 11″ iron-on material with your favorite Canon printer and then carefully trim each design as close as possible.
Iron-On
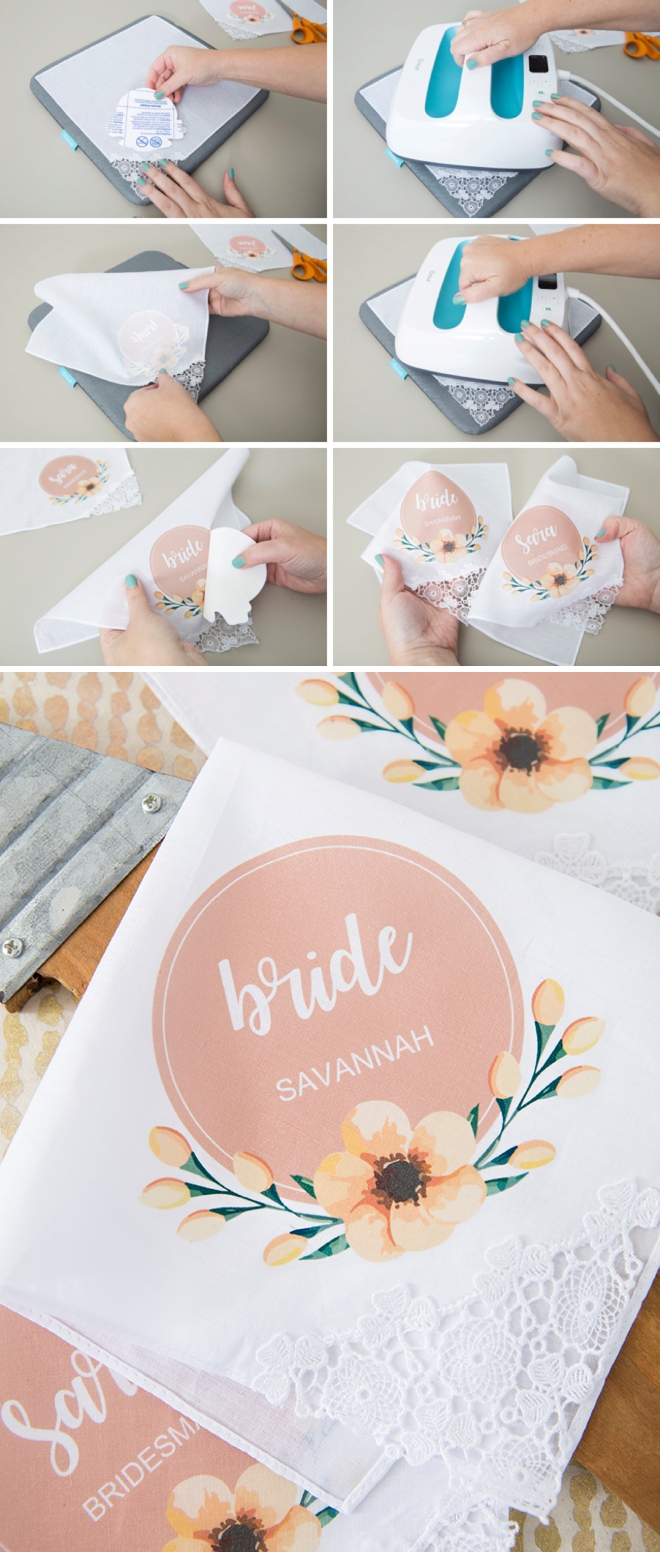
Yes, you can use an iron and most of you will. I just happen to have the Cricut Easy Press, which is by far better than any iron on the market, it’s like an iron and a heat press combined. I set mine for 345º and did 30 seconds on the front and another 30 seconds on the back and the transfer came out perfectly! Follow the directions on your iron-on package.
Quick + Cute
That’s all there is to it! Edit, print, cut, and iron. You’ll easily be able to create these sweet gifts for your entire bridal party in just one evening. Absorbing happy tears has never looked better!
DIY TUTORIAL SPONSORED BY:

Canon U.S.A., Inc. prides itself on allowing consumers to create and preserve beautiful imagery, from capture to print. With wireless technology and seamless printing capabilities, you can print your photos and printables with precision and ease.
As with all our DIY tutorials, if you create one of our projects please send us a picture – We Love Seeing Your Creativity! If you use Instagram or Twitter please use the hashtag #SomethingTurquoiseDIY and it will show up on our Get Social page. Happy Crafting!
DIY Tutorial Credits
Photography + DIY Tutorial: Jen Causey of Something Turquoise // Canon PIXMA TS9020 Photo Printer: courtesy of Canon // Handkerchief Design: Julia Ensign // Avery 8938 Inkjet Transfer: Amazon // Lace Corner Handkerchiefs: Amazon // Plain Handkerchiefs: Amazon // Cricut Easy Press: courtesy of Cricut // Nail Polish: OPI – Withstands the Test of Thyme
Shop The Supplies:
Find the supplies you’ll need for this project from our affiliate links below:



Comments