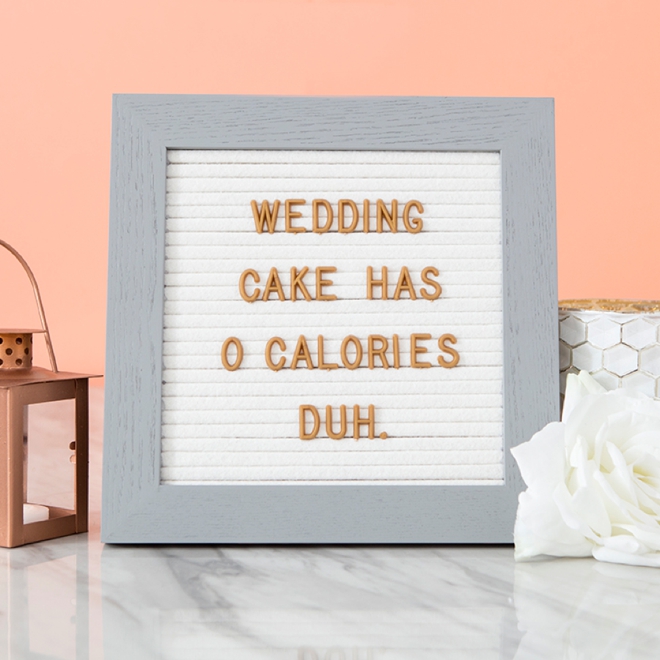

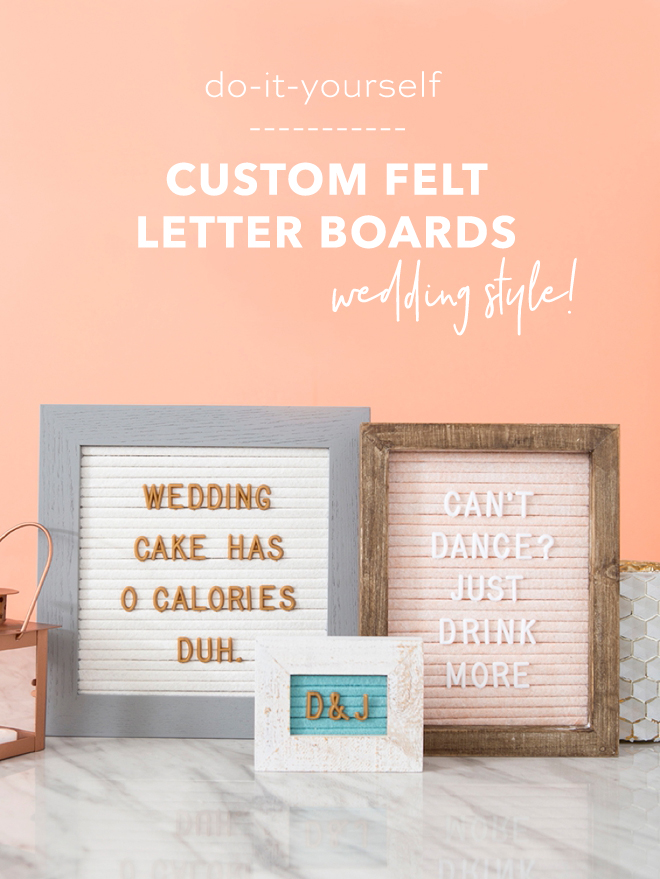
Yes, you can buy these felt letter boards almost everywhere now… but why buy them when they are this easy to make and this easy to fully customize?! The answer is you don’t buy, you DIY! Pick your frame, your felt, and your letters to create truly custom letter boards that will make the perfect wedding day signage. Use any size frame, you’ll only be constrained by the length of your saying! While our technique is easy, this isn’t a super quick project and could take you around 2 hours to complete a board, unless of course, it’s business card size! Looking forward to seeing your versions of this project and what sayings you employ!
Your Favorite Color
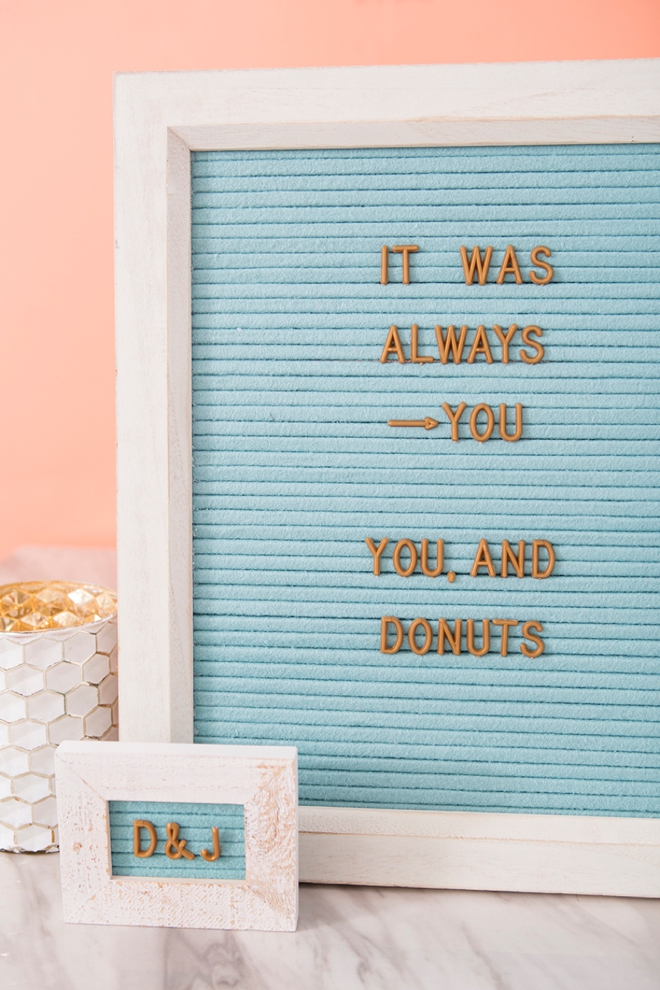
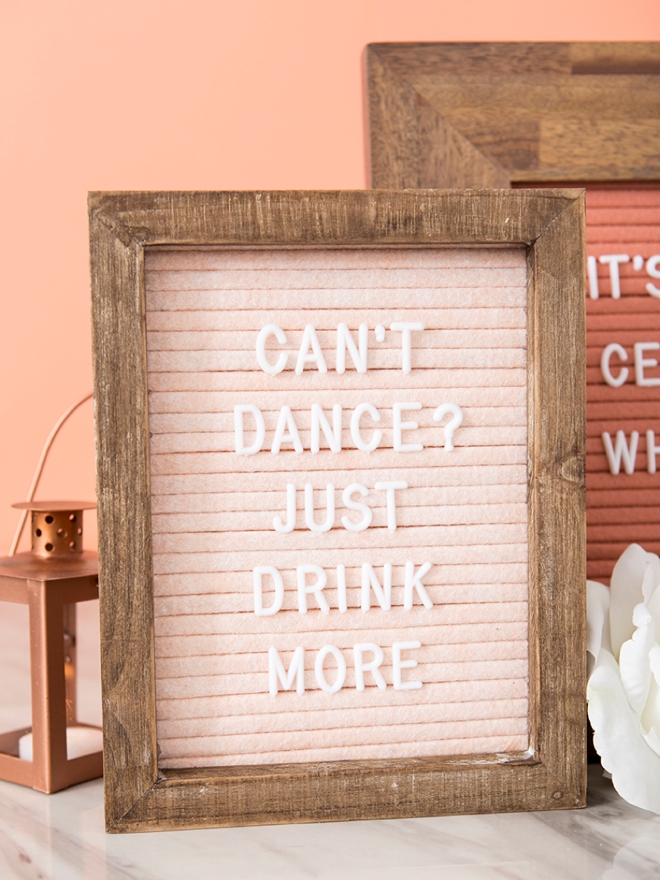
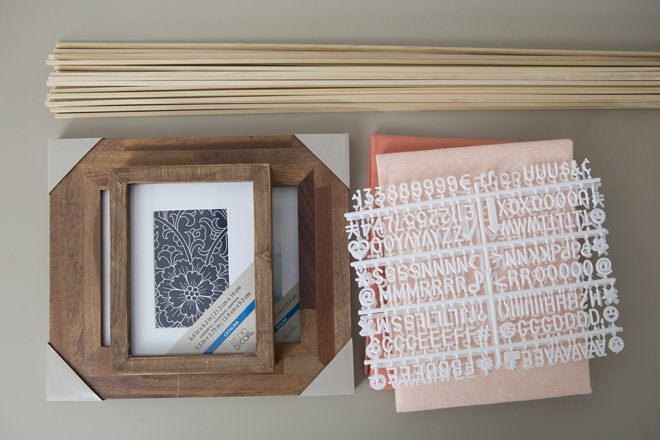
Since you pick the frames, the letters and the felt – it can be your favorite colors, your home decor colors, or your wedding decor colors! The felt colors I’m using here are Linen, Blush, Grapefruit and Swan by Benzie Design on Etsy!

SUPPLIES:
- Your Favorite Colors Of Felt
- Letter Board Letters
- Pretty Frames
- 3/16″ Wooden Square Dowels
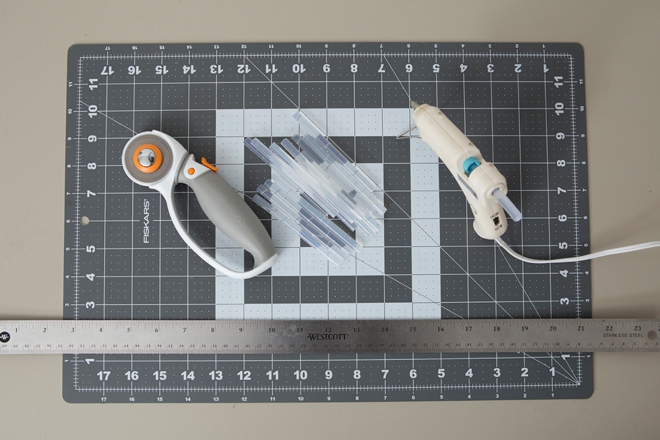
- Glue Gun
- Ruler
Optional Supplies: Cutting Mat and Rotary Cutter. While you don’t need these as you can use scissors, they sure do make the cutting of the felt WAY easier!
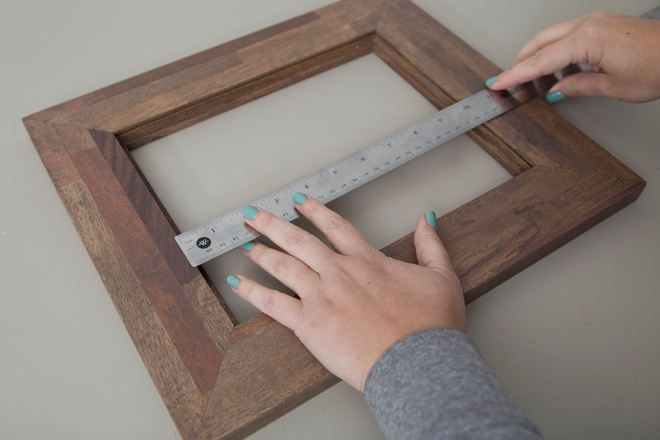
Measure Your Frame
Disassemble your frame to measure the inside. You’ll need to know the width and the height of the inset of the frame.
Width: will be how long you cut your wooden dowels.
Height: will be how many wooden dowels you need.
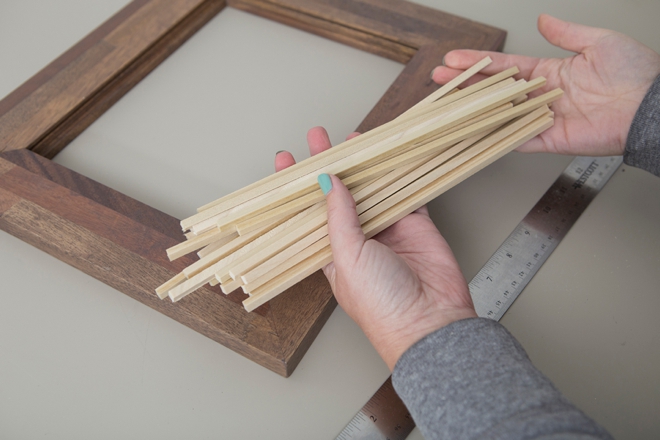
Cut Your Dowels
Multiply the height in inches of your frame opening by 3.25 and round up to find out how many dowels you will need to cut. I used a chop saw to cut mine down, but you could use a hand saw or even strong scissors.
For this frame I needed 26 dowels.
Cut Your Felt
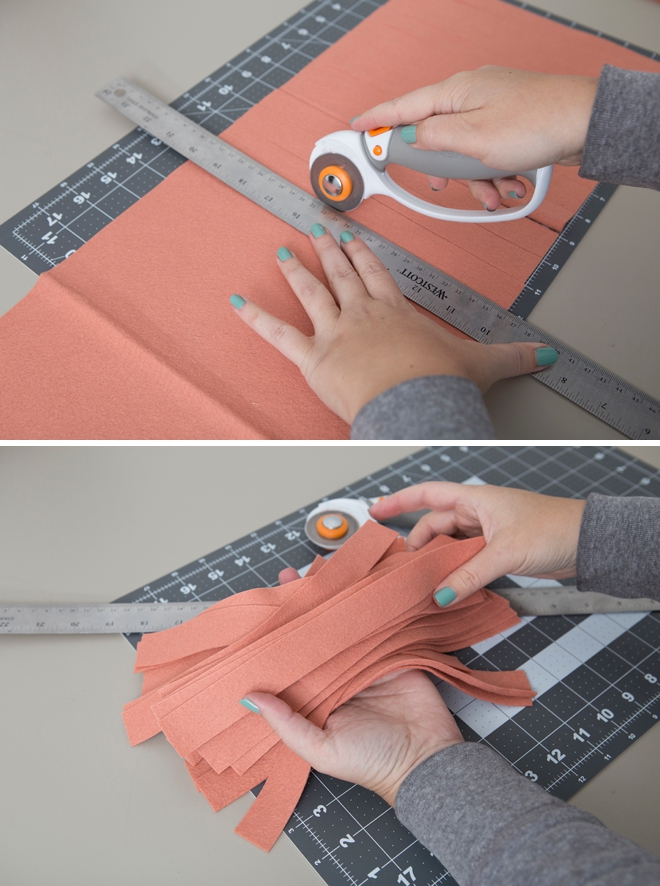
Each dowel will need a piece of felt cut to its length x 1″ wide. This is where the rotary cutter, mat, and ruler come in really handy as it’s super easy to cut precise measurements this way.
Glue The Felt To The Dowel…
Add a line of hot glue along one side of the dowel and press it onto the middle of a felt strip. Hold for a few seconds until dry. A firm pressure and crisp edges on these steps will make your board look it’s best!
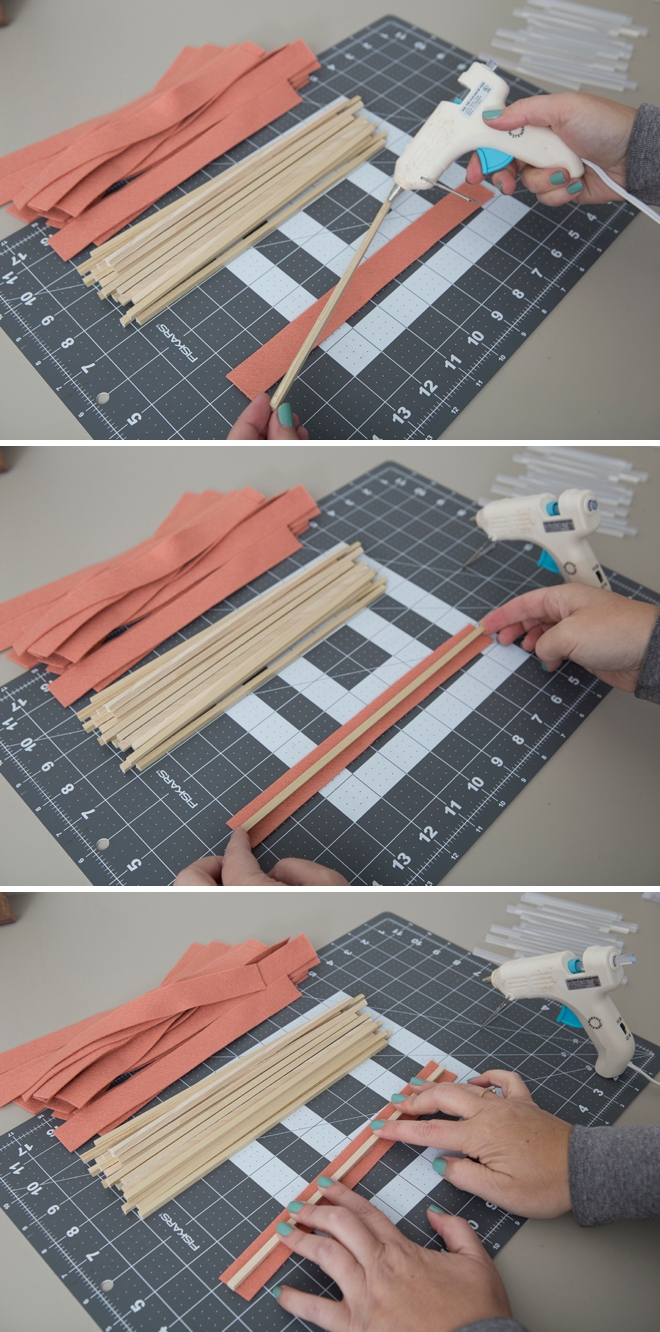
Then do the same thing by adding strips of glue down each side, rolling the dowel over onto the felt and pressing down firmly until the glue is dry. Do all dowels the same way…
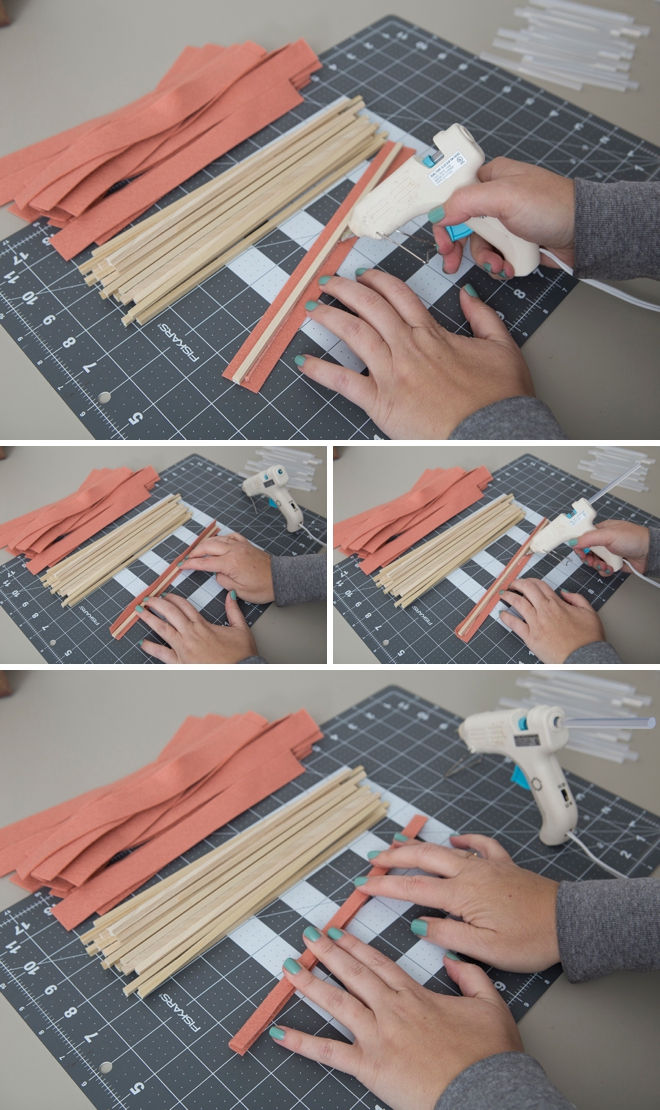
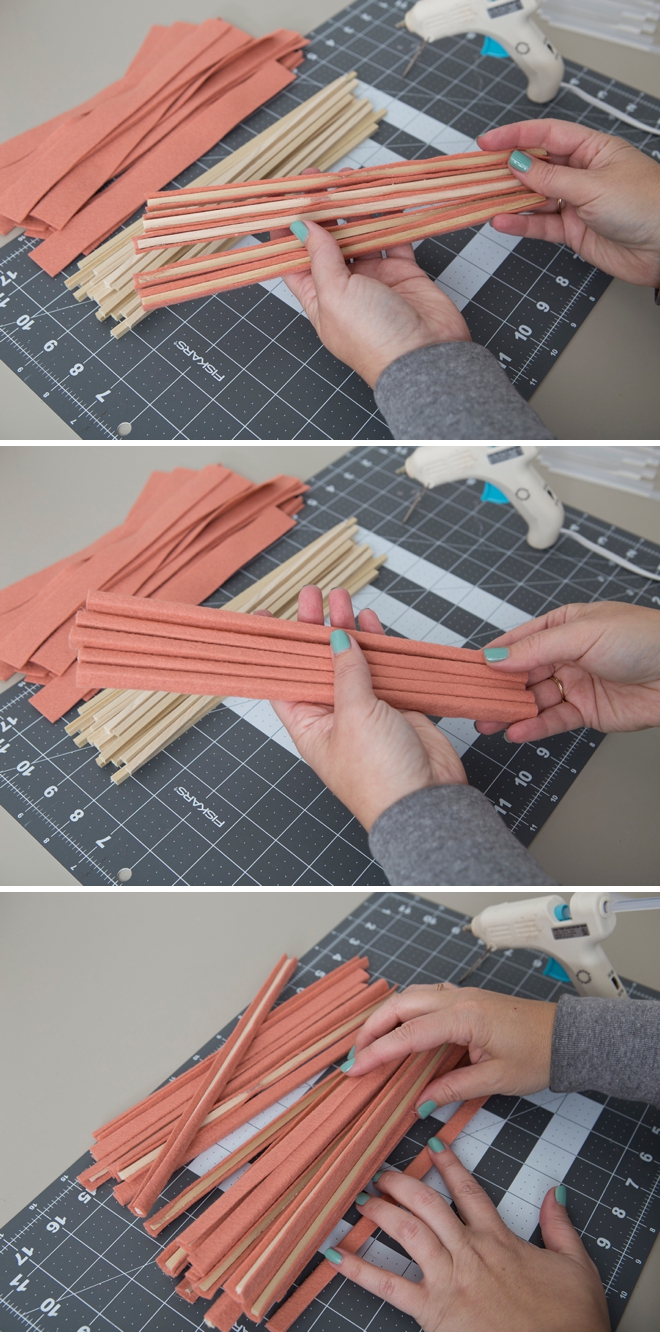
This isn’t hard, it just takes time. It took me about 40 minutes to do all 26 of these dowels.
Glue To The Frame
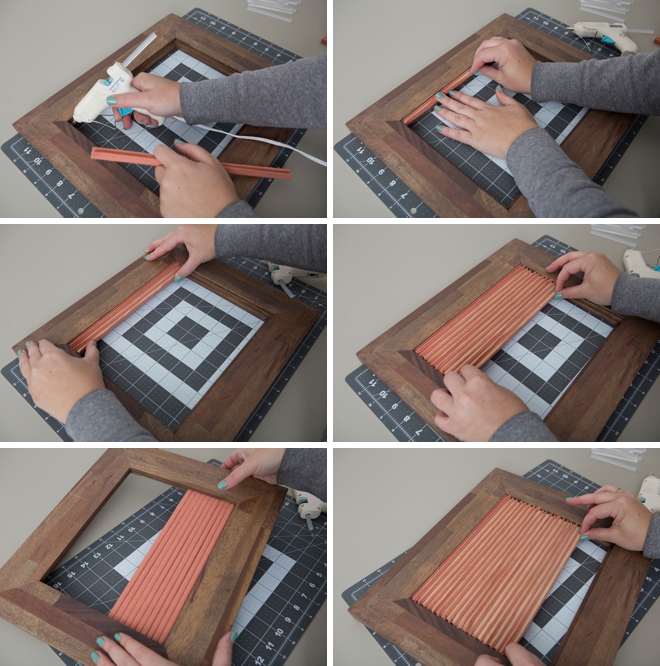
Now, using a fair amount of pressure, add hot glue to the frame sides and adhere each dowel into the back of the frame. Keep adding and pressing each dowel firmly against the next, no gaps! Keep adding, but make sure to flip the frame over every now and then to make sure you’re happy with the placement.
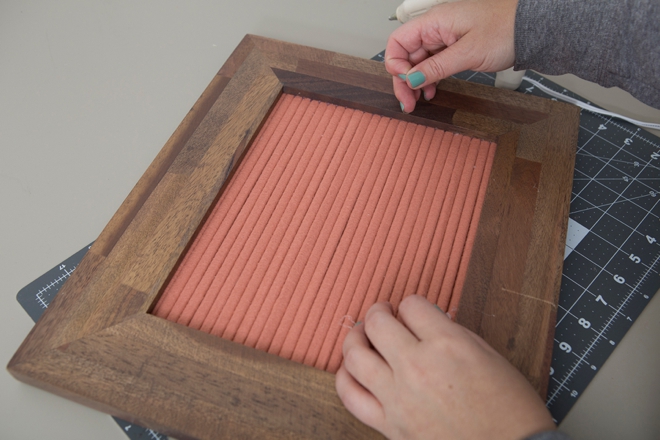
Remove All Hot Glue Strings And Remnants
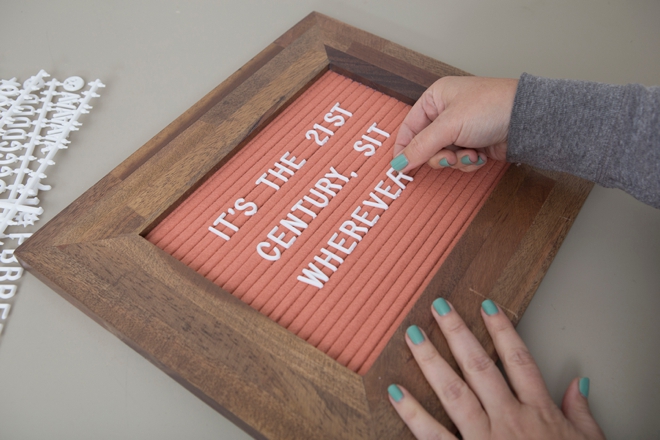
Add Your Sayings!
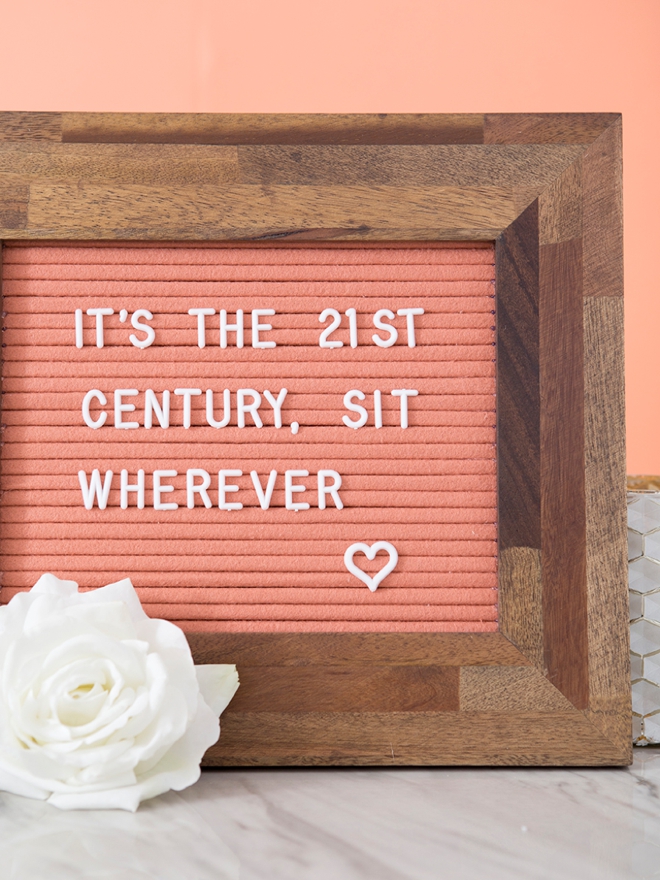
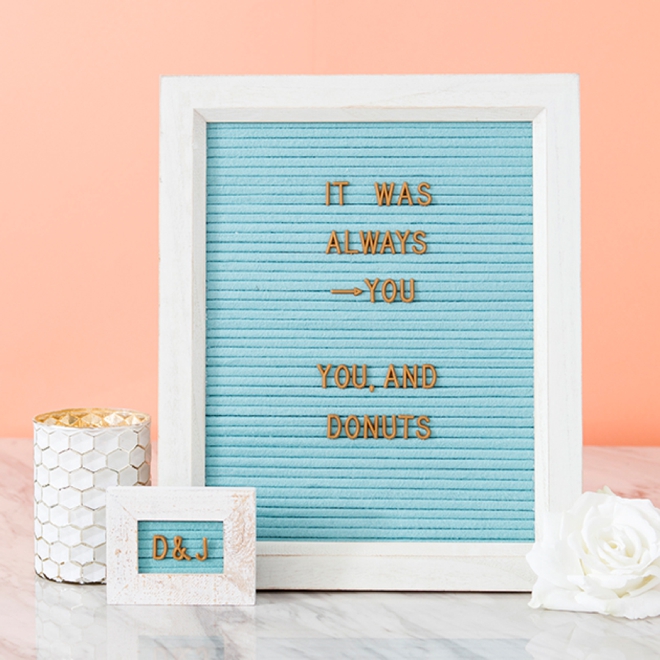
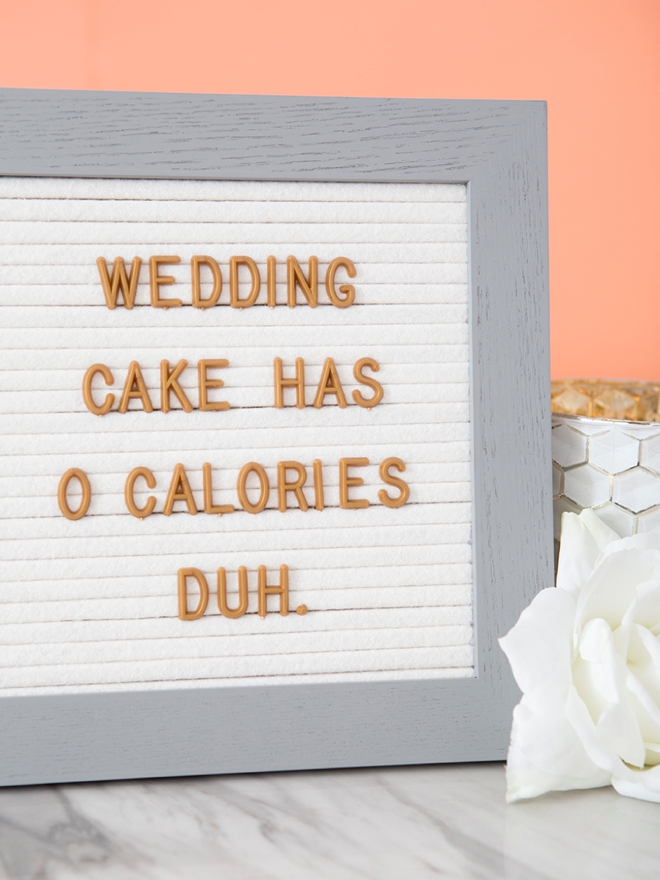
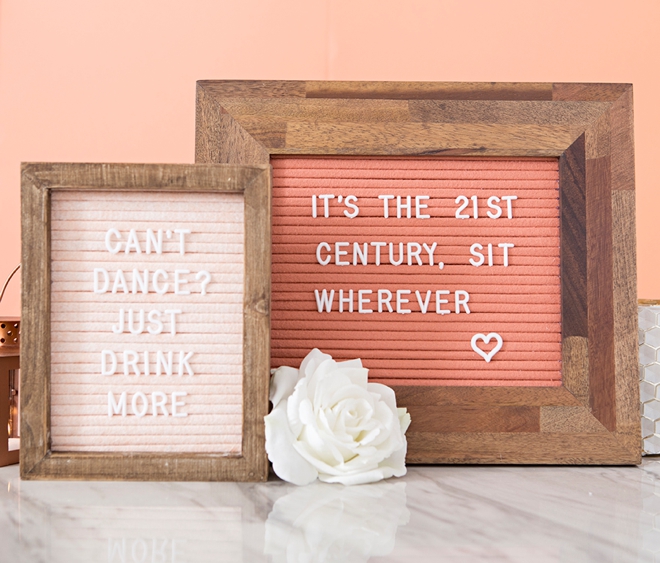
Any sayings you’d like, create them for your wedding decor but then easily change them and use them in your home afterwards!
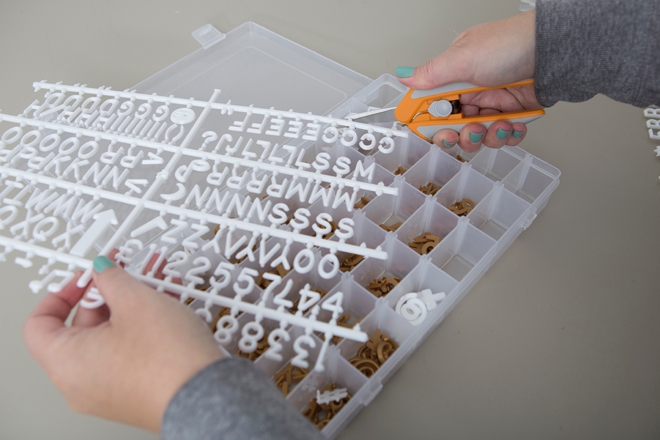
Organize Your Letters
If you keep these letters in a plastic bag, it can be a real pain to sift through them all when you want to change the phrase. So organize them in a clear organizing box like this!
Ultimate Personalized Decor
You pick the frame, you pick the felt, you pick the letters, you pick the phrase; it’s the ultimate in personalized wedding decor. The best part is that you can truly reuse them for years to come after your big day is over!
As with all our DIY tutorials, if you create one of our projects please send us a picture – We Love Seeing Your Creativity! If you use Instagram or Twitter please use the hashtag #SomethingTurquoiseDIY and it will show up on our Get Social page. Happy Crafting!
DIY Tutorial Credits
Photography + DIY Tutorial: Jen Causey of Something Turquoise // Wool Felt: Benzie Design // 3/16″ x 36″ Square Wooden Dowels: Amazon // White 3/4″ Letter Board Letters: Amazon // Bronze 3/4″ Letter Board Letters: Amazon // Plastic Organizer: Amazon // Frames: Michaels and Amazon // Cutting Mat: Fiskars // Rotary Cutter: Fiskars // Hot Glue Gun: Amazon // Nail Polish: OPI – Withstands the Test of Thyme
Shop The Supplies:
Find the supplies you’ll need for this project from our affiliate links below:


Comments