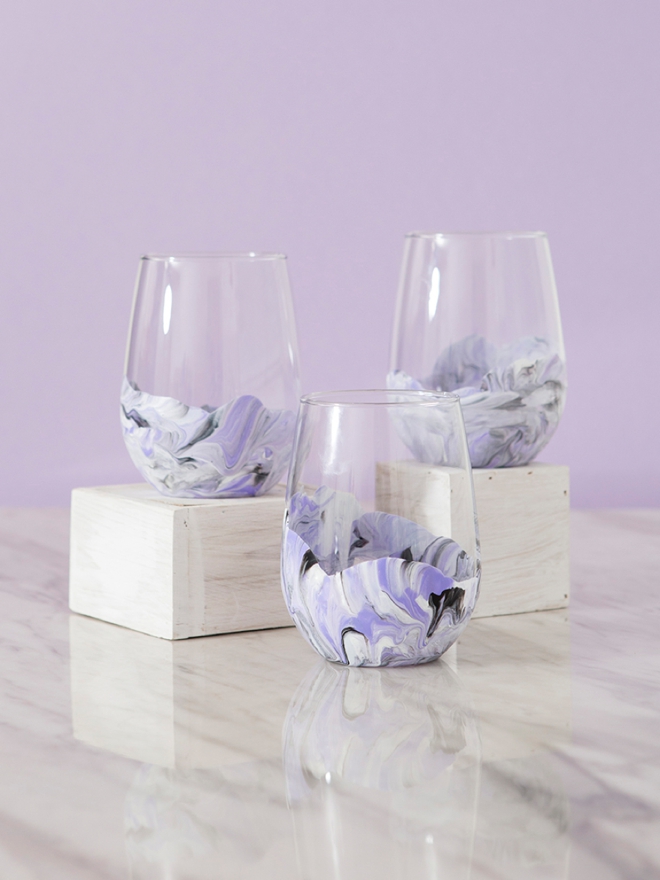
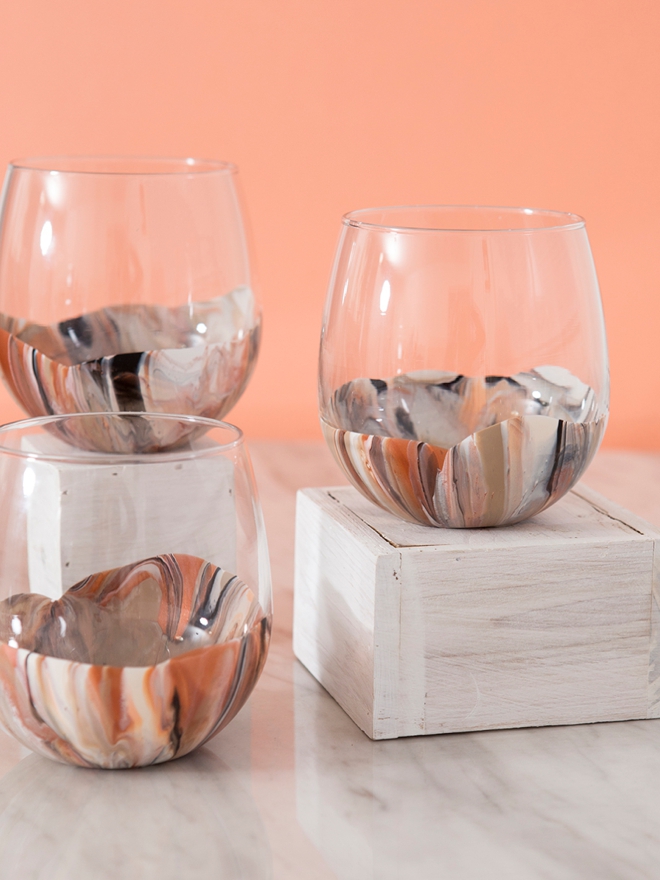
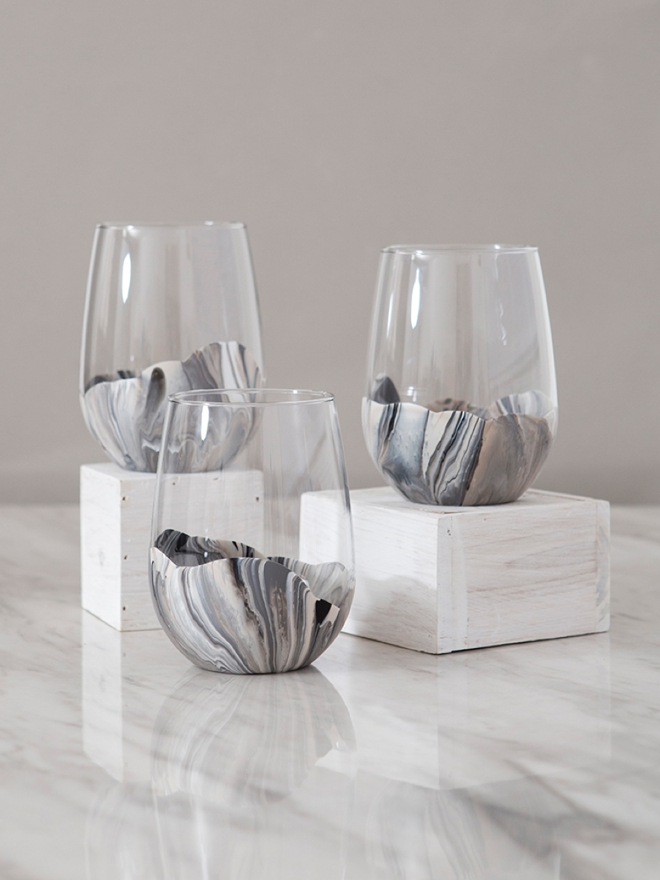
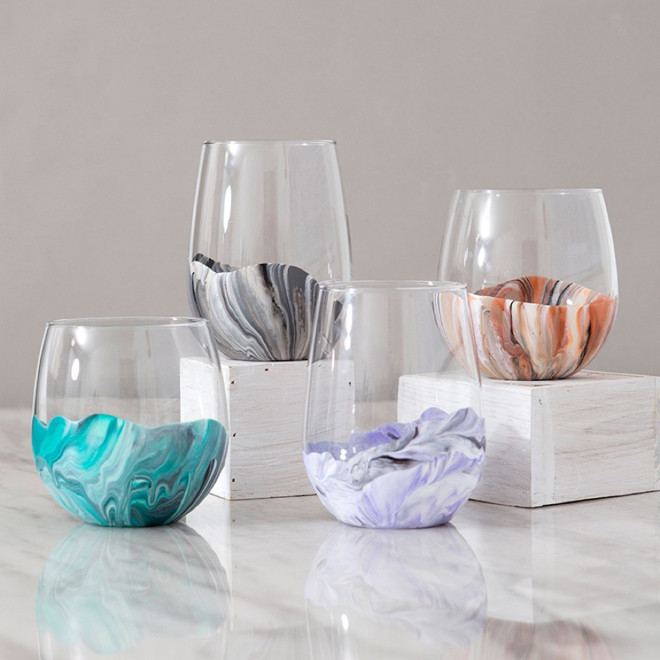
Cheers to DIY Friday and creating the easiest + prettiest glasses to enjoy your favorite varietal in crafty-style! Seriously, painting these glasses couldn’t be easier and trust me when I say you need no painting experience, just patience for dry time. Making these marbled glasses would be a super fun project to do with your bridesmaids one night or a fabulous addition to gift bags you’re assembling for them… or maybe you just want to make a set to match your newlywed home decor. Whatever your reason, we’re on board and can’t wait for you to try this easy project!

Any Colors You Like
Mix and match ANY Martha Stewart Craft Paints colors you would like! I recommend adding white and black to your mixture, plus 3-4 other colors, but add the black sparingly as it can take over. Also consider finish, use all glossy or all satin to keep things looking proper.
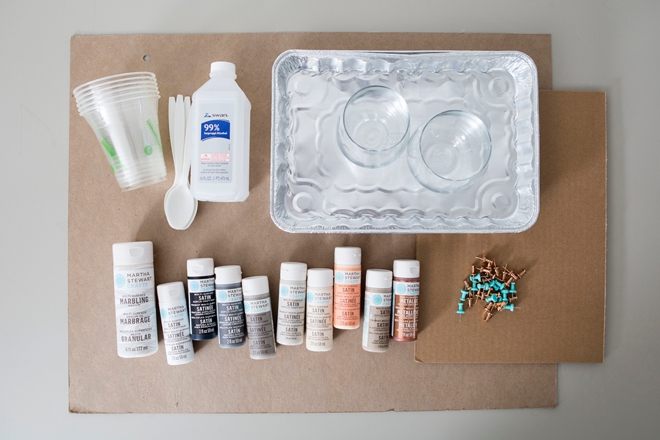
SUPPLIES:
- Stemless Wine Glasses
- Martha Stewart Craft Paints
- Martha Stewart Marbling Medium (only available at Michaels)
- Plastic Cups + Spoons
- Foil Baking Pan
- Push Pins
- Cardboard
- Rubbing Alcohol
MARBLE FORMULAS:
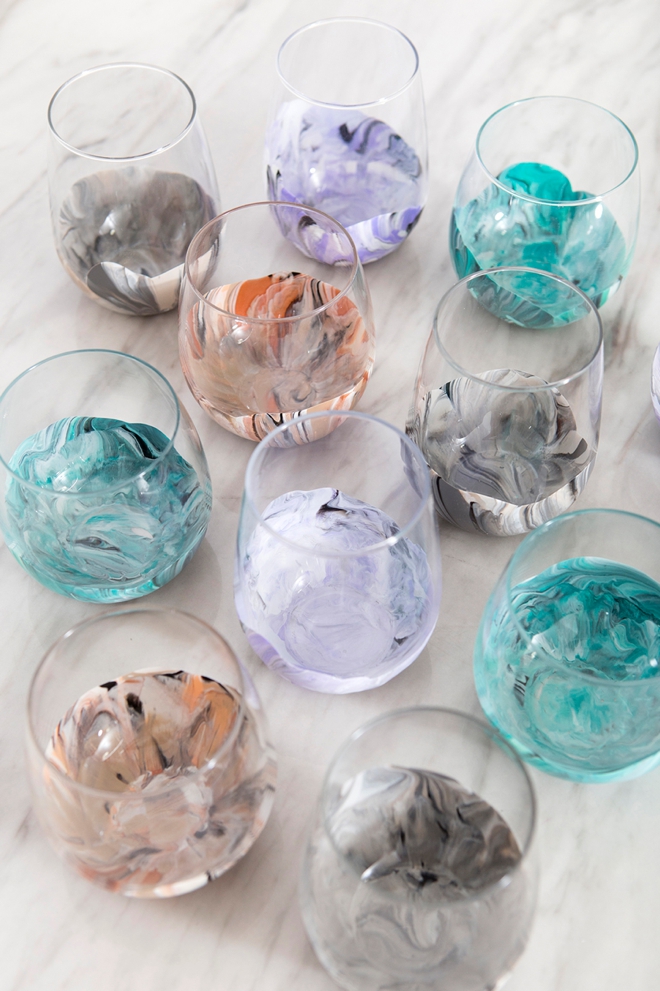
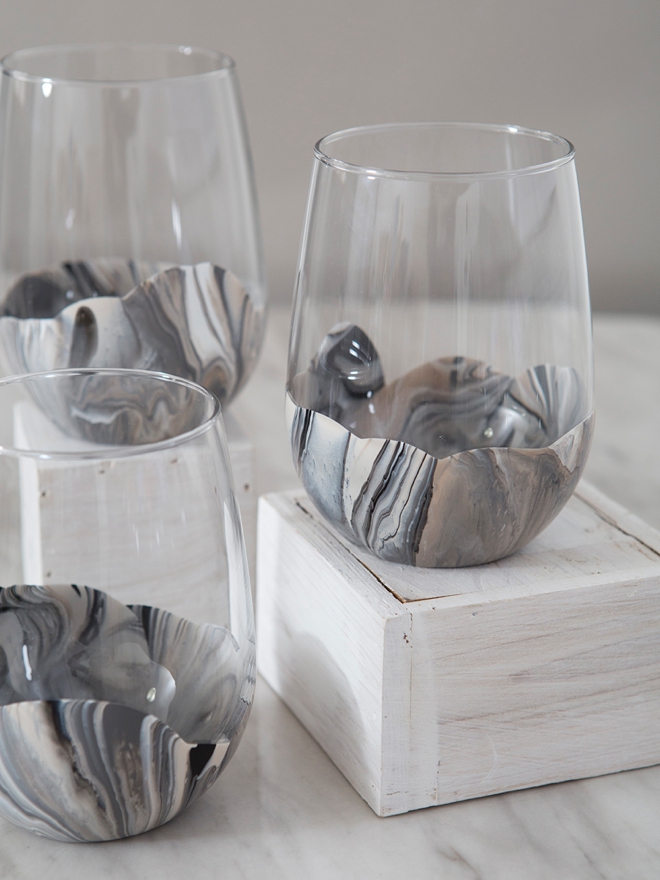
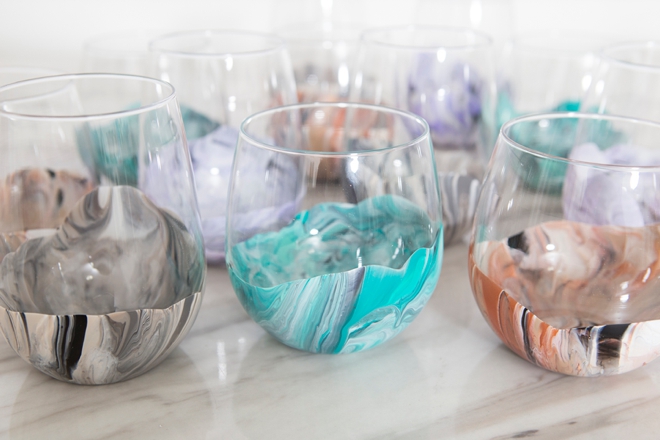
- Gray Glasses: Arrowhead, Gray Wolf, Lake Fog
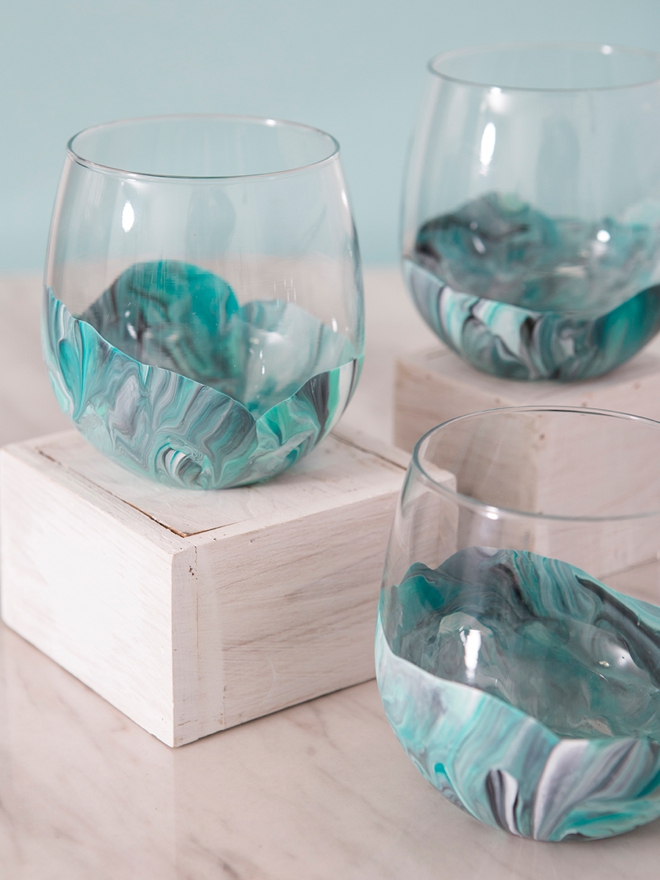
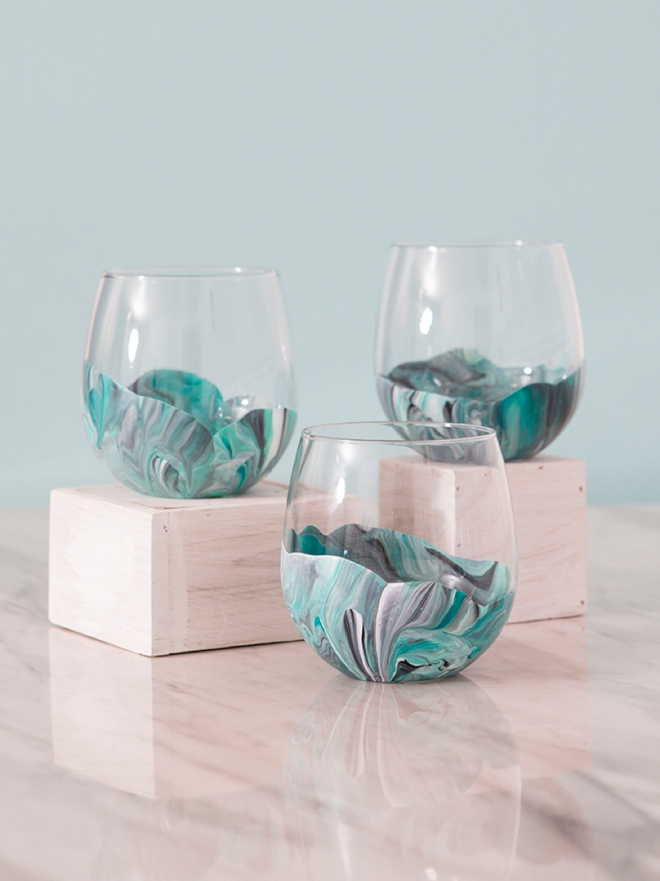
- Turquoise Glasses: Mermaid Teal, Diving Board, Beach Glass
- Copper Glasses: Rust, Root Beer Float, Wild Salmon, Porcelain Doll
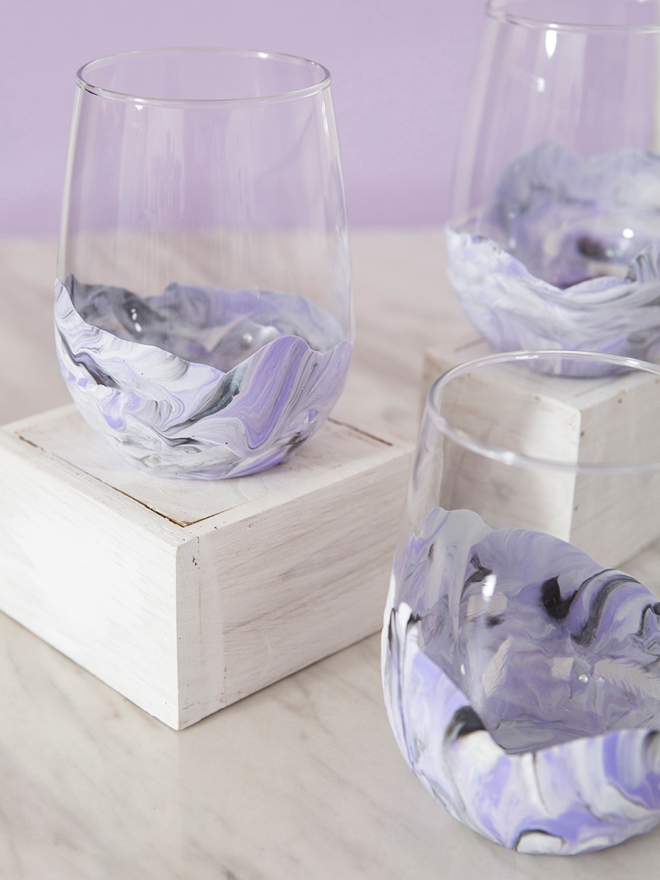
- Lavender Glasses: Periwinkle, Hailstorm, Sea Lavender
- Wedding Cake White and Beetle Black were mixed in all four as well.
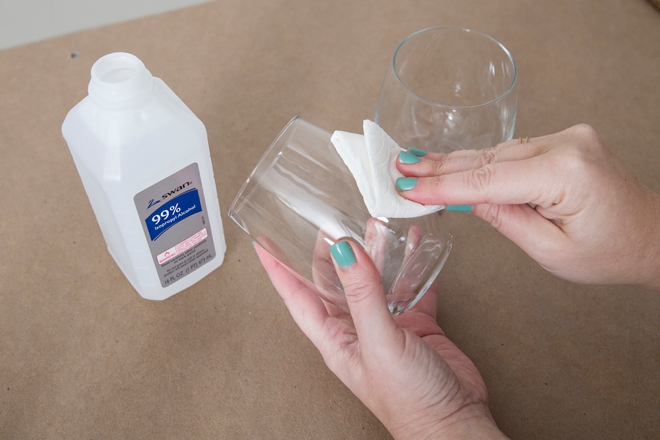
Alcohol Clean
First step is to thoroughly clean your glasses with rubbing alcohol to make sure the paint sticks.
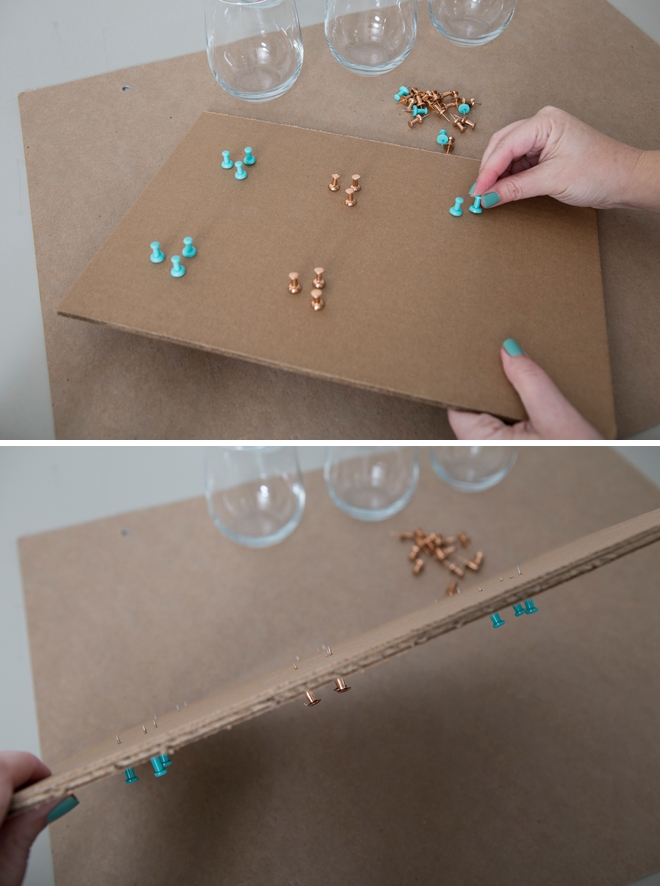
Drying Board
Using scrap cardboard, push 3 push pins through the backside for each glass you are painting to create stilts for drying. Make a few boards like this if necessary. Set aside. I got lucky and the cardboard that protected the wine glasses inside the box during shipping worked perfectly for this step!
Marble Medium
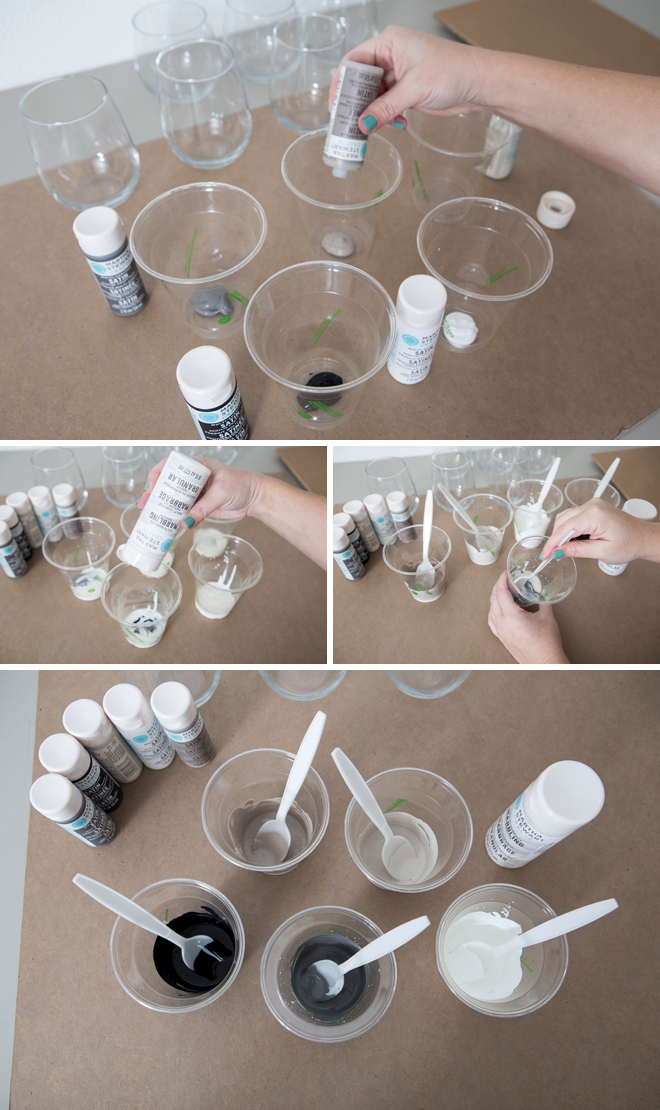
Choose your marbling paint colors, I recommend including a white and black, plus 3-4 other complementary colors. Add a good squeeze of paint to each plastic cup. Then add twice the amount of marbling medium to each cup. The mixture is a 1:2 ratio, meaning you double the amount of marbling medium compared to the paint. Fully mix each color with a plastic spoon. You’re looking for the consistency of freshly melted ice cream. The marbling medium thins out the paint to allow it to drip and flow down the glass, if your mixture is too thick it won’t dry properly.
Crafters Tip: your paint should not be lumpy, if it is, it’s old. Throw it out and use a different color because it won’t dry properly!
Create Your Marble
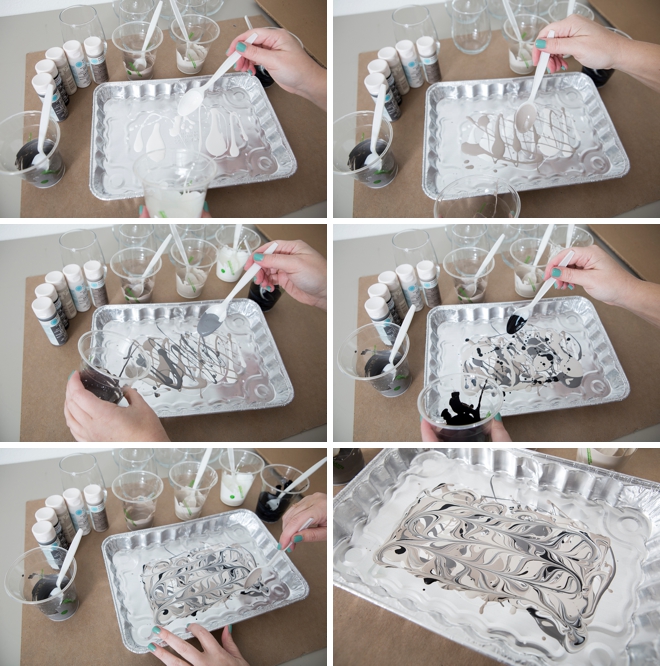
Add layer of paint color after paint color to a disposable foil baking pan or the like. Drip, drop, slop the paint on the tray to create your marble look. Add the black sparingly. When you have a good coverage of paint, use one spoon to drag and swirl the paint around a little bit.
Dip Your Glass
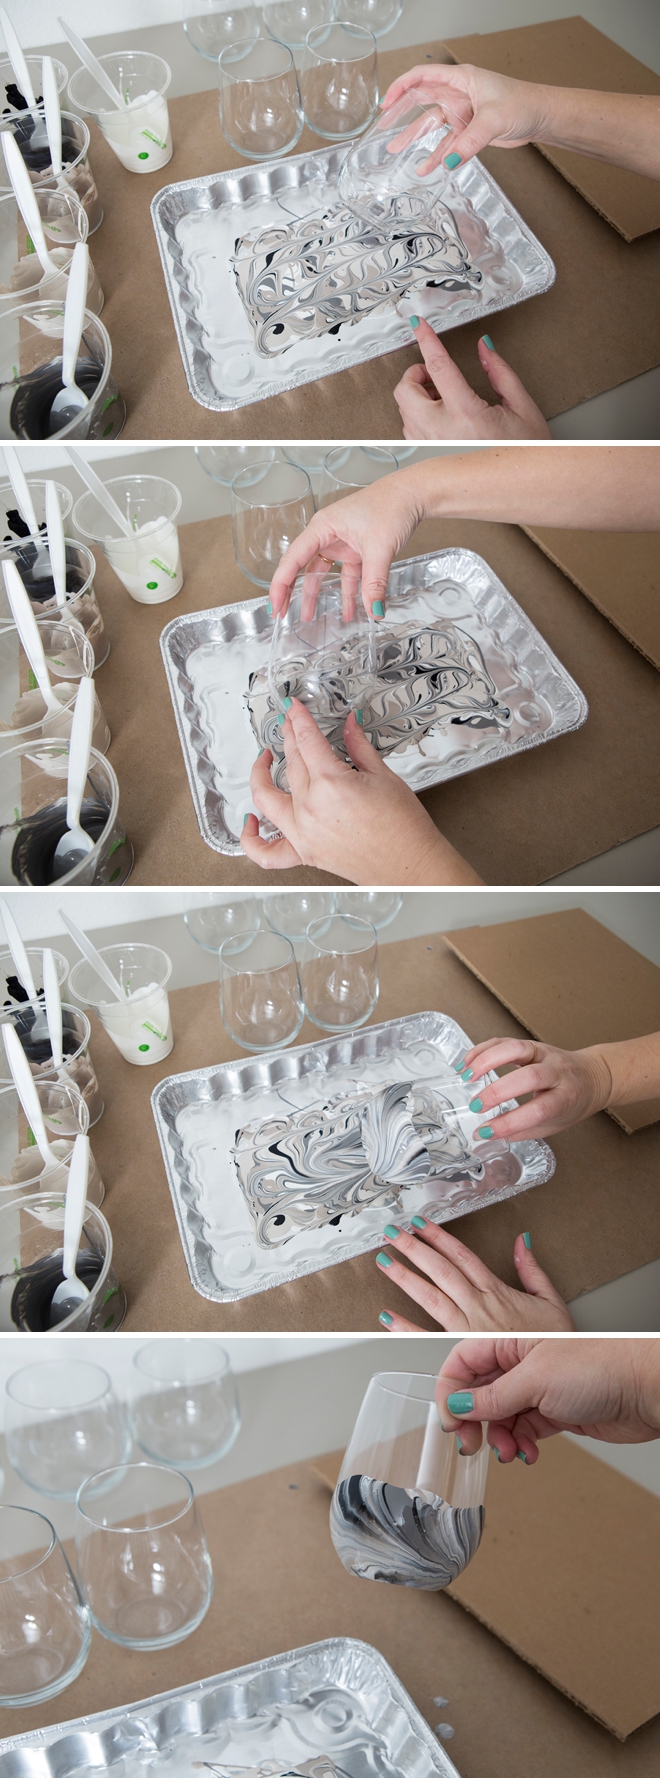
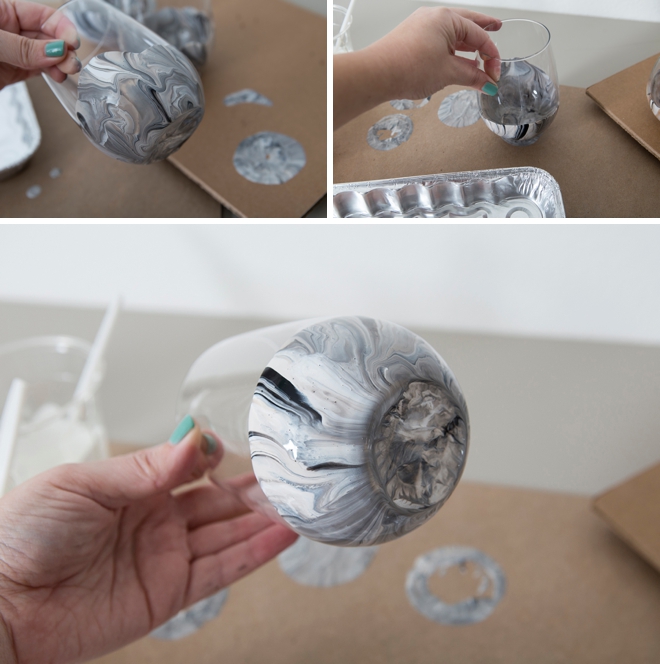
Gently dip and roll each wine glass through the marble paint tray! That’s literally all there is to it! Cover as much or as little as you want. Let excess paint drip off the glass back into the tray for 30-60 seconds.
Let Dry
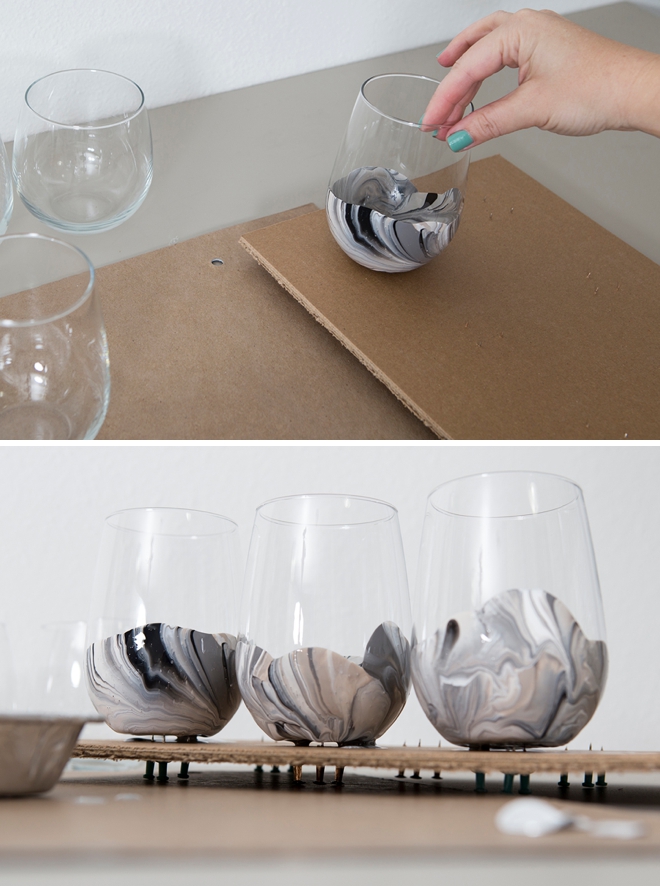
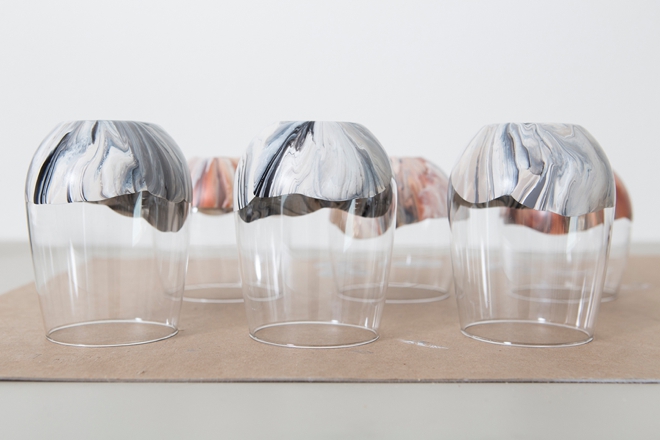
Rest each wine glass on top of the pointy ends of the push pins to allow maximum drying for the entire glass. Let dry for 30 minutes at first, see the next couple steps…
Wipe Off Excess
After about 30 minutes, go back and dab the bottom of each glass on scrap cardboard to remove paint that has dripped and pooled to the bottom of the glass – you don’t want big globes of paint here! You might also need to wipe up around the push pins incase lots of paint dripped onto them. Then let dry overnight.
Dry For 72 Hours
Total dry time is 72 hours. I recommend drying for 30 minutes, wipe off excess paint, dry overnight, then in the morning carefully take the glasses off the push pins and let them finishing drying upside down for 48 hours. If any paint peeled off or pooled up, touch it up with a little more paint or try to carefully peel it off and touch up.
How To Cure Martha Stewart Craft Paint
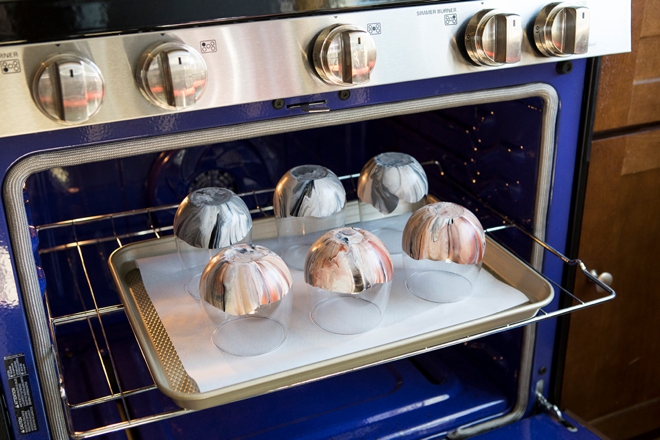
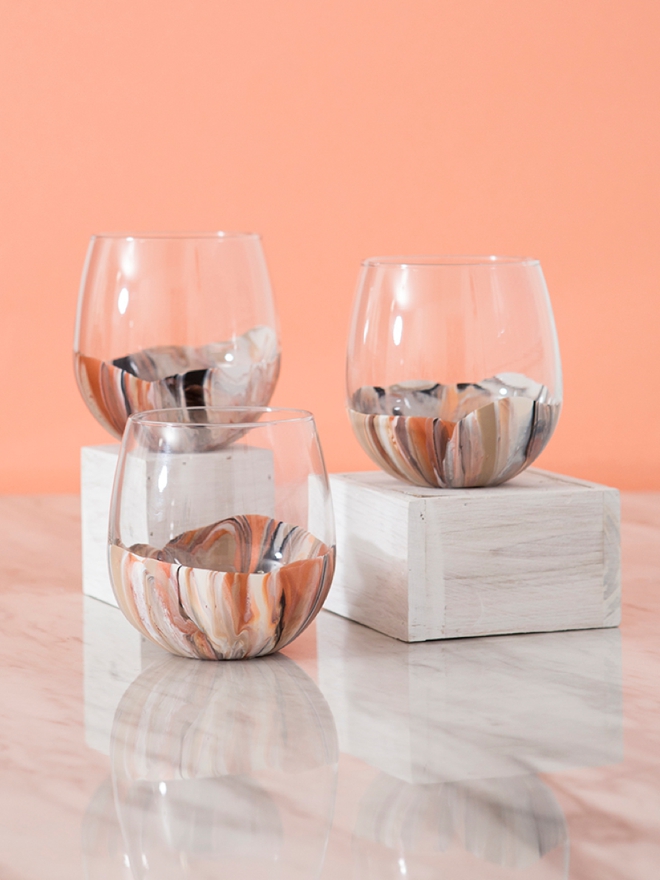
There are two ways to cure this paint, the air-dry method or the oven method. To air-cure, simply let the paint dry for 21 days. To oven-cure, place your glasses in a cool oven and set it to 350ºF. Set a timer for 30 minutes, when the time is up turn off the oven and let your glasses cool down inside the oven to prevent cracking. Then another 72 hours to dry before first washing. All glitter and metallic paints must only be air-cured. Once cured, these beautiful glasses will be top shelf dishwasher safe! Although I recommend hand washing to extend their life.
Don’t Rush Drying Time
Don’t rush drying time, if you do, the paint will just peel off and/or stick to whatever surface you put it on or gift bag you put it in. Give your glasses the full 72 hours to dry before you oven cure them, and the full 72 after curing them. If you do, your glasses and their beautiful paint job will last a very long time.
As with all our DIY tutorials, if you create one of our projects please send us a picture – We Love Seeing Your Creativity! If you use Instagram or Twitter please use the hashtag #SomethingTurquoiseDIY and it will show up on our Get Social page. Happy Crafting!
DIY Tutorial Credits
Photography + DIY Tutorial: Jen Causey of Something Turquoise // Stemless Wine Glasses: Amazon // Martha Stewart Paints + Marbling Medium: Michaels // Foil Baking Pan: Amazon // Push Pins: Amazon // Nail Polish: OPI – Withstands the Test of Thyme
Shop The Supplies:
Find the supplies you’ll need for this project from our affiliate links below:


Comments