-Sponsored Post-
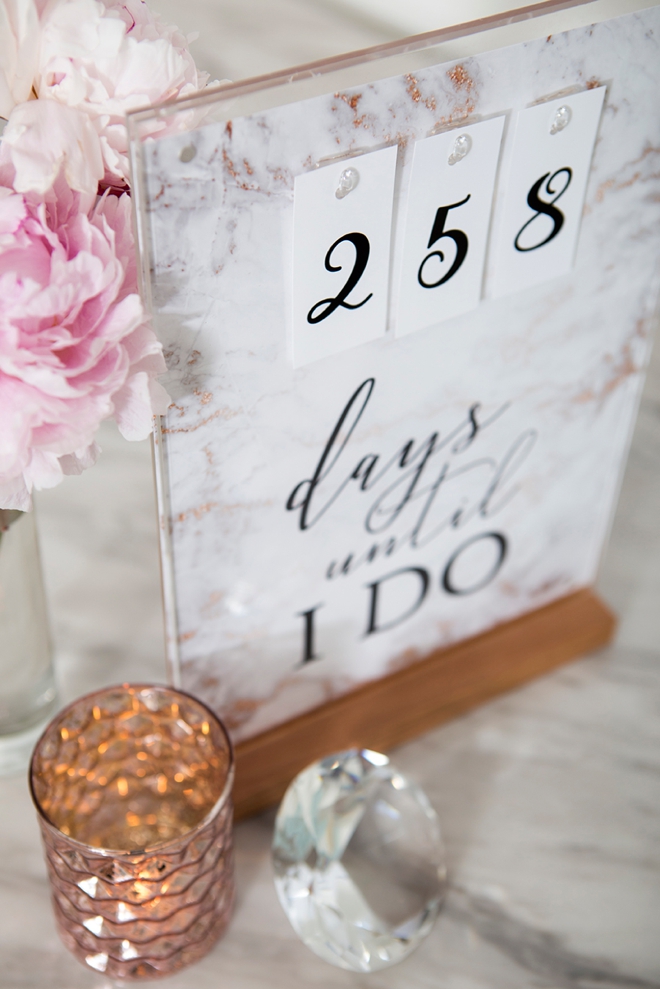
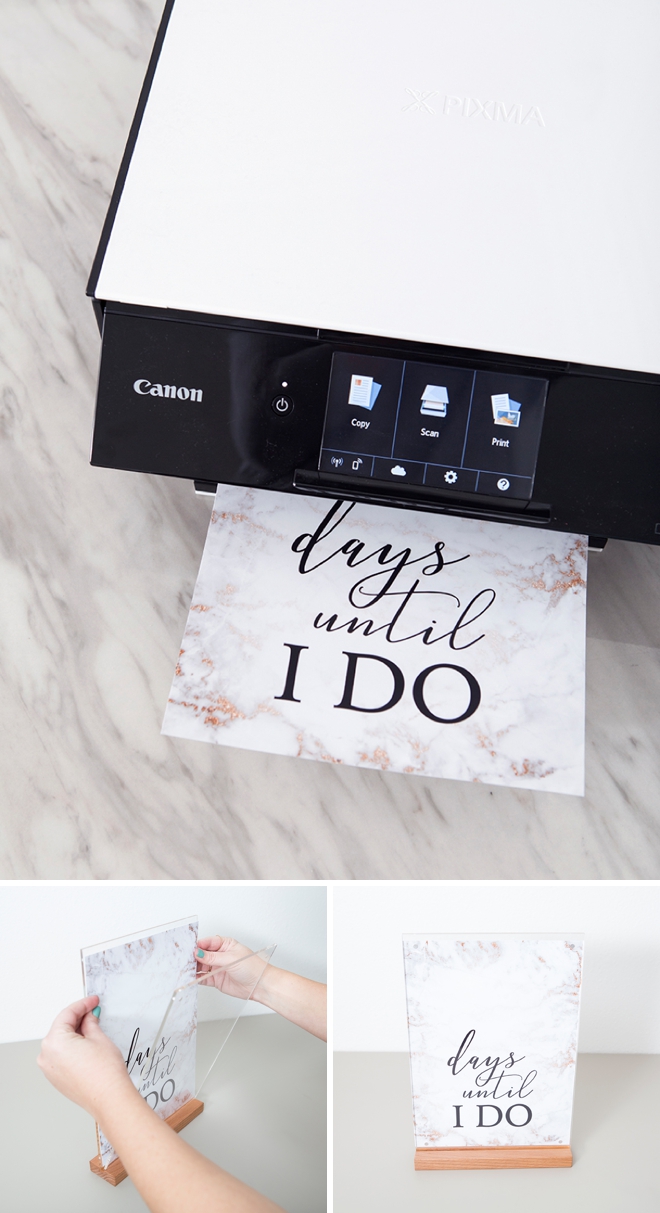
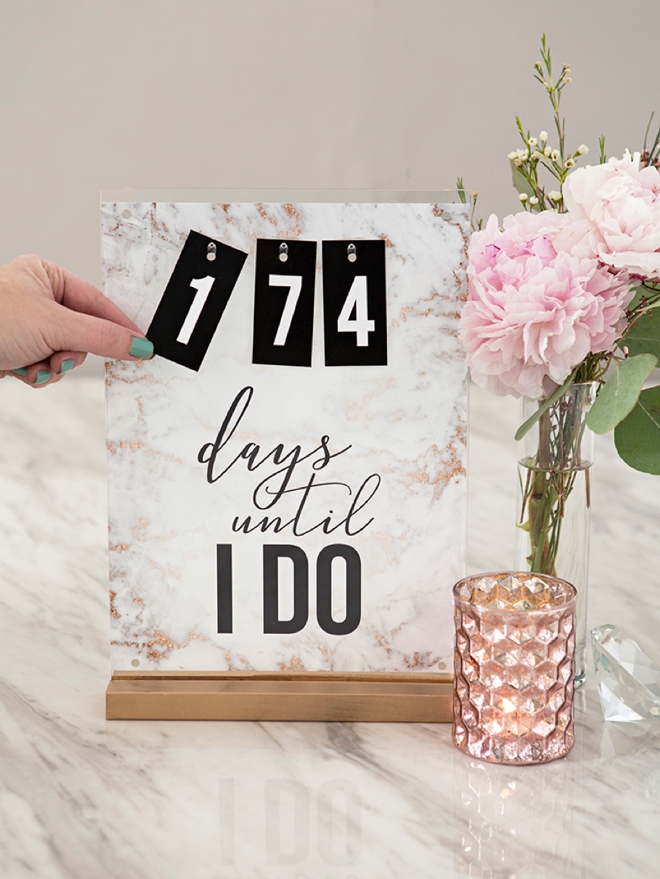
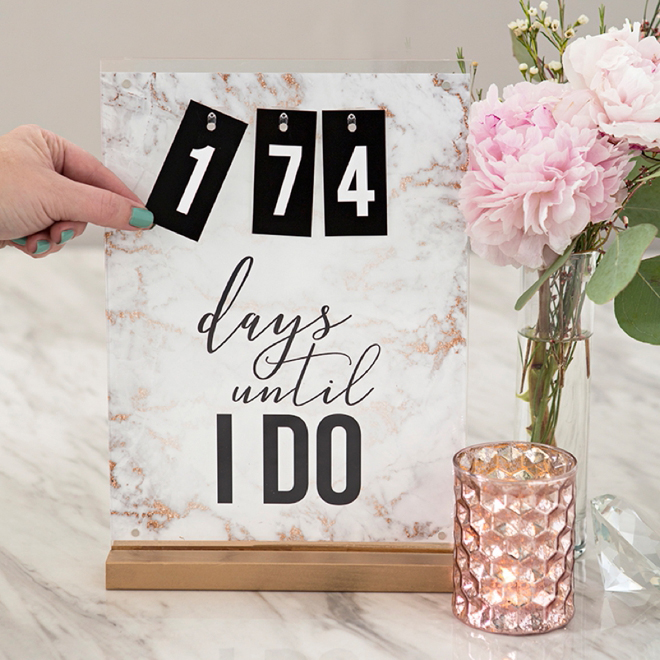
Celebrate every day leading up to your I DO’s with this darling, DIY Wedding Countdown Sign! Quickly and easily print out our designs using your favorite Canon Printer, frame and you’re done. There are two designs to choose from and both can easily be customized to fit your wedding theme or home decor… all you need is an 8.5″ x 11″ frame. Not engaged but have a friend who is, or maybe a bridal shower to attend? This would make a fabulous and inexpensive gift that they’ll cherish!
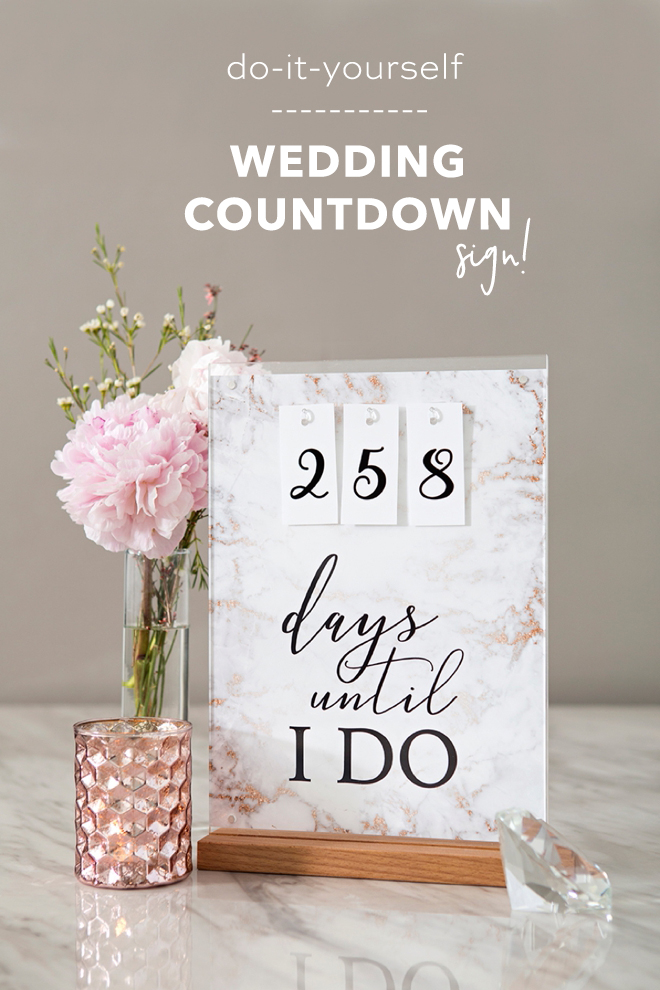
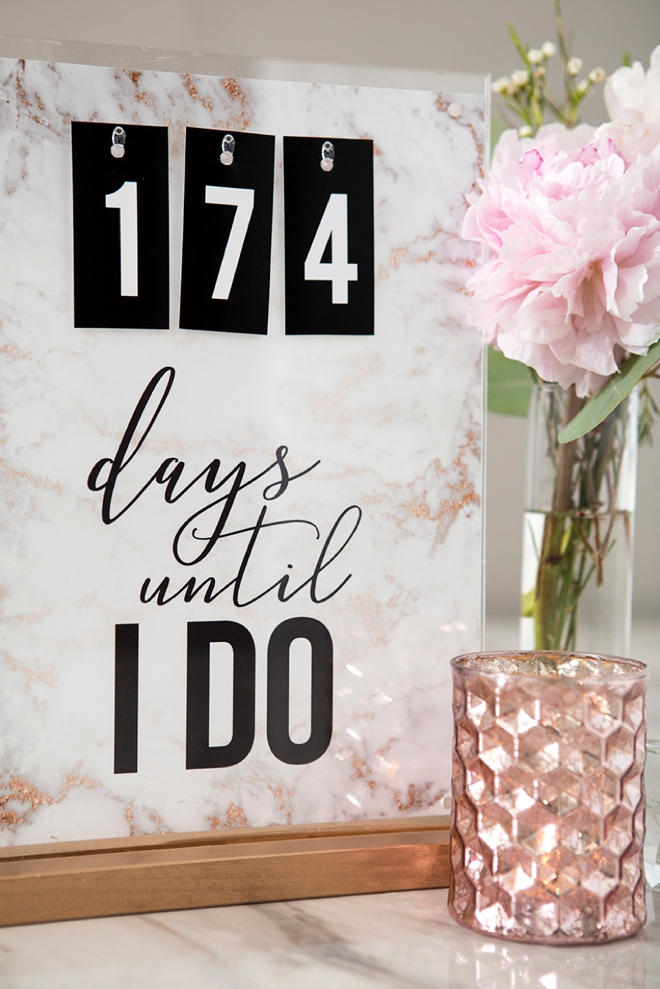
Two Designs To Choose From
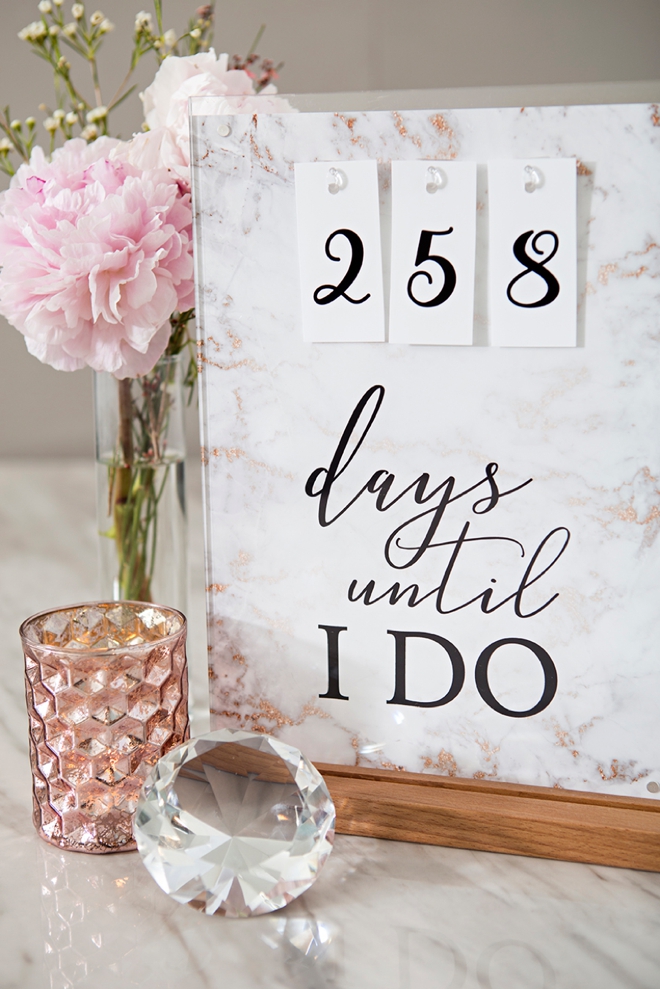
I’m sharing two different design files, one that is classic and one that is bold. Choose the one you like the best, customize with your favorite colors and countdown all those special days until I DO.
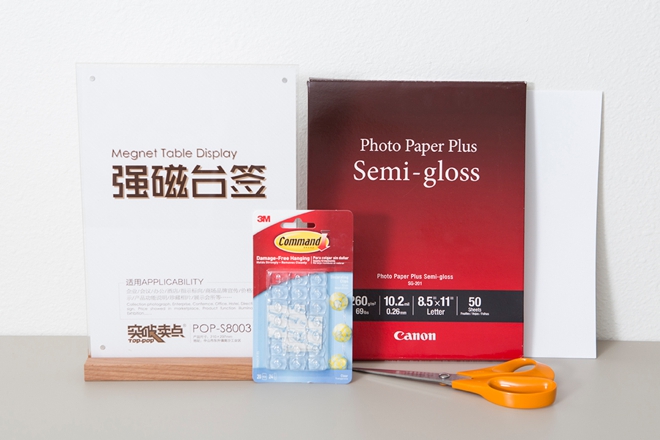
SUPPLIES:
- Canon TS9020 All-in-One Printer
- Canon 8.5″ x 11″ Semi-Gloss Photo Paper
- Acrylic Sign Holder
- Small Decorative Command Hooks
- Hole Punch
- Scissors or Paper Trimmer
Download, Print, Frame
Download your choice of design at the end of the post, there is a classic style and a bold style. Print onto your favorite Canon photo paper, for this project I used the gorgeous Semi-Gloss and made sure to set my TS9020 Printer to print borderless with the highest quality print. Using Canon paper and being able to set your Canon printer to that exact paper, creates the most excellent print quality. Add to your acrylic frame.
Print + Cut
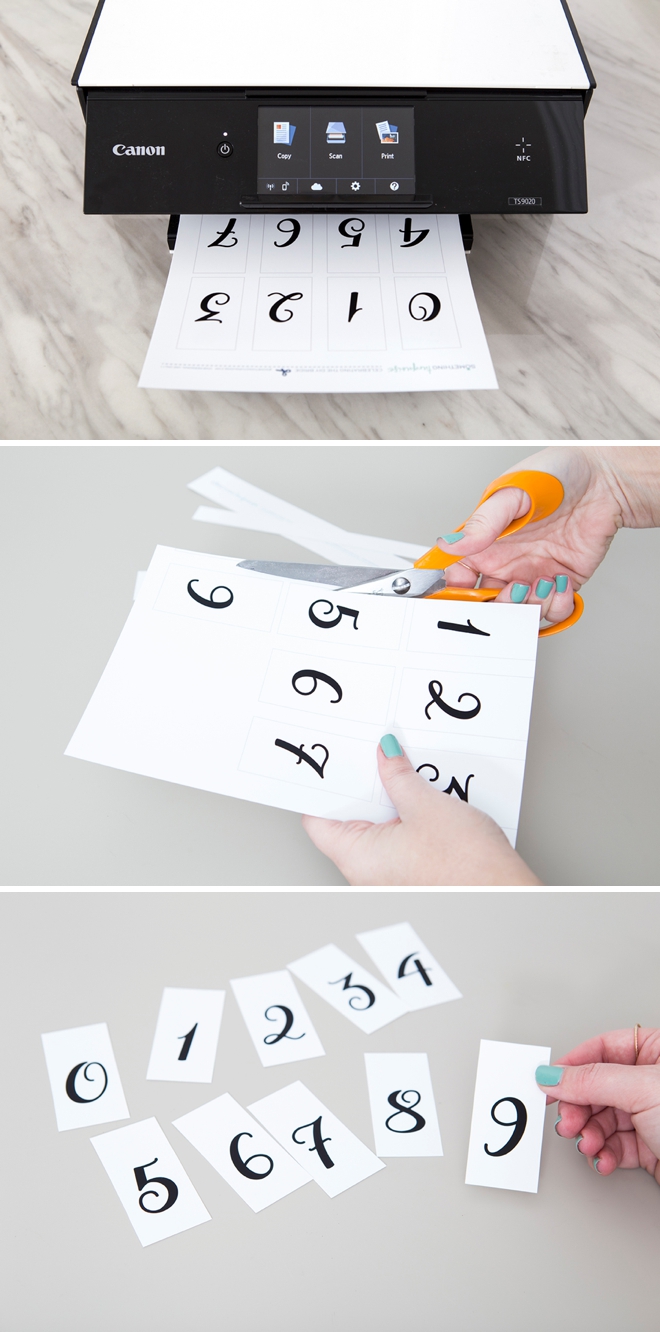
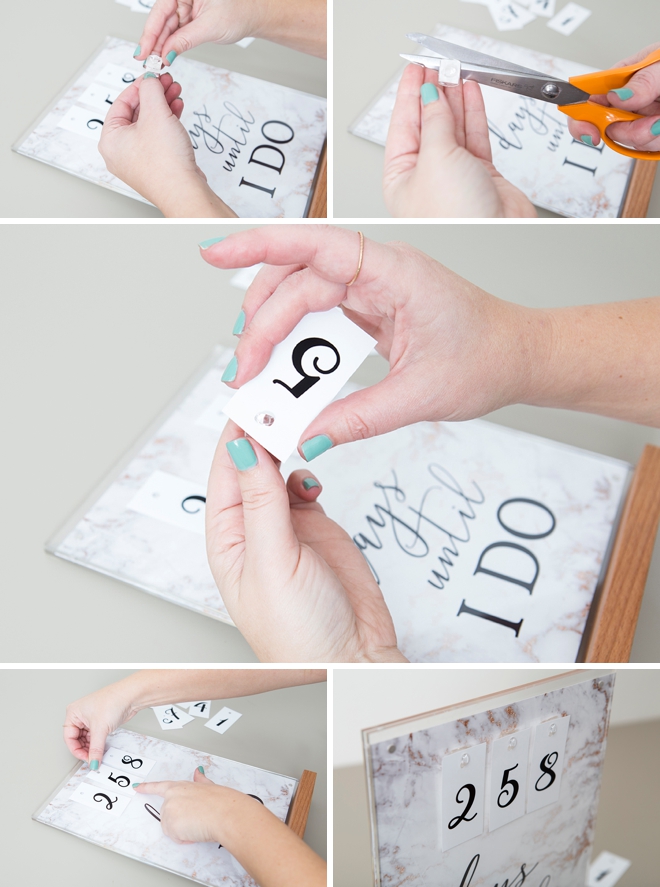
Next, print the numbers onto your choice of either the photo paper or lightly colored cardstock. Then cut each one out using scissors or a paper trimmer. Most of you will want to print 2-3 pages of the numbers so that you can properly countdown all the possible days.
Hole Punch
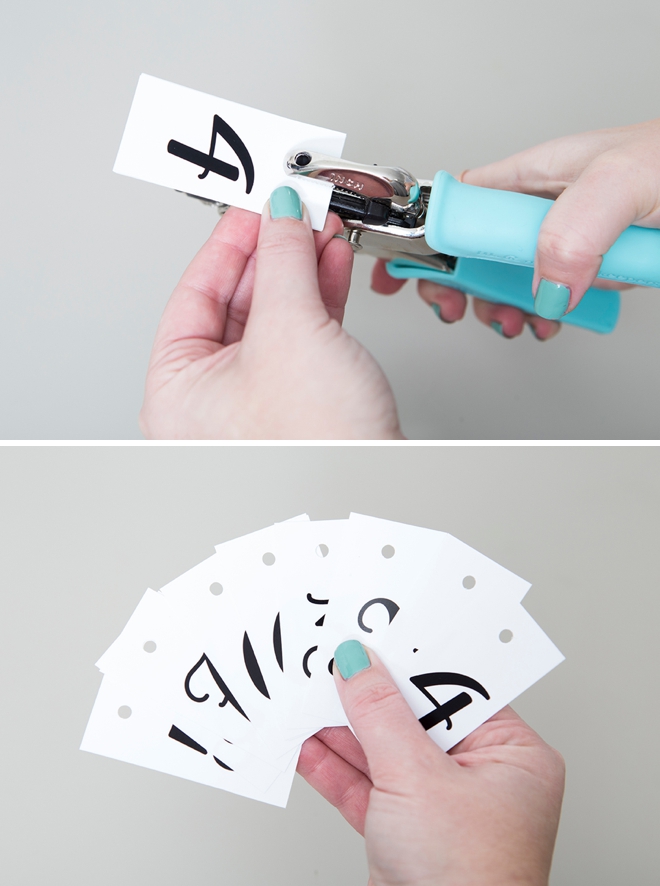
Using your trusty Crop-a-dile hole punch, stack all the numbers together and add a hole at the top.
Arrange The Numbers
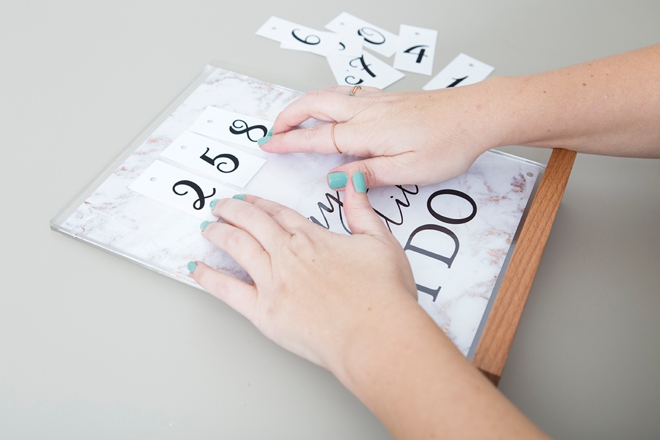
In the empty space, arrange the numbers until you’re happy with the spacing.
Add Command Hooks
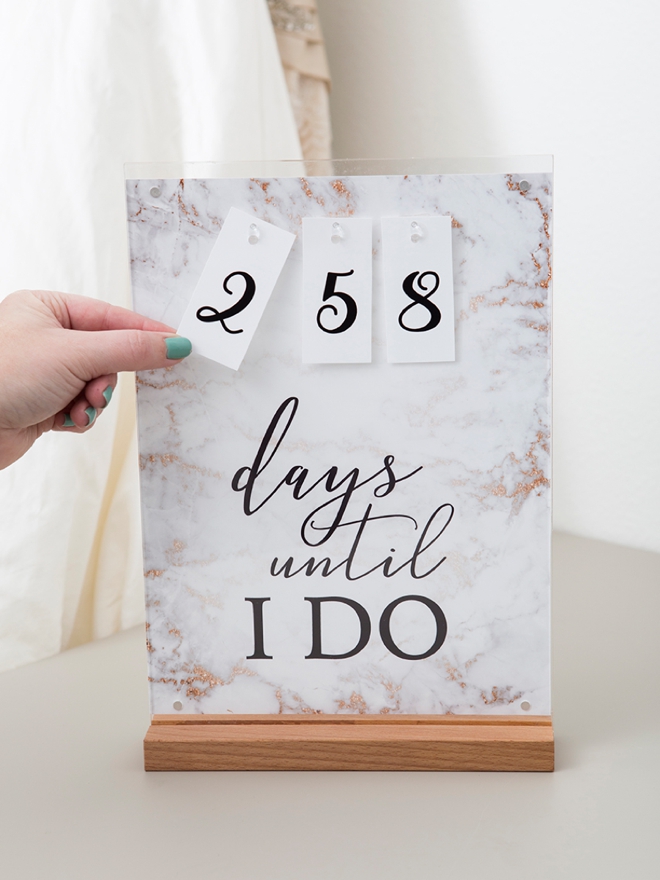
These small, clear Command Hooks are the perfect thing to hang your ever changing numbers on! I found it easiest to start with the middle number, place it onto the hook, peel off the sticker backing and then add it to the sign. Then it’s easier to figure out the spacing of the number to the right and left.
Let The Countdown Commence
Keep the spare numbers nearby, or maybe even add a few hooks to keep them hanging on the back of your sign and get excited to countdown the days until you say I DO!
Paint The Base
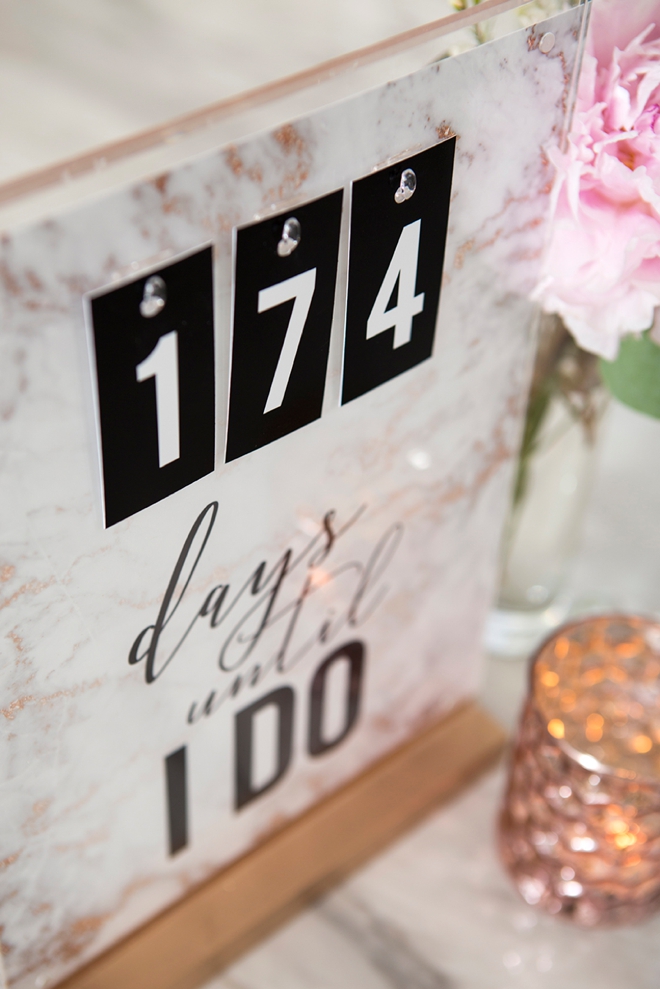
On the bold sign, I opted to paint the wooden base copper! You can paint yours to match your home decor or your wedding style. There’s lots of room to get creative with colors and customization on the project!
DIY TUTORIAL SPONSORED BY:

Canon U.S.A., Inc. prides itself on allowing consumers to create and preserve beautiful imagery, from capture to print. With wireless technology and seamless printing capabilities, you can print your photos and printables with precision and ease.
As with all our DIY tutorials, if you create one of our projects please send us a picture – We Love Seeing Your Creativity! If you use Instagram or Twitter please use the hashtag #SomethingTurquoiseDIY and it will show up on our Get Social page. Happy Crafting!
DIY Tutorial Credits
Photography + DIY Tutorial: Jen Causey of Something Turquoise // Canon PIXMA TS9020 Photo Printer and 8.5″ x 11″ Semi-Gloss Photo Paper: courtesy of Canon // Printable Designs: Julia Ensign // Acrylic Sign Holder: Amazon // Scissors: Fiskars // Crop-A-Dile Hole Punch: Amazon // Small Command Decorating Clips: Amazon // Nail Polish: OPI – Withstands the Test of Thyme
Shop The Supplies:
Find the supplies you’ll need for this project from our affiliate links below:



Comments