-Sponsored Post-
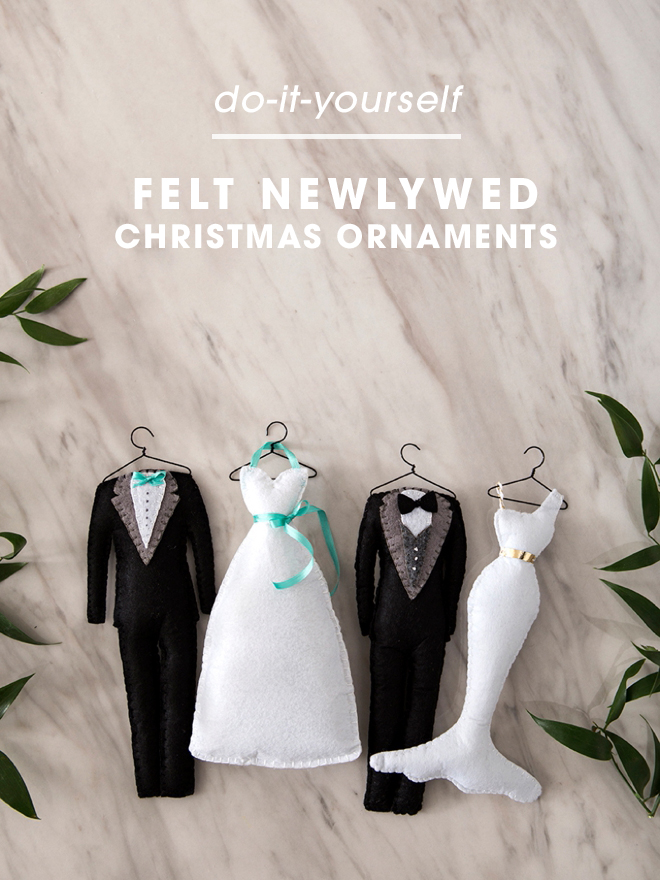
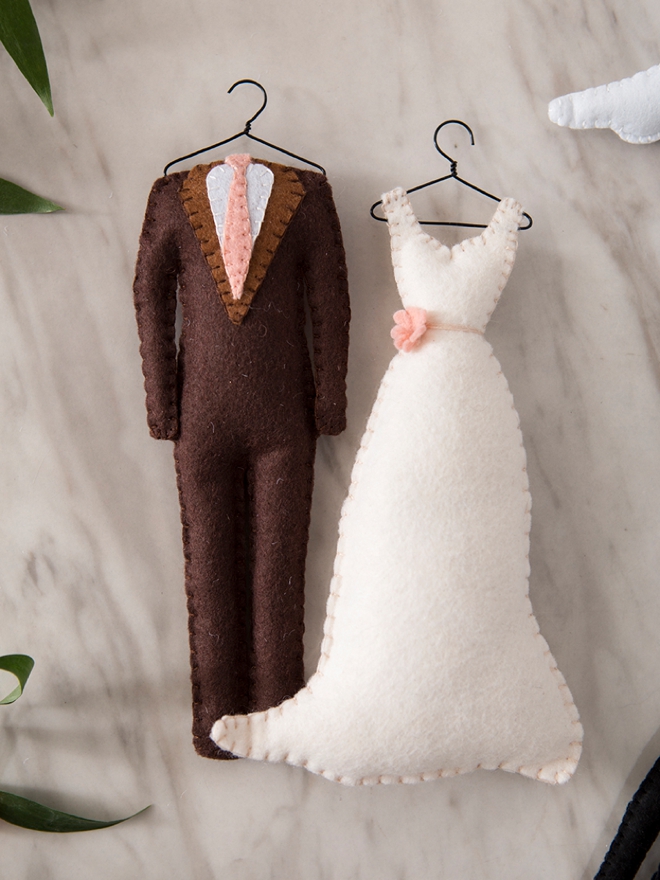
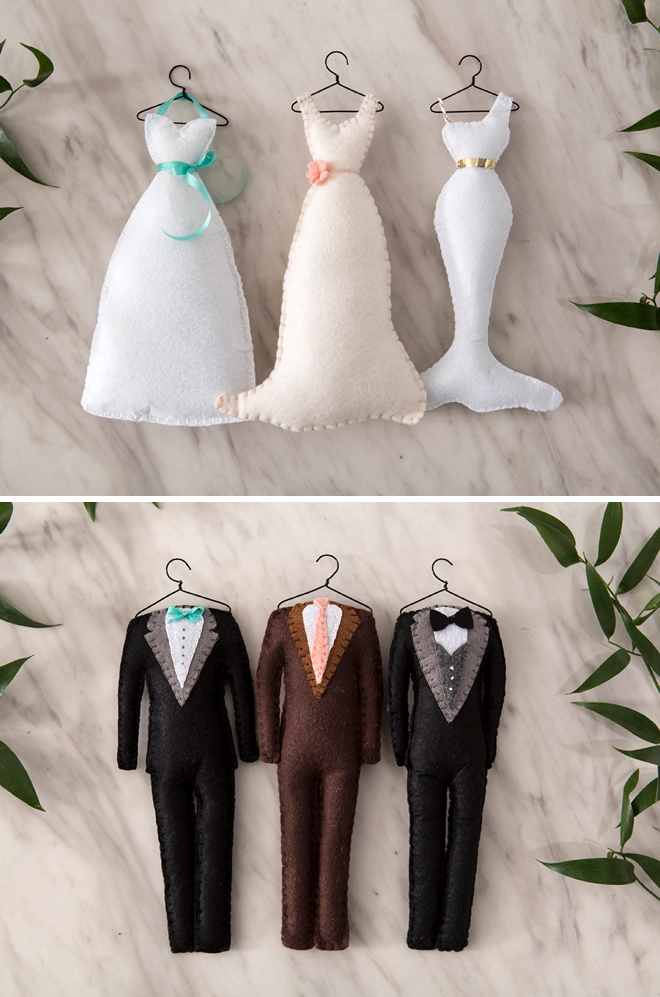
Sewing cutesie little felt ornaments is one of my favorite things to do at Christmas time. I’ve been planning on sharing today’s project ever since I heard that the new Cricut Maker was made to cut felt, and boy does it ever. The smallest little details came out without a snag, rip or tear; it’s a crafters dream come true. The hardest part with making felt ornaments is the cutting, getting it all perfect and shaped just right… well, not a problem anymore! I’m sharing 3 dress styles and 3 suit styles at the end of the post that can be cut in minutes using the Cricut Maker. Cut, sew, stuff and hang on your tree! I’ve been so busy chatting about how fabulous the Maker cuts felt, but what we really need to talk about is how freaking cute these brides + grooms are, I’m dying!!!
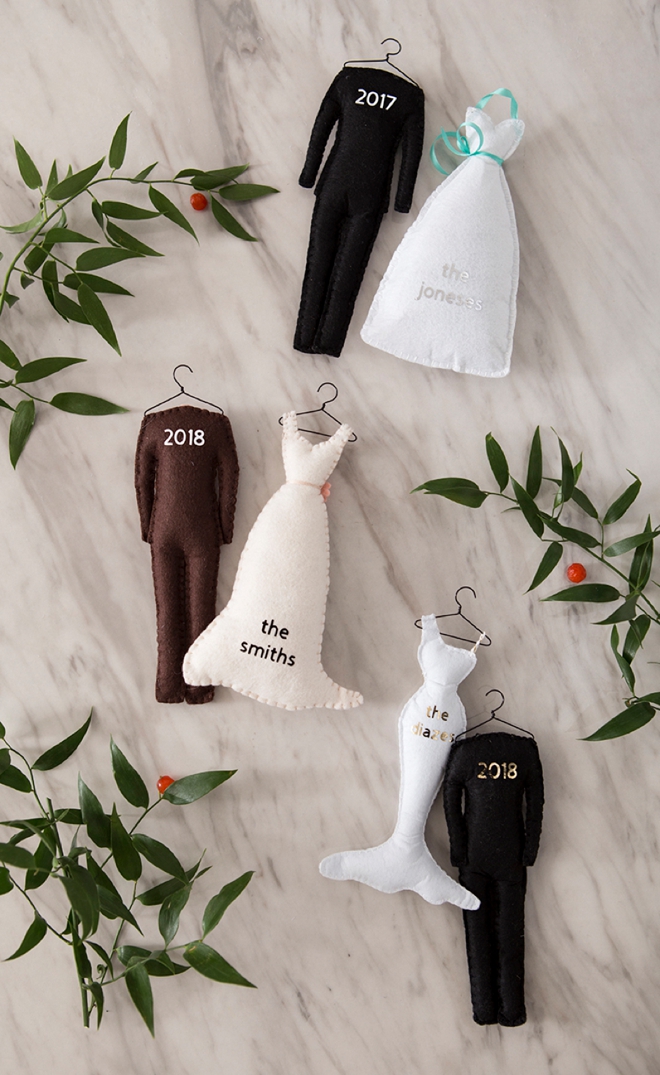
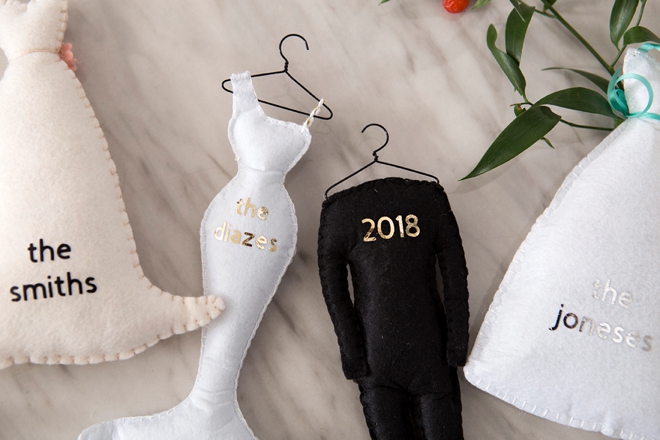
Personalize With Names + Date
Using your favorite Cricut iron-on supplies, you can personalize your darling ornaments in a flash! Ugh, I am just dying over these!
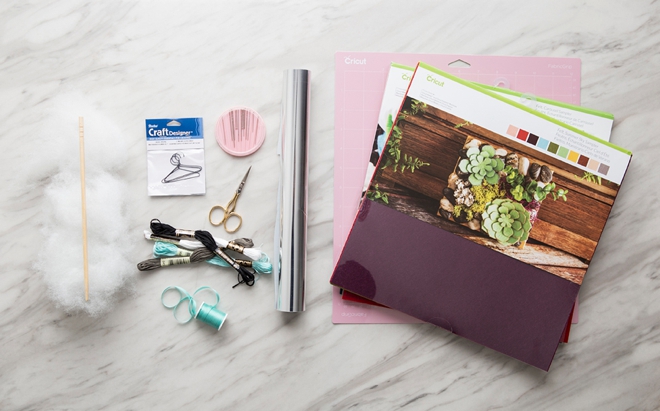
SUPPLIES:
- Cricut Maker
- Cricut Fabric Cutting Mat
- Cricut Felt
- Cricut Iron-on
- Embroidery Floss (to match the felt)
- Embroidery Needles
- Mini Hangers (these are for doll houses!)
- Stuffed Animal Batting (aka. fiber-fill)
- Scissors
- Our free SVG. cut files at the end of the post!
Download + Upload
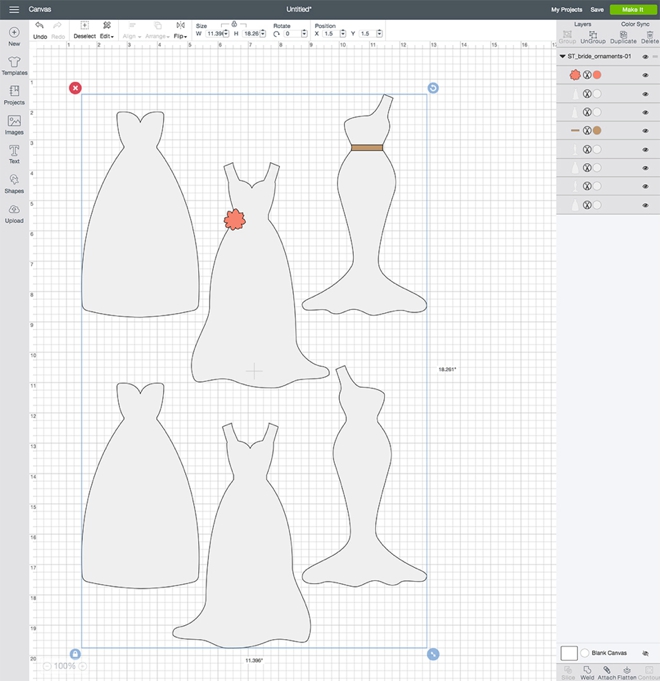
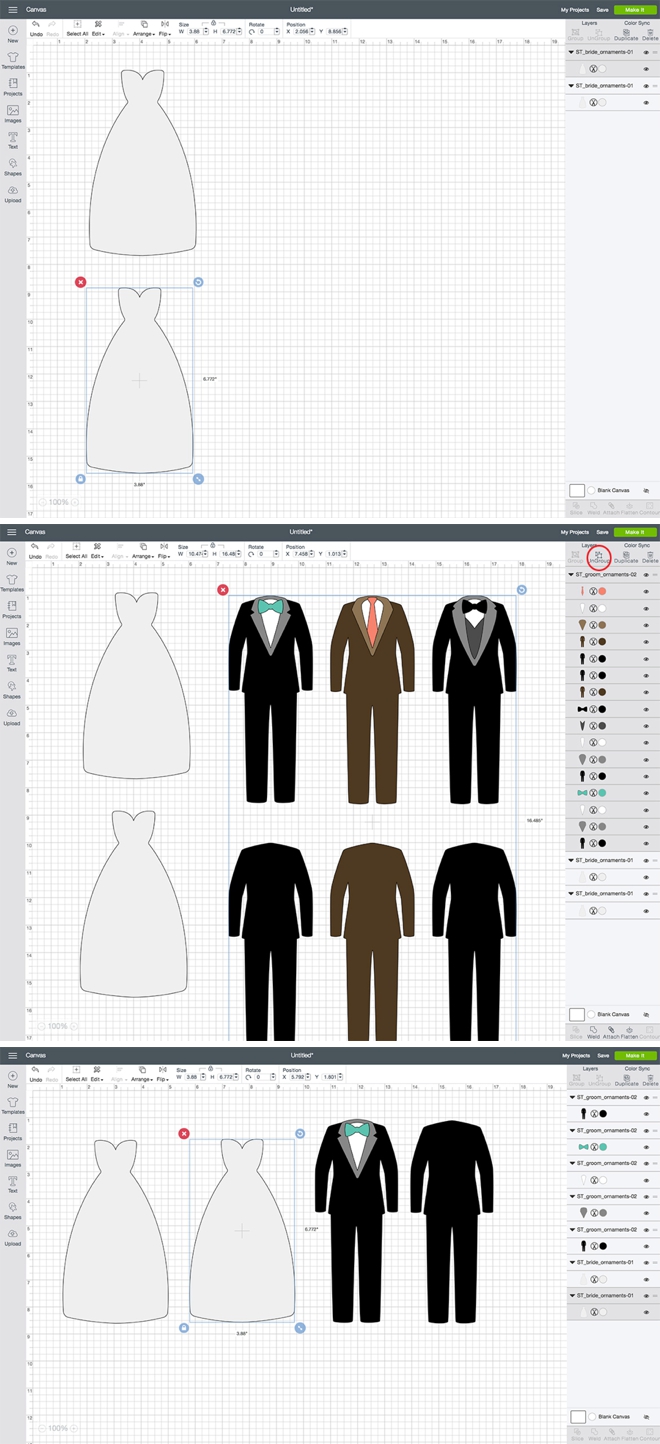
Click on the graphic at the end of the post to download our free SVG. cut files for this project. Then upload them to Cricut Design Space and add to your canvas.
Choose Your Fashion
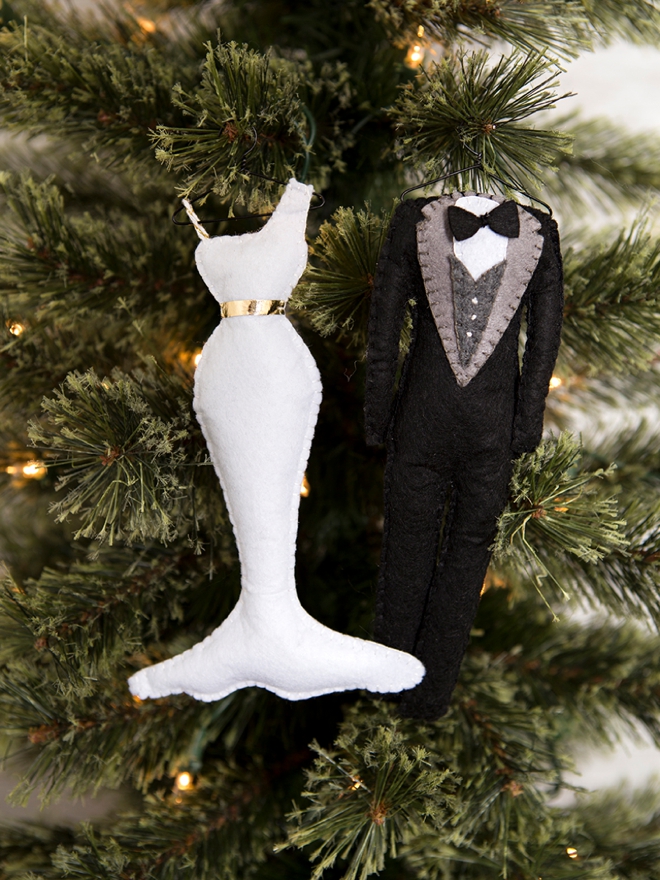
All 3 wedding dresses are on the same file as are the tux/suit options. Click the “ungroup” button in the layers panel to be able to delete the styles you aren’t going to use. Click individual items like the dress belt or the bow tie to remove or change the colors. Customize to fit your wedding day look.
Personalize
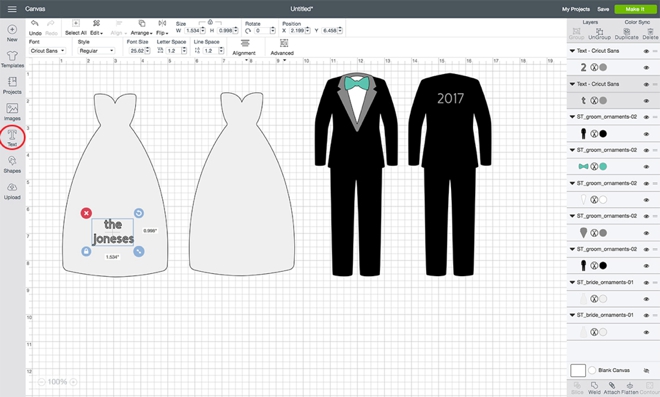
Personalize your ornaments using your name and date by adding text. Size to fit the area on the backside of the ornaments and color to match your choice of iron-on material.
Save Your Project
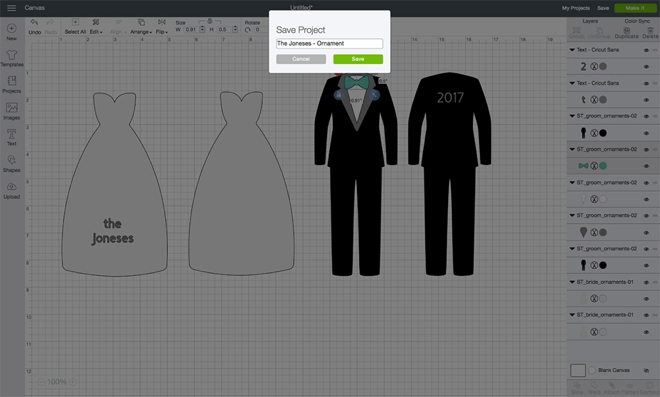
Once you’ve finished personalizing the file, save it just to be safe!
Rotary Blade
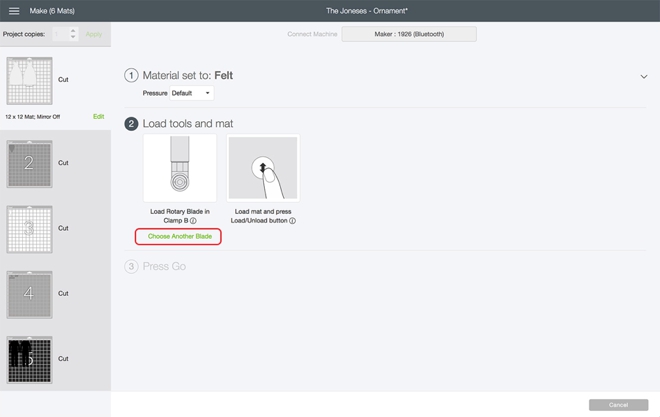
Felt cuts much better using the rotary blade, so click to select that as your cutting blade and start cutting!
Watch The Cricut Work Its Magic
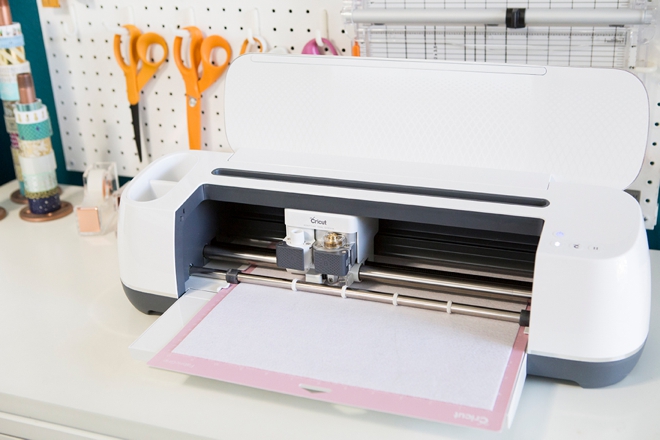
Get Ready To Sew
Once you’ve cut all the pieces of felt, gather your supplies and get ready to sew. I recommend sitting by the Christmas tree with a little wine, maybe even with a holiday movie playing in the background… as these will take you about an hour to sew each one.
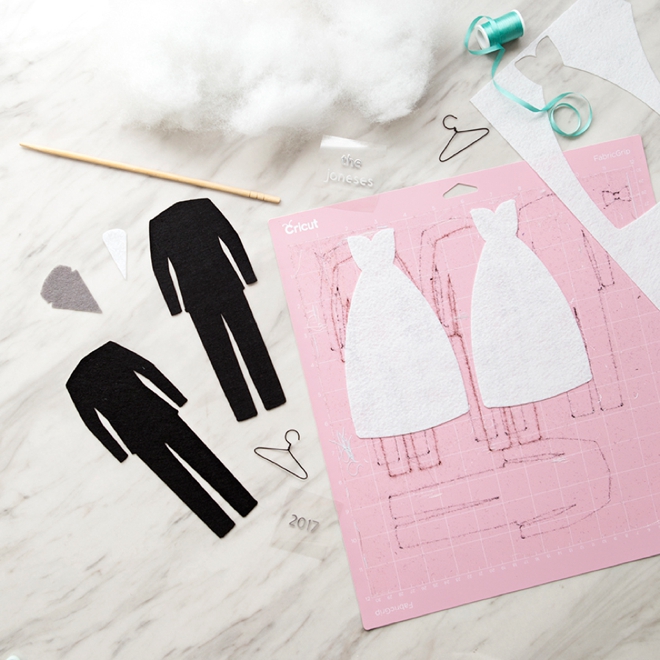
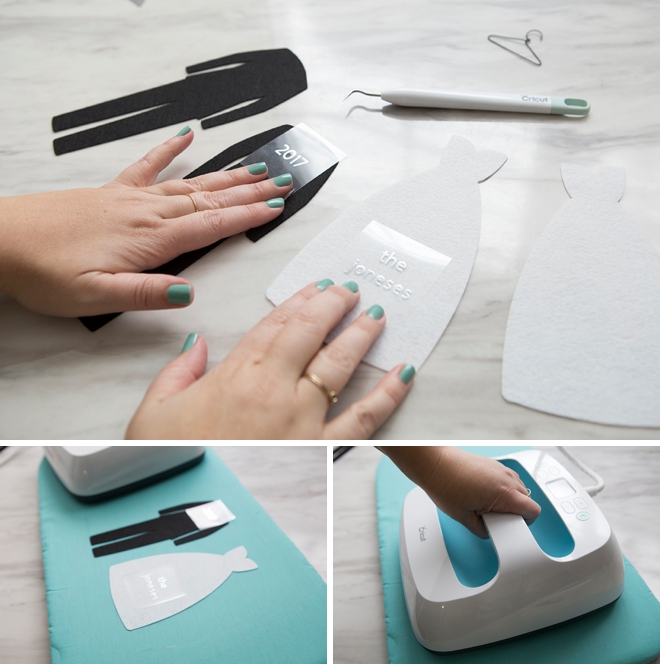
EasyPress
Use your EasyPress to quickly iron-on the personalized details to the felt. Date and names and any other details like the felt dress, flower, bow tie… can all be done using iron-on.
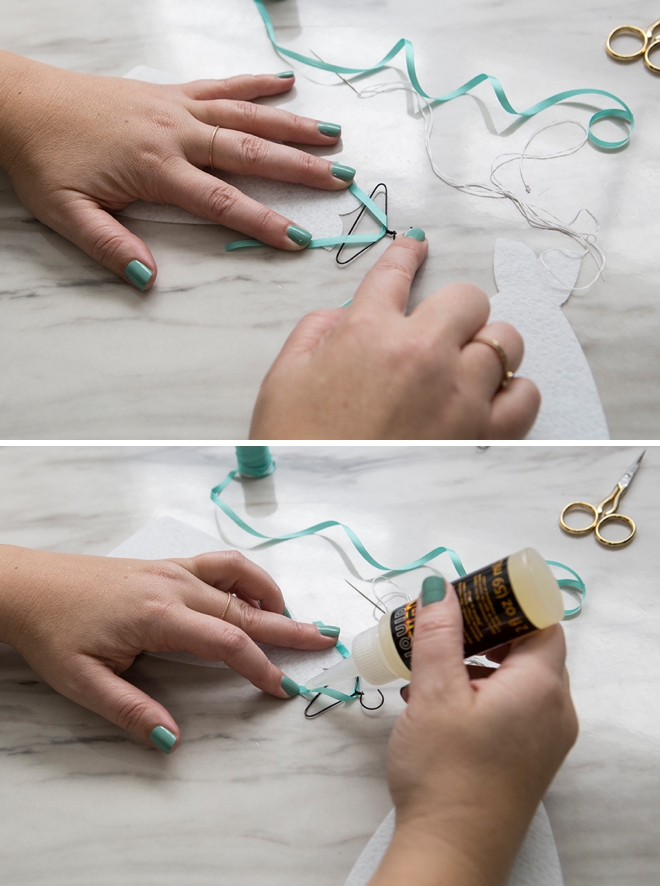
Strapless Dress
This dress design is strapless and there is one with only one strap, for both you’ll need to glue ribbon or twine to the dress so it can hang on the darling mini-hanger.
Blanket Stitch
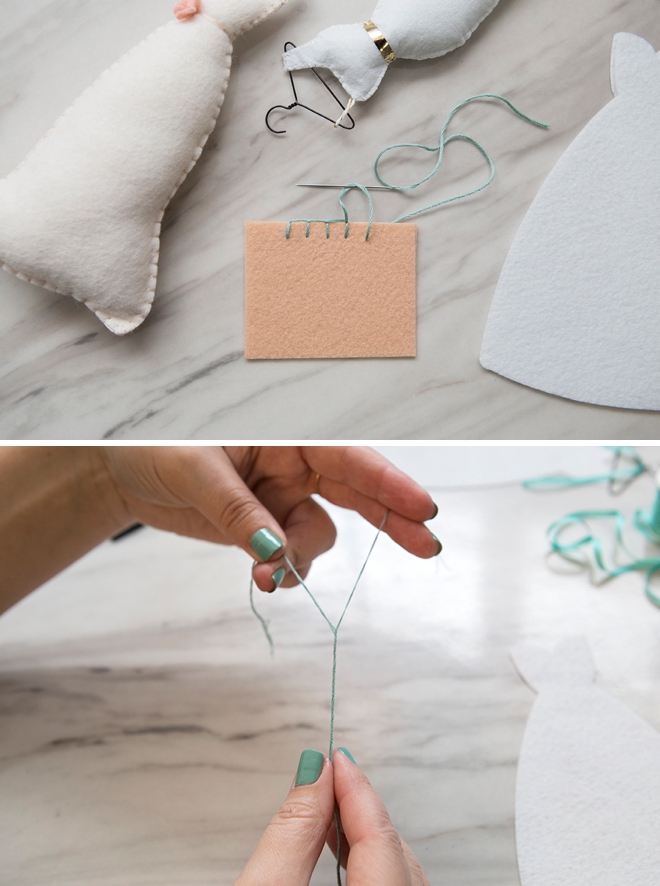
The “blanket stitch” is what we’re using to hand-sew these darling ornaments together. It’s a very basic, easy and pretty stitch… to see it in action you can check out this YouTube clip.
Crafters Tip: Embroidery floss comes with 6 strands in one, I like to use only 2 strands while stitching so carefully pull to separate only two strands.
Sew The Dress
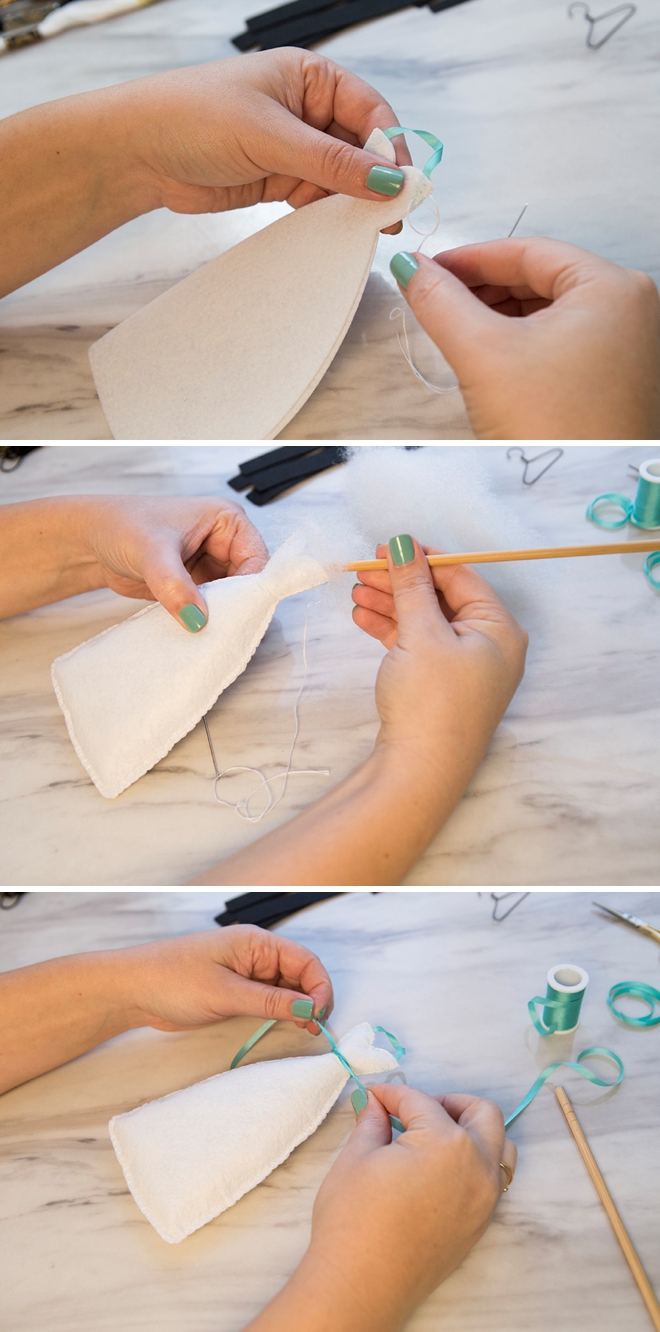
All three dress designs are very easy to sew, start at the top on one side and work your way down and around. Then stuff with batting and finish on the hanger either by gluing or sewing. Add ribbon, lace, felt flowers, anything you’d like! The one-strap dress will need the bottom of the dress stuffed right after you sew it for ease, like the suits as you’ll see in the next step.
Sew, stuff, finish.
Sew The Suit
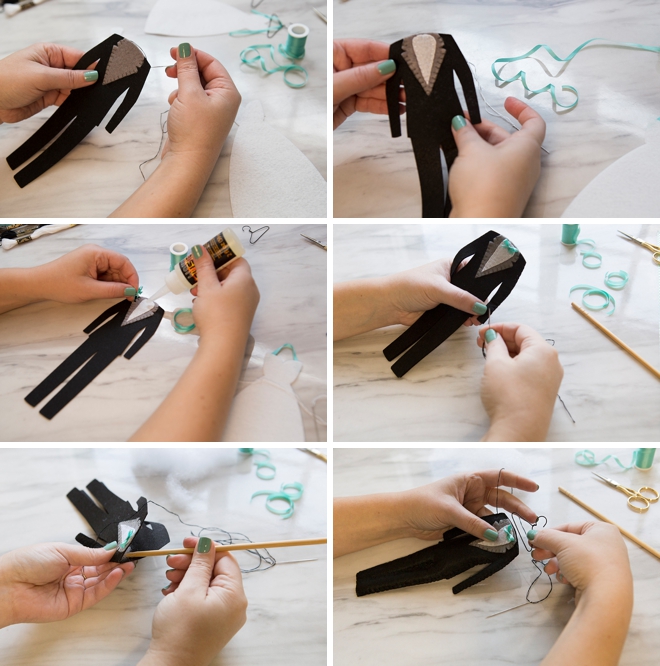
For the suit shirt, you’ll be layering each element, depending on the style. You can add stitched knots as buttons, or use a marker. You can add a bow tie ribbon or use a felt bow tie. The fashion choices are almost endless… so have fun!
Stuffing The Suit: The arms and legs will need to be stuffed as you sew. Stitch the arm area, then stuff, stitch the leg, then stuff, etc. Otherwise the suit fully stitched will be too tight to get the batting inside properly.
The Cutest Ever
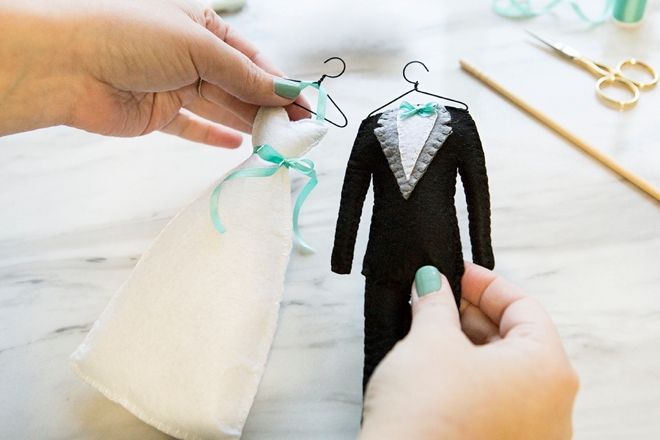
It might feel like a lot of steps but the Maker cuts down on the biggest aspect, the cutting. The cuts turn out perfectly, and quickly, so you can get down to the business of sewing asap. I had so much fun relaxing and sewing these cuties!
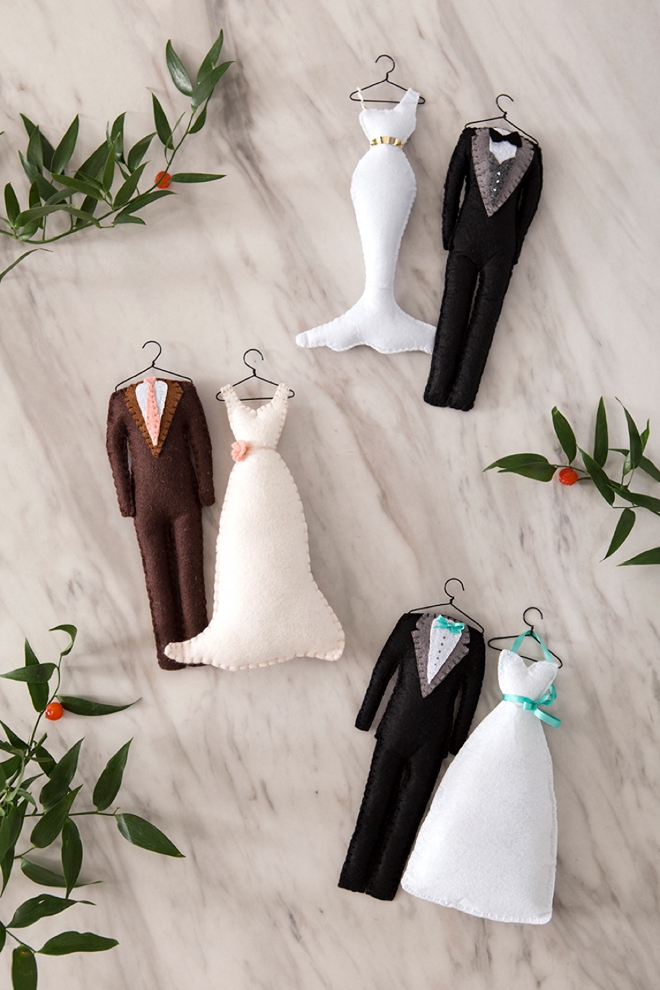
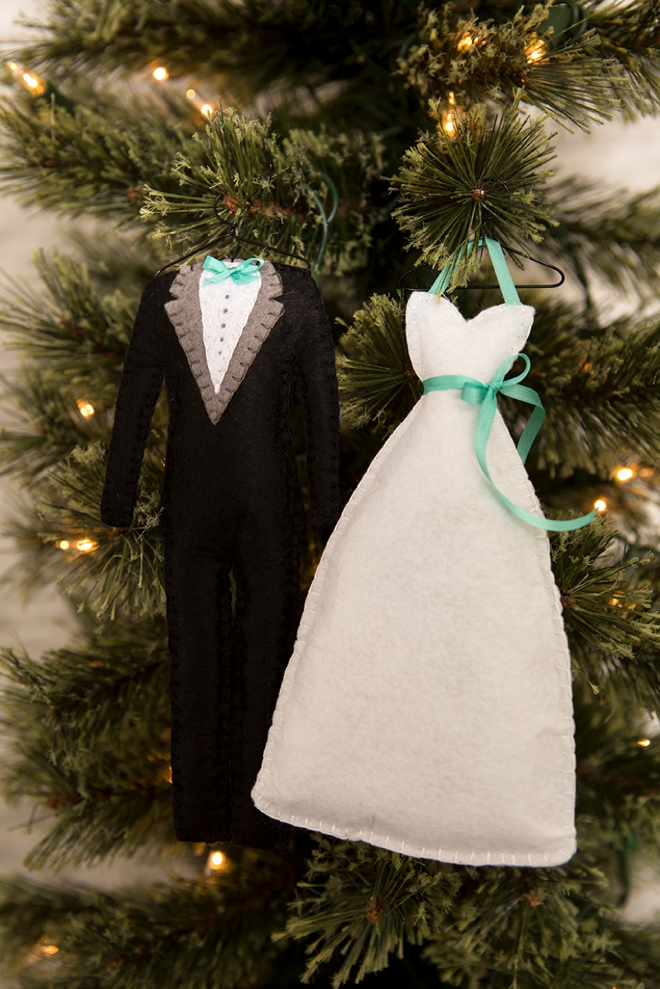
Dreamy Details
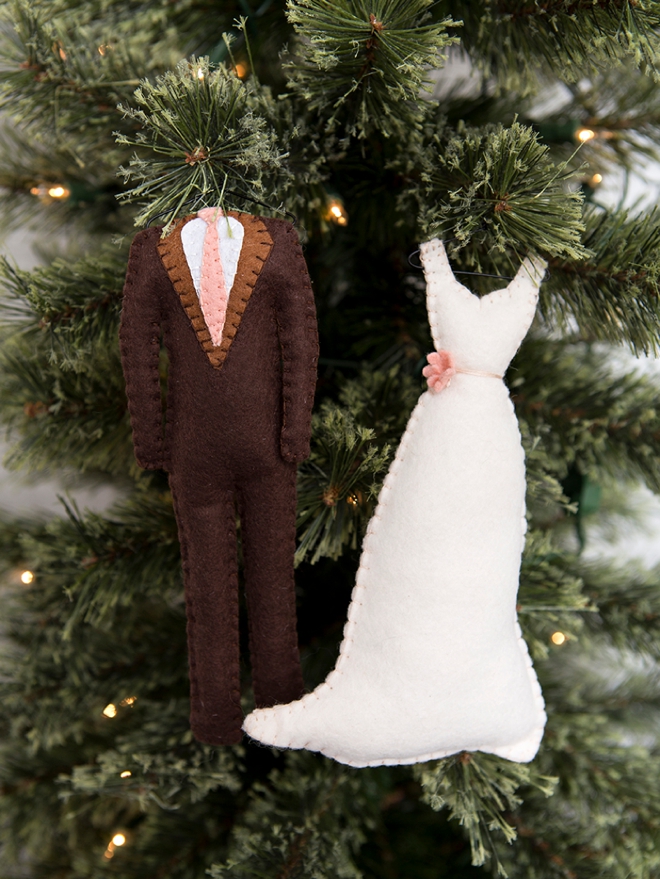
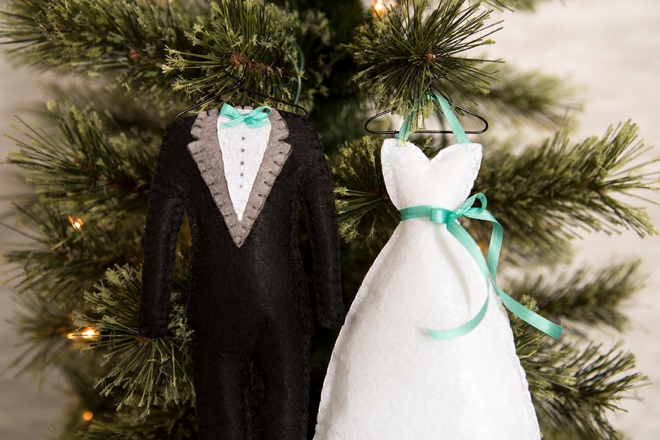
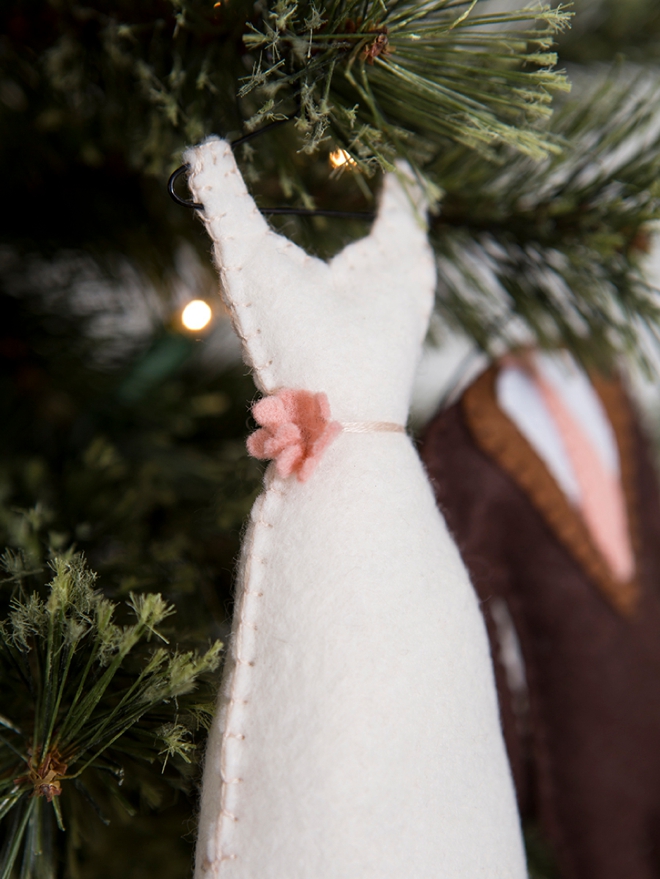
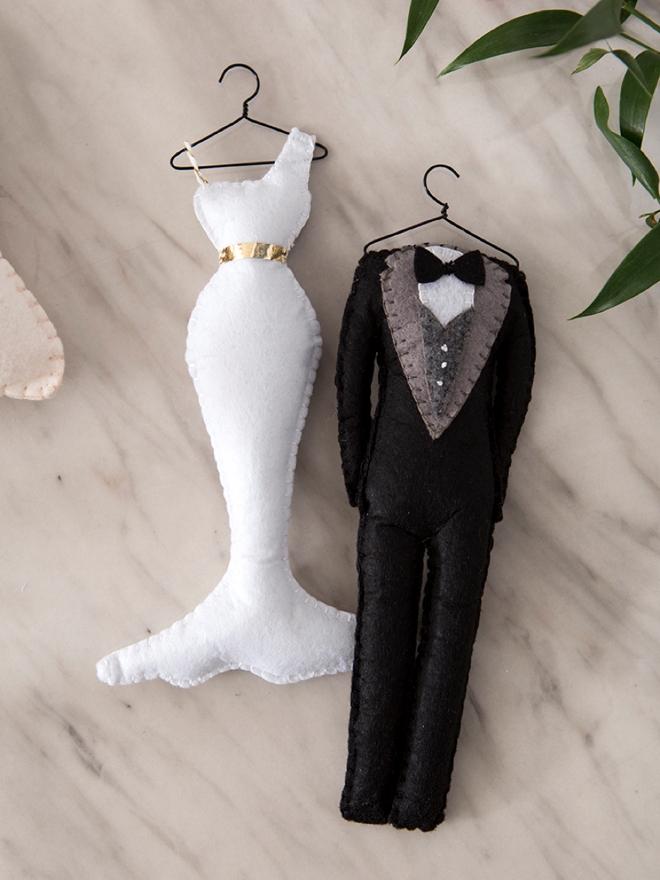
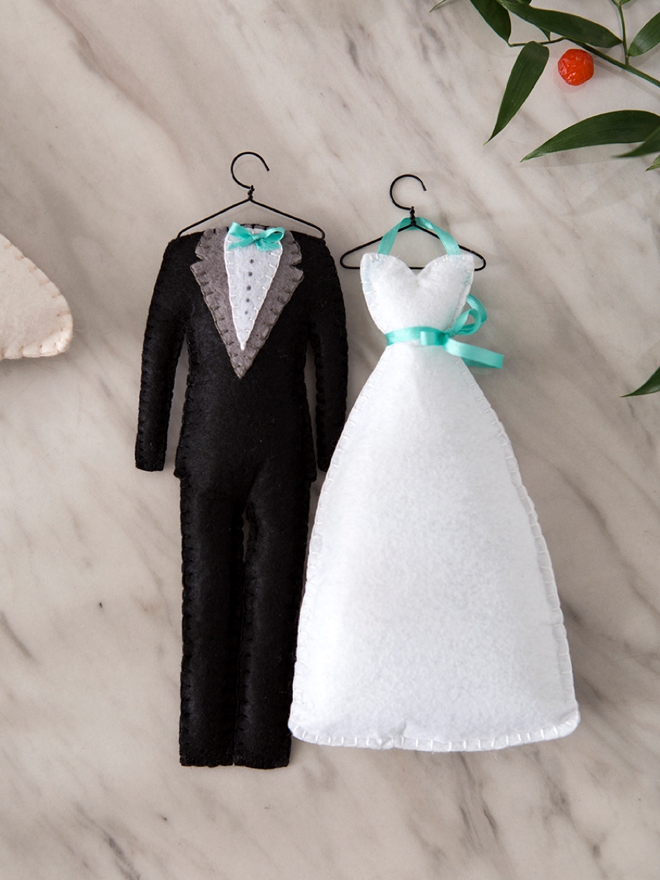
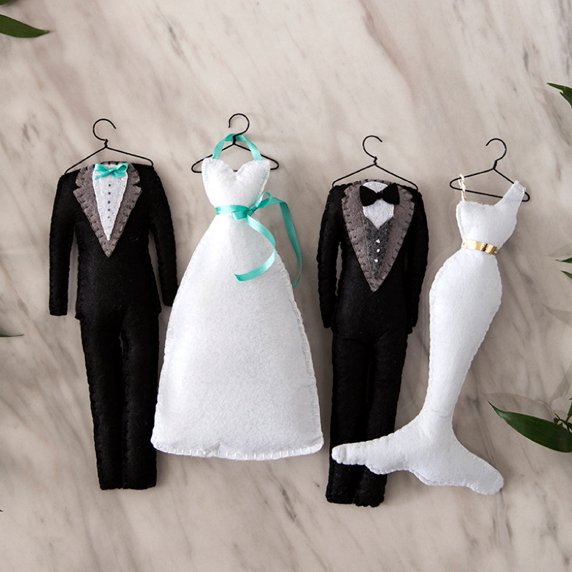
I’m dying over this tiny felt flower! I bunched it up a little before I sewed it on and at the end I used the embroidery floss to wrap around the entire dress as a chic belt. The one-strap dresses belt is iron-on… and for the matching tux I only sewed the middle of the bow tie on so that it had volume. The turquoise couple has ribbon details instead. Dream up some darling detail ideas to make your bride and groom ornament resemble your wedding day look!
DIY TUTORIAL PARTNER:

Cricut is a world-class leader in personal electronic cutting machines that has enabled people to achieve their creative best for over 50 years. Today, millions of people use Cricut products to create unique projects, and they focus on enhancing lives with this power of creativity. Let Cricut help you take your wedding personalization and project creativity to the next level!
As with all our DIY tutorials, if you create one of our projects please send us a picture – We Love Seeing Your Creativity! If you use Instagram or Twitter please use the hashtag #SomethingTurquoiseDIY and it will show up on our Get Social page. Happy Crafting!
DIY Tutorial Credits
Photography + DIY Tutorial: Jen Causey of Something Turquoise // Cricut Maker + Felt + Iron-on: courtesy of Cricut // SVG Design: Julia Ensign // Mini Hangers: Amazon // Embroidery Floss: Michaels // Fiber-Fill Batting: Amazon // Nail Polish: OPI – Withstands the Test of Thyme
SVG files copyright SomethingTurquoise.com®, for personal use only.Shop The Supplies:
Find the supplies you’ll need for this project from our affiliate links below:



Comments