-Sponsored Post-
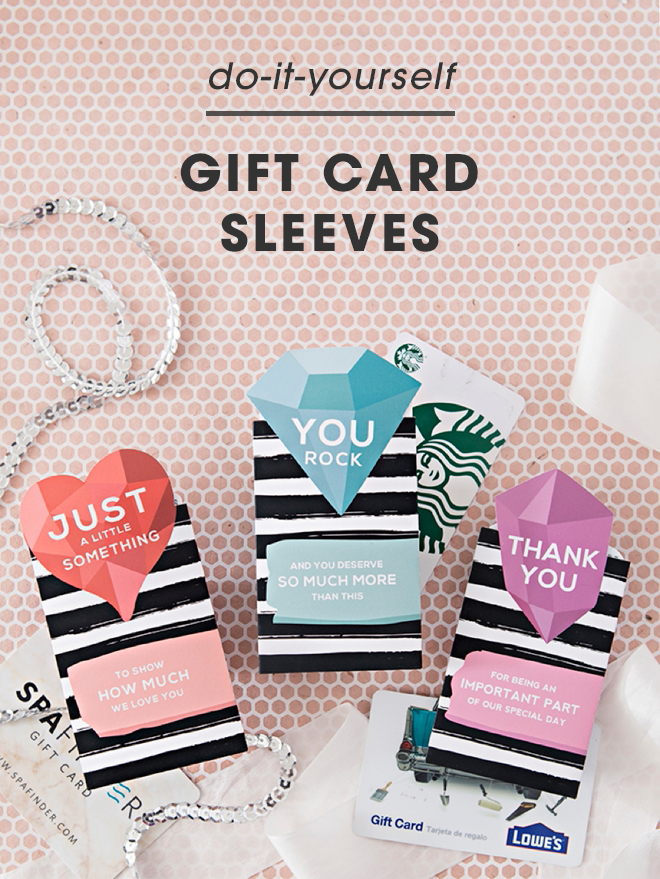
It takes a village to plan a wedding. From your family to your vendors, each couple has a very unique group of special people around them during the process. They’re there because they care about you and want to support your love and marriage. Being grateful and giving thanks is what this next week is all about and so that’s what inspired this project. These darling gift card sleeves are the perfect packaging to show your thankfulness for all those special people around you. From your bridal party to your parents and from the bartender to your wedding planner, slip them a little something in the cutest way possible. Our exclusive gift card sleeve files are designed to print then cut using your home printer and your Cricut Maker, so while they might look like you bought them at the store, the Cricut does ALL the hard work for you. And if you don’t have one yet, here are more than 40 reasons why you’ll love one!
Say Thanks!
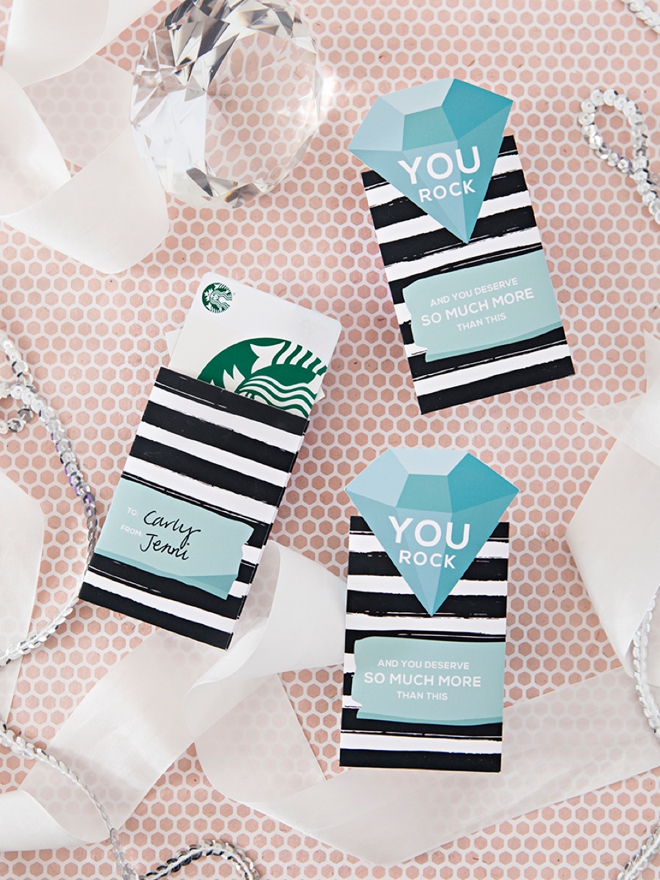
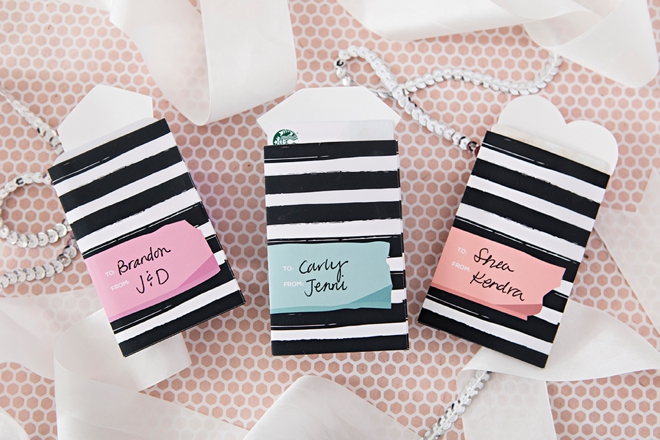
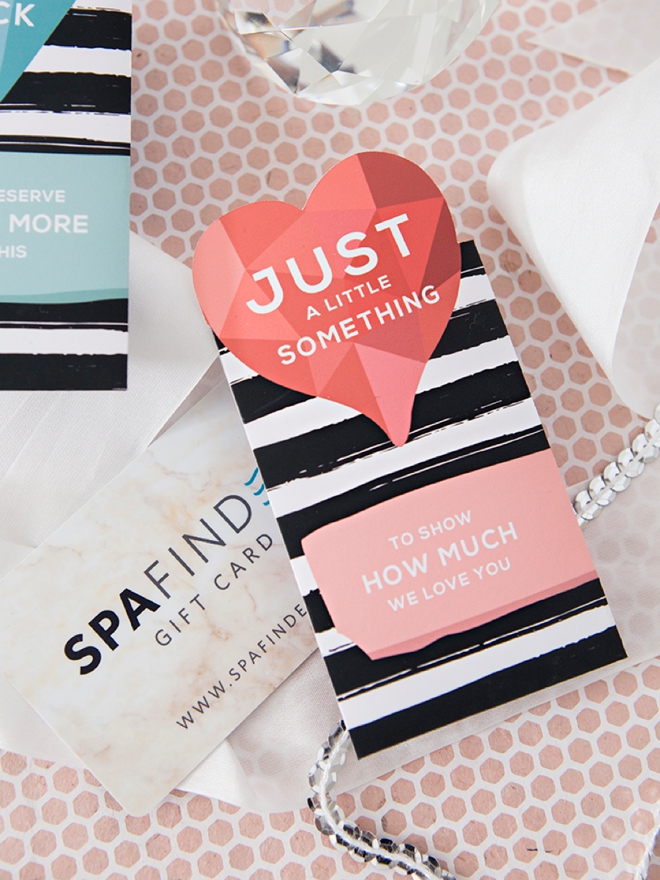
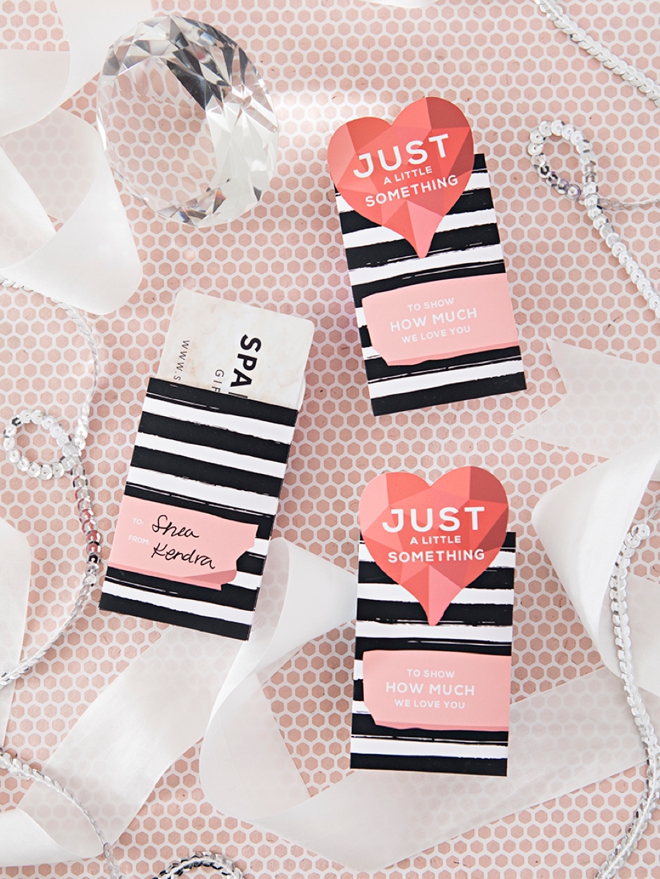
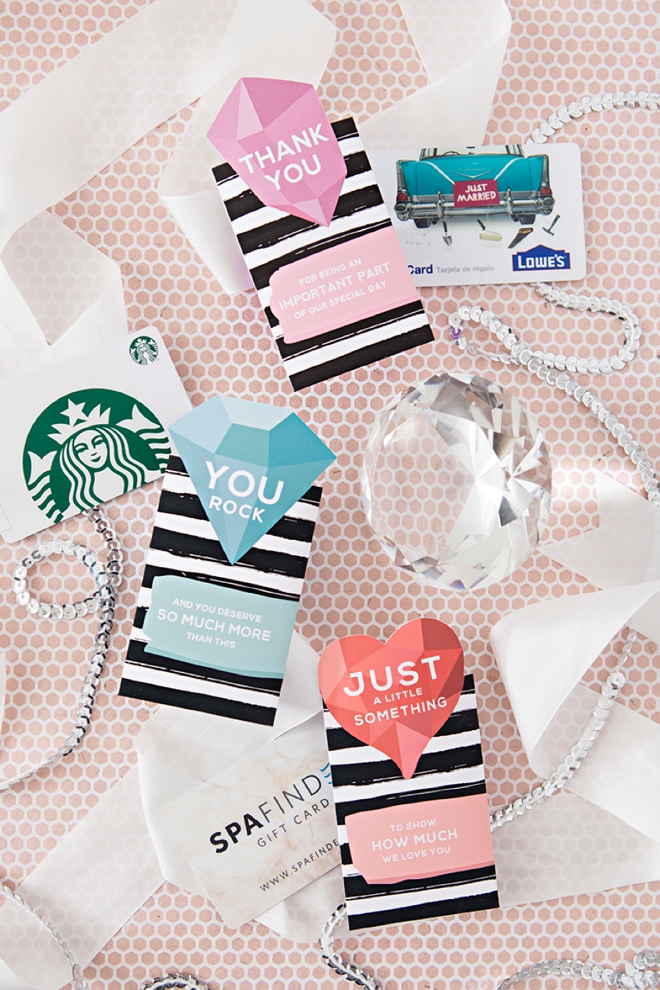
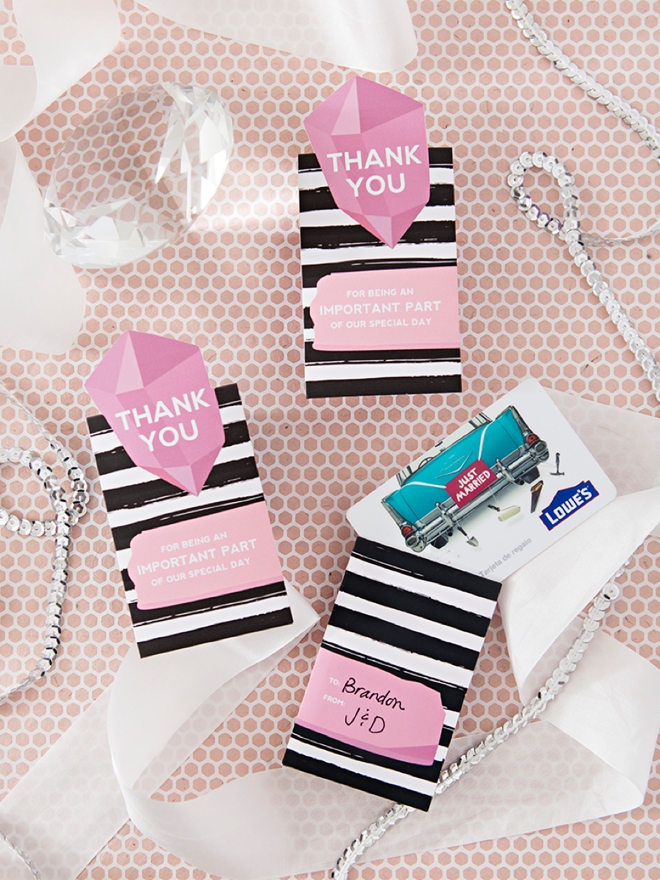
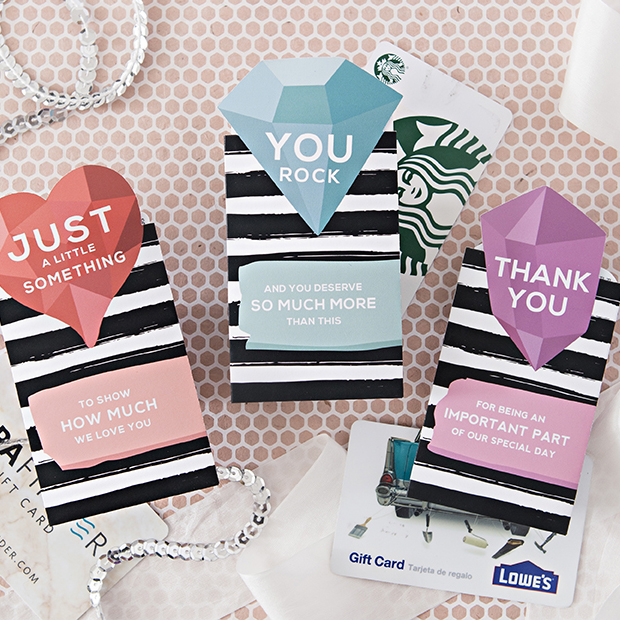
We’re sharing three different designs for you to choose from; You Rock, Just A Little Something, and Thank You. Of the three, one is guaranteed to perfectly fit the sentiment for its recipient. Complete with a little to: and from: on the backside!
SUPPLIES:
- Cricut Maker or Cricut Explore
- 8.5″ x 11″ Matte Photo Paper
- Home Printer
- Glue Dots
- Our FREE png. files at the end of the post!
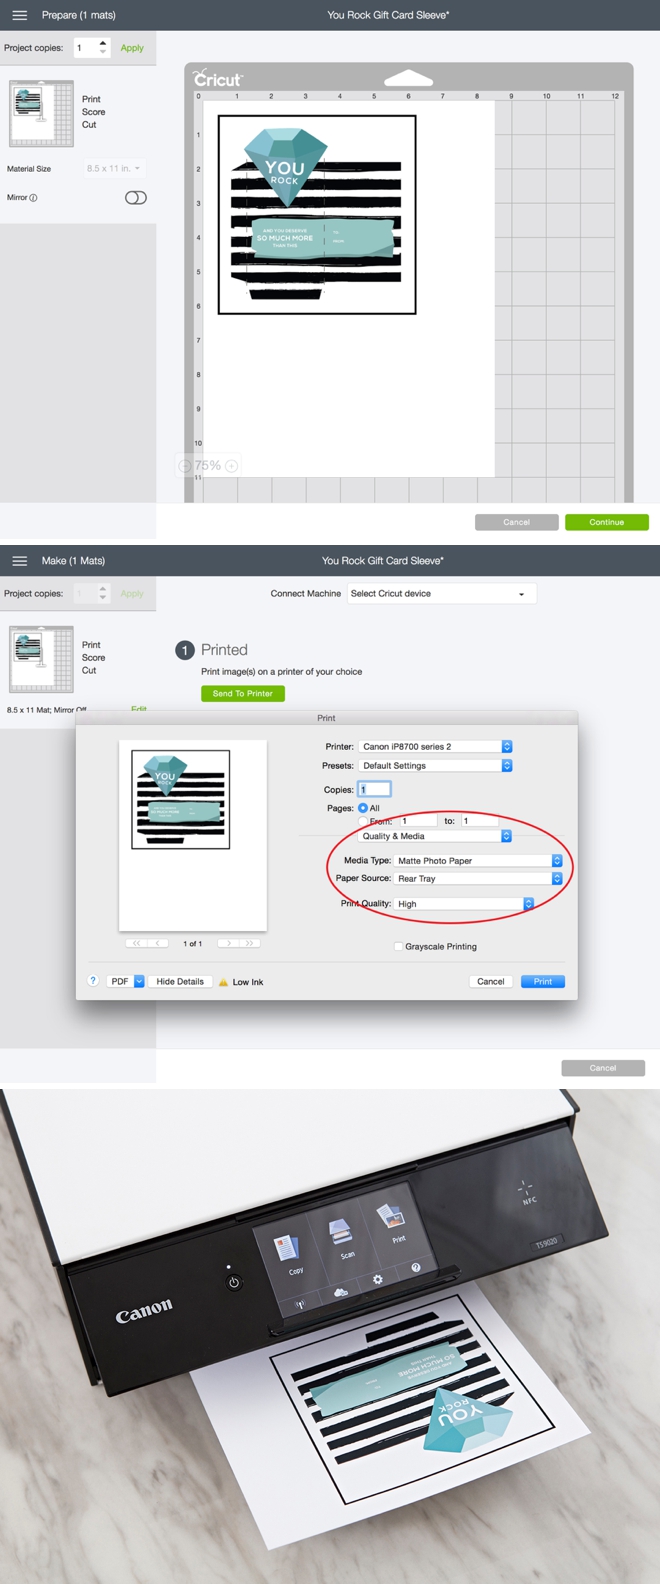
Upload To Design Space
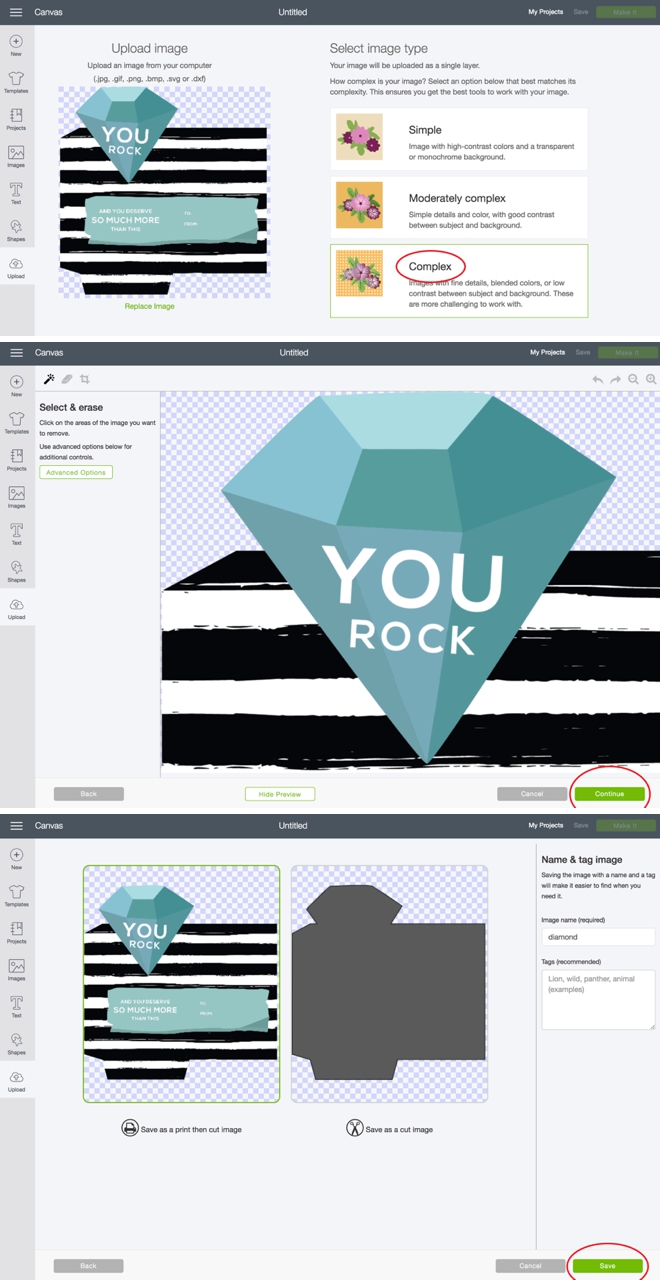
At the end of the post, click on the graphic to download your choice of gift card sleeve design. Open Design Space and click to choose to upload a file. Locate the file, choose complex file, click continue on the next page and finally click to save the design as a print then cut image.
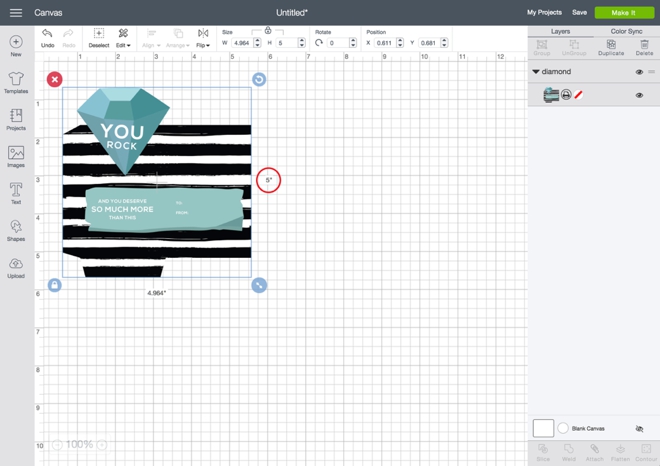
Size To 5″ Wide
Drag the file down to exactly 5″ wide as show on the coordinates.
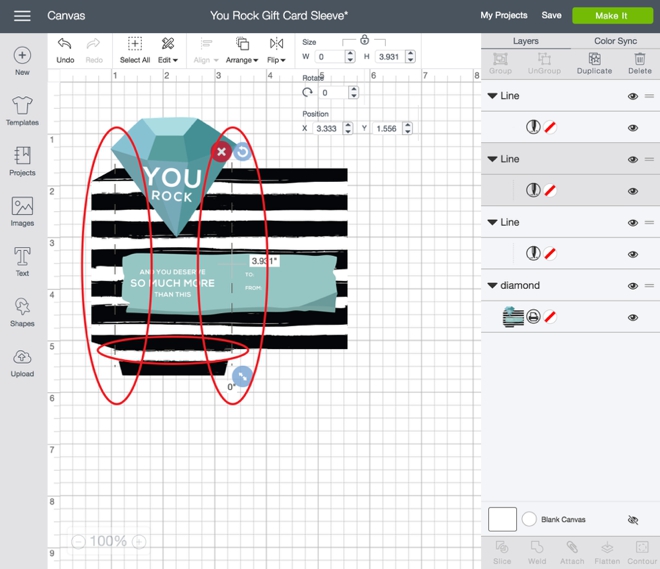
Add Score Lines
While you don’t have to do this step, doing it makes the folding of these sleeves SO much easier. Click to add a shape and choose score line; add 3 lines, one on each side and one across the bottom.
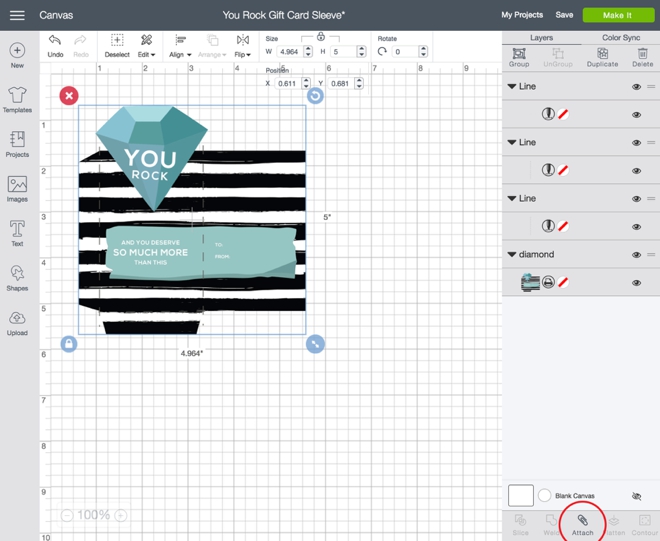
Attach
Select the file and all three cut lines and hit attach. This tells the Cricut that the score lines are now “attached” to that exact spot on the design file.
If you’ve never used the print then cut feature of the Cricut, it can seem a bit intimidating but I assure you it isn’t! After you’ve attached the score lines you are ready to make the project. When using a print then cut file, Design Space automatically prompts you to print the file on your home printer and then place that print on the cutting mat. Click print. I’m using my Canon TS9020 and the Canon Matte Photo paper so I chose to print on those settings with the highest quality.
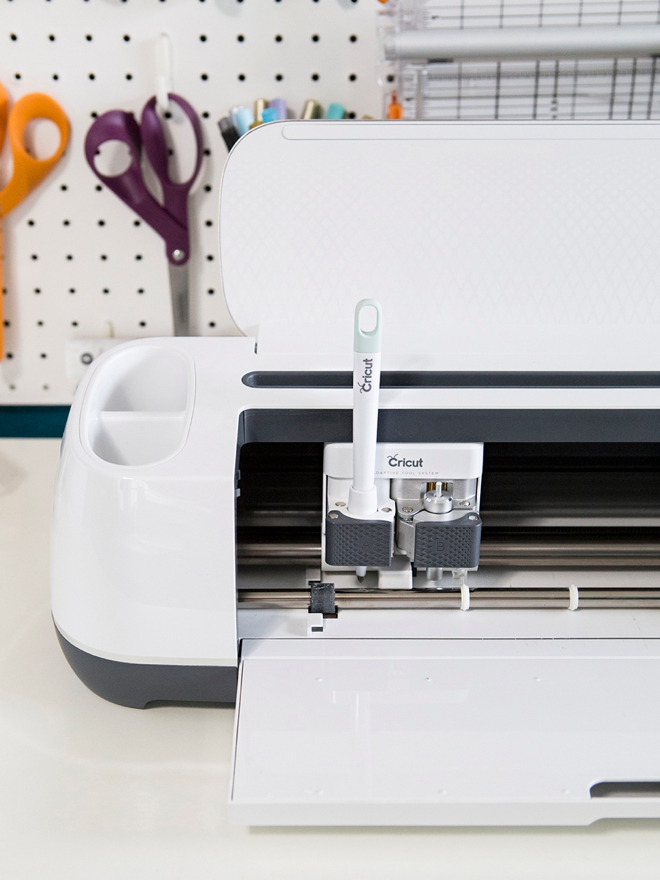
Add The Scoring Blade
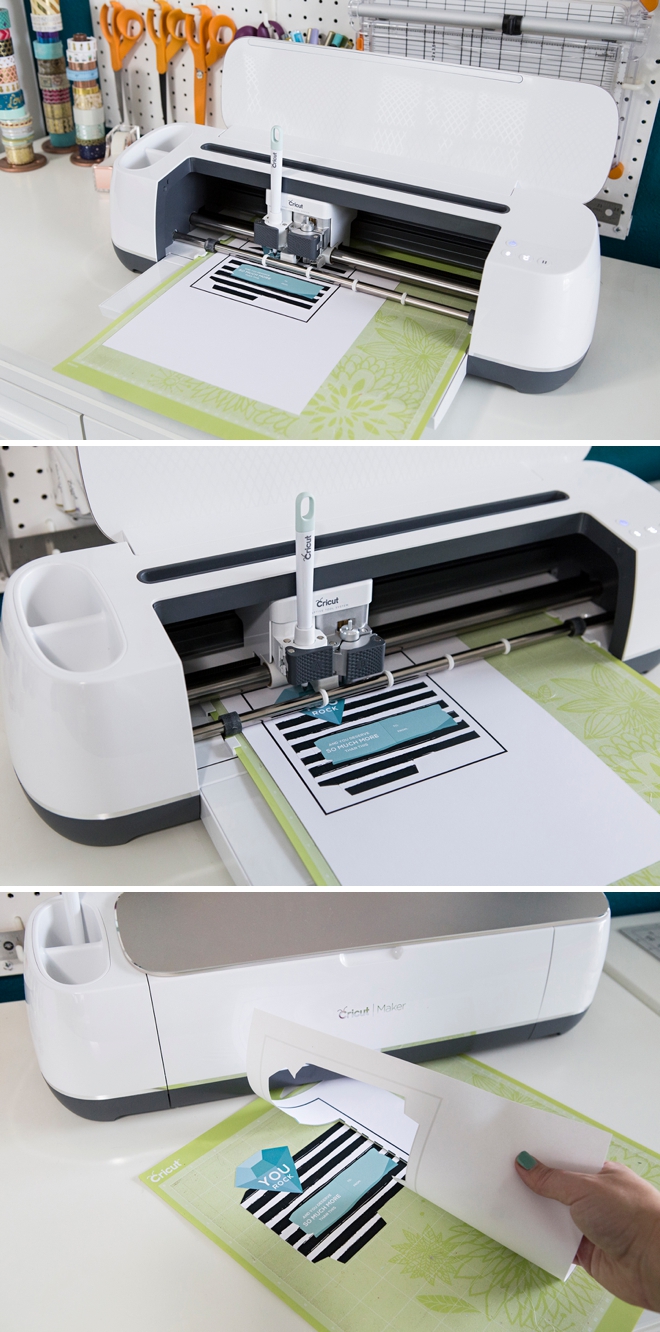
Cut
Place the printed design onto a cutting mat and load into the Cricut Maker. Then watch the blade housing slowly read the black square registration mark with it’s bright light… and then score and cut the file! The black registration box tells the Cricut exactly where to cut on the printed design, it’s amazing.
Fold On The Three Score Lines
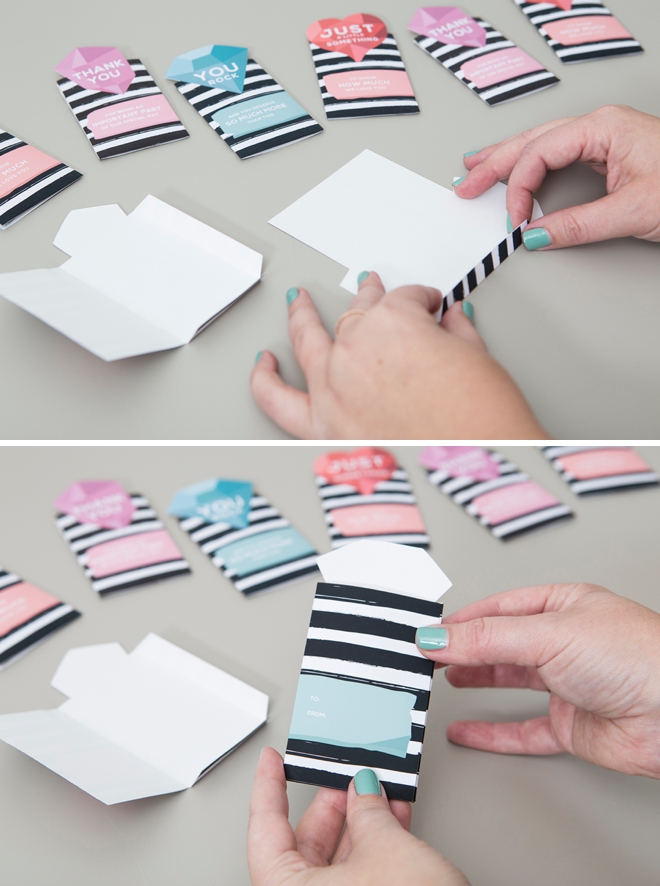
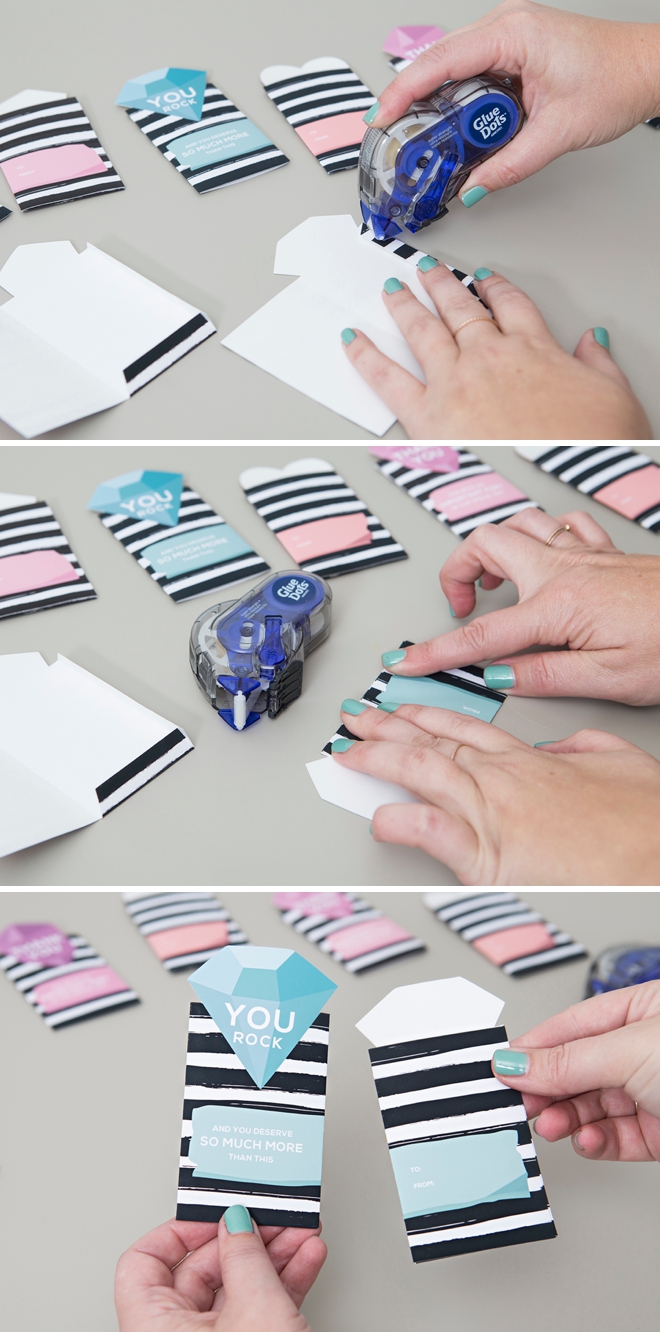
Add Glue Dots To The Folded Flaps And Adhere
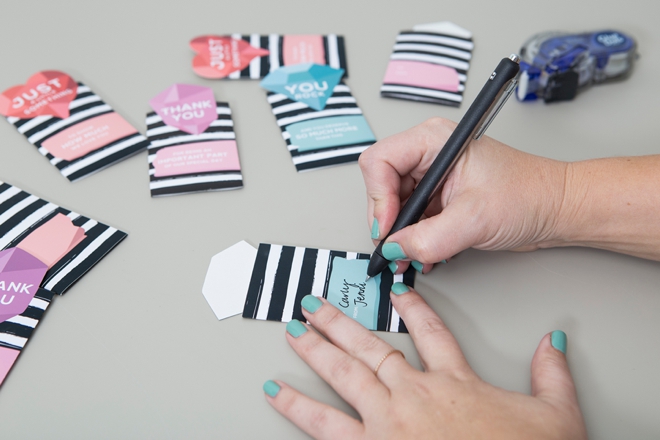
Fill Out The To: and From:
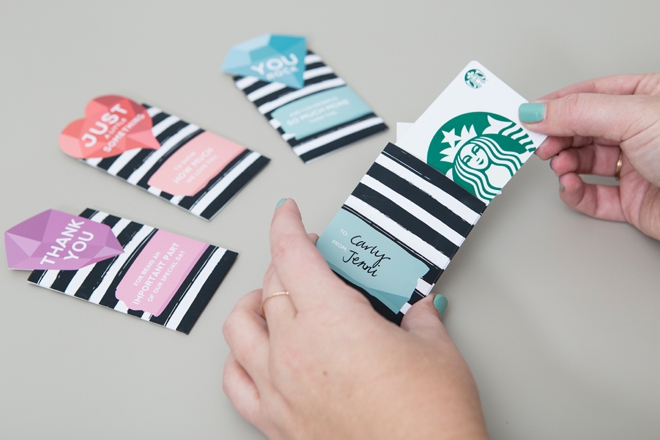
Add A Gift Card!
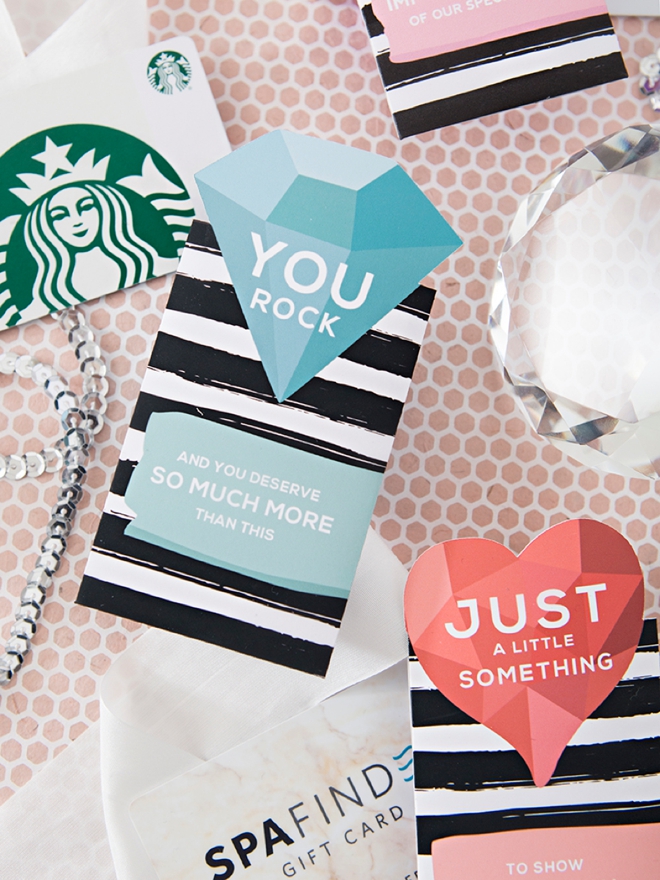
The Extra Touch
Even if it’s just a $5 coffee card, a little gift like this goes a long way because of its ultra sweet packaging. All you needs is a few pennies and a few minutes to whip out a few of these sleeves and say thanks in true DIY bride style!
DIY TUTORIAL PARTNER:

Cricut is a world-class leader in personal electronic cutting machines that has enabled people to achieve their creative best for over 50 years. Today, millions of people use Cricut products to create unique projects, and they focus on enhancing lives with this power of creativity. Let Cricut help you take your wedding personalization and project creativity to the next level!
As with all our DIY tutorials, if you create one of our projects please send us a picture – We Love Seeing Your Creativity! If you use Instagram or Twitter please use the hashtag #SomethingTurquoiseDIY and it will show up on our Get Social page. Happy Crafting!
DIY Tutorial Credits
Photography + DIY Tutorial: Jen Causey of Something Turquoise // Cricut Maker: courtesy of Cricut // Gift Card Sleeve Designs: Julia Ensign // Canon TS9020 Printer: Amazon // Canon 8.5″ x 11″ Matte Photo Paper: Amazon // Glue Dots GlueTape: Amazon // Nail Polish: OPI – Withstands the Test of Thyme
Shop The Supplies:
Find the supplies you’ll need for this project from our affiliate links below:



Comments