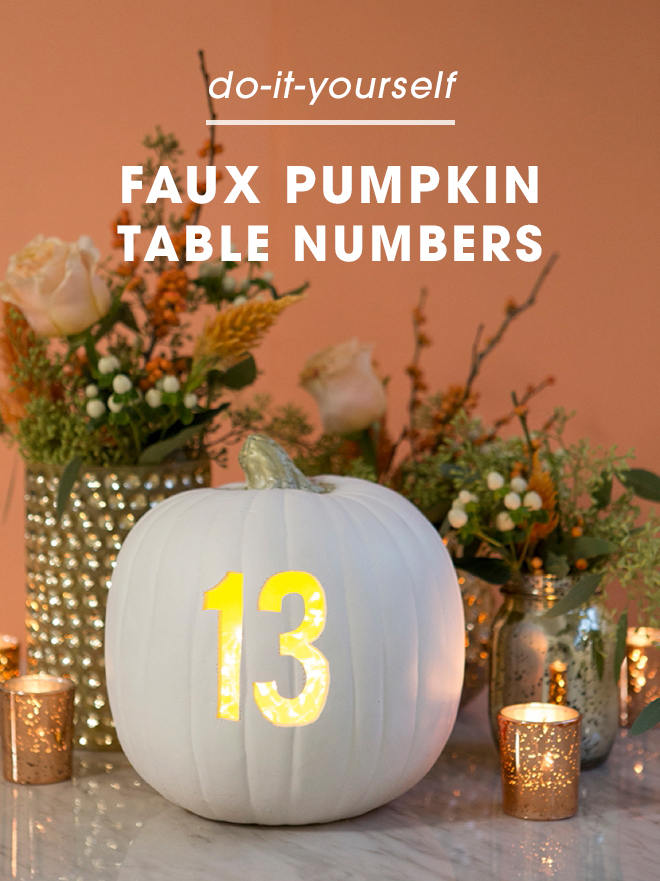
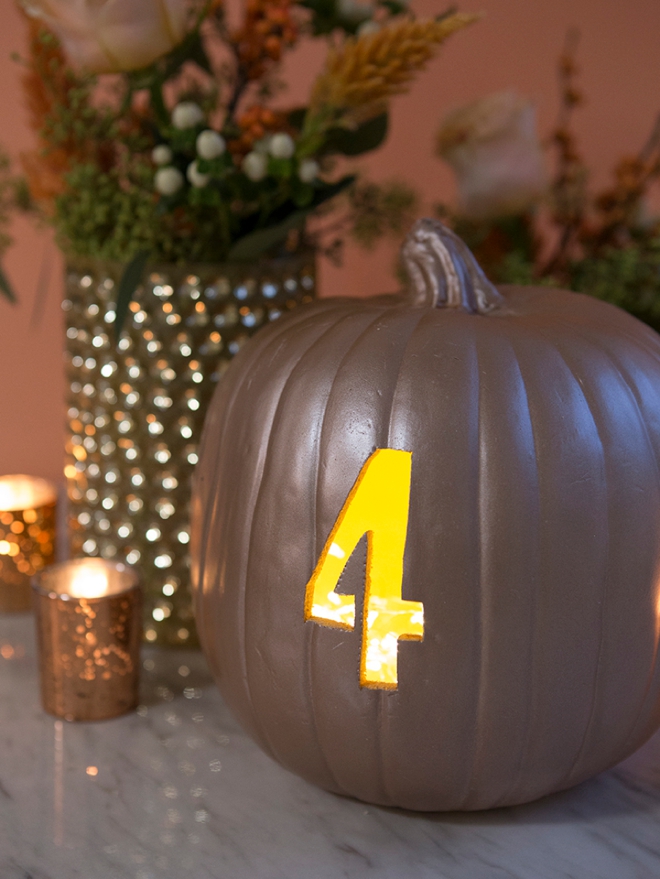
Why are fall weddings extra cozy and romantic? Maybe it’s the colors, or the feeling of the season, possibly the chilly weather… or maybe it’s PUMPKIN everything! Since our faux pumpkin guest book and our faux pumpkin card box have been so popular, I simply had to create faux pumpkin table numbers ~ yay! Carve at your own pace, paint to match your event and use them to light the way to each reception table. Your guests are sure to get a kick out of this ultra-fall detail!
SUPPLIES:
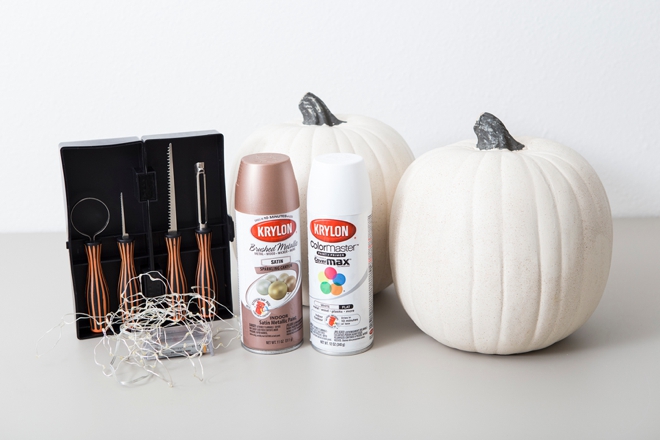
- 9″ x 8″ x 8″ Faux Pumpkins (the medium sized ones)
- Carving Tools
- Spray Paint
- Fairy Light Strands
- Push Pin
- Tape
- Printer
- Our free number patterns at the end of the post!
Prep The Pumpkin
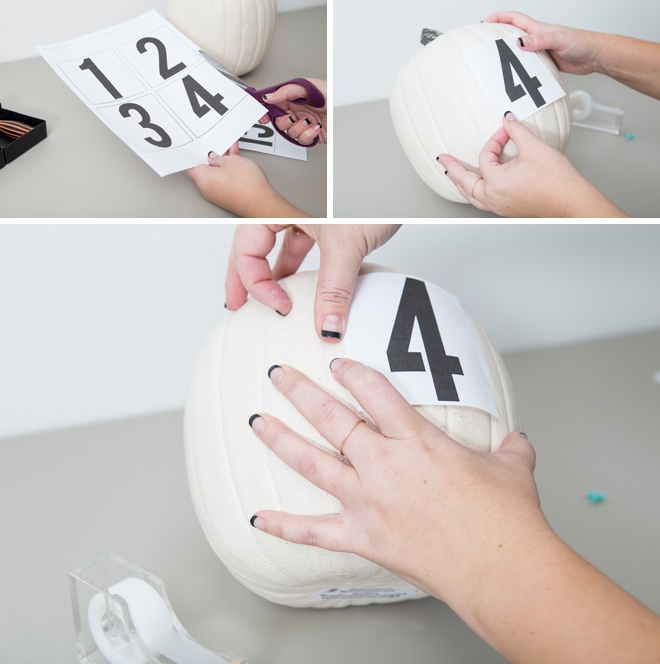
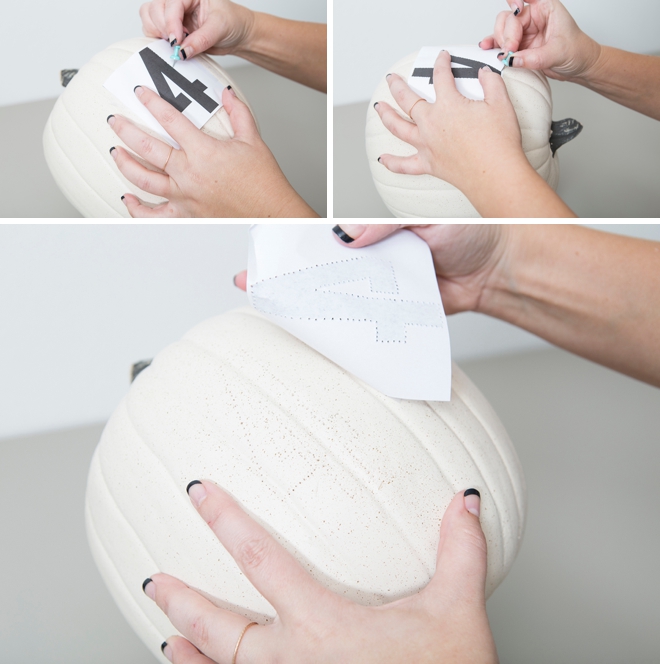
Just like the pumpkin carving patterns sold in the store, I created numbers 1 – 20 that you can print at the end of the post! Cut out each one and tape to your pumpkin.
Keep in mind when carving numbers 4, 6, 8, 9 and 0 – you will have to add a line to keep the insides of the numbers attached. I’ve already done this for you in my templates, but just to warn you in case you create your own!
Prick The Outline
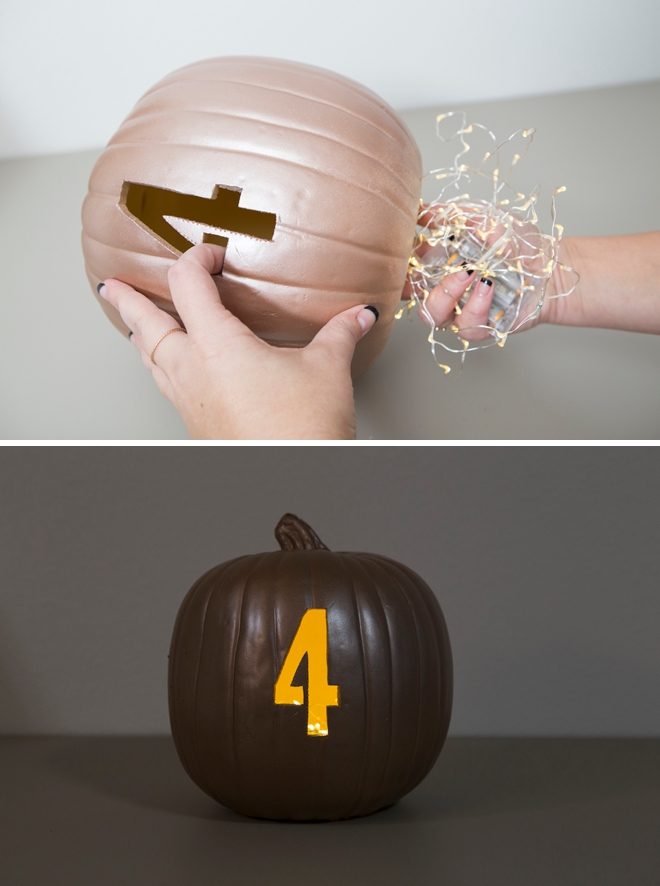
Using a push pin or the like, outline the entire number with little pin pricks into the pumpkin – which transfers the shape for you to carve!
Carve
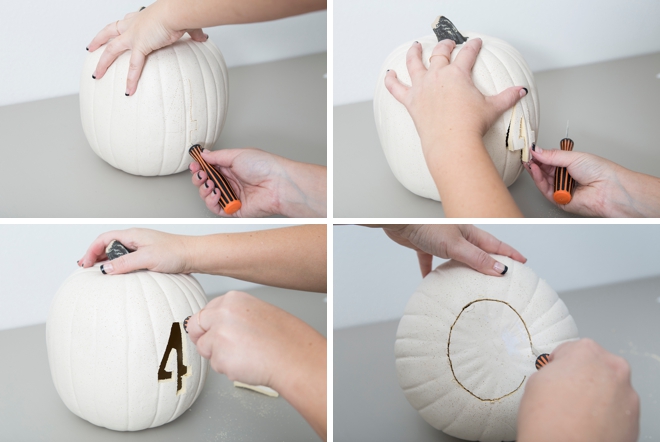
Follow the pin pricks to carve out each number. Then carve a hole in the bottom of the pumpkin too.
Sand + Smooth
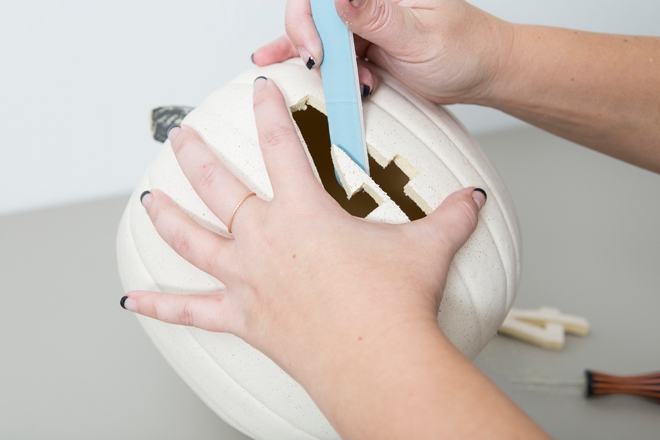
A nail file is the perfect tool to sand and smooth the carved lines in each number, so the shape looks more refined.
Paint To Match
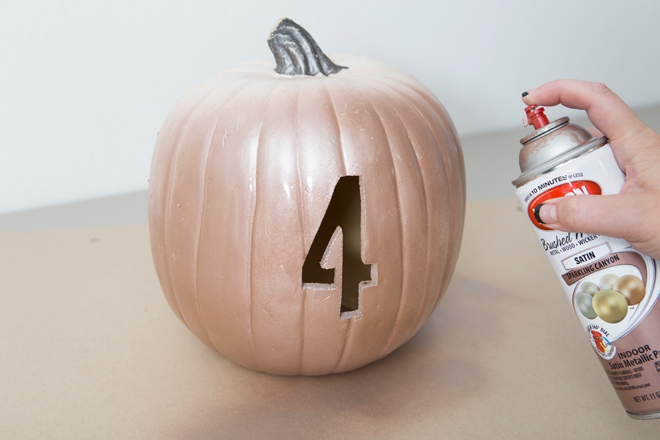
Spray paint your pumpkin to match your event… or don’t – your call!
Fairy Lights
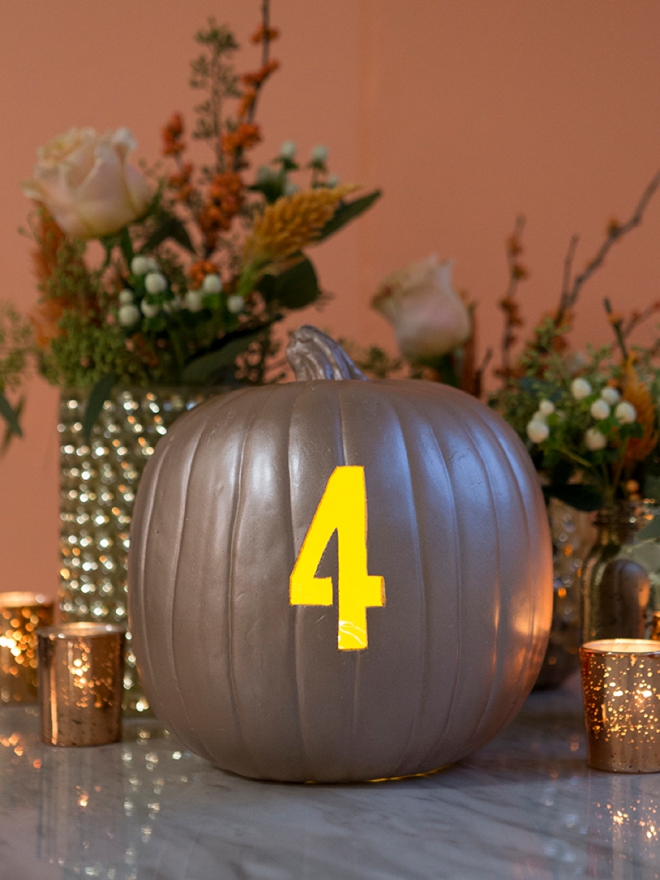
The strand type of battery operated fairy lights will give off a brighter, all around glow than simple faux tea lights. Add a strand to each pumpkin and display at your reception!
Carve On Your Own Time
Yes, this project is a bit involved and will take you some time. But, you can carve one a week or one every other week because they won’t rot. Or maybe throw a little carving party and have some of your besties help you with the task!
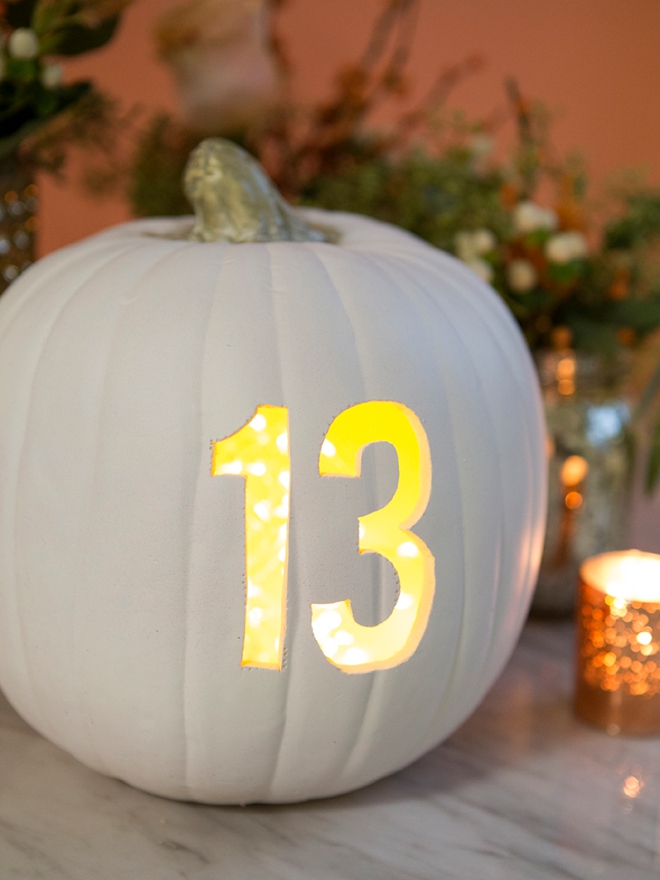
As with all our DIY tutorials, if you create one of our projects please send us a picture – We Love Seeing Your Creativity! If you use Instagram or Twitter please use the hashtag #SomethingTurquoiseDIY and it will show up on our Get Social page. Happy Crafting!
DIY Tutorial Credits
Photography + DIY Tutorial: Jen Carreiro of Something Turquoise // Faux Pumpkins: Michaels (WAY more expensive online, shop in store if you can) // Spray Paint in White and Sparkling Canyon: Amazon // Carving Tools: Target, last year // Light Strand: Amazon // Nail Polish: OPI – Withstands the Test of Thyme
Shop The Supplies:
Find the supplies you’ll need for this project from our affiliate links below:



Comments