

-Sponsored Post-
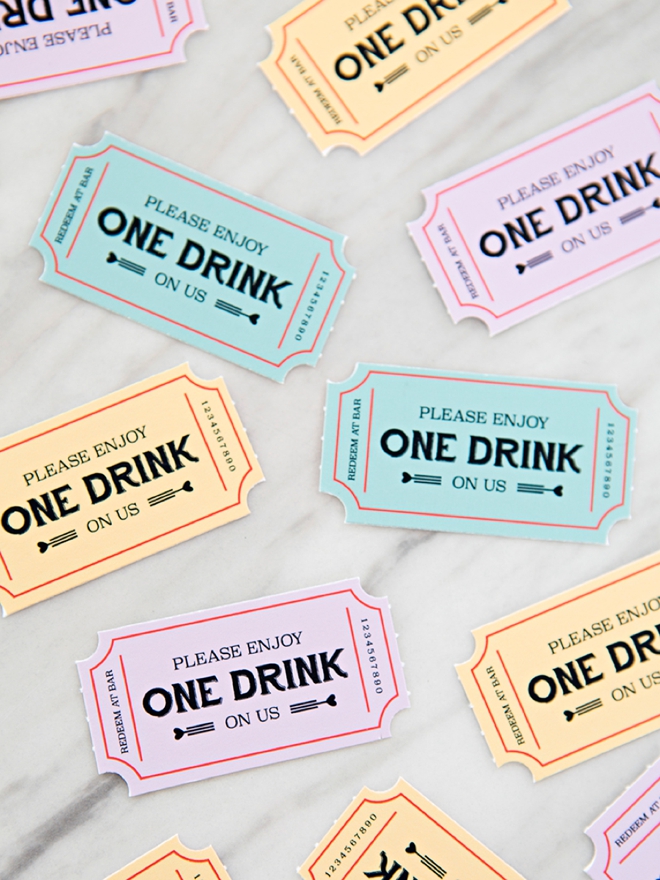
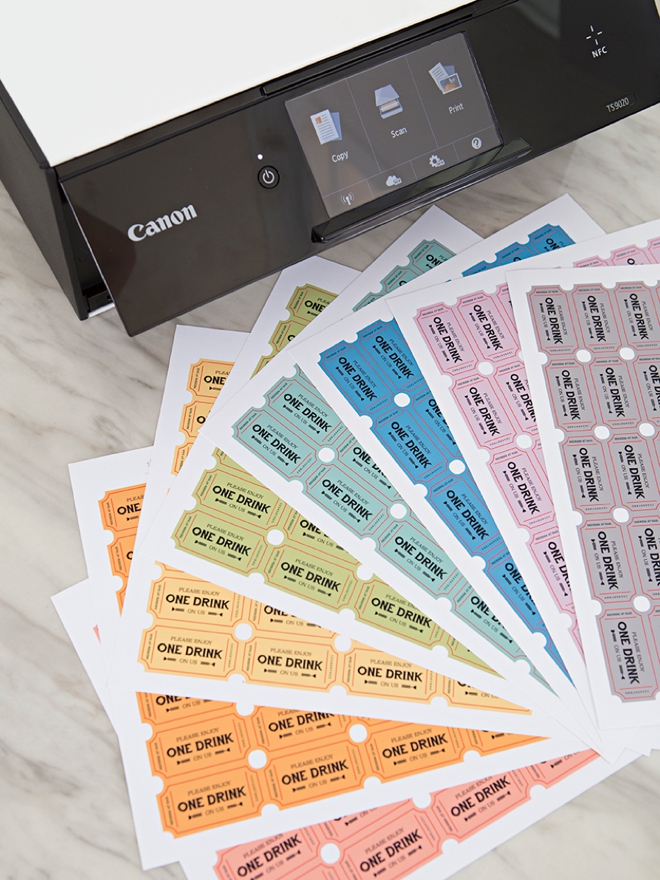
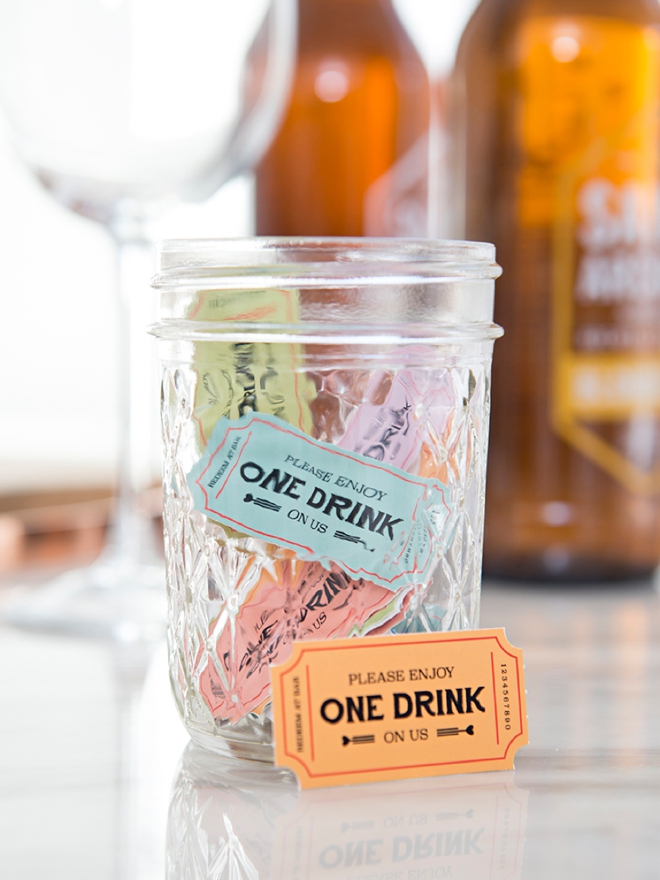
There are two reasons why you would want to use these darling drink tickets at your wedding reception; 1. you have a limited budget but want to provide some alcohol for your guests 2. you have heavy-drinking guests that will get out of control if the bar is fully paid for. Either way, it will totally help out your bar tab in the end for a minimum cost. Choose your favorite color ticket design (there are 8 to choose from) and print using your favorite Canon printer!

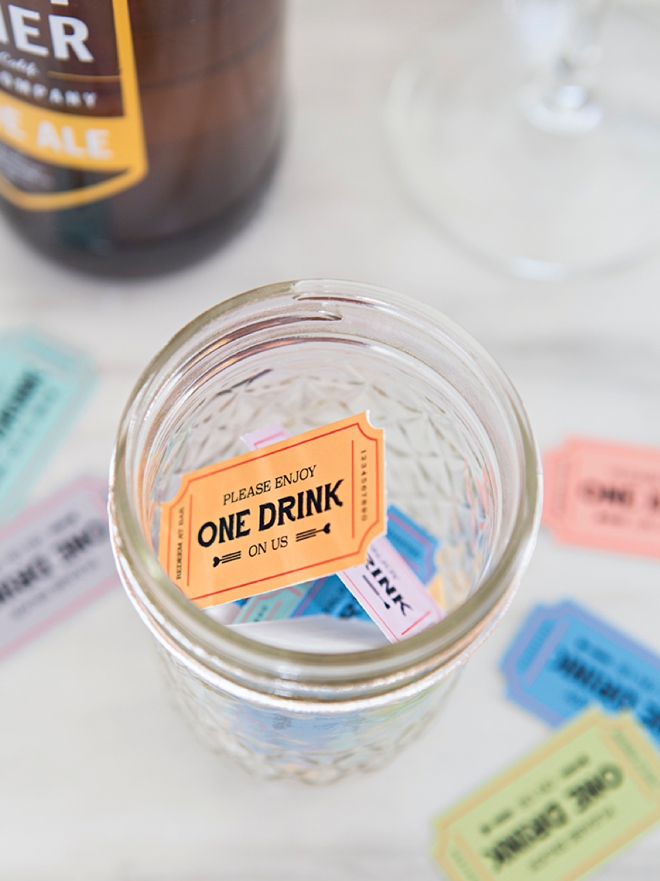
Give Them Out
The easiest way to give these cute little tickets to your guests is by way of escort/seating card. Simply add them to your existing plan and that way everyone gets their tickets when they get their seating arrangement. Or you could have someone pass them out on their way into your reception.
Don’t send them in your wedding invitation, your guests will forget them.
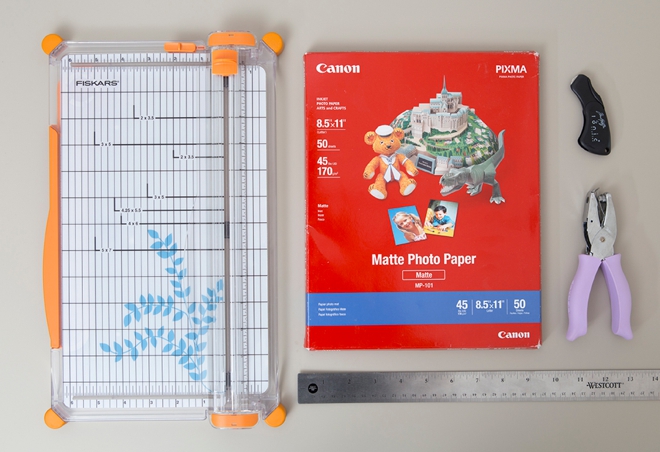
SUPPLIES:
- Canon TS9020 All-in-One Printer
- Canon 8.5″ x 11″ Matte Photo Paper
- Mini Rotary Perferating Tool
- 1/4″ Hole Punch
- Paper Trimmer
- Ruler
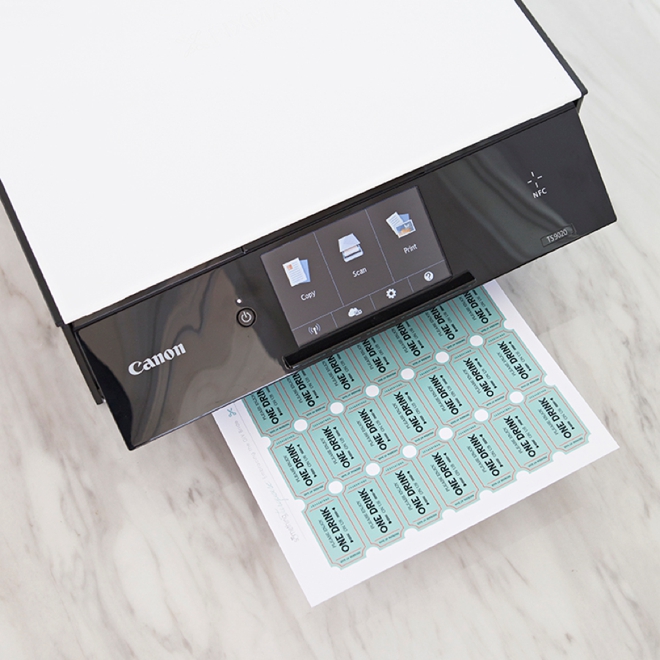
Print Your Tickets
The combination of using Canons matte photo paper and the amazing TS9020 makes the print of these drink tickets look absolutely FANTASTIC! The ticket designs are created for 8.5″ x 11″ paper.
Add The Perforation
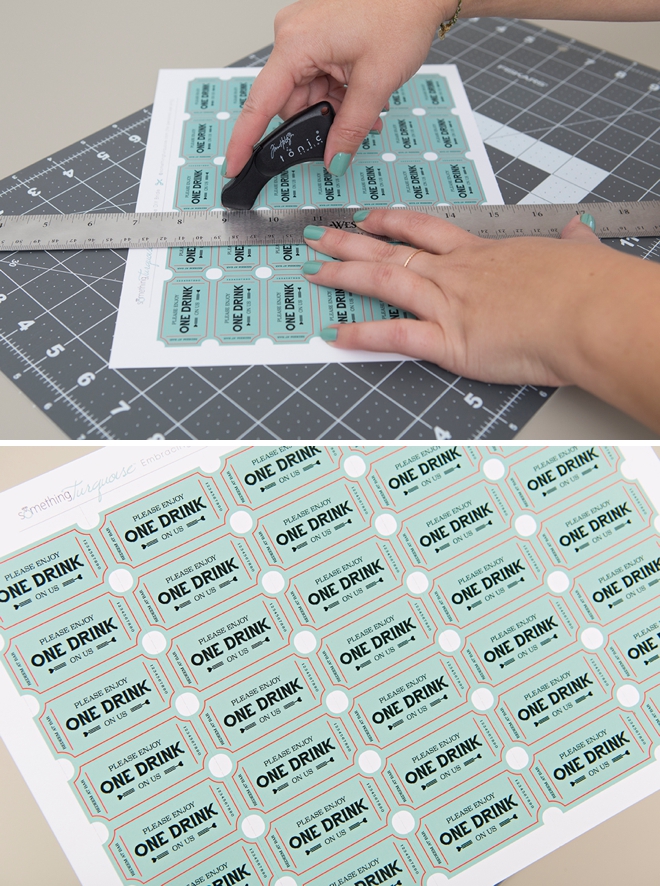
This is one of my favorite tools ever, you might remember it from our Love Coupons project. It’s a rotary wheel cutter that adds perforation to any paper! Along each line of ticket edges, line up your ruler in the middle and run the perforation tool across the entire sheet.
Trim Down To Size
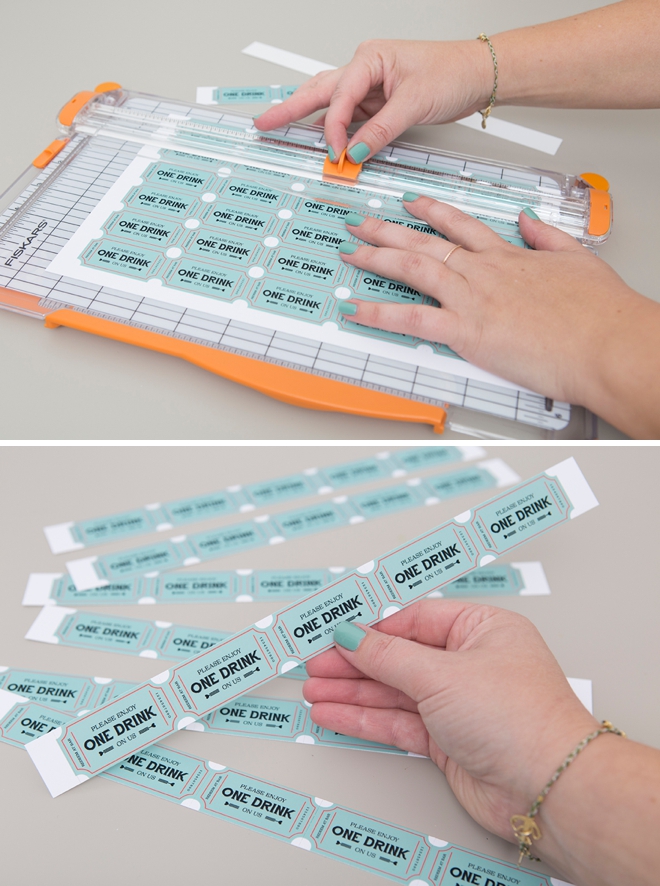
Next, using a paper trimmer, slice the top and bottom lines of the entire sheet of drink tickets.
Tear Off
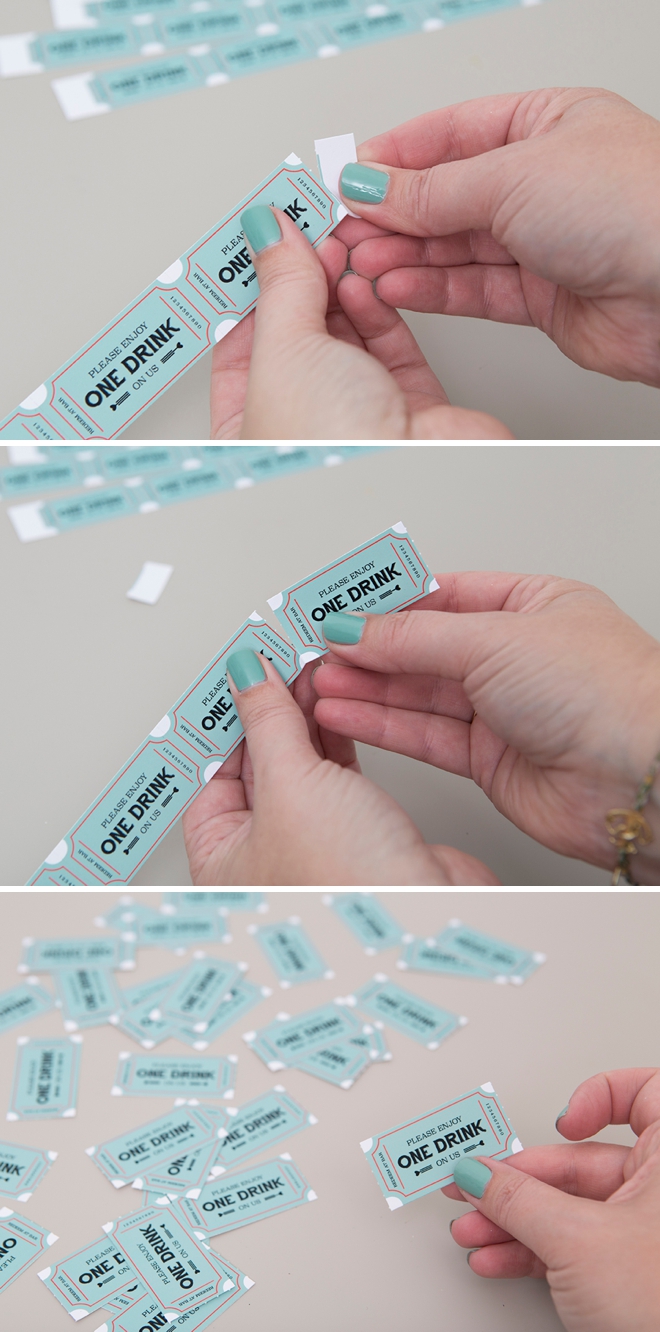
Now your tickets are ready to be ripped! The perforation tool adds that real ticket look, it’s awesome.
Punch The Edges
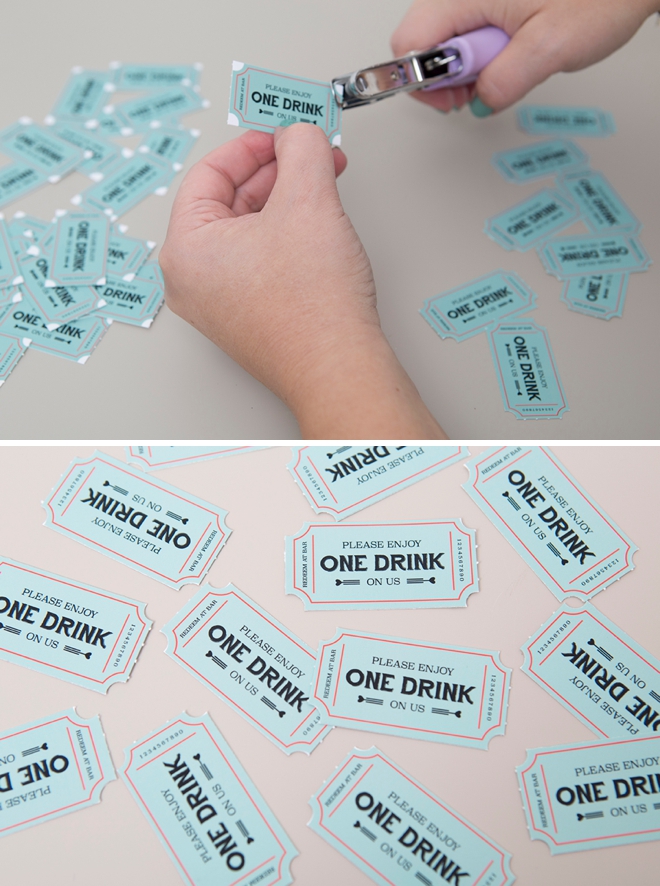
To get that ticket edge look, remove the white bits by using a 1/4″ hole punch on each one – done!
8 Colors To Choose From
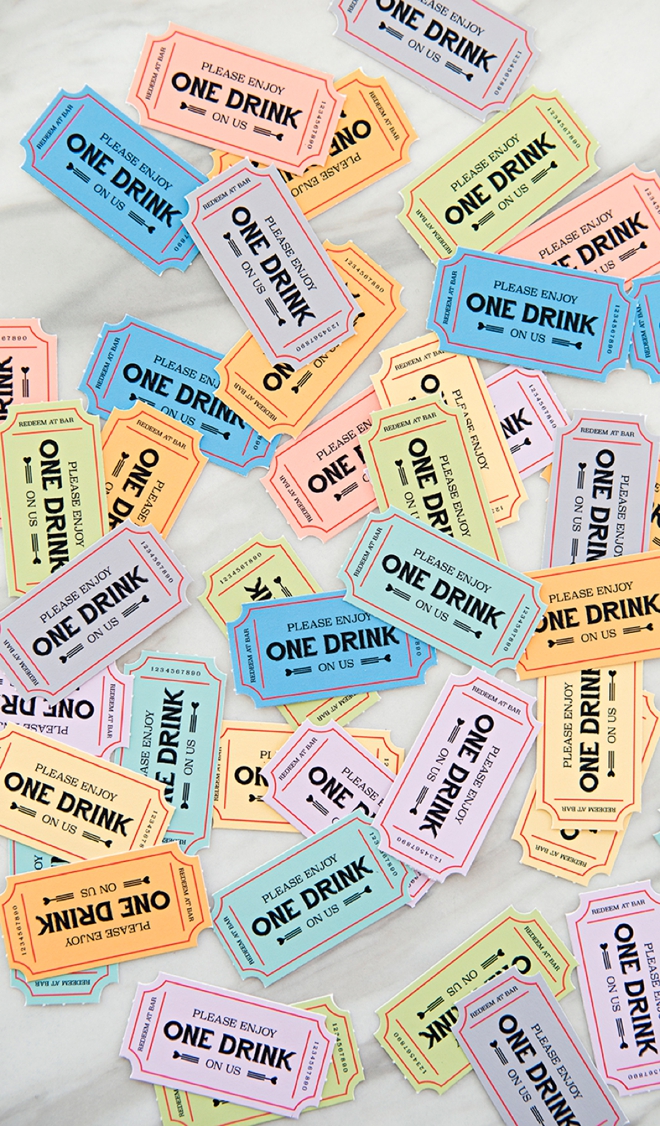
We’re sharing 8 gorgeous colors for you to pick and print! Pink, peach, yellow, green, aqua, blue, lavender and gray. So there’s sure to be one shade that will perfectly fit your event!
DIY TUTORIAL SPONSORED BY:

Canon U.S.A., Inc. prides itself on allowing consumers to create and preserve beautiful imagery, from capture to print. With wireless technology and seamless printing capabilities, you can print your photos and printables with precision and ease.

As with all our DIY tutorials, if you create one of our projects please send us a picture – We Love Seeing Your Creativity! If you use Instagram or Twitter please use the hashtag #SomethingTurquoiseDIY and it will show up on our Get Social page. Happy Crafting!
DIY Tutorial Credits
Photography + DIY Tutorial: Jen Carreiro of Something Turquoise // Canon PIXMA TS9020 All-in-One Photo Printer and 8.5″ x 11″ Matte Photo Paper: courtesy of Canon // Ticket Design: Julia Ensign // Mini Rotary Perferating Tool: Amazon // Paper Trimmer: Fiskars // 1/4″ Hole Punch: Fiskars // Cork Back Ruler: Amazon // Nail Polish: OPI – Withstands the Test of Thyme
Shop The Supplies:
Find the supplies you’ll need for this project from our affiliate links below:


Comments