-Sponsored Post-
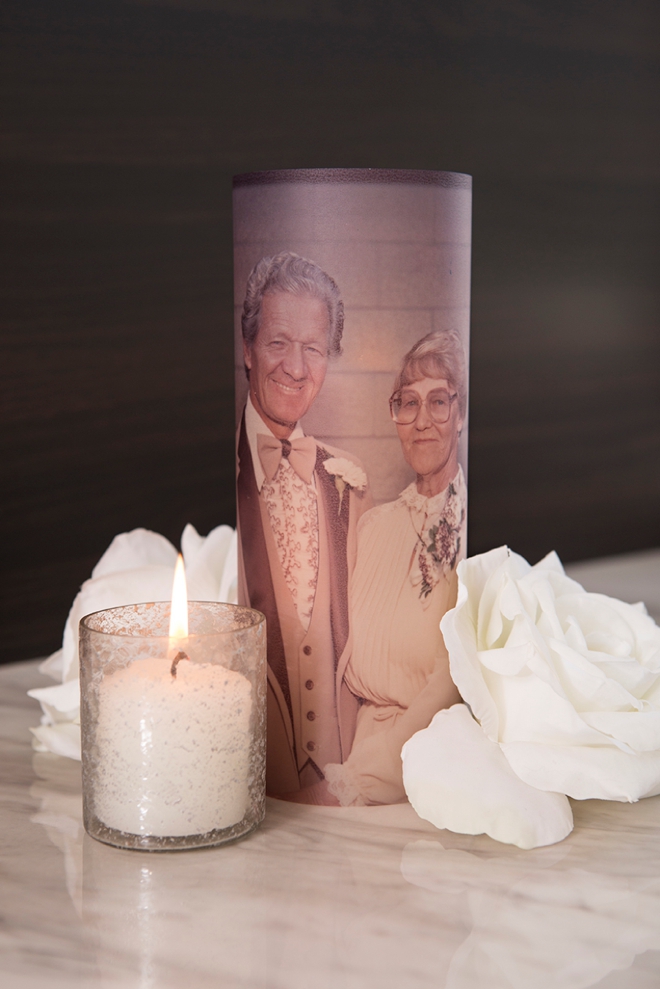
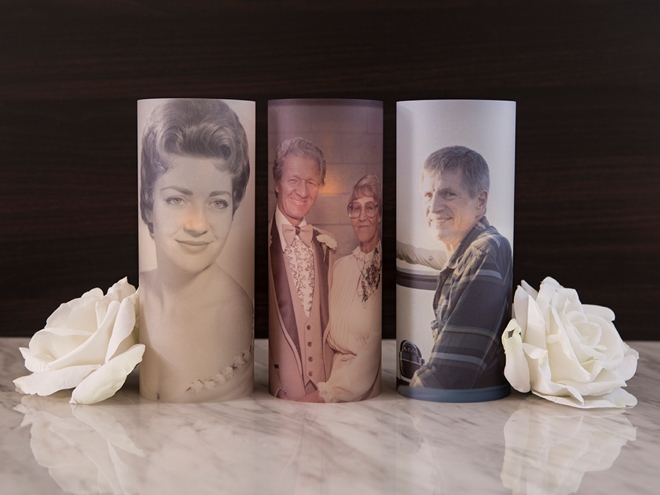
Today’s project is a bit of a somber one as we’re honoring those who are no longer with us, but if you’re someone who needs to honor someone special at your wedding, it’s a fabulous idea. We’ll help you let faux candlelight shine through your favorite photo of them in a cute display at your reception. Our compact and quick Canon TS9020 made these vellum prints look absolutely perfect with the borderless feature. The soft transparent glow will warm the hearts of everyone who loved them and keep their spirit present during your celebration.
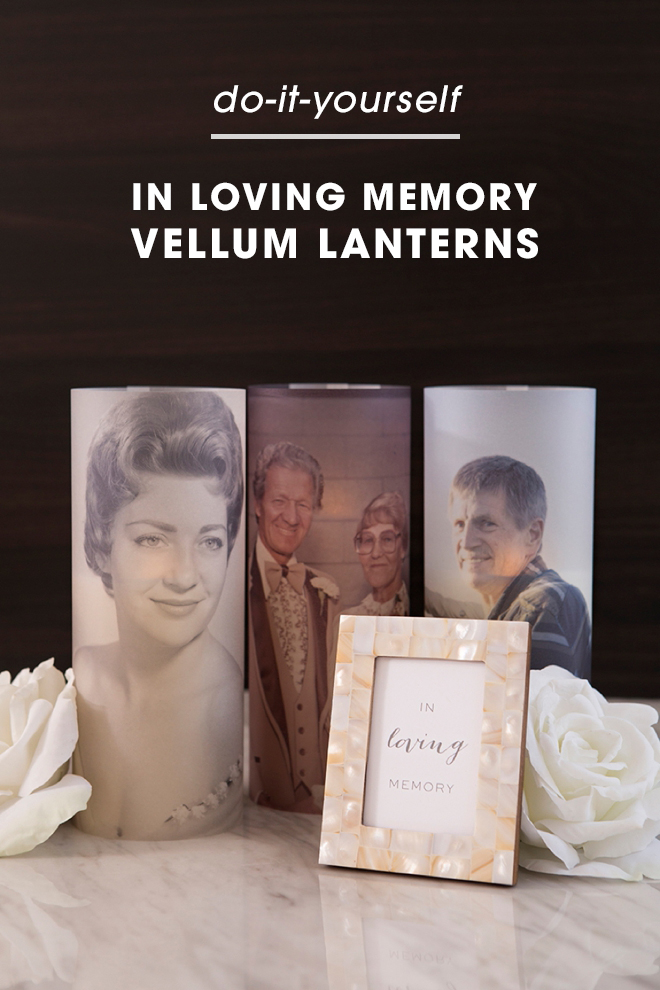


SUPPLIES:
- Canon TS9020 All-in-One Printer
- 8.5″ x 11″ Inkjet Vellum
- LED Candles
- 8.5″ x 11″ White Cardstock
- 4″ x 6″ or 2.5″ x 3.5″ Frame
- Glue Dots Gluetape
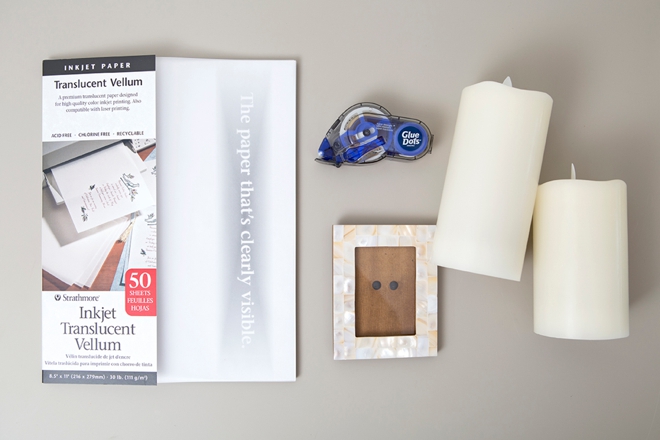
Design Your Print
Using your favorite design software (mine is The Print Shop), layout your loved ones photo(s), borderless, and centered on a 8.5″ x 11″ canvas.
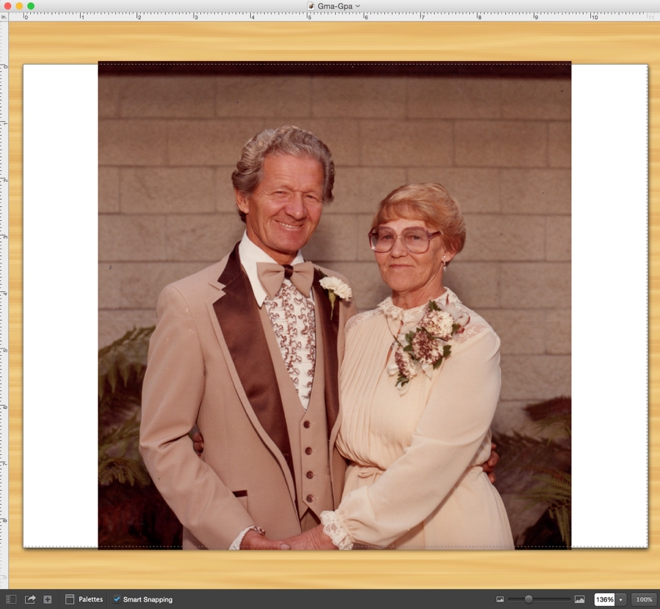
Print On Vellum
Using the highest quality print settings on your Canon TS9020, print each photo on 8.5″ x 11″ inkjet vellum. It’s important to buy the “inkjet” type because you can’t print on regular vellum! These prints look stunning in real life, even better than the photos!
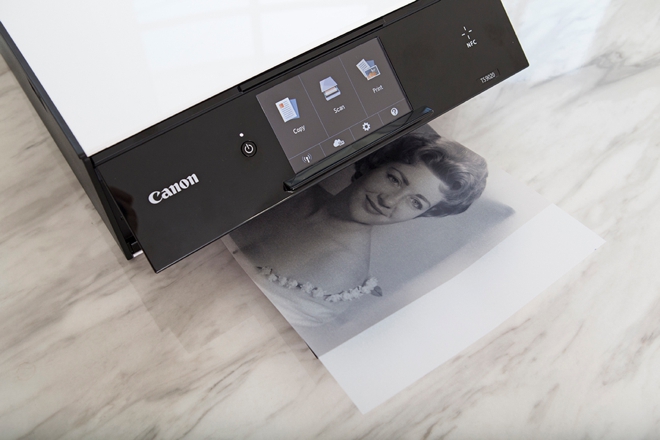
Wrap + Adhere
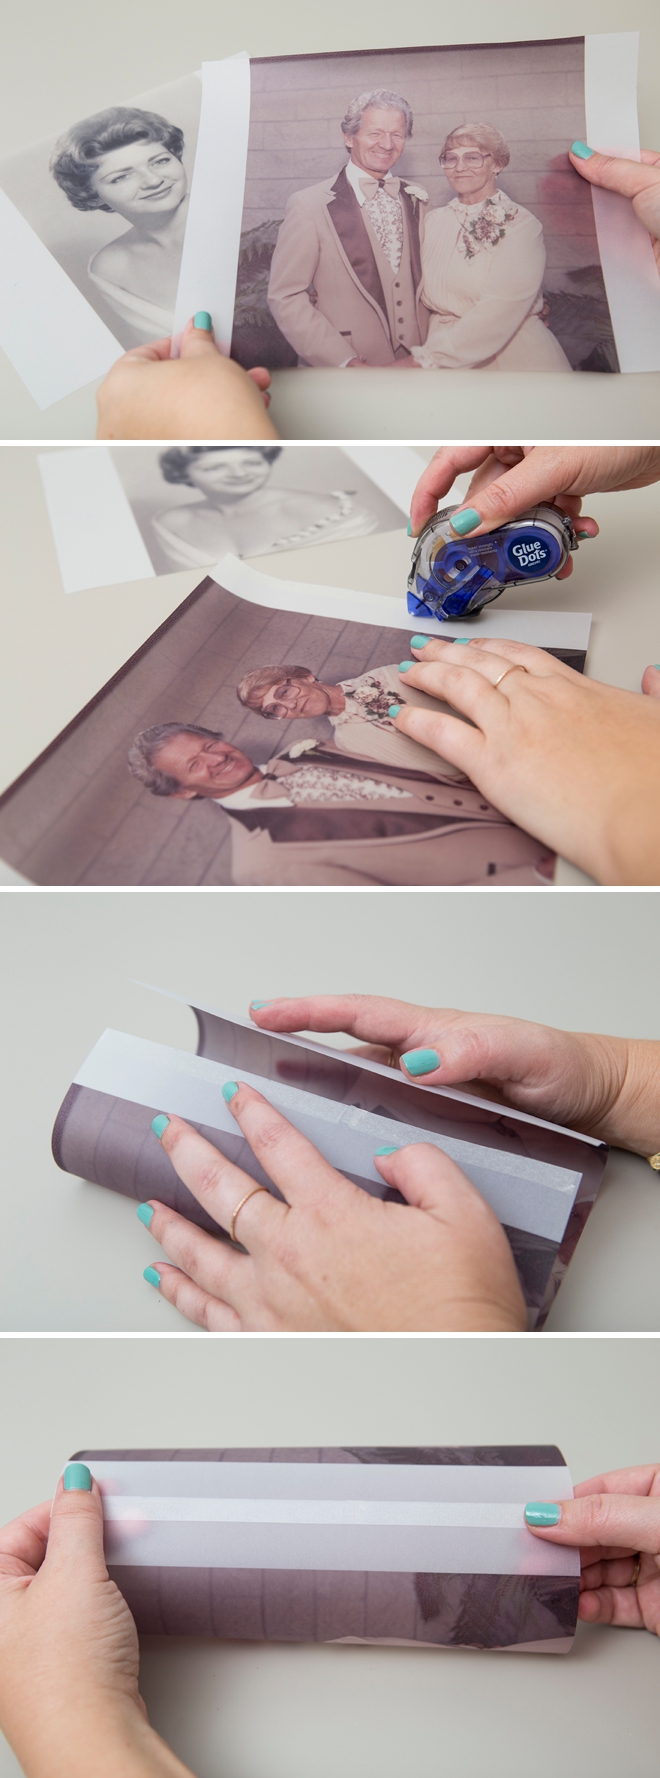
Using Glue Dots Gluetape, run a strip of the adhesive down one side of the vellum, then wrap around and adhere the other side to create a hurricane shape lantern.
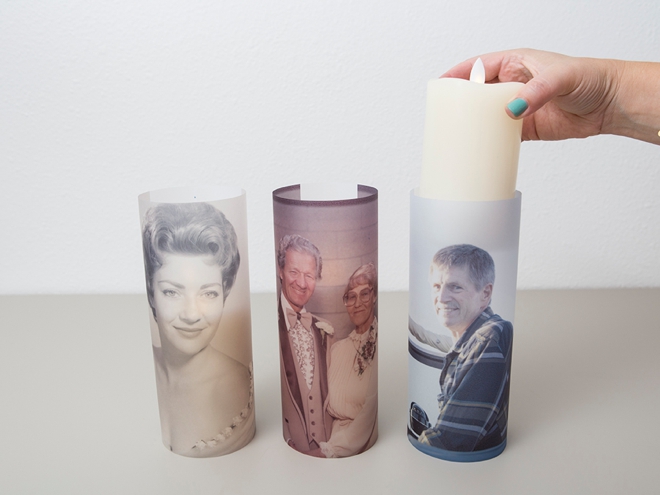
Add An LED Candle
LED candles will be the safe choice for these paper lanterns. I wish I could capture how pretty they look with the flickering light, shinning from within the vellum… but these photos don’t quite do them justice.
In Loving Memory
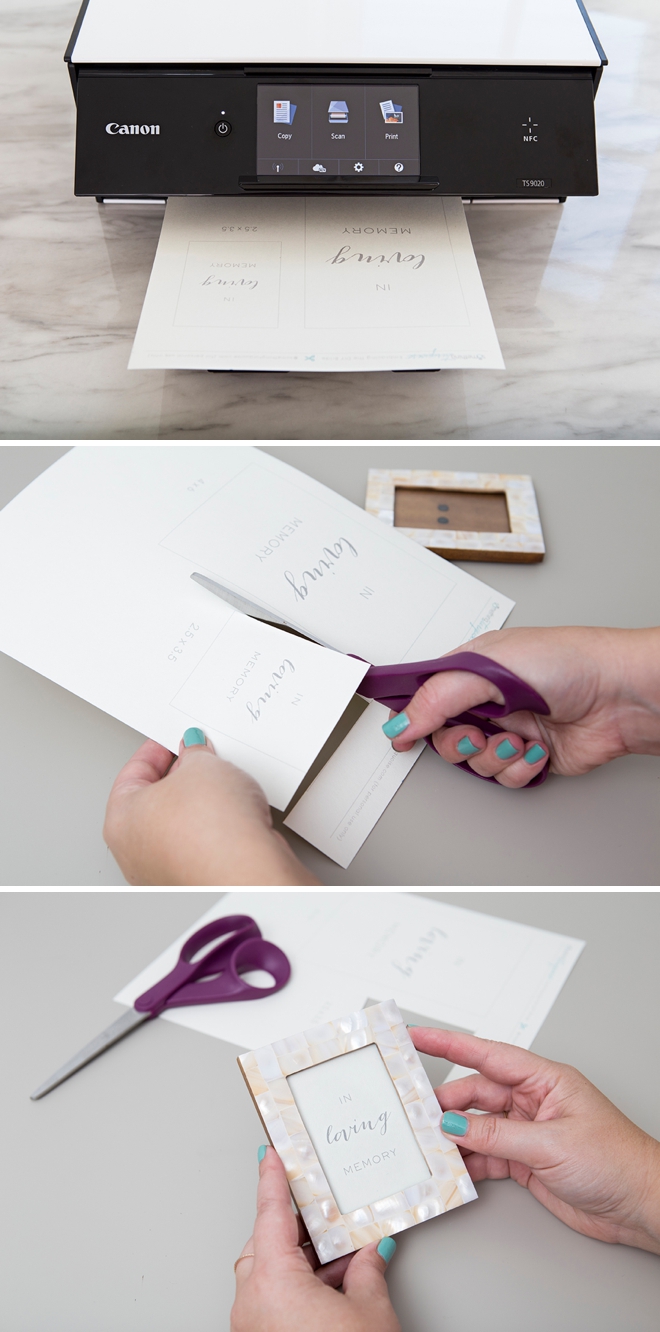
Print our free “in loving memory” signs at the end of the post or design your own and frame for the display.

Vellum Light
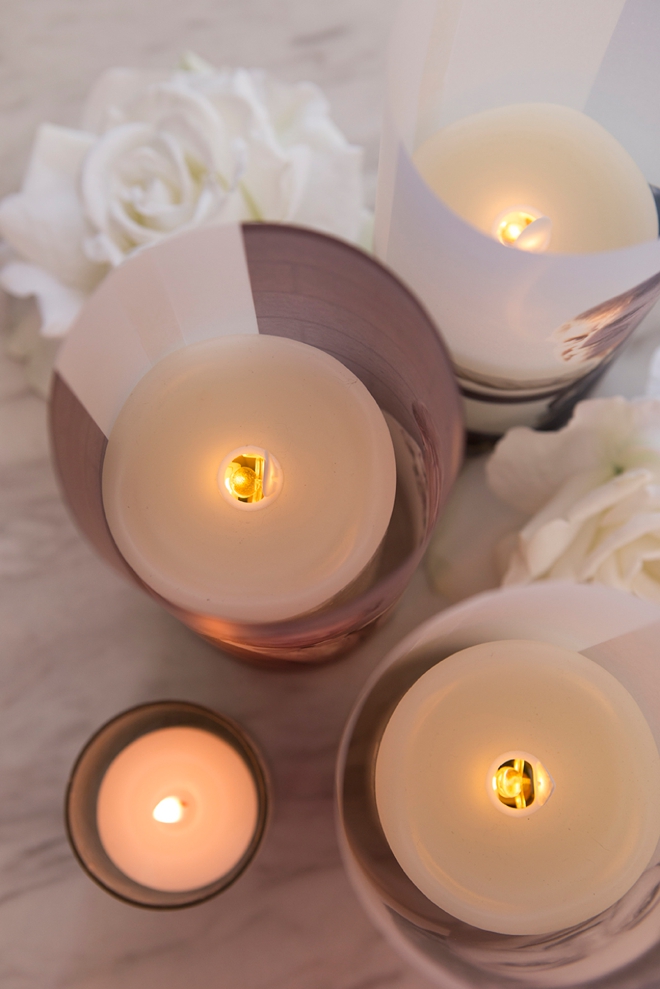
My favorite thing about this project is how the photos look with the light shinning through the vellum, it’s such a pretty, almost romantic glow.
DIY TUTORIAL SPONSORED BY:

Canon U.S.A., Inc. prides itself on allowing consumers to create and preserve beautiful imagery, from capture to print. With wireless technology and seamless printing capabilities, you can print your photos and printables with precision and ease.
As with all our DIY tutorials, if you create one of our projects please send us a picture – We Love Seeing Your Creativity! If you use Instagram or Twitter please use the hashtag #SomethingTurquoiseDIY and it will show up on our Get Social page. Happy Crafting!
DIY Tutorial Credits
Photography + DIY Tutorial: Jen Carreiro of Something Turquoise // Canon PIXMA TS9020 Photo Printer: courtesy of Canon // 8.5″ x 11″ Inkjet Vellum: Amazon // Glue Dots Gluetape: Amazon // LED Candles: Amazon // Little Frame: Michaels // Nail Polish: OPI – Withstands the Test of Thyme
Shop The Supplies:
Find the supplies you’ll need for this project from our affiliate links below:



Comments