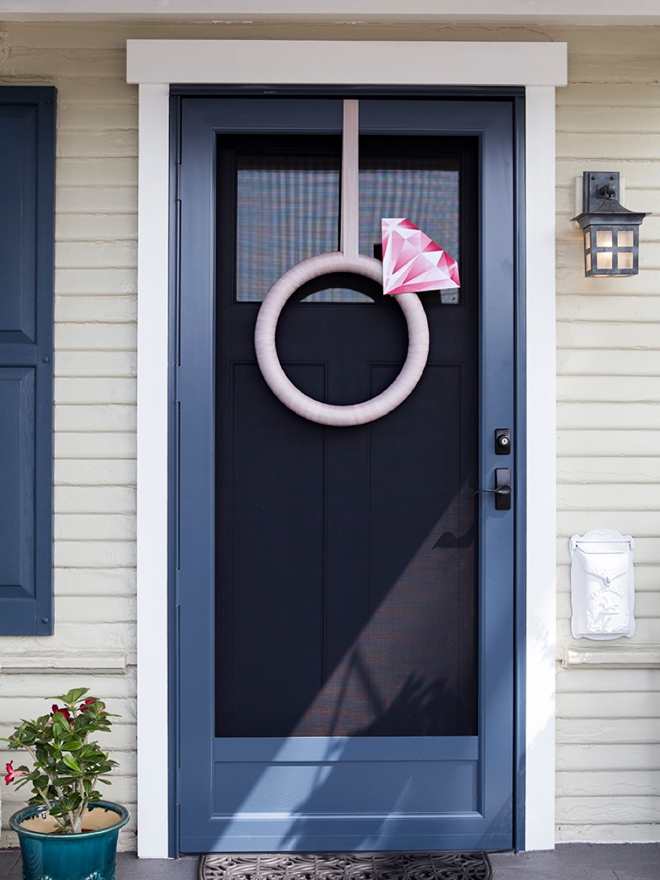
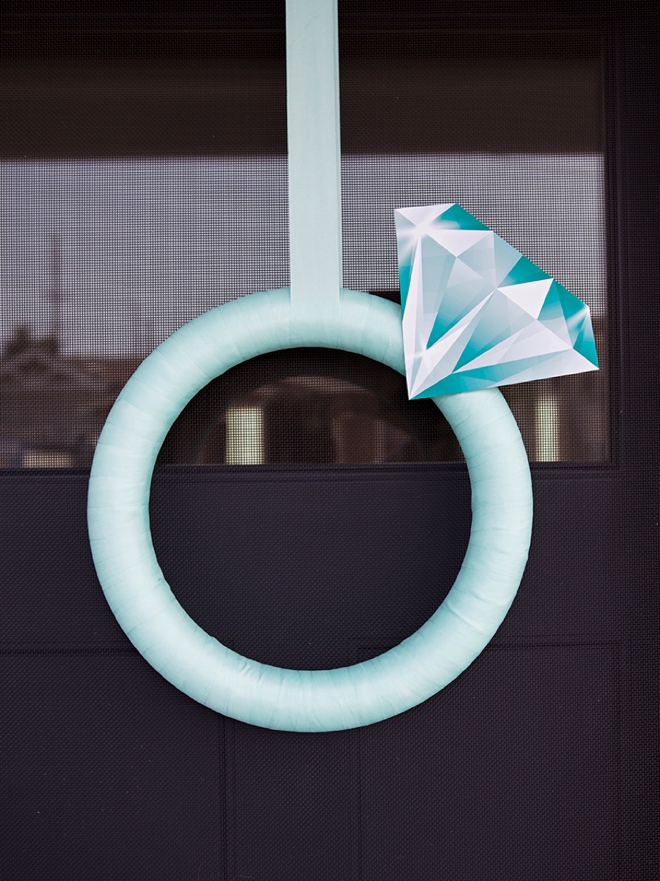
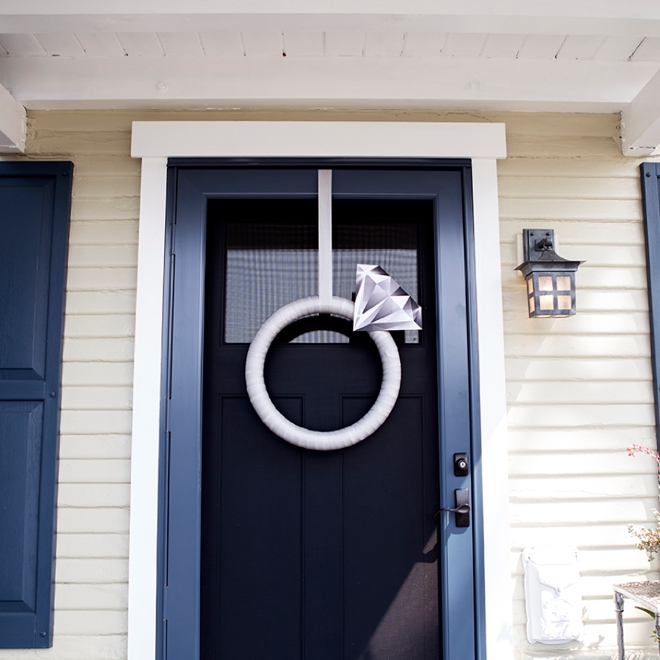
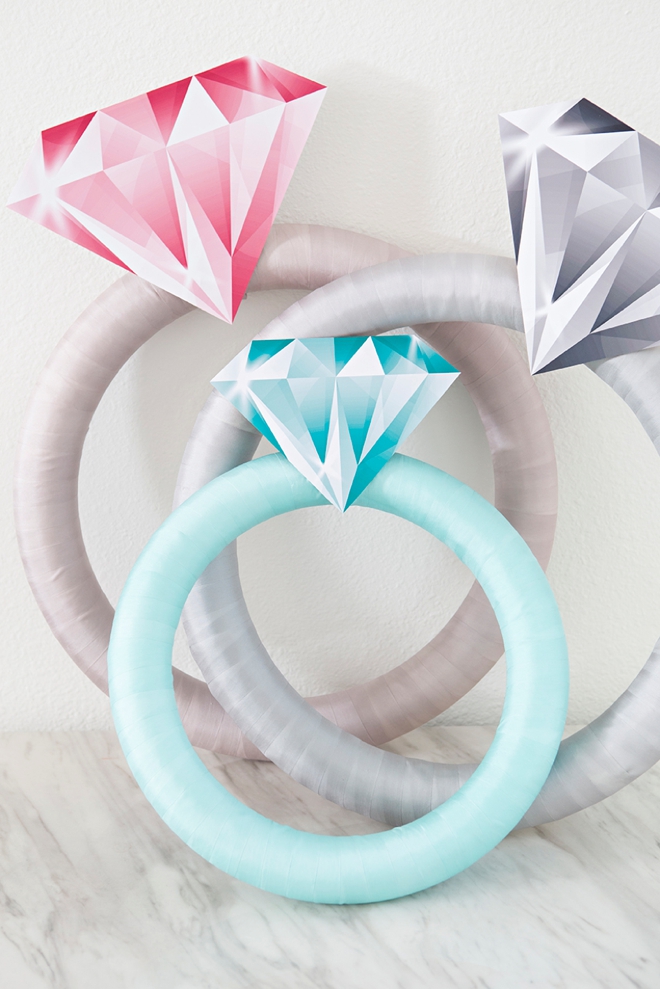
Hosting a bridal shower or bachelorette party soon? I’ve got the most darling idea to welcome the guests into your home or hotel room… this giant DIY diamond ring! This cute prop is super easy to make since we’re printing the sparkly diamond design with our Canon iP8720! Make just one, or make multiples to fit the space and your party theme… because bling is always better when it’s oversized!
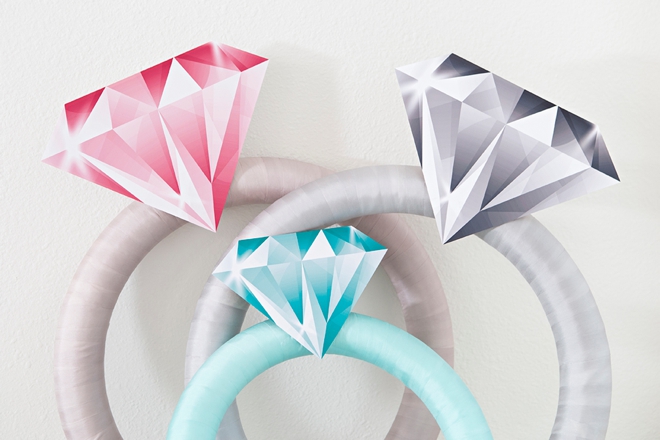
Pink + Aqua + Silver
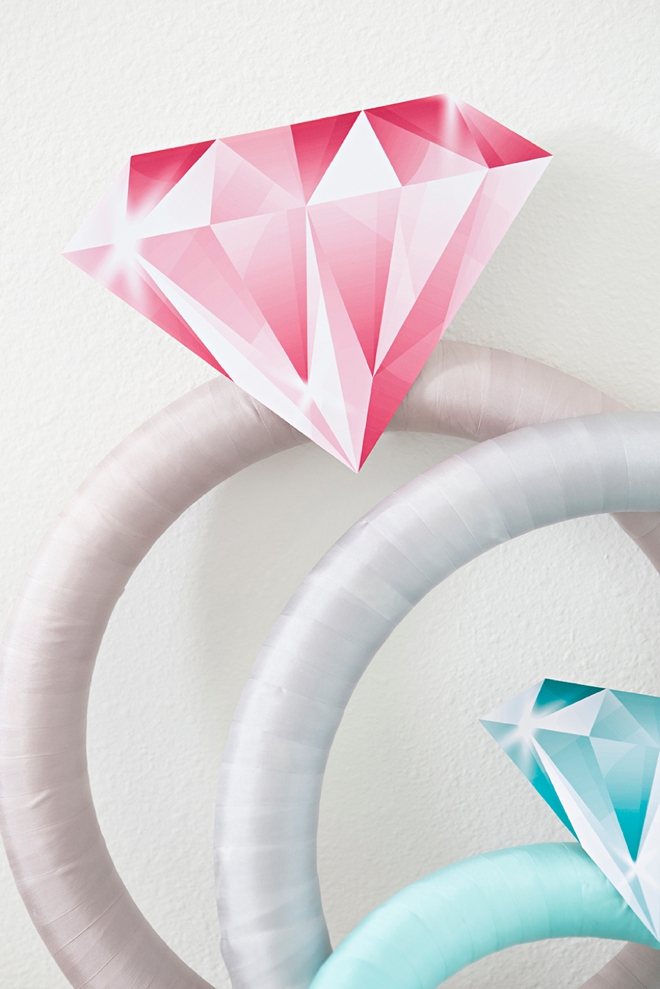
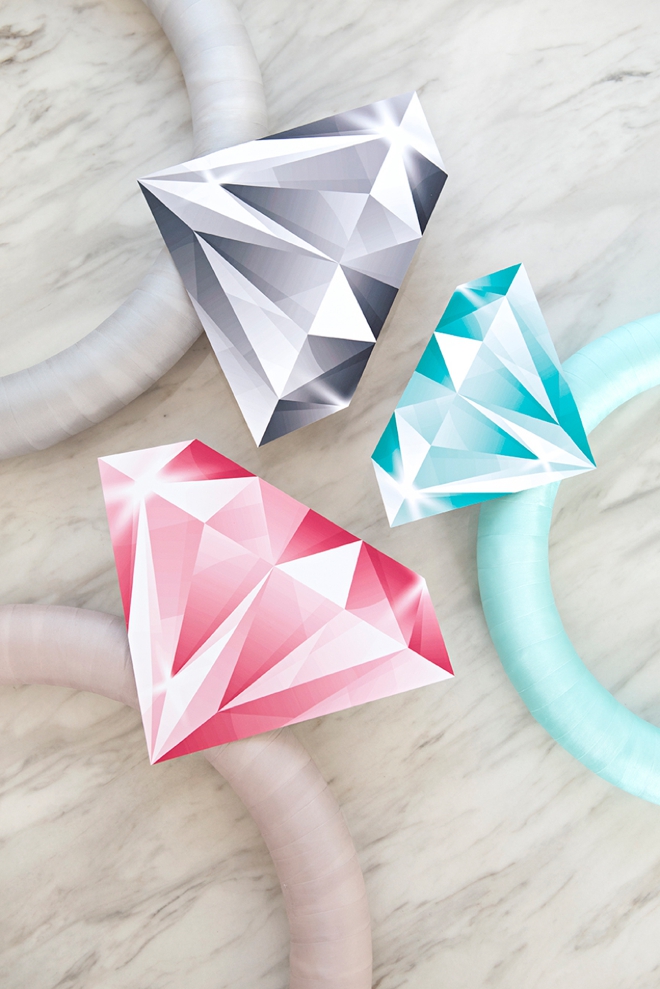
For this lovely project, we’re not only sharing two oversized diamond prints – but we’re sharing them in three colors!
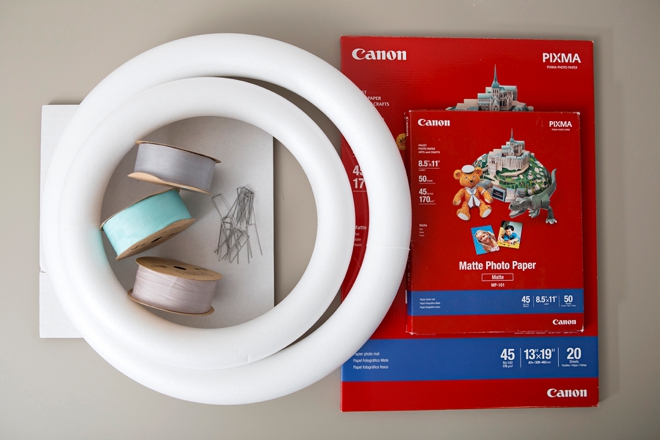
SUPPLIES:
- Canon iP8720 Crafting Printer
- Canon Matte Photo Paper, in 8.5″x11″ or 13″x19″
- White Foam Wreath Form in 12″, 14″ or 16″
- Wreath Pins
- Scrap Cardboard
- Ribbon
- Scrapbooking Adhesive
- Scissors or Rotary Cutter
- Our free printable diamonds at the end of the post!
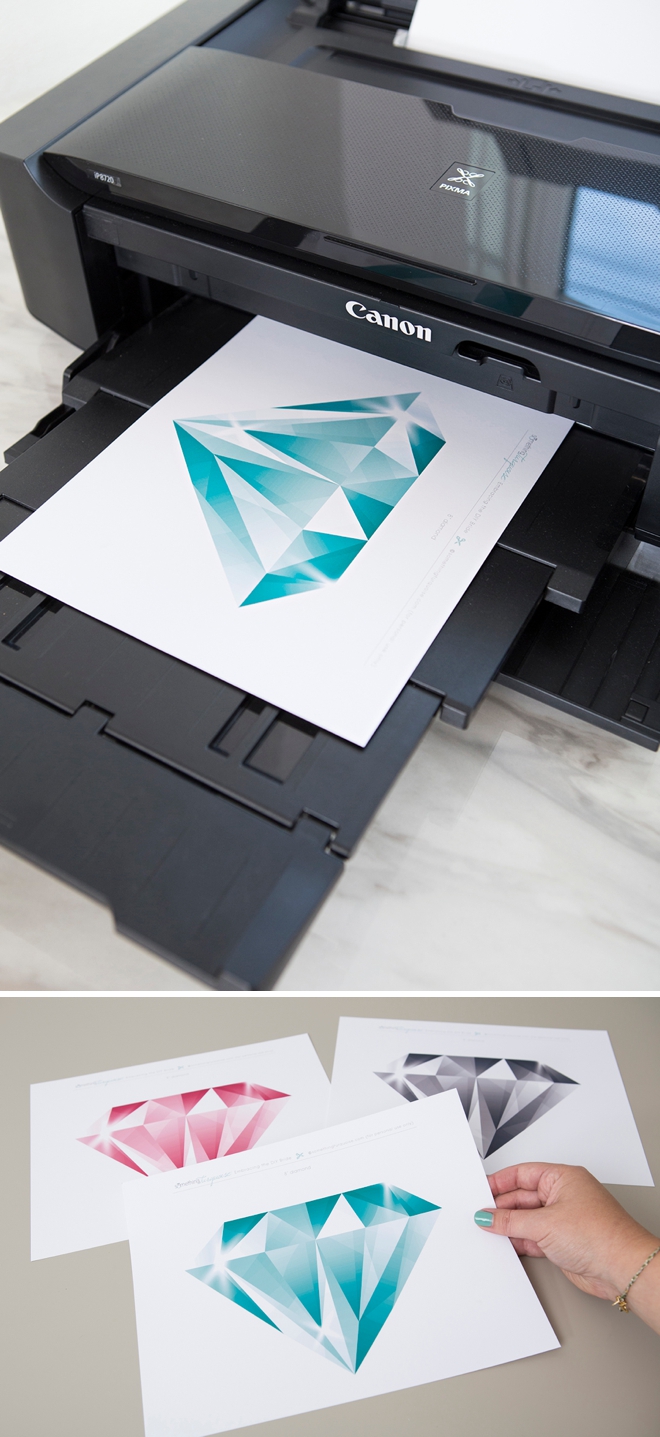
Download + Print
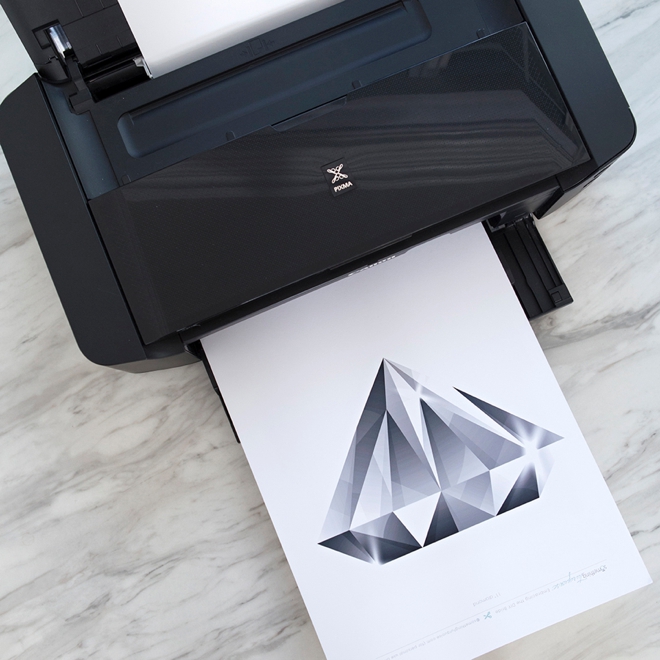
Click the logo at the end of the post and download the diamond shape printable files. I’m sharing two sizes with you:
- 8″ diamond to be printed on an 8.5″ x 11″ sheet of photo paper
- 11″ diamond to be printed on a 12″x12″ or 13″ x19″ sheet of photo paper
The fabulous Canon iP8720 Crafting Printer is the only large format, consumer printer that can print up to 13″ x 19″! Which is why it’s my favorite!
Trim
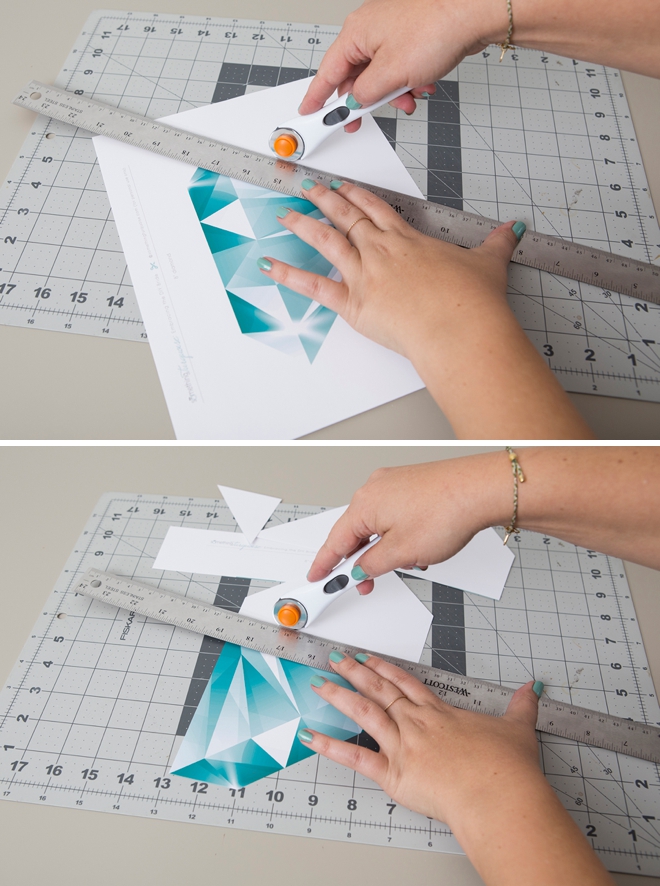
Using scissors, a paper trimmer or rotary blade and cutting mat, cut out your diamond.
Cardboard Diamond
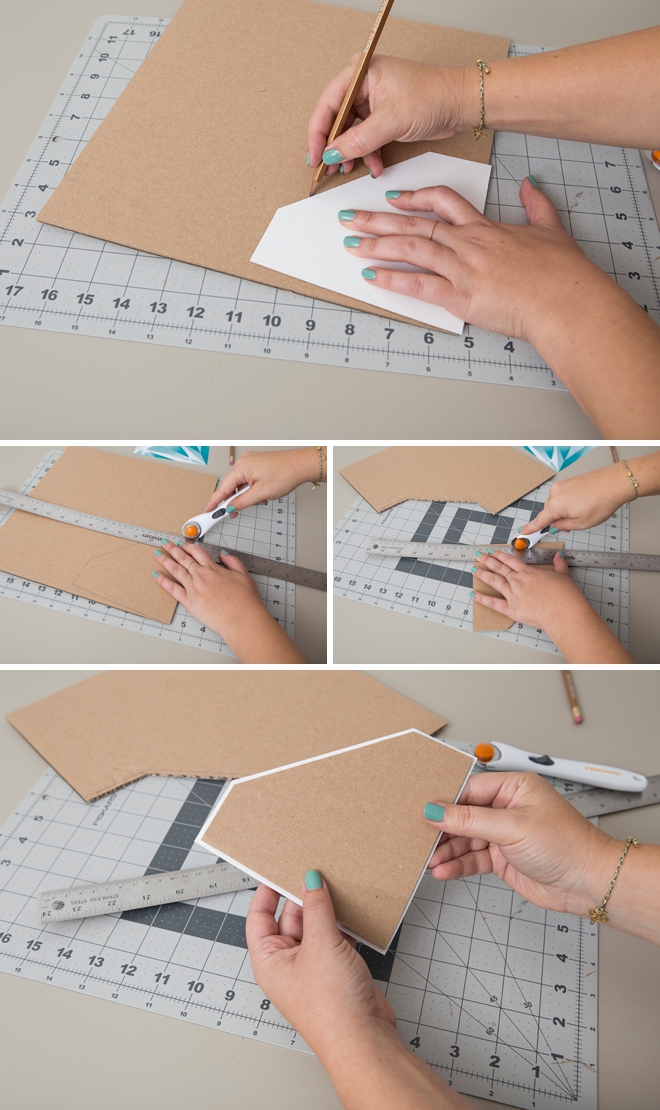
Next, using a scrap piece of cardboard, trace and cut out a matching diamond. But, make it about 1/4″ smaller than the printed diamond when you cut it out. For this step, it’s easiest to use a rotary blade and cutting mat.
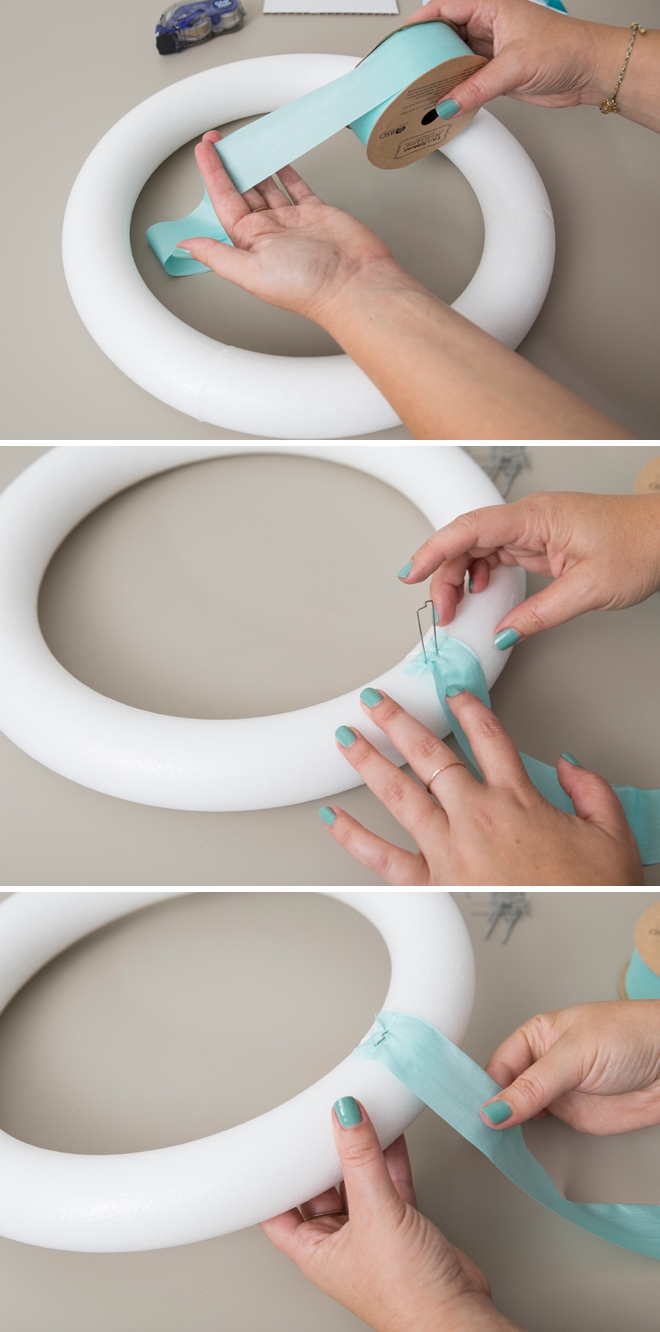
Wrap The Wreath Form
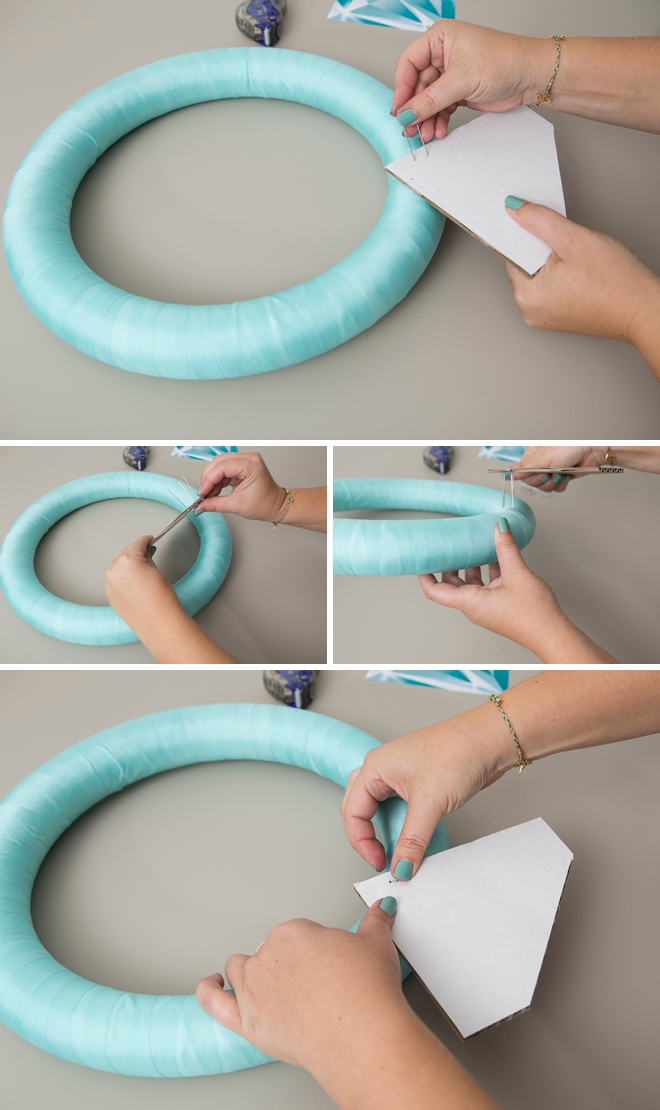
Wrap the “ring” with your choice of ribbon! Here I’m using three different shades of gorgeous silk ribbon, but you can use any type you’d like. Secure the ribbon end to the foam form with a wreath pin.
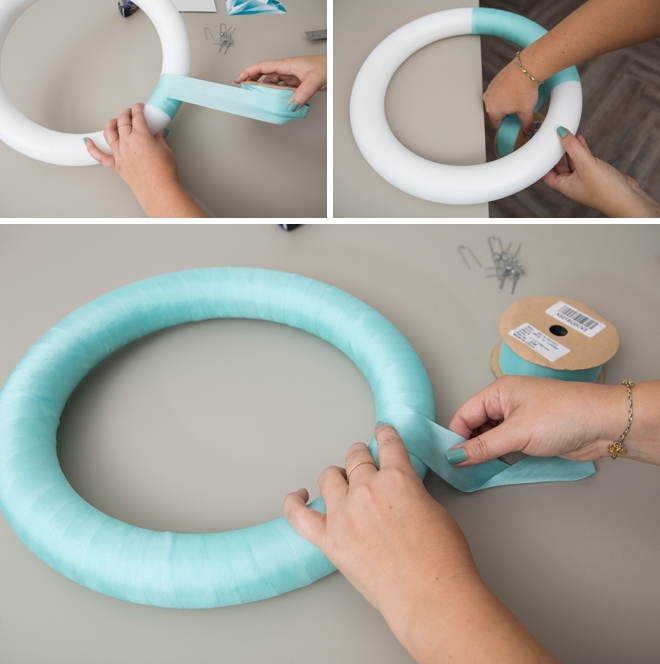
Wrap, Wrap, Wrap
Continue to wrap the foam form with ribbon until fully covered. Cut and fold the end under itself and secure to the backside of the form using two wreath pins.
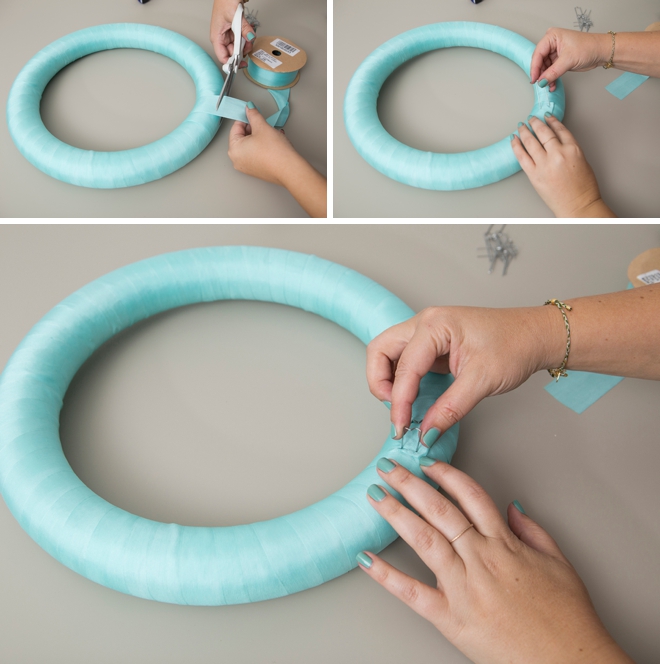
Add The Cardboard
Place the cardboard diamond where you’d like it on the “ring” and then secure it using two or three wreath pins.
Add The Sparkly Diamond
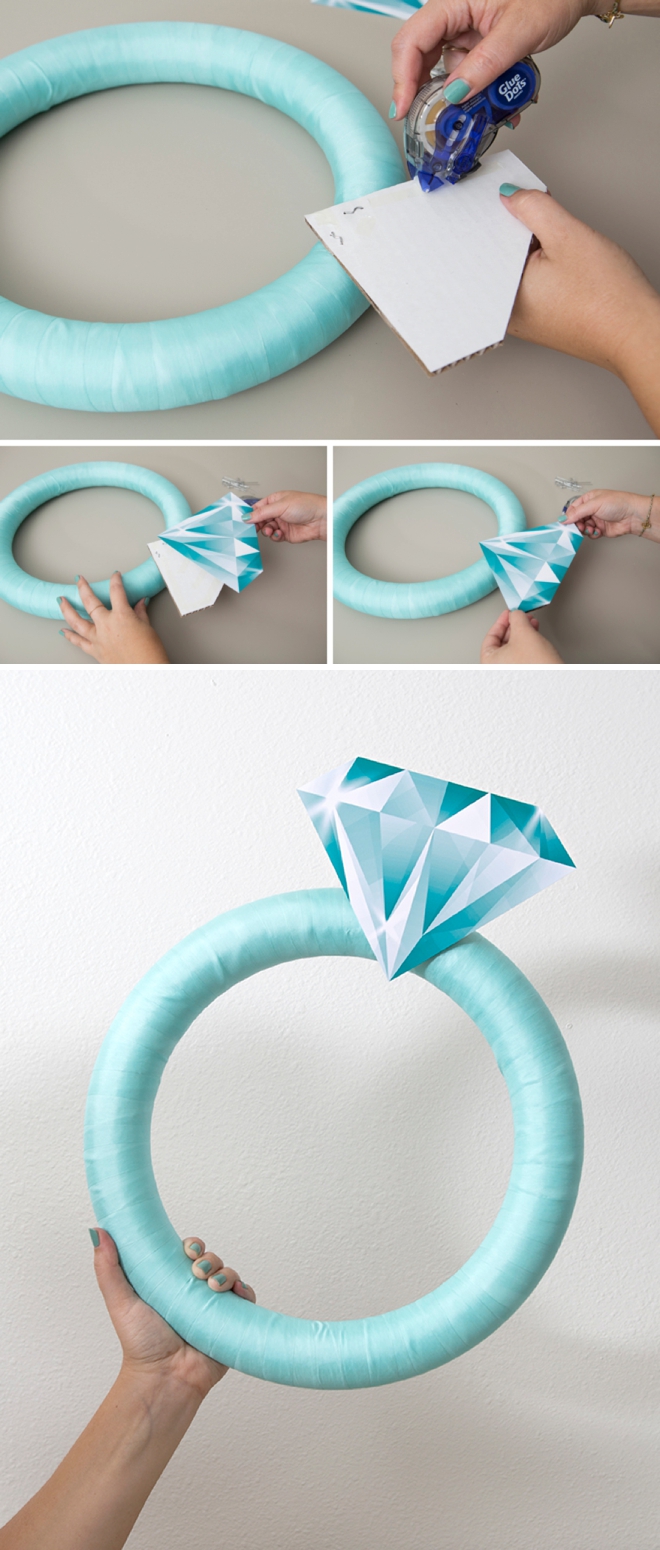
Using your favorite scrapbooking adhesive, add your printed diamond to the cardboard – and you’re done!
Large And In Charge
The large format of the Canon iP8720 is every creative gals dream come true! The projects you can accomplish with this fabulous machine are endless with the 13″x19″ size capability!
Bridal Decor Made Easy
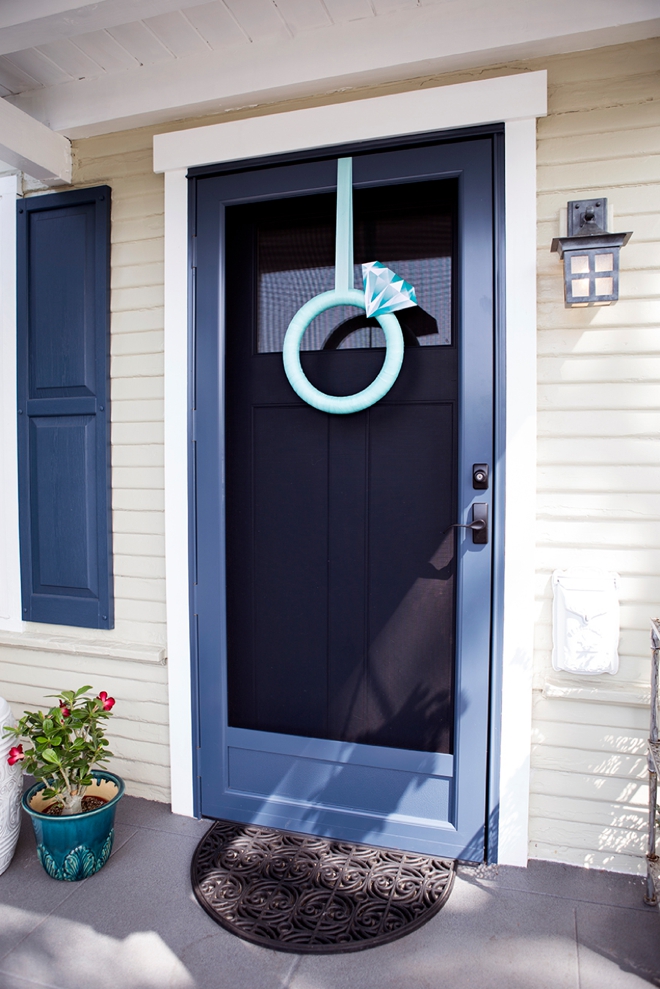
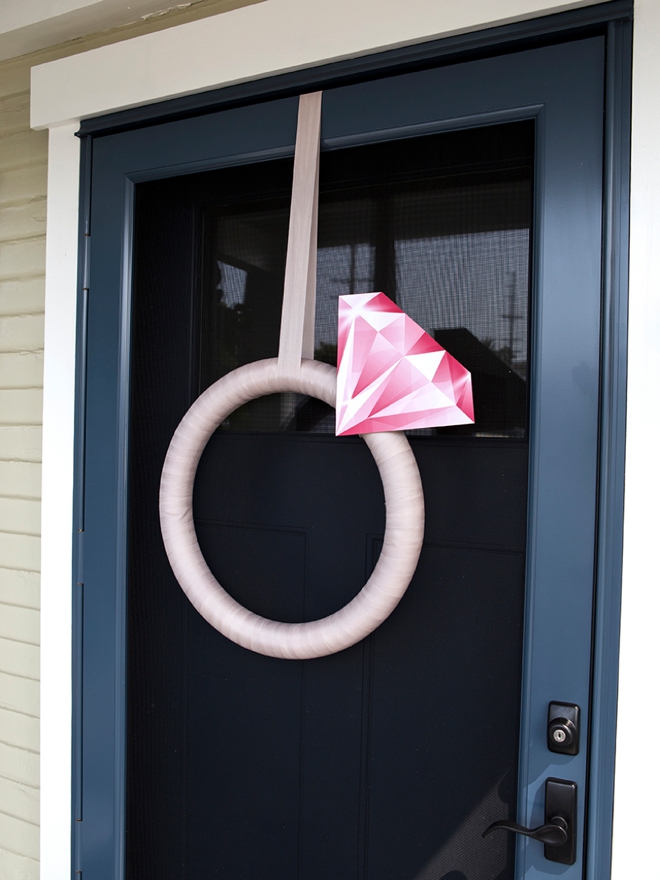
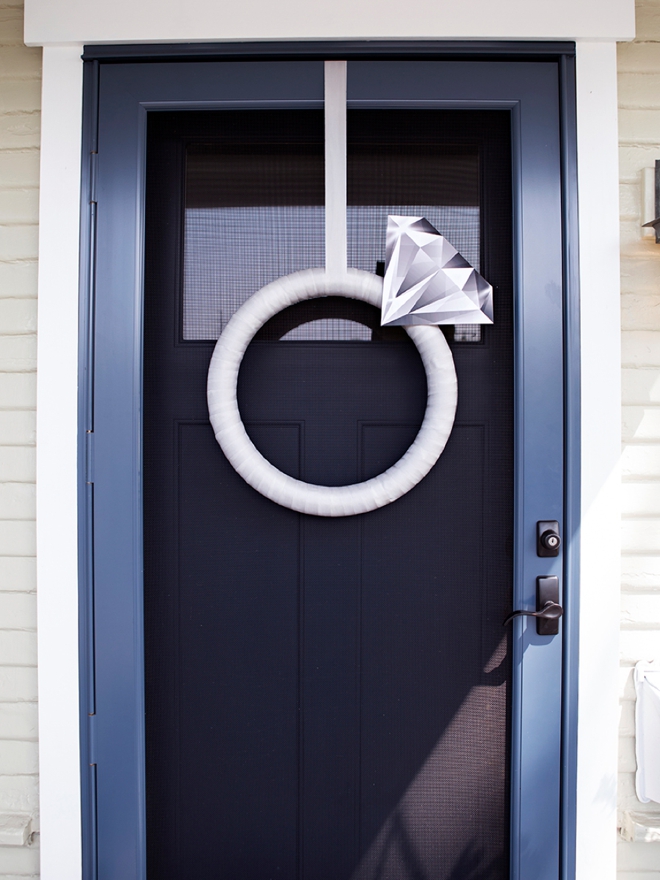
These simple + chic handmade rings are going to look amazing no matter where you choose to put them! Hanging from the front door, on the back of the brides chair, as a centerpiece, possibly even on the gift table!
DIY TUTORIAL SPONSORED BY:

Canon U.S.A., Inc. prides itself on allowing consumers to create and preserve beautiful imagery, from capture to print. With wireless technology and seamless printing capabilities, you can print your photos and printables with precision and ease.
As with all our DIY tutorials, if you create one of our projects please send us a picture – We Love Seeing Your Creativity! If you use Instagram or Twitter please use the hashtag #SomethingTurquoiseDIY and it will show up on our Get Social page. Happy Crafting!
DIY Tutorial Credits
Photography + DIY Tutorial: Jen Carreiro of Something Turquoise // Canon PIXMA iP8720 Crafting Printer + Photo Paper: courtesy of Canon // Diamond Designs: Julia Ensign // 20″ Foam Wreath Form: Amazon // Silk Ribbon: Amazon // Wreath Pins: Amazon // Cutting Mat + Rotary Cutter: Fiskars // Nail Polish: OPI – Withstands the Test of Thyme
Shop The Supplies:
Find the supplies you’ll need for this project from our affiliate links below:


Comments