-Sponsored Post-
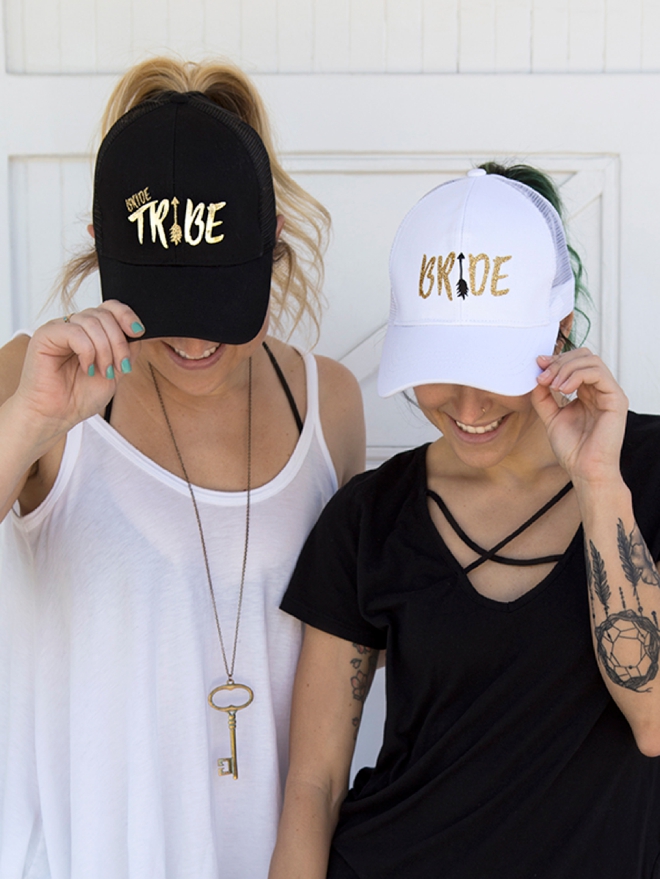
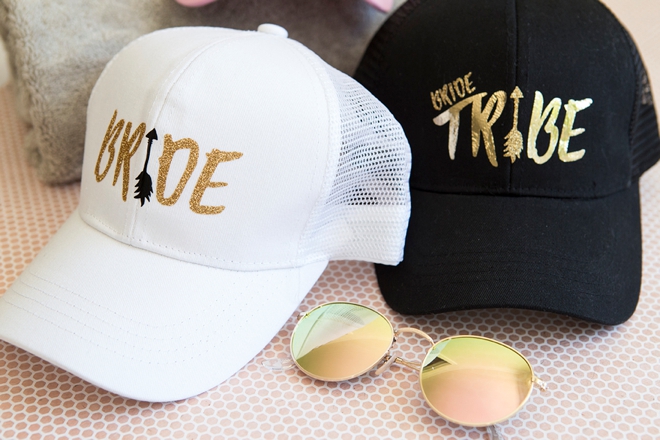
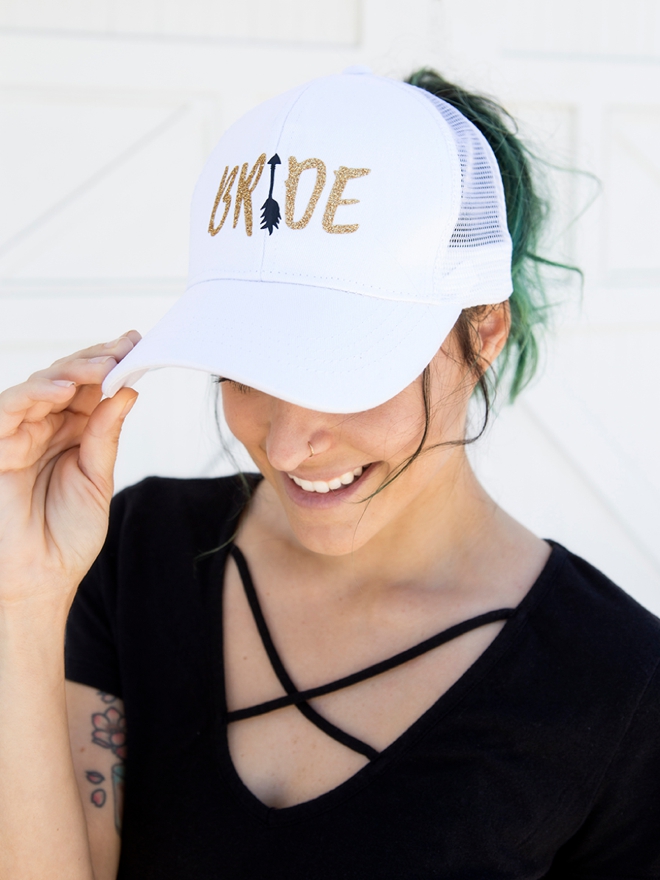
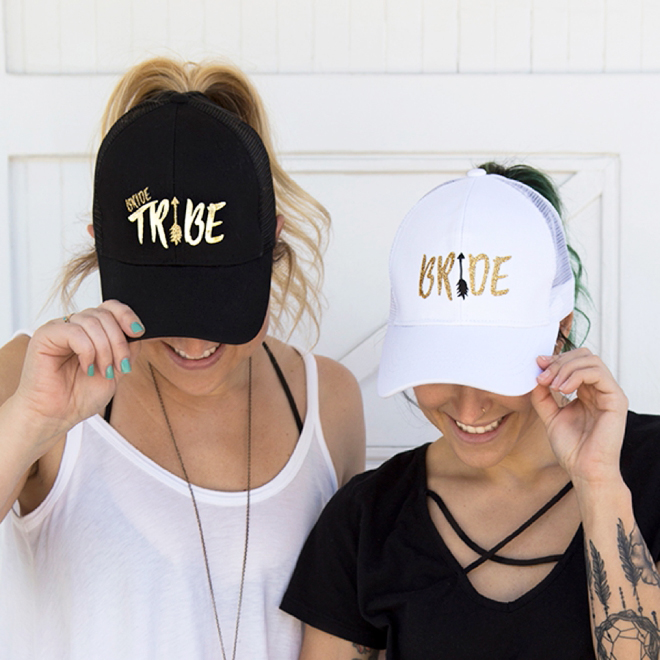
Sun’s out – fun’s out! Fun with iron-on that is! You and your Bride Tribe need these DIY hats like humans need water, am I right?! As long as you have a free evening or afternoon, in just an hour or two you’ll have darling personalized hats that will make your tribe stand out no matter where you’re headed. Making them is crazy easy, since we’re letting our Cricut Explore do all the hard work! So from the Vegas strip… all the way to a tropical beach, and everywhere in between – let your bride tribe shine in these sexy, personalized ponytail trucker hats!
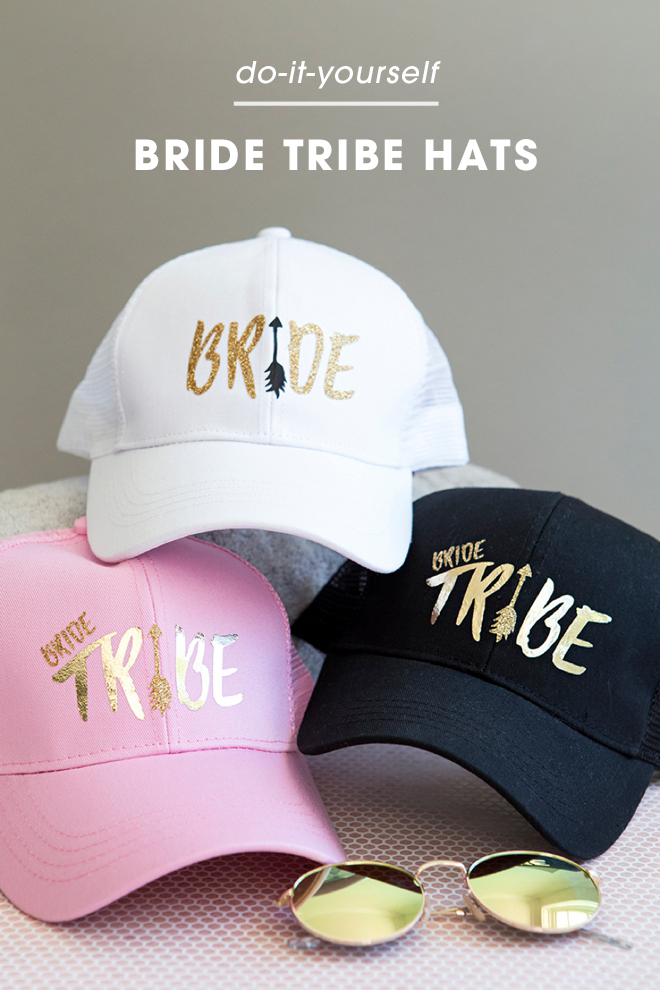
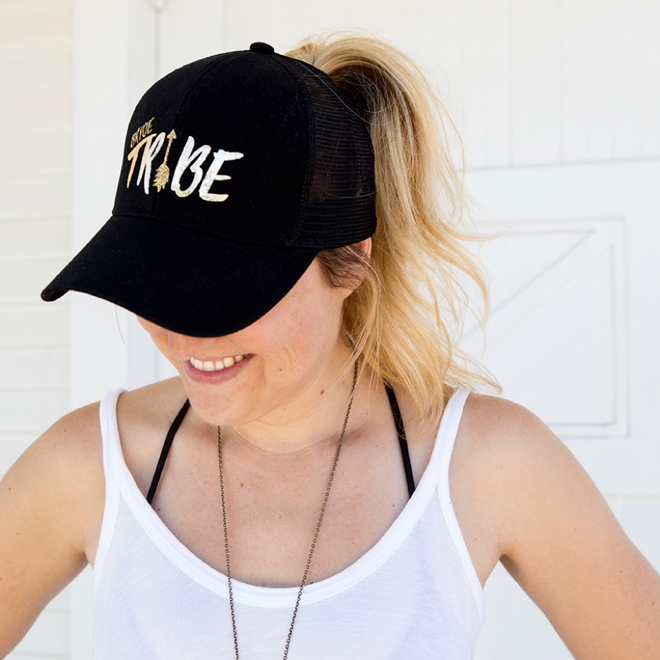
Ponytail Trucker Hats
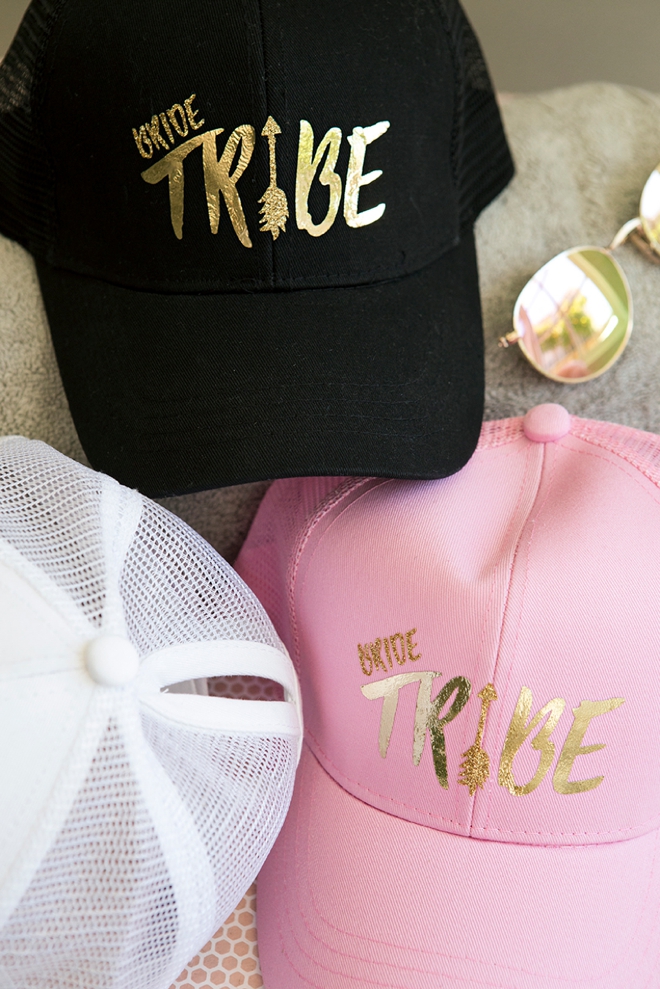
Gaaaahhh… I’m not sure if I’m more excited about sharing how to use an embossing gun to apply this “iron-on” or the fact that these hats have the most awesome ponytail slot in them! Yaasss… the only way to wear a sexy ponytail while also wearing a hat!
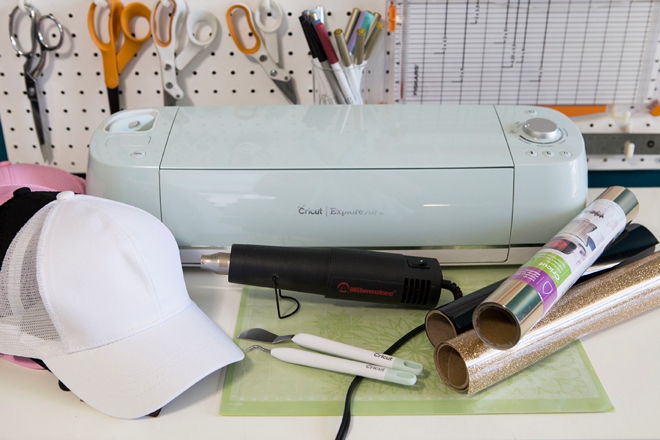
SUPPLIES:
- Cricut Explore Air2, mine is mint!
- Your Favorite Cricut Iron-on Material
- Ponytail Trucker Hats
- Embossing Gun
- Our free SVG. cut files at the end of the post!
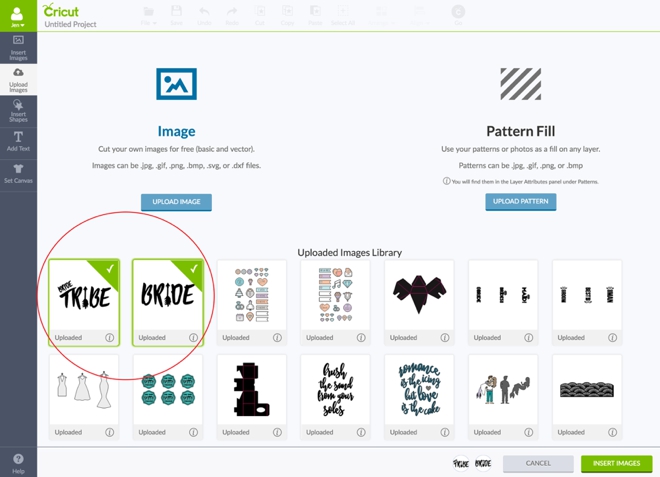
Upload Our Designs To Design Space
Click on the graphics at the end of the post to download our FREE “bride” and “bride tribe” SVG. cute files, once clicked the download should start immediately. Log into Cricut Design Space and open a new project. Click to upload our two designs and then add them to your canvas.
The designs are already sized perfectly for these exact hats, so if you’re using something different make sure to measure first!
Prepare Your Cut Files
There are two ways you can use this design file:
- Cut the entire design out of only 1 type of iron-on material
- Cut the design out of different types of iron-on, like I did!
Option #1:
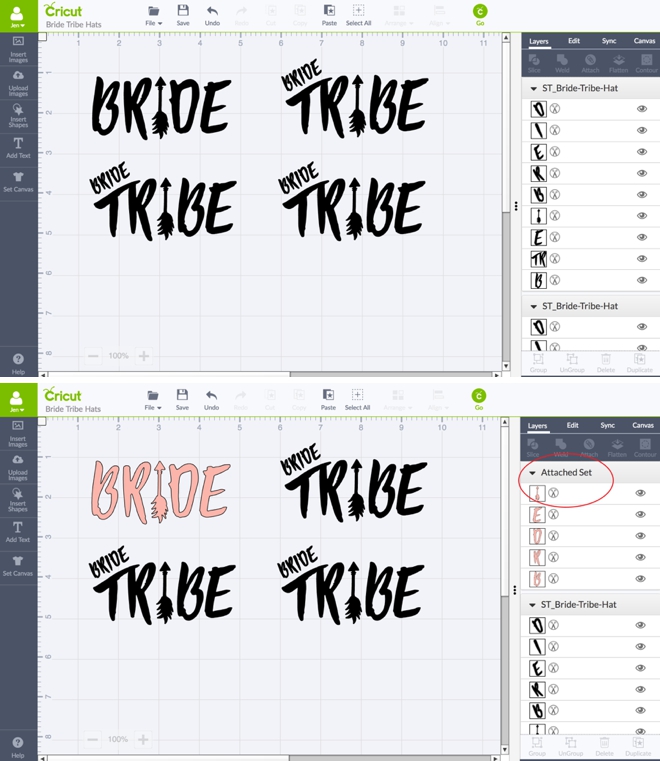
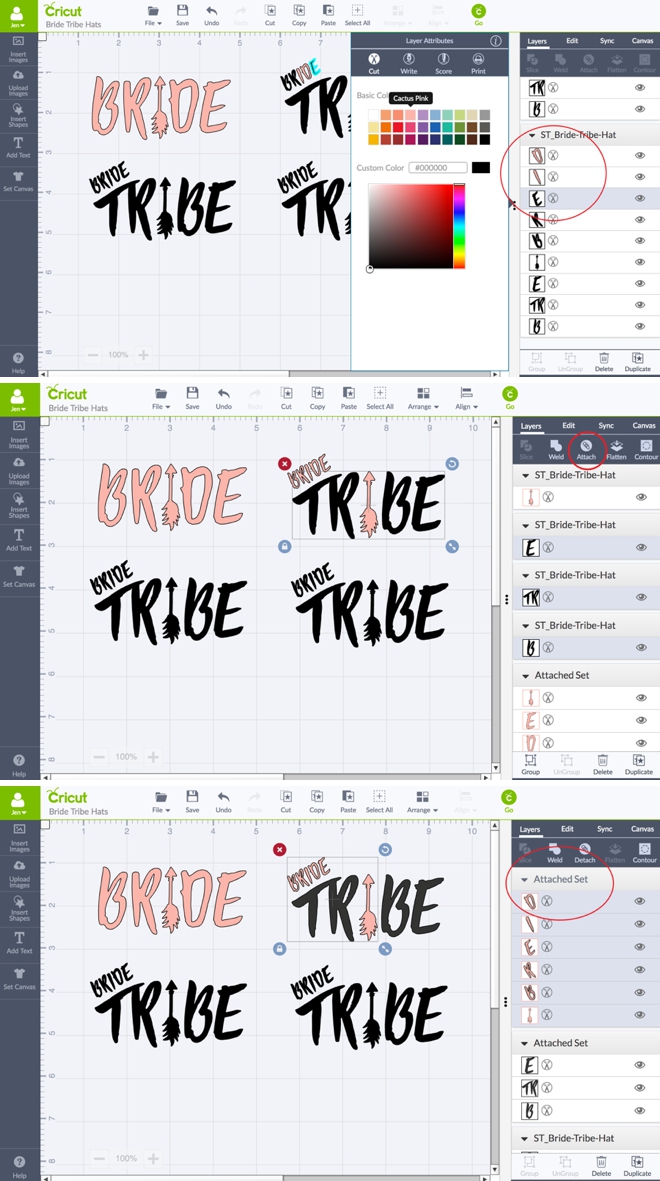
All you need to do is select each design and click the “attach” button in the layers panel. Then click each layer in the layers panel to change the color of the design to the iron-on you’ll be using for each hat and cut! Ok, you don’t have to change the color but I do to keep myself and my cutting mats organized.
Option #2:
Here are the steps to separate the letters and cut them out of different iron-on materials:
- Select each design and click “ungroup” in the layers panel, this will allow you to change the color of each letter and re-group as you please.
- Click each layer in the layers panel to add the different colors of iron-on you’ll be using and for what letters/elements.
- For the BRIDE, I did the BRDE in one type of iron-on and the arrow in another. To do this, I colored the elements appropriately and then clicked to attach only the BRDE.
- Same thing for the Bride Tribe. I did the arrow and the bride in the same iron-on. So I colored each item individually and then clicked to attach the bride and arrow, and then separately the TRBE.
- Attaching items means they will cut EXACTLY as they are laid out on the screen.
- Then when you go to iron the designs together, the layout of how they were cut will make it super easy to line everything up!
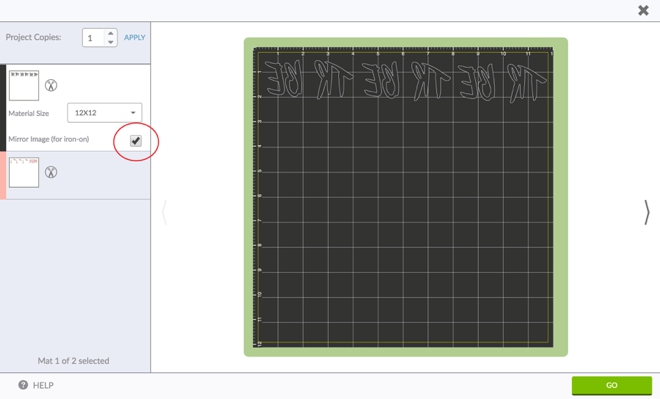
Don’t Forget To Mirror
Make sure that you click the toggle on each mat before you cut to turn the “mirror image” on. All iron-on designs need to be mirrored!
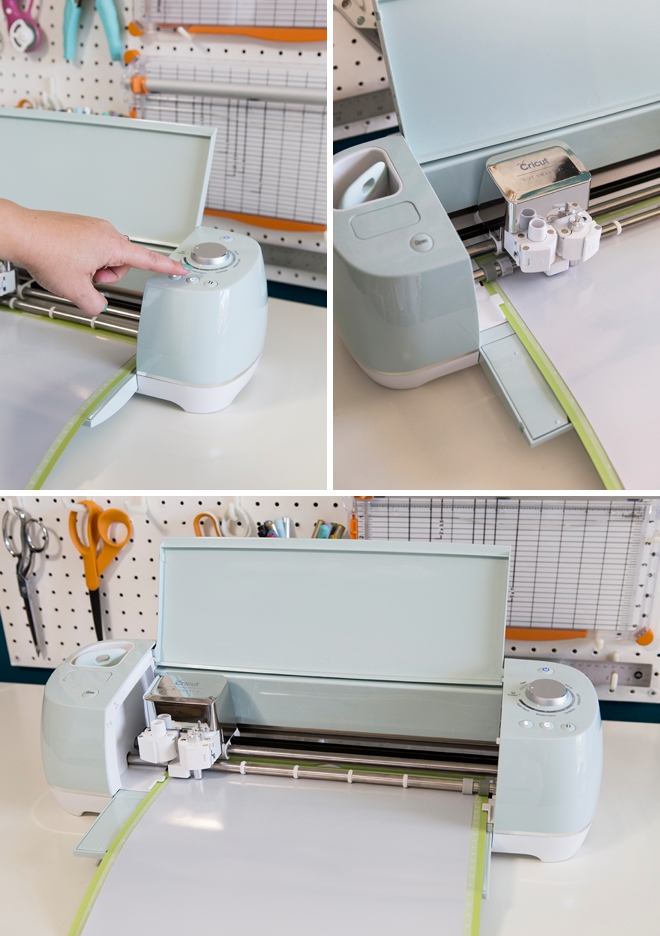
Click GO And Cut
Add your choice of iron-on material to your cutting mat with the flat, backing side facing up… then click GO to cut your designs!
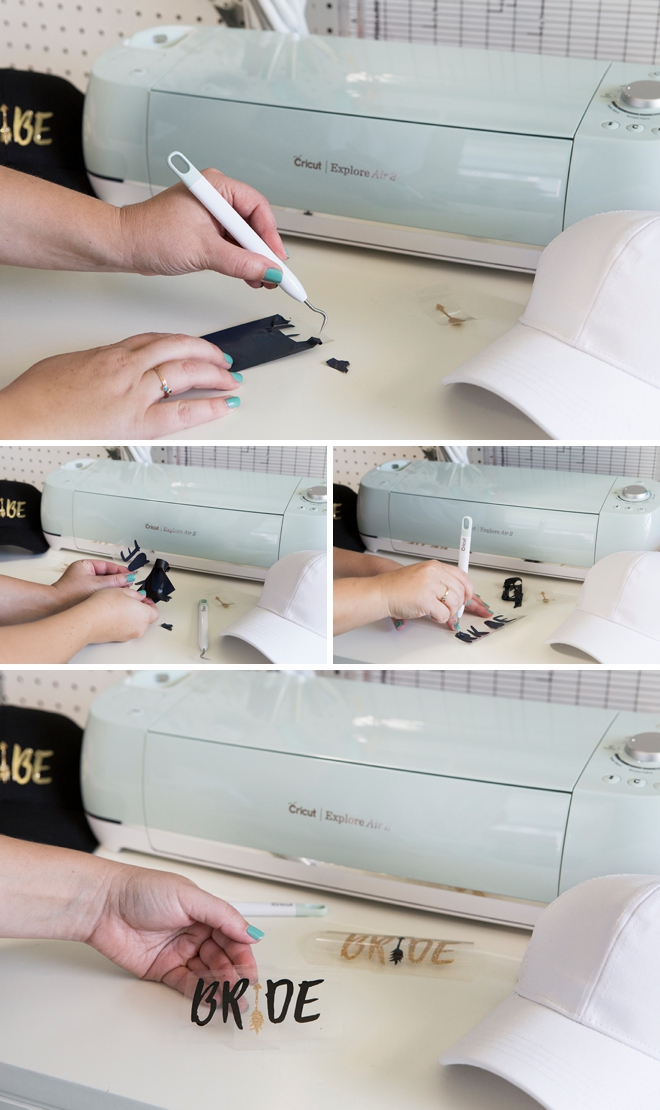
Weed The Designs
Remove the cut designs from the mat and trim around the cut area. Then “weed” (aka. remove) all the non-design areas of the iron on using the weeding tool. If it’s hard to see the cut outline you can always hold it up to a window that has sunlight behind it.
Metal Spatula + Embossing Gun
I’m so freaking excited to share that this technique worked like a charm! There have been so many times that I’ve wanted to put an iron-on design onto an item like these hats but thought, how the heck would I iron that!? With a little guidance from Team Cricut, we figured out that by using an embossing/heat gun and the metal Cricut spatula, the only other thing you need is a little patience!
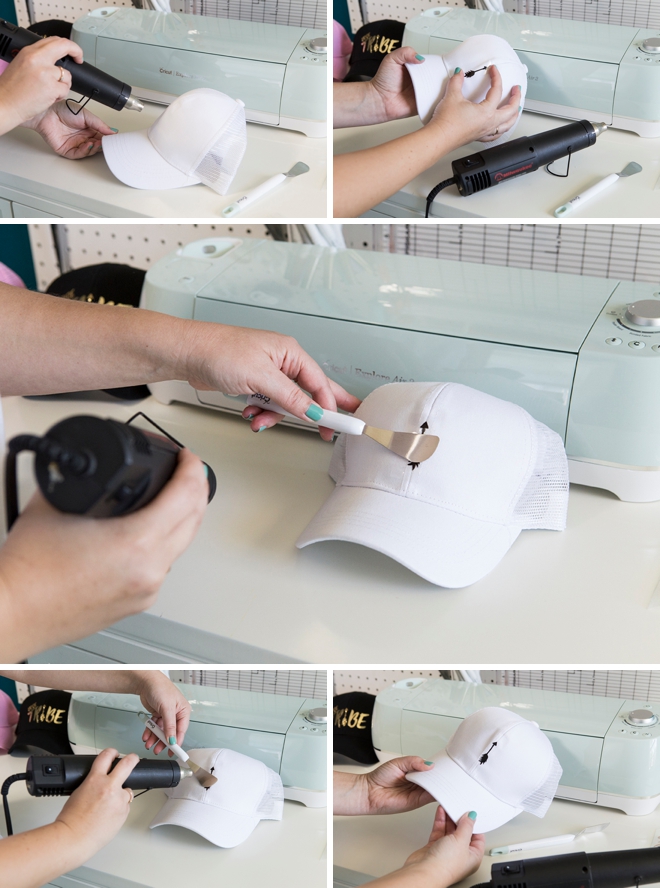
Heat + Smooth
So here’s how to do it:
- Work in small pieces, no pressing cloth required
- Heat up the area you’ll be working on before you apply the iron-on
- Hold the iron-on design onto the hat with the metal spatula tool with one hand
- In the other hand hold the embossing gun
- Slowly and carefully heat the iron-on design, then turn off the gun and quickly smooth and press the iron-on onto the hat with the spatula
- Do the above step over and over until you can visibly see that the design has adhered to the hat, which might take 5-6 minutes of slowly heating
- Try not to heat the iron-on so much that the plastic backing starts to melt and curl
- Iron-on light and glitter are SUPER easy to work with, the foil on the other hand takes a little more patience, also only remove the backing from foil designs once fully cool
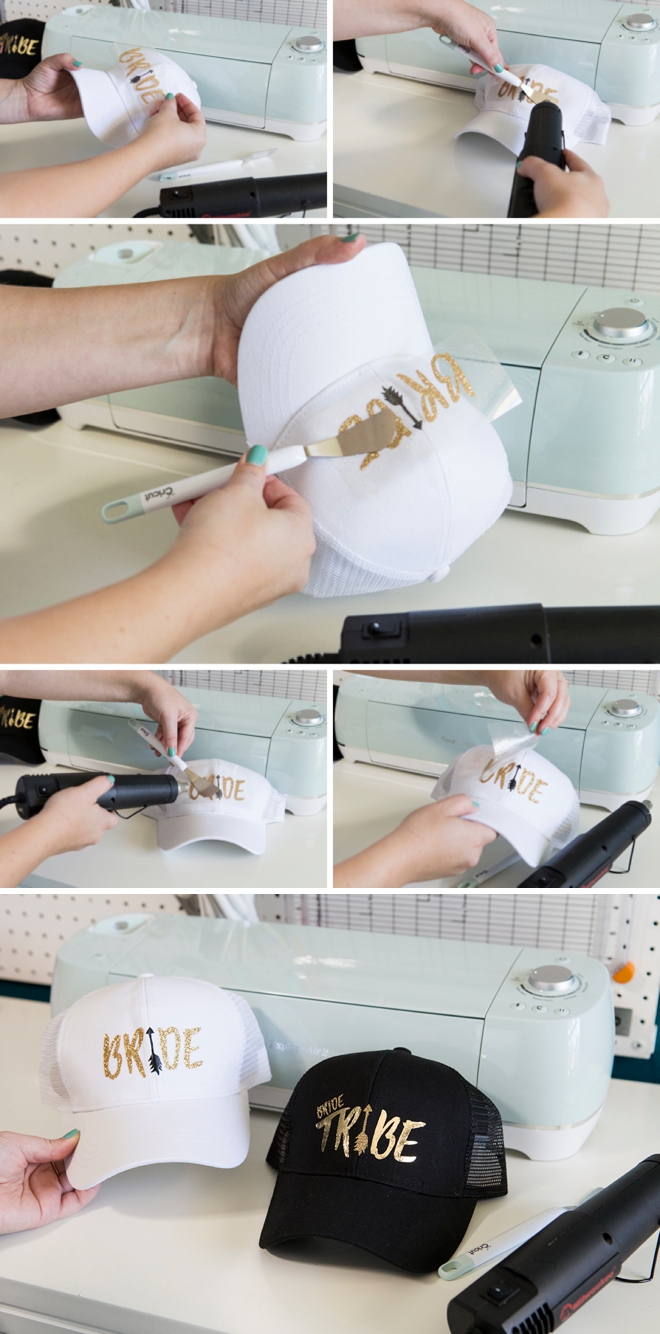
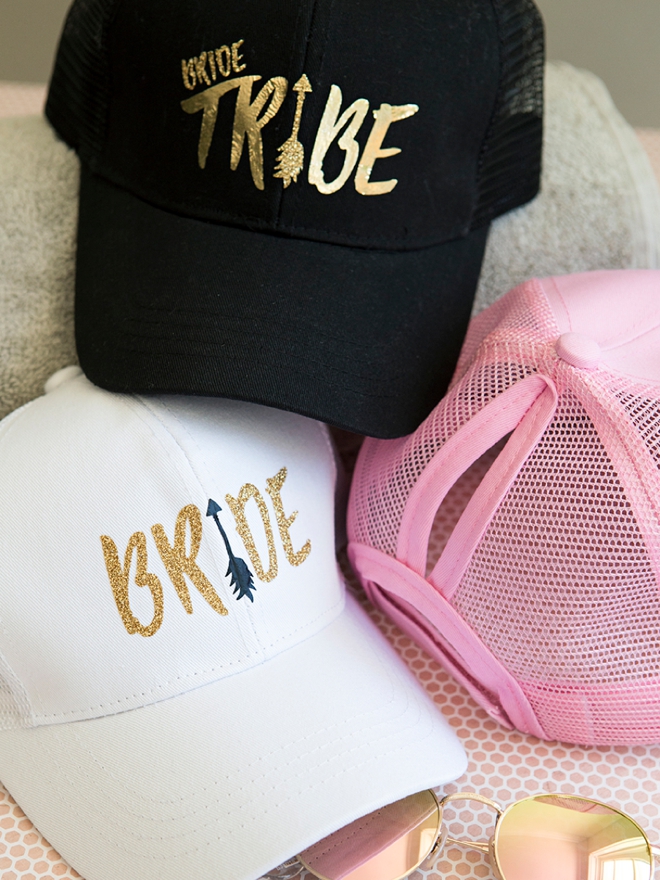
Lots of Iron On + Lots of Ways To Use It
Cricut makes 3 types of iron-on material; light, glitter and foil. Between those three types and all the colors they come in, it pretty much means endless combos of iron-on fun! I did a mix of all three on the hats pictured here and you can too… but don’t forget that you can use the Bride Tribe designs on anything you’d like! From tote bags to sweatpants – the sky is the limit!
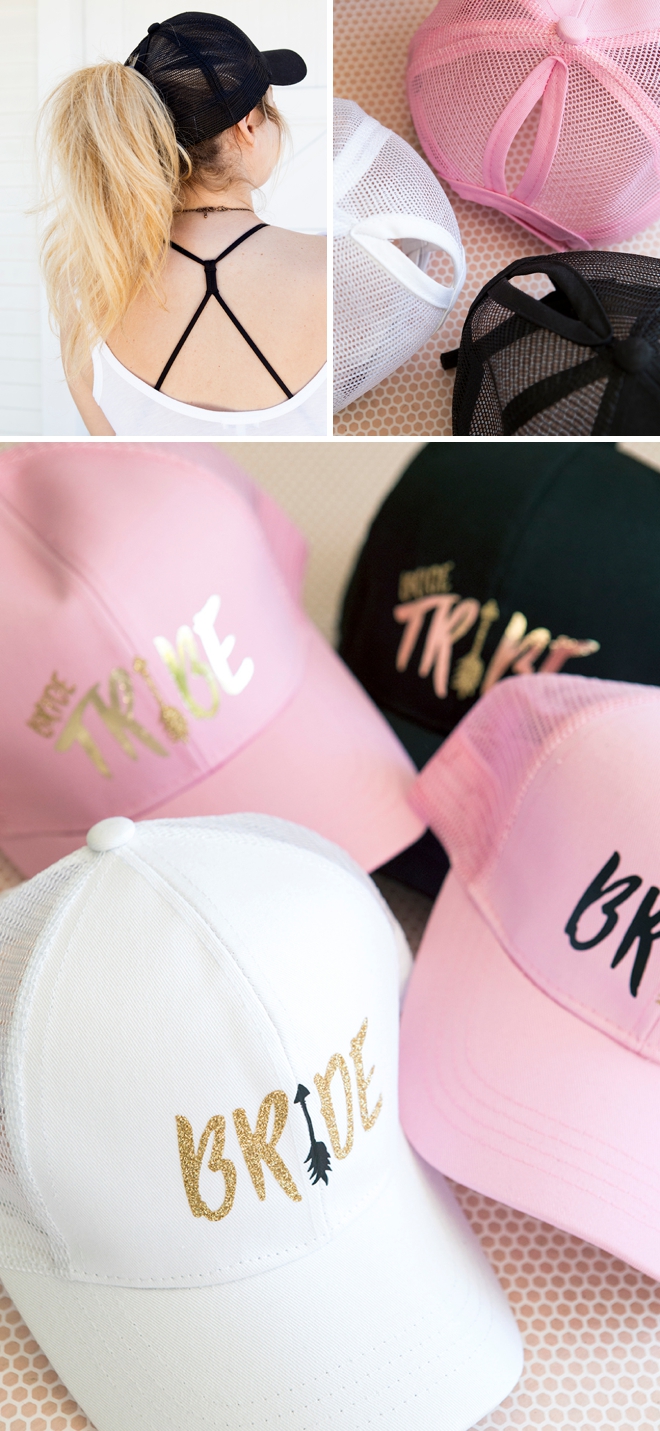
DIY TUTORIAL PARTNER:

Cricut is a world-class leader in personal electronic cutting machines that has enabled people to achieve their creative best for over 50 years. Today, millions of people use Cricut products to create unique projects, and they focus on enhancing lives with this power of creativity. Let Cricut help you take your wedding personalization and project creativity to the next level!

Grab Your Free Files:
Love This Project?
If you’re in love with this Cricut wedding project, you’ll be happy to hear that we now sell exclusive .SVG cut files for your Cricut in our shop! Most files are only $1.99 and they download instantly… so you can be crafting in minutes!
As with all our DIY tutorials, if you create one of our projects please send us a picture – We Love Seeing Your Creativity! If you use Instagram or Twitter please use the hashtag #SomethingTurquoiseDIY and it will show up on our Get Social page. Happy Crafting!
DIY Tutorial Credits
Photography + DIY Tutorial: Jen Carreiro of Something Turquoise // Cricut Explore Air2 and Iron-on Materials: courtesy of Cricut // Ponytail Trucker Hats in Pink, White and Black: Amazon // Embossing Gun: Amazon // Nail Polish: OPI – Withstands the Test of Thyme
Shop The Supplies:
Find the supplies you’ll need for this project from our affiliate links below:




Comments