-Sponsored Post-
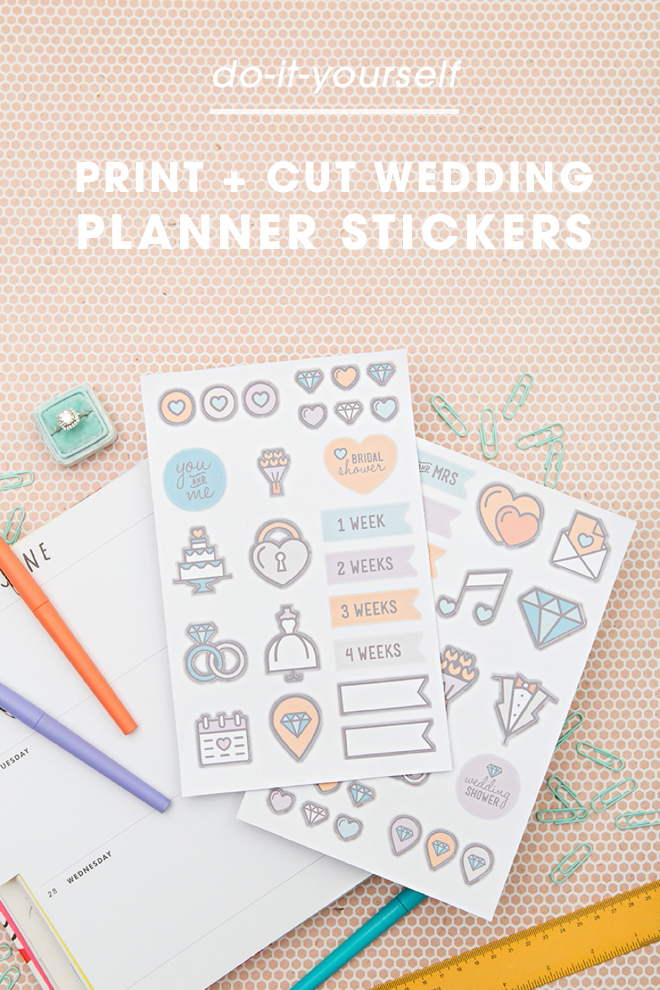
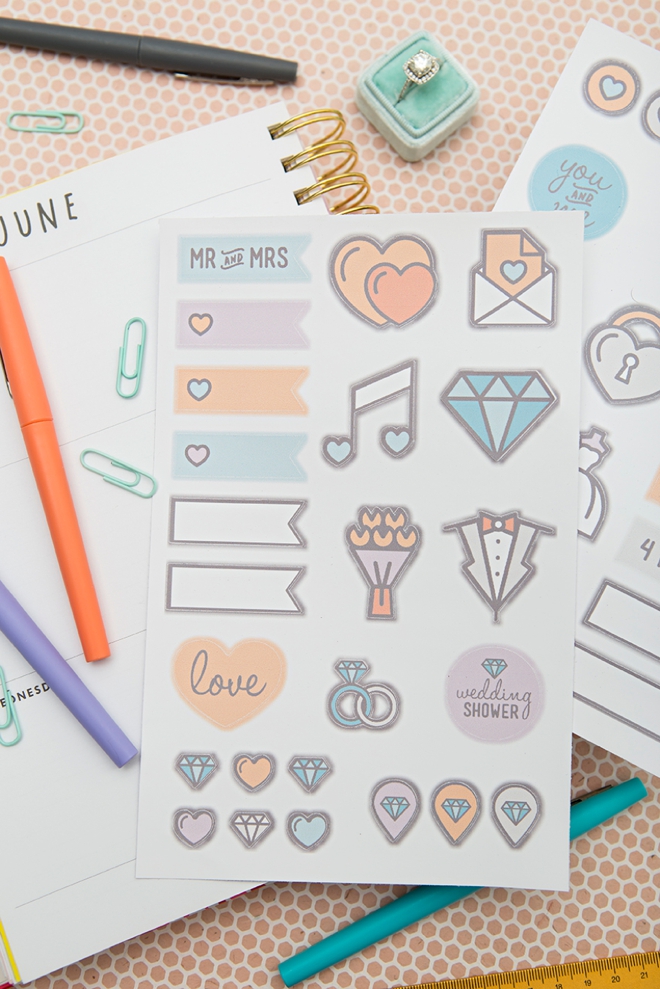
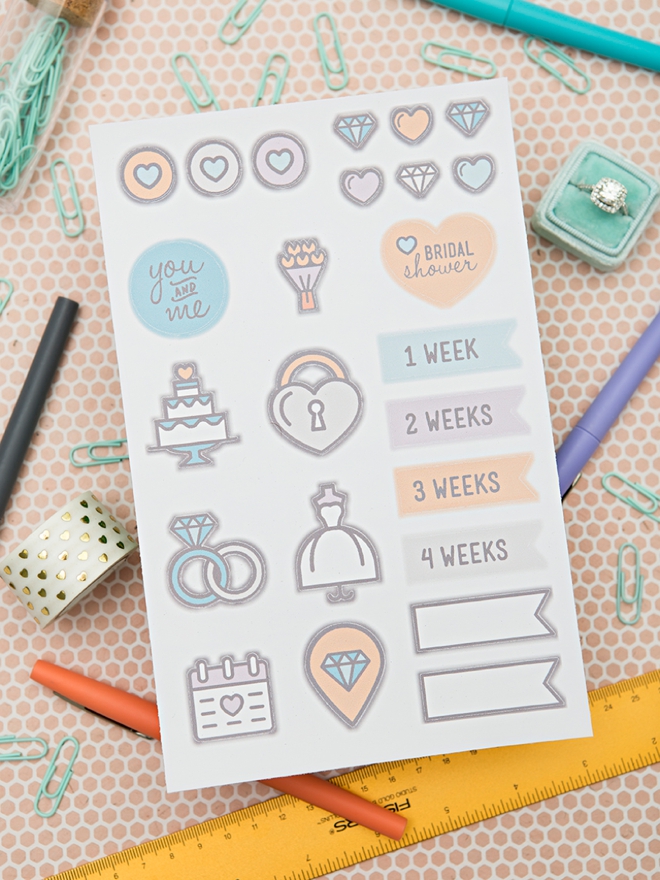
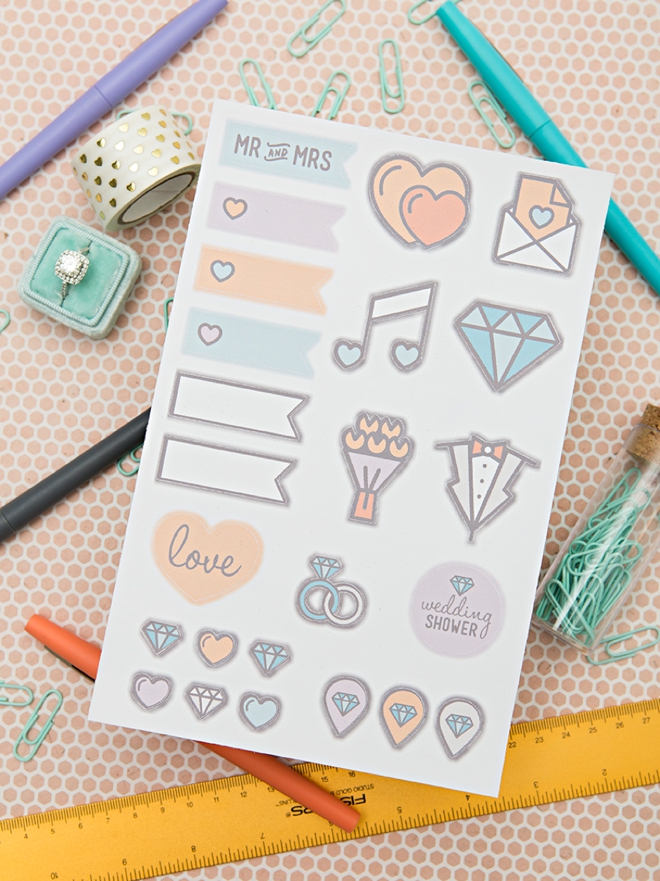
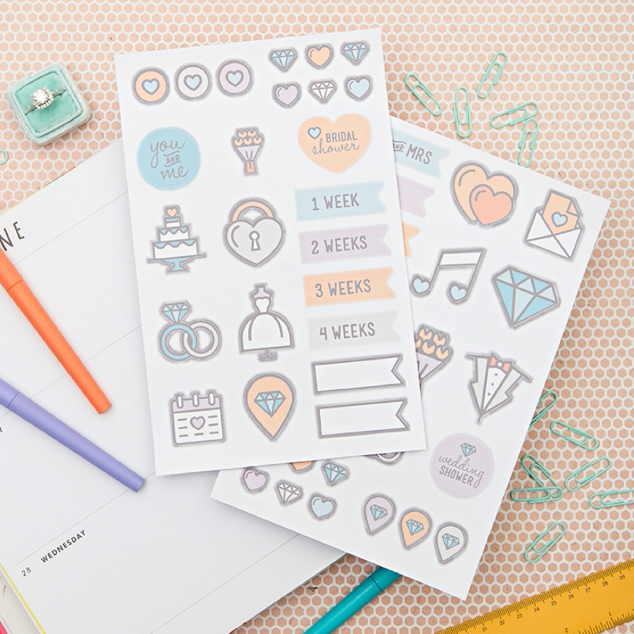
Yes, I am one of those planner ladies. I live and breath by the notes, to-do lists, and doodles that I add to my planner. I embellish my planner with stickers and I actually have different colored pens for each task. If you’re planner obsessed like me, you’re going to LOVE today’s DIY project! We’re using the amazing print + cut feature of the Cricut Explore to create these adorable planner stickers that are going to look fabulous in your wedding notebook! If you’ve never used the print + cut feature before, now is the perfect time to try. Download our free files below, upload them to Design Space, print then cut, and plan your heart out!
Plan Your Heart Out
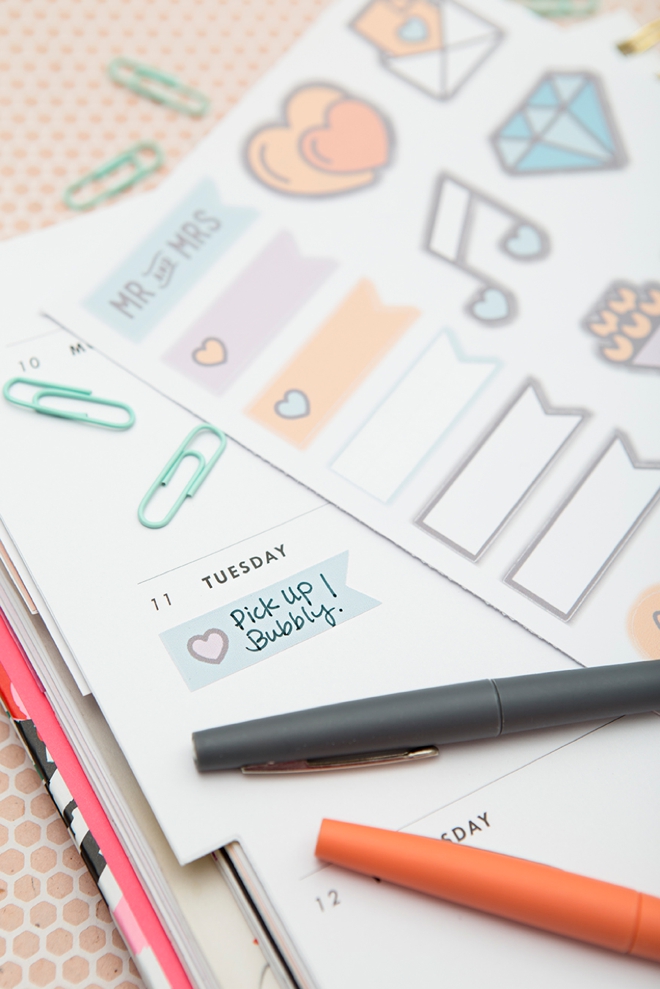
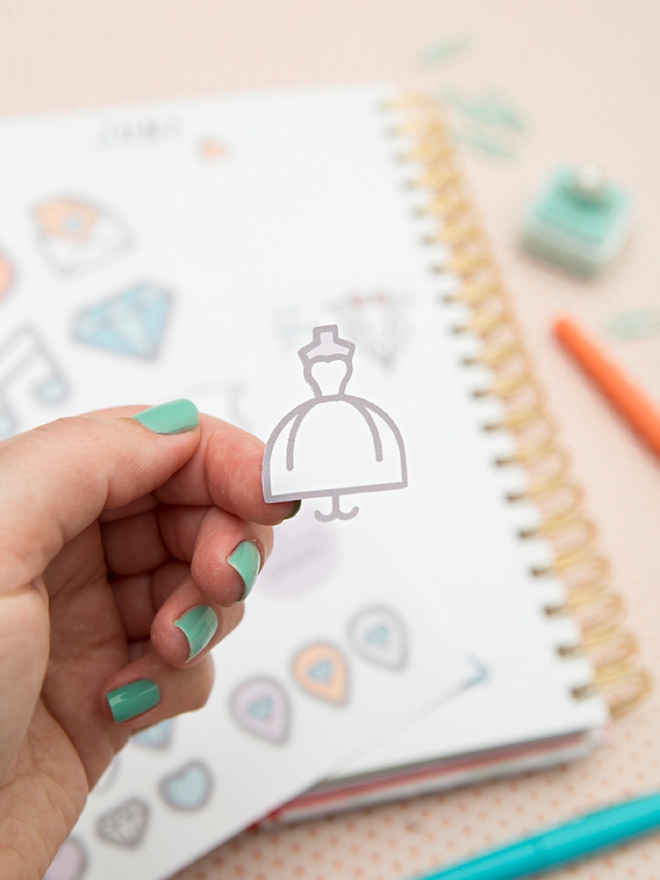
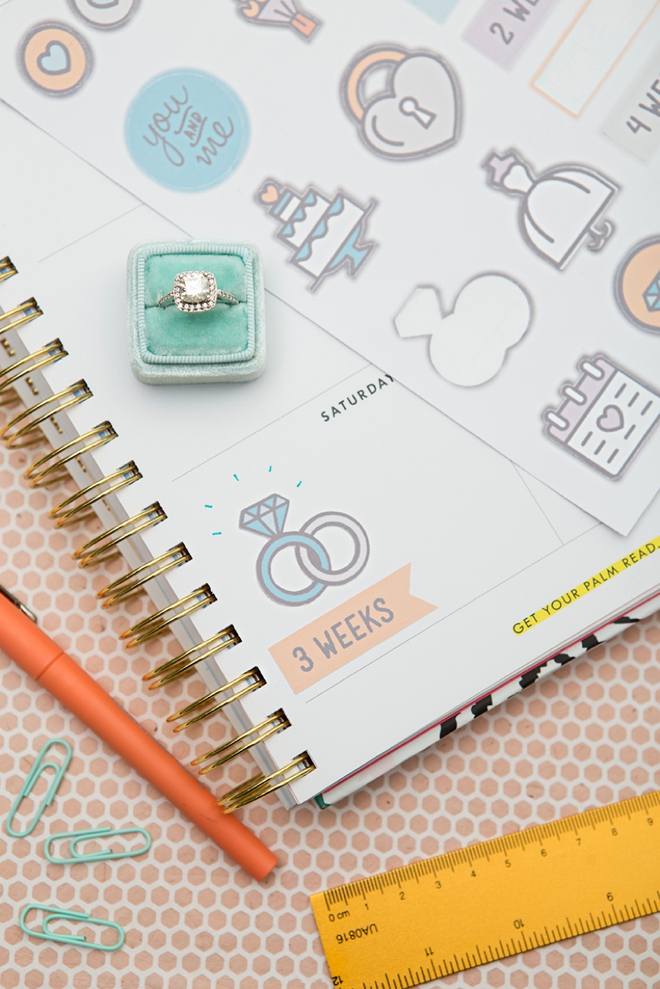
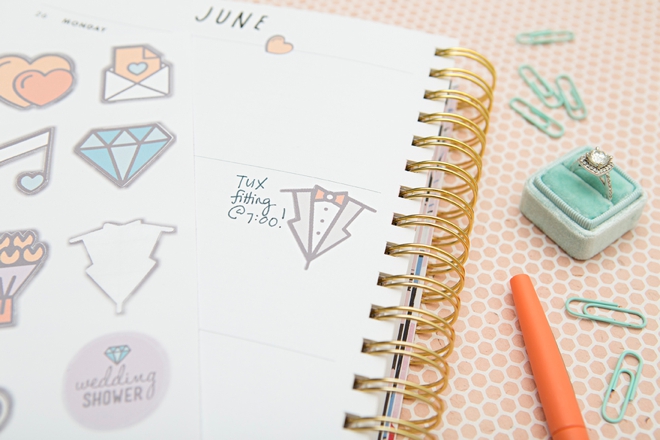
Here I’m using Cricut’s printable vinyl to create these stickers. The vinyl has a really nice satin shine to it and the ability to write on it’s surface – allowing you to add notes within the stickers! Print and cut as many as you need during your wedding planning journey!
SUPPLIES:
- Cricut Explore
- Cricut Printable Vinyl
- Home Printer
Download + Upload
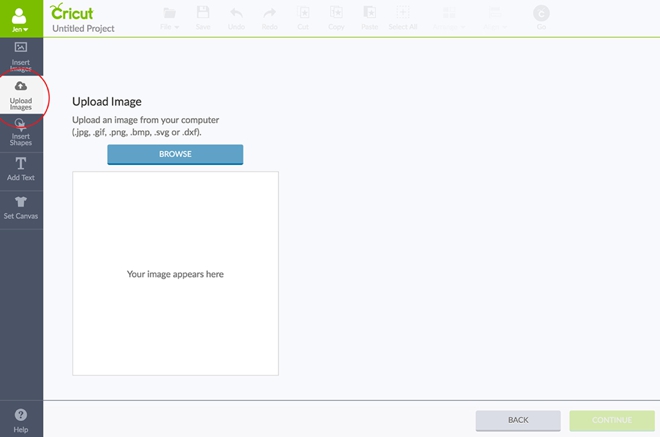
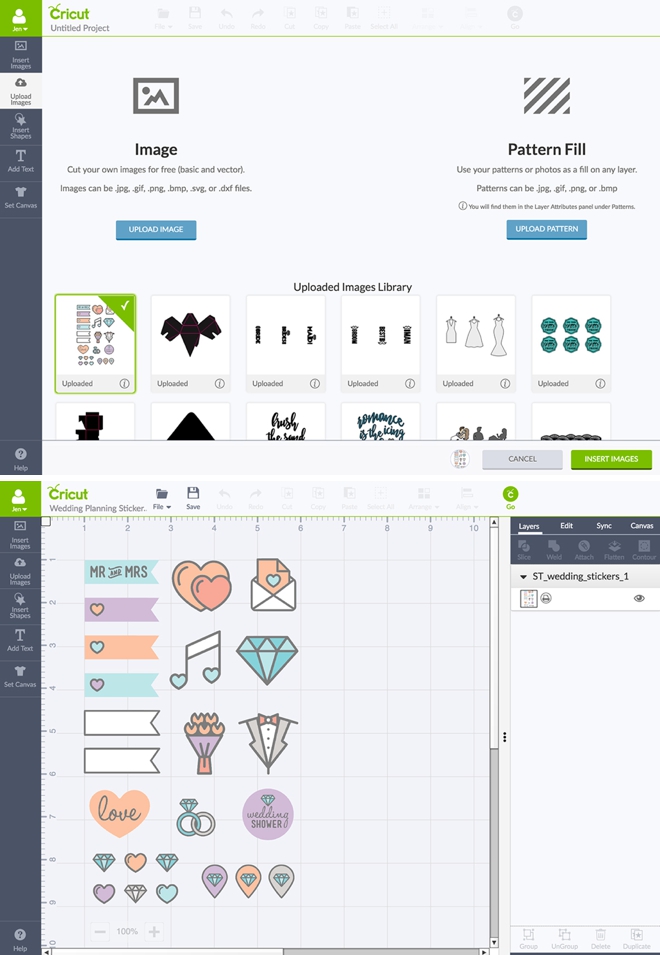
Download both wedding planner sticker sheets at the end of the post (the files should automatically be saved to your computer with just 1 click) and login to begin the upload process on Design Space. On the left hand side of your canvas click “upload” and locate the files on your computer.
Save As A Print Then Cut
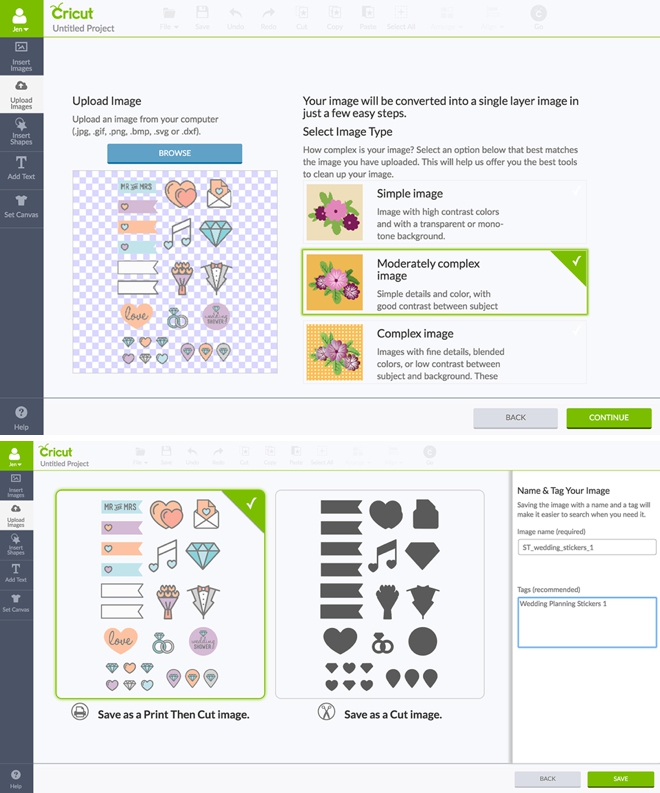
Design Space will give you 3 options of how to save the file, choose “moderately complex image” and then click continue. The next box will prompt you to save as a “print then cut image” or just a “cut image”, choose print then cut.
Add To Canvas + Size
Now the file is saved in your library and can be accessed whenever you need it. Click each file to add to your canvas.
The web browser you are using will determine the maximum print then cut size for your stickers. Drag the file as large as you can to fit:
- Google Chrome: 5.5″ x 8″
- Firefox: 6″ x 8.5″
- Internet Explorer: 6″ x 8.5″
- Safari: 6″ x 8.5″
TIP: if Design Space tells you to “remove custom content” you can try to click past the warning or log out and log back into Design Space.
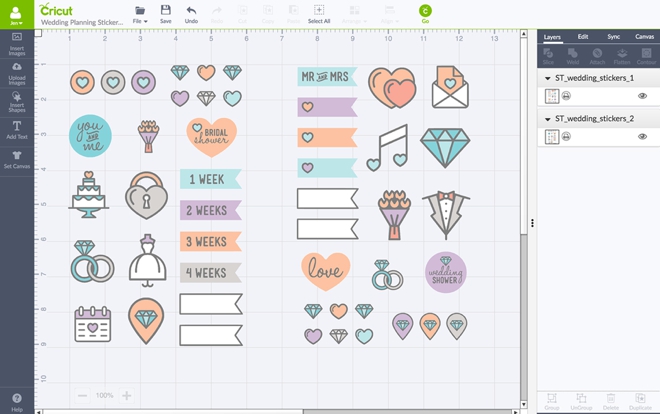
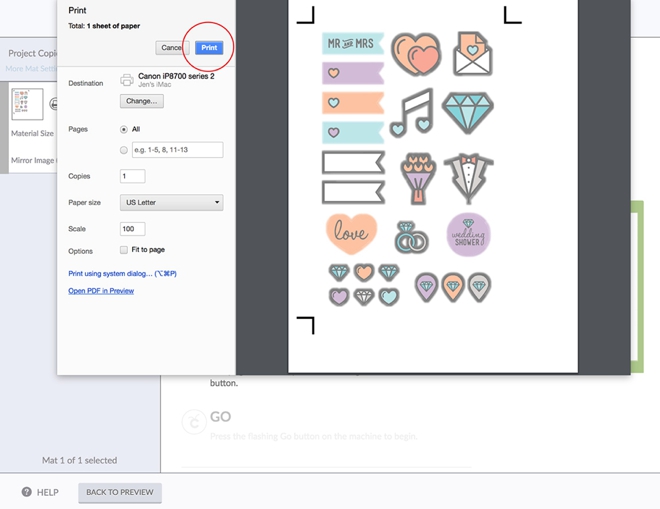
The next step is hitting Go. Design Space will then prompt you to print the files using your home printer. You know I’m a Canon gal, so I used my new PIXMA TS9020. Insert the printable vinyl into your printer and hit print.
Choose Printable Vinyl
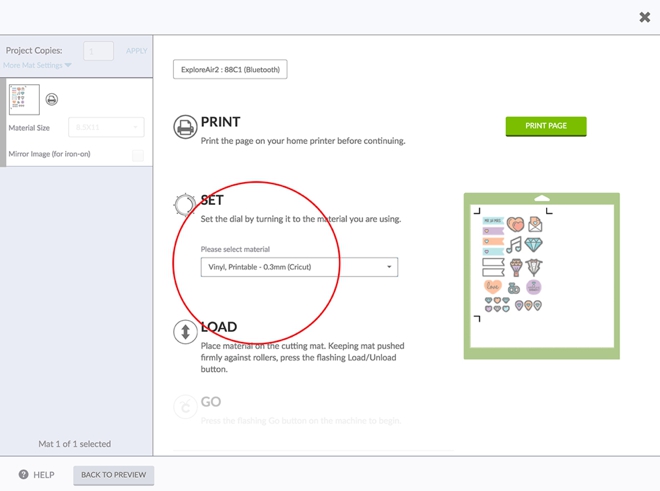
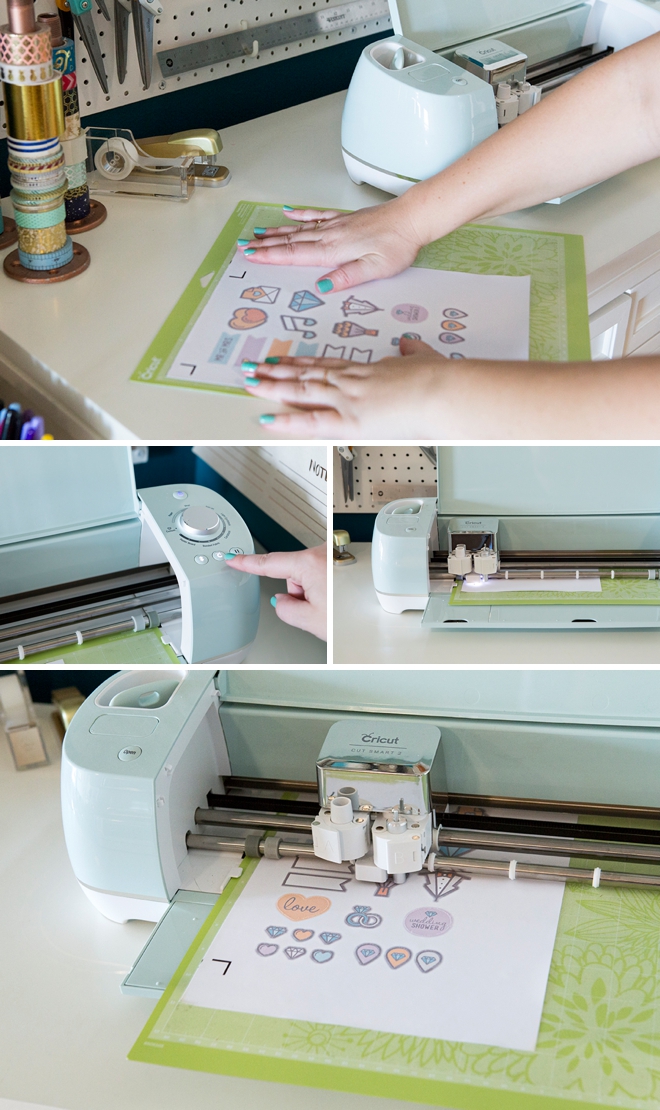
Set the knob on your Cricut to “custom” and from the drop-down menu choose Printable Vinyl as your cutting material.
Cut
Take the printed sticker sheet and add it to a cutting mat. Insert it into the machine and click go. Watch the Cricut work it’s magic! With a print then cut, what you’ll see first is the Cricut reading the black registration marks – this is what tells the Cricut where to cut! It weaves back and forth across the 3 black lines to properly align itself for cutting, which is SO awesome. Then it will cut!
Trim + Save
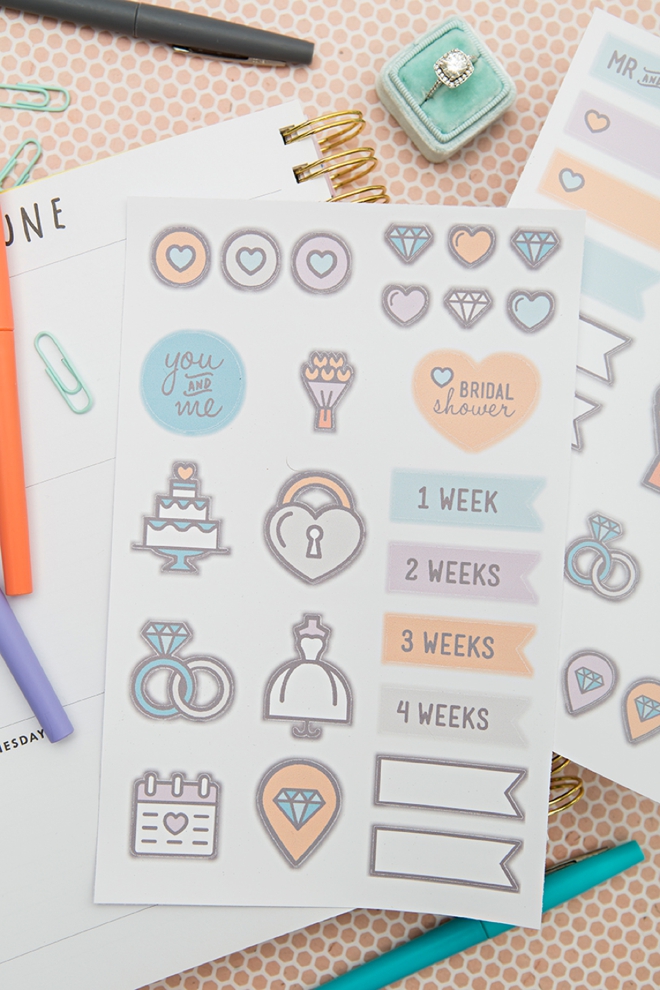
Using scissors or a paper trimmer, trim your new sticker sheets down and toss the excess. At under 6″ x 8″ they are the perfect size to store and keep in your planner!
Alert: Gift Idea
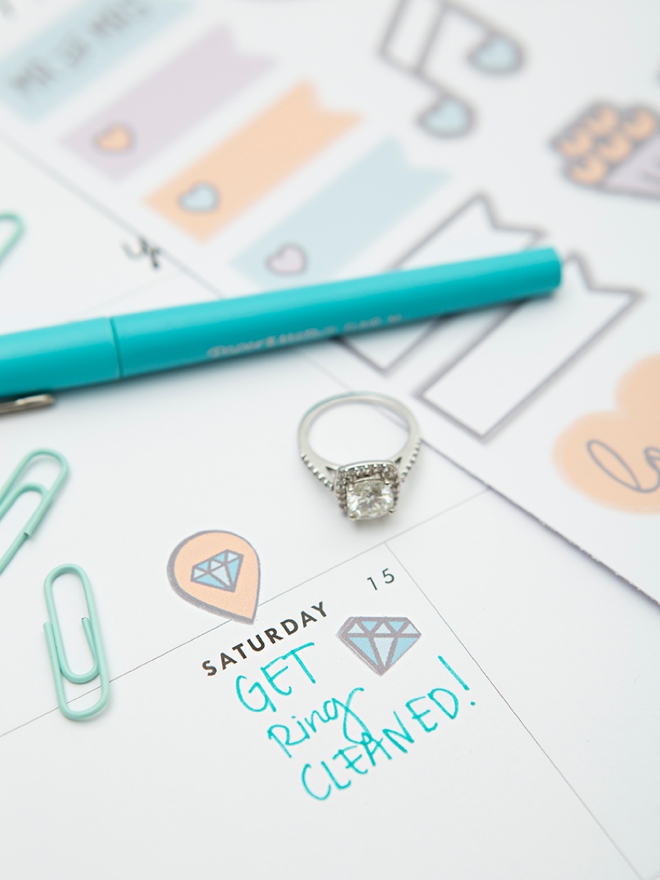
If you’re not getting married but you have a friend who is, these stickers, plus a cute notebook, maybe some fun pens and a pack of colored paper clips would make the most darling engagement party or bridal shower gift!
DIY TUTORIAL PARTNER:

Cricut is a world-class leader in personal electronic cutting machines that has enabled people to achieve their creative best for over 50 years. Today, millions of people use Cricut products to create unique projects, and they focus on enhancing lives with this power of creativity. Let Cricut help you take your wedding personalization and project creativity to the next level!
Grab Your Free Files:
Love This Project?
If you’re in love with this Cricut wedding project, you’ll be happy to hear that we now sell exclusive .SVG cut files for your Cricut in our shop! Most files are only $1.99 and they download instantly… so you can be crafting in minutes!
As with all our DIY tutorials, if you create one of our projects please send us a picture – We Love Seeing Your Creativity! If you use Instagram or Twitter please use the hashtag #SomethingTurquoiseDIY and it will show up on our Get Social page. Happy Crafting!
DIY Tutorial Credits
Photography + DIY Tutorial: Jen Carreiro of Something Turquoise // Cricut Explore Air2 and Printable Vinyl: courtesy of Cricut // Sticker Designs: Julia Ensign // Nail Polish: OPI – Withstands the Test of Thyme
Shop The Supplies:
Find the supplies you’ll need for this project from our affiliate links below:




Comments