-Sponsored Post-
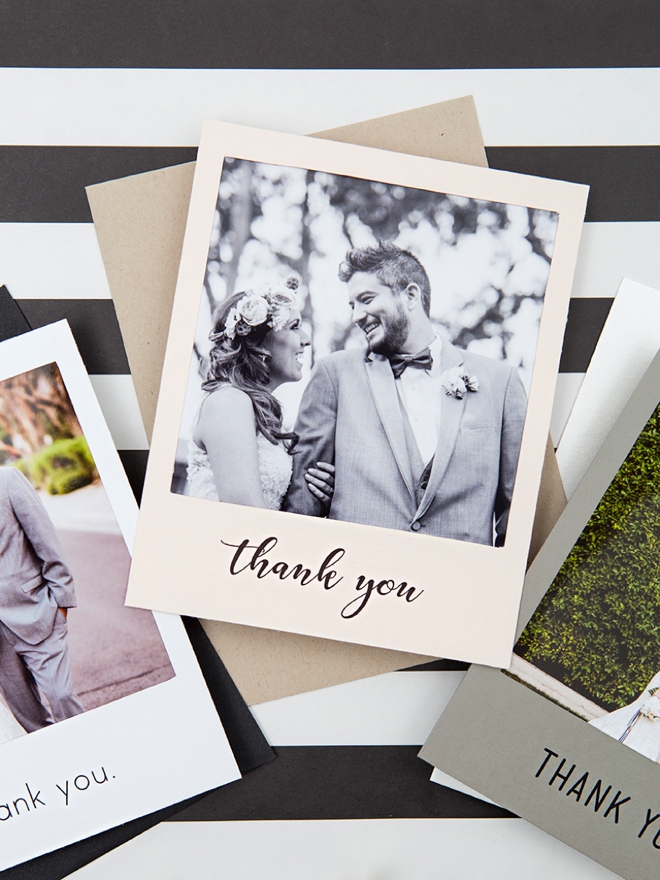
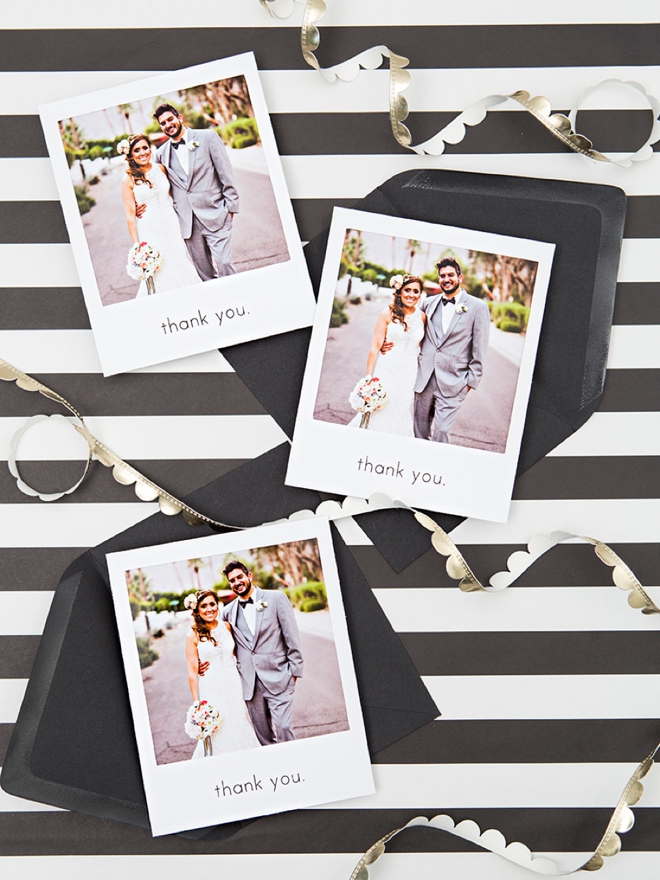
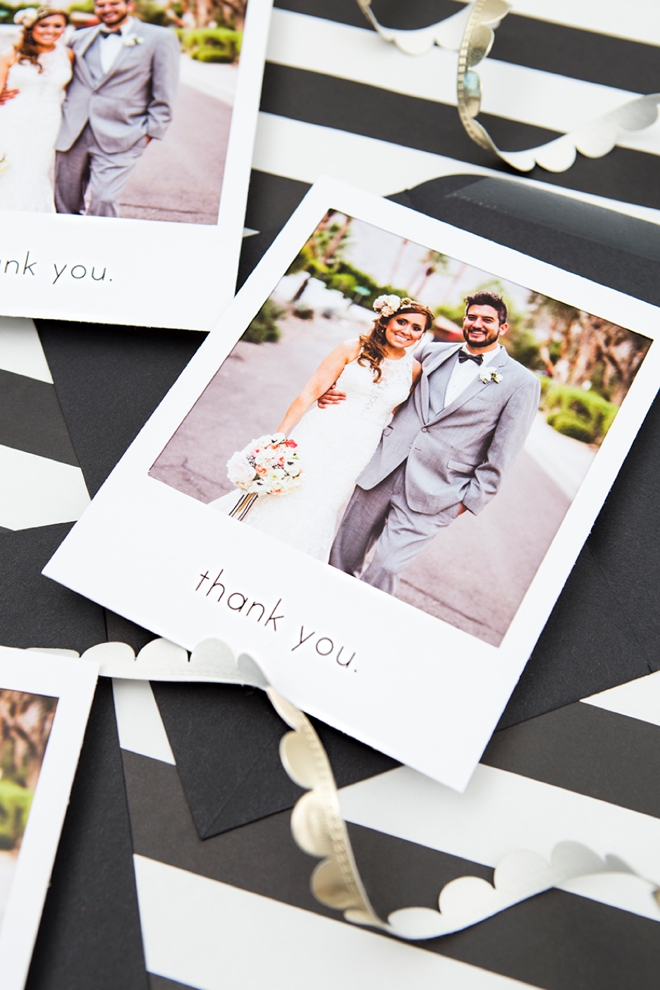
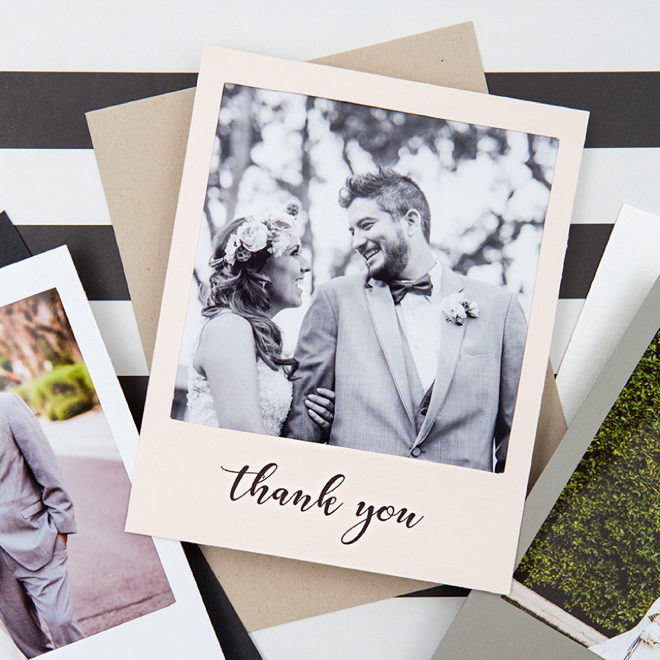
Aren’t photo thank you cards the best!?! I absolutely love them and end up keeping them forever because how can you throw away a photo of a friend!? You can’t! Today I’m sharing how to easily make the cutest “polaroid style” thank you cards using your home printer and a few simple supplies. We have three different printable card styles to choose from, but the best part will be choosing what photos to use… remember you don’t have to pick just one! You can easily use different photos for these cards, maybe even of you and the person you’re sending it to. No matter if it’s your bridal shower, your wedding or maybe even a birthday party – these photo thank you cards will show your friends just how much you care!
Personalize With Color
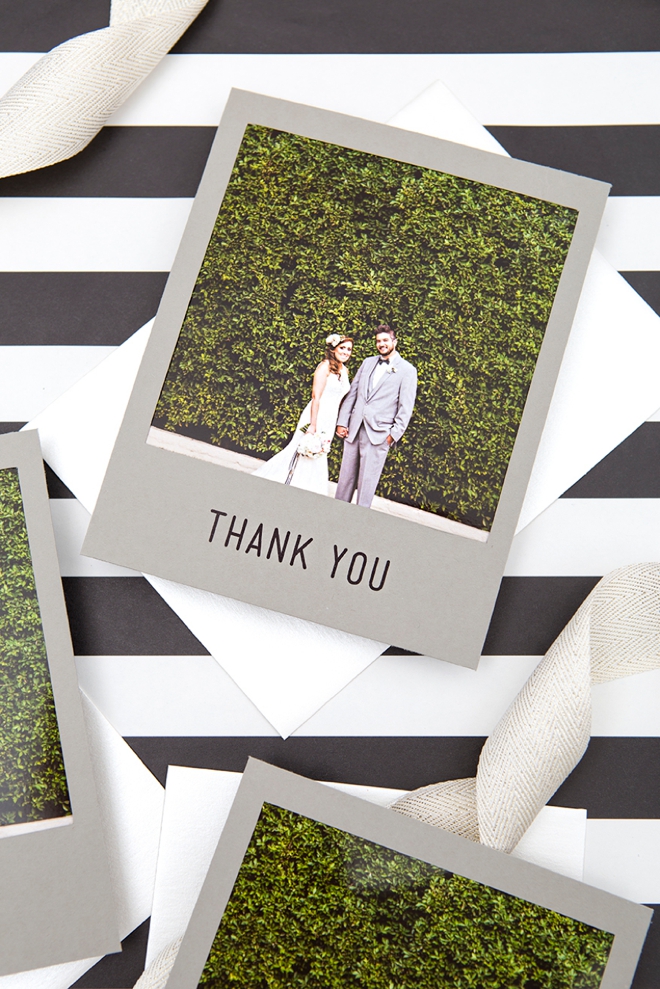
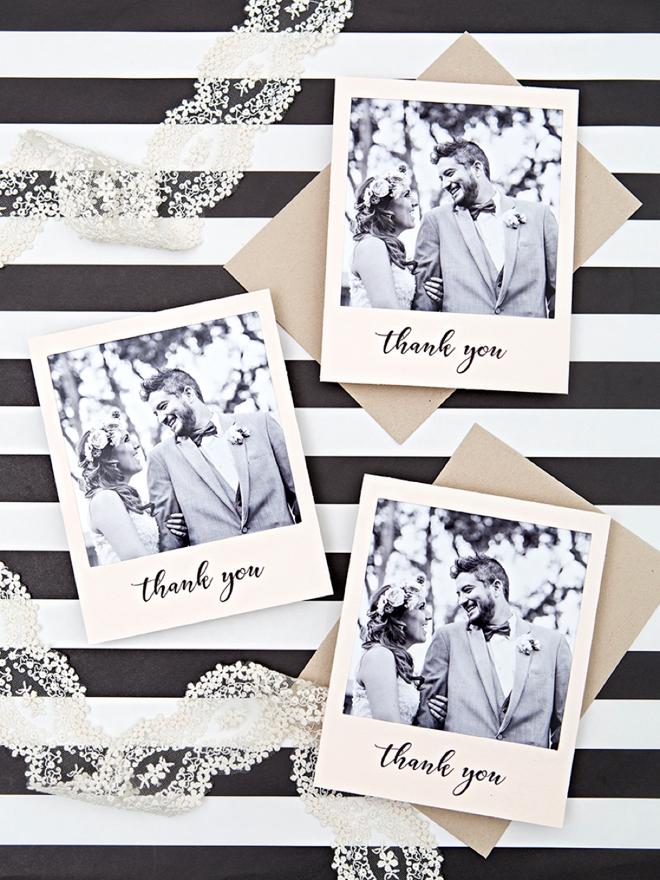
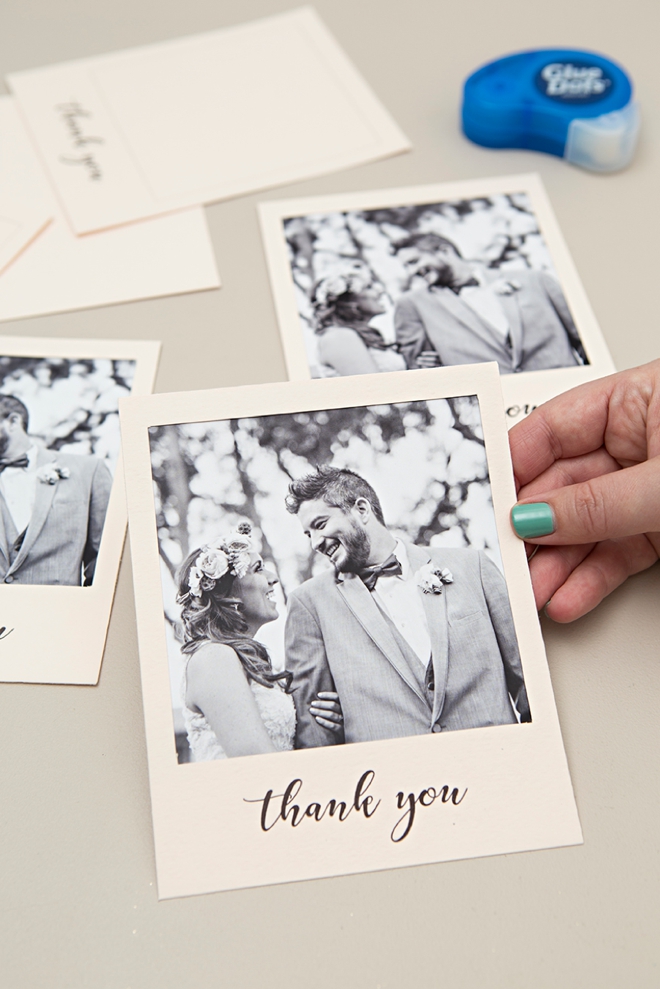
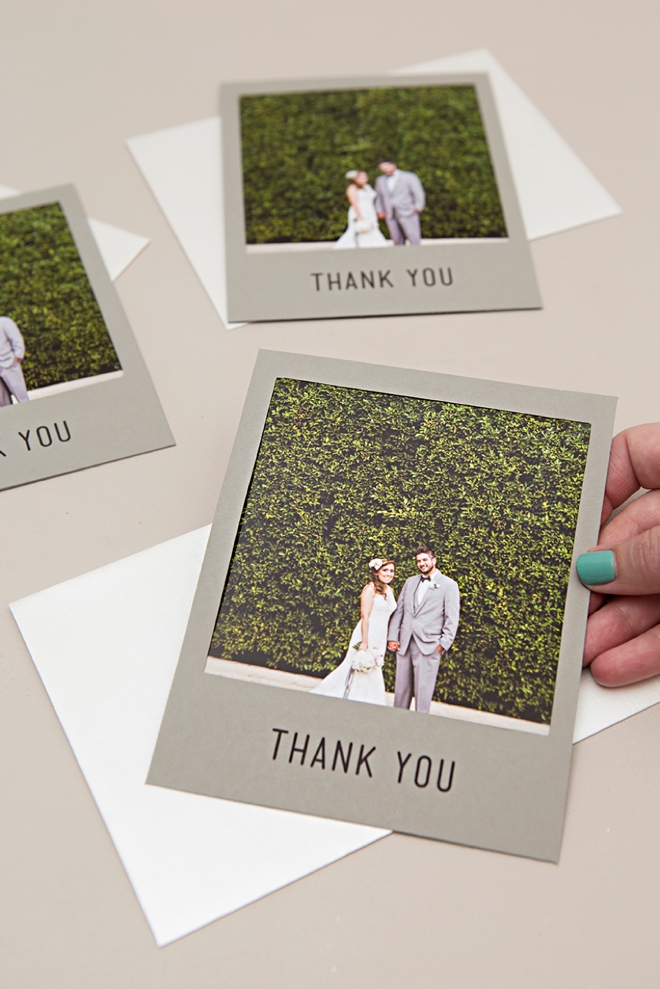
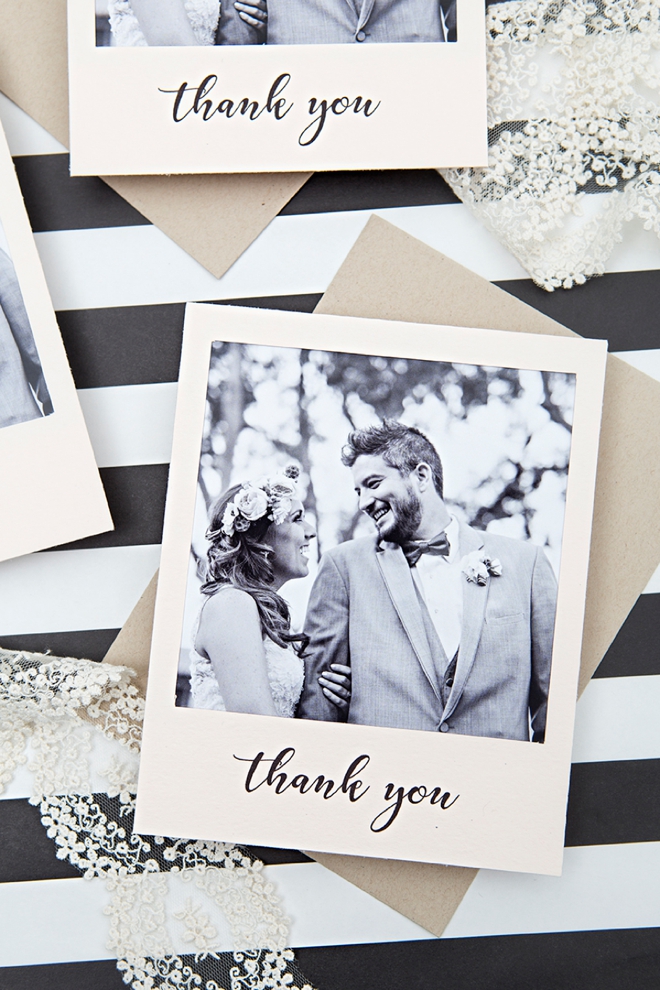
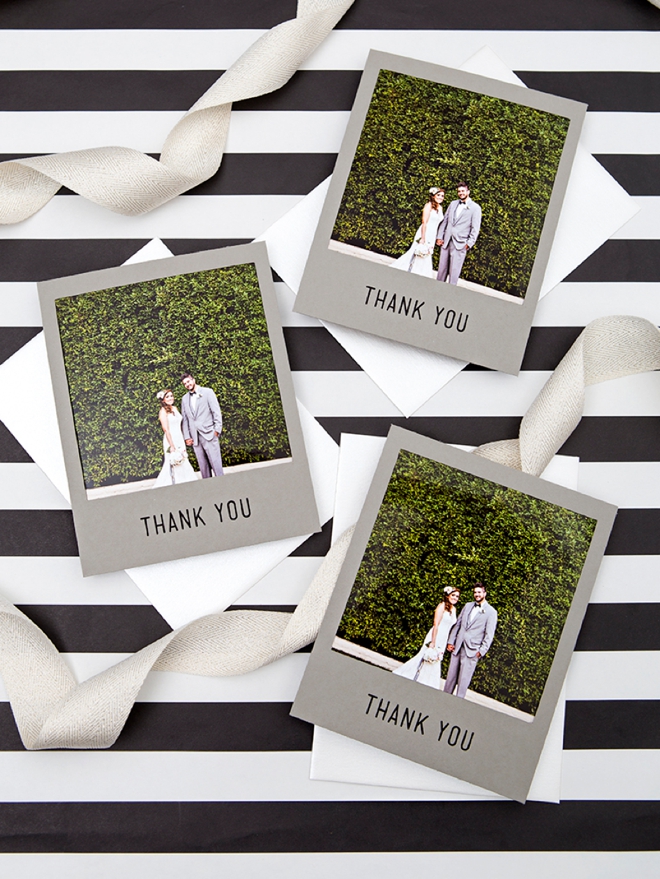
Our simple printable thank you designs will lend perfectly to any color palette! As you can see from the different versions I created, the colored paper you choose and the color of the image you use will make a high impact on the look of this project.
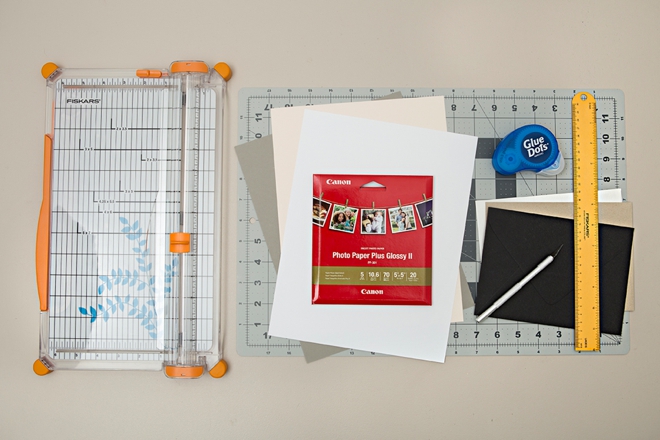
SUPPLIES:
- Canon TS9020 All-in-One Printer
- Canon 5″x5″ Photo Paper Plus Glossy II
- 8.5″ x 11″ Cardstock
- A7 Envelopes
- Paper Trimmer
- Cutting Mat
- Non-slip Ruler
- Xacto Knife
- Wedding (or other) Photos
- Our FREE printable files at the end of the post!
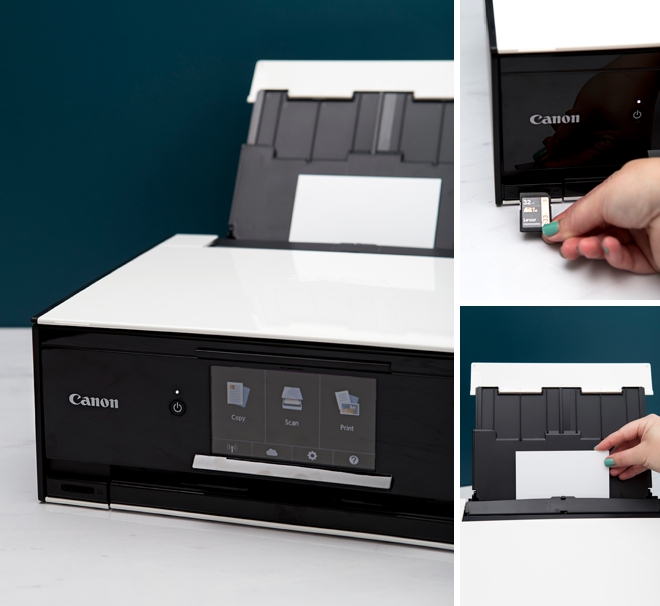
Print From An SD Card
The more and more I use my new TS9020, the more I fall in love. Favorite new feature: printing photos straight from an SD card! Simply insert the card and click to pull up each image to print, it really couldn’t be easier. I cropped my images to squares beforehand.
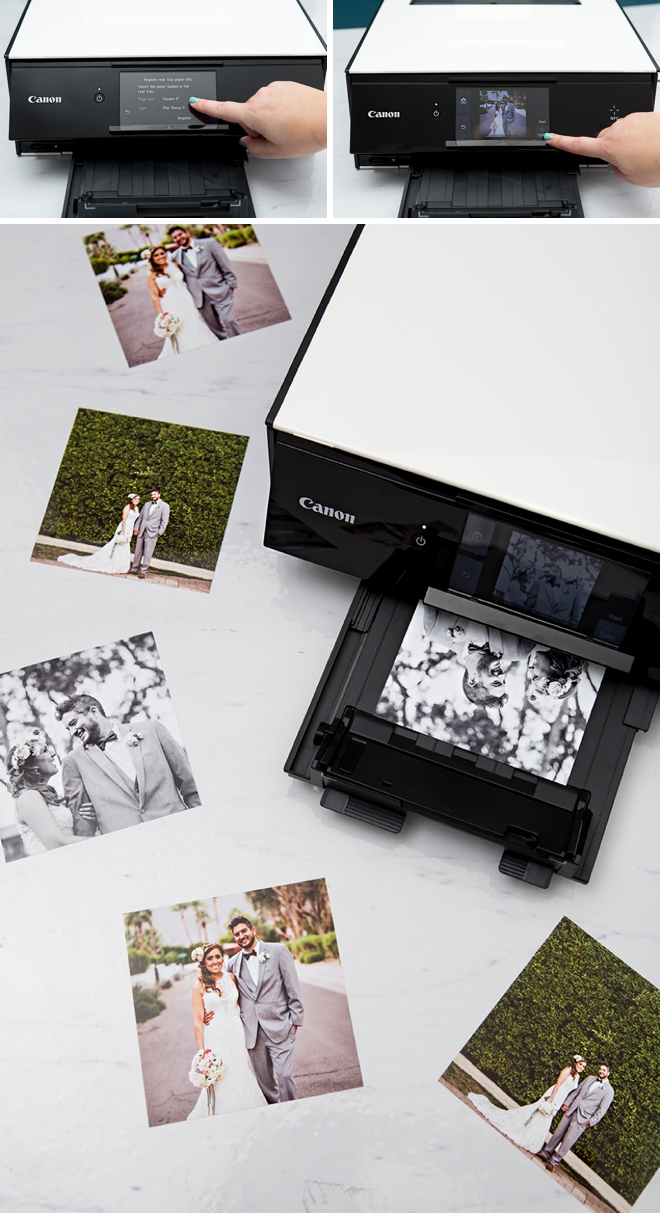
5 x 5 Photo Paper
I’m using the new Canon 5″x5″ Photo Paper Plus Glossy II paper for this project which makes things super easy. The setting for this exact paper is already programed in the printer and once selected it ensures the absolute best quality print possible, including a perfectly borderless print. I showed these to Shea, the bride in the photo, and she couldn’t believe that the images weren’t professionally printed!
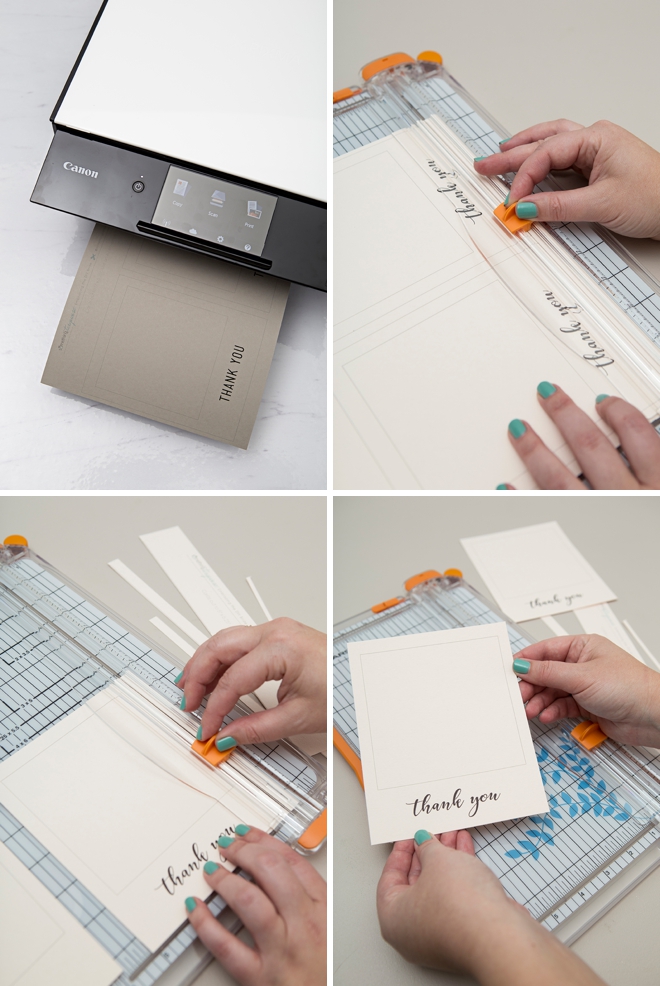
Download + Print + Cut
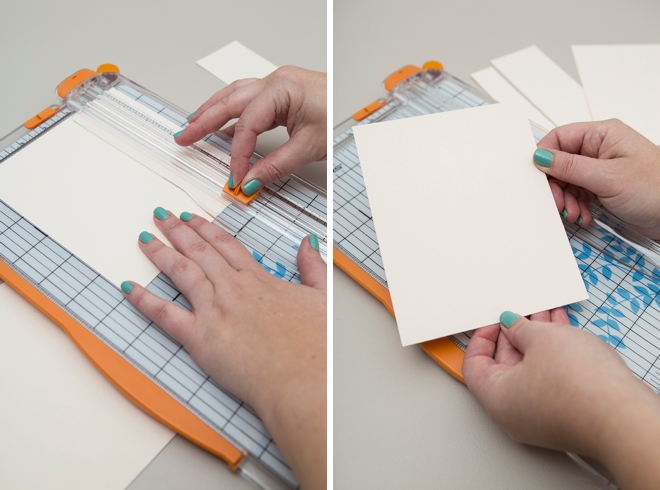
Download our “thank you” designs at the end of the post and print onto the 8.5″ x 11″ cardstock of your choice. Then cut out each card following the lines provided.
Create A Backing Card
Cut a blank piece of cardstock that measures 5″ x 6.25″, to adhere to the back of the thank you card, to cover the backside of the photo and give you a place to add your thank you message.
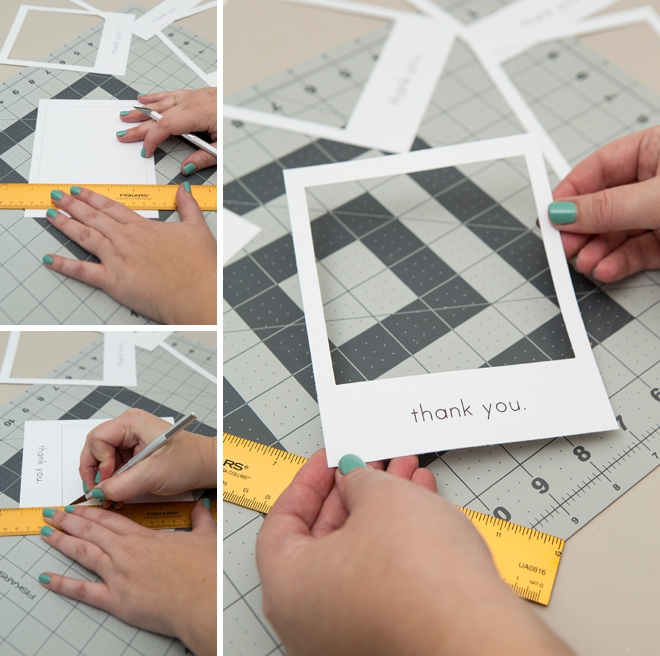
Slice Out The Center
Using a cutting mat and xacto knife carefully trim out the inside square of the polaroid.
Assemble The Cards
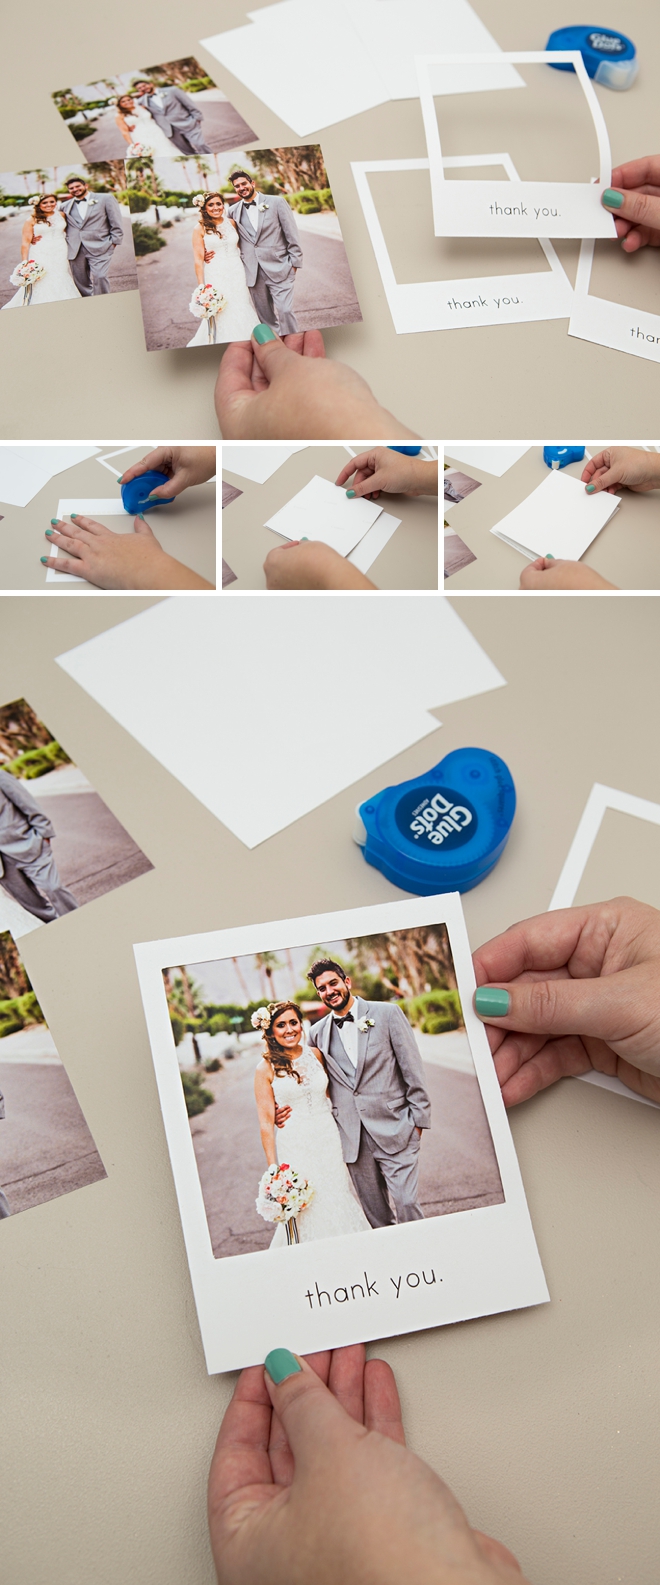
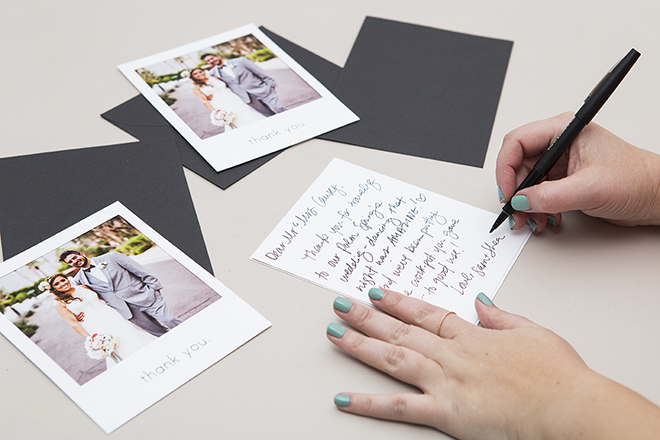
Add a few Glue Dots to the backside of the thank you card and adhere the photo to it. Then add a few more Glue Dots to sandwich the photo between the thank you card and the backing card you cut out. You don’t have to add the backing card, but it really finishes off the design and makes it look professional.
Add A Special Note
On the backside of the card, add a special hand-written note to the recipient… to let them know what you’re thankful for!
The Perfect Way To Say Thanks
While these little cards are the perfect way to say thanks… we also need to give some love to Roger Ellsworth of EPlove for letting us use these gorgeous images of Shea + Sam’s wedding. To see the rest of their amazingly creative day, visit this blog post!
DIY TUTORIAL SPONSORED BY:

Canon U.S.A., Inc. prides itself on allowing consumers to create and preserve beautiful imagery, from capture to print. With wireless technology and seamless printing capabilities, you can print your photos and printables with precision and ease.

As with all our DIY tutorials, if you create one of our projects please send us a picture – We Love Seeing Your Creativity! If you use Instagram or Twitter please use the hashtag #SomethingTurquoiseDIY and it will show up on our Get Social page. Happy Crafting!
DIY Tutorial Credits
Photography + DIY Tutorial: Jen Carreiro of Something Turquoise // Canon TS9020 Printer in White: courtesy of Canon // Canon Photo Paper Plus Glossy II – 5″x5″ paper: courtesy of Canon // Paper Trimmer: Amazon // 8.5″ x 11″ Cardstock in Luxe Blush, Eco White, and Gravel: Paper Source // A7 Envelopes in Black, Paper Bag and Eco White: Paper Source // Cutting Mat: Amazon // Xacto Knife: Amazon // Glue Dots Squares: Amazon // Wedding Photos: Roger Ellsworth of EPlove // Nail Polish: OPI – Withstands the Test of Thyme
Shop The Supplies:
Find the supplies you’ll need for this project from our affiliate links below:



Comments