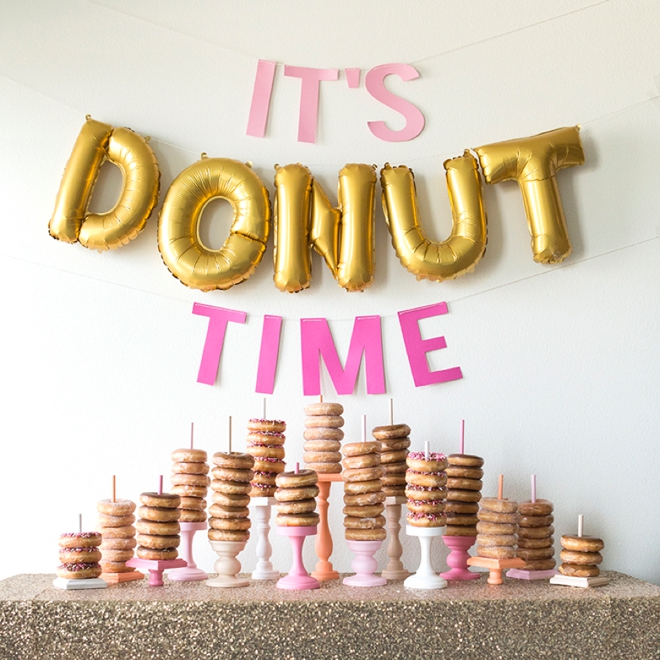

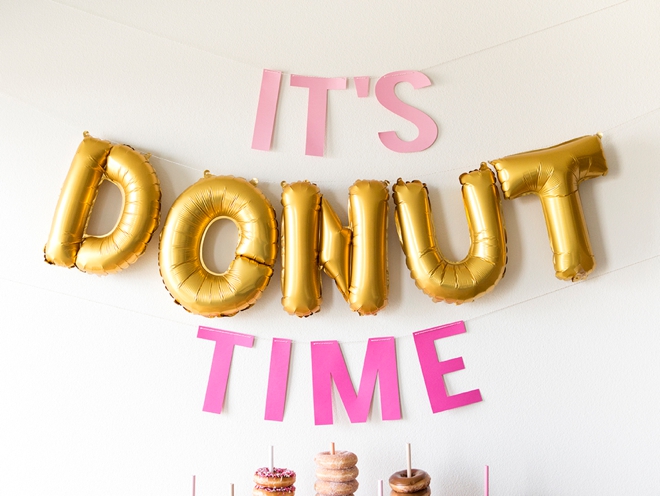
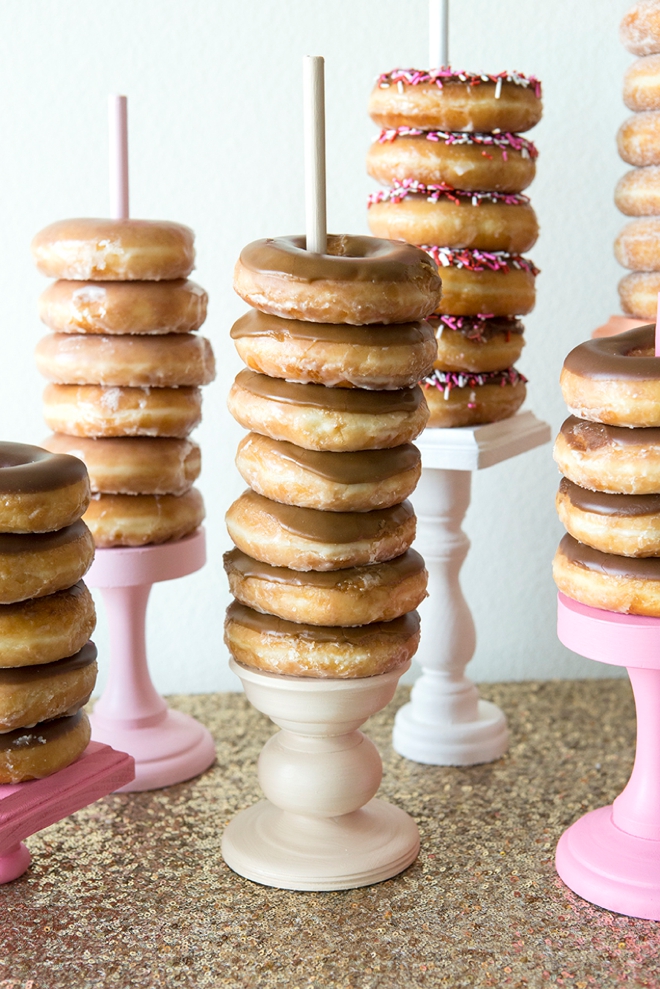
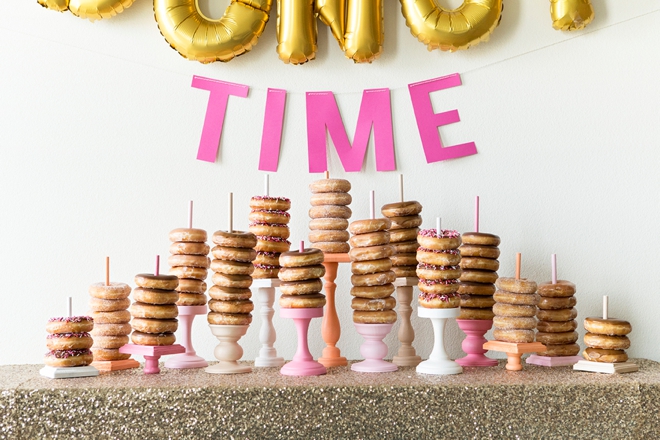
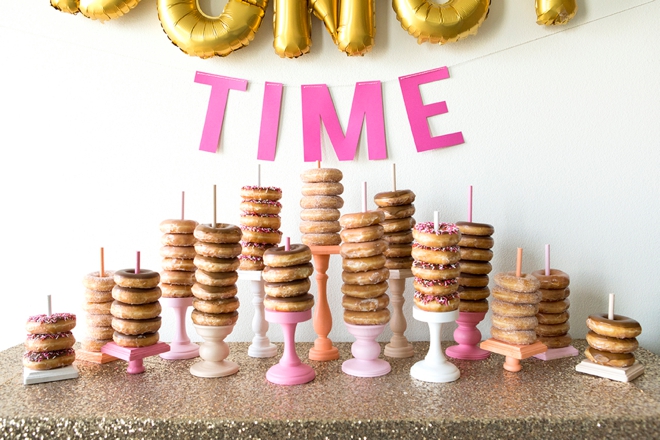
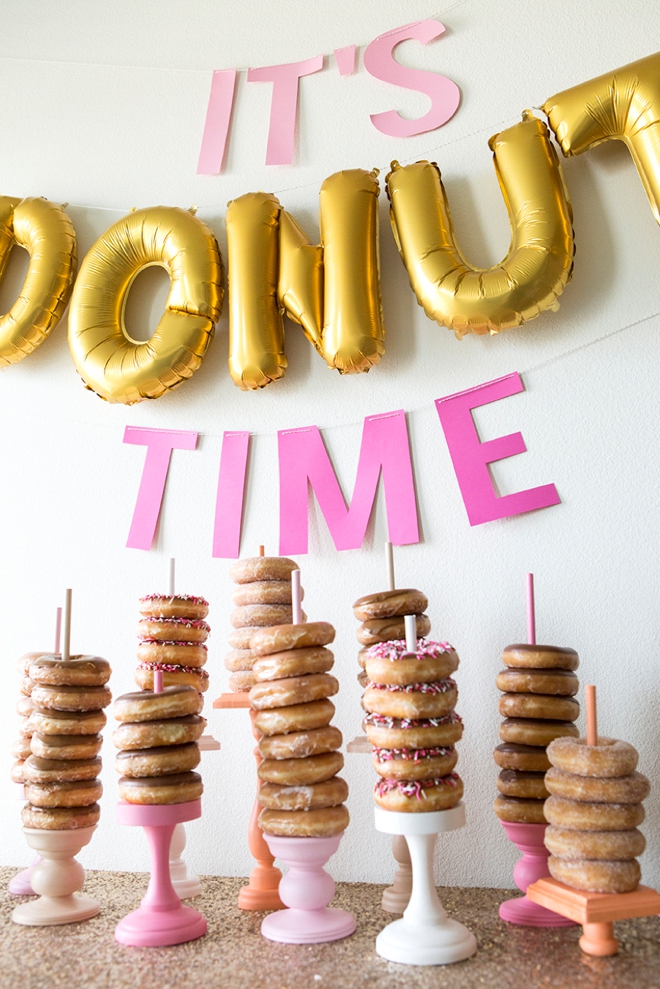
Yeeaaass, donuts. Wedding guests will always be excited to see donuts, especially when they look like this! Donut walls are all the rage but this idea simplifies that new trend and makes it easy for everyone to create themselves, no matter what your crafting skill level. Make it large or make it small, these donut stands can do it all. Embellish your unique display with some giant gold balloons and your favorite donuts!
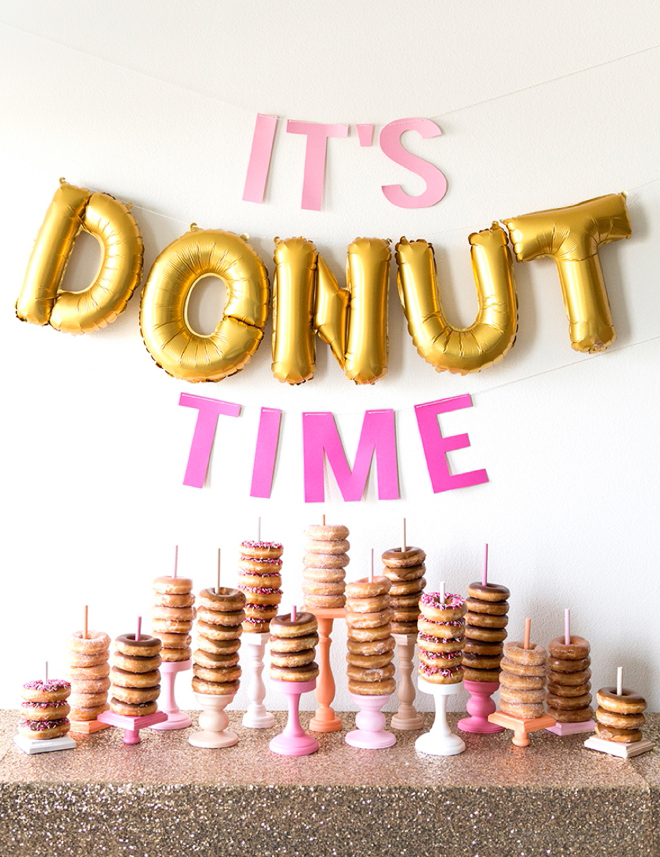
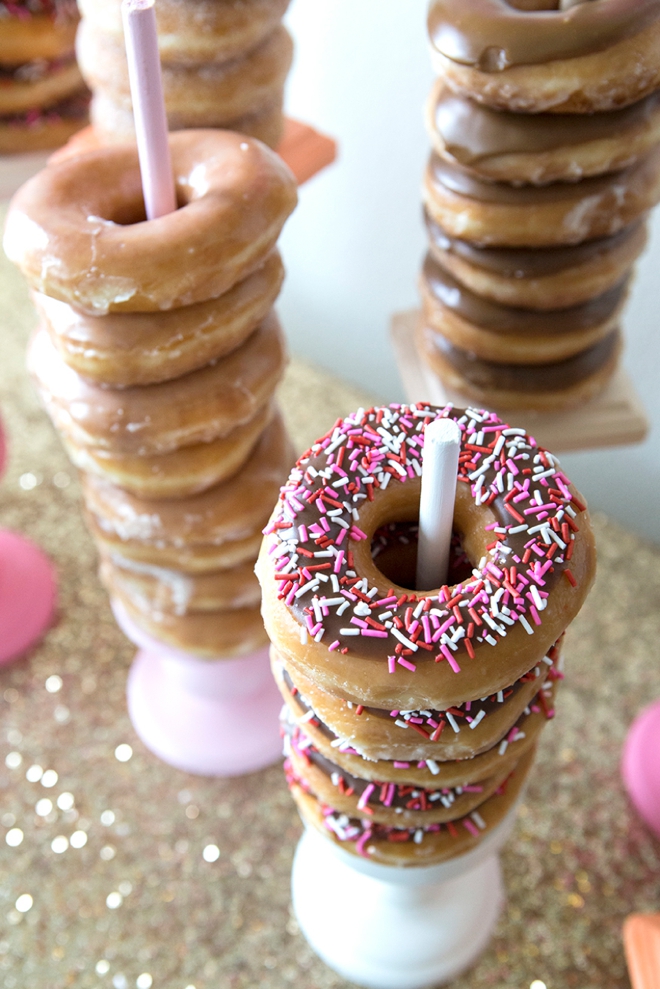
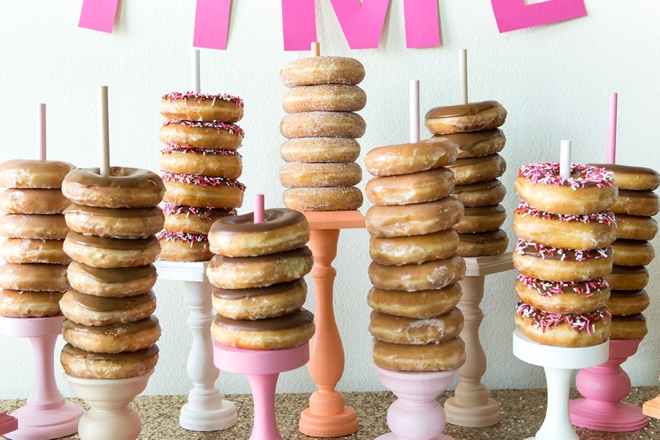
It’s Donut Time
The 16″ gold letter balloons are such a fun, bright and happy element. I cut the “IT’S TIME” out of cardstock using my Cricut Explore Air2, if you’d like to use the same exact files I did, click this link to take you straight to Design Space!
SUPPLIES:
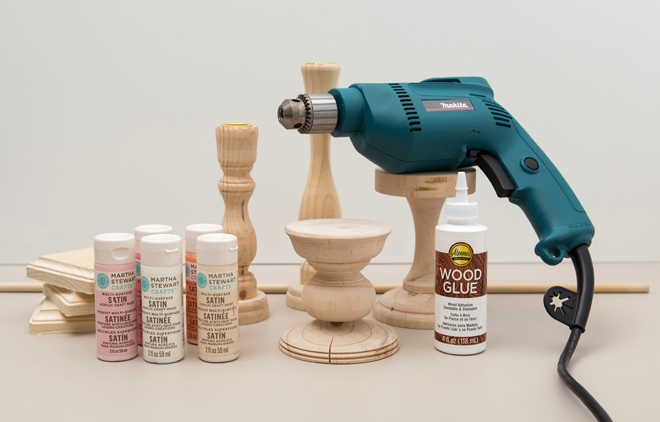
- 16″ Gold Balloons
- Wooden Candlesticks
- Wooden Pedestals
- Wooden Plaques
- 3/8″ Wooden Dowels
- Wood Glue
- Cardstock
- Craft Paint
- Drill
Create The Stand Bases
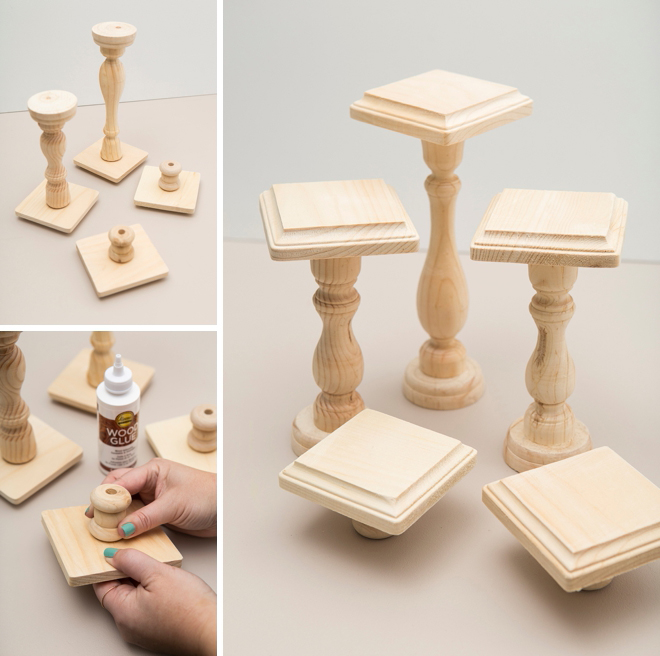
Search your local craft store and Amazon to find interesting and unique pieces of wood that you can glue together to make these pedestal bases. You can use candlesticks, blocks, spools, plaques, really anything that you like. You’ll want to use plaques that are 4″ wide or round, as they’ll be the perfect size to support your donuts!
Drill Holes
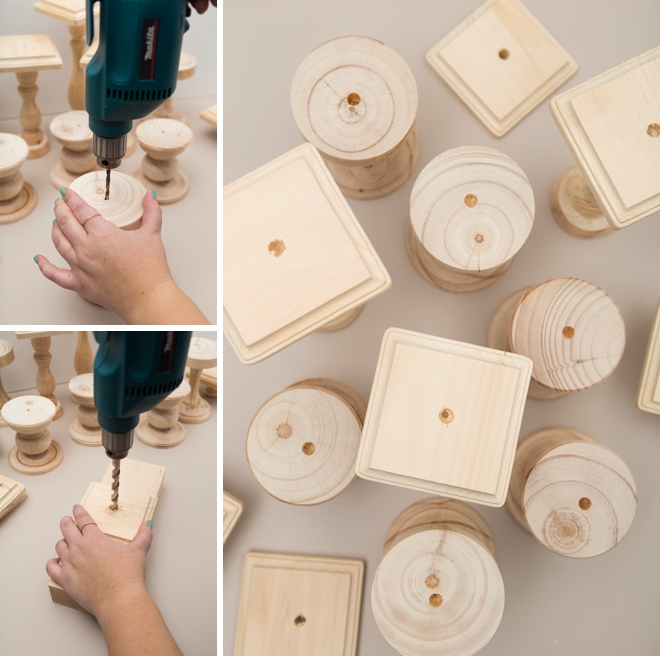
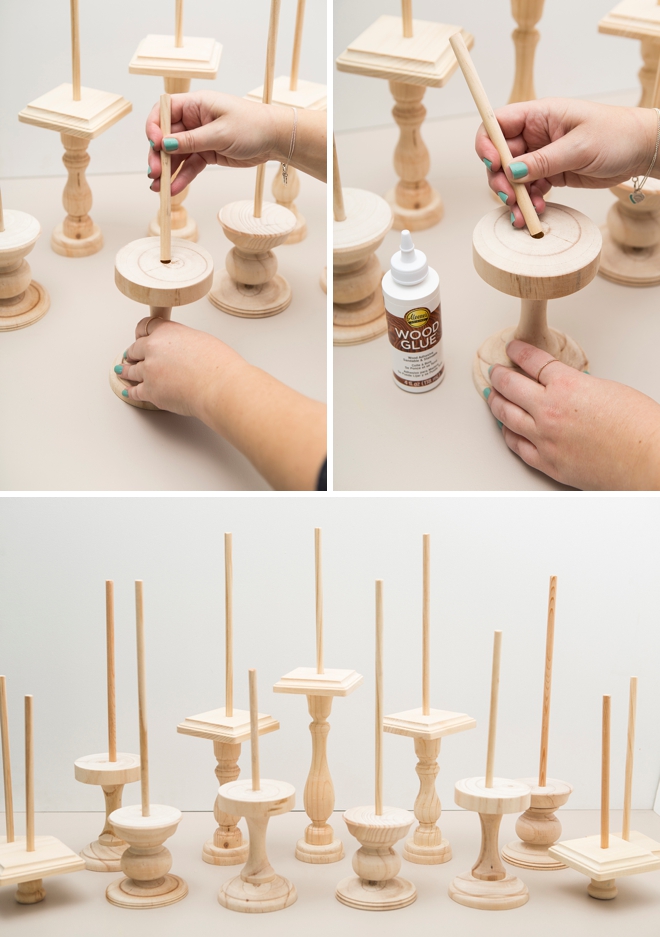
Once you’ve glued your bases together (and the glue is dry) drill holes in the center of each for the wooden dowel. Drill a small, pilot hole first and then use the drill bit to match the size of your dowel, I used 3/8″. Try to keep the drill as straight as possible so that the dowel goes in straight and not crooked.
Sand All Pieces
Cut The Dowels
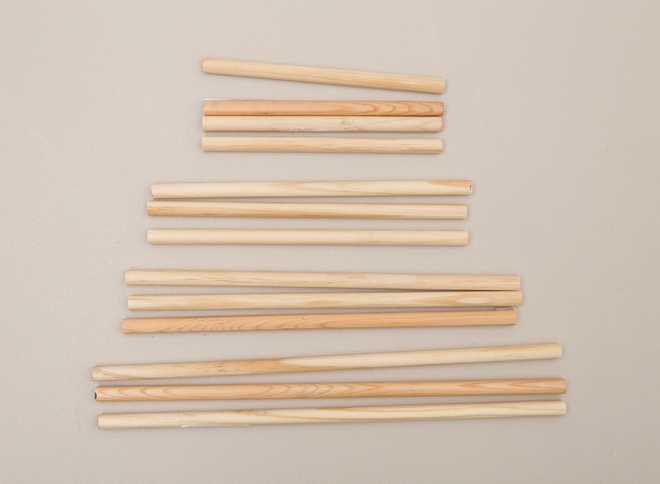
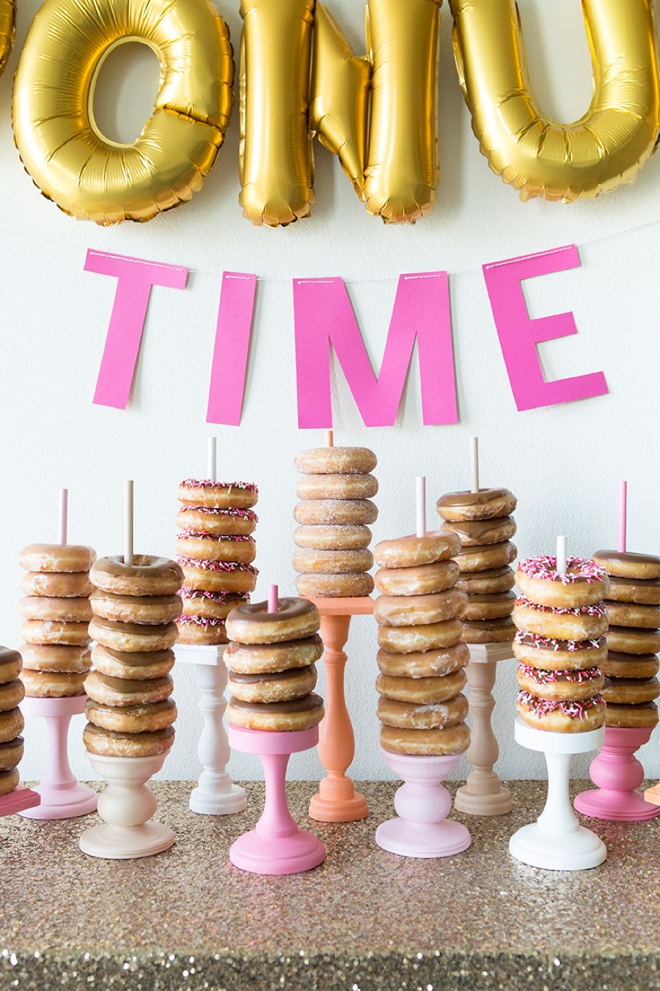
The height of each dowel is totally up to you. I cut mine down to 12″ 10″, 8″ and 6″….
Glue Bases + Dowels
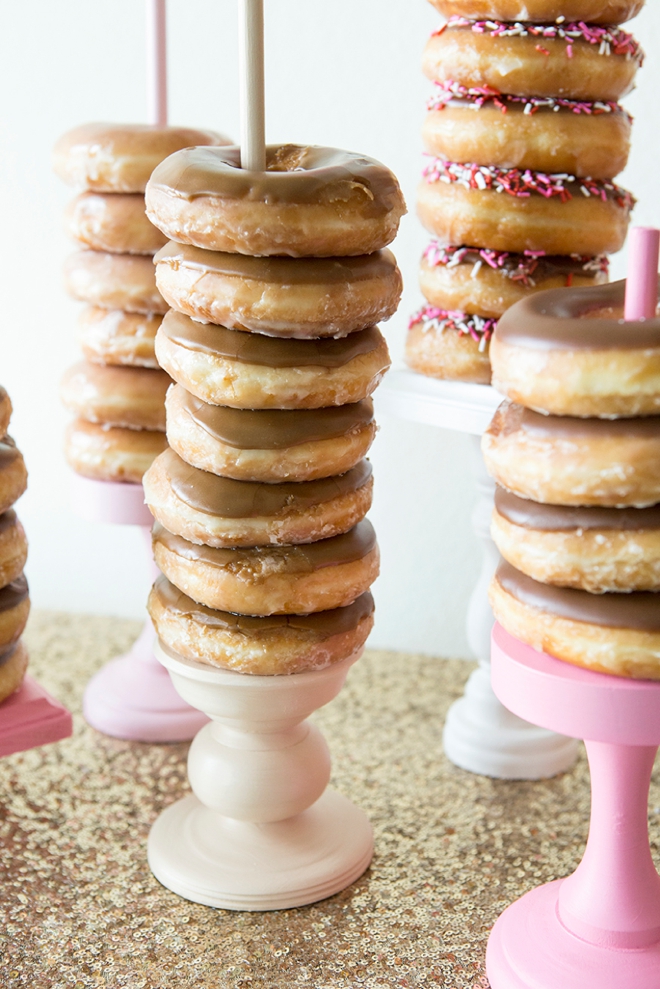
Now create your donut display by gluing a dowel into each base. Set up your display to play with the heights before you glue!
Paint The Stands
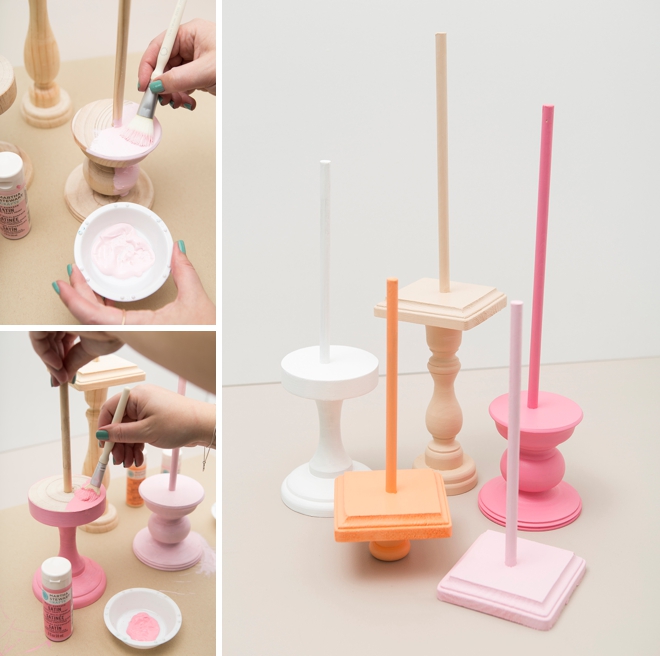
This step is optional, but adds a lovely touch! Paint the entire donut stand one solid color. The Martha Stewart Craft Paint is non-toxic, but they don’t recommend the paint touching your food. So, if that is going to bother you, cut out little doilies from wax paper to add to the top of each stand.
Create Your Donut Display
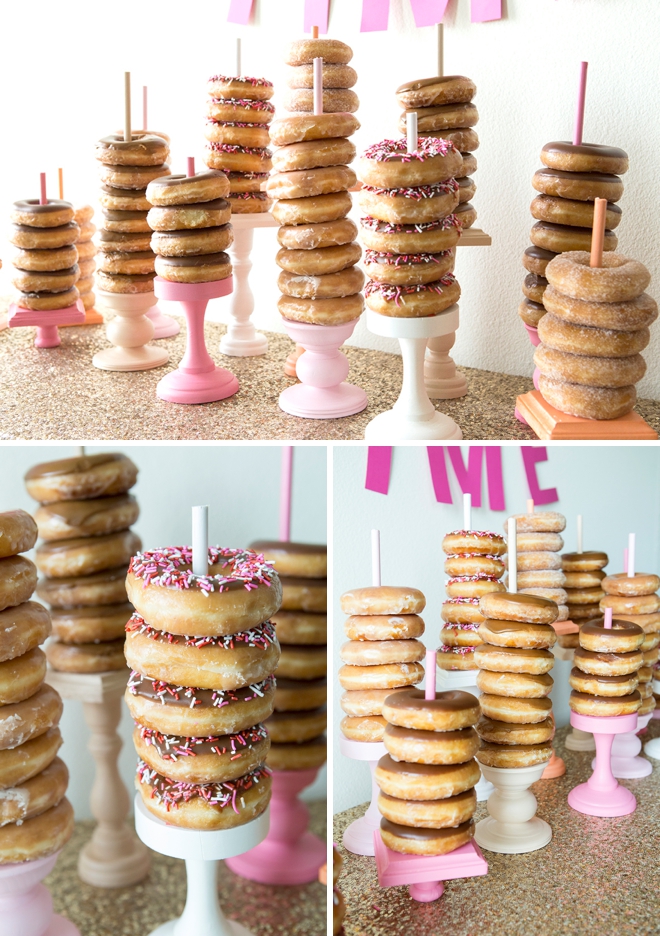
Create a small display or a large display and stack your donuts high! Nominate someone to keep watch and refill the stands if need be. If it were up to me… it would always be Donut Time!
As with all our DIY tutorials, if you create one of our projects please send us a picture – We Love Seeing Your Creativity! If you use Instagram or Twitter please use the hashtag #SomethingTurquoiseDIY and it will show up on our Get Social page. Happy Crafting!
DIY Tutorial Credits
Photography + DIY Tutorial: Jen Carreiro of Something Turquoise // 16″ Gold Letter Balloons: Amazon // All Wood Pieces: Michaels // Martha Stewart Craft Paint in Wedding Cake, Sandcastle, Pink Carnation, Camellia Pink, and Wild Salmon: Amazon // Sequin Tablecloth: Amazon // Donuts: Krispy Kreme // “It’s Time” Banner: cut with Cricut Explore Air2 // Nail Polish: OPI – Withstands the Test of Thyme
Shop The Supplies:
Find the supplies you’ll need for this project from our affiliate links below:


Comments