-Sponsored Post-
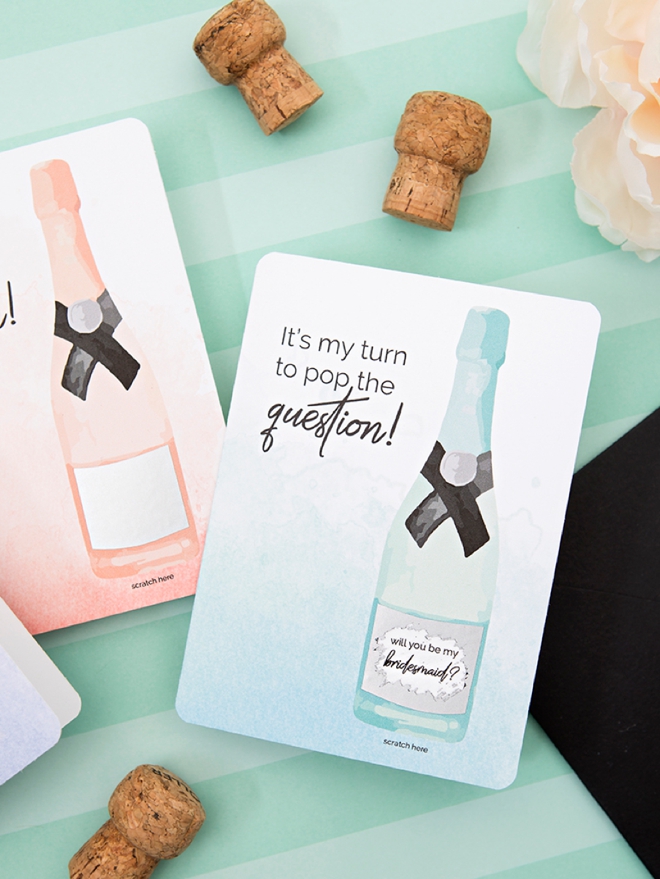
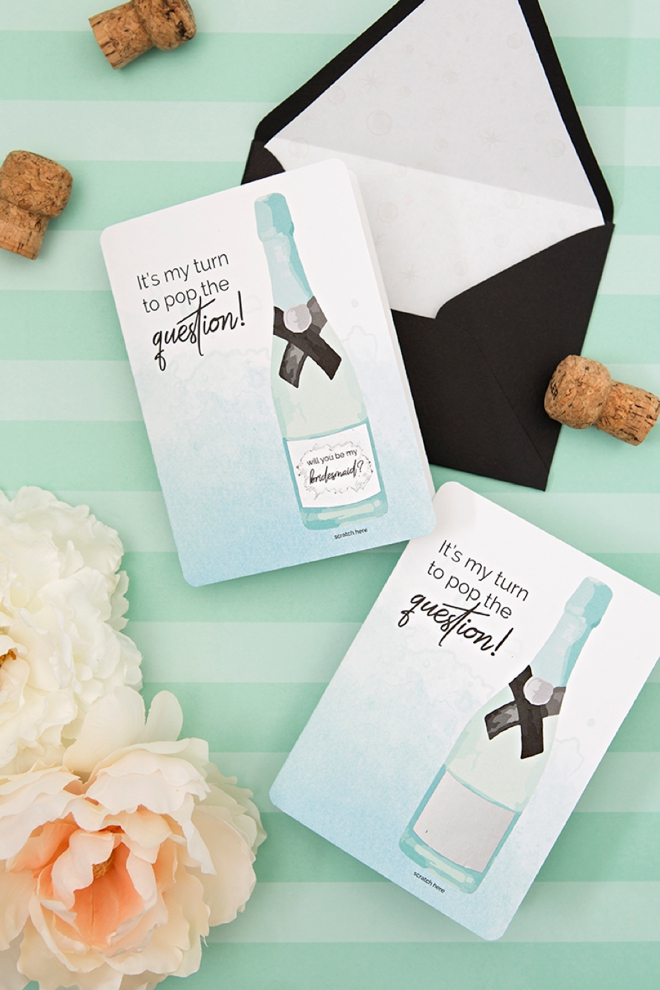
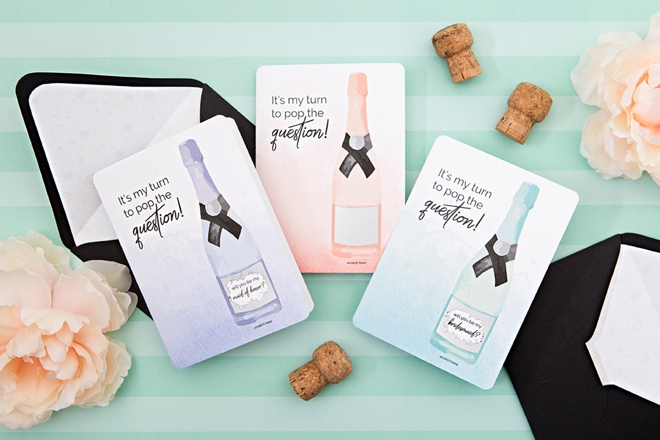
As a newly engaged gal, I imagine that one of your first priorities is popping the question to your bridesmaids! The more personal and the more creative you get, the better (at least to me). So today, with a little help from Canon we’re sharing these free, printable DIY Will You Be My Bridesmaid Scratch-off Cards! Your home printer, white cardstock and scratch-off label sheet is all you’ll need to create a moment that you and your besties will remember forever. Don’t forget to bring some bubbly to toast with once they say YES!
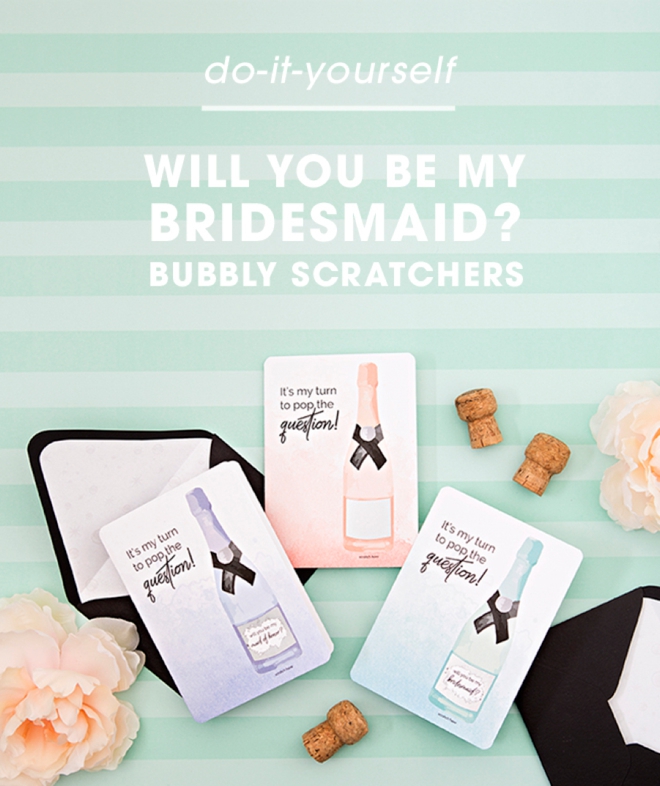
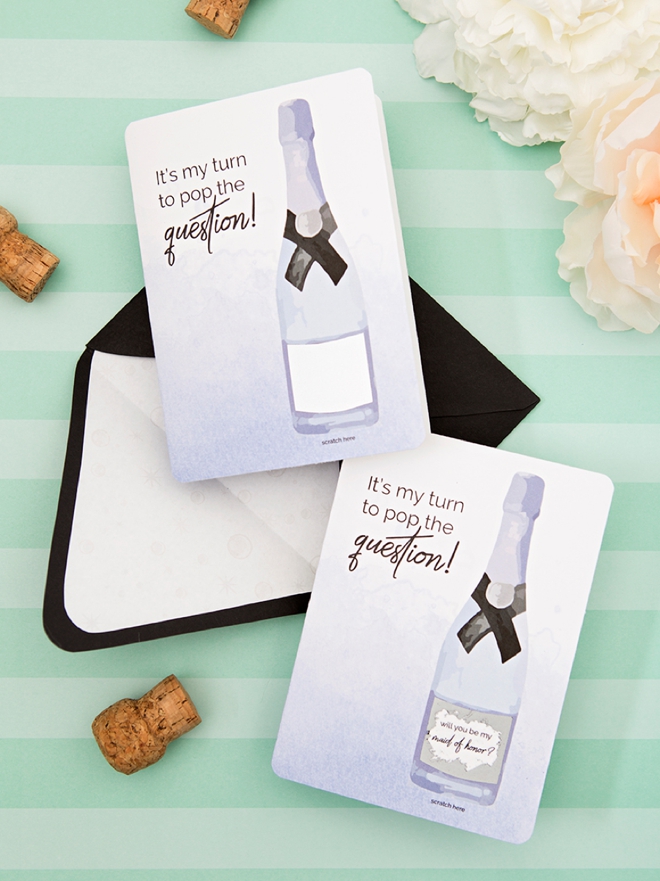
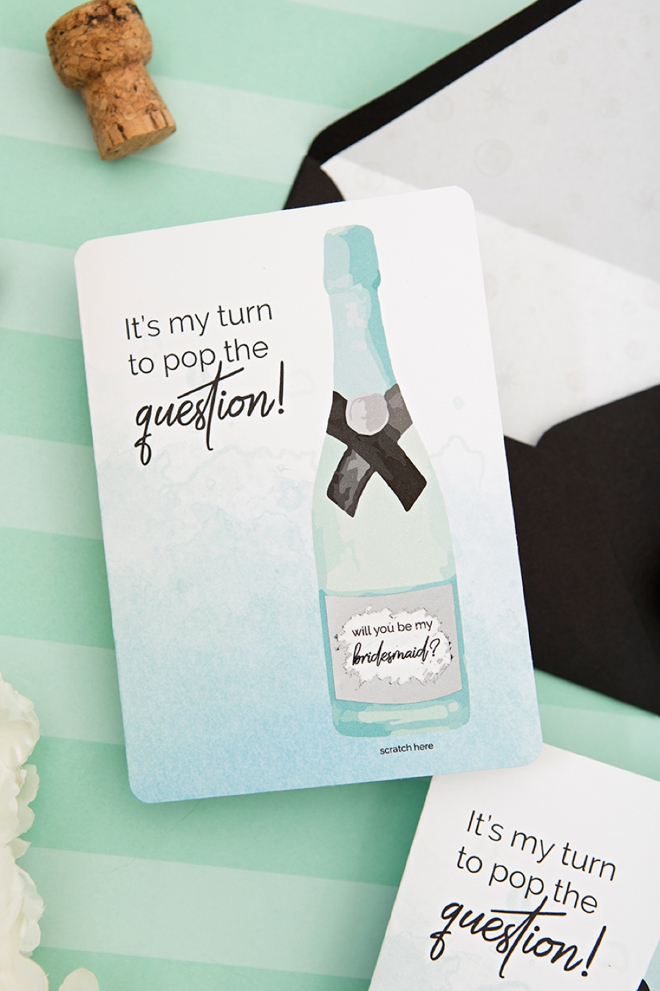
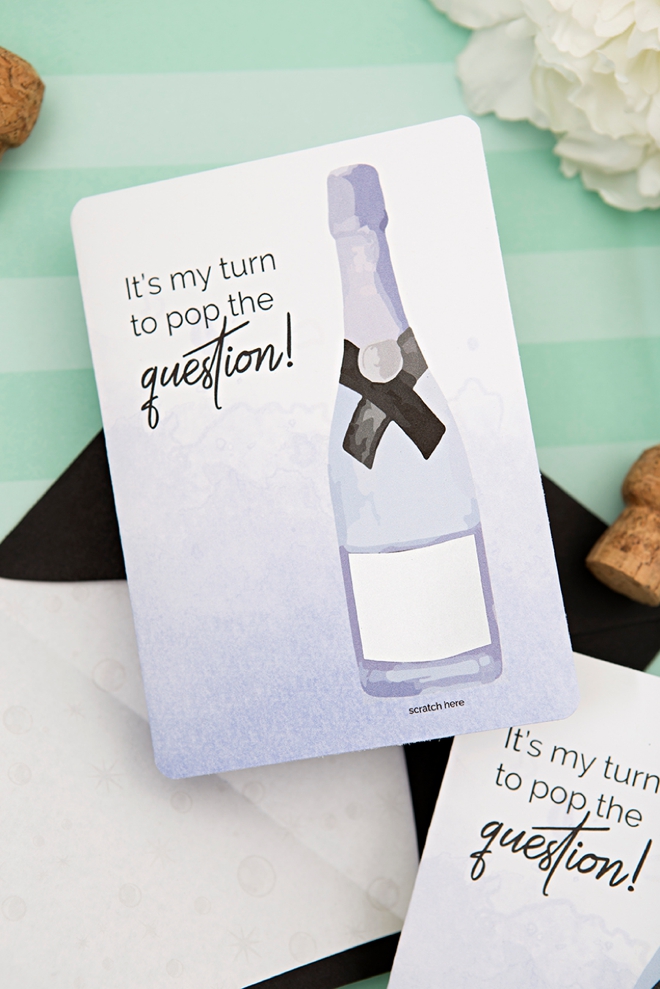
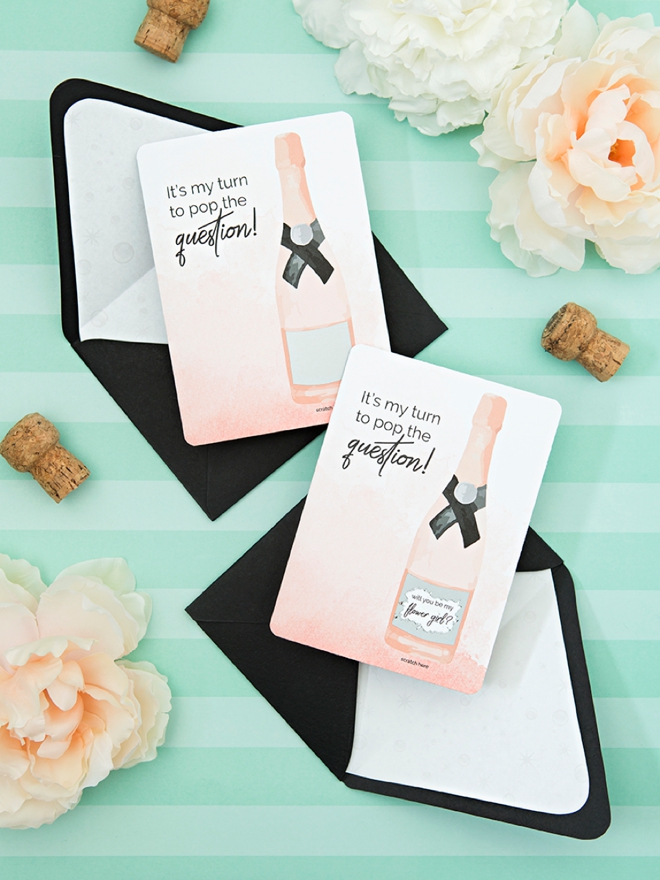
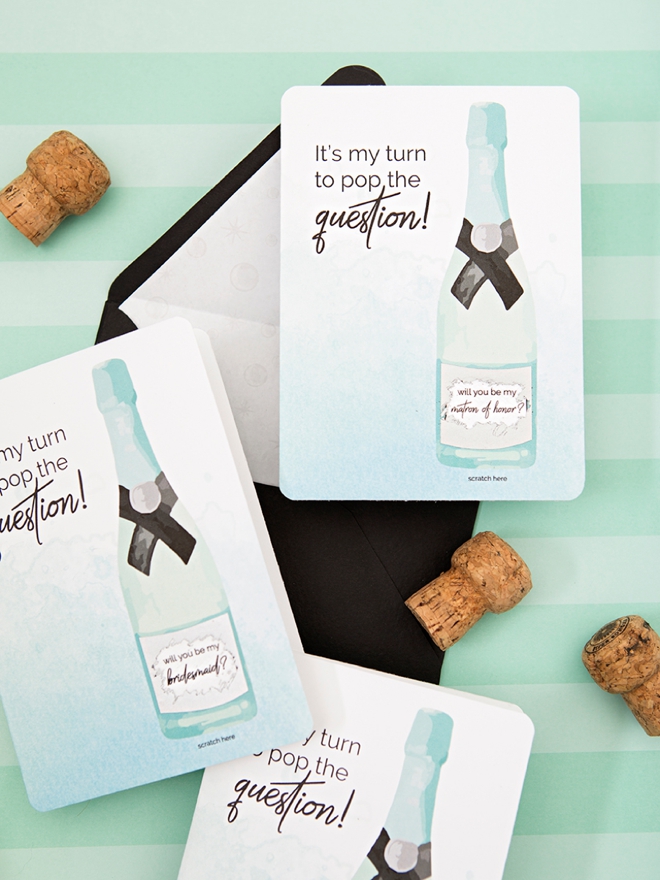
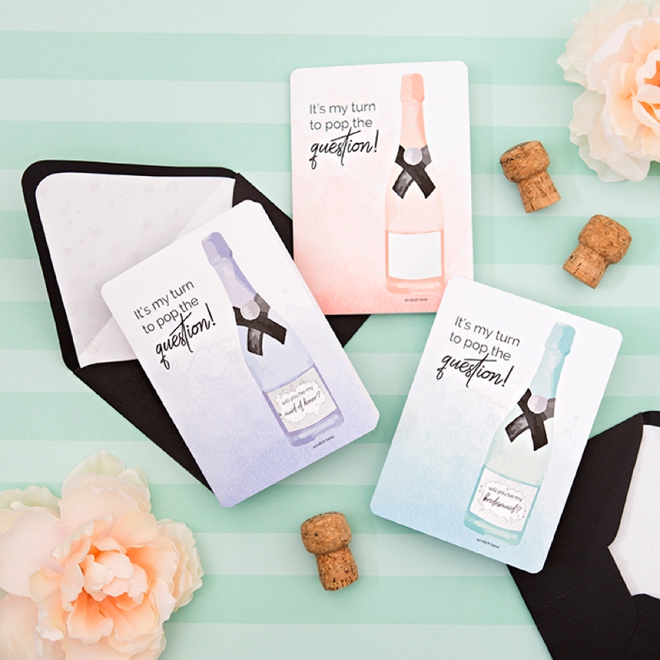
Aqua + Pink + Violet
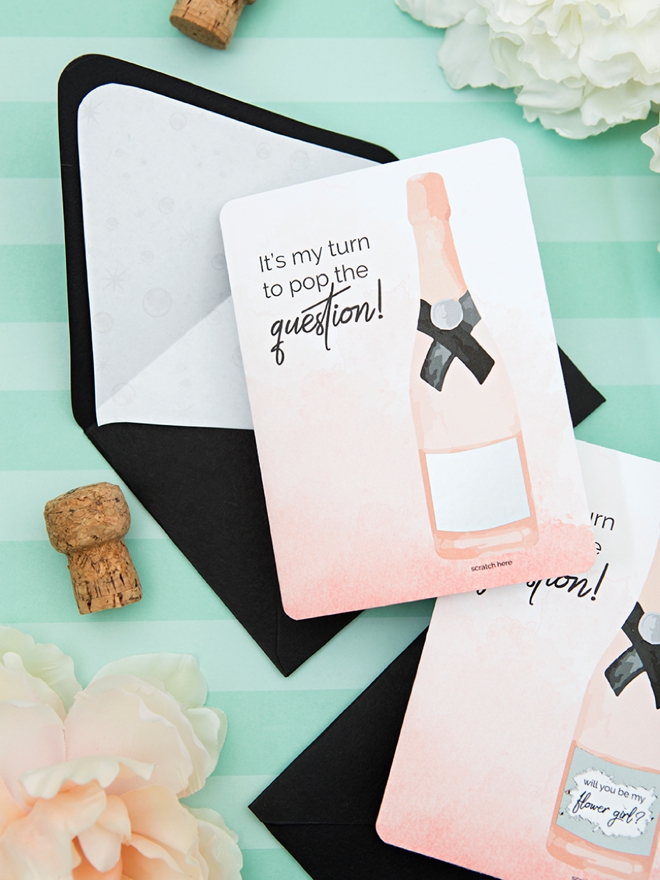
We’re sharing the printable card files for all the options below in each color, plus a darling bubbly envelope liner!
- Will You Be My Bridesmaid?
- Will You Be My Maid of Honor?
- Will You Be My Matron of Honor?
- Will You Be My Flower Girl?
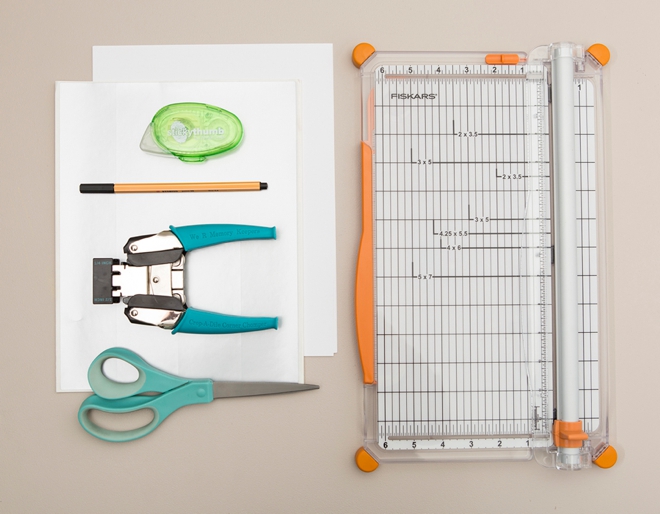
SUPPLIES:
- Canon PIXMA iP8720 Crafting Printer
- 8.5″ x 11″ Scratch-off Label Sheet
- 8.5″ x 11″ White Cardstock
- Regular White Printer Paper
- A6 Envelopes
- Paper Trimmer
- Corner Punch
- Adhesive
- Scissors
- Pen
- Our FREE printable card designs at the end of the post!
Print Your Cards
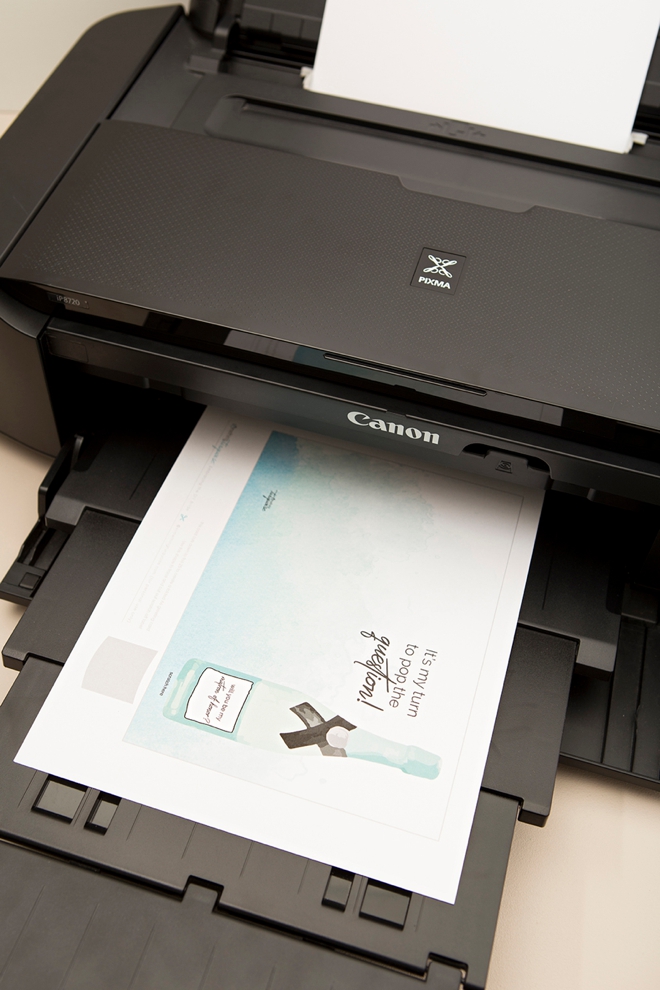
I’m using my Canon PIXMA iP8720 Crafting Printer (my fav!) to print these darling cards and envelope liners. I love the back feed option on this printer because it prints on thick papers like a champ and looks good doing it.
Trim + Fold
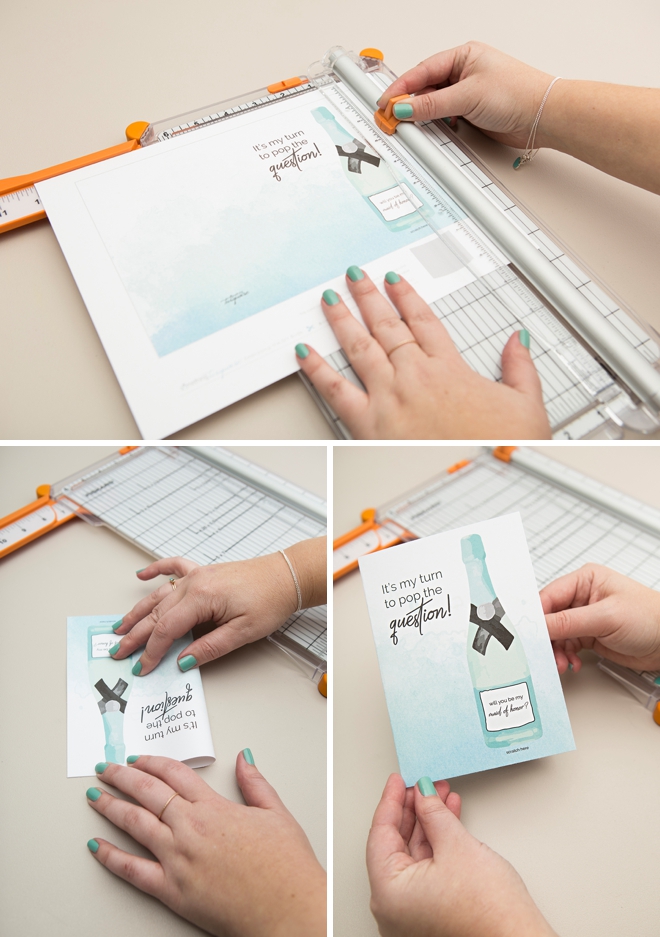
This design cuts down to 9″ x 6.25″ to fold into an A6 sized card (4.5″ x 6.25″). Use a paper trimmer or scissors and then fold the card in half.
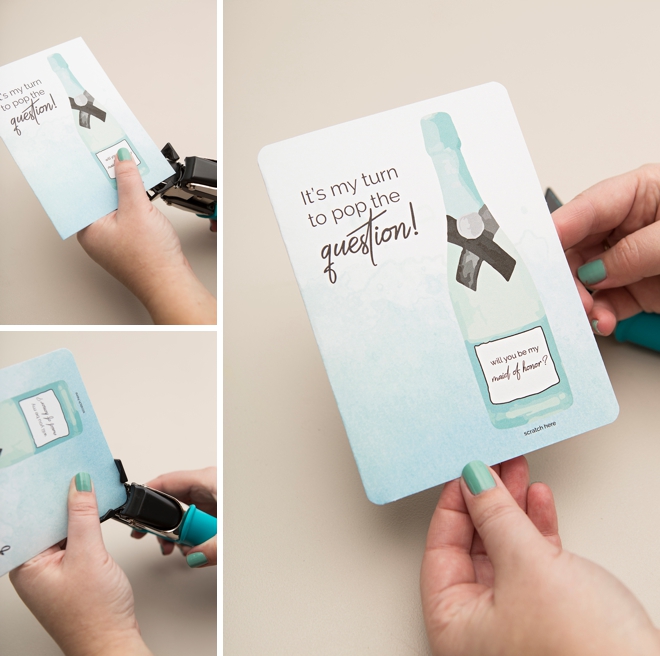
Round The Corners
Rounding the corners of the card is totally optional but I think it adds a lovely touch.
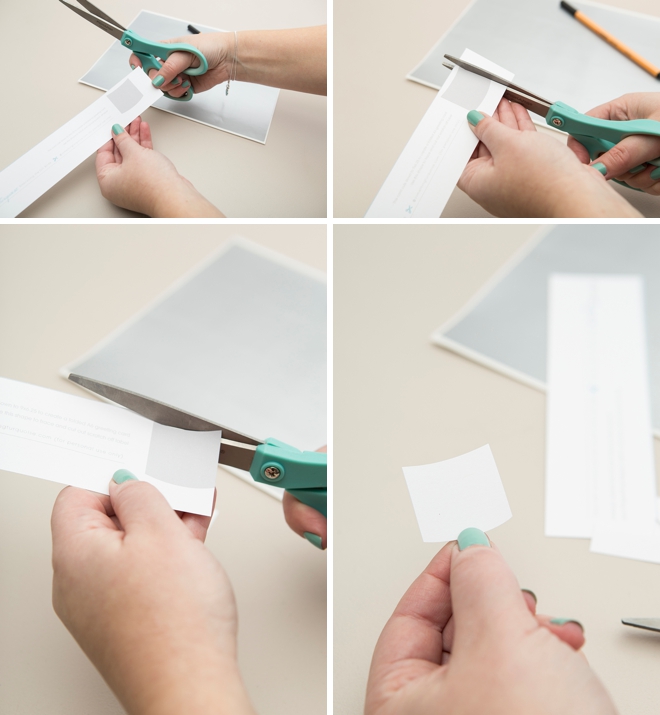
Cut Out The Template
On the printable, cut out the small gray label shape – this is the template for you to use to cut out the scratch-off label.
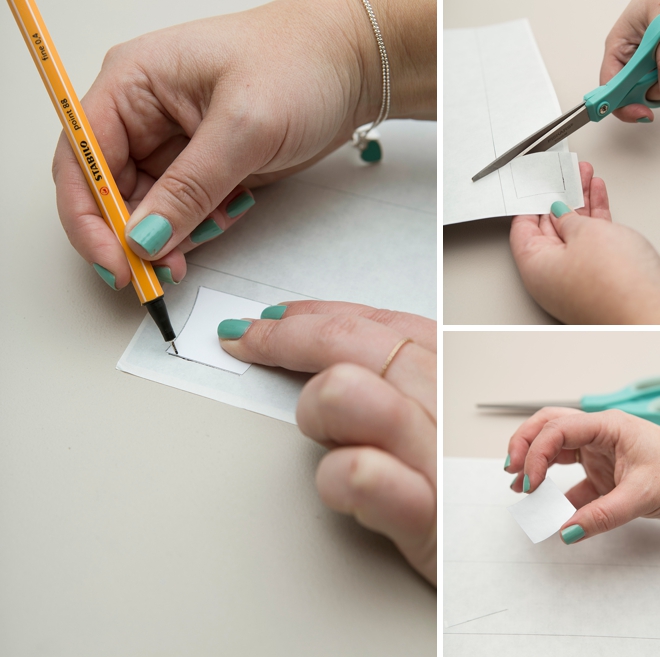
Cut Out The Scratcher
Trace the label template onto the 8.5″ x 11″ scratch-off label sheet and then cut out. This label sheet is one giant sheet of scratcher material that you can cut any shape from!
Adhere Scratcher To Card
Peel the backing from the scratch-off label and adhere on top of the “will you be my….” area on the bottle to look like the label of the champagne. Then your friends get to scratch to reveal the question you’re popping!

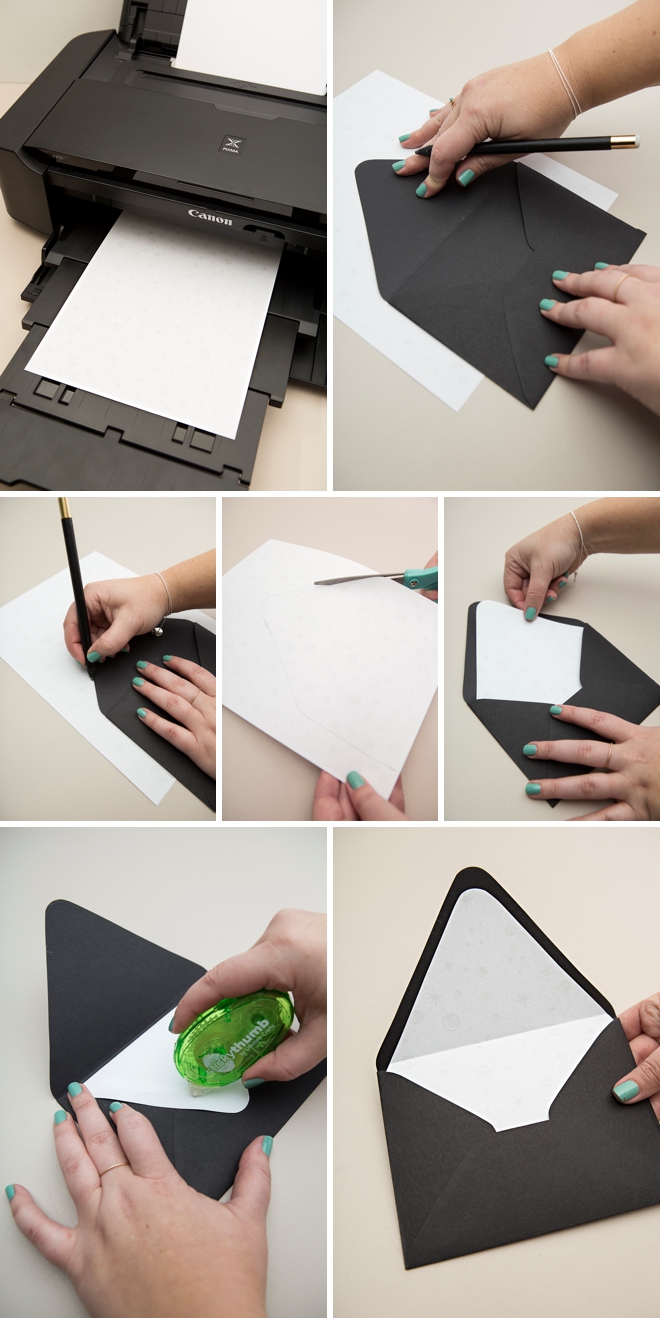
Create The Envelope Liner
I love envelope liners and they are so EASY to create. Print our bubbly design onto regular white printer paper and then trace the flap of your envelope. Cut about 1/8″ within the trace line and slip into the envelope. Add a bit of adhesive to the top flap and voila ~ your envelope is now fancy!
Beyond Adorable
DIY TUTORIAL SPONSORED BY:

Canon U.S.A., Inc. prides itself on allowing consumers to create and preserve beautiful imagery, from capture to print. With wireless technology and seamless printing capabilities, you can print your photos and printables with precision and ease.
As with all our DIY tutorials, if you create one of our projects please send us a picture – We Love Seeing Your Creativity! If you use Instagram or Twitter please use the hashtag #SomethingTurquoiseDIY and it will show up on our Get Social page. Happy Crafting!
DIY Tutorial Credits
Photography + DIY Tutorial: Jen Carreiro of Something Turquoise // Canon PIXMA iP8720 Crafting Printer: courtesy of Canon // Card Design: Julia Ensign // 8.5 x 11 Scratch-Off Label Sheet: Amazon // 8.5 x 11 White Cardstock: Amazon // Corner Chomper: Amazon // A6 Sized Envelopes in Black: Paper Source // Paper Trimmer + Scissors: Fiskars // Sticky Thumb Adhesive: Amazon // Nail Polish: OPI – Withstands the Test of Thyme
Shop The Supplies:
Find the supplies you’ll need for this project from our affiliate links below:



Comments