-Sponsored Post-
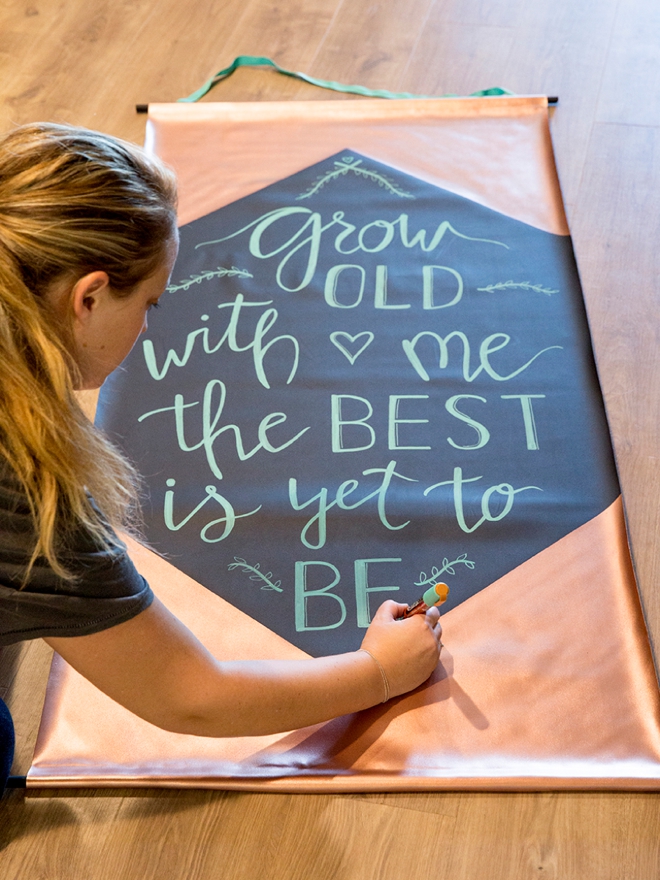
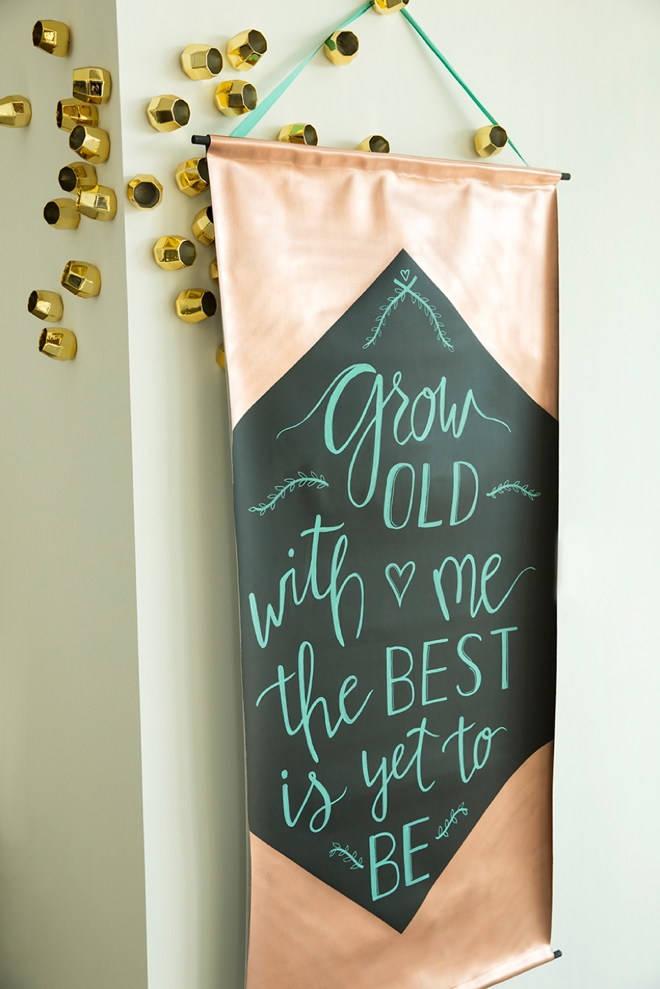
Hey there lovelies! I’m super jazzed about today’s DIY project… for one, because I’m using my brand new Something Turquoise Chalk Ink Markers and for two, because the fabric we’re using for this sign is actually chalkboard fabric! Yes, it is! Here I’m sharing how you can easily and quickly create your own Giant Chalkboard Fabric Banner Sign that your friends will think you purchased for well over $100, when it might cost you $25 total. You can make this sign any size you’d like, but a fun idea would be to repurpose it after your special event by hanging it on a wall in your kitchen or entry way. Measure that spot in your home and fit the banner to its final resting place. Or size it to the specific place you’ll be hanging it at your ceremony or reception. Like from a tree, or on a wall, or even off the bar! No matter where you choose to hang this awesome reusable chalkboard sign, I know you’re going to love it!
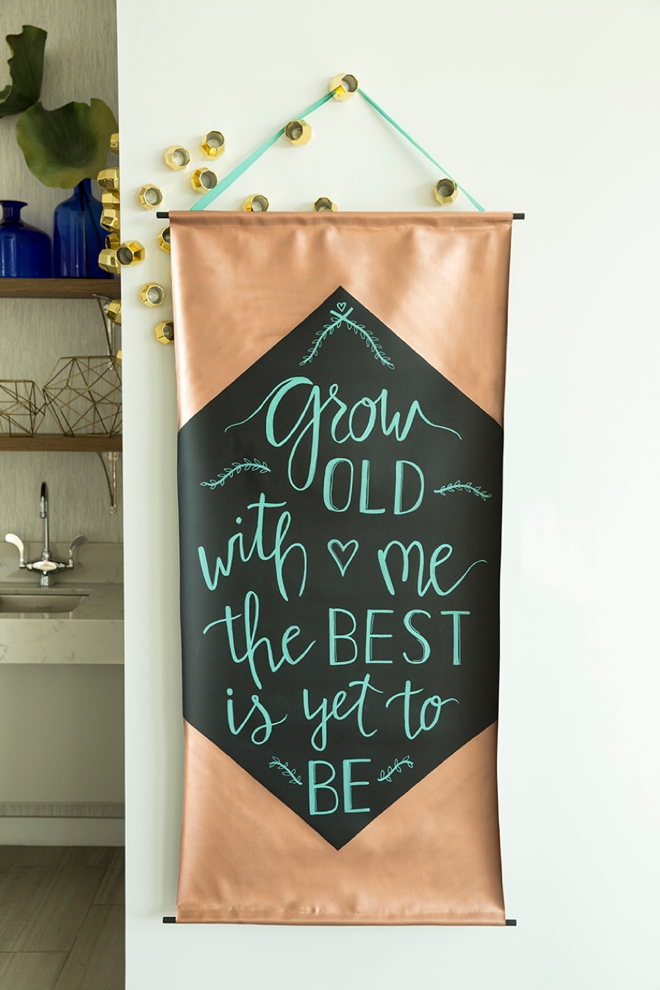
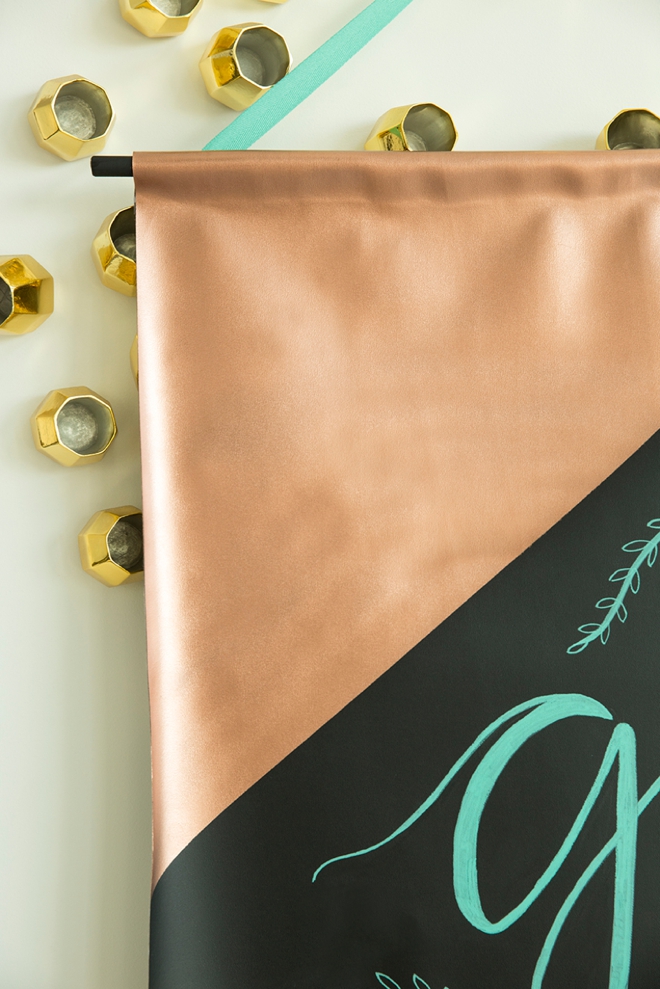
Blackboard Fabric
This unique fabric is similar to a faux leather with vinyl characteristics; and it’s awesome. I bought it at Joann for only $5.99 a yard! There are SO many amazing uses for this blackboard fabric from making this giant sign to framing a small square and everything in between!
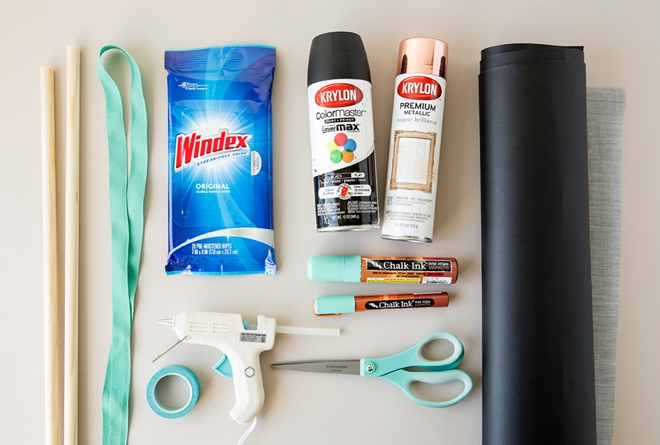
SUPPLIES:
- 2 Yards of Blackboard Fabric
- Metallic Copper and Black Spray Paint
- Stencil/Painters Tape
- 1/2″ Wooden Dowels
- Hot Glue Gun
- Ribbon
- Scissors
- Iron
- Our NEW Something Turquoise Chalk Ink Markers!
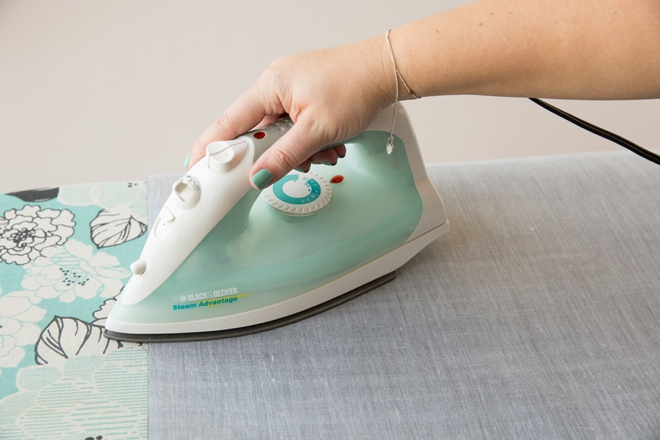
Iron The Backside Only
Off the bolt, and if it’s been sitting rolled up in a bag somewhere – the fabric will have large wrinkles. Great news is that you can iron them out! But ONLY iron the backside, do not iron the blackboard side or it will melt. How do I know, I did it of course! To avoid wrinkles store it in a loose roll shape, like wrapping paper.
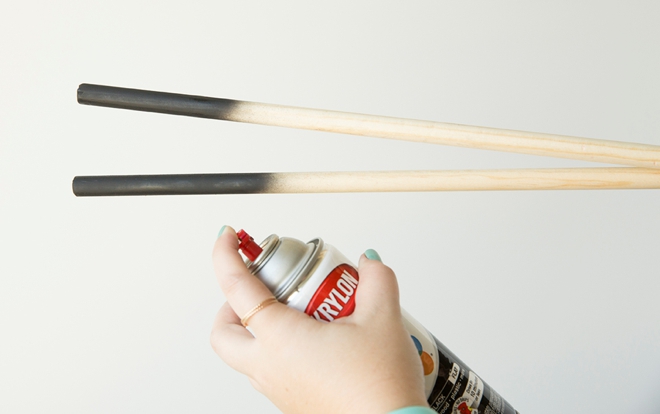
Paint The Dowels
This fabric is 28″ wide and the dowels I bought were 36″ long, so first I trimmed them down a few inches and sanded the edges. You can paint the entire dowel or just the ends, as that’s the only part that will show. The dowels running along the top and bottom edges of this banner sign keep the fabric straight, without them it will curl.
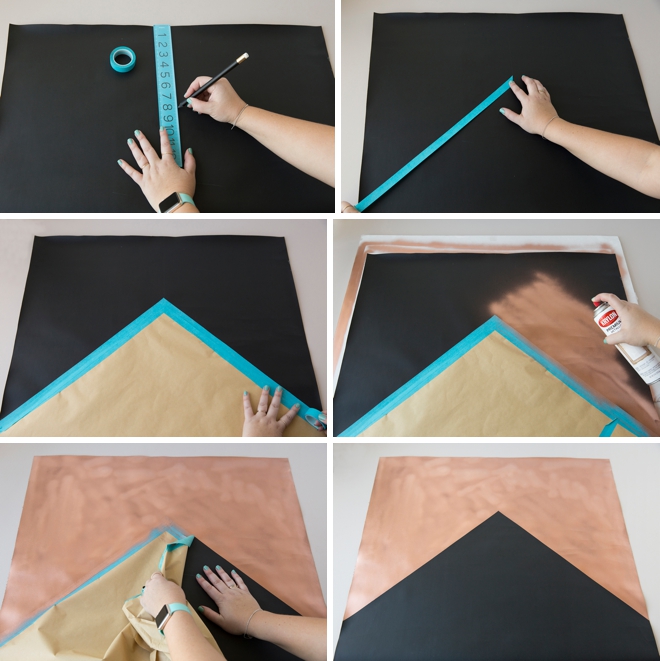
Create Metallic Corners
To add that metallic glow that everyone is obsessed with, I used the Krylon Premium Metallic Spray Paint in Copper Brilliance…. and it looks stunning! I was actually really impressed with how this detail turned out.
First tape off the shape you’d like to make. Then mask off the area with kraft paper. Spray paint and then quickly remove the paper mask and let the paint dry. Removing the mask while the paint is still wet will lessen the chance of the paint drying to the tape as well. Do both ends.
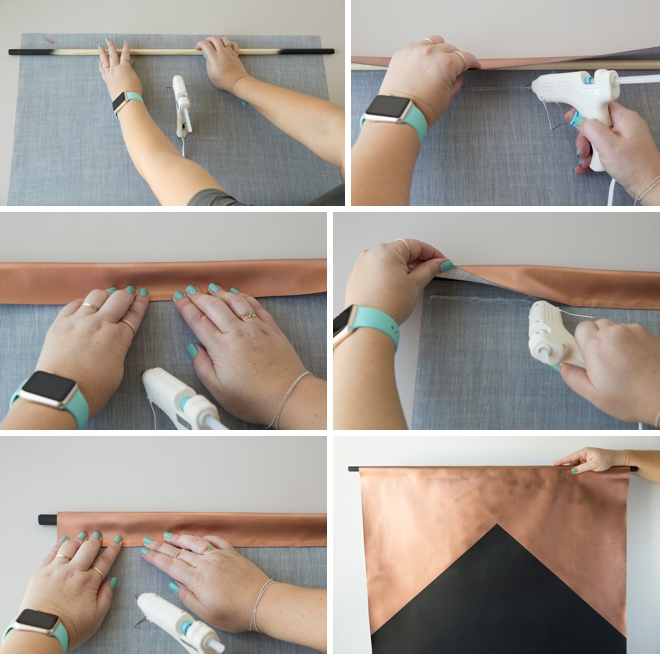
A Channel For The Dowels
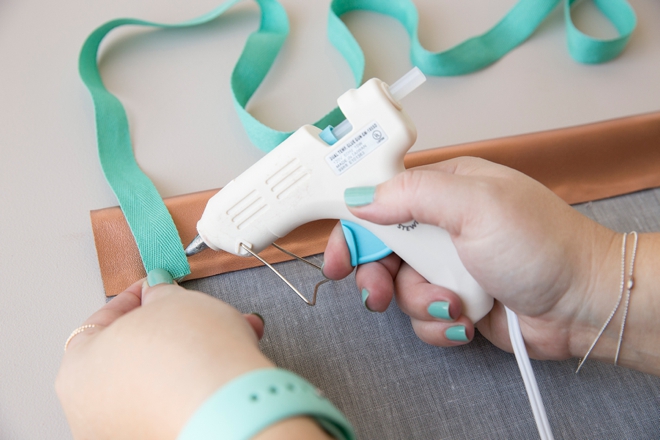
After the paint has fully dried, which can take a few hours, use hot glue to make a channel for each dowel. Here I put the dowel in place for sizing, but I did not hot glue it into place, although you can if you want. Working in sections helps because you need to fold the fabric over and hold it down until the glue cools. Do both ends.
Add Your Ribbon
Using hot glue or a stronger glue like E6000, attach a piece of ribbon to the top backside of the sign to hang it with. Depending on the size of your sign and the ribbon used, if it’s too heavy the hot glue can rip right off, so test your seal by hanging your sign at home before you hang it at your event – just to be safe.
Letter The Sign
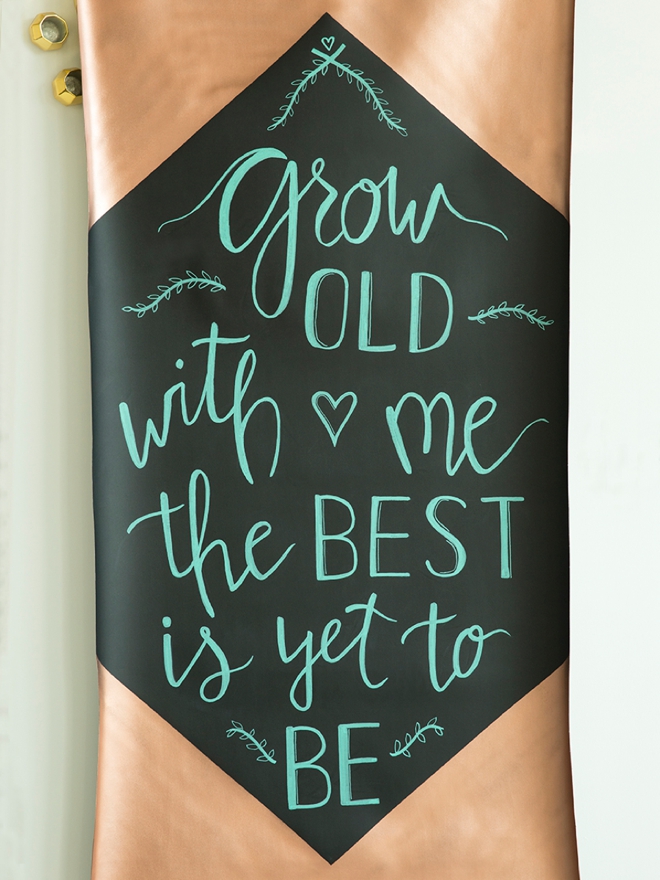
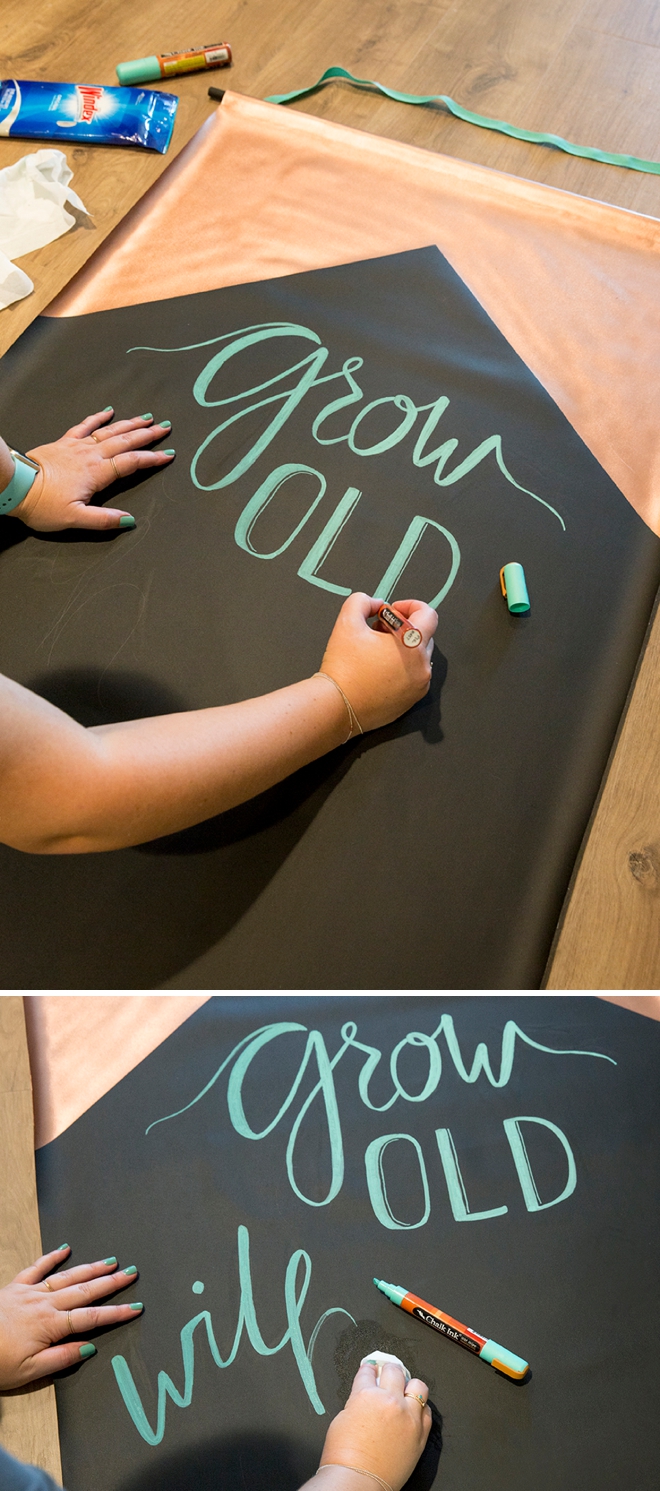
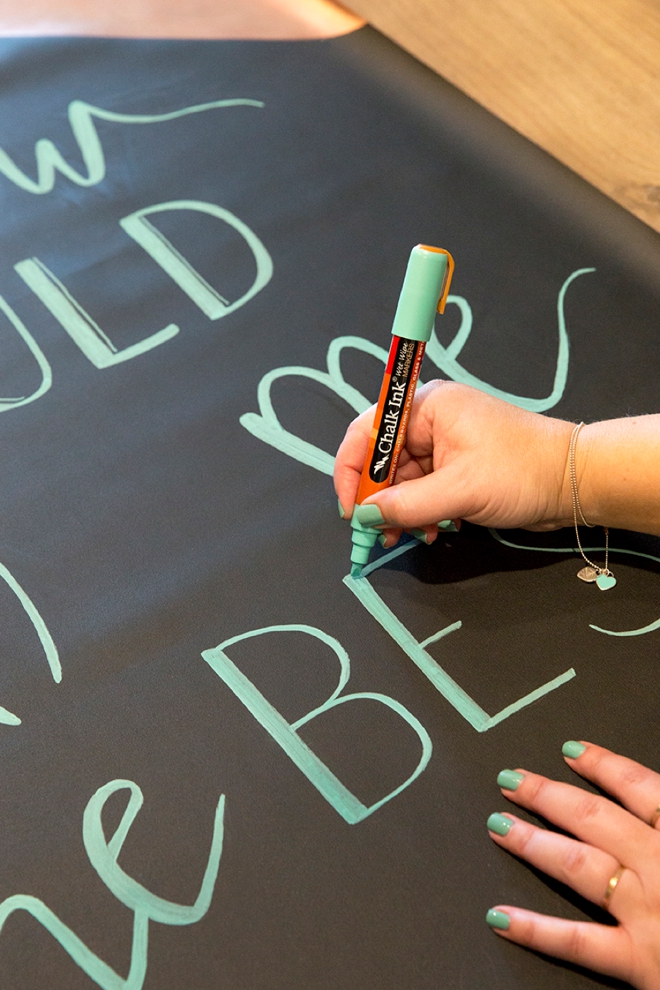
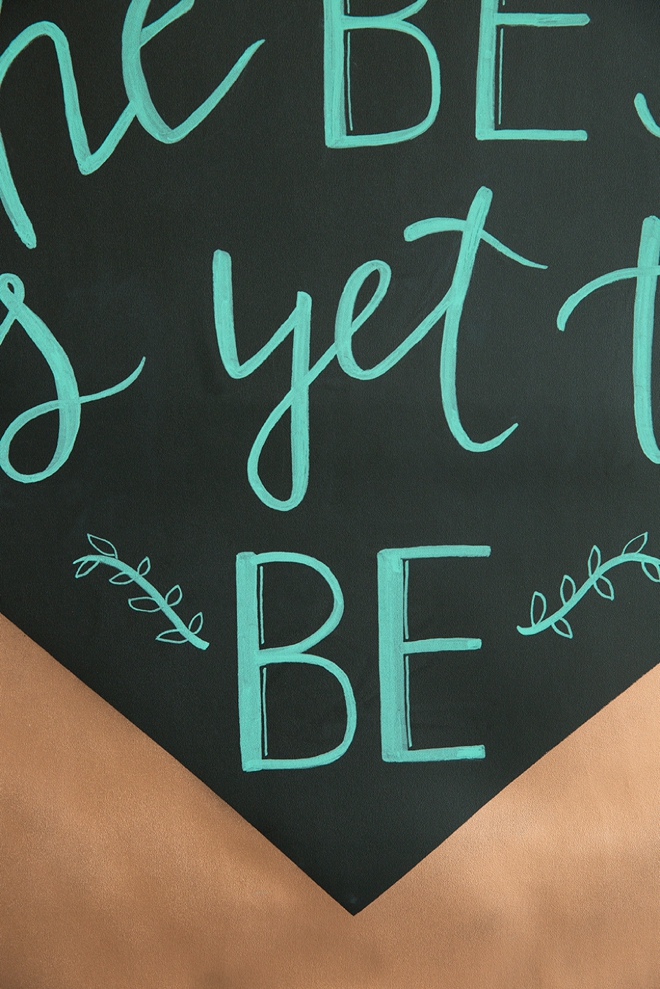
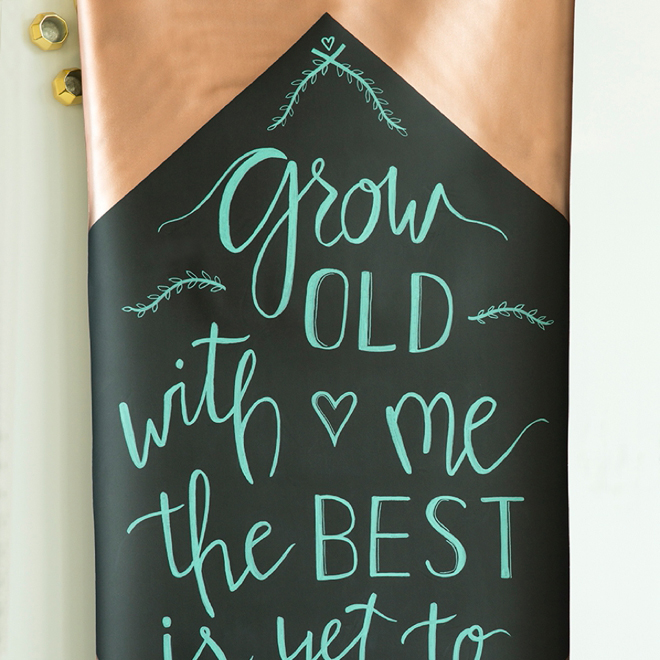
Using your favorite color of Chalk Ink Marker, mine of course is Something Turquoise, hand-letter a beautiful sign to display at your ceremony or reception… or bridal shower, or bachelorette party… or home or office, lol. Remember the BEST thing about these chalk markers is that they ERASE with wet wipes, so if you mess up it’s all good!
Take Up Space
Because this sign was so large I did most of the lettering on the floor. My dining room table would have worked if it wasn’t gorgeous rustic wood that’s super uneven, hahaha.
DIY Tutorial Sponsored By:

Chalk Ink is your one stop shop for all things DIY! From erasable chalk markers to colorful chalkboards and even chalkboard wallpaper. Chalk Ink is the creator of the original and premier liquid chalkboard marker that, unlike traditional chalk, produces zero dust and mess, won’t swear once dry, and is easily removed using water.
As with all our DIY tutorials, if you create one of our projects please send us a picture – We Love Seeing Your Creativity! If you use Instagram or Twitter please use the hashtag #SomethingTurquoiseDIY and it will show up on our Get Social page. Happy Crafting!
DIY Tutorial Credits
Photography + DIY Tutorial: Jen Carreiro of Something Turquoise // Something Turquoise Chalk Ink Marker: courtesy of Chalk Ink // Blackboard Fabric: JoAnn // Aqua Ribbon and Aqua Fiskars Scissors: JoAnn’s In-store // 1/2″ x 36″ Wooden Dowels: Amazon // Krylon Black and Premium Metallic Copper Spray Paint: Amazon // Windex Wipes: Amazon // Martha Stewart Stencil Tape: Amazon // Martha Stewart Glue Gun: Amazon // Nail Polish: OPI – Withstands the Test of Thyme
Shop The Supplies:
Find the supplies you’ll need for this project from our affiliate links below:


Comments