-Sponsored Post-
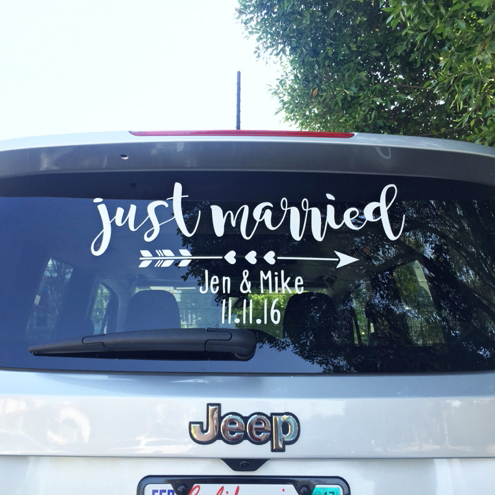
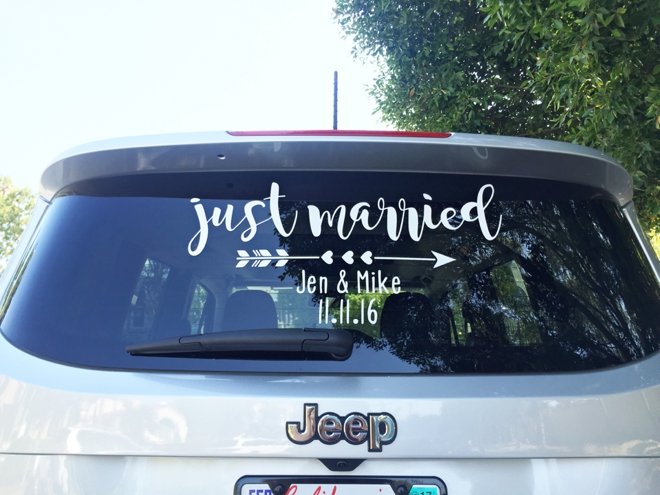
Today’s DIY project is the ultimate way to end your fabulously creative wedding celebration! Quickly and easily personalize your very own DIY “Just Married” Car Window Cling Sign using your Cricut Explore Air and our free design file. The Cricut Window Cling is a wonderful vinyl type material that has no stickiness, it actually sticks by using static electricity and will stick on any glass surface. Making it the perfect item to use for this car window sign because you can remove it in a jiffy – with no sticky mess leftover. As you drive away from your reception to your romantic destination, you will truly feel the love from everyone around you in the form of honks and waves!
A fun video I created with Cricut on this project, is coming in just a few days! In the meantime, you can click the logo below to personalize and make this project in Cricut Design Space, or download our free SVG cut file at the end of the post!
SUPPLIES:
- Cricut Explore Air
- Cricut Window Cling
- Cricut 12″ x 24″ Cutting Mat
- Weeding Tool and Scraper Tool
- A getaway car!
How-To Steps:
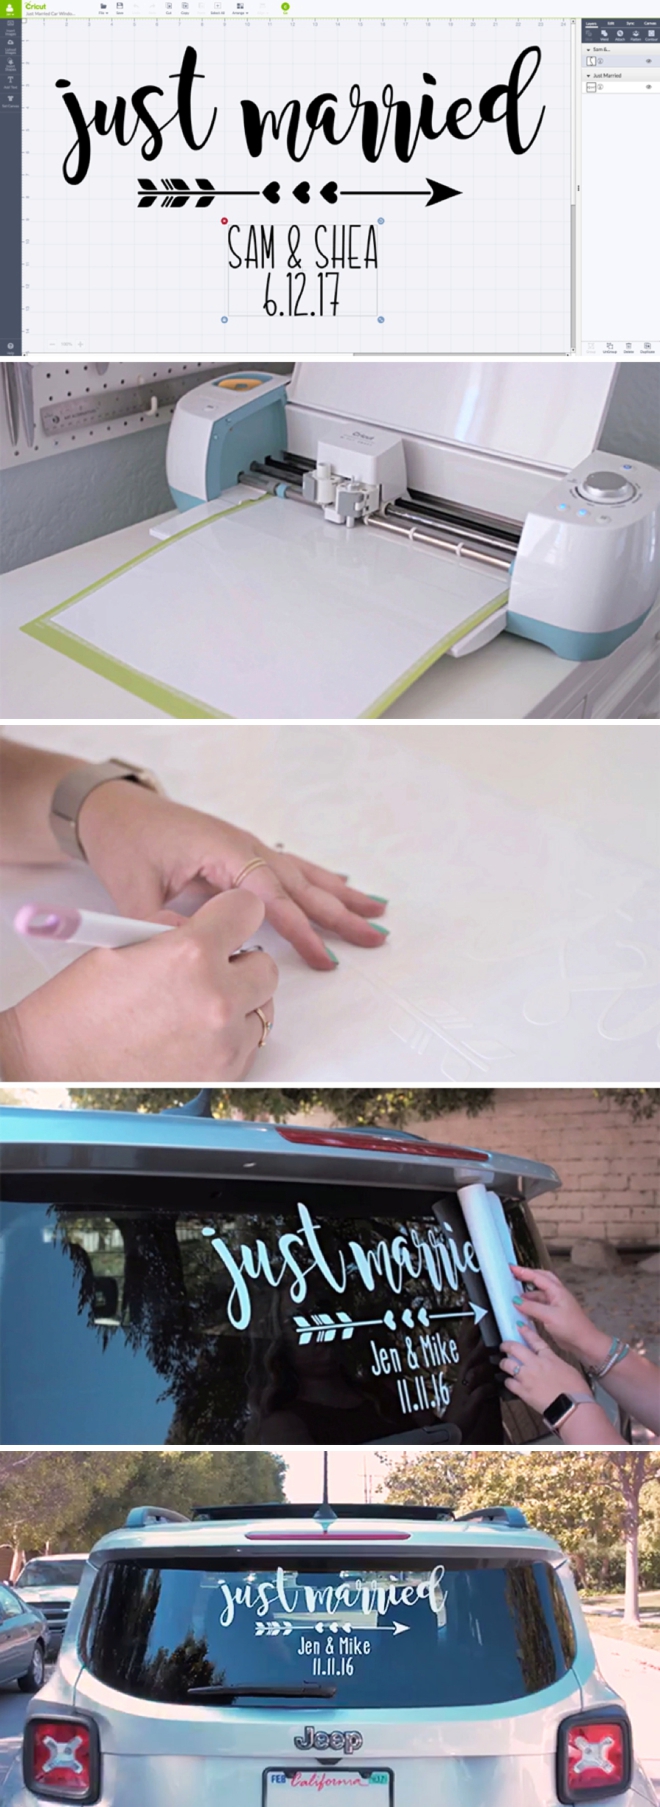
- Log into Cricut Design Space and click on the logo above to take you right into this project. Personalize your names and wedding date.
- Cut the design on a 12″ x 24″ cutting mat and make sure to “mirror” the image!
- Weed (remove) any window cling material that isn’t part of the design.
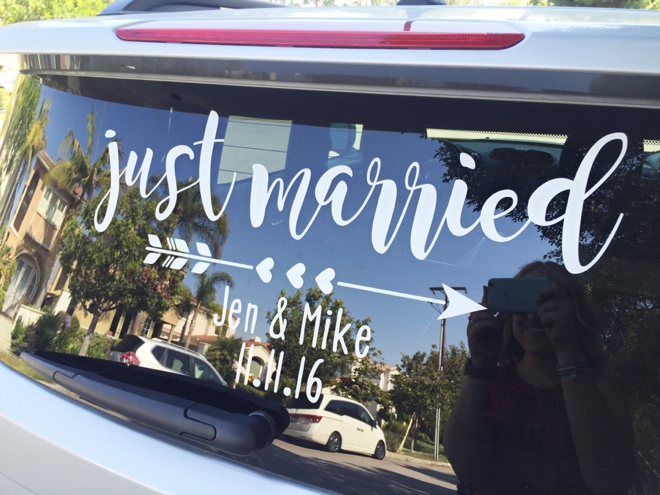
- Clean your car window first and then press the window cling design onto your car window by using the scraper tool. Slowly and carefully peel the backing away to reveal this darling, personalized design. Keep in mind, the window cling sticks with static electricity, so it’s actually not sticky! You can adhere and reapply as many times as you’d like!
- Drive away after your reception and enjoy all the honks and well wishes from passers by!
DIY TUTORIAL SPONSORED BY:
Cricut is a world-class leader in personal electronic cutting machines that has enabled people to achieve their creative best for over 50 years. Today, millions of people use Cricut products to create unique projects, and they focus on enhancing lives with this power of creativity. Let Cricut help you take your wedding personalization and project creativity to the next level!
As with all our DIY tutorials, if you create one of our projects please send us a picture – We Love Seeing Your Creativity! If you use Instagram or Twitter please use the hashtag #SomethingTurquoiseDIY and it will show up on our Get Social page. Happy Crafting!
DIY Tutorial Credits
Photography + DIY Tutorial: Jen Carreiro of Something Turquoise // Cricut Explore Air, Cricut Window Cling, Cricut 12 x 24 Cutting Mat and Tools: courtesy of Cricut // Just Married Decal Design: Julia Ensign // Videography: JD Hudson // Nail Polish: OPI – Withstands the Test of Thyme
Shop The Supplies:
Find the supplies you’ll need for this project from our affiliate links below:


Comments