-Sponsored Post-
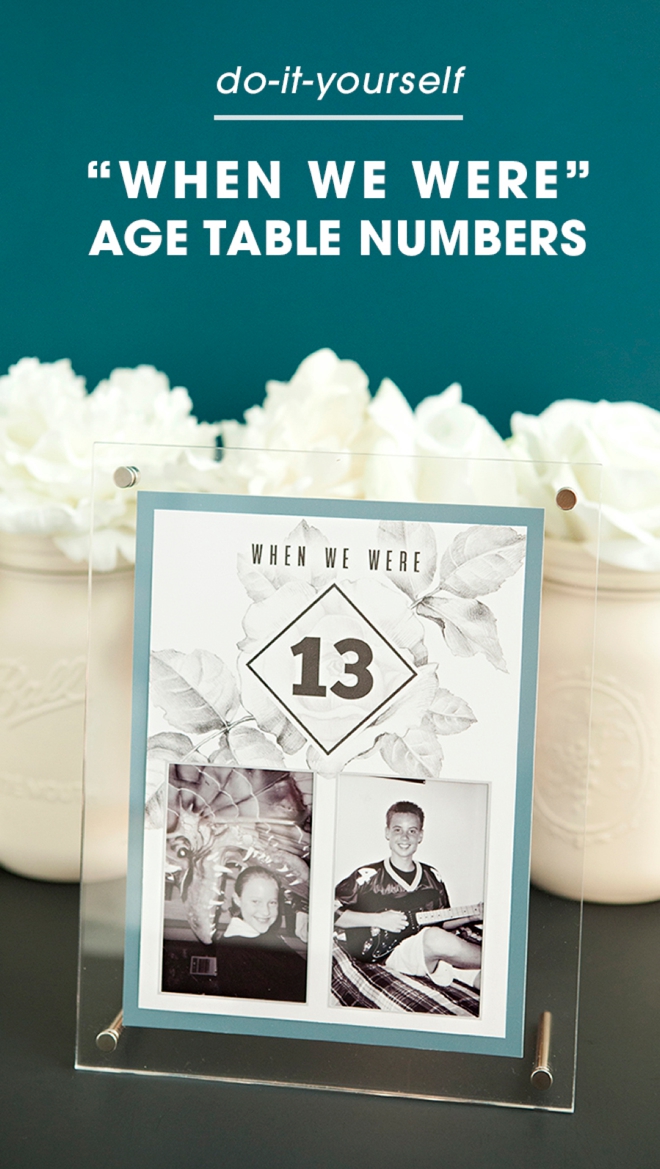
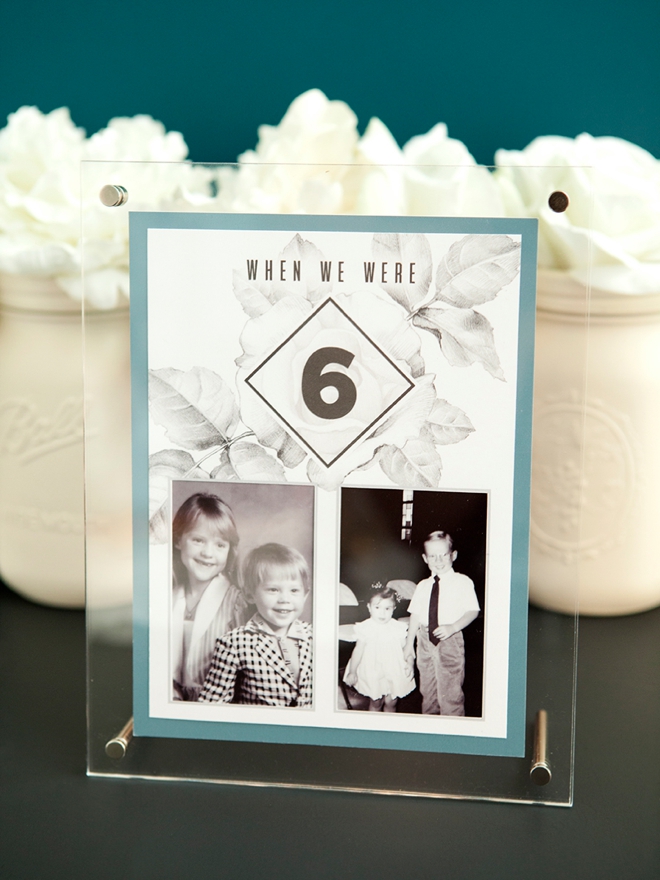
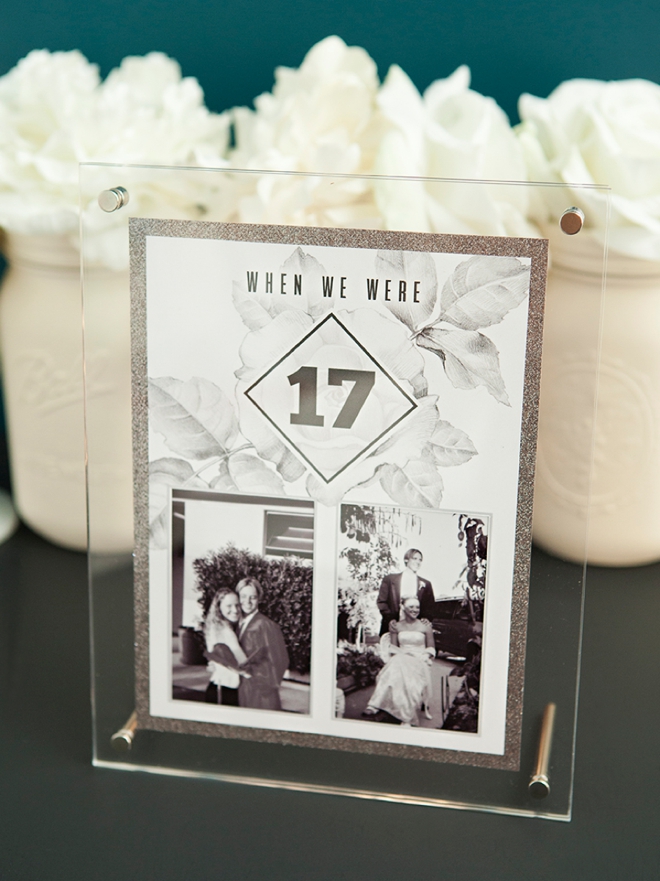
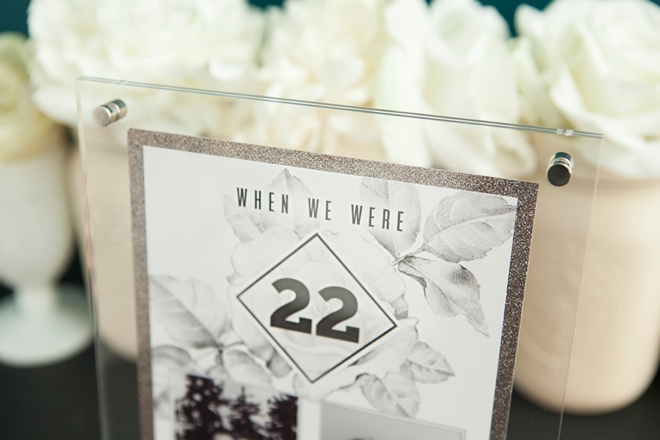
You might have noticed that I absolutely adore DIY-ed table numbers. There are many reasons why I love them and so I’ll list my top three; 1. All your guests will get to experience them 2. Since you most likely won’t have more than 20 tables, you only have to make 20 (as opposed to favors where you might have to make 100+) 3. Their creativity will genuinely add to the unique decor of your day. Who wants to use a boring, regular old venue table numbers when you could make these awesome DIY When We Were Age… Photo Table Numbers!?! Due to the amazingness of my Canon PIXMA MG7720 Wireless Photo All-in-One Printer, this project turned out more beautifully than I expected. Scan your old photos, print them and my free table number designs, frame and listen to the ooh’s and aah’s of your wedding guests as they gush over your childhood cuteness!
Black + White
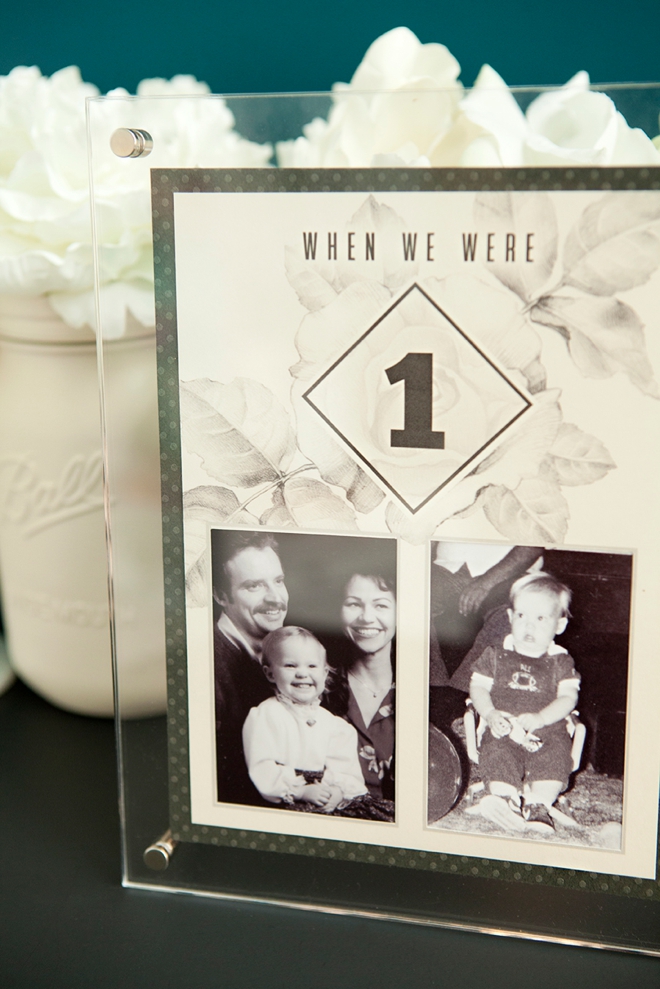
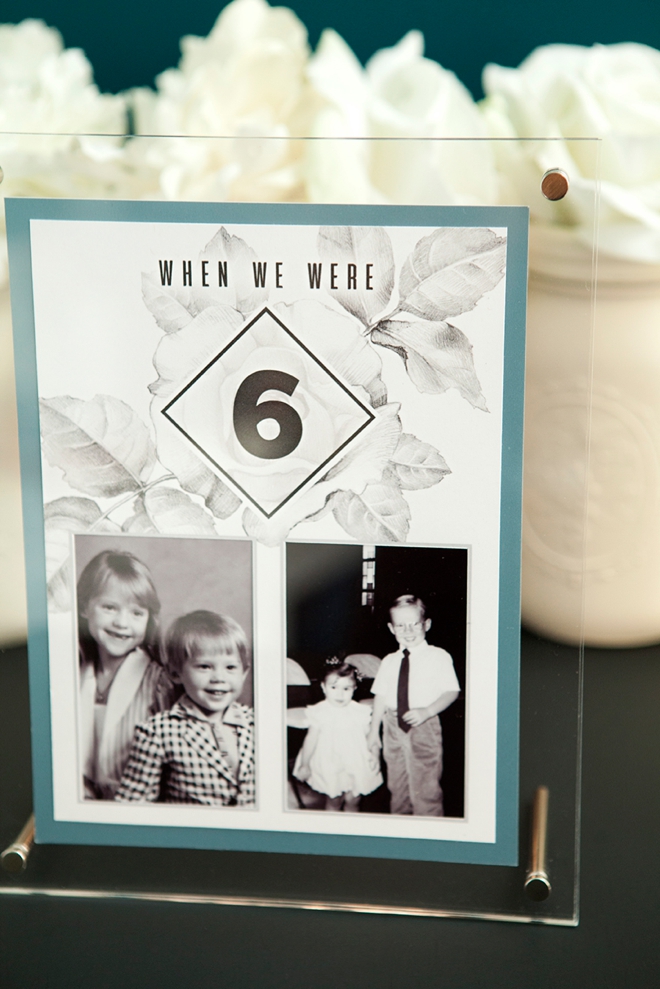
I turned each image black and white to create a cohesiveness amongst them all and I love how they turned out!
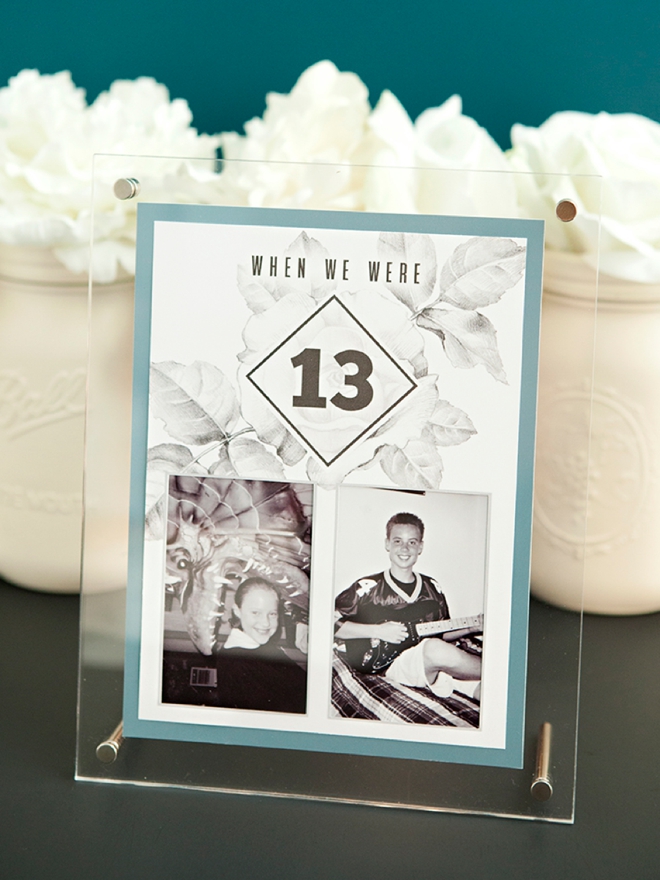
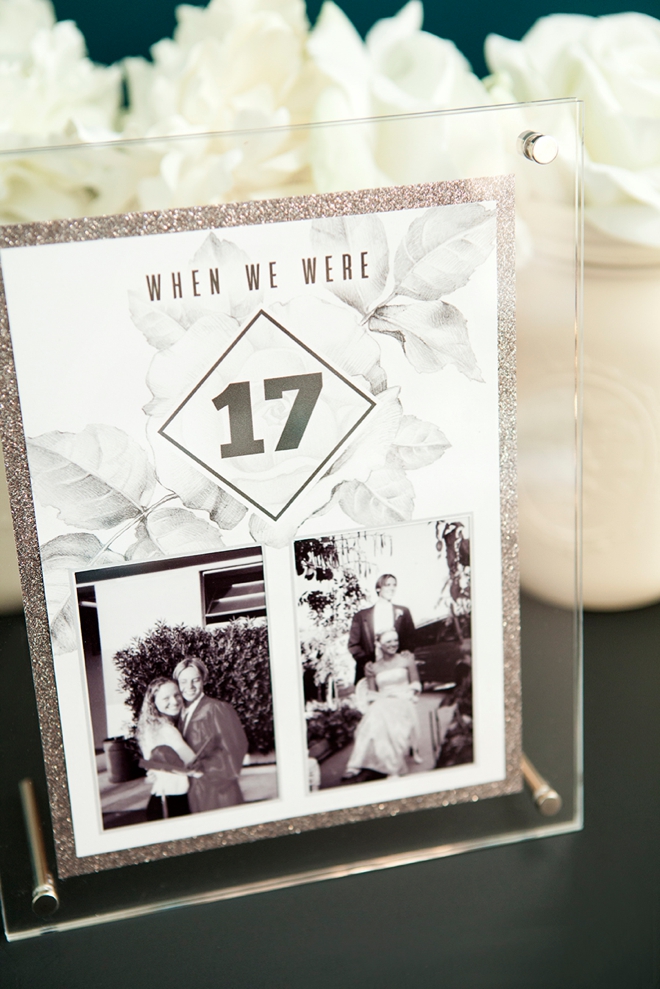
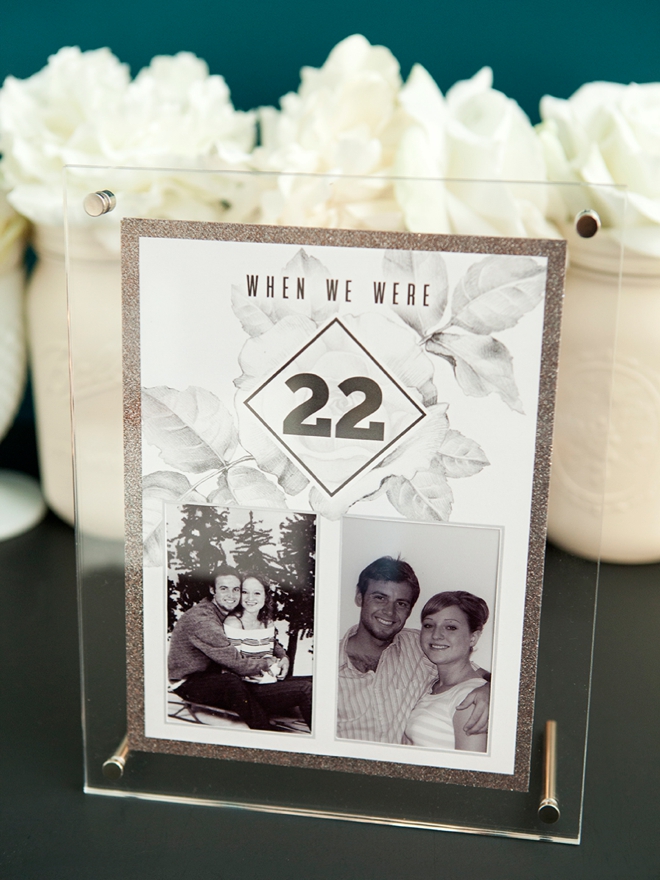
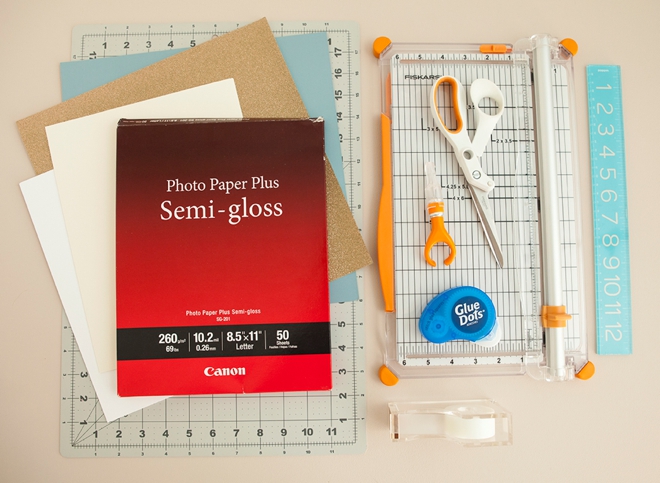
SUPPLIES:
- Canon PIMXA MG7720 Wireless Photo All-in-One Printer
- Canon Photo Paper Plus Semi-Gloss
- Cute Old Photos
- 8.5″ x 11″ Cardstock (light in color)
- 12″ x 12″ Cardstock (any color or texture)
- 6″ x 8″ Frames
- Paper Trimmer
- Glue Dots
- Scissors
- Tape
- Ruler, Craft Knife, Cutting Mat (optional)
- Our free printable designs below, we have numbers 1-36 for you!
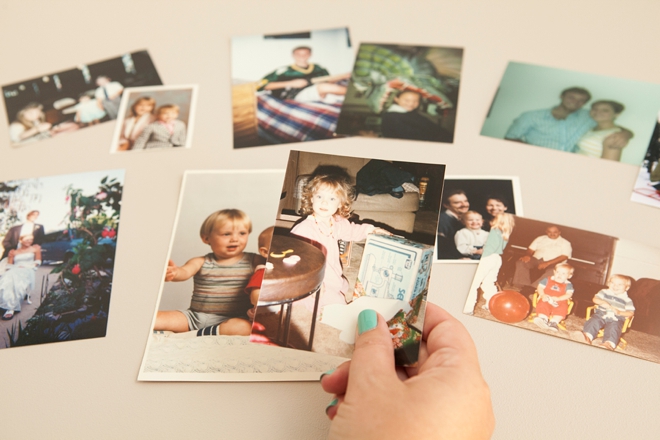
Choose Your Photos
I had so much fun looking through our childhood pictures to find the right images to use for each “age”. This will definitely be the hardest part of the project. Give yourself enough time to find the right photos. Possibly even visit your parents to collect the best, cutest and funniest pictures to celebrate you both throughout the years!
Scan To Reprint
Most of our old photos have no negatives and are the only copies in existence, so there was no way I was going to cut + tape the originals. I used my Canon PIXMA MG7720 Wireless Photo All-in-One Printer to scan each photo and turn them into digital files. You can scan one at a time, or even multiples. Being that I was going to use The Print Shop to further edit my files, I scanned multiple photos at one time.
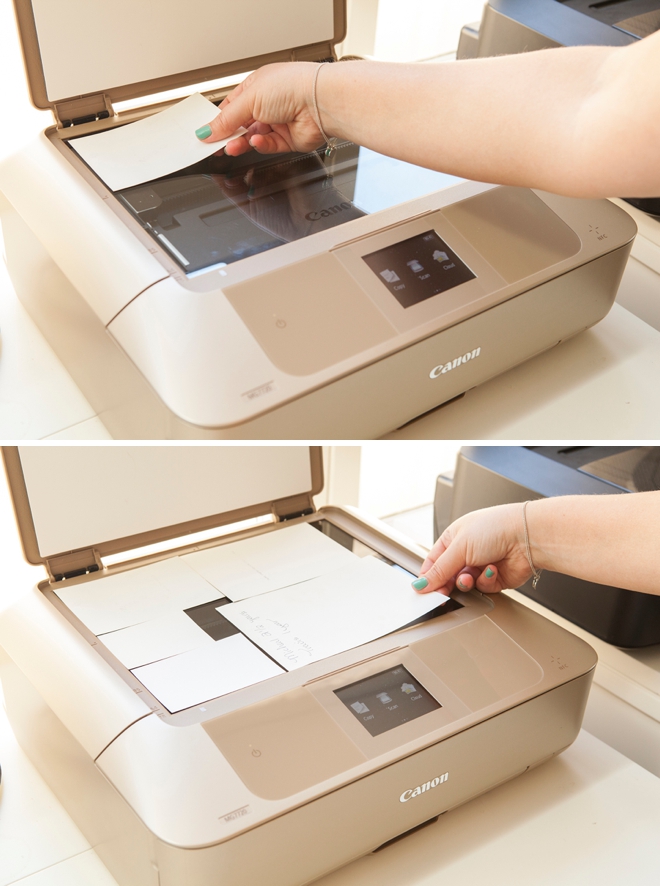
Photo Settings
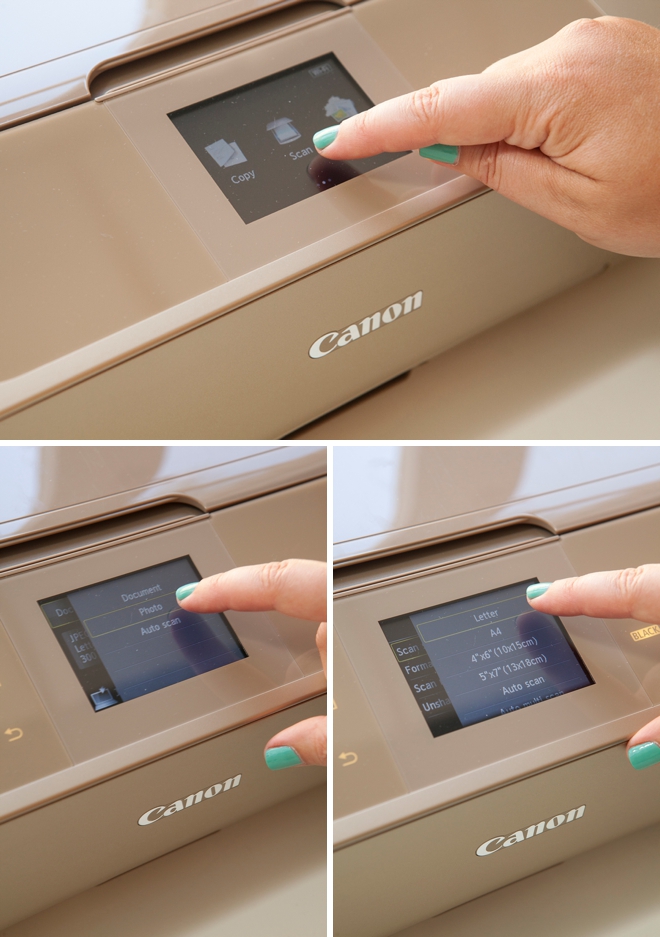
The scanner in the PIXMA MG7720 is made to scan photos and it’s amazing. Right on the printer you can click to choose that you’re scanning a photo and what size it is. I chose “letter” size because I wanted to scan the entire page.
Print Your Photos
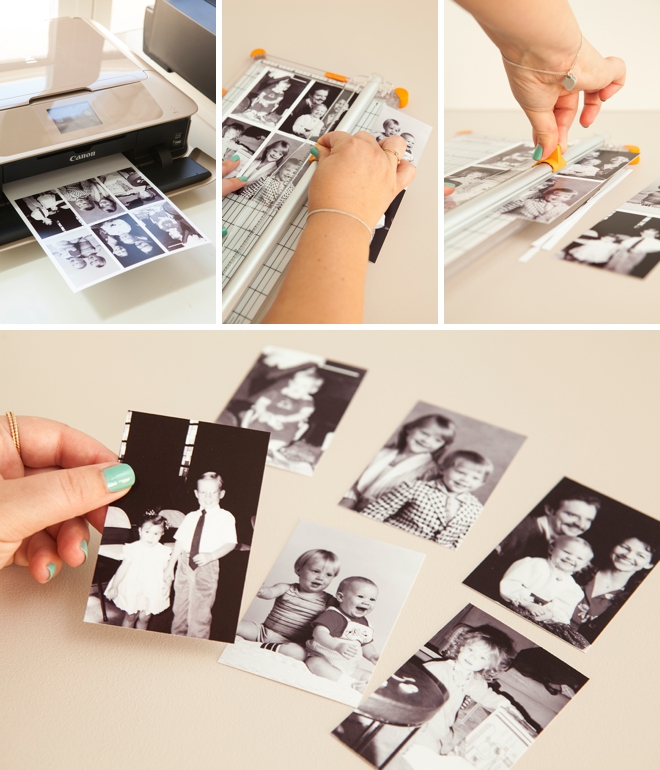
After scanning my images, I imported them to my favorite design software, cropped and resized them to fit the 2.5″ x 3.5″ frame design. Then I printed them onto Canon’s Photo Paper Plus Semi-Gloss and cut each one out. That size will allow you enough space to properly tape them behind the printable design. Didn’t the prints turn out great?!
Print + Cut Each Table Number
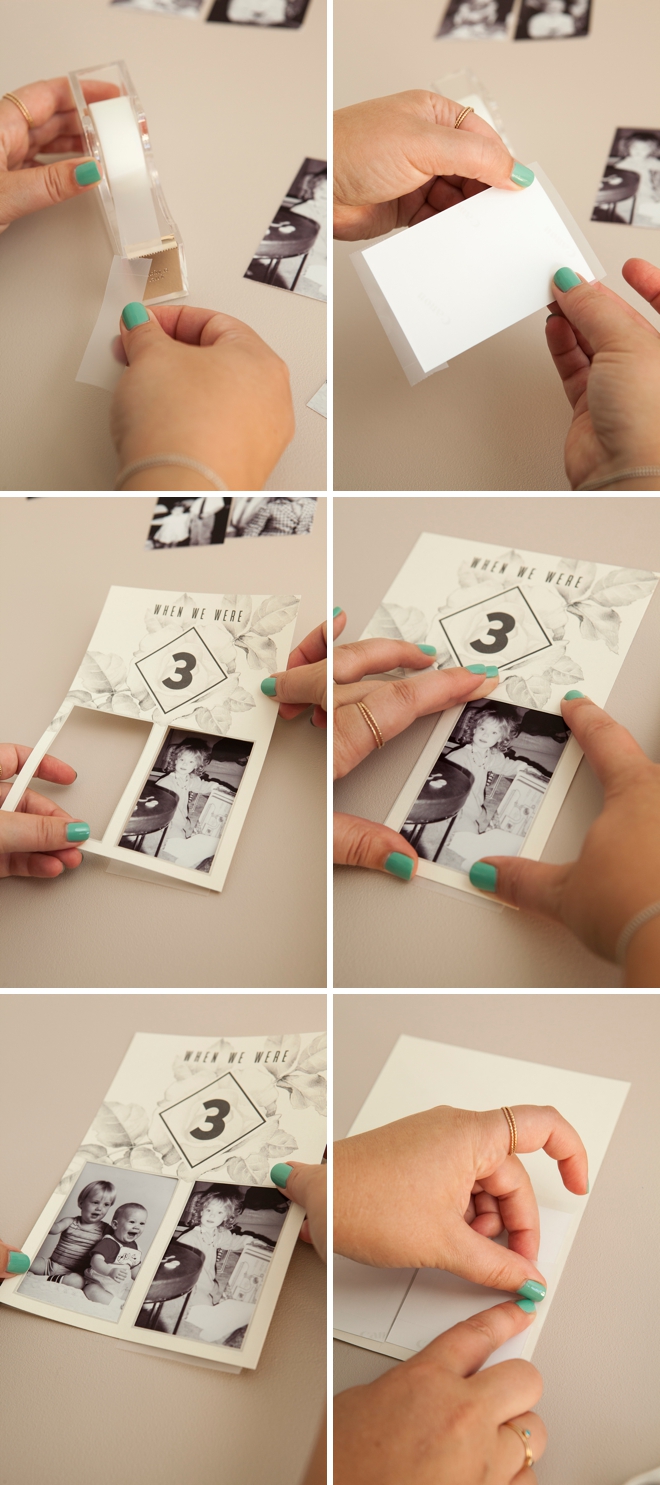
Download our free printable table number designs at the bottom of the post and print onto 8.5″ x 11″ cardstock that is light in color. I used both white and ivory in these examples. Trim down to 5.5″ x 7.5″ using the crop lines provided. Then cut out each photo box using scissors or a craft knife and cutting mat.

Adhere Each Photo
Add two pieces of tape to the backside of each photo, then hover the printed design over the photo (with the tape facing up) to get the framing right. Once you’re happy with the framing press onto the photo and tape. Trim any excess tape or photo sticking out and then tape all photo edges down along the backside.
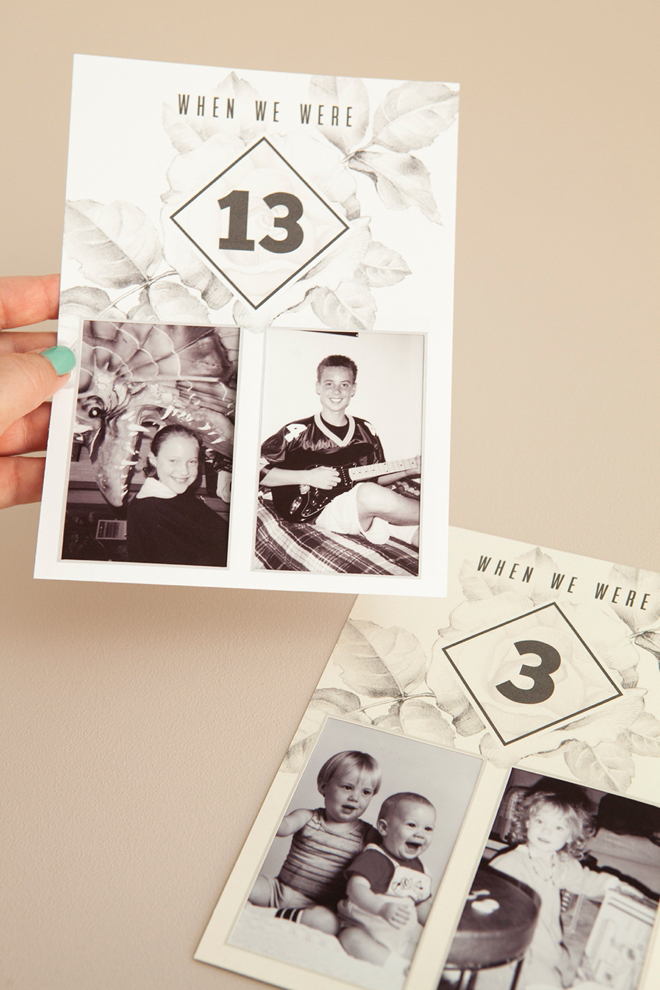
Dying From Cuteness… And Your Guests Will Too
Add Some Color
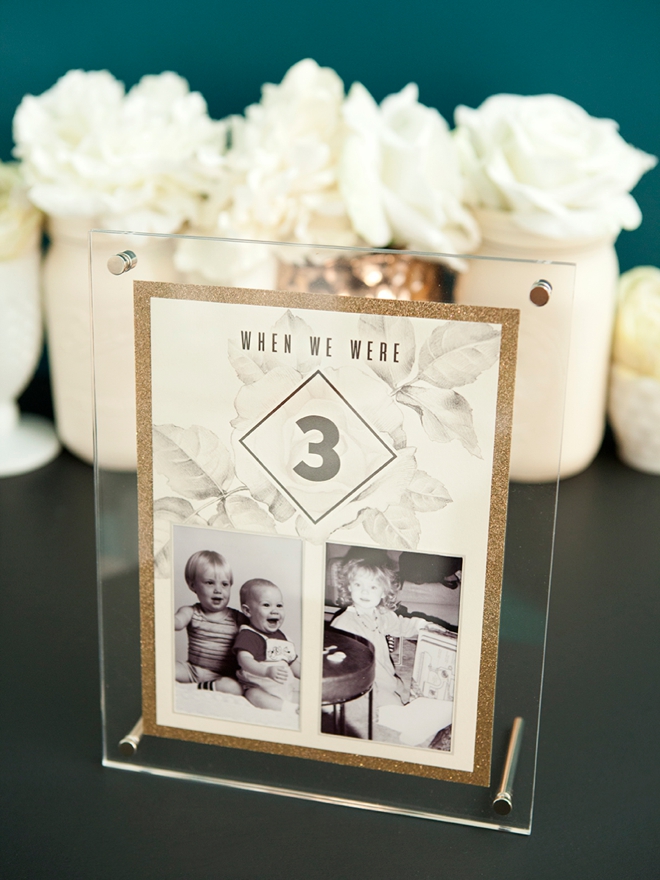
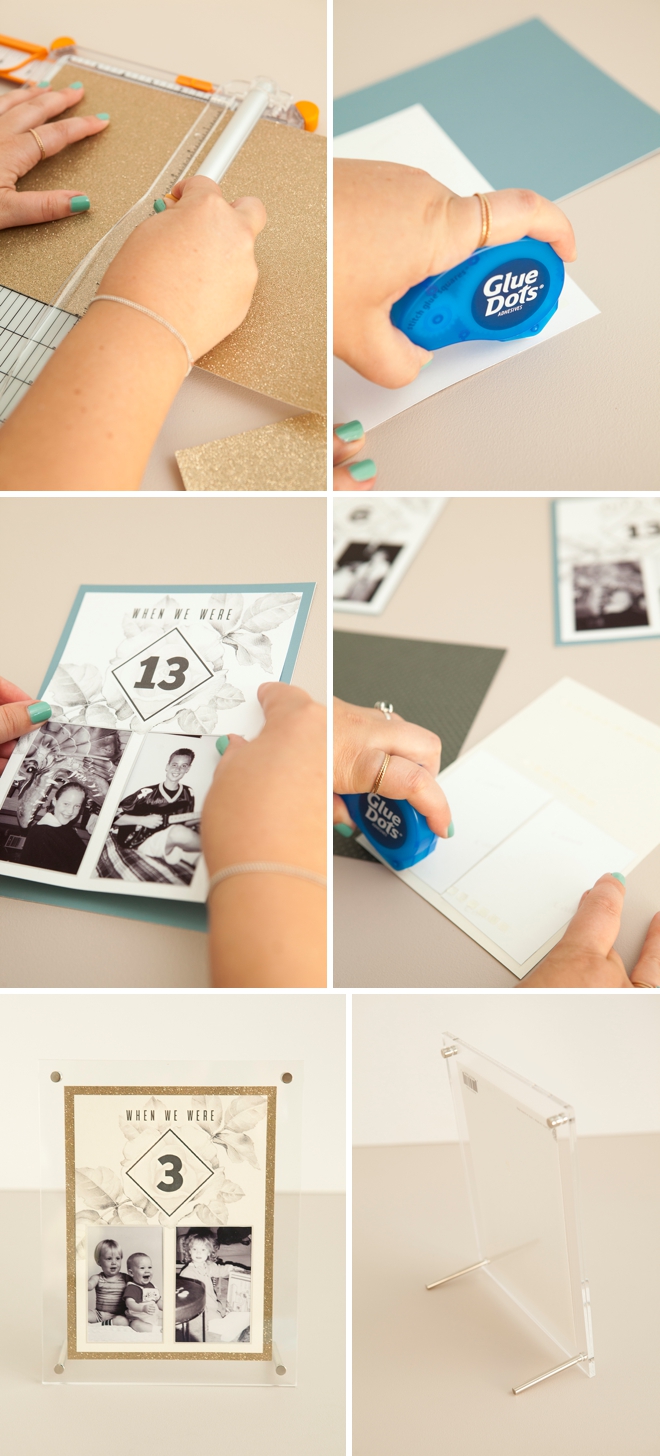
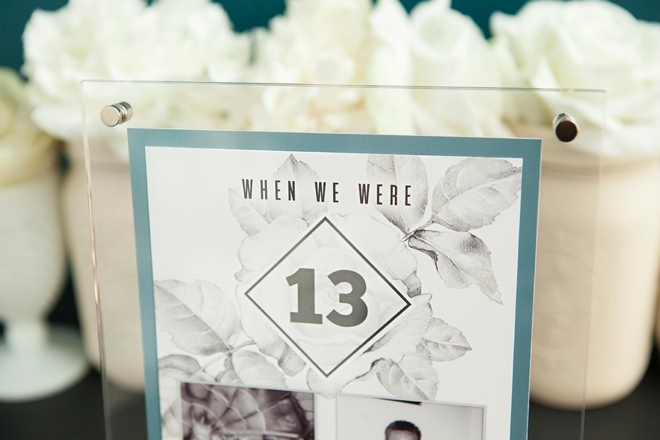
Here’s the step where you can add some color to your table numbers. Using 12″ x 12″ colored, glitter or patterned cardstock, trim it down to 6″ x 8″ (you can get two per sheet). Then adhere the photo card to the cardstock and frame!
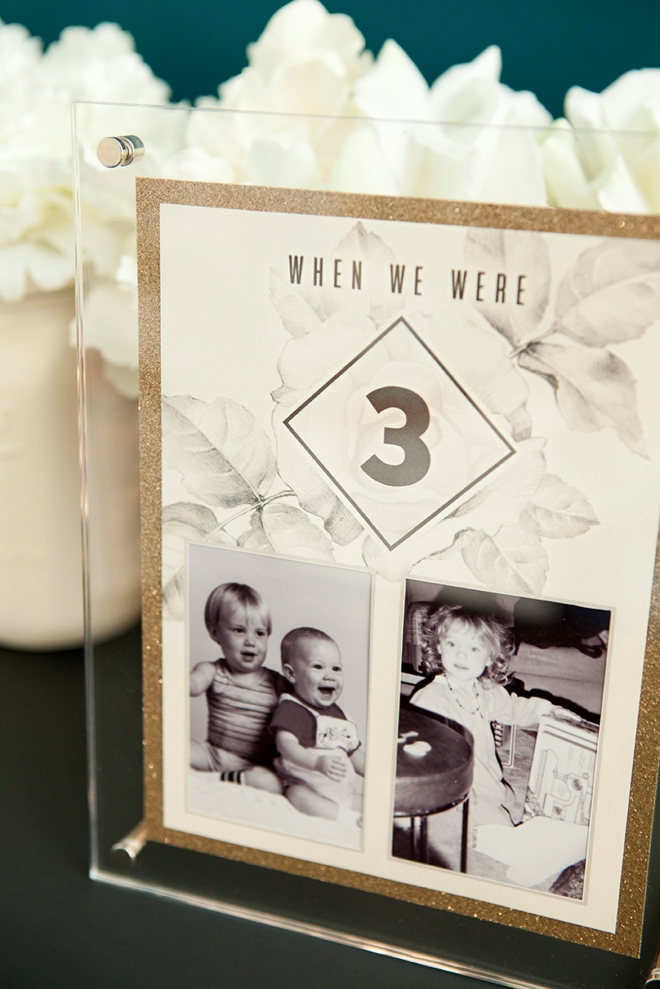
6 x 8 Frames
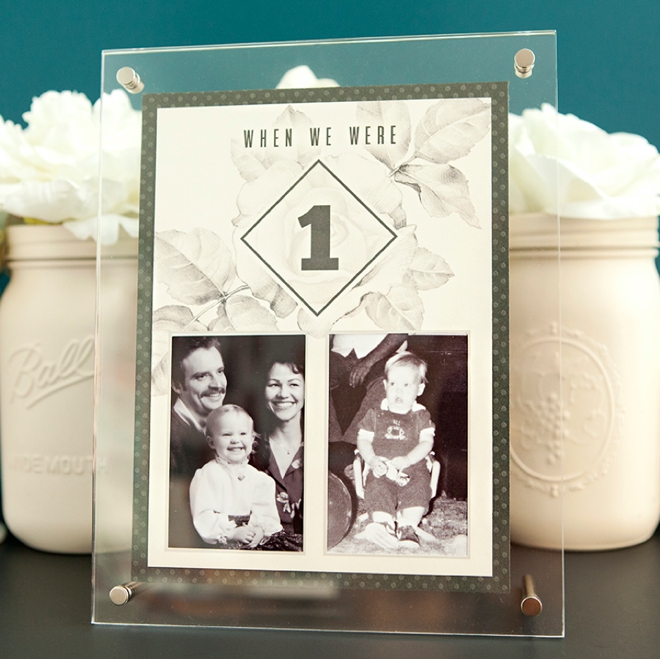
I know that 6 x 8 frames sound like a strange size, but the more I looked for them the more I found. It’s the perfect size for these table numbers, not too big and not too small!
DIY TUTORIAL SPONSORED BY:

Canon U.S.A., Inc. prides itself on allowing consumers to create and preserve beautiful imagery, from capture to print. With wireless technology and seamless printing capabilities, you can print your photos and printables with precision and ease.
As with all our DIY tutorials, if you create one of our projects please send us a picture – We Love Seeing Your Creativity! If you use Instagram or Twitter please use the hashtag #SomethingTurquoiseDIY and it will show up on our Get Social page. Happy Crafting!
DIY Tutorial Credits
Photography + DIY Tutorial: Jen Carreiro of Something Turquoise // Canon PIXMA MG7720 Wireless Photo All-in-One Printer and Photo Paper: courtesy of Canon // Printable Design by: Julia Ensign // 6″ x 8″ Clear Frames: Amazon // 8.5 x 11″ Cardstock in Eco White and Superfine Soft White: Paper Source // 12 x 12 Glitter and other papers: Michaels // Paper Trimmer: Amazon // Cutting Mat: Amazon // Fingertip Craft Knife: Amazon // Glue Dots: Amazon // Nail Polish: OPI – Withstands the Test of Thyme
Shop The Supplies:
Find the supplies you’ll need for this project from our affiliate links below:


Comments