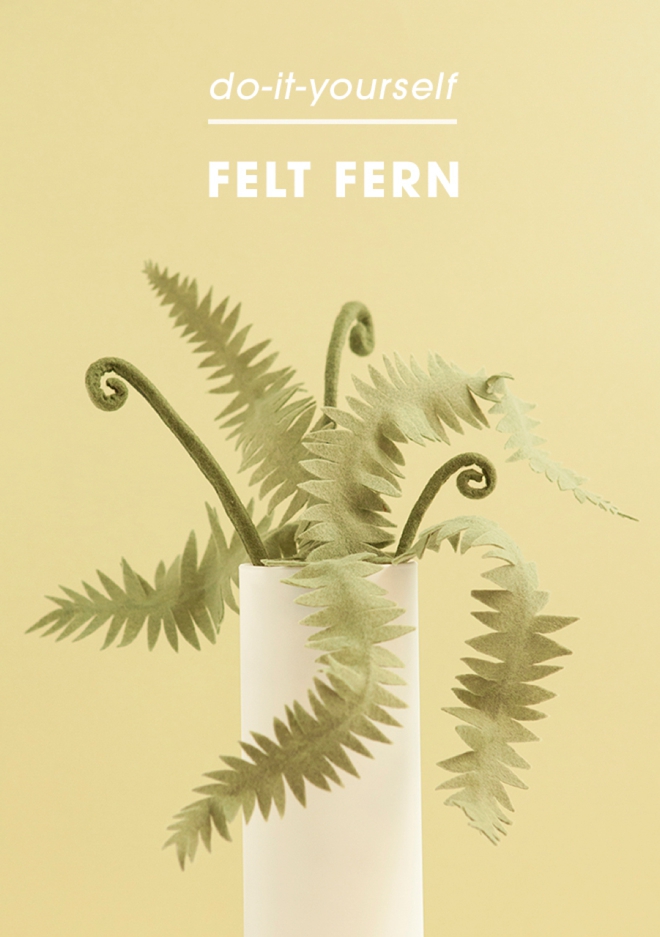
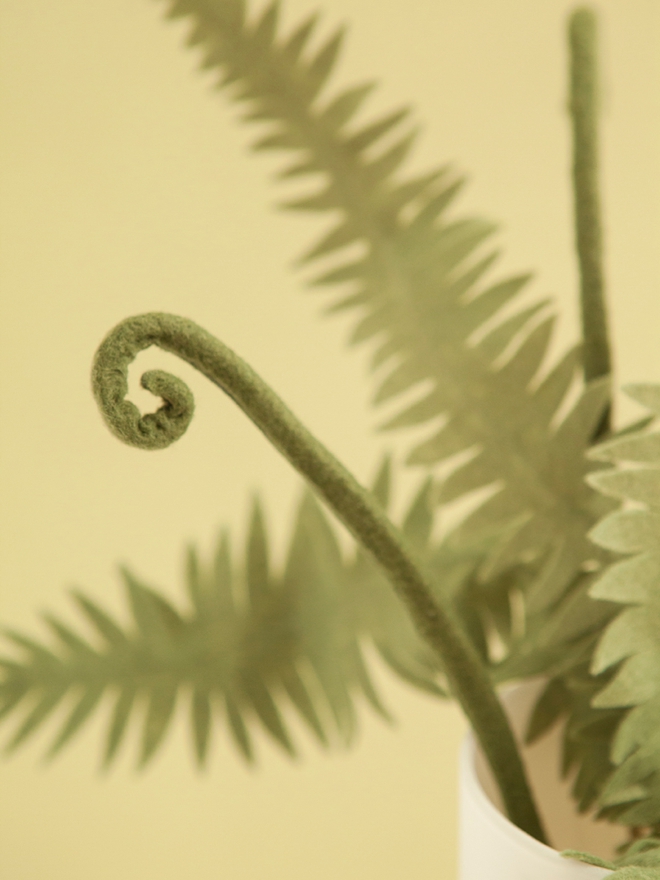
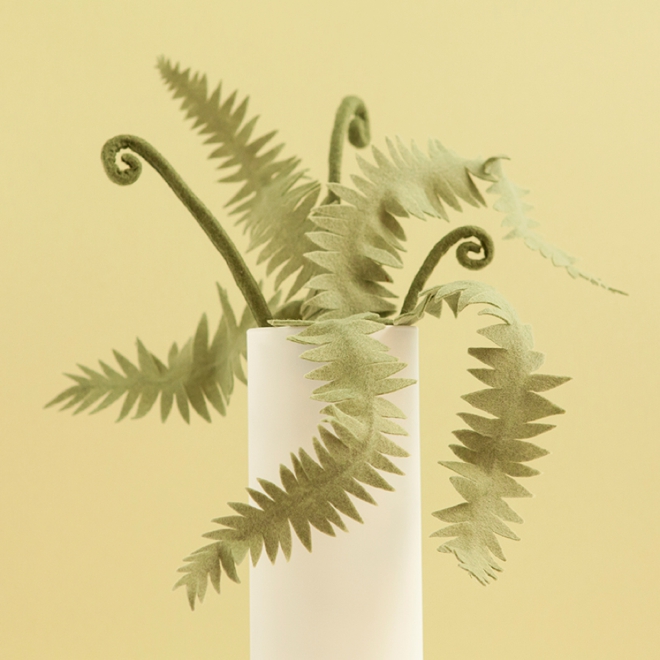
Welcome to the second day, of our second felt flower week, yay! I have to say that ferns are absolutely, hands down my favorite leaves and I love fiddleheads too. I’m a huge dinosaur fan, I know it’s dorky, but I think I love ferns because they remind me of that Jurassic period. All nerdiness aside, adding fern leaves to wedding bouquets is a huge trend so that makes these cuties totally on point.
In talking about handmade flowers – I’m singing the praises of felt. Unlike paper, felt flowers are thick, sturdy and can withstand all that your wedding day could possibly throw at them. Paper can rip and crumple in a flash – but not felt! There is something so old-school crafty about felt… and I just love it. So without further ado, here is this weeks second felt flower design – the awesome fern leaves + fiddleheads.
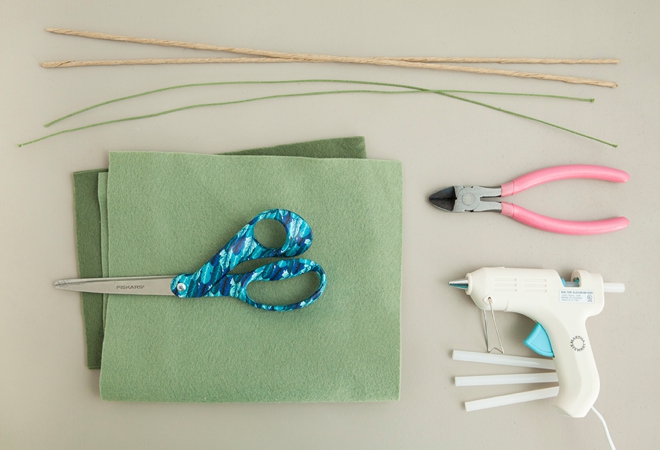
SUPPLIES:
- Wool Felt (shown here in sage and olive)
- Good Scissors
- Floral Wire (18-20 gauge)
- Wire Cutters
- Pair of Pliers
- Ribbon
- Hot Glue Gun (that does low heat)
You’ll be able to make 3 fern leaves or 4 fiddleheads from one 9″ x 12″ piece of felt. However, you can make these leaves ANY size you like!
Cut Your Felt Leaves
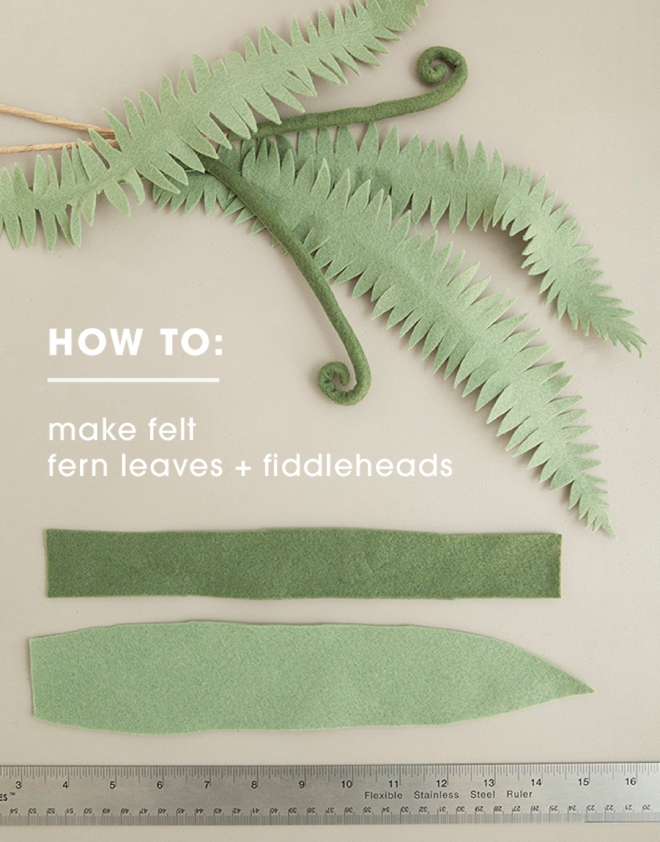
Below is a chart of the felt leaf shapes you’ll need to cut out. You can gather the sizing from the ruler shown, but just know that you can create these leaves and fiddleheads in ANY size you’d like! We now have a free printable flower pattern available at the end of the post!
- Rectangle for the fiddleheads
- Long leaf shape for the fern
UPDATE: May 21st, 2018: You no longer have to cut all these petals and leaves by hand! We have the Cricut .SVG cut file for this flower available in our shop for only $1.99! Cutting these shapes with the Cricut is a HUGE time saver!
Prepare The Fiddlehead
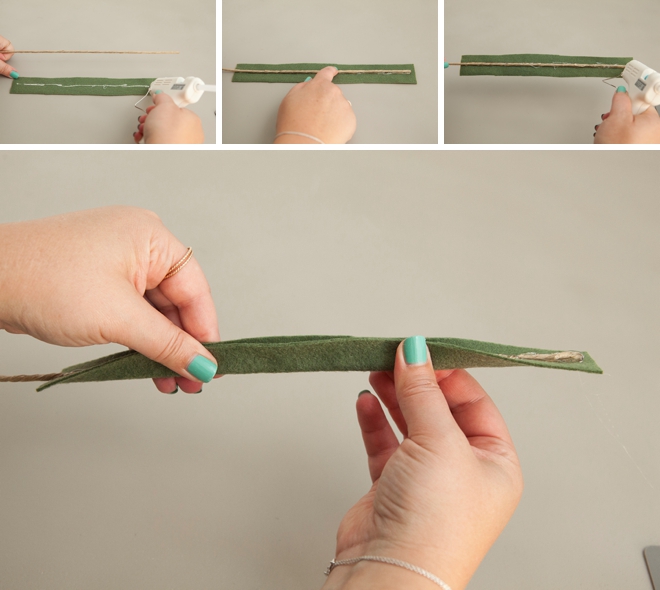
Fully enclose a length of floral wire inside a rectangle of felt using hot glue. You might want to work in sections while gluing so you can properly hold each area while it dries. Make sure to have a solid coverage of hot glue for this step.
Using a glue gun that can do “low heat” like this one from Martha Stewart is a MUST for not burning your fingers!
Cut + Wrap
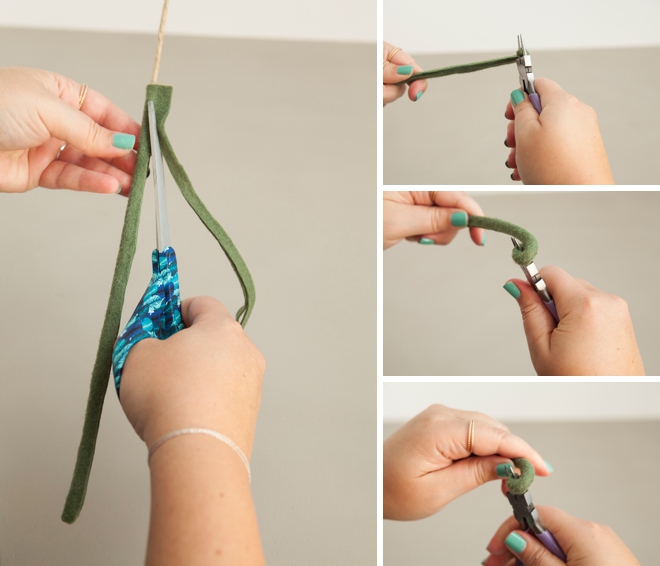
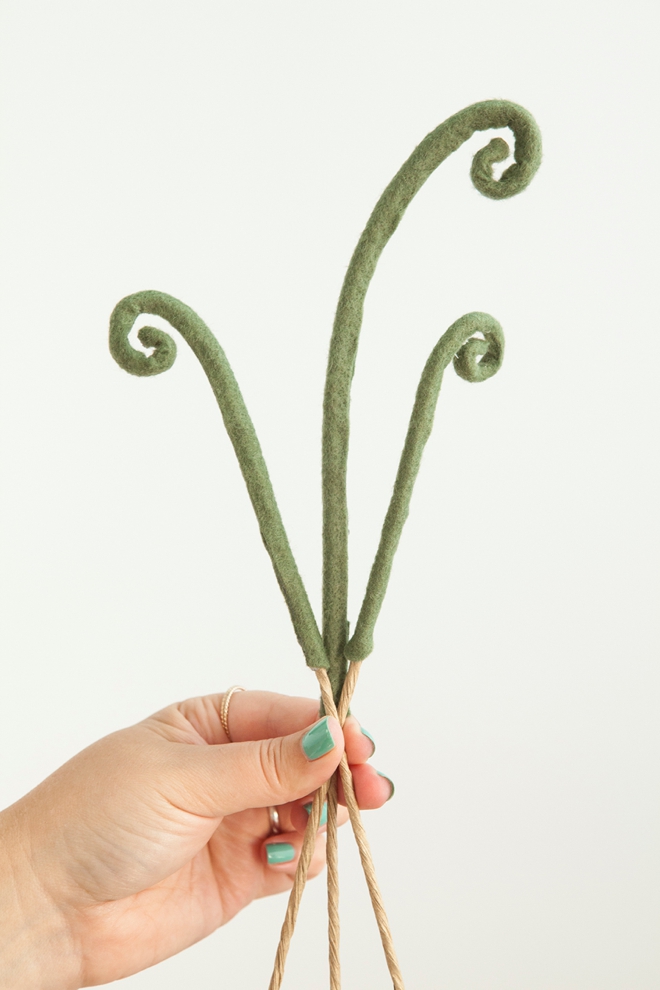
Trim the felt edge down as close as you can to the floral wire. Taking a pair of pliers, grasp the end and roll to form the shape of the fiddlehead – with the glue seam on the inside. That’s it! Make as many small or large fiddle heads as you would like.
Fern Leaves
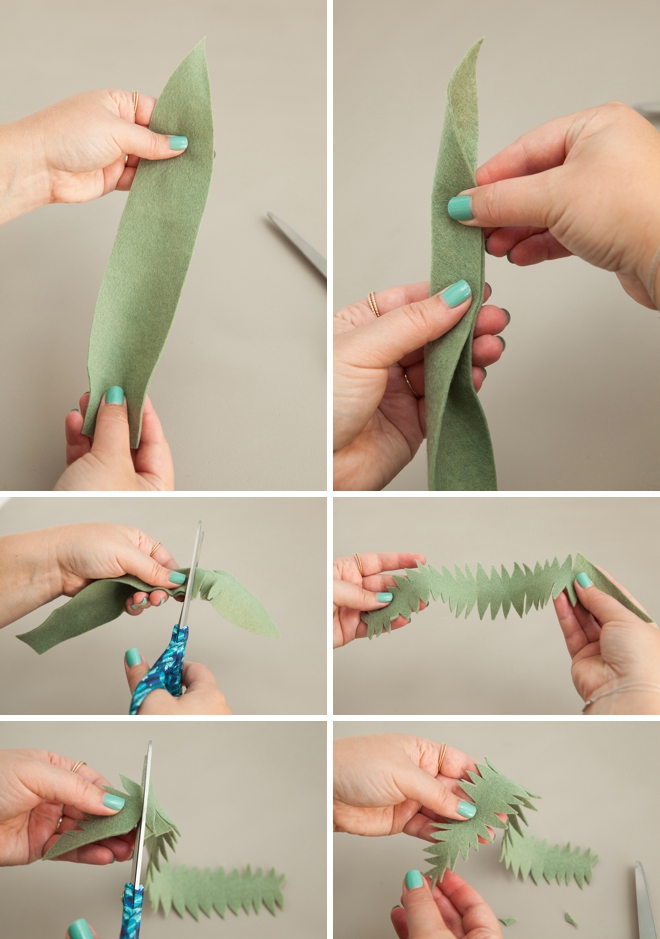
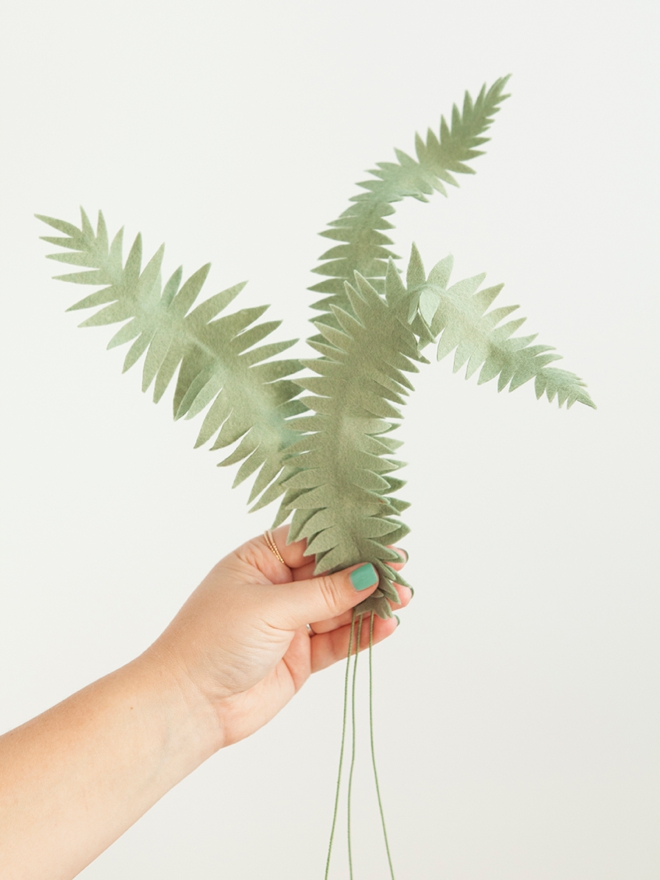
Fold your large leaf shape in half and notch out the leaf design, doing both sides at once. Then individually trim the last two inches of the leaf to make the tip look more organic.
Add The Wire
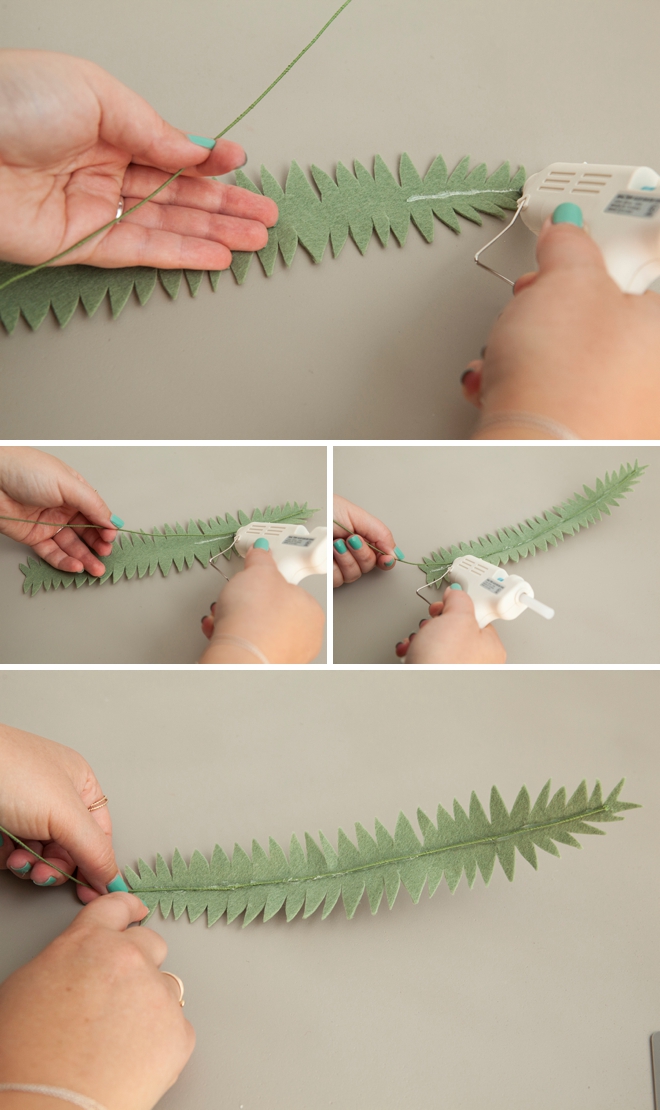
To be able to bend and form your fern leaf, glue a thin floral wire running the length of the leaf, again working in stages. That’s it!
Felt Fern Boutonnieres
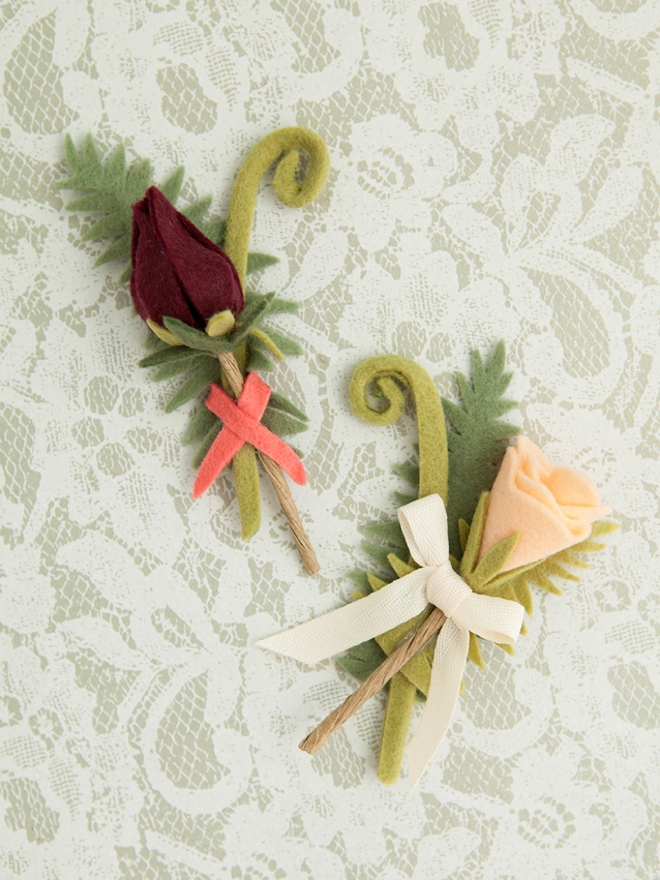
You’re getting a sneak peek of the two flowers to come… and I’m not going to tell you what they are! But these fern leaves and fiddleheads make for the most perfect greenery for these darling felt boutonnieres!
Felt Flower Patterns + Projects:
Visit this link to find the many other felt flower patterns that I’ve shared… and keep checking back this week to find more!
As with all our DIY tutorials, if you create one of our projects please send us a picture – We Love Seeing Your Creativity! If you use Instagram or Twitter please use the hashtag #SomethingTurquoiseDIY and it will show up on our Get Social page. Happy Crafting!
DIY Tutorial Credits
Photography + DIY Tutorial: Jen Causey of Something Turquoise // All Felt courtesy of: Benzie Design on Etsy // Scissors: Fiskars // Floral Wire: all over; Amazon, Michaels, JoAnn // Glue Gun: Martha Stewart // Wire Cutters: Amazon // Nail Polish: OPI – Withstands the Test of Thyme
Shop The Supplies:
Find the supplies you’ll need for this project from our affiliate links below:



Comments