-Sponsored Post-
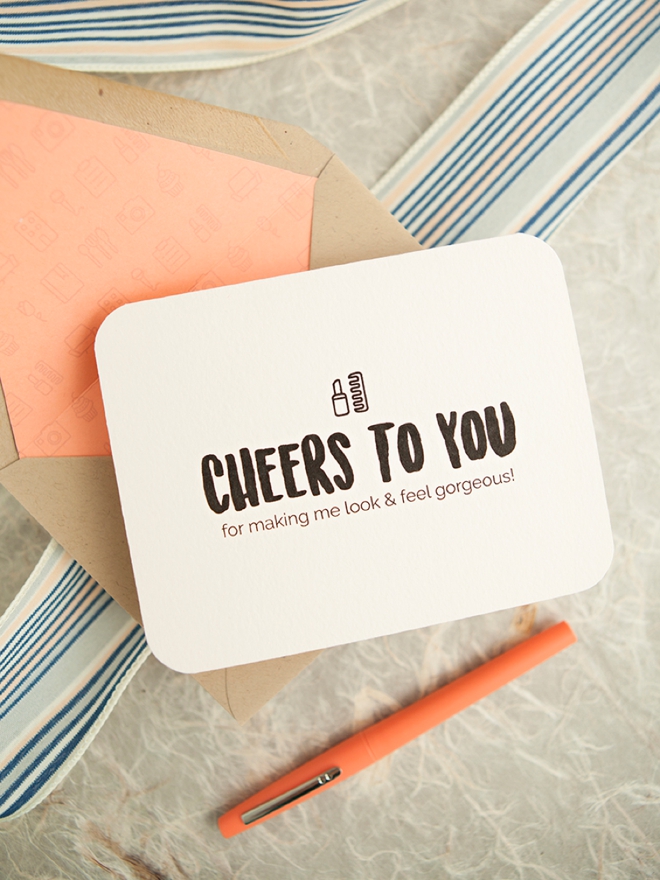
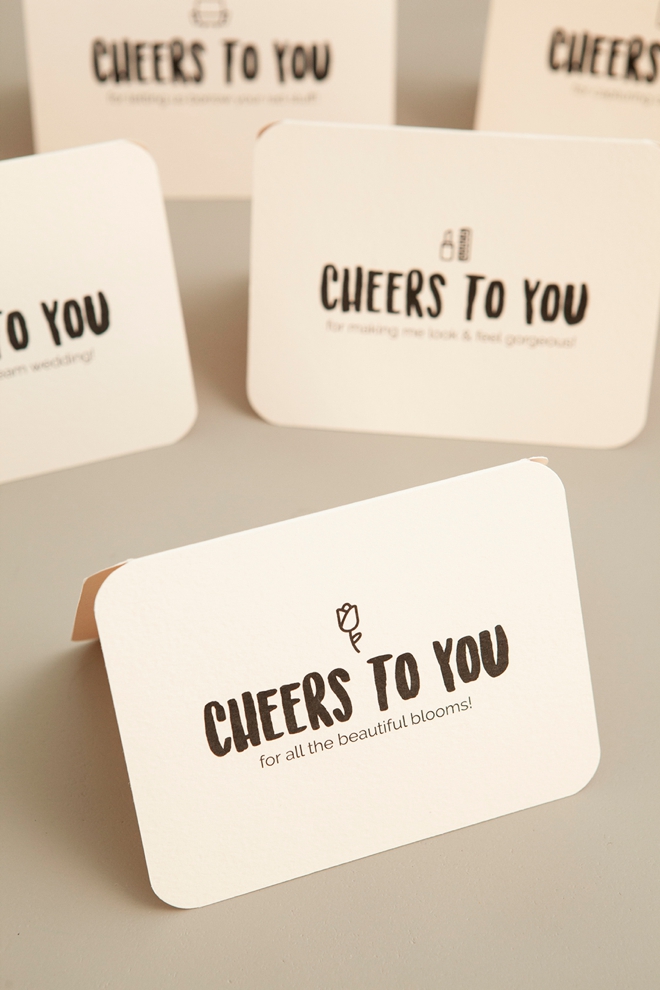
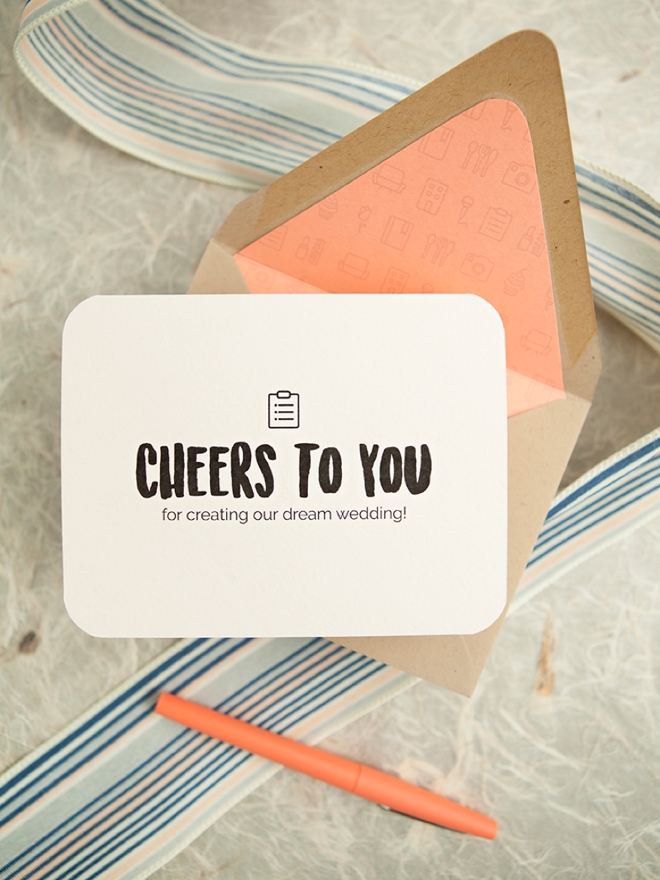
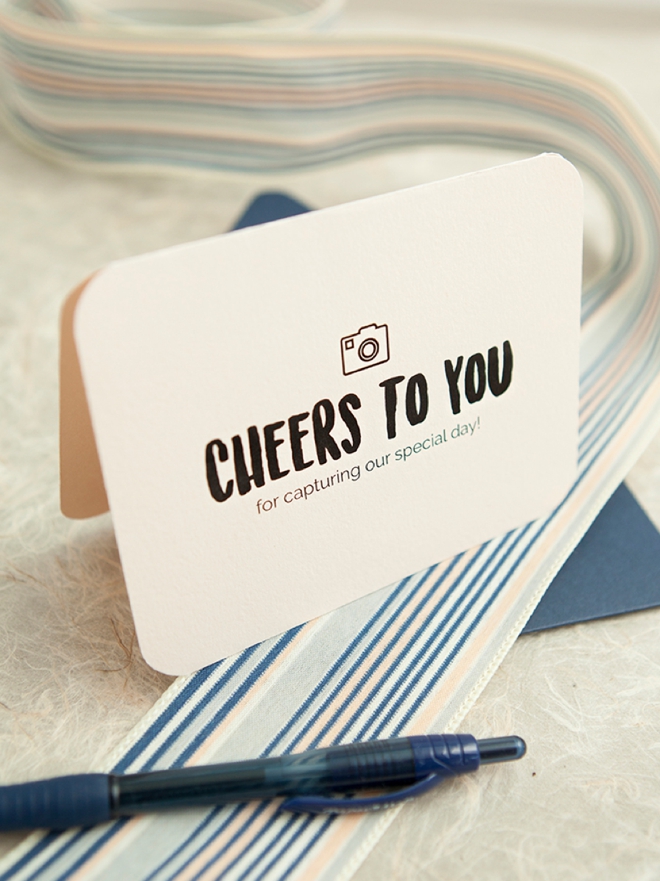
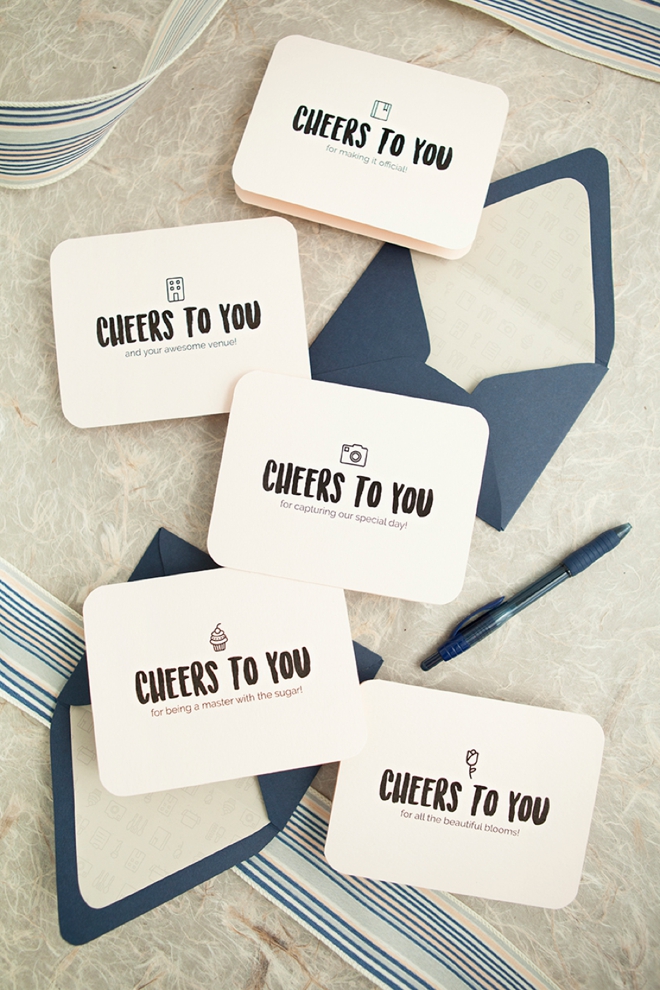
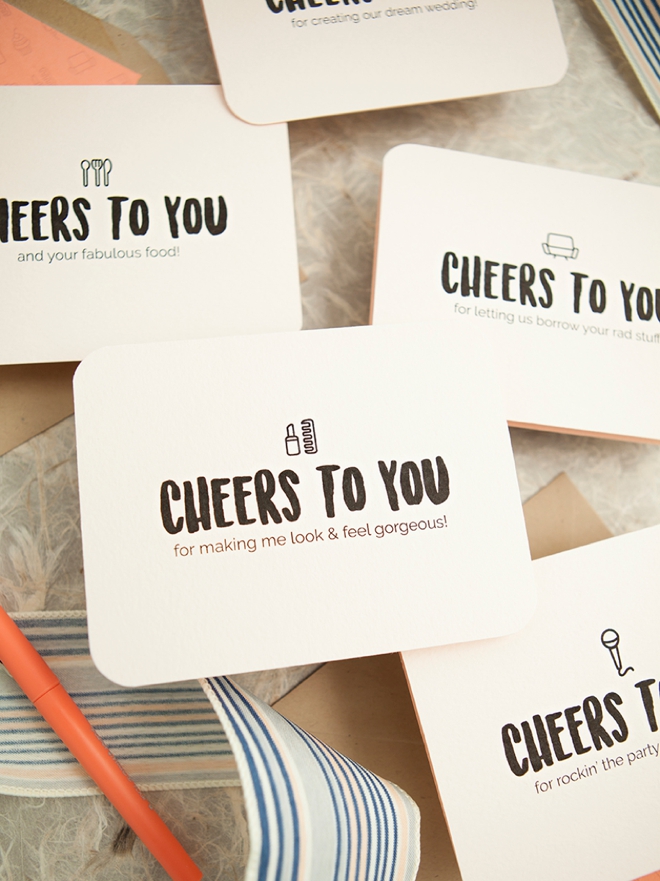
YES! Why have I never thought to share anything like this before? All those amazingly talented, hard working vendors deserve a special thank you card handmade just for them. In this tutorial we’re sharing 10 unique and simple designs that should cover you for every vendor situation, from your makeup to the caterer. There are only a few steps to this DIY Vendor Thank You Card project but there are so many different ways you can let your wedding style show through! Our Canon PIXMA MG7720 Wireless Photo All-in-One Printer is why the printing looks so awesome, your vendors might even think you bought these cards… and that’s just the way we like it!
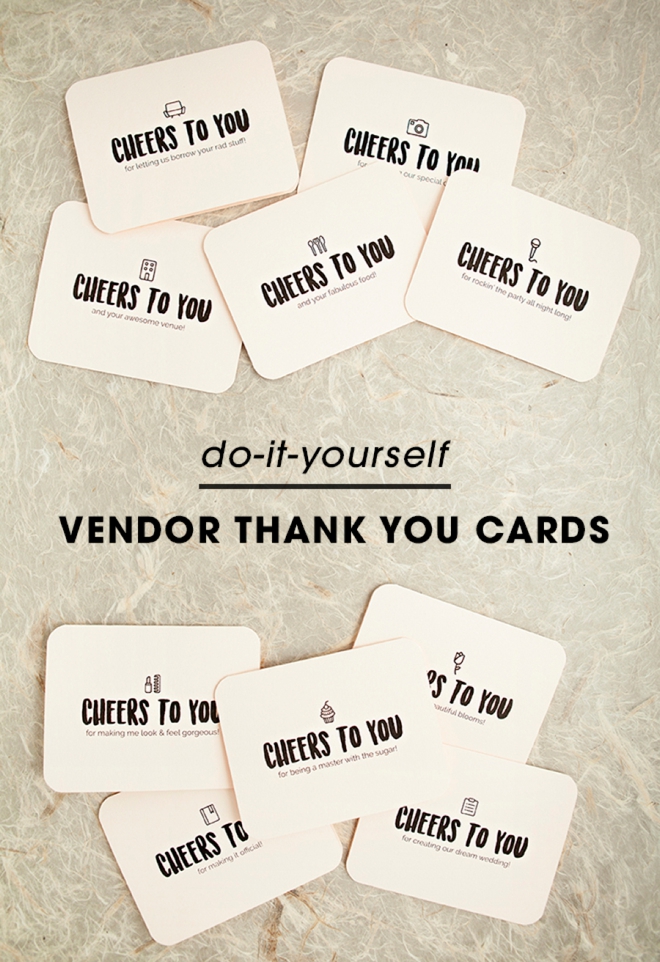
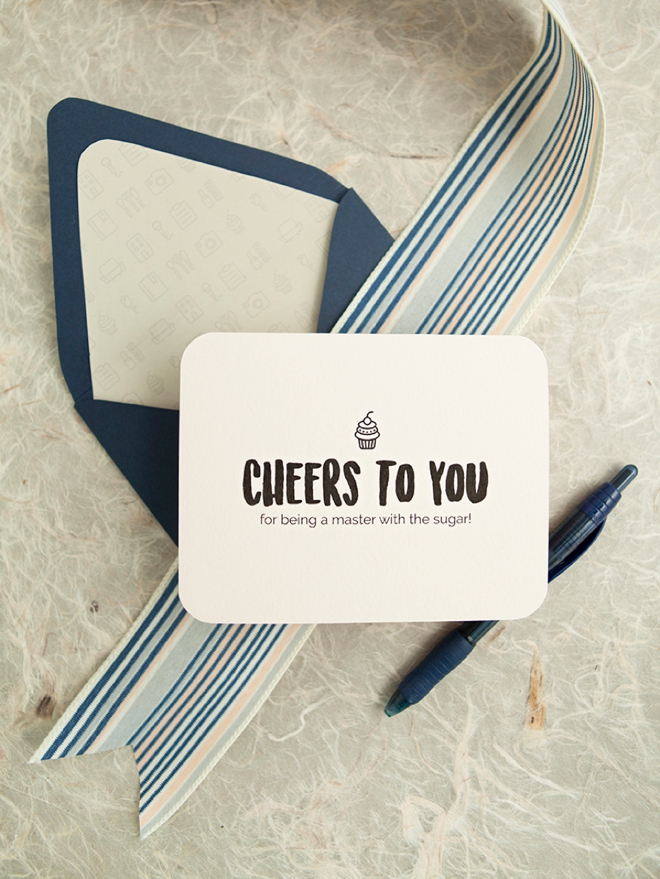
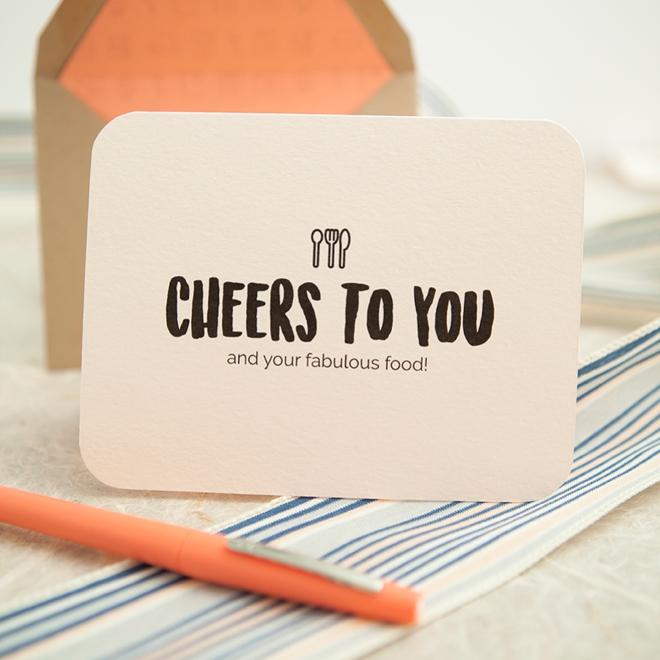

Seriously, How Freaking Cute Are These!?!
We have a free printable design for your:
- Photographer
- Wedding Planner
- Officiant
- Florist
- Baker
- Venue
- Caterer
- Hair + Makeup
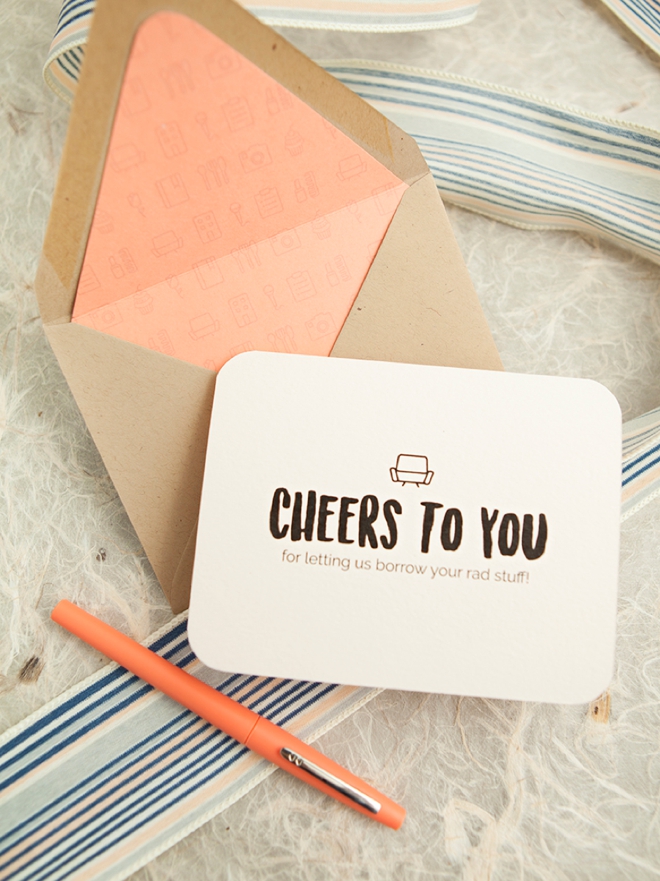
- Rental Company
- DJ
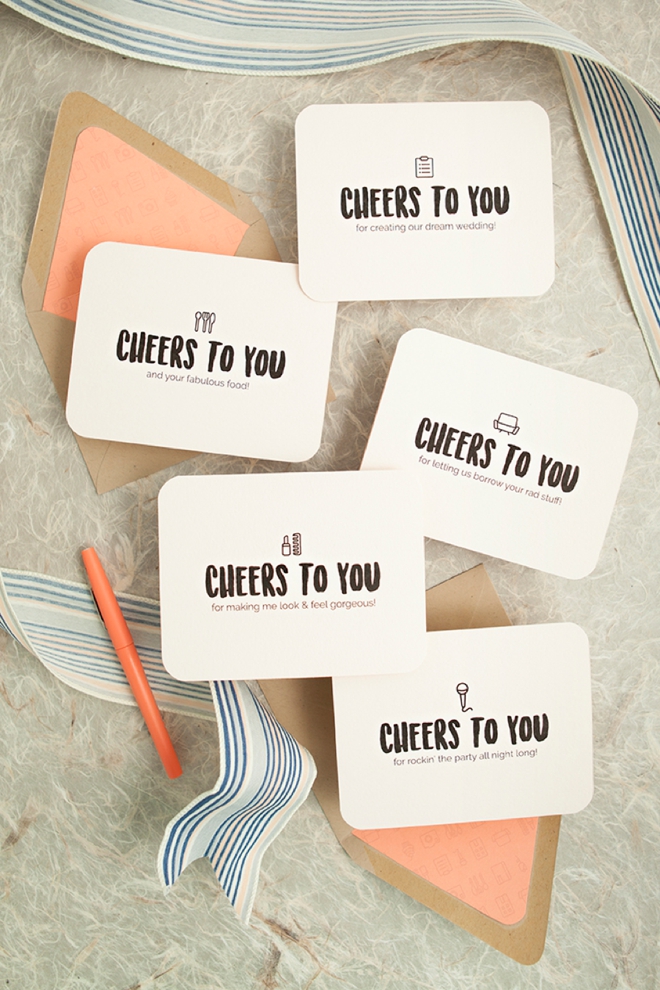

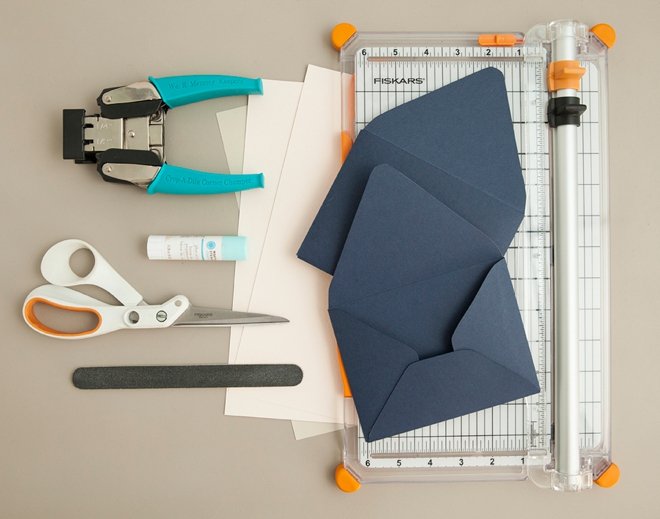
SUPPLIES:
- Canon PIXMA MG7720 Wireless Photo All-in-One Printer
- 8.5 x 11 Cardstock (for the cards)
- 8.5 x 11 Paper (for the envelope liners)
- A2 Envelopes
- Paper Trimmer
- Corner Rounding Punch
- Glue Stick
- Scissors
- Our free printable designs at the end of the post!
Download + Print + Cut
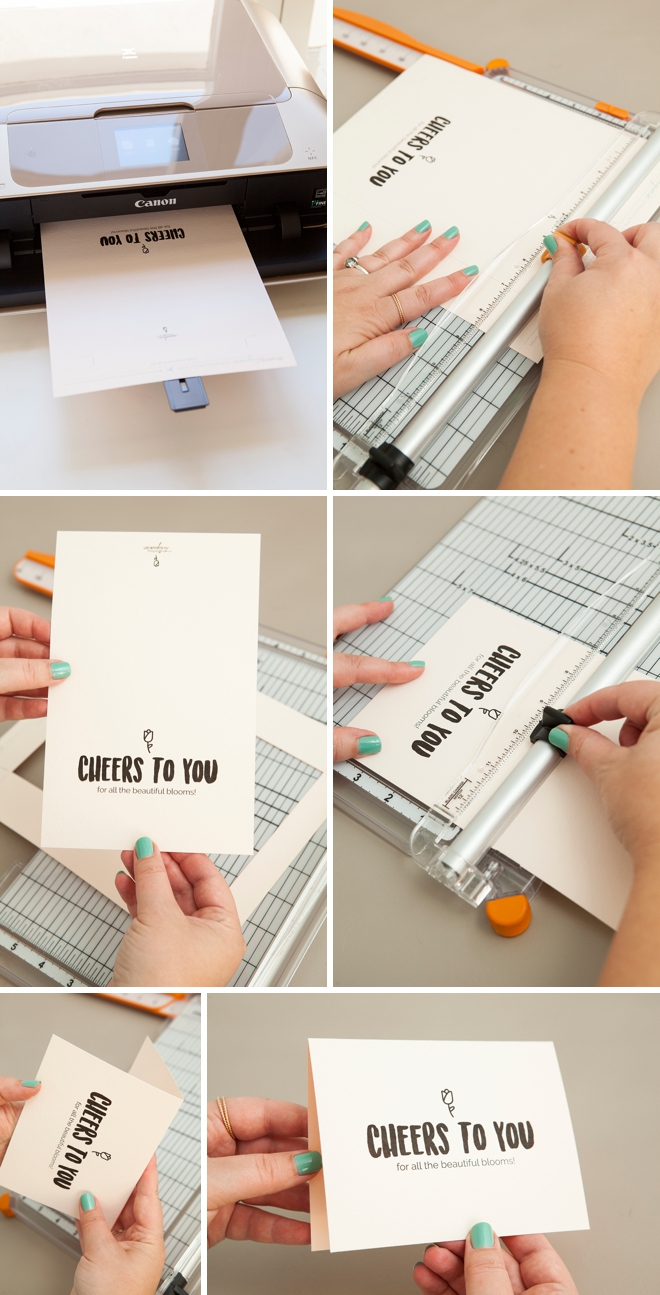
First off, download our free printable card designs at the end of the post. Then print onto the 8.5 x 11 cardstock color of your choice. Using a paper trimmer, trim on the guides provided and then fold in half. My paper trimmer has a scoring blade on it (black piece) so I used that to score my fold line.
Using the Canon PIXMA MG7720 Wireless Photo All-in-One Printer really makes these cards look like they’ve been professionally printed!
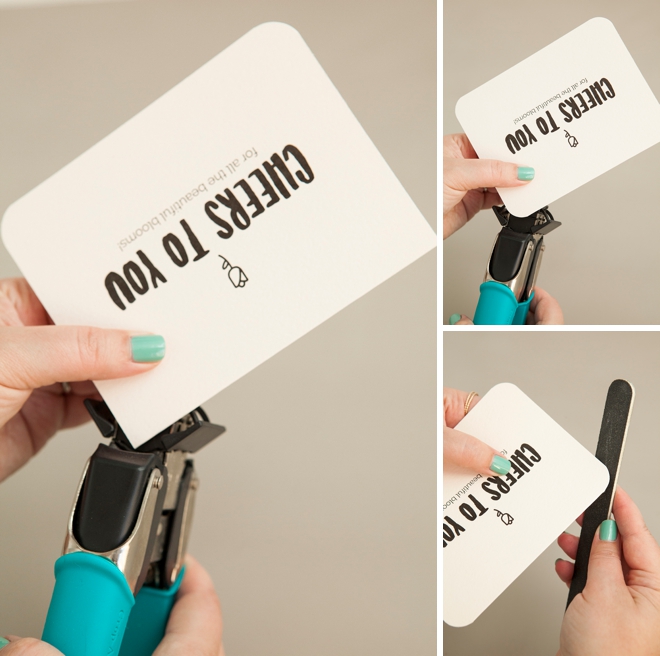
Round The Corners
This step is optional but will give your cards a little something special. If your punch leaves a few raw edges behind, gently sand with a fine nail file – it works fabulously to smooth out the paper!
Line Your Envelope
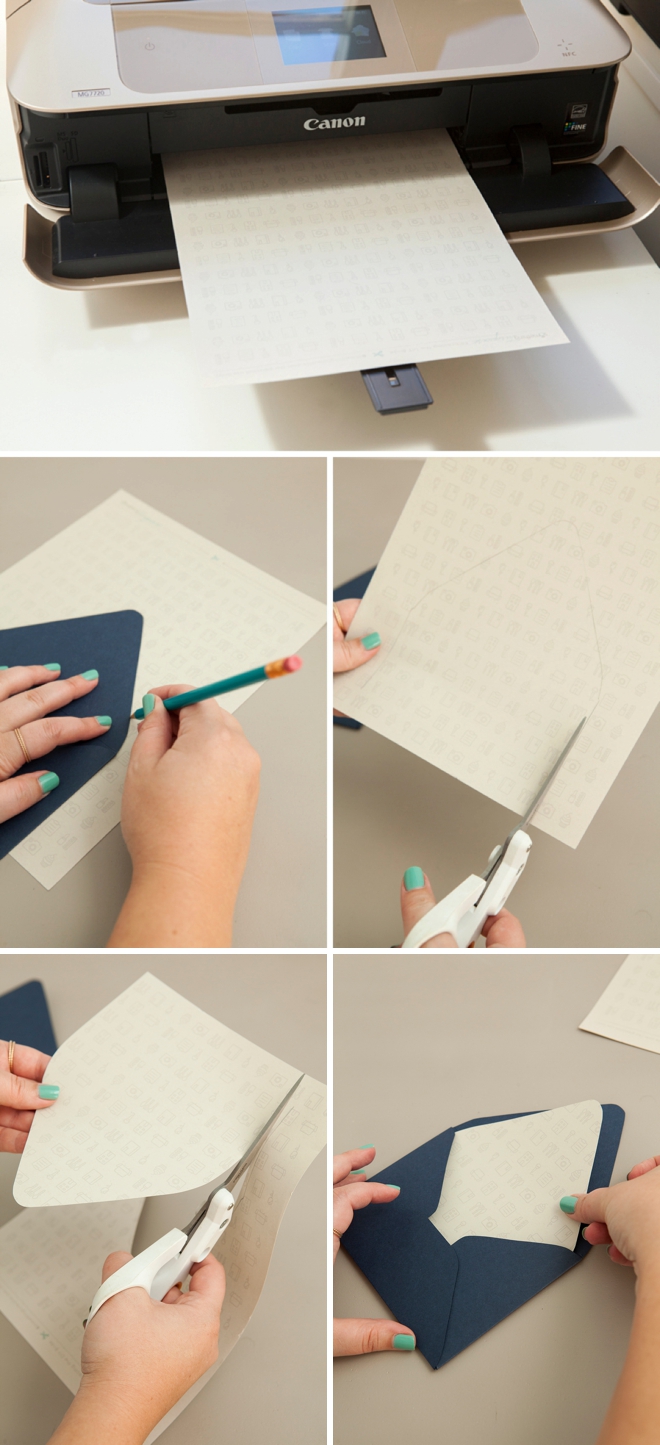
We’re also sharing a free printable envelope liner that’s covered in the adorable little vendor logos, it’s just so cute! Print this design onto regular weight paper. Then trace your envelope and cut out the shape about 1/8″ inside the tracing line. This can be done with ANY shape envelope.
Glue In Place
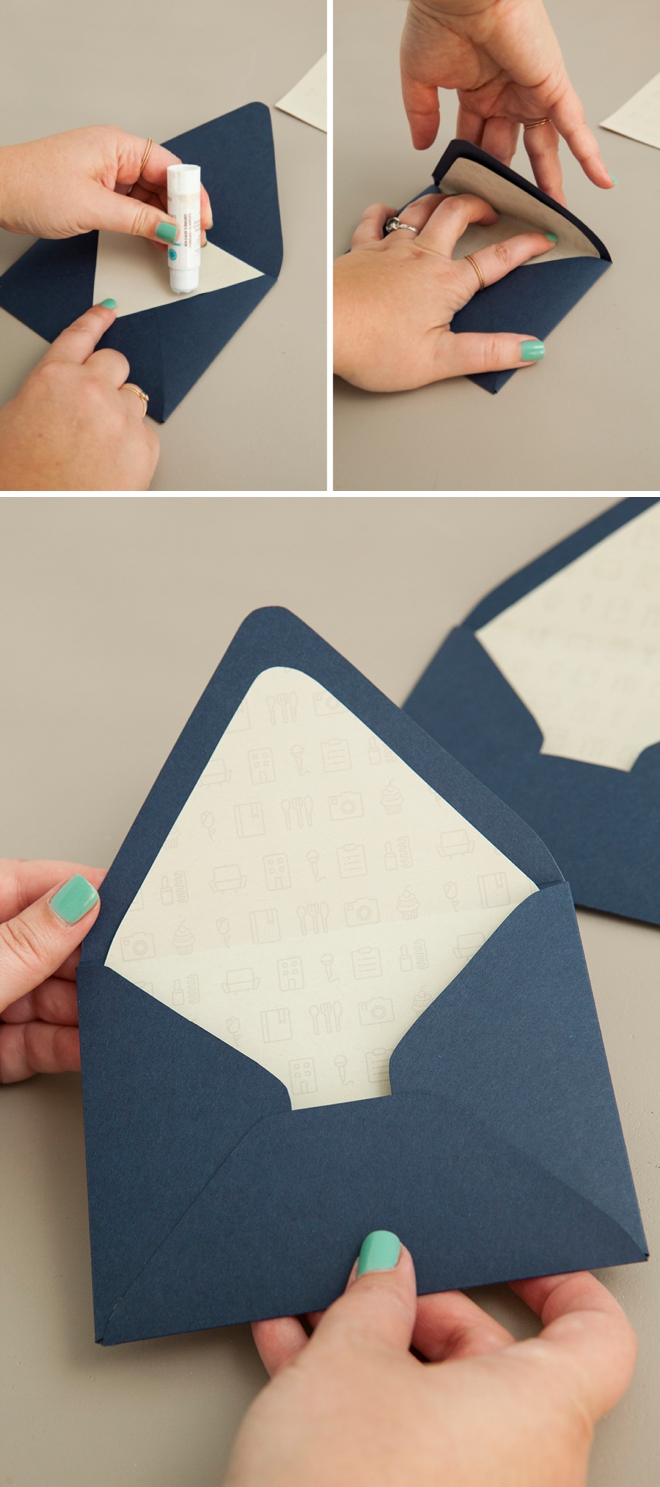
Slip the liner inside the envelope and glue it down to the top flap of the envelope only, that way when folded the liner won’t bunch up.
Done.
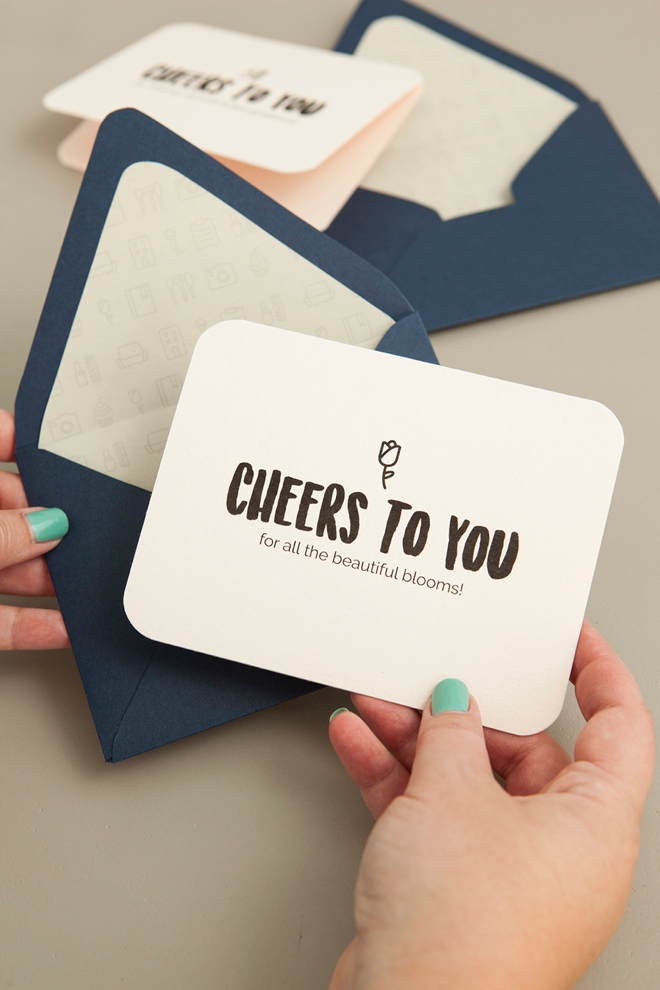
That’s it. That’s all there is to it. Making greeting cards is quick and easy especially when you have a great printer and a super cute design!

Thanks + Payment
These cards would be the perfect way to make that last payment to each vendor, or give them a tip, or a gift card – or really just tell them how much you appreciate all their hard work!

DIY TUTORIAL SPONSORED BY:

Canon U.S.A., Inc. prides itself on allowing consumers to create and preserve beautiful imagery, from capture to print. With wireless technology and seamless printing capabilities, you can print your photos and printables with precision and ease.
As with all our DIY tutorials, if you create one of our projects please send us a picture – We Love Seeing Your Creativity! If you use Instagram or Twitter please use the hashtag #SomethingTurquoiseDIY and it will show up on our Get Social page. Happy Crafting!
DIY Tutorial Credits
Photography + DIY Tutorial: Jen Carreiro of Something Turquoise // Canon PIXMA MG7720 Wireless Photo All-in-One Printer: courtesy of Canon // Card Designs: Julia Ensign Design // All Envelopes + Paper (in colors: Luxe Blush, Night, Cement, Paper Bag and Coral): Paper Source // Corner Chomper: Amazon // Nail Polish: OPI – Withstands the Test of Thyme
Shop The Supplies:
Find the supplies you’ll need for this project from our affiliate links below:


Comments