-Sponsored Post-
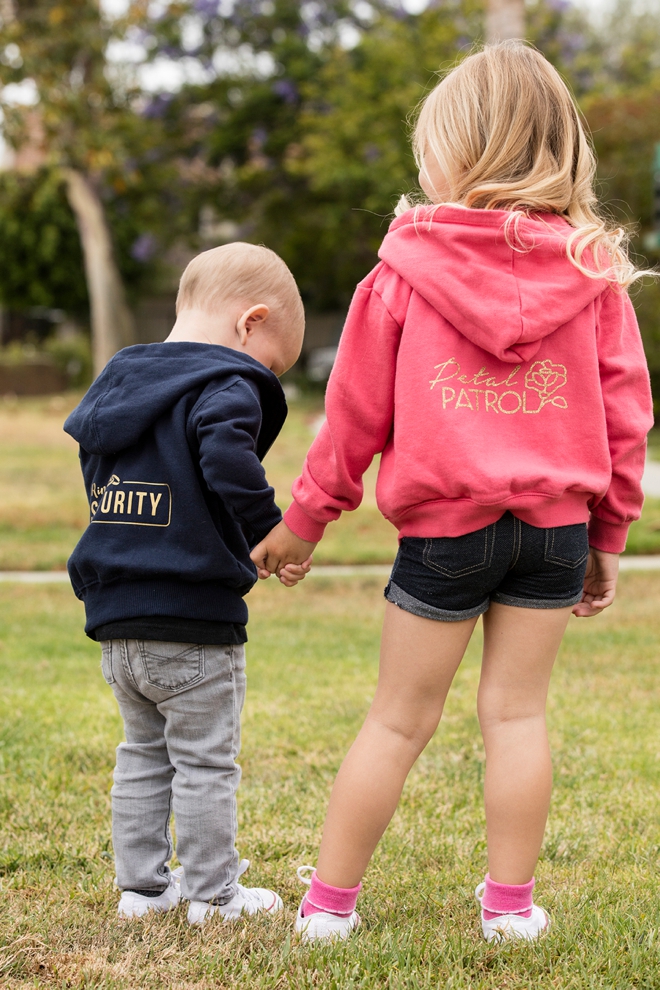
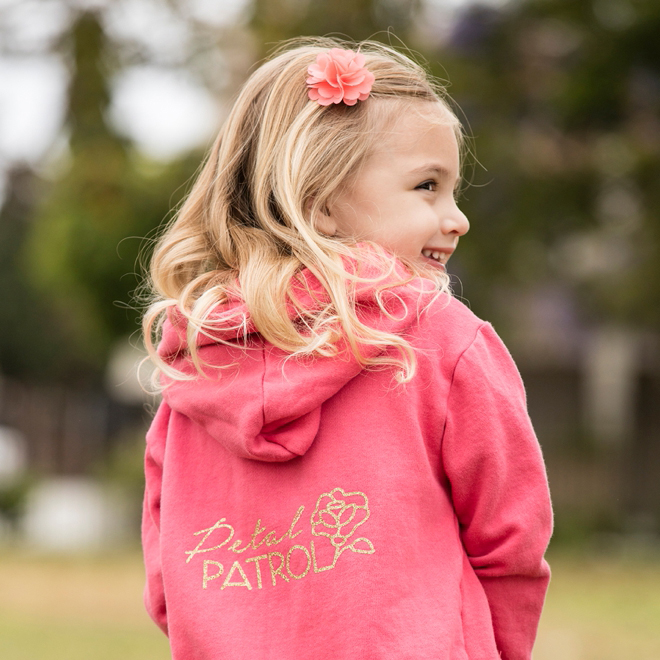
First things first. Yes, it’s true… you might actually die from cuteness overload, so brace yourself because you’re really going to want to make today’s simple project! Including little ones in your wedding day is incredibly special and and totally sweet. Seeing an adorable ring bearer or flower girl walk the aisle right before the bride, gives everyone a lift and a laugh (usually) and signals that the bride is on her way. This DIY Petal Patrol + Ring Security Iron-on Shirt idea isn’t necessarily for your wedding day, these items are more of a keepsake or gift for the littles. You can add these iron-ons to shirts, sweatshirts, tote bags and more – perfectly cut using your Cricut Explore. These shirts might even make darling “outfit change” options for the kids during your reception, as many won’t want to keep their formal attire on. No matter how you choose to use these free cut files, hands down it’s going to be fabulous!
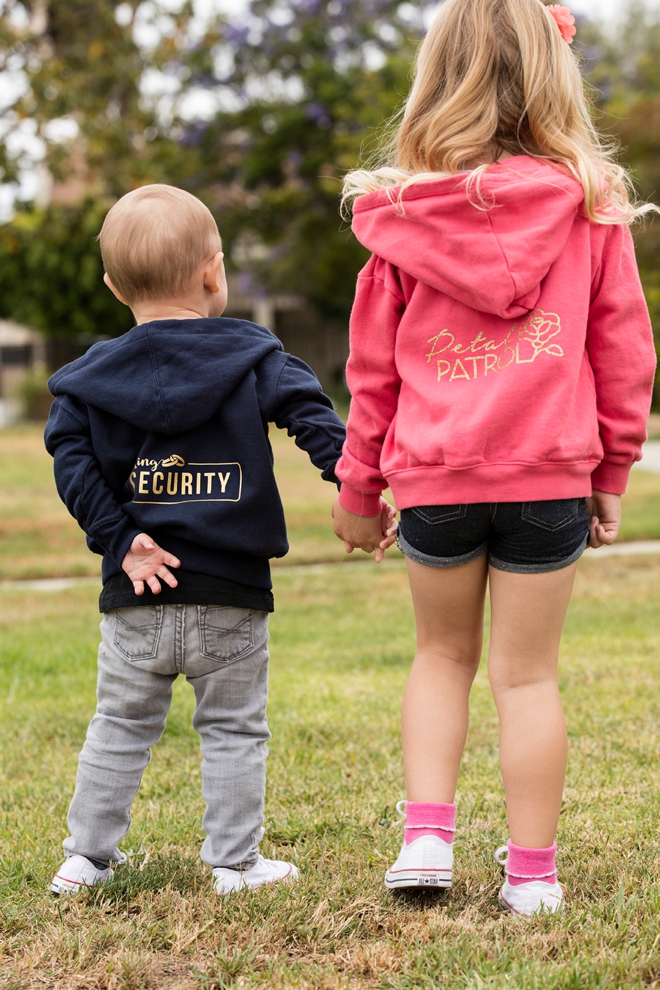
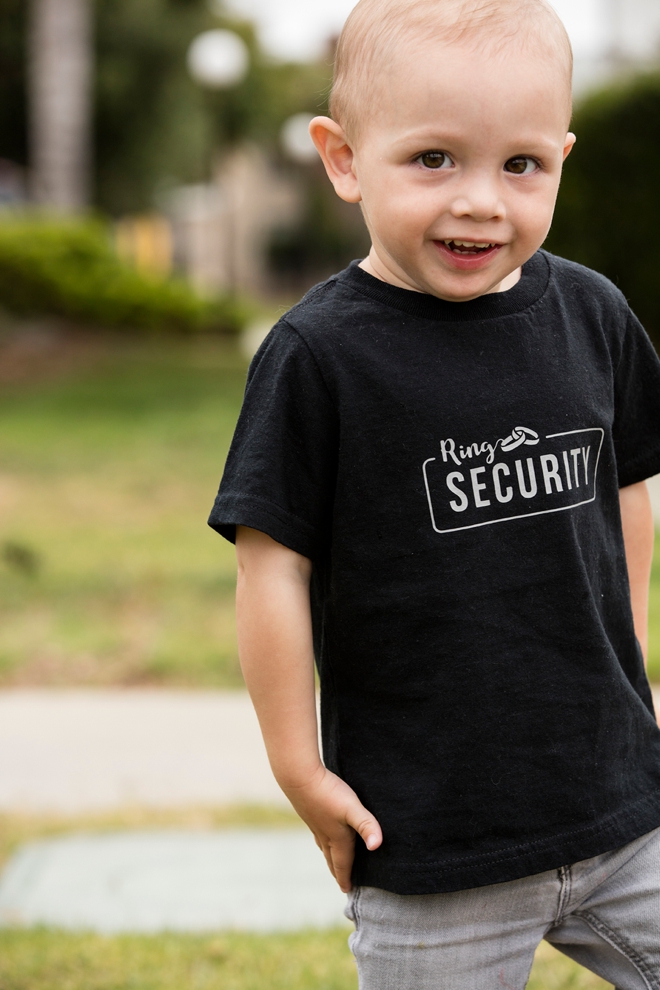
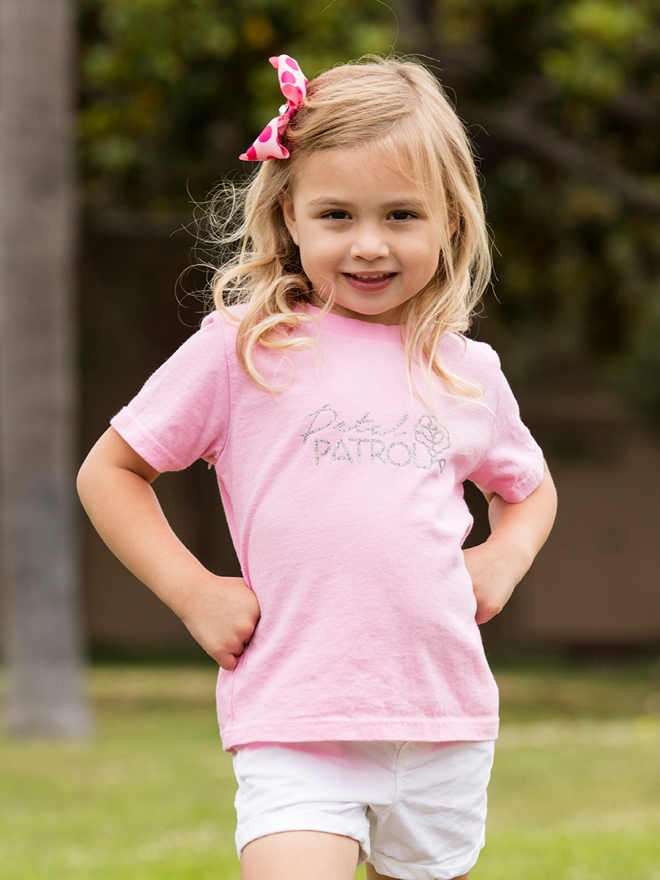
My Cuties
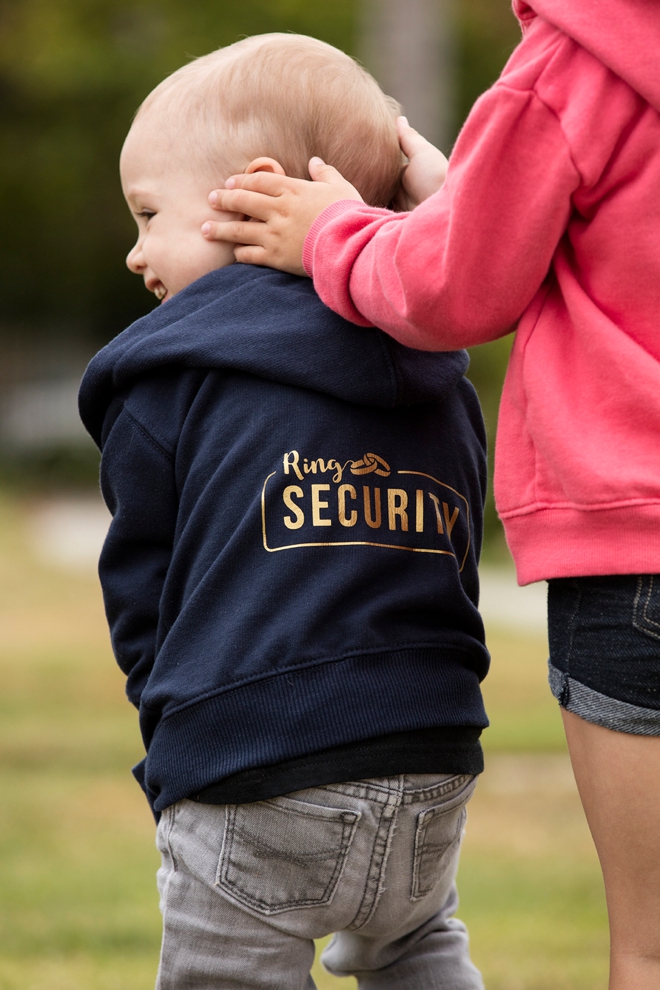
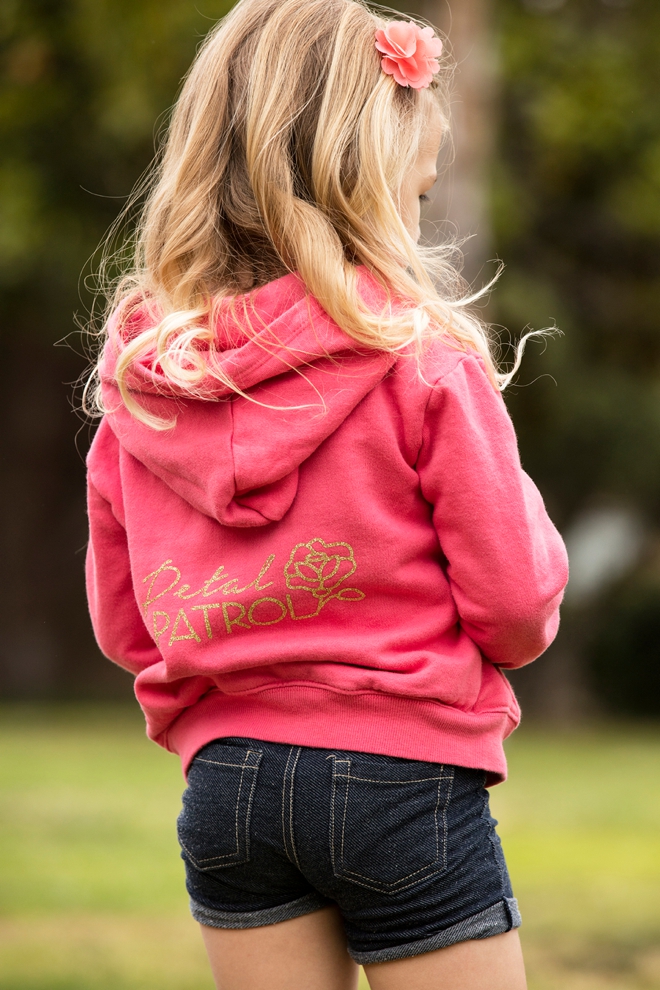
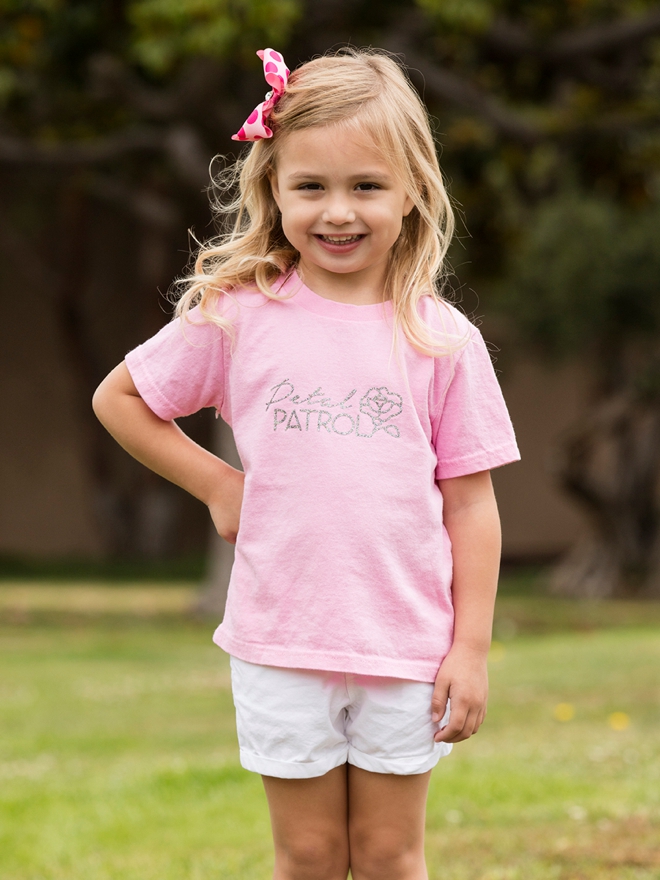
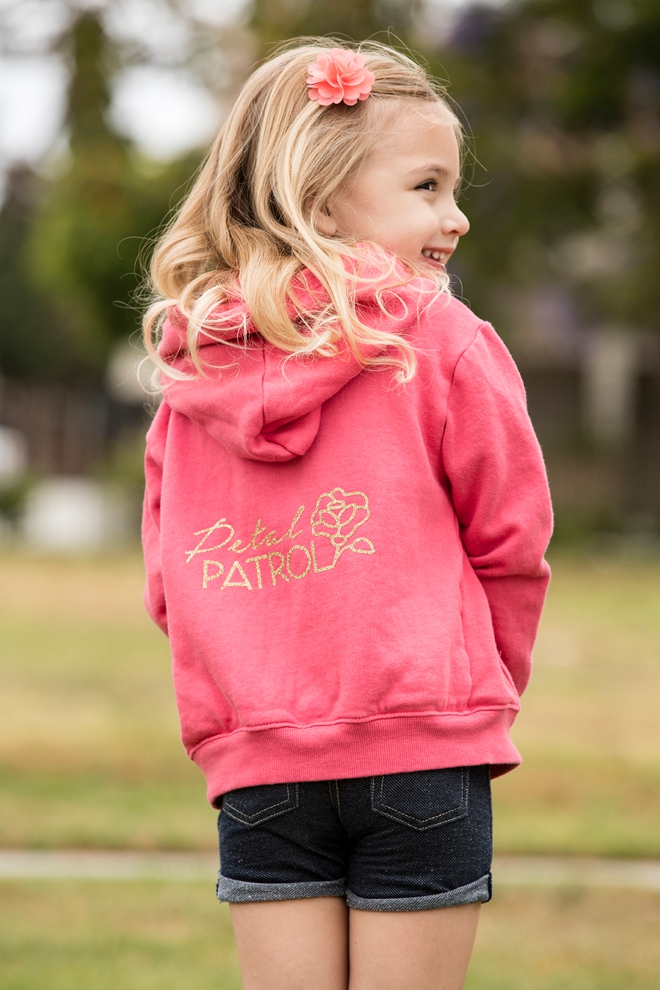
I must give a HUGE thank you to my niece and nephew; Presley and Braxton… as obviously, they are the best and cutest models ever. Presley did all her own styling, even prepared outfit options before I arrived – so I can’t take credit for how amazing she looks. Take note that for the different pinks, we wore different bows… she seriously kills me. His request as payment was a blue basket ball, which I didn’t even know existed but found on Amazon thank God. She requested that I play games with her, so right after shooting I was beat mercilessly at Pretty Pretty Princess and Candy Land. Mom and Dad have done well… ughhh… I die!
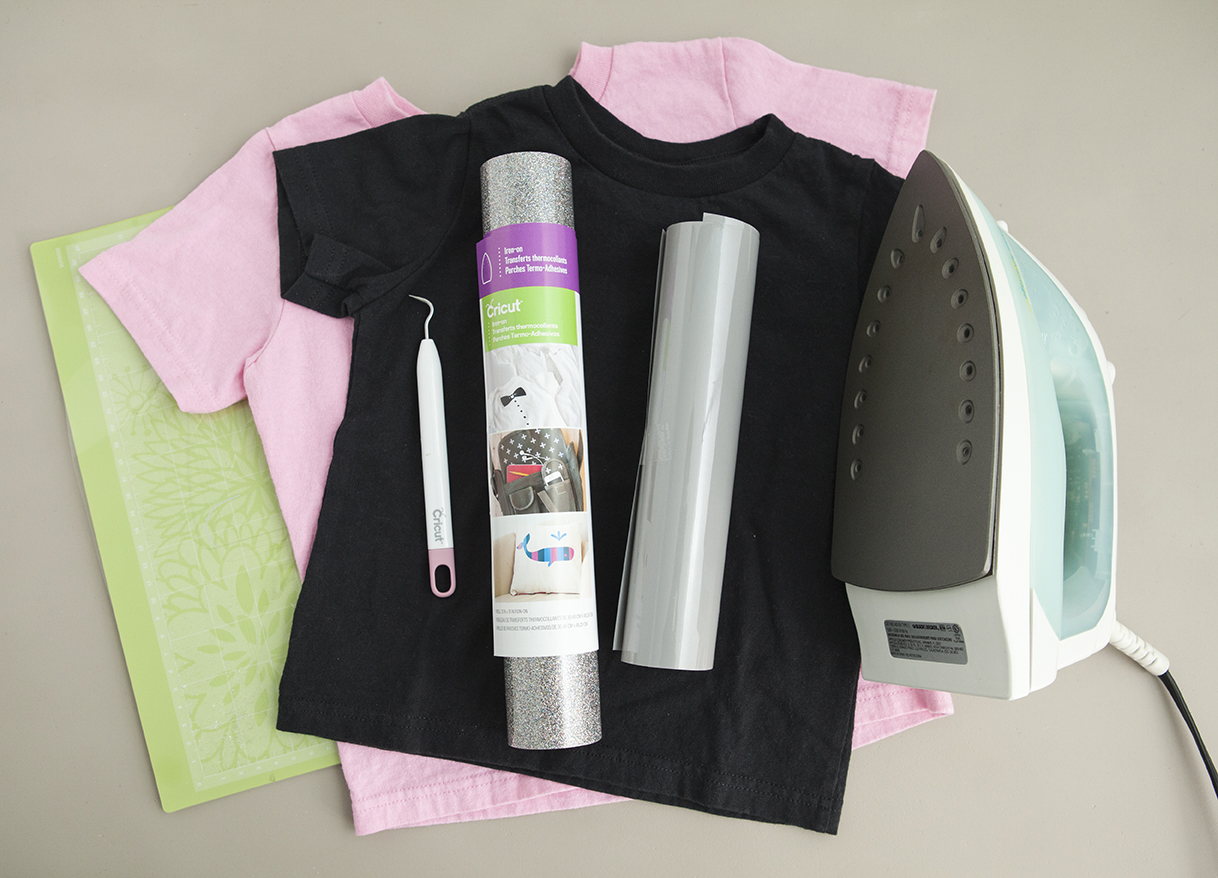
SUPPLIES:
- T-shirts or Sweatshirts
- Cricut Explore
- Cricut Iron-on Materials
- Weeding Tool
- Iron
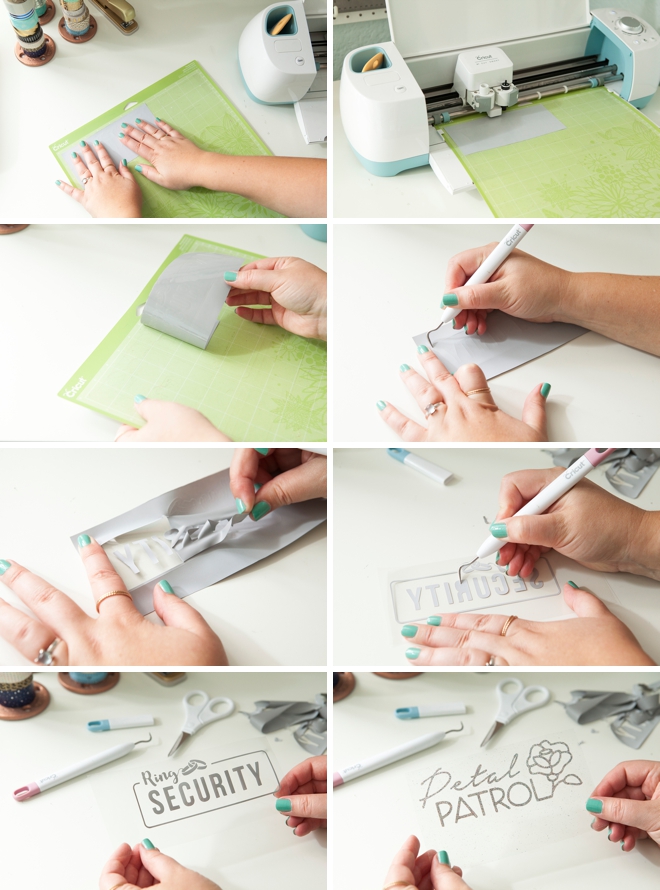
Cut + Weed
Download my free design files at the end of the post and upload them to Cricut Design space. From there you can drag to resize, so that my design can perfectly fit whatever you’re ironing it onto.
Make sure to place your iron-on material liner side down on the cutting mat and then “mirror” the image before you cut!
Use the weeding tool to carefully remove all the bits and pieces that shouldn’t be ironed.
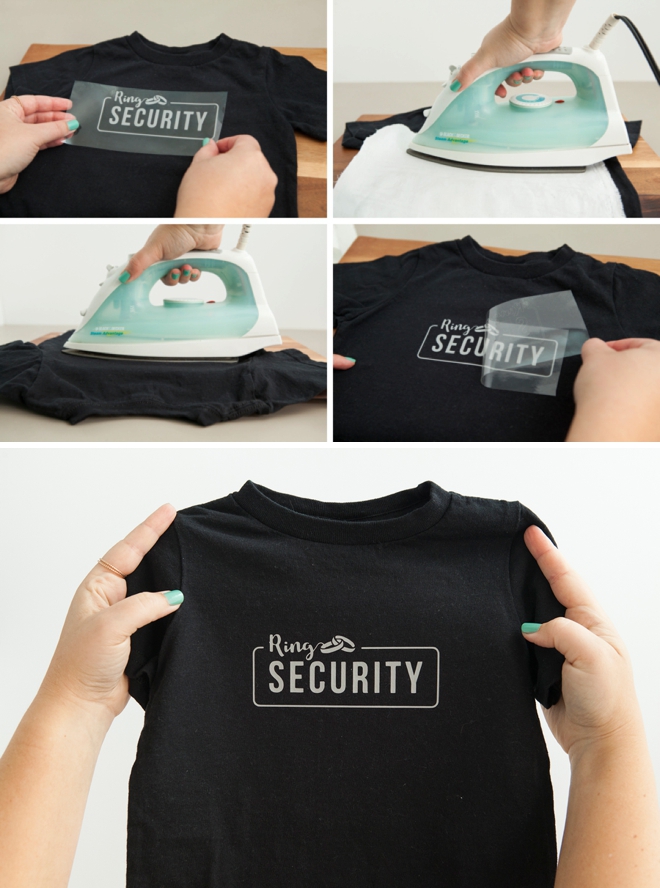
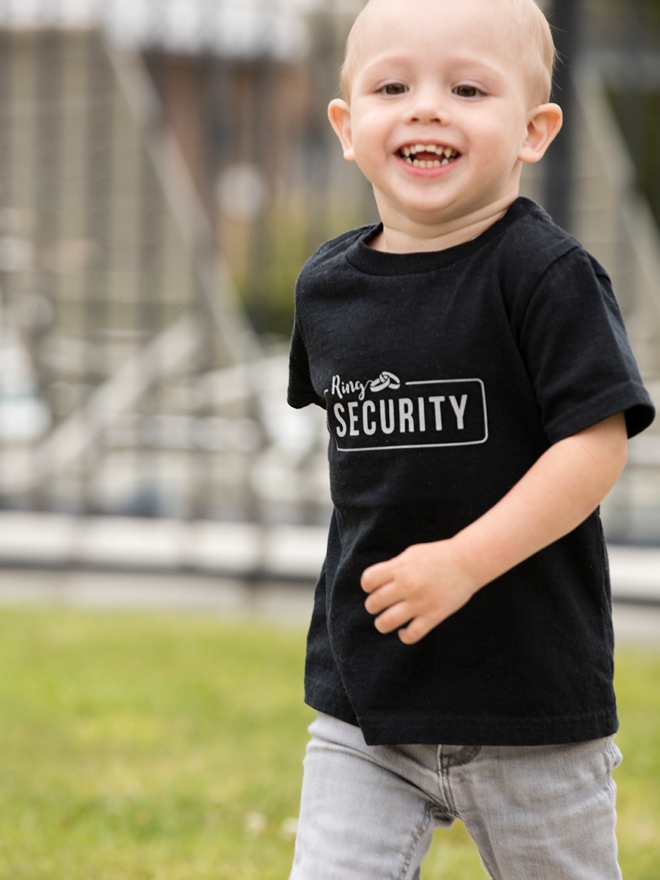
Ring Security
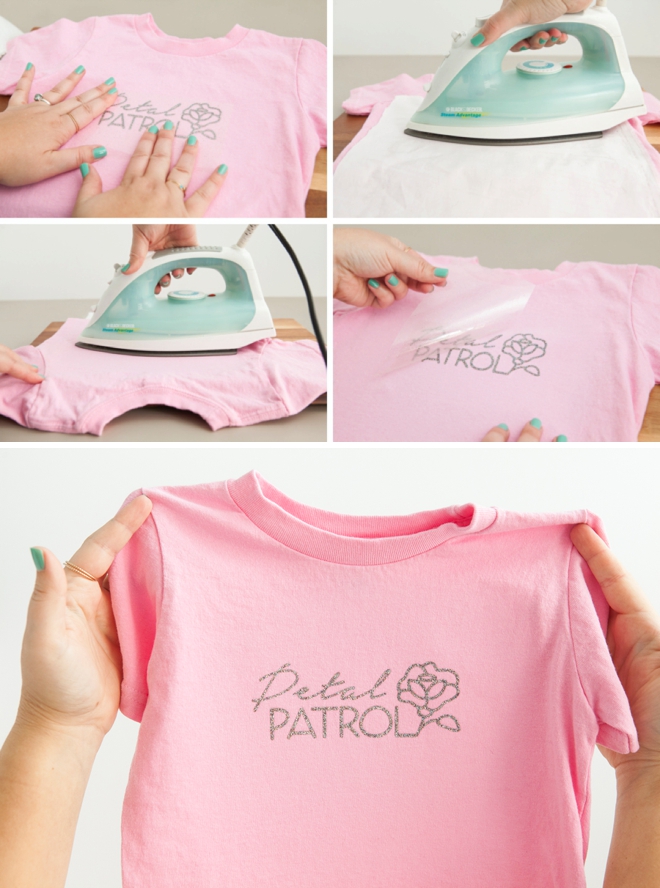
Place the design on top of the shirt, cover with a pressing cloth (regular piece of thin material) and iron! Follow the heating instructions on your package of iron-on. I like to remove the liner while it’s still warm, not hot, then put the pressing cloth back down and give the design one last pass.
Petal Patrol
Same steps! Place the design on top of the shirt, cover with a pressing cloth (regular piece of thin material) and iron! Follow the heating instructions on your package of iron-on. I like to remove the liner while it’s still warm, not hot, then put the pressing cloth back down and give the design one last pass.
Cuteness Overload
Seriously, I told you they were cute… and I’m so glad I had them to make my idea look so good! I can’t wait to see how you use these designs!

DIY TUTORIAL PARTNER:

Cricut is a world-class leader in personal electronic cutting machines that has enabled people to achieve their creative best for over 50 years. Today, millions of people use Cricut products to create unique projects, and they focus on enhancing lives with this power of creativity. Let Cricut help you take your wedding personalization and project creativity to the next level!
As with all our DIY tutorials, if you create one of our projects please send us a picture – We Love Seeing Your Creativity! If you use Instagram or Twitter please use the hashtag #SomethingTurquoiseDIY and it will show up on our Get Social page. Happy Crafting!
DIY Tutorial Credits
Photography + DIY Tutorial: Jen Carreiro of Something Turquoise // Cricut Explore Air, Iron-on Materials and tools: courtesy of Cricut // Iron-on Design: Julia Ensign // Toddler Shirts: Amazon // Toddler Sweatshirts: Amazon // Nail Polish: OPI – Withstands the Test of Thyme // Cutest models ever: Jen’s niece + nephew
Shop The Supplies:
Find the supplies you’ll need for this project from our affiliate links below:



Comments