-Sponsored Post-
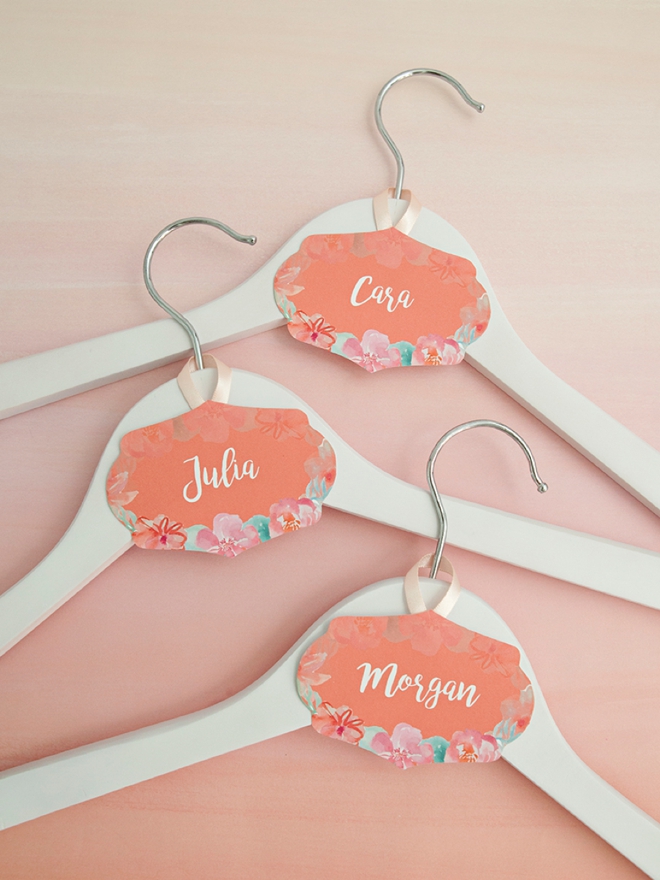
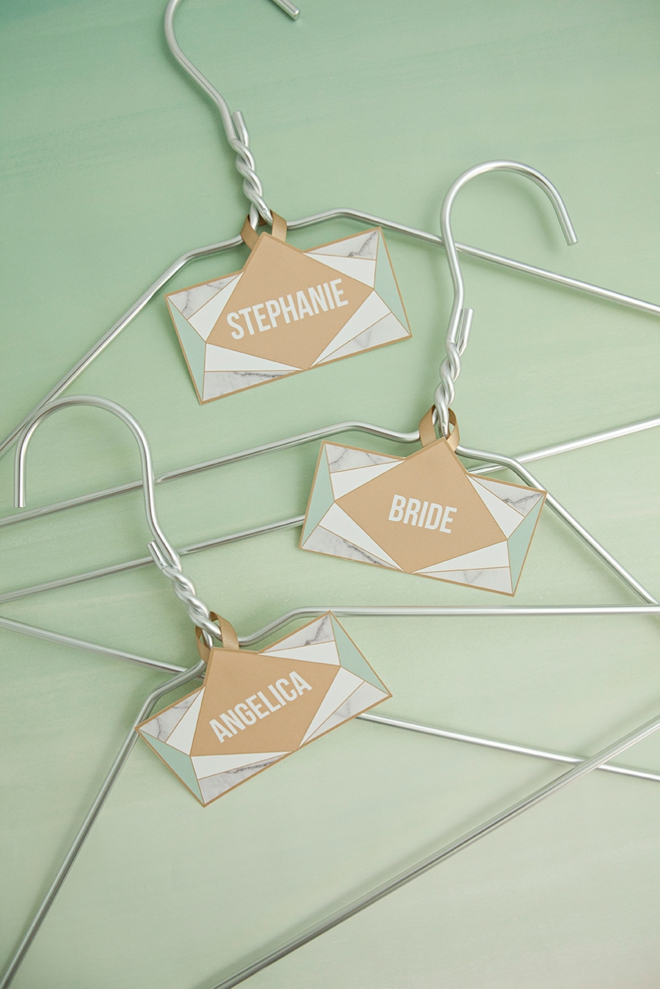
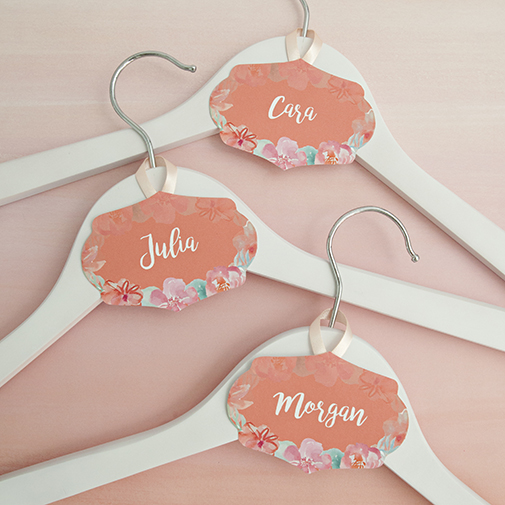
Today’s wonderfully simple, printable project is long overdue. I’ve been wanting to share this DIY Printable Hanger Tag idea ever since I first laid eyes on it in Lauren Koster’s amazing handmade wedding that we featured years ago! She had a banner theme running throughout her day and used that logo to create loads of different decor pieces including hanger tags for each bridesmaid and present gift tags too. So I met up with my designer and we created three unique themes of tags that you can download and edit for free; beach, floral and modern. I relied on my fabulous Canon PIXMA MG7720 Wireless Photo All-in-One Printer to make these tags look their best as the range of it’s color and detail is unmatched. If you love these printable tags, you’ll love our other printable projects too!
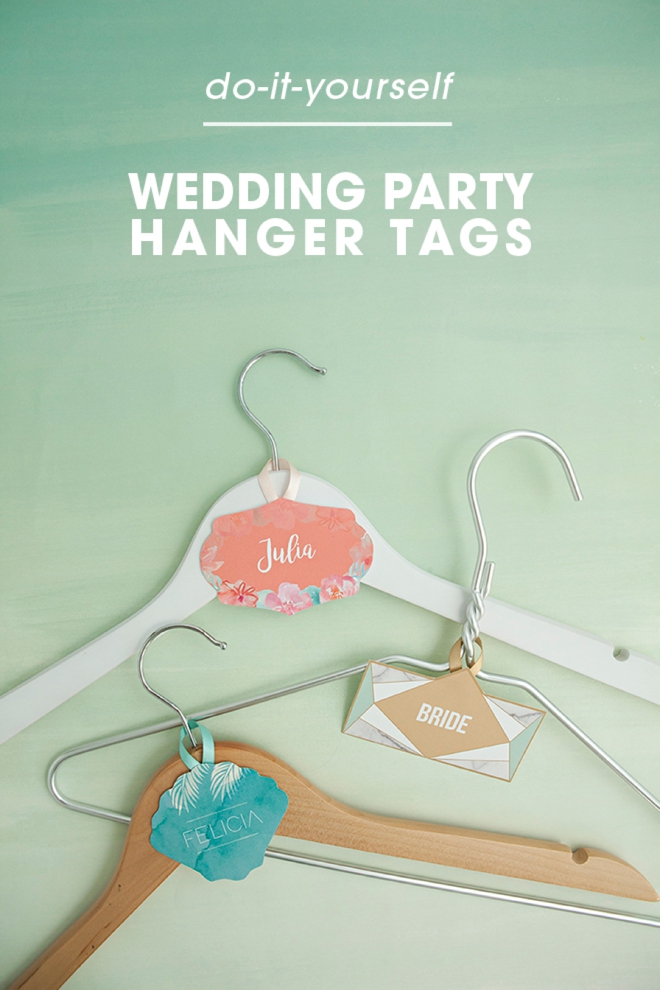
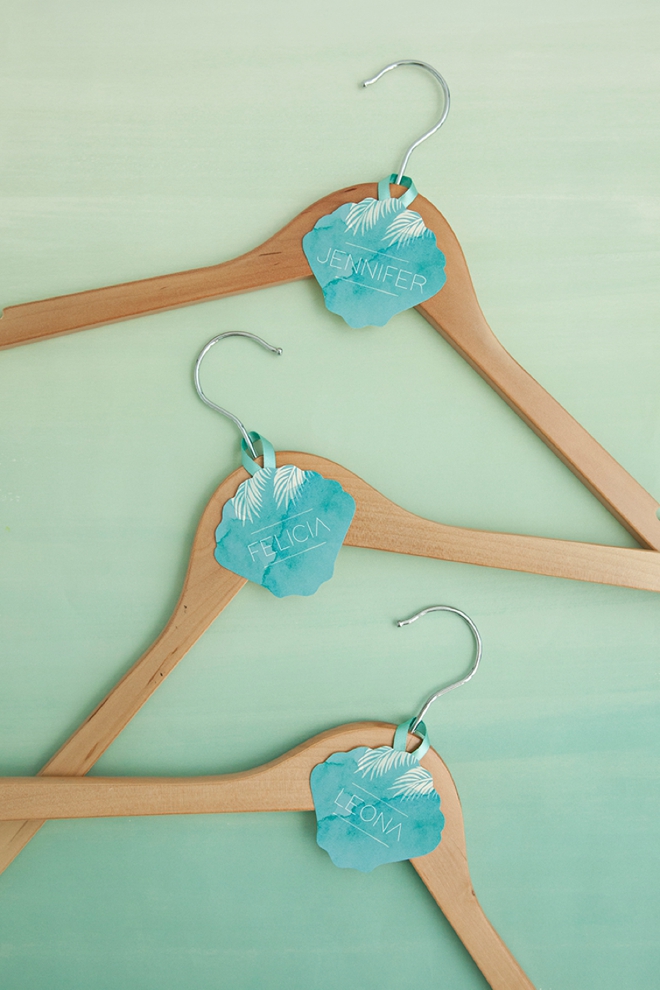
Tags For All
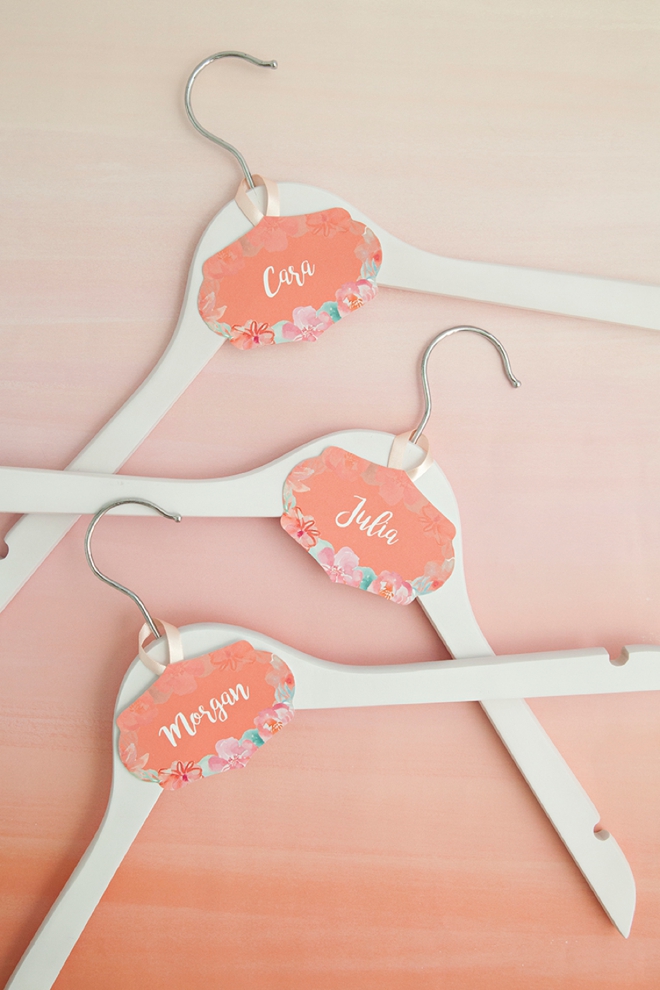
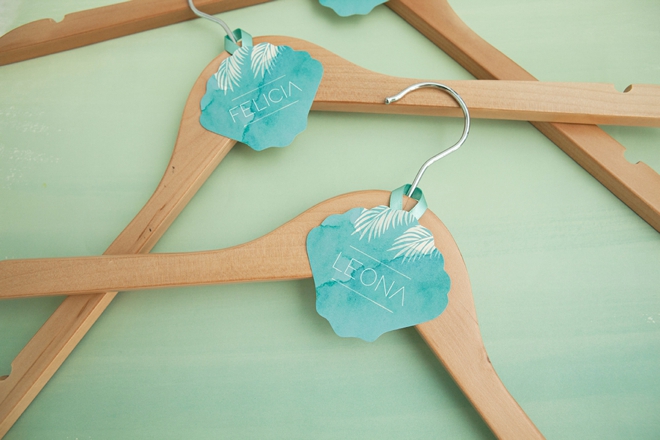
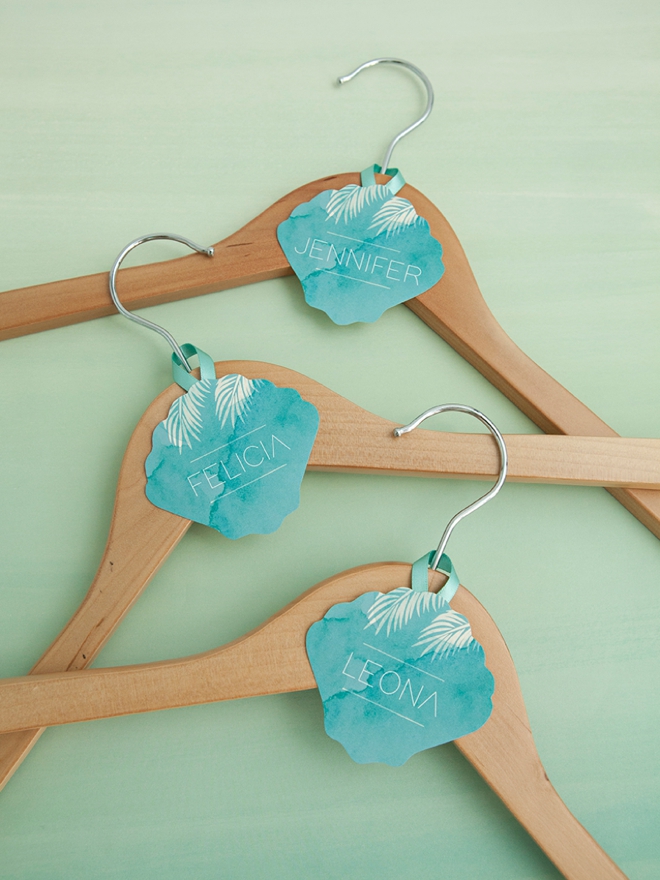
Instead of buying personalized hangers your loved ones won’t use again… why not make tags for everyone! Since these are SUPER inexpensive, you can make one for your flower girl, bridesmaids, mothers, grandmothers, special aunts and even yourself!
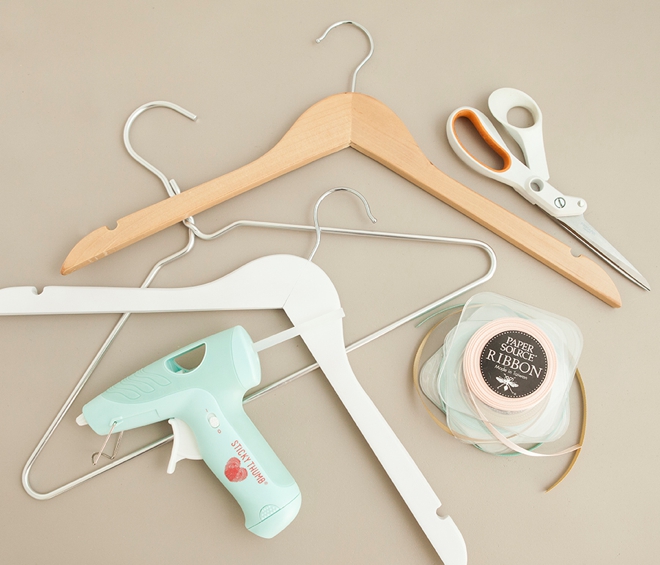
SUPPLIES:
- Canon PIXMA MG7720 Wireless Photo All-in-One Printer
- 8.5″ x 11″ White Cardstock
- Hot Glue Gun
- 1/4″ Ribbon
- Hangers
- Scissors
- FREE printable designs at the end of the post!
Quick + Cute Hanger Tags
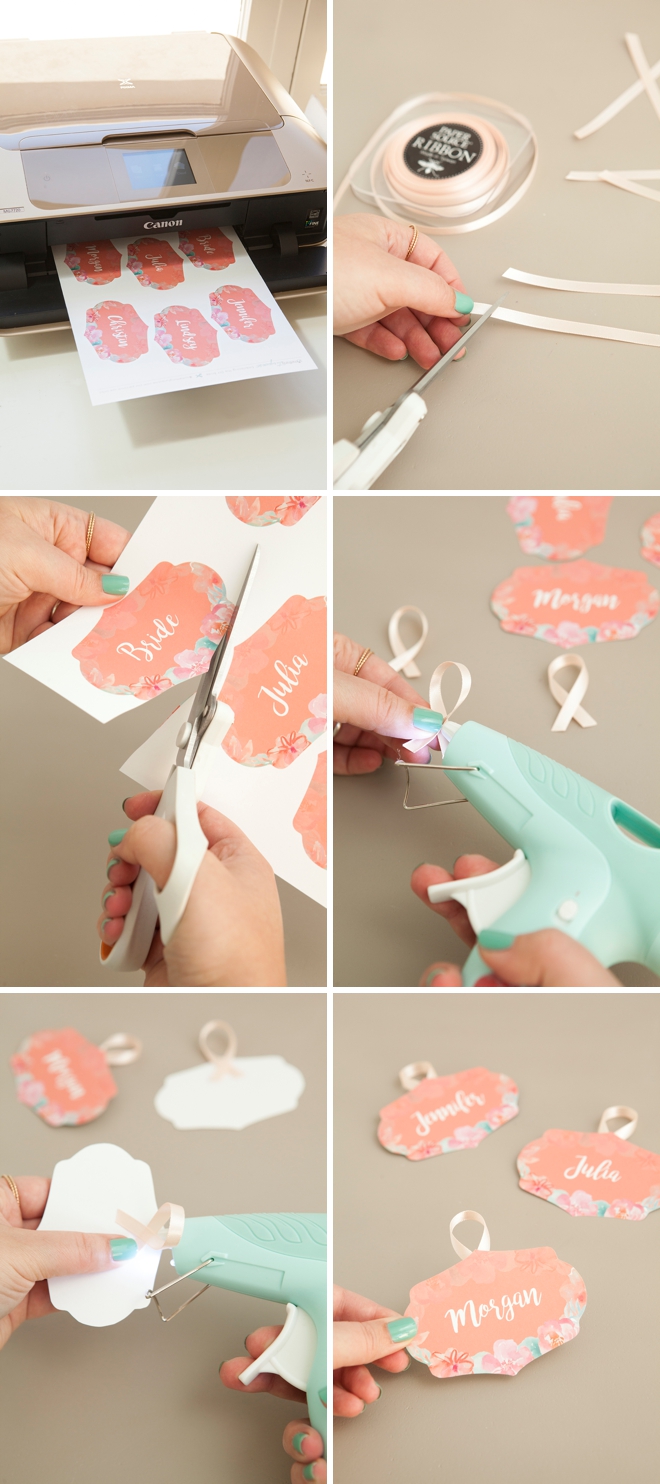
The steps for making these darling tags are SUPER simple…
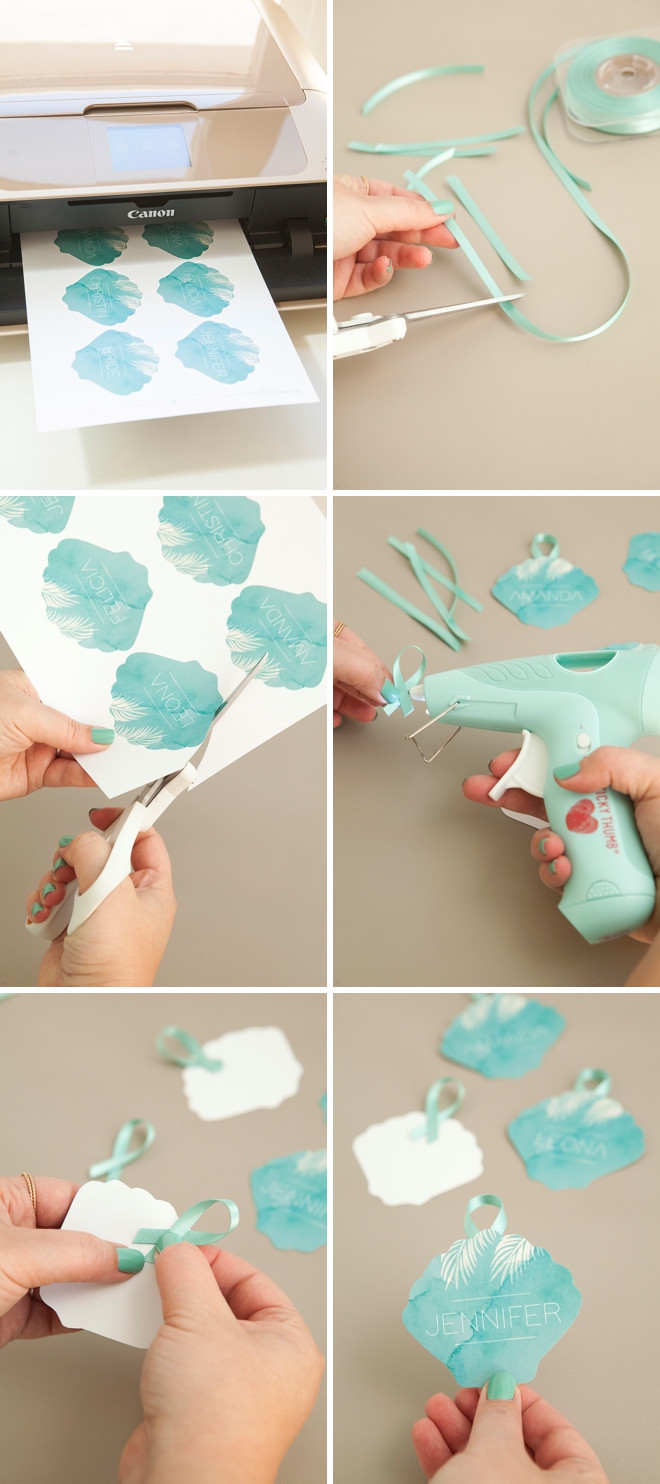
- Download and edit one of our free tag designs, then print onto 8.5″ x 11″ white cardstock.
- Cut 4″ strips of 1/4″ ribbon.
- Cut out each hanger tag.
- First hot glue the ribbon in a loop and then glue to the backside of each tag!
Adobe Reader -OR- Acrobat
You can edit the hanger tag files using Adobe Reader or Adobe Acrobat by clicking Tools –> Edit PDF. However – you must download the correct font files first!
- Beach Design: Adam, free
- Floral Design: Bromello, free
- Modern Design: Babas Neue, free
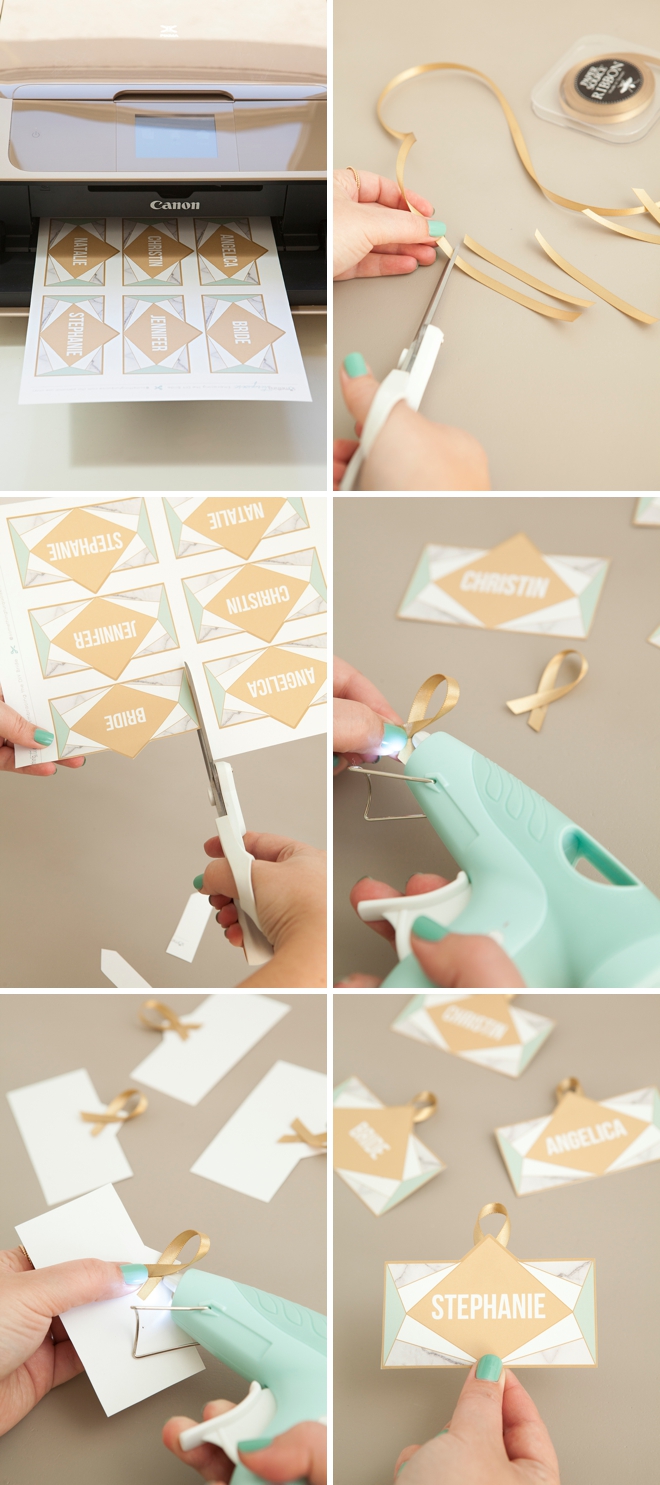
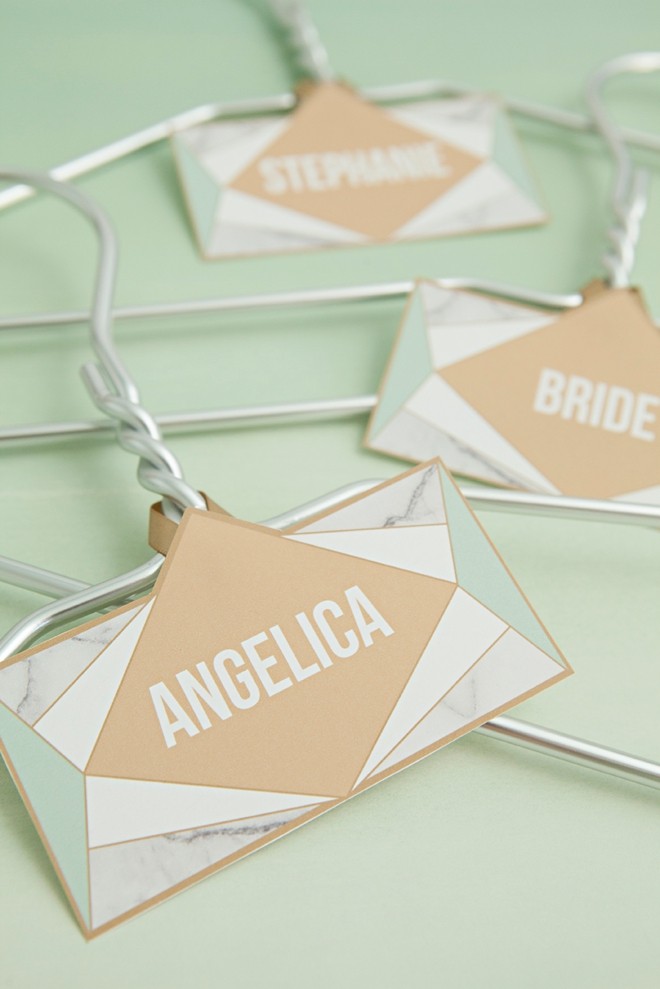
Photo Print Setting
The Canon PIXMA MG7720 creates the most gorgeous photos and design prints as you can see in the detail of these tags! For this project I used regular white 8.5″ x 11″ cardstock and with the printer settings on “Photo and Normal” to get the ideal print. There is a setting that is “Photo and Best” which I reserve for actual photo paper.
DIY TUTORIAL SPONSORED BY:

Canon U.S.A., Inc. prides itself on allowing consumers to create and preserve beautiful imagery, from capture to print. With wireless technology and seamless printing capabilities, you can print your photos and printables with precision and ease.
As with all our DIY tutorials, if you create one of our projects please send us a picture – We Love Seeing Your Creativity! If you use Instagram or Twitter please use the hashtag #SomethingTurquoiseDIY and it will show up on our Get Social page. Happy Crafting!
DIY Tutorial Credits
Photography + DIY Tutorial: Jen Carreiro of Something Turquoise // Canon PIXMA MG7720 Wireless Photo All-in-One Printer: courtesy of Canon // Printable Designs: Wood Hangers: Amazon // White Hangers: Target // Metal Hangers: Amazon // 1/4″ Ribbon in Blush, Pool and Vintage Gold: Paper Source // Glue Gun: Amazon // Scissors: Fiskars // White 8.5″ x 11″ Cardstock: Amazon // Nail Polish: OPI – Withstands the Test of Thyme
Shop The Supplies:
Find the supplies you’ll need for this project from our affiliate links below:



Comments