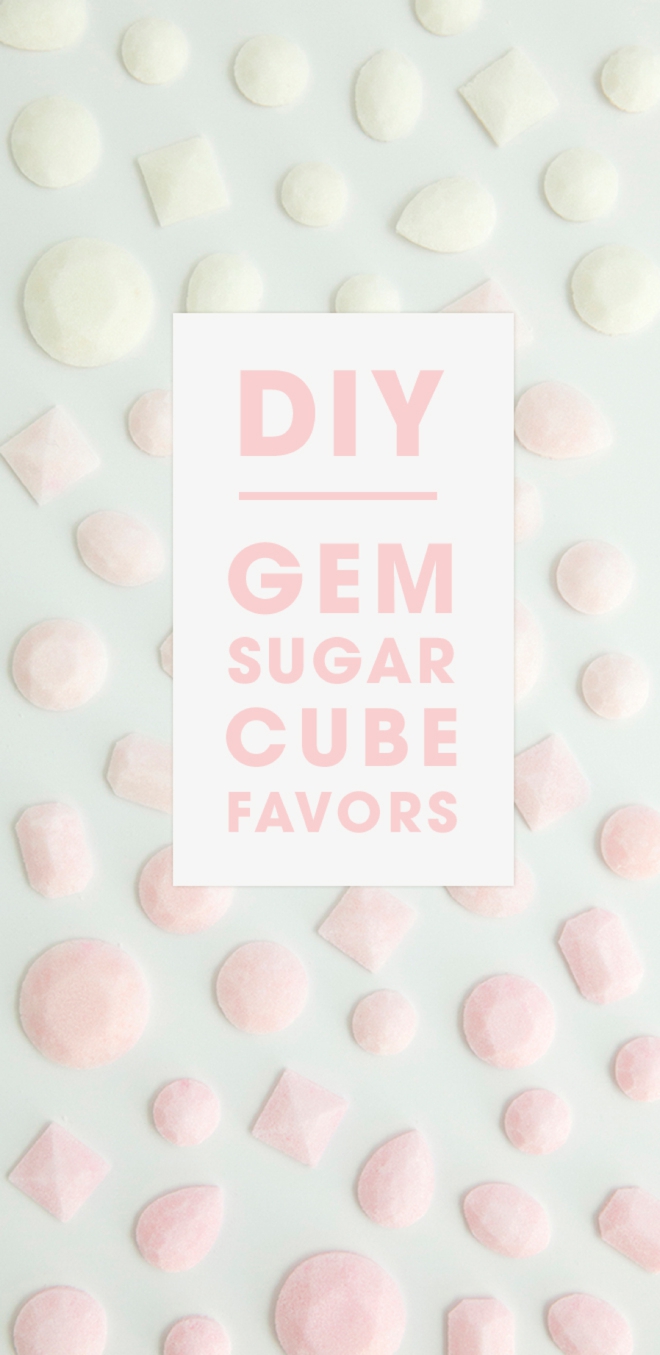
Su-gar, yes please! I don’t take sugar in my coffee but today’s project might actually change my tastes because I want to use them so badly! In this detailed tutorial I’m sharing the easiest and most simple recipe for making DIY Gemstone Sugar Cubes. These beauties would be absolutely darling to have out at the coffee/tea station during any of your bridal events, especially your bridal shower. Turning them into favors, particularly for a tea themed shower would be the most perfect addition to your special event. This project takes zero skills. I’ll say it again, zero. Don’t let the look fool you… this project is insanely simple and will make your guests think you’re a crafty-superstar. I was amazed at how easy it was. So the only question left is what color will you make yours?
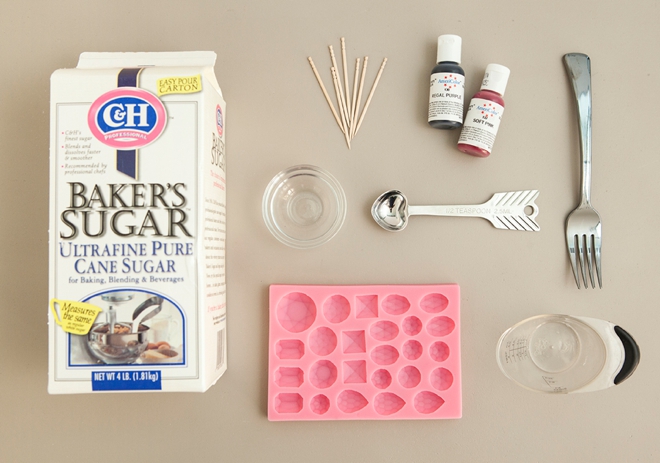
SUPPLIES:
For Sugar Cubes:
– Baker’s Sugar Ultrafine (this sugar is a must!)
– Gemstone or other silicone mold, that can go in the oven
– Food Coloring (gel or liquid)
– Measuring Spoons and Cups
– Plastic Fork
– Toothpicks
– Bowl
For Favors:
– 8.5″ x 11″ White Cardstock
– Paper Trimmer or Scissors
– 2.5″ x 7.5″ Cello Bags
– Glue Dots
– Stapler
– Our Free Printable Tags!
Simple Sugar Cube Recipe:
- 1/4 cup sugar
- 1/2 teaspoon water
- dash of food coloring
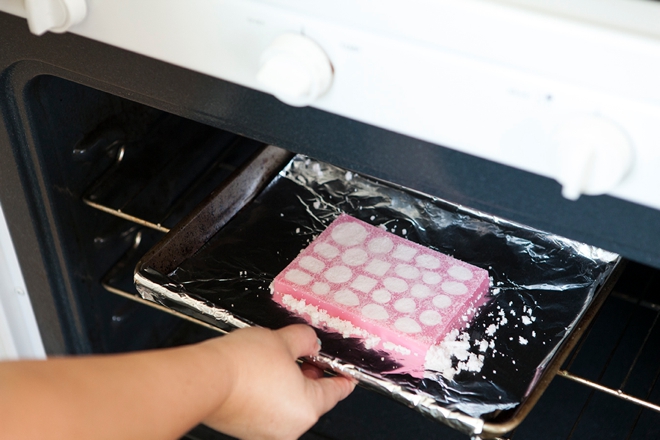
Bake for 10 minutes at 200°F. Easily double or triple the recipe if you need to make more. This exact mold perfectly fit 1/4″ of sugar. If your mold is larger you will need to make a bigger batch!
Color The Water
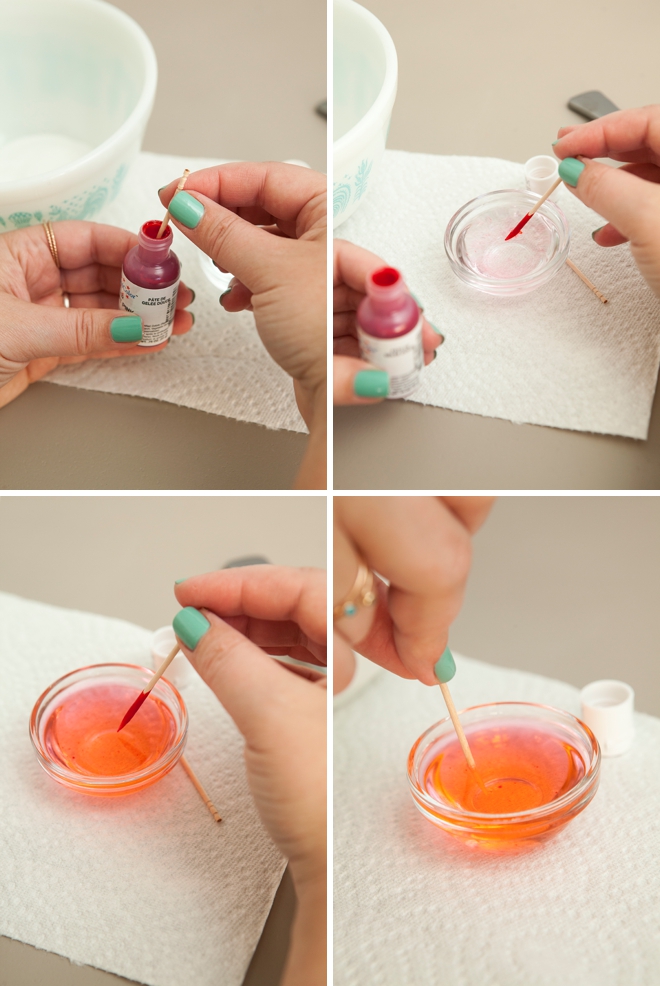
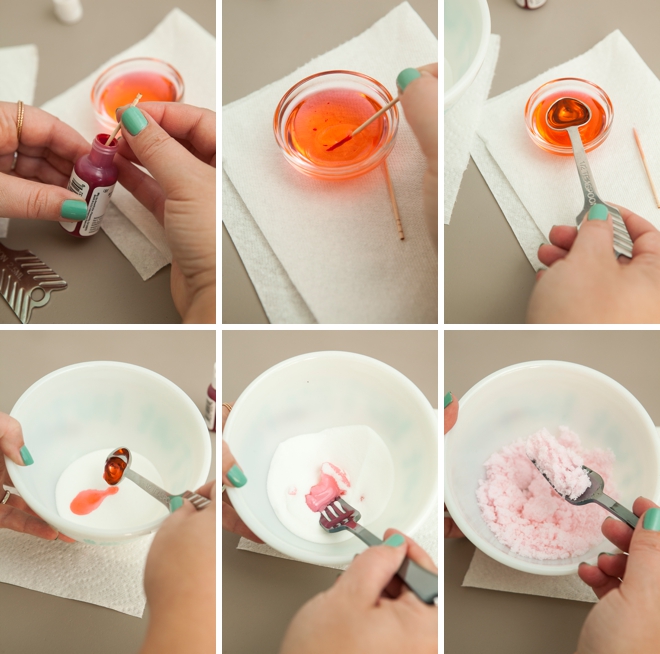
I found the easiest way to color the sugar cubes was by first coloring the water. You can use gel or liquid food coloring. If using gel like me, it’s easiest to fill a small bowl with water and then add the colorant using a toothpick. Swirl around until all the color is dispersed using a clean toothpick.
Make The Mix
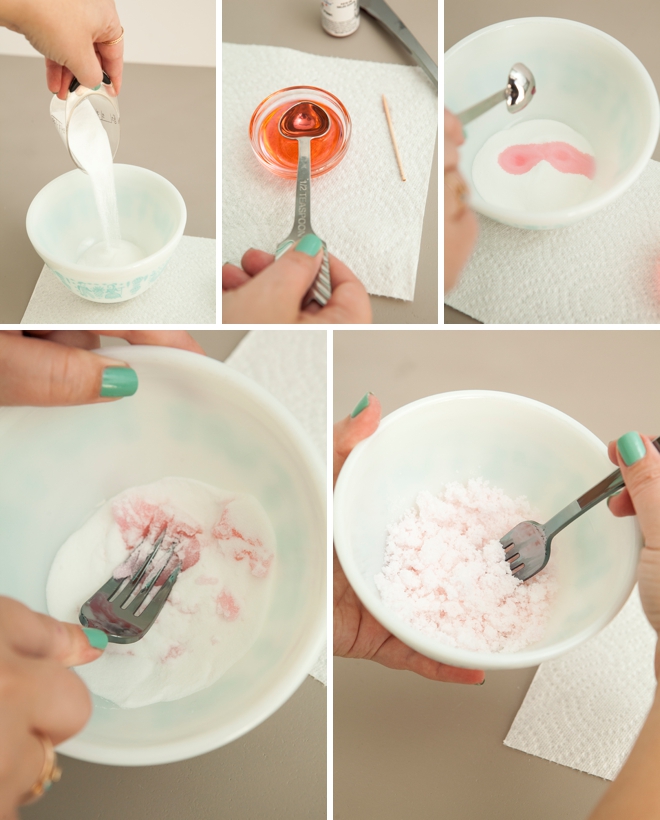
Add the 1/4″ cup of sugar to a glass bowl. Then add the 1/2″ teaspoon of colored water and stir to combine. The texture should be that of wet sand.
There is no exact measurement I can give you on the colorant, it’s going to be trial and error. If you aren’t happy you need to throw the batch out… but the good thing is 1/4″ of sugar is cheap, lol. If the color is too dark you can add water to the colored water to dilute it and try again. If the color is too light you can add more food coloring to the colored water and try again. I threw out quite a few batches until I got it right so you’re in good company.
Fill Your Mold
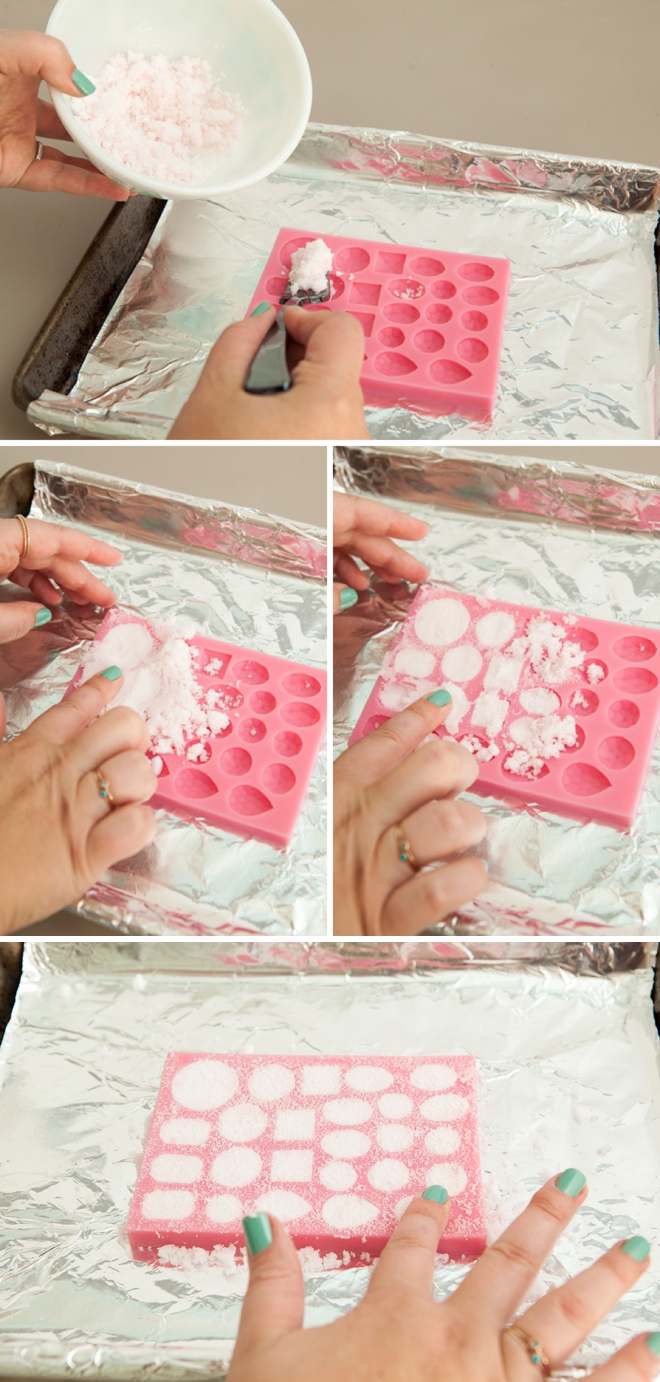
Now fill your mold with sugar! Really pack it in all the nooks and crannies! The reason you need to use the ultrafine sugar is so that all the gemstone detail of this mold is picked up, if you use regular sugar you won’t see the facets as much!
Crafters Tip: Fill your mold cold, don’t use a hot mold. The silicone cools down quickly after each batch so there isn’t a lot of lag time in between. If the mold is hot it will immediately start to heat the sugar and you’ll loose detail in the design. Trust me, I did it.
Bake For 10 Minutes At 200°F
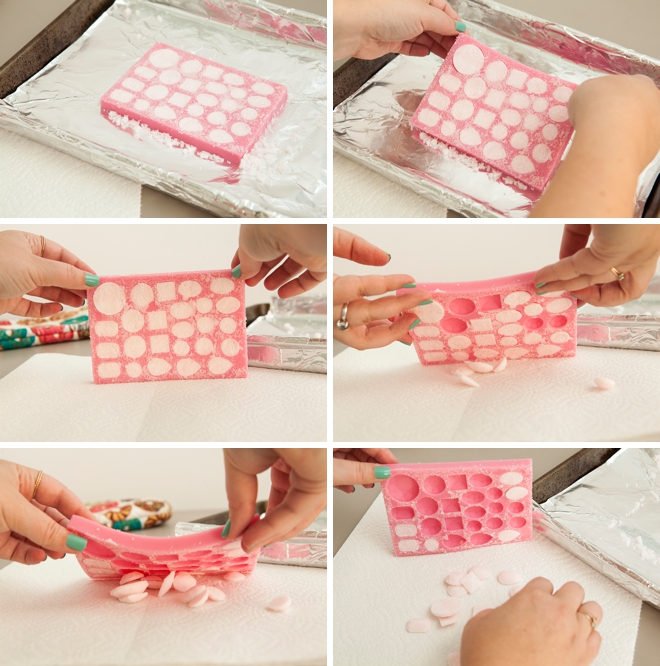
Pop Out Your Gems
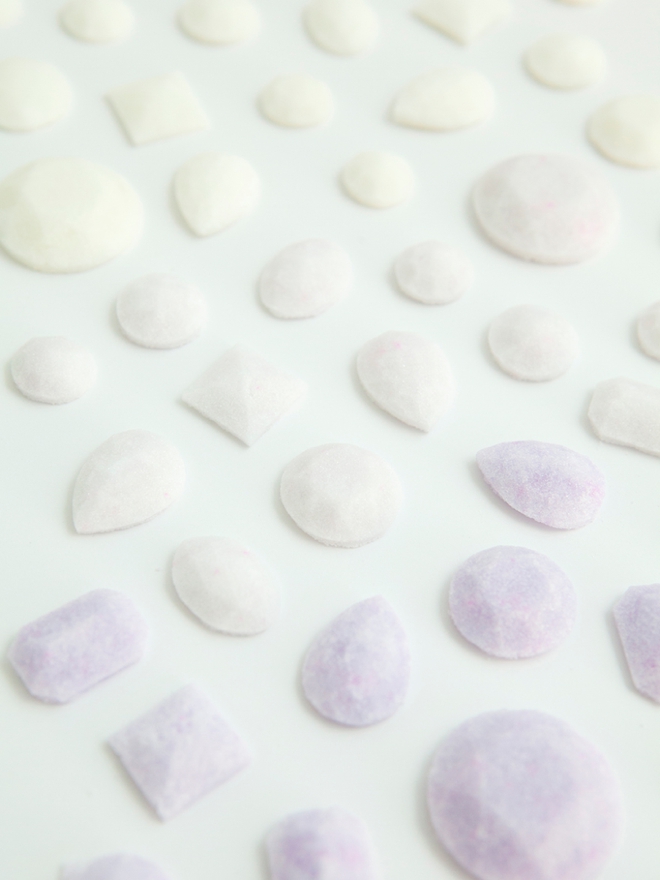
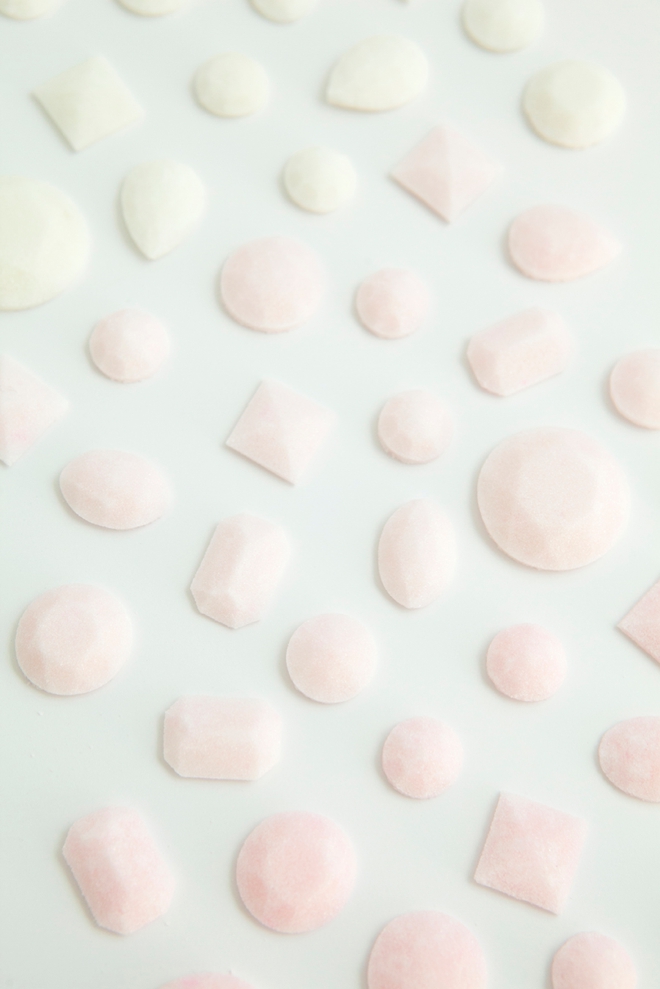
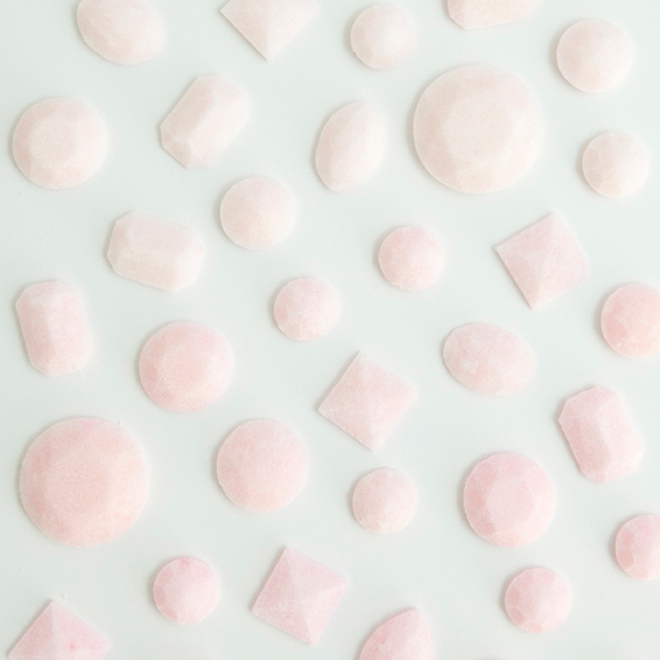
Let the mold cool a bit and then turn it over to release all your pretty gems!
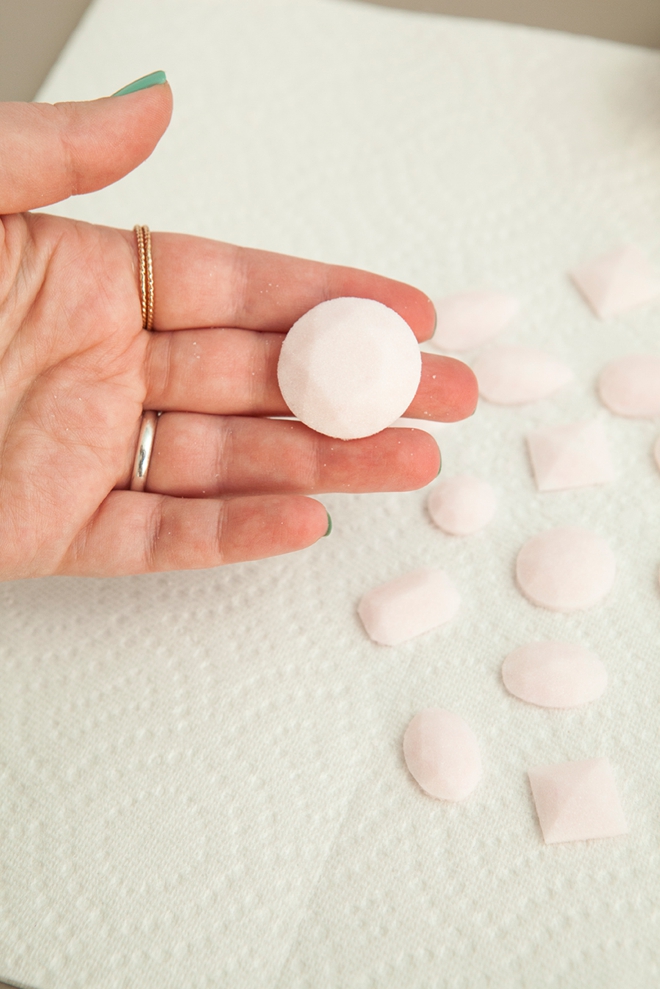
These beauties are really sturdy. They don’t just crumble like you think they would. They are also really tolerant of moisture. I live by the beach and left a plate full of gems uncovered for over a week and they didn’t melt or collect moisture or anything. Easy to make and super sturdy, win-win!
Ombré Tips
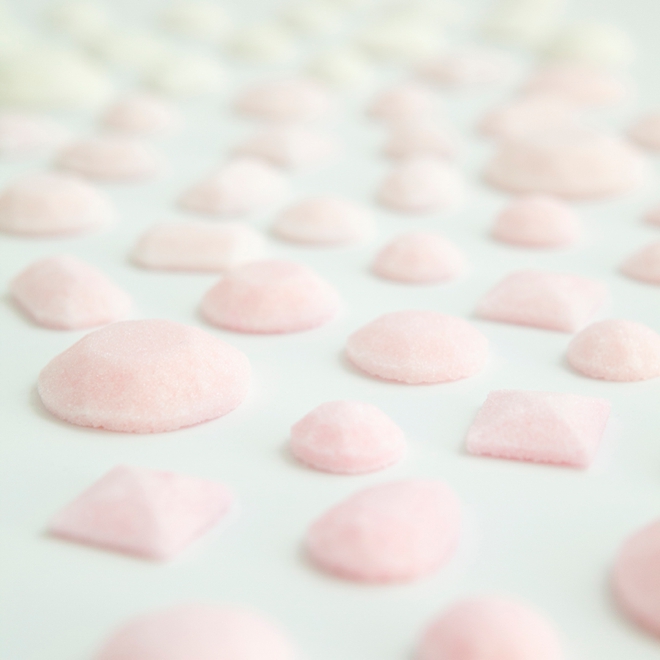
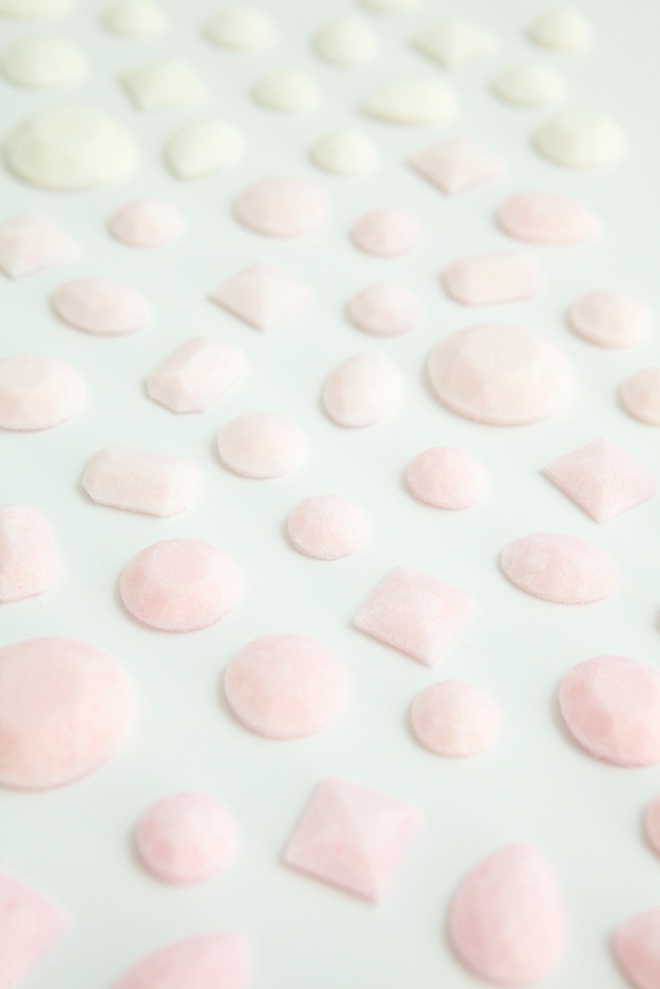
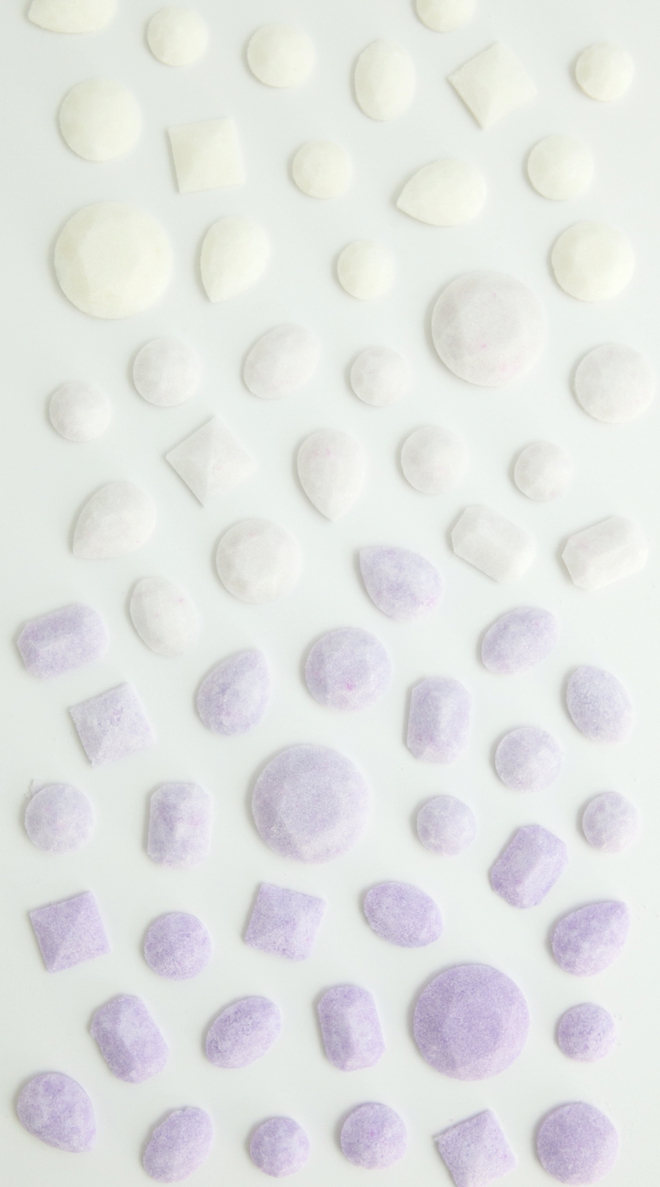
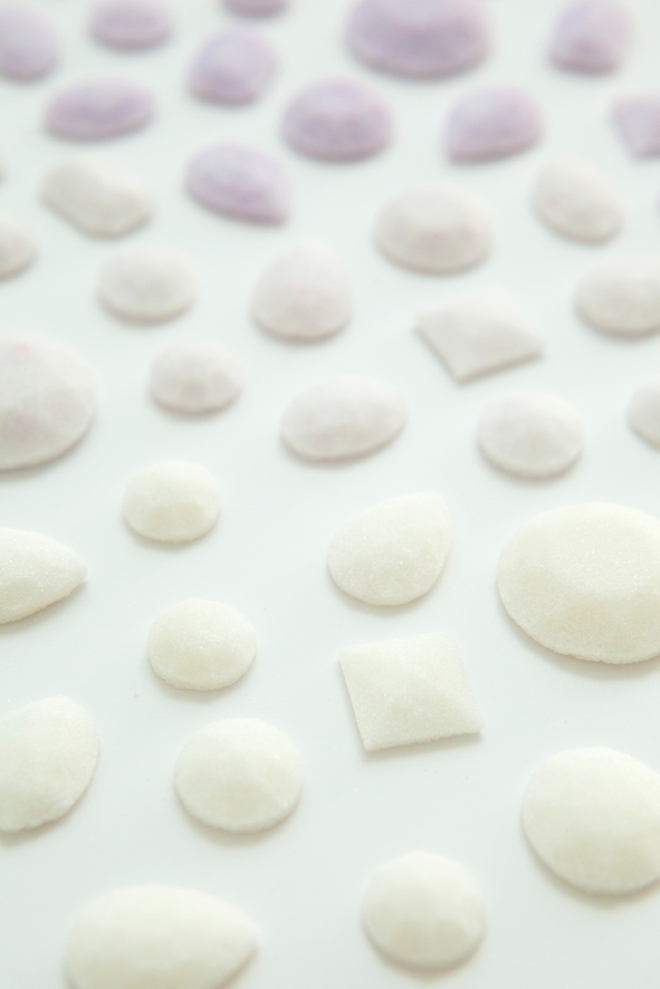
I made my ombré by simply adding more colorant to the exact same colored dish of water. Each time you add more color your gems will get darker!
Favor Tags
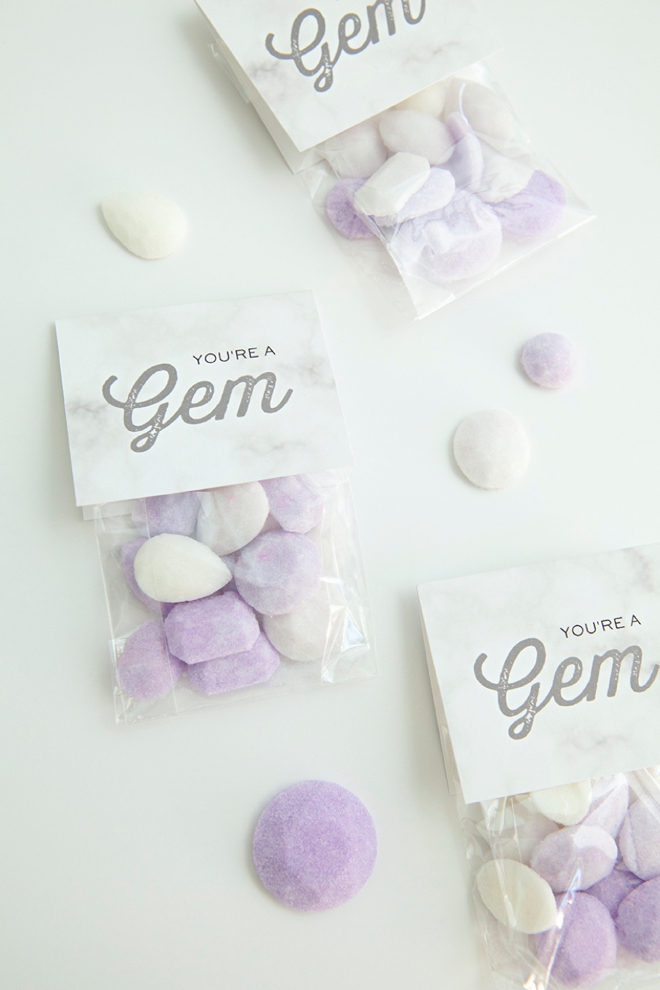
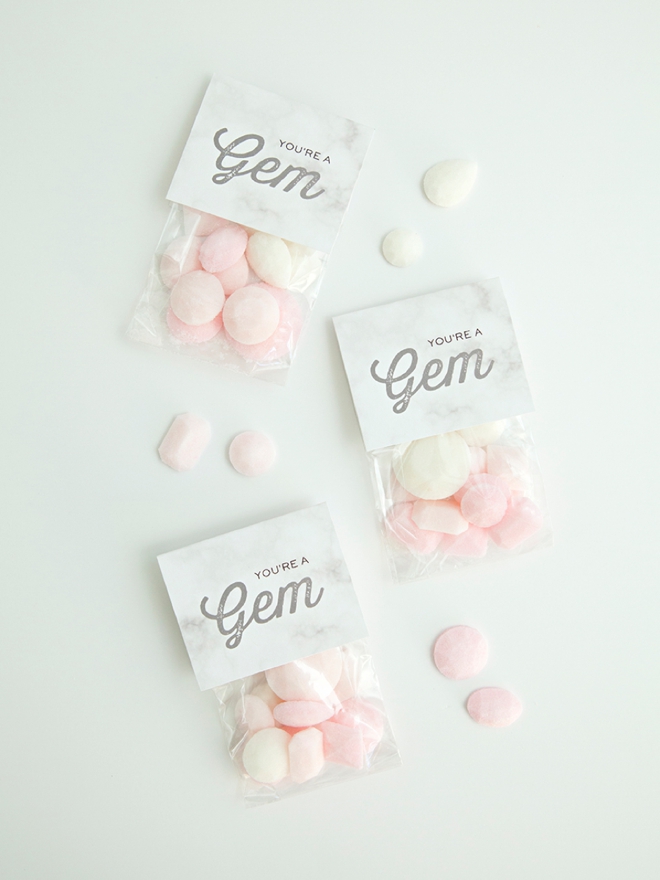
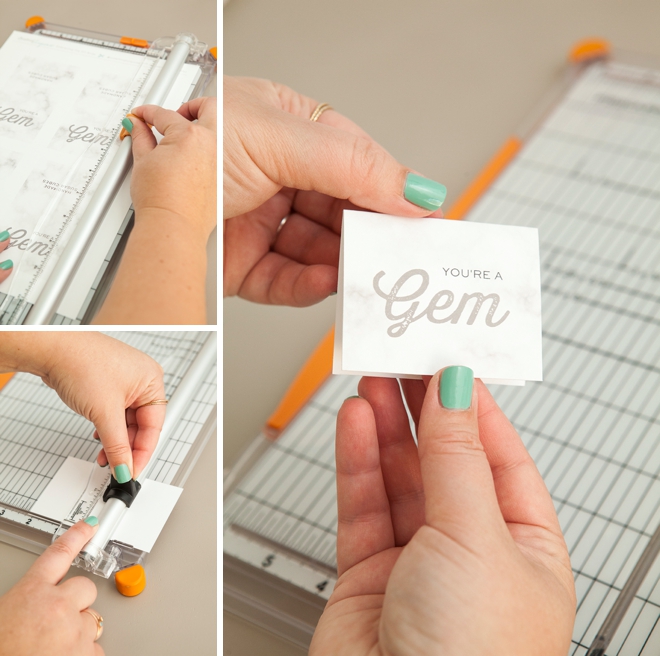
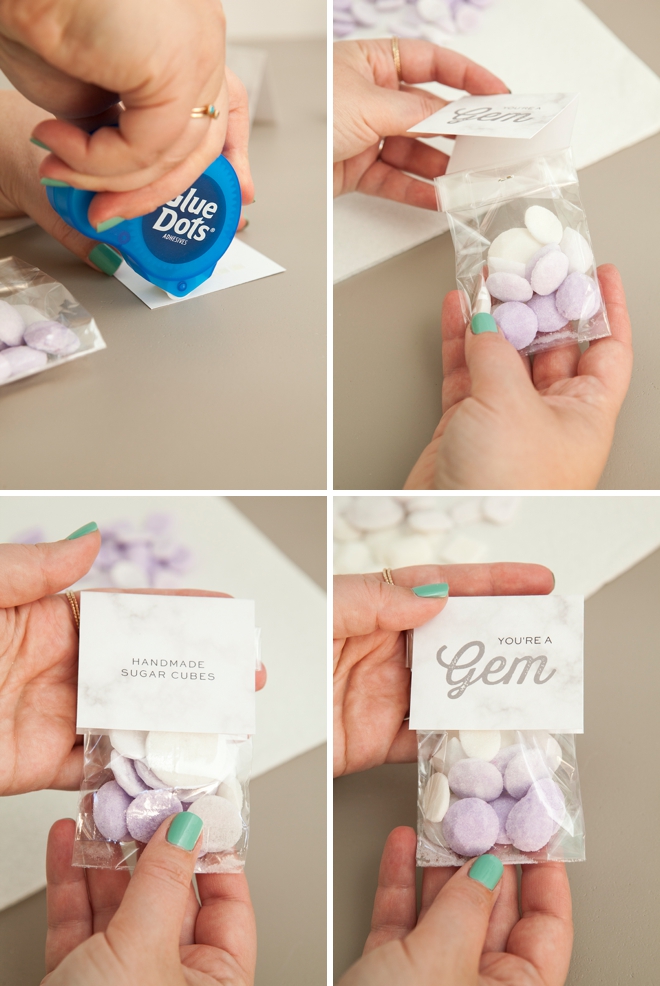
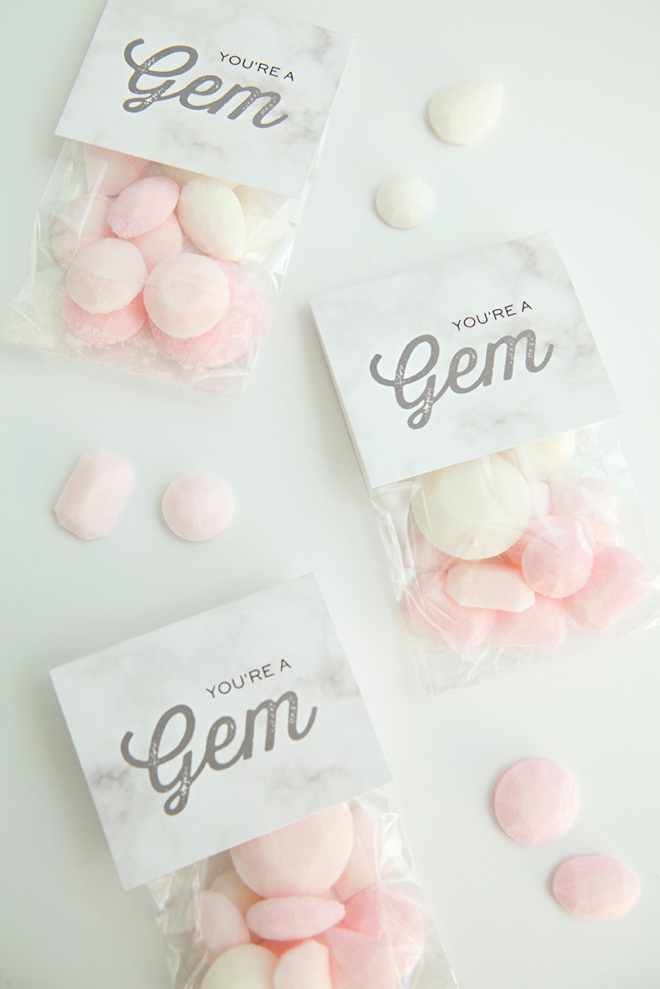
If wanting to make these darling sugar cubes into the perfect bridal favors, I’ve got you covered. Download my free tags at the end of the post and print onto 8.5″ x 11″ white cardstock. Trim down to 2.5″ x 4″ and then score or fold in half.
Gemstone Bags
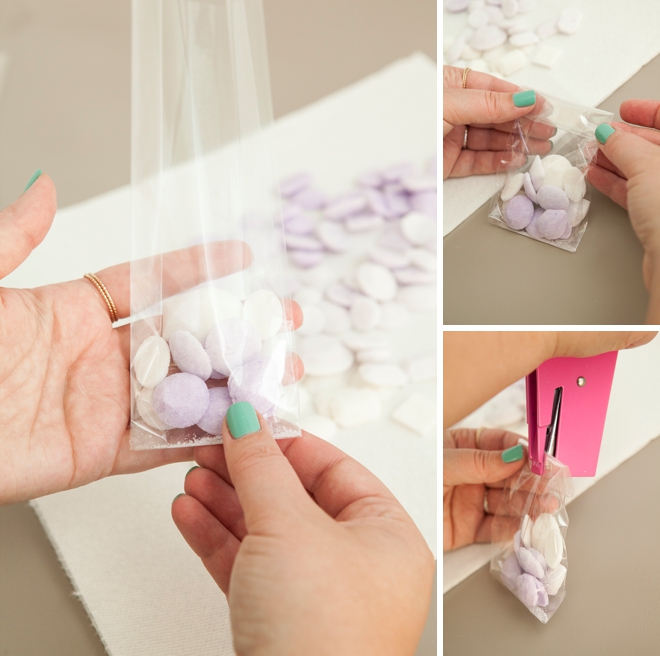
I used 2.5″ x 7.5″ Cello Treat Bags that I had left over from the DIY Sea Glass Candy Favors and they worked perfectly. Fill the bags, fold down and seal with a staple.
Favors Complete
Add a few Glue Dots along the edges of the tags and adhere over the top of each gemstone baggie – done!
Personal + Sweet
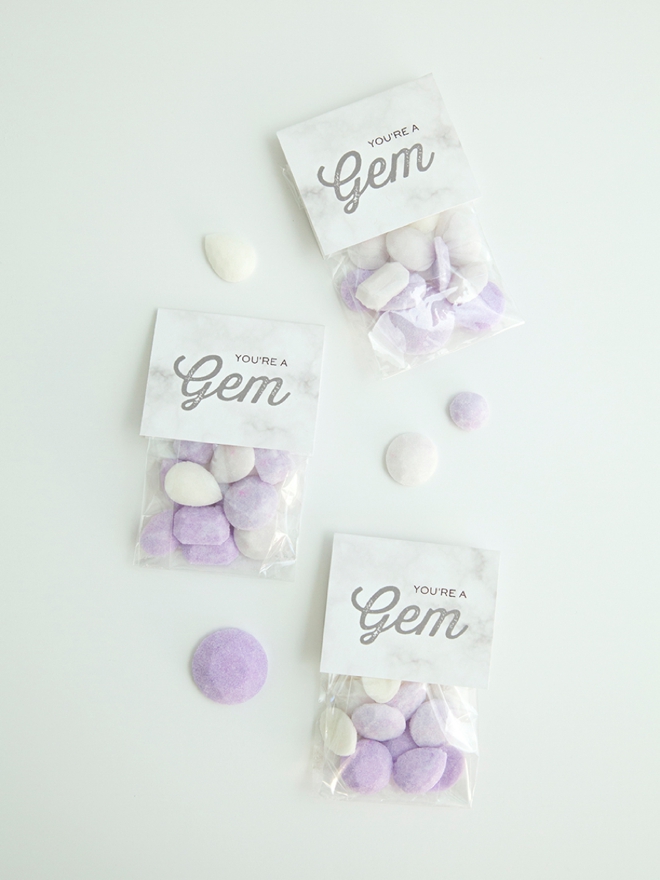
This handmade favor is a gift that keeps on giving. Whether the recipient is a tea or coffee drinker, these cuties will give them a reason to be excited when adding sugar to their favorite drink!
As with all our DIY tutorials, if you create one of our projects please send us a picture – We Love Seeing Your Creativity! If you use Instagram or Twitter please use the hashtag #SomethingTurquoiseDIY and it will show up on our Get Social page. Happy Crafting!
DIY Tutorial Credits
Photography + DIY Tutorial: Jen Carreiro of Something Turquoise // Gemstone Silicone Mold: Amazon // C&H Baker’s Sugar: Target // Regal Purple and Soft Pink Gel Food Coloring: Amazon // Glue Dots: Amazon // 2.5″ x 7.5″ Cello Treat Bags: Etsy // Mini-Stapler: Amazon // White 8.5″ x 11″ Cardstock: Amazon // Nail Polish: OPI – Withstands the Test of Thyme
Shop The Supplies:
Find the supplies you’ll need for this project from our affiliate links below:



Comments