-Sponsored Post-
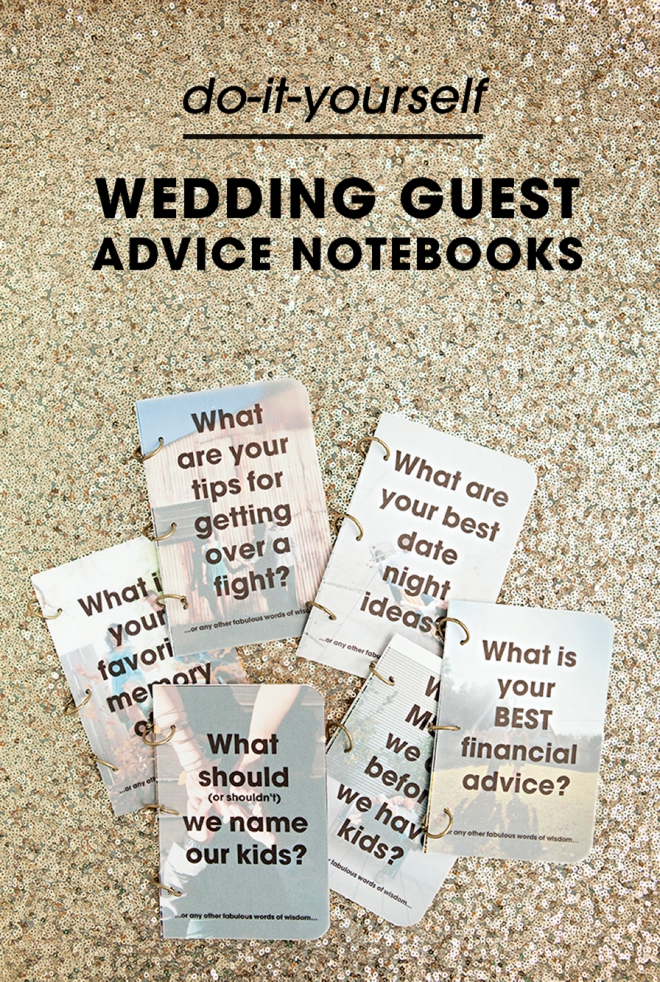
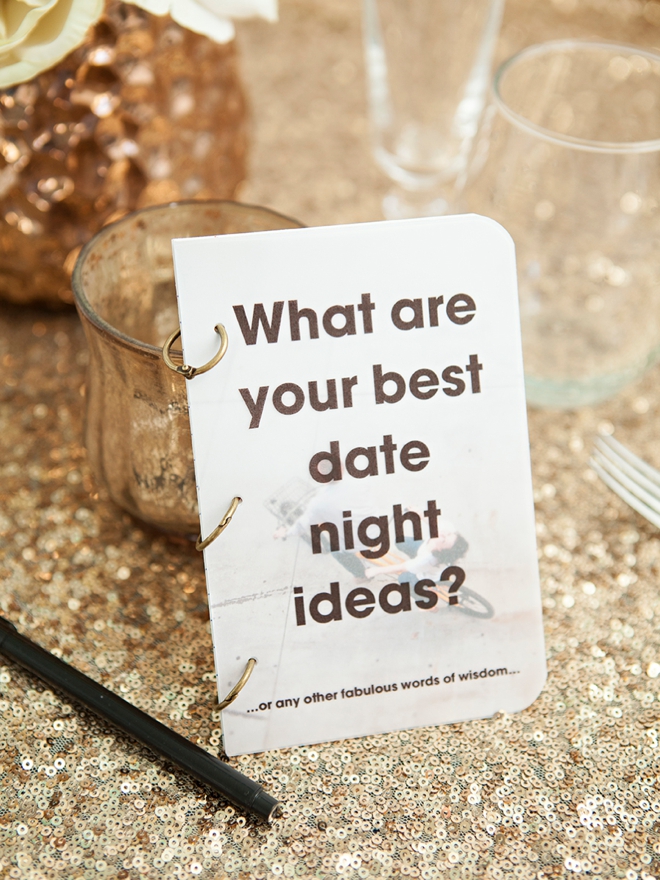
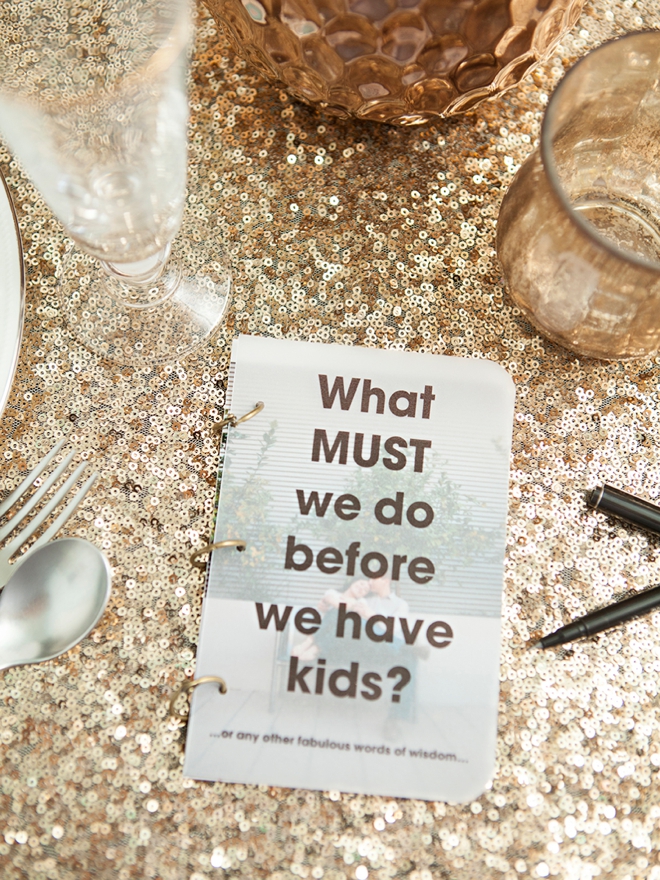
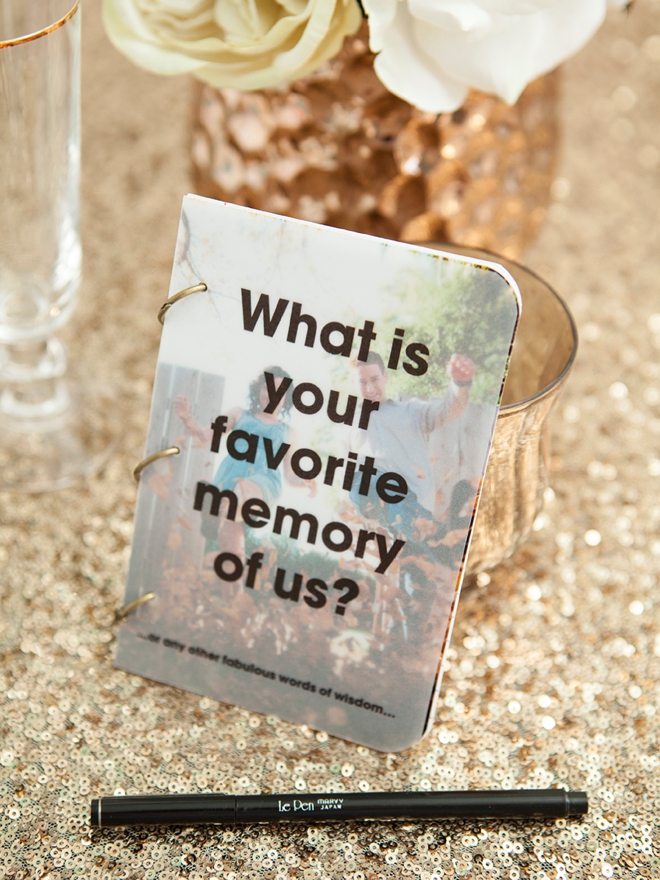
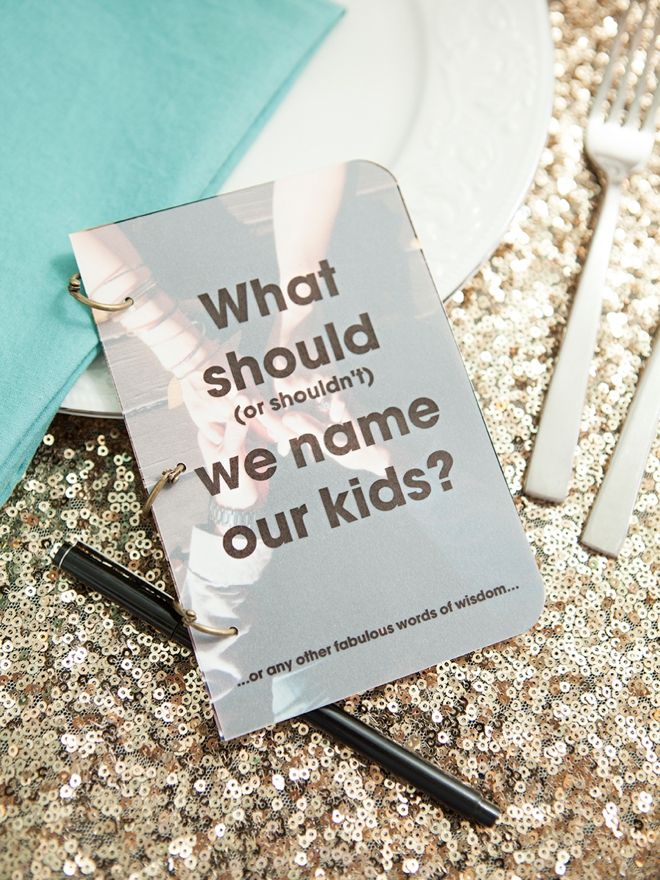
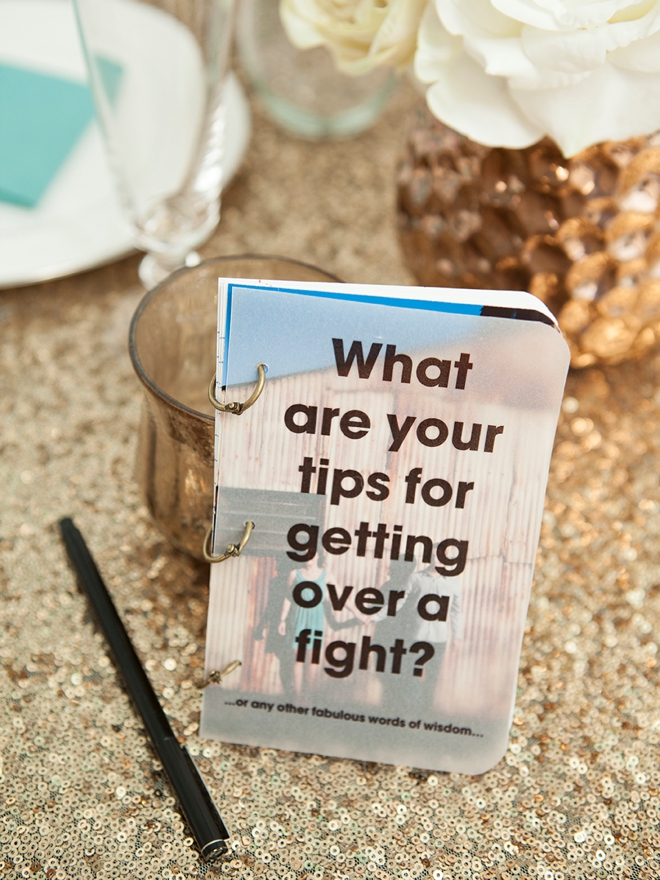
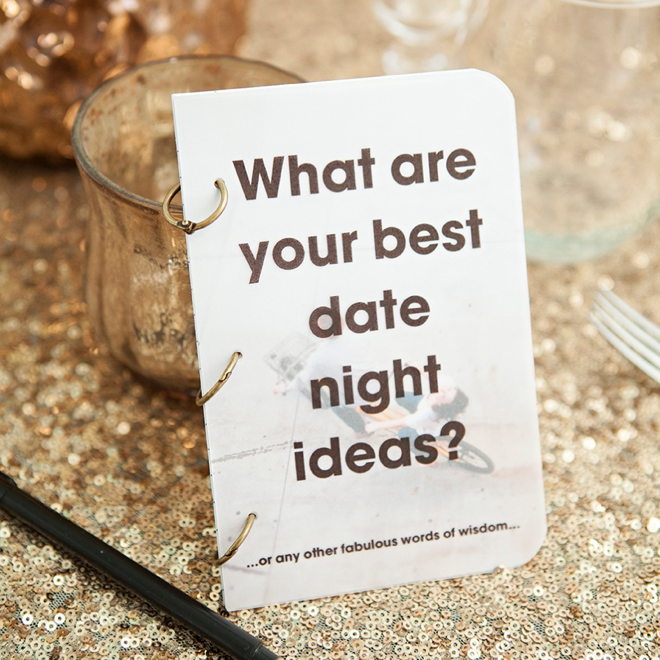
I’ve created quite a few wedding DIY projects, but I have to say that today’s idea is easily one of my top 5 favorite projects ever. In this tutorial I’ll be showing you how to create the most darling Wedding Guest Advice Notebooks you’ve ever seen! Using your favorite photos, some great questions and little notebook pages you’ll be able to gather some incredibly special advice and unique sentiments from your loved ones by placing these notebooks at each reception table. I’ve used my favorite printer, the Canon PIXMA iP8720 Crafting Printer to print everything for this project, which is why they look fabulous. As soon as you get home from your honeymoon, I think you should pop a bottle of bubbly and read these special notes together!
Bridal Party Help
Ask a few bridal party members to go around to each table and encourage the guests to fill out these notebooks, or maybe even have your DJ make a quick announcement. Also choose someone to pick them up at the end of the night!
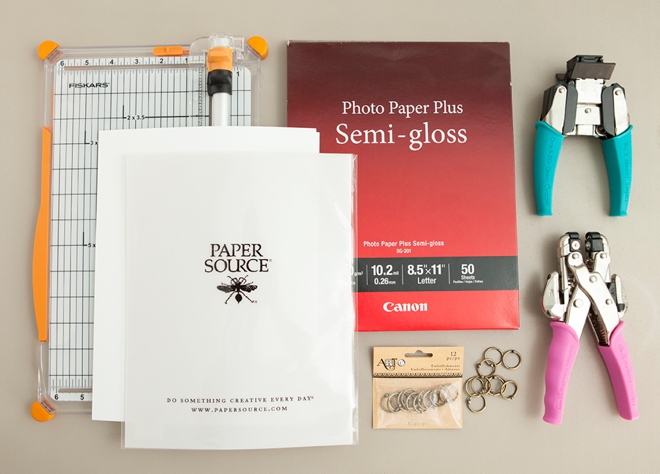
SUPPLIES:
- Canon PIXMA iP8720 Crafting Printer, my fav!
- Canon Photo Paper Plus Semi-gloss
- 8.5″ x 11″ White Cardstock
- 8.5″ x 11″ Inkjet Vellum
- Cute Binder Clips (mine are 3/4″)
- Hole Punch
- Corner Rounding Punch
- Paper Trimmer
- Pens for each table
- My free printable designs at the end of the post!
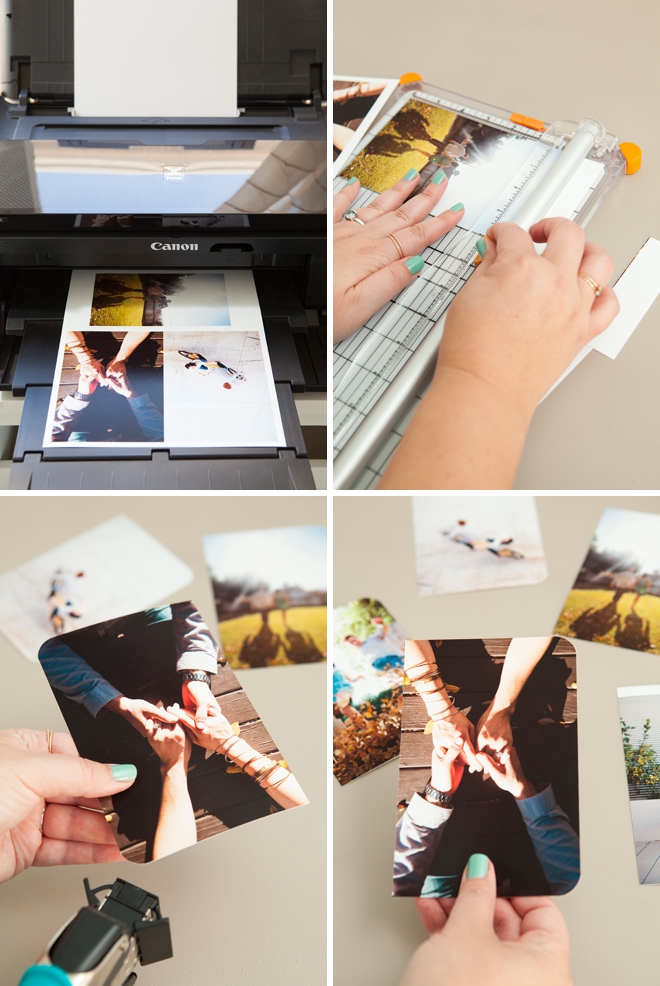
Print Your Photos
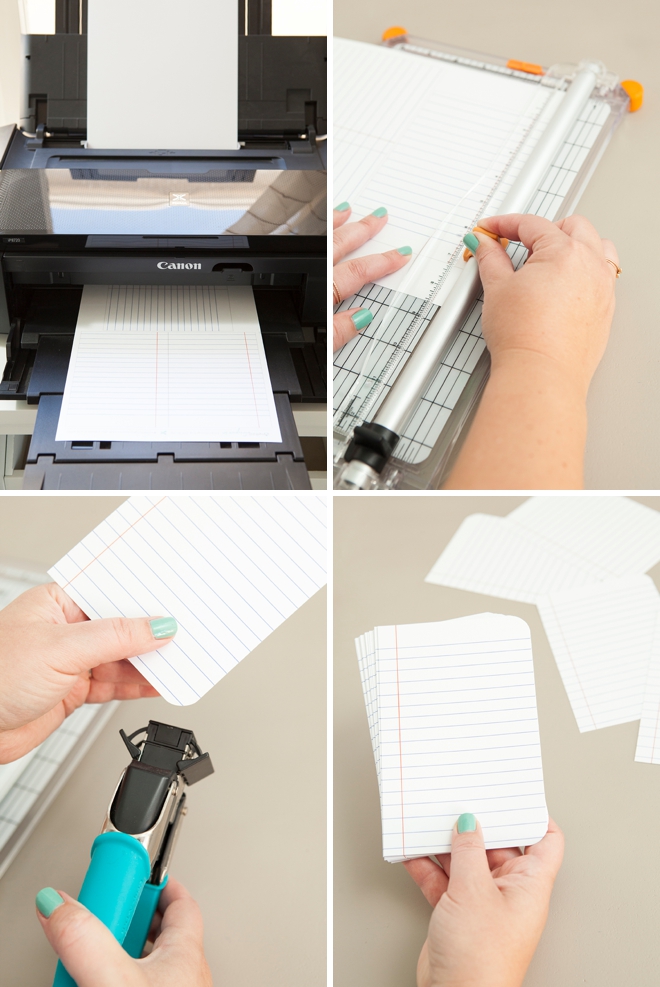
First up, you’ll need to print a 4″ x 6″ photo for each notebook. Your engagement photos or favorite relationship photos will be perfect for this project. I printed 3 photos onto 8.5″ x 11″ photo paper, but if you have 4″ x 6″ photo paper – that would be great. If you need to, cut out your photos then round the two corners on the right side.
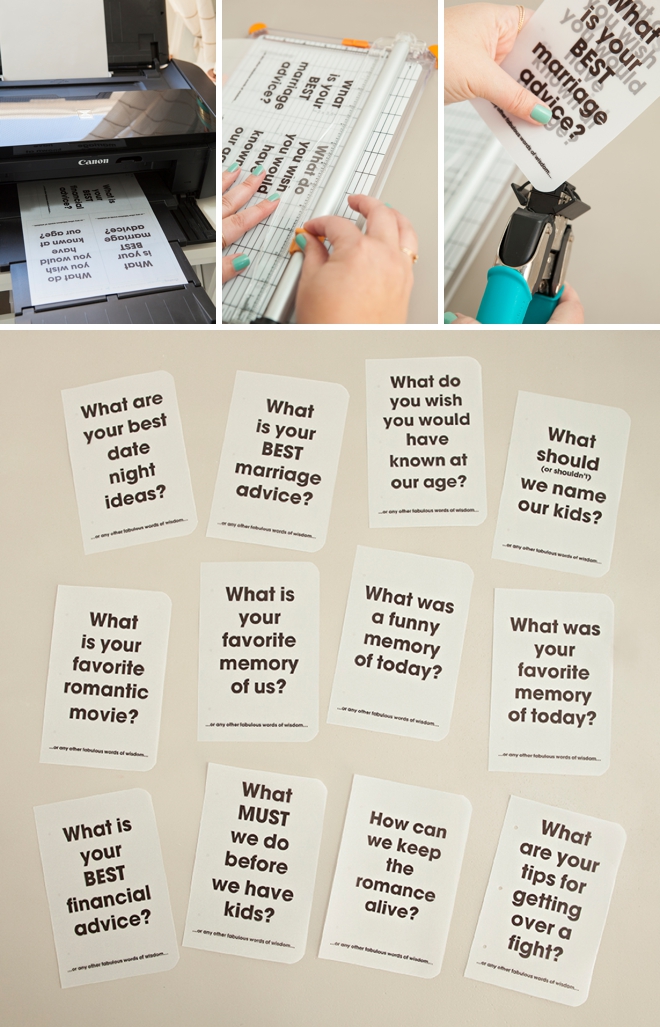
Print The Questions
Using inkjet vellum is a must as you can’t print on normal vellum, the ink will just sit on top of the paper and smear. Download our 12 questions at the end of the post or design your own! Print onto the correct side of 8.5″ x 11″ inkjet vellum, follow the lines to trim to 4″ x 6″ and round the two corners on the right.
Print The Notebook Paper
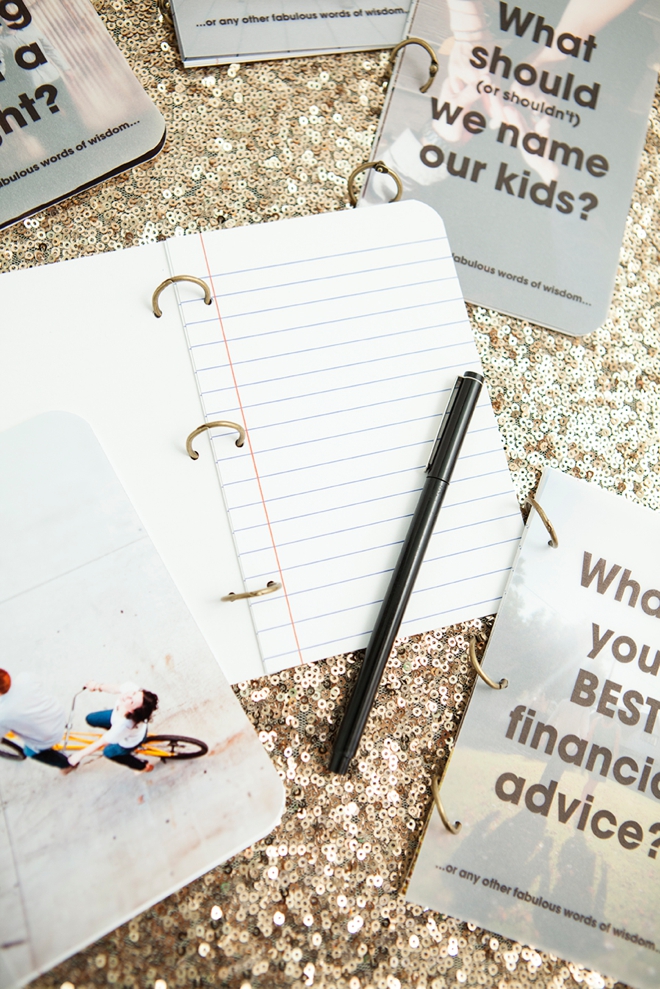
Is this little notebook paper the cutest or what!? Download the file below and print onto 8.5″ x 11″ white cardstock. Follow the lines to trim down to 4″ x 6″ and round the corners on the right.
Stack All The Pieces
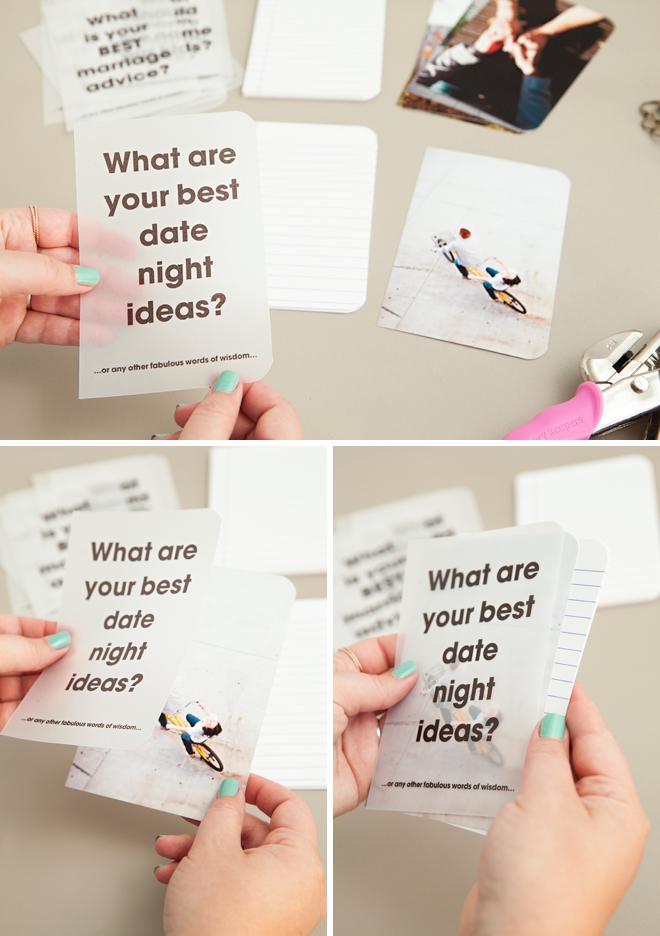
Layer one question on top of one photo with the notebook paper underneath. Include one piece of notebook paper, per book, per guest. So if you have 10 guests per table – you’ll need 10 pieces of paper for each notebook.
Assemble Your Notebooks
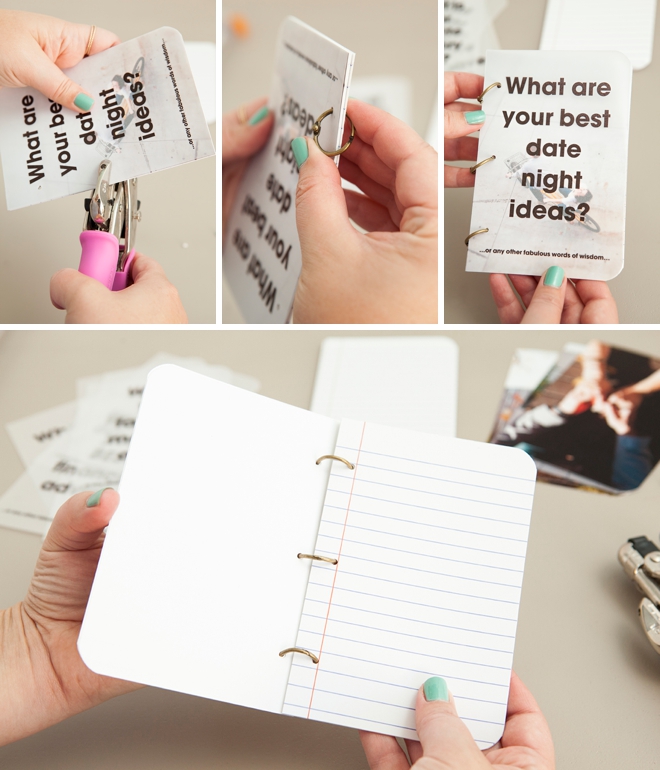
Follow the 3 hole punch guidelines on the question printable and hole punch all the pages at one time. This Crop-a-dile hole punch is the greatest – it can even punch through leather, so 13 pieces of paper is nothing for this bad boy. Add three binder clips through the punched holes to hold your notebooks together. These antique style 3/4″ binder clips are from Michaels and they don’t sell them online, but the company Art-C does and it’s linked below.
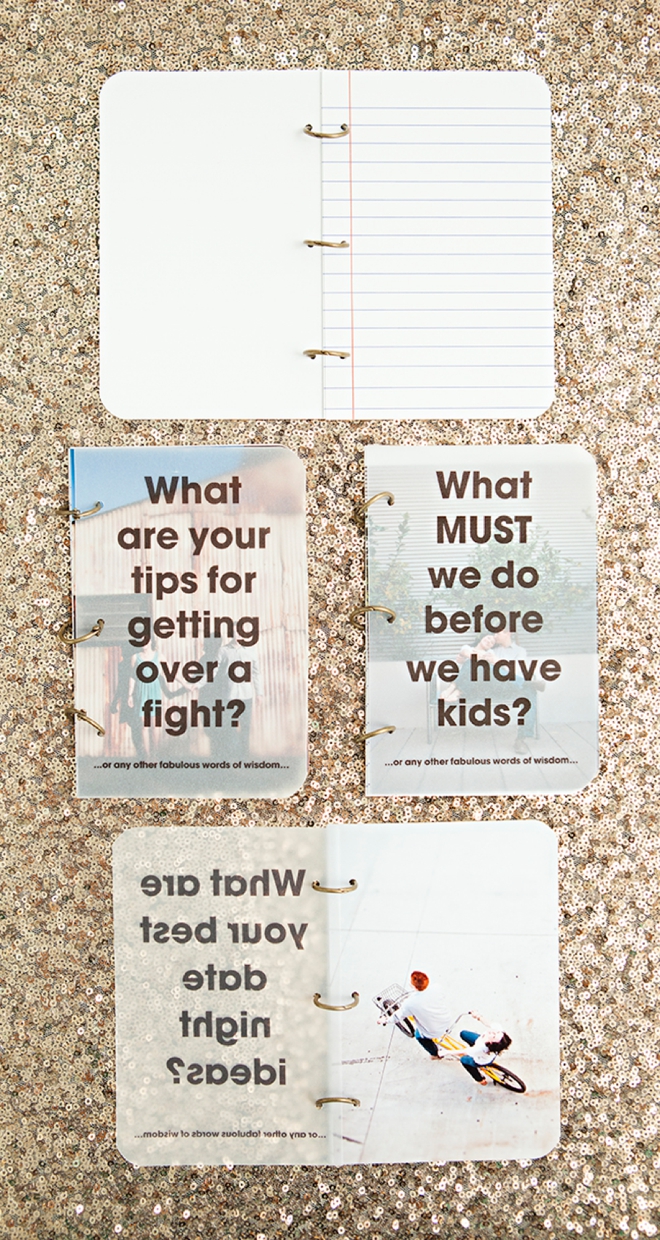
Make One Notebook For Each Reception Table

The Sweetest Keepsakes
Long after your wedding day, being able to read these special pieces of advice from your loved ones will be such a treat. It might even be a fun tradition to read them each year on your anniversary!
DIY TUTORIAL SPONSORED BY:

Canon U.S.A., Inc. prides itself on allowing consumers to create and preserve beautiful imagery, from capture to print. With wireless technology and seamless printing capabilities, you can print your photos and printables with precision and ease.
As with all our DIY tutorials, if you create one of our projects please send us a picture – We Love Seeing Your Creativity! If you use Instagram or Twitter please use the hashtag #SomethingTurquoiseDIY and it will show up on our Get Social page. Happy Crafting!
DIY Tutorial Credits
Photography + DIY Tutorial + Free Downloads: Jen Carreiro of Something Turquoise // Canon PIXMA iP8720 + Semi-Gloss Photo Paper: courtesy of Canon // 8.5″ x 11″ Inkjet Vellum: Paper Source // 8.5″ x 11″ Cardstock: Amazon // Crop-a-Dile Hole Punch: Amazon // Corner Chomper: Amazon // Fiskars Paper Trimmer: Amazon // 3/4″ Binder Ring: Michaels // Le Pens: Amazon Nail Polish: OPI – Withstands the Test of Thyme
Shop The Supplies:
Find the supplies you’ll need for this project from our affiliate links below:



Comments