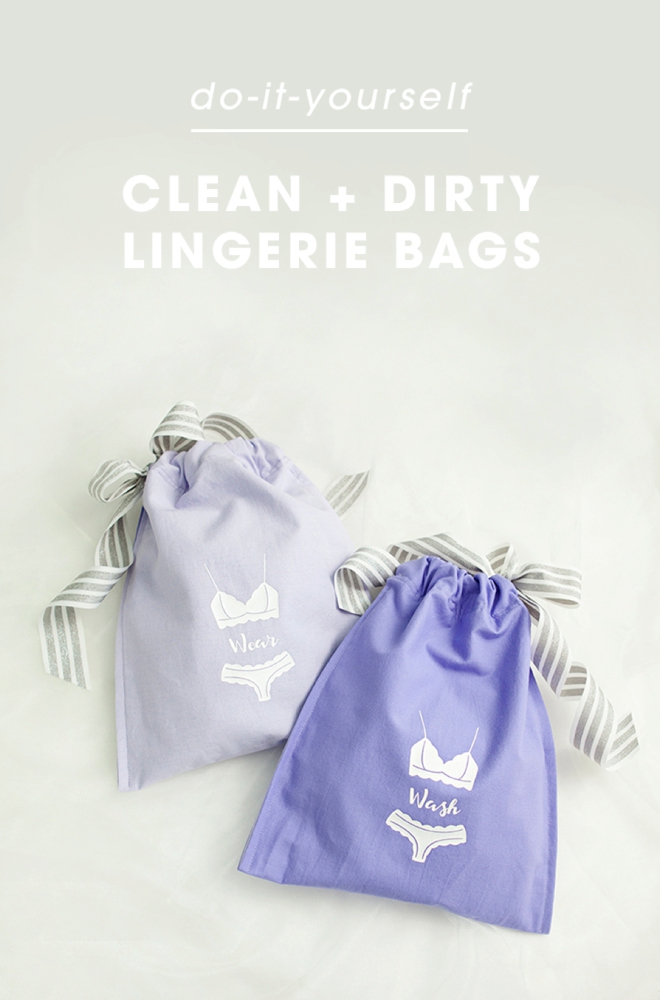
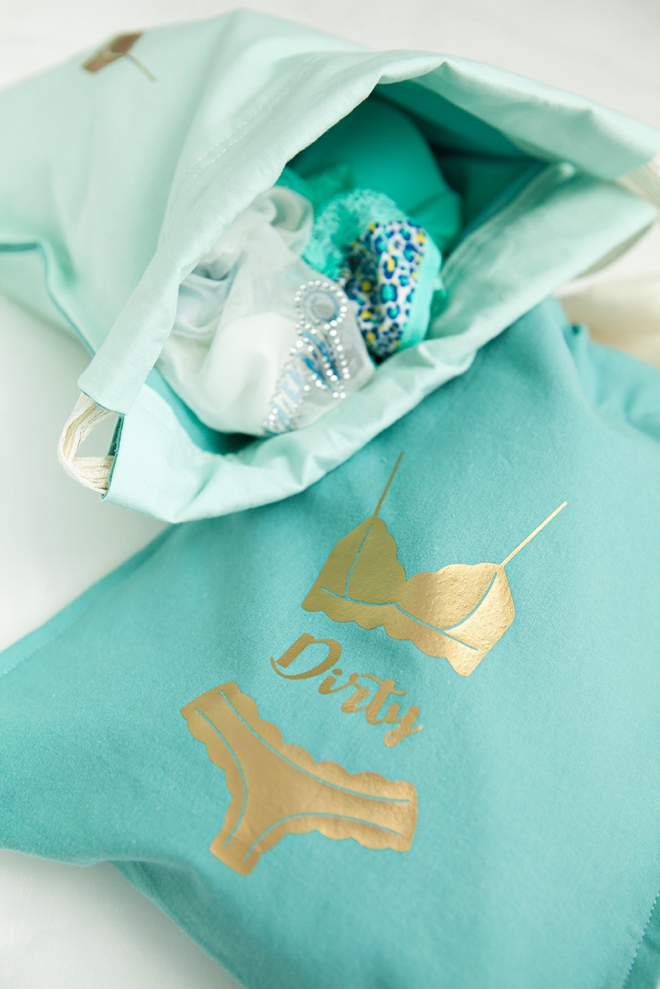
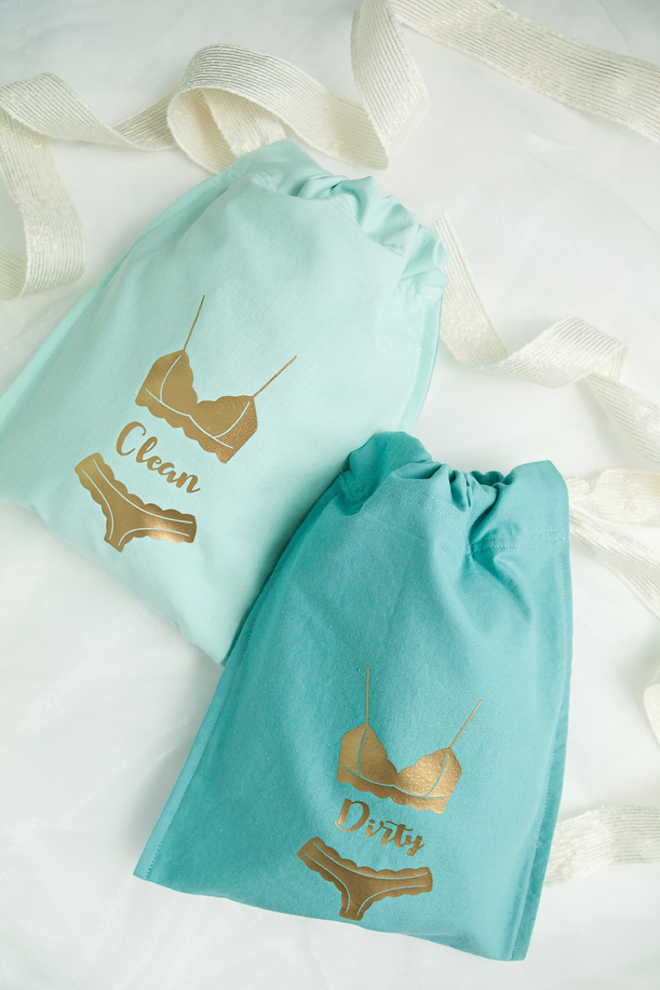
To all my honeymoon-bound brides… stop what you’re doing and rush to the fabric store because you absolutely MUST make today’s DIY project before you leave! Let’s keep your new Mr. from seeing your dirty skivvies floating around in your suitcase, lol. My DIY Clean + Dirty Lingerie Bags are beyond cute and totally practical. Plus, you’ll be able to use them well beyond your honeymoon! Of course you don’t have to be a bride to make this project, these would be awesome for any traveler to have in her bag and would also make an awesome present for the travel-bug in your life. In this tutorial you’ll learn how to make a beautifully simple drawstring bag (in any size) that’s fully lined and designed to last, using only 6 seams! But the cherry on top is our “clean + dirty” or “wash + wear” Cricut iron-on design download, simply upload to Cricut, cut and iron on. These sweet bags will take you less than 2 hours to complete and will bring you organized joy on every trip you take!
Easy To Customize
Your favorite colors of fabric, some ultra pretty ribbon and the iron-on color of your choice is all you’ll need to create an incredibly unique bag! One that you’ll be proud to use on each and every trip! I’m going away in a few weeks and can’t wait to use them…
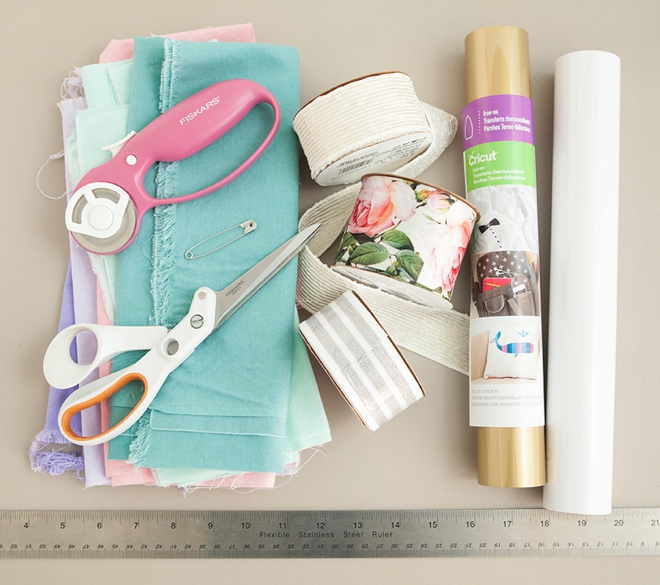
SUPPLIES:
- Sewing machine
- 2 yards of lightweight cotton fabric (1 yard per bag)
- Cute ribbon
- Sewing scissors or rotary cutter and cutting mat
- Cricut Explore
- Circut Iron-on
- Iron and ironing board
- Large safety pin
- Our free “clean, dirty, wash, wear” SVG design file below!
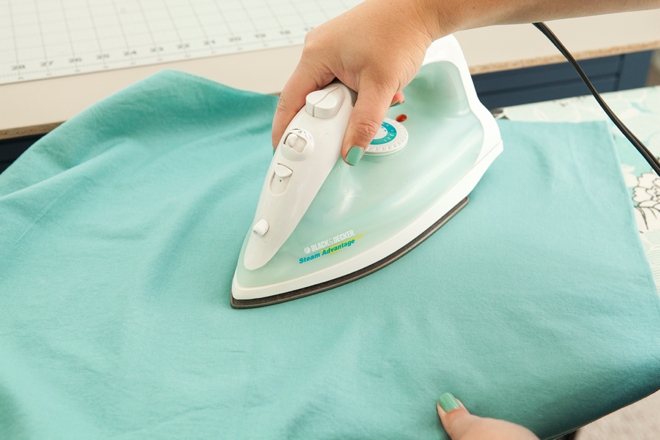
Wash + Iron Fabric
First things first, you need to wash, dry and iron your fabric. You’ll need about 1 yard of fabric per bag including the lining.
I searched high and low for a simple yet beautifully constructed draw string bag pattern that wasn’t going to fall apart or fray after a few uses. Low and behold, good ol’ Martha shared a great video on how to make this exact bag. I know that sewing tutorials sometimes aren’t the easiest to understand in images, so check out her video if you’re feeling lost!
Cut The Fabric
You can make your bag ANY size you’d like, the sizes I did are below. You’ll need to cut two pieces of fabric per bag, one for the outside and one for the inside at the exact same size:
- Turquoise: 11″ x 30″
- Violet: 12.5″ x 32″
- Pink: 14″ x 36″
Sew The Long Sides Together
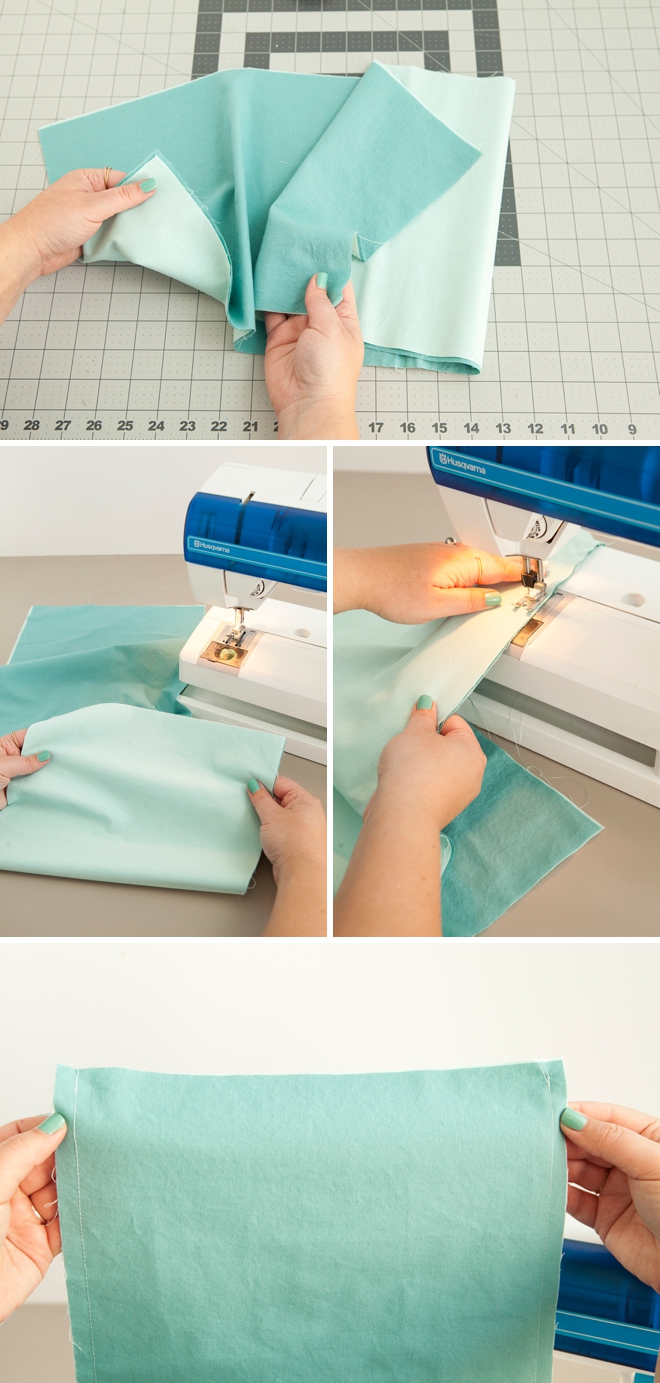
Place the two pieces of fabric together with the right sides facing and align. Pin or just hold them them together and sew along both long sides of the fabric, using a 3/8″ seam allowance.
Turn + Iron
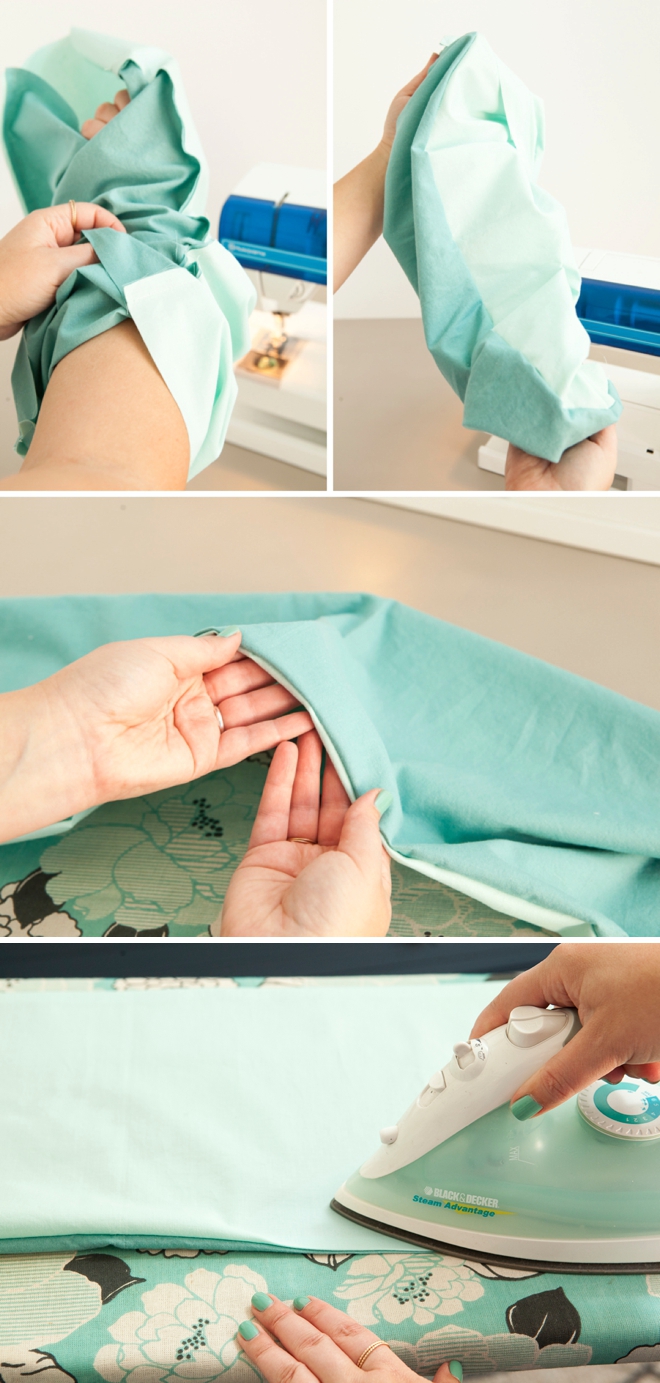
Turn the right sides out and iron out the fabric as evenly as possible.
Iron The Channel
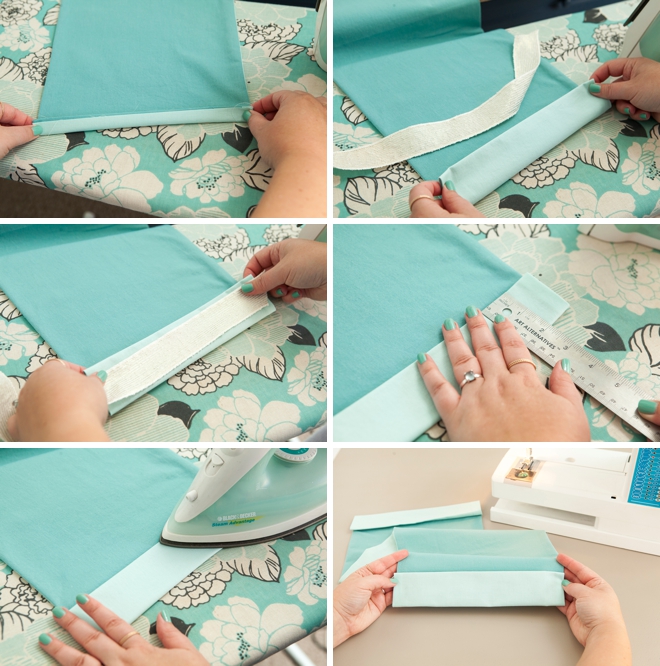
Now we are making the channel where the “drawstring” or ribbon will go. Start by ironing each end up by 3/8″, then fold again about the same width as the ribbon you are using. Measure to make sure your folds are even and iron. Ironing makes it so that you really don’t even have to pin – it’s great!
Sew the Channel
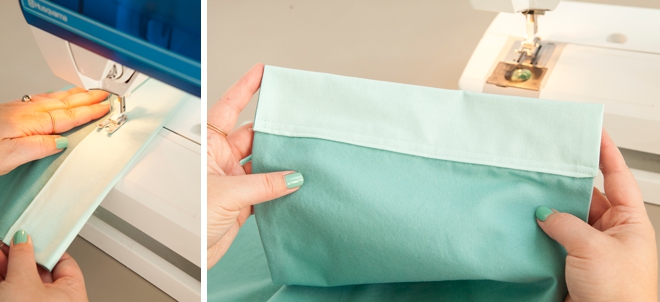
With each end double folded, sew along the fold twice. One at 1/8″ and one at 3/8″.
Sew Bag Together
The last two seams are the sides which finish off the bag. Fold the fabric in half and sew each side together on the outside using a 3/8″ seam allowance. Sewing on the outside instead of on the inside let’s the seam show and let’s a bit of the lining peek through the sides!
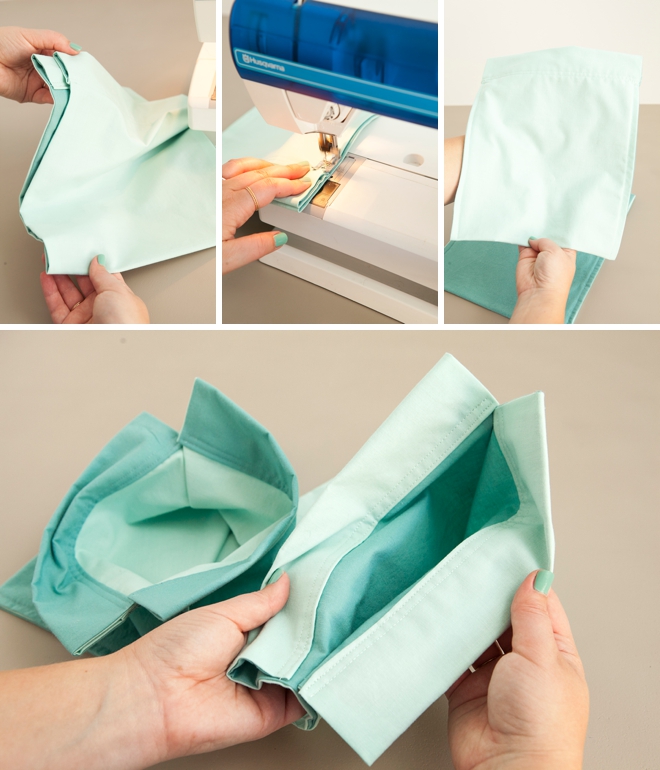
Now For The Circut Iron-on Design
Download our free file at the end of the post, it comes with both “clean + dirty” and “wash + wear”.
- Import into your Cricut Design Space.
- “Ungroup” the file to select the design you want and delete the parts you don’t want.
- Now is the time to add a different word like “lingerie” or “Mrs.Carreiro”… or anything you’d like.
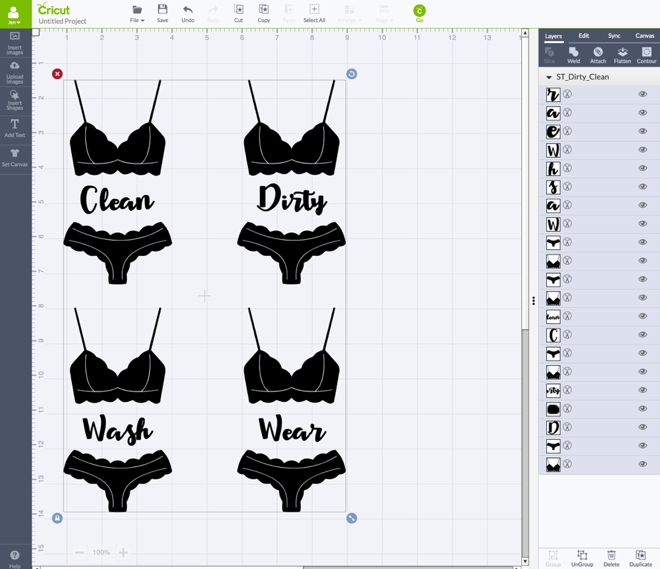
- Select different colors to organize your cut.
- Select all and choose “attach” then click go.
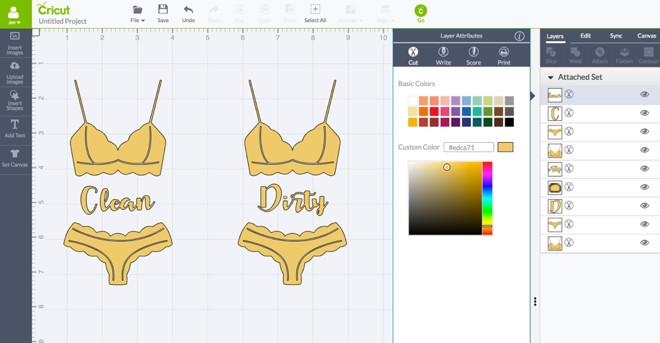
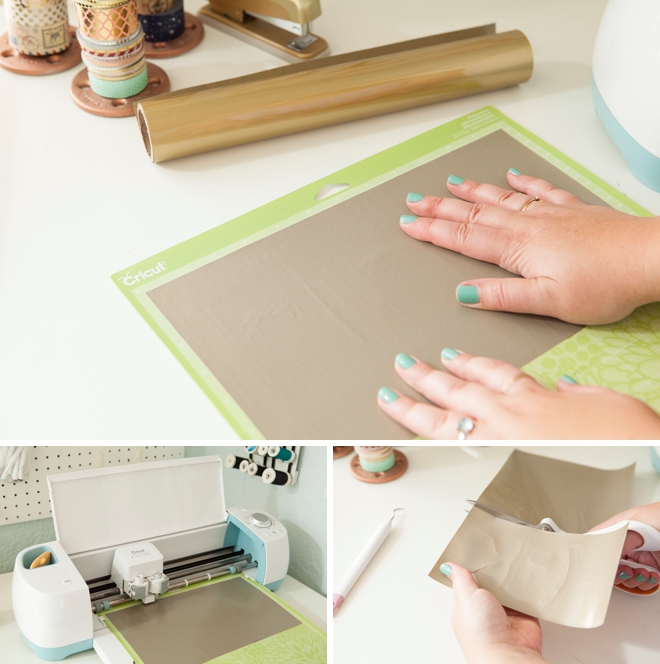
- Make sure to choose “iron-on” on the machine before you cut.
- Check of the little box that says “mirror image for iron-on” or else your design will come out backwards!
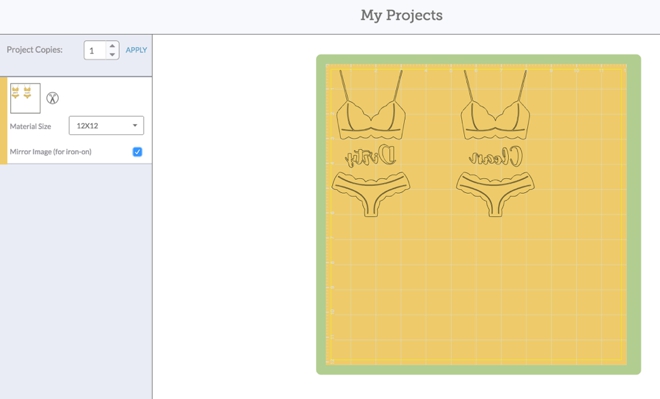
Iron-On Face Down
Don’t forget that all iron-on material is cut face down! Cut your design, carefully remove it from the cutting mat and trim down.
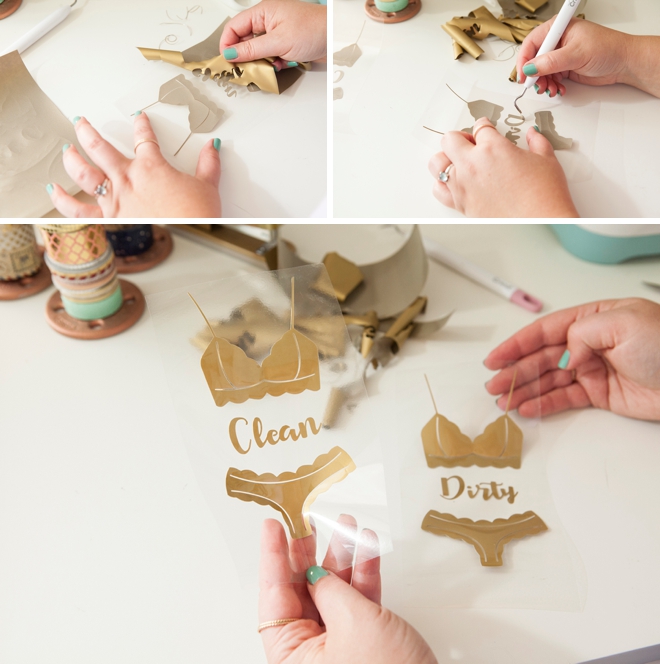
Weed The Design
Carefully remove all the excess iron-on material to reveal your “clean + dirty” design!
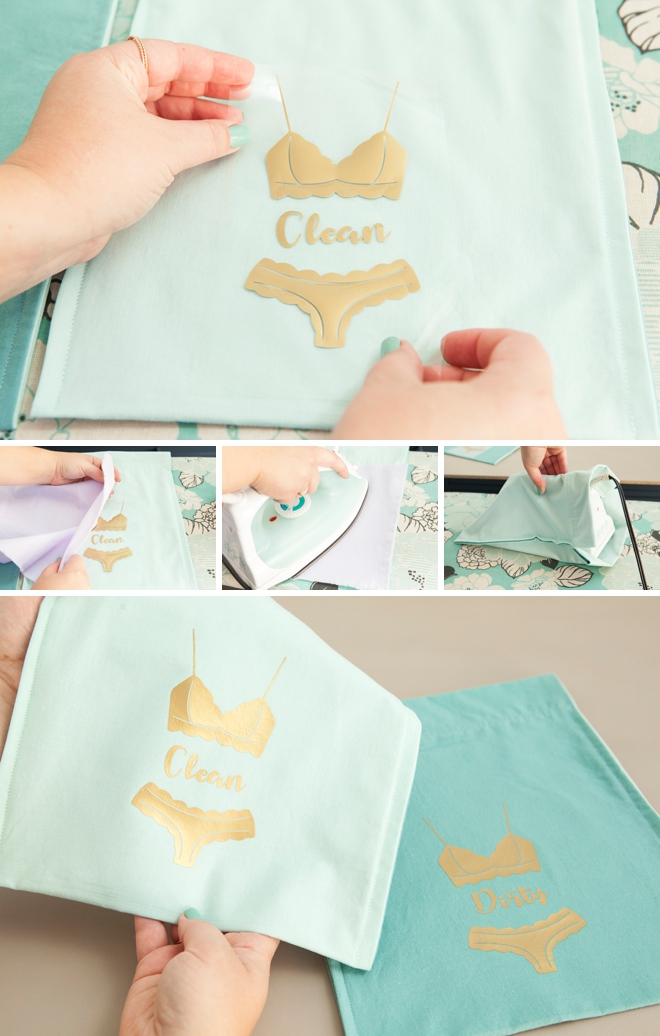
Iron It On
Place on top of your cute new bag and center. Place a scrap piece of material on top and iron for at least 30 seconds. Then iron the backside of the design, which means inside the bag, for another 30 seconds. All iron-on instructions can be found on the roll.
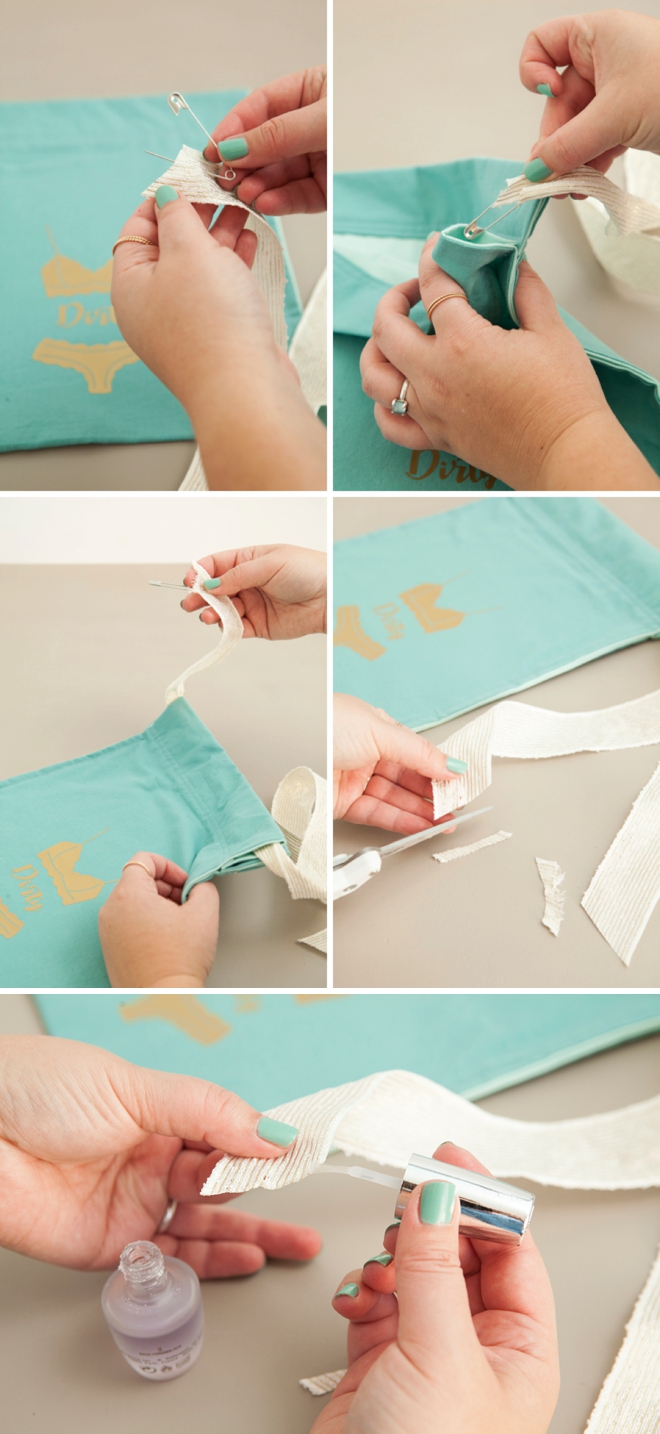
Add The Drawstring
Use a giant safety pin to help guide your ribbon through both channels of your bag. When using ribbon as the drawstring, the best way to keep it from fraying is to paint clear nail polish along the edge!
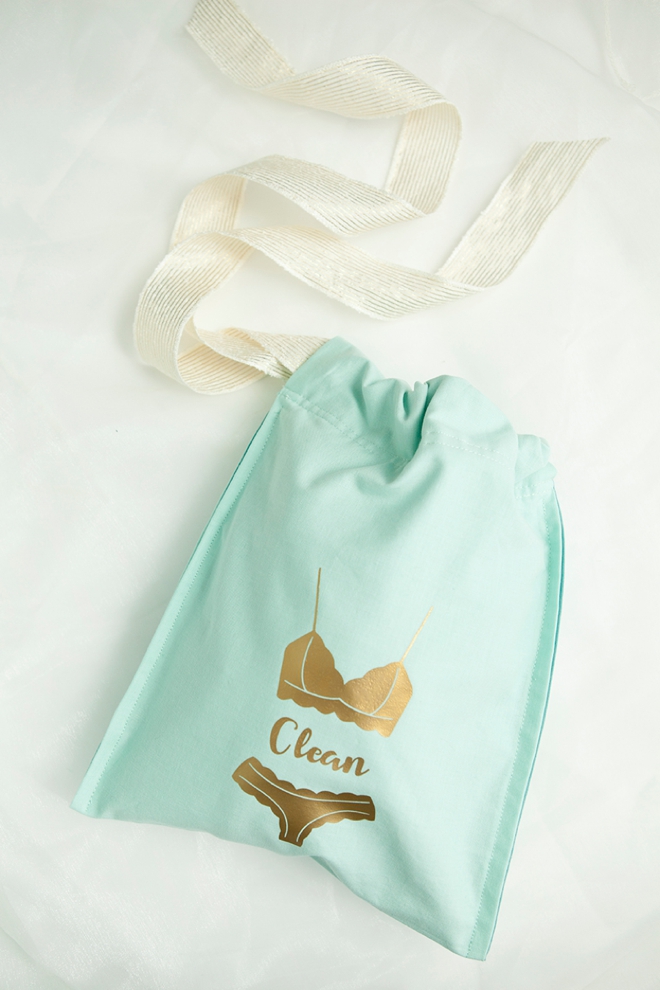
Clean + Dirty
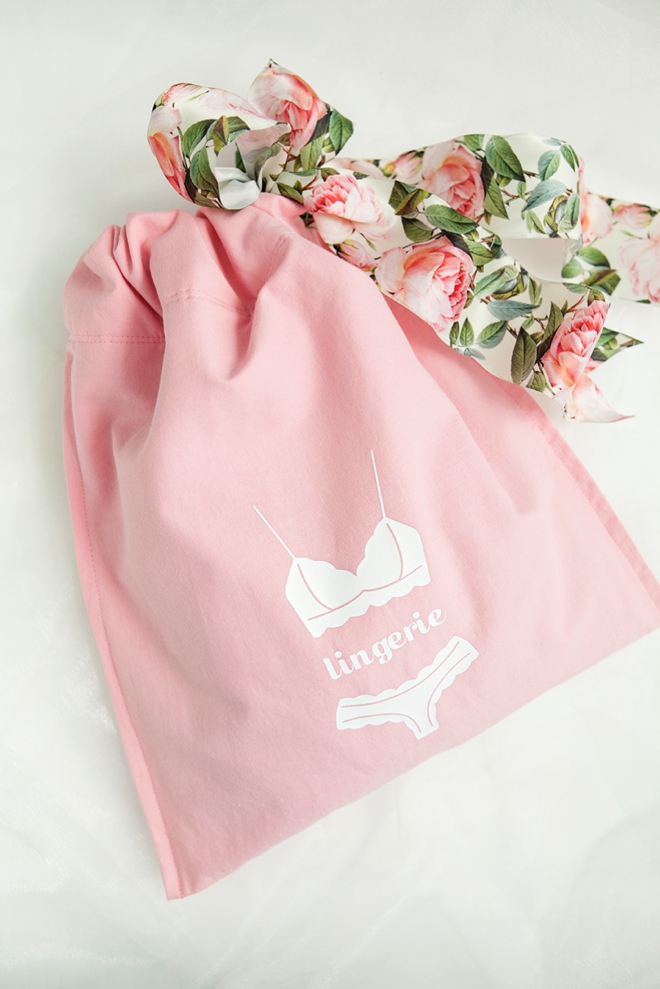
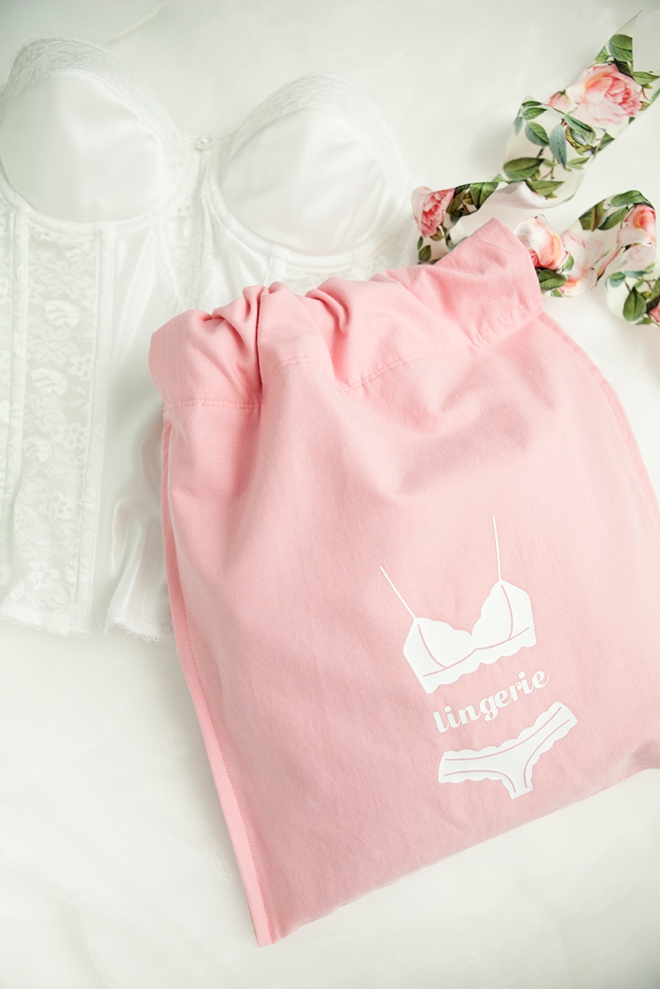
Lingerie
Or maybe a larger bag for just your special little things…
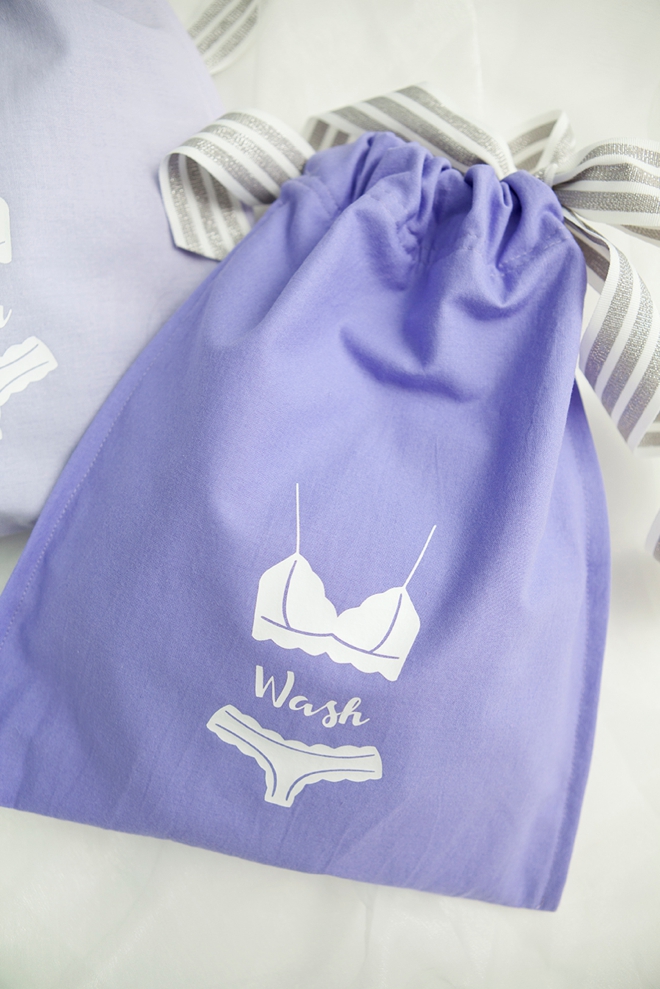
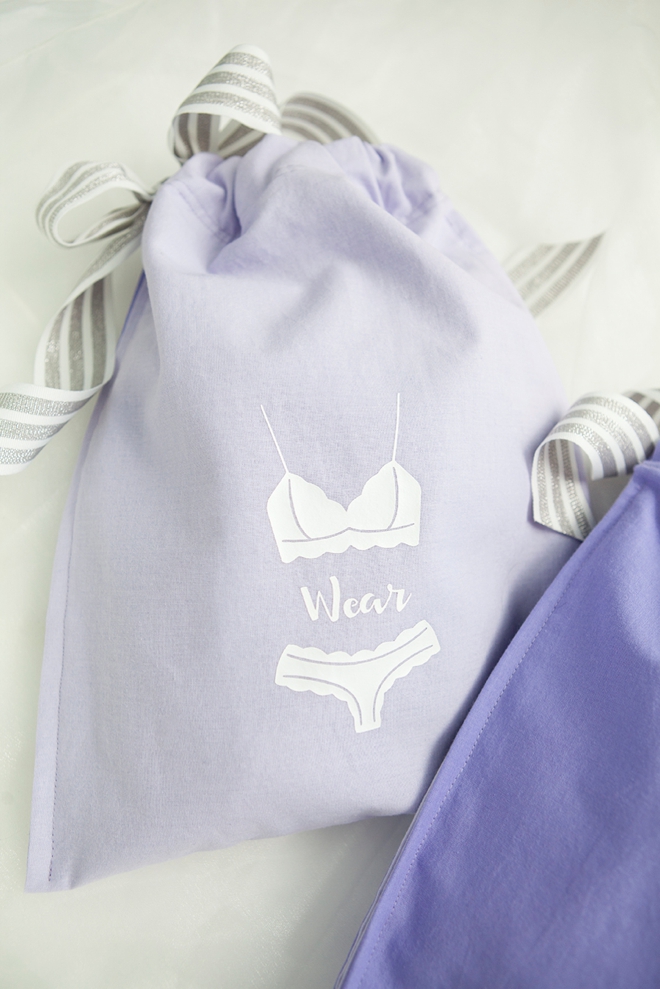
Wear + Wash
As with all our DIY tutorials, if you create one of our projects please send us a picture – We Love Seeing Your Creativity! If you use Instagram or Twitter please use the hashtag #SomethingTurquoiseDIY and it will show up on our Get Social page. Happy Crafting!
DIY Tutorial Credits
Photography + DIY Tutorial: Jen Carreiro of Something Turquoise // SVG File Design: Julia Ensign // All Fabric + Ribbon: JoAnn’s // Cricut Iron-on in White + Gold: Amazon // Fiskars Cutting Mat, Amplify Shears and Rotary Cutter: Amazon // Nail Polish: OPI – Withstands the Test of Thyme
Shop The Supplies:
Find the supplies you’ll need for this project from our affiliate links below:


Comments