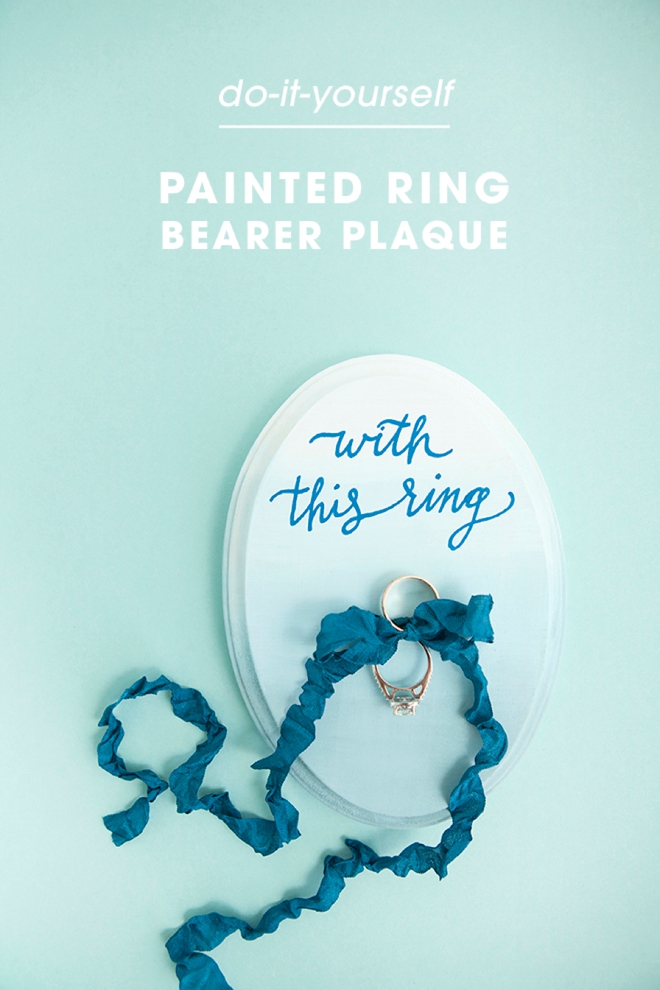
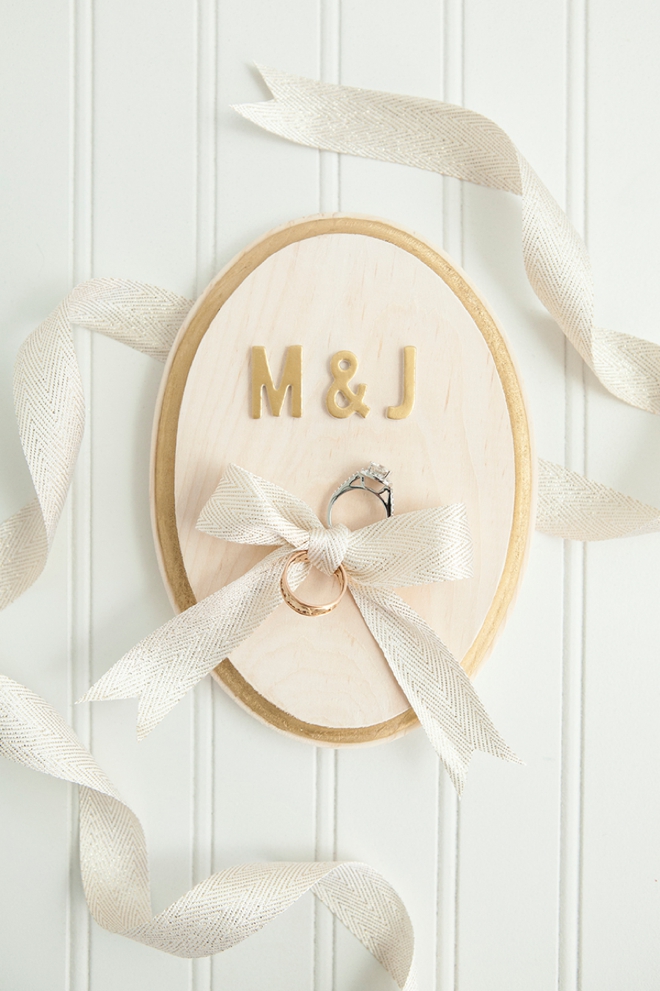
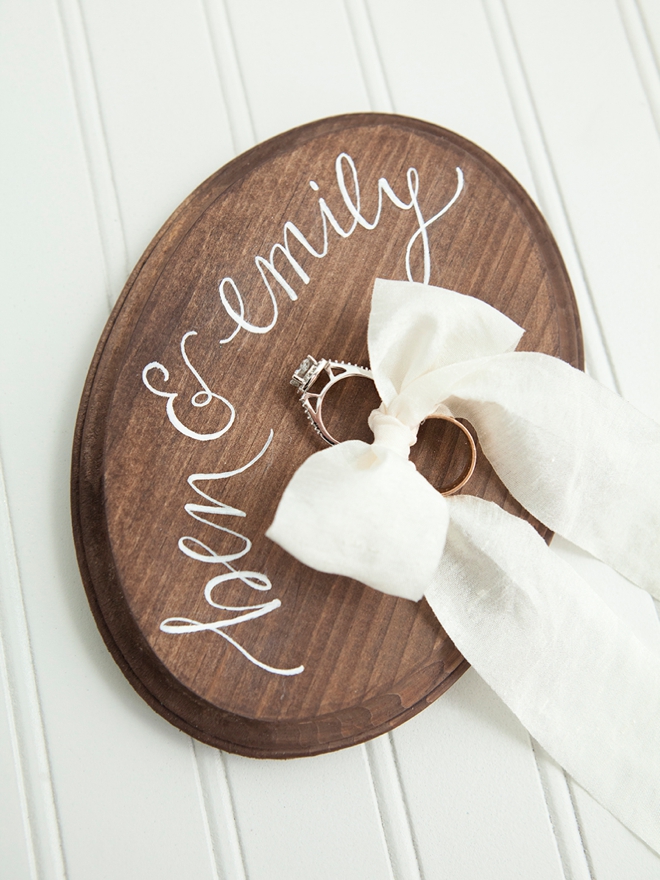
Hoooray for Mondays! Ok, maybe not really… but super cute DIY wedding ideas always make Monday look better, right!? Today’s project is crazy simple so don’t let the look of it fool you! This DIY Ring Bearer Plaque is a fun twist on a ring bearer pillow, that’s inexpensive and can be fully customized to fit your unique event. To get your creative juices flowing, I created 3 totally different versions of this project. I know that many of you might not be planning to have your ring bearer actually bear the rings, but maybe you should!
SUPPLIES:
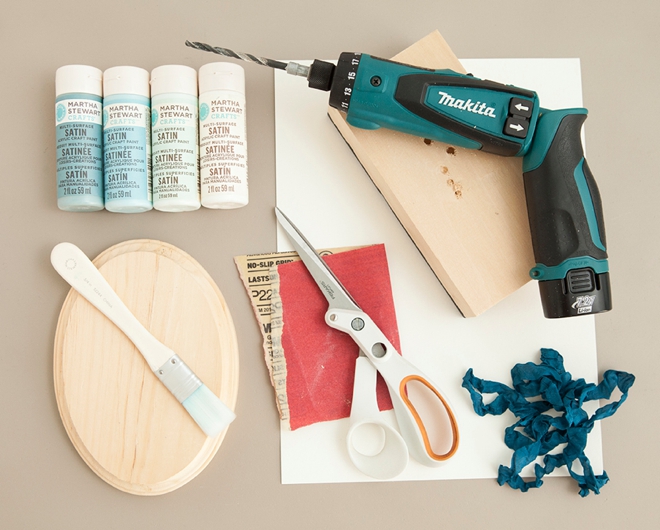
- Unfinished 4.75″ x 7″ Wood Plaque
- Scrap Piece Of Wood
- Paint or Wood Stain
- Paint Brushes
- Drill or Driver Drill
- Pretty Ribbon
- Sand Paper
- Ruler
- Stickers, Chalk Pen or the like!
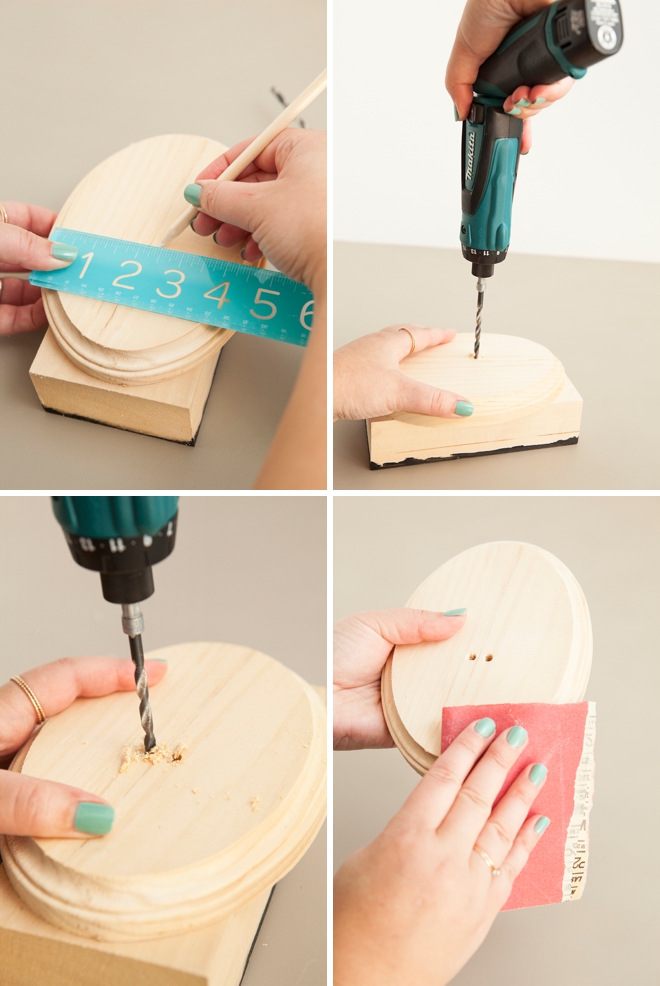
Drill The Ribbon Holes
The placement of your two ribbon holes will depend on your design. Will your plaque run horizontal or vertical? Will you embellish the top or bottom? Etc. Measure before you drill to make sure the holes are centered. Keep your plaque on top of a scrap piece of wood as you drill so that when the drill bit goes through your plaque – it goes into the scrap piece of wood and not your desk! Sand the plaque to prepare it for painting.
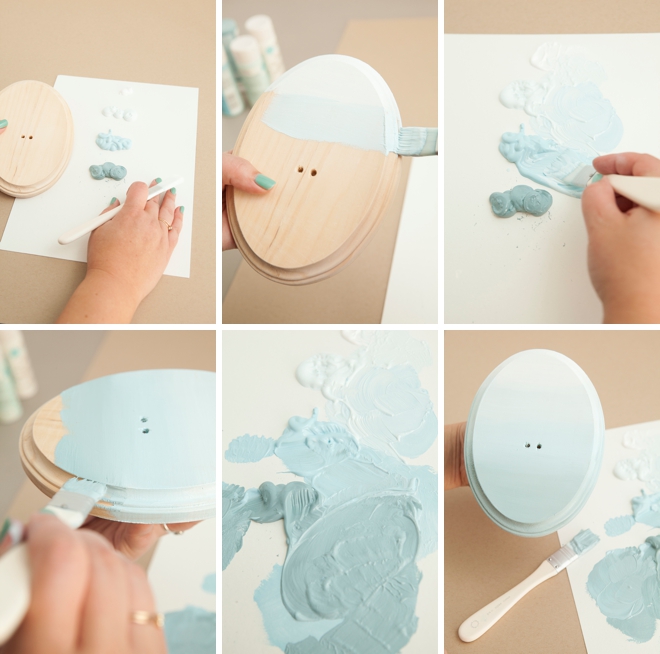
Paint Your Plaque
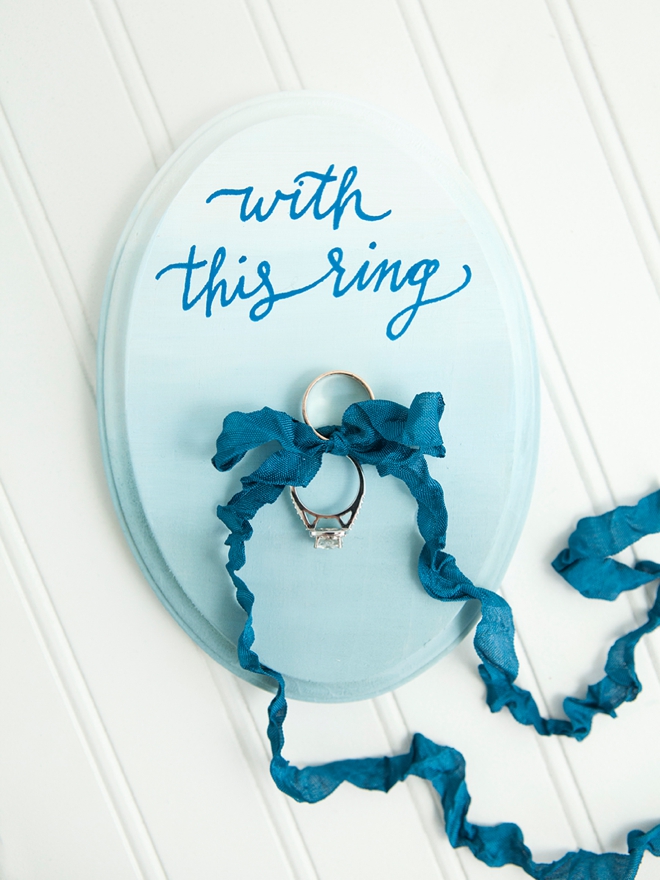
Ombré: By using 4 colors of paint; Wedding Cake White, Sea Lavender, Blue Sky, and Slate Gray I created the ombré. Starting with the lightest shade frist I painted a small amount on the top, then worked my way through each color – blending in between.
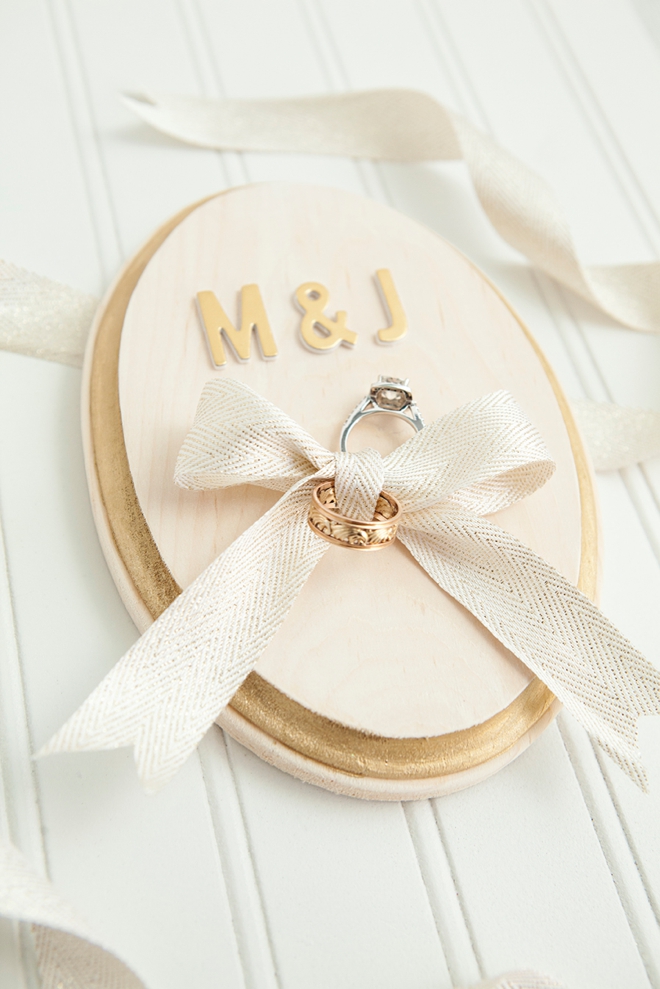
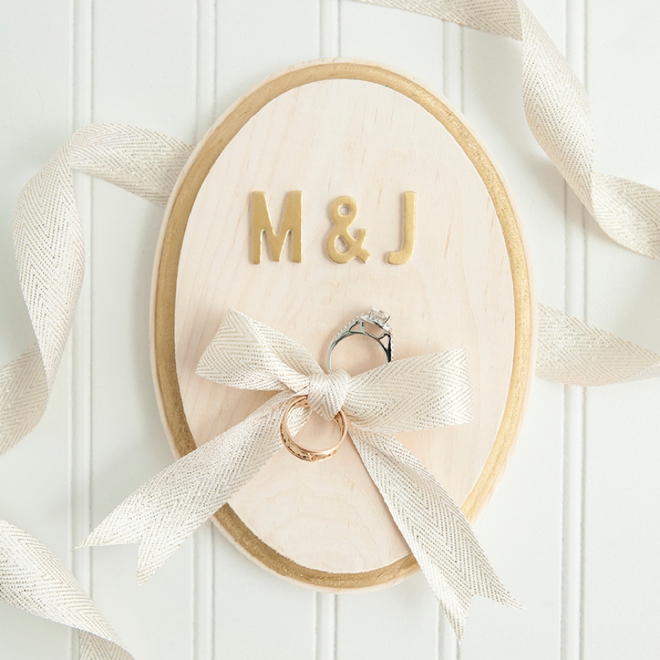
White + Gold: For this design I first stained the unfinished wood with MSC Wedding Cake White Wood Stain, then pained the decorative ring with Metallic Gold Paint.
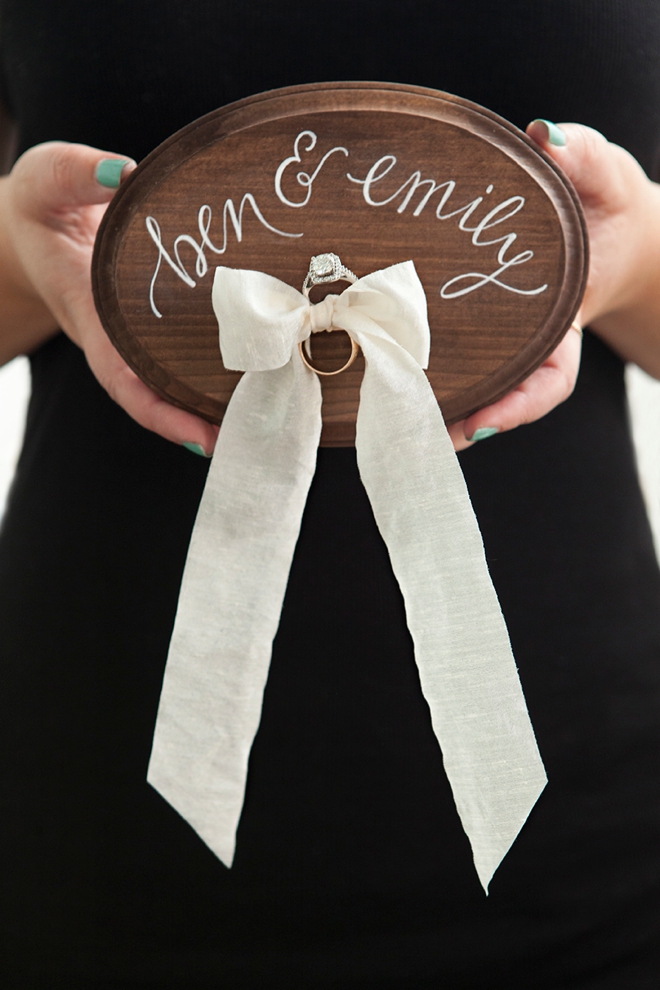
Dark Wood: For this design I simply stained the unfinished wood with MSC Chestnut Wood Stain.
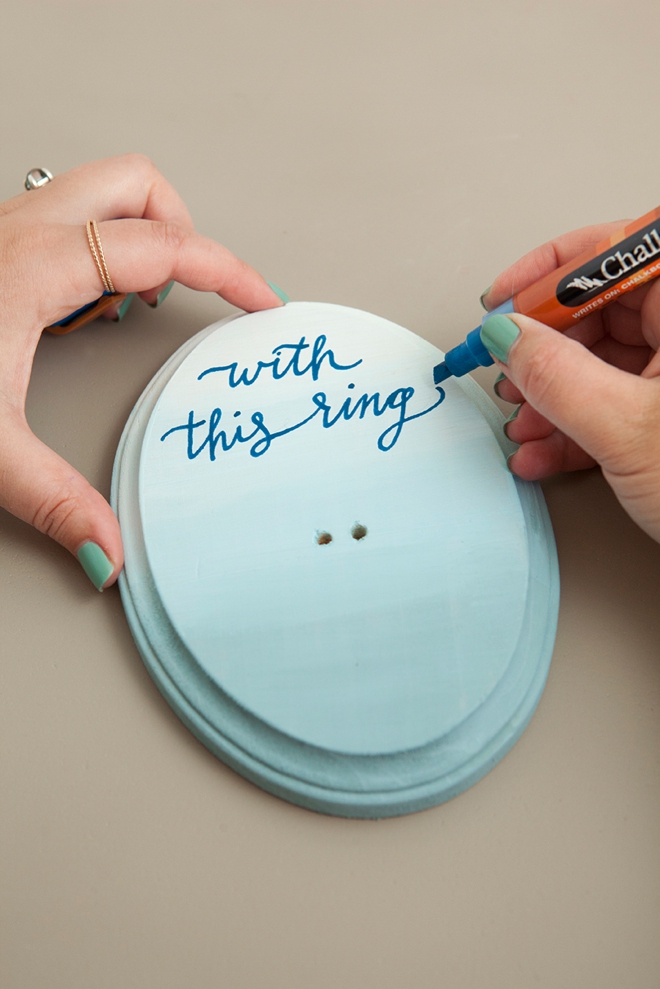
Add Embellishment
Ombré: Using a Chalk Ink marker in Grover Blue, I wrote “with this ring”. The Chalk Ink won’t fully wipe off the wood, but I LOVE these markers and how they write. One swipe with decoupage glue and it will stay forever.
White + Gold: I used the most darling gold stickers. That’s it! Linked below.
Dark Wood: Using a fine tip paint pen, I wrote the names.
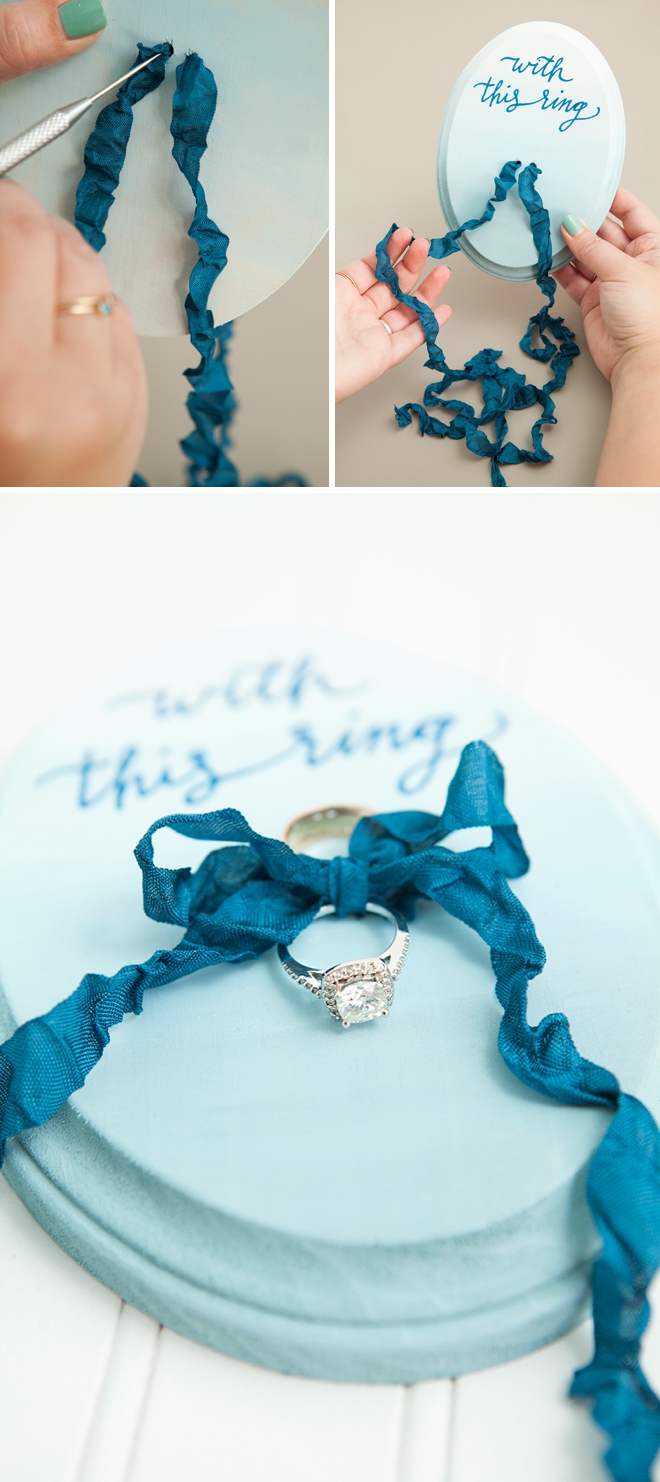
Add Your Ribbon
Using a paper clip pulled apart, a paper piercer or even a bbq skewer – use something to help you guide your ribbon through the holes. The last step is just tying on the rings!
Which Style Is Your Favorite?
As with all our DIY tutorials, if you create one of our projects please send us a picture – We Love Seeing Your Creativity! If you use Instagram or Twitter please use the hashtag #SomethingTurquoiseDIY and it will show up on our Get Social page. Happy Crafting!
DIY Tutorial Credits
Photography + DIY Tutorial: Jen Carreiro of Something Turquoise // 4.75″ x 7″ Oval Plaque: Amazon // Ribbon: Etsy, Michaels + Target // Martha Stewart Craft Paint in: Sea Lavender, Blue Sky and Slate Gray (ombré); Wedding Cake Wood Stain and Metallic Gold; and Chestnut Wood Stain // Grover Blue Chalk Ink Pen: Amazon // Gold Foil Thickers: Amazon // MSC Paint Brushes: Amazon // Nail Polish: OPI – Withstands the Test of Thyme
Shop The Supplies:
Find the supplies you’ll need for this project from our affiliate links below:


Comments