-Sponsored Post-
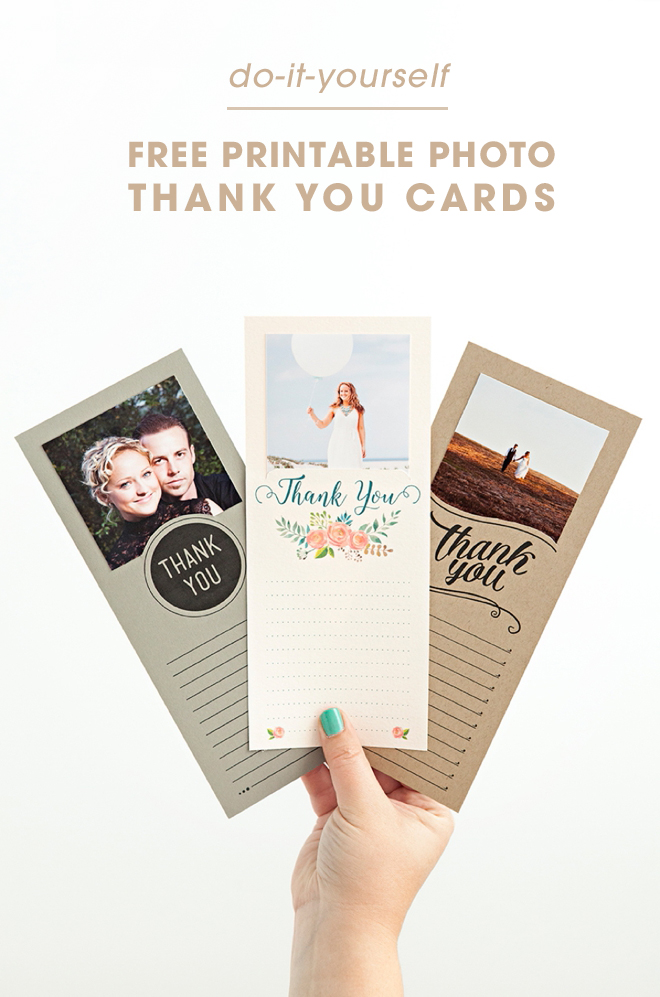
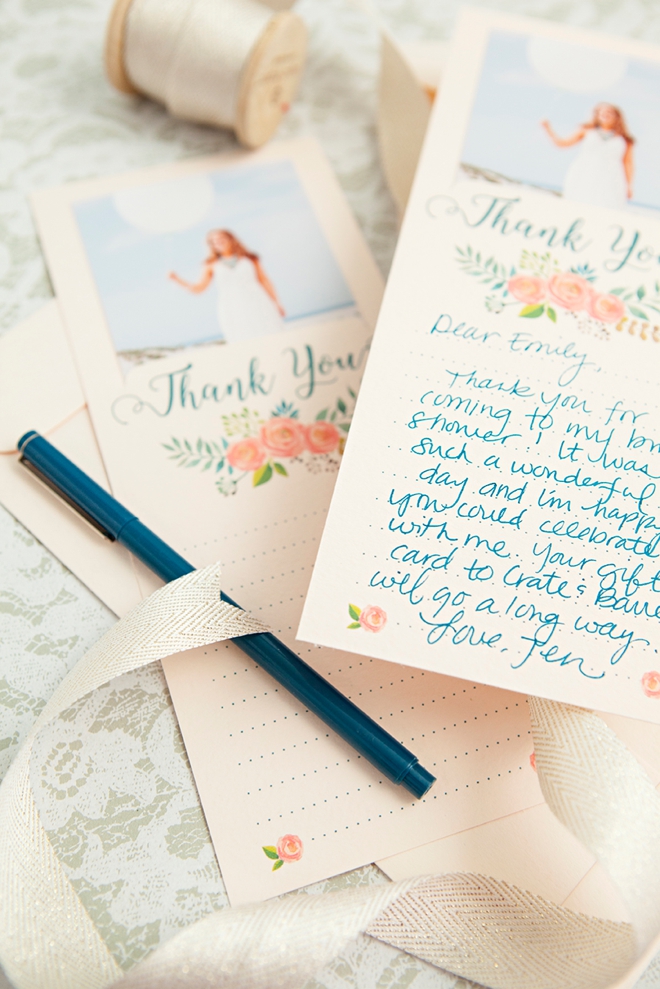
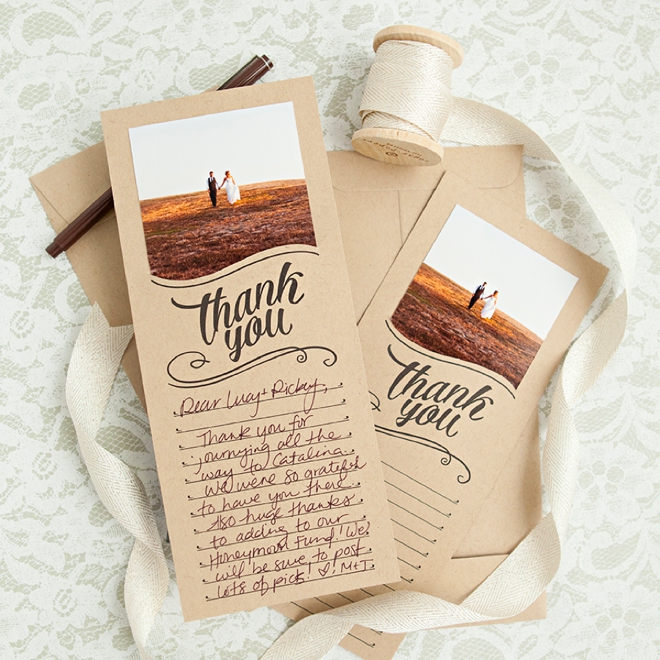
Giving thanks is an important part of your wedding experience. From the moment you get engaged your family and friends will be helping you accomplish many different tasks along with giving you gifts, including the monetary type. All of which (in my opinion and Emily Post’s too) warrant a handwritten thank you note. But all my lovely DIY brides wouldn’t be satisfied with store bought cards, so I created these darling DIY Photo Thank You Cards in three different designs! Choose your favorite or use them all and pair with a special picture from your event to add the most personal touch. Creating this project means that your guests will not only be receiving a special handwritten thank you, but also a special handmade card – which is 2x as special. I’ve partnered with Canon to bring you this free printable idea, because they truly understand how important it is to have an excellent home printer that can tackle large scale wedding projects. If making these for a smaller event like your bridal shower, you might even try to take a special picture with each attendee and use that photo on the card!
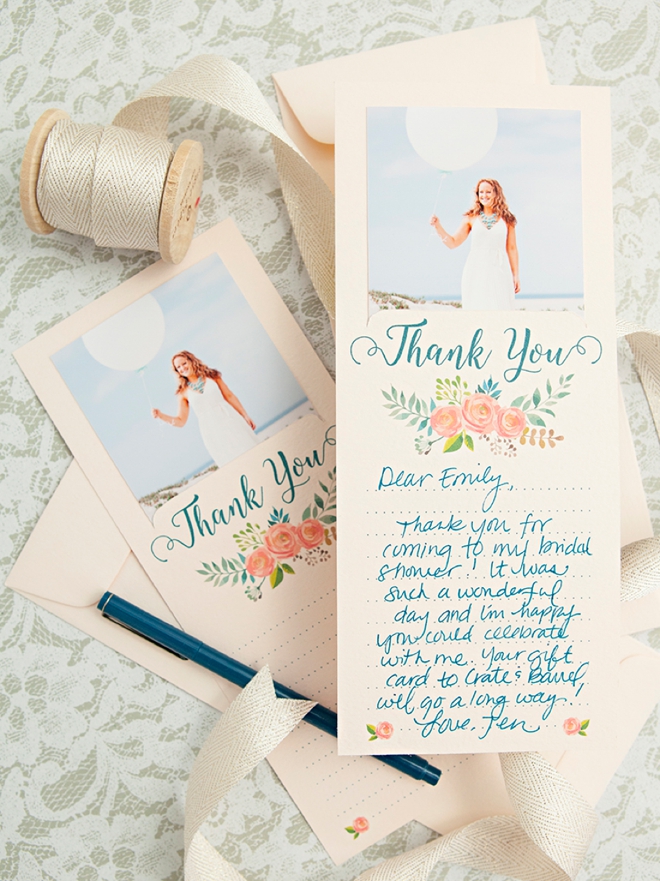
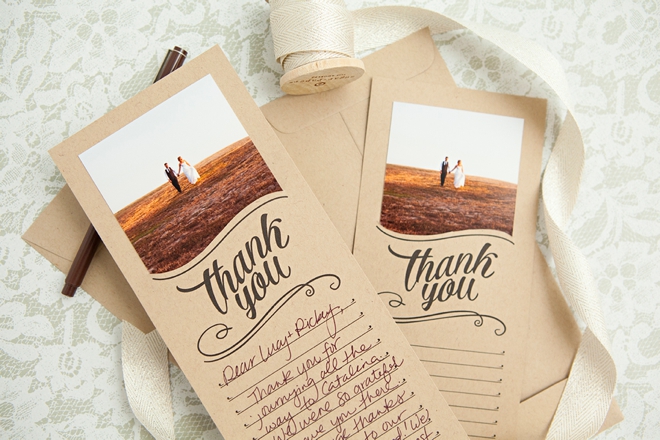
Thanks For All Occasions
No matter if you need to send thank you’s after your engagement party, bridal shower, wedding or maybe even your birthday – these 3 printable designs will have all your thanks covered!
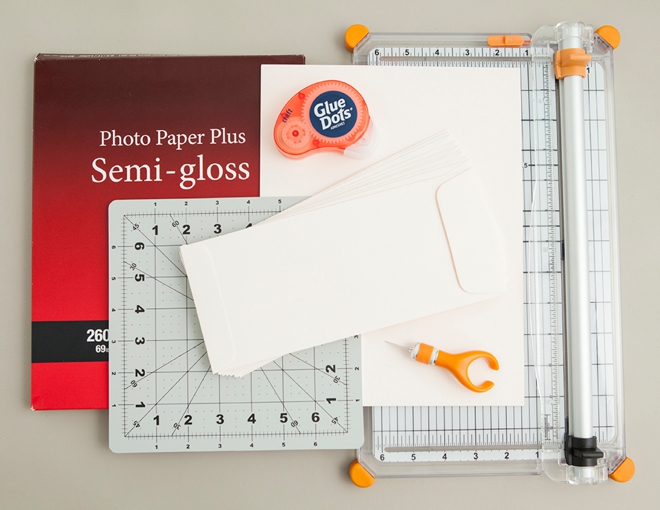
SUPPLIES:
- Canon PIMXA iP8720 Crafting Printer (my fav!)
- Canon Photo Paper Plus Semi-Gloss
- 8.5″ x 11″ Cardstock
- #10 Envelopes (the #10 is the size)
- Paper Trimmer
- Craft Knife
- Cutting Mat
- Glue Dots
The cardstock you use should be a medium-to-light shade of color; the darker your cardstock (especially for the floral design) the less you’ll see the printed design!
Download + Print + Trim The Cards
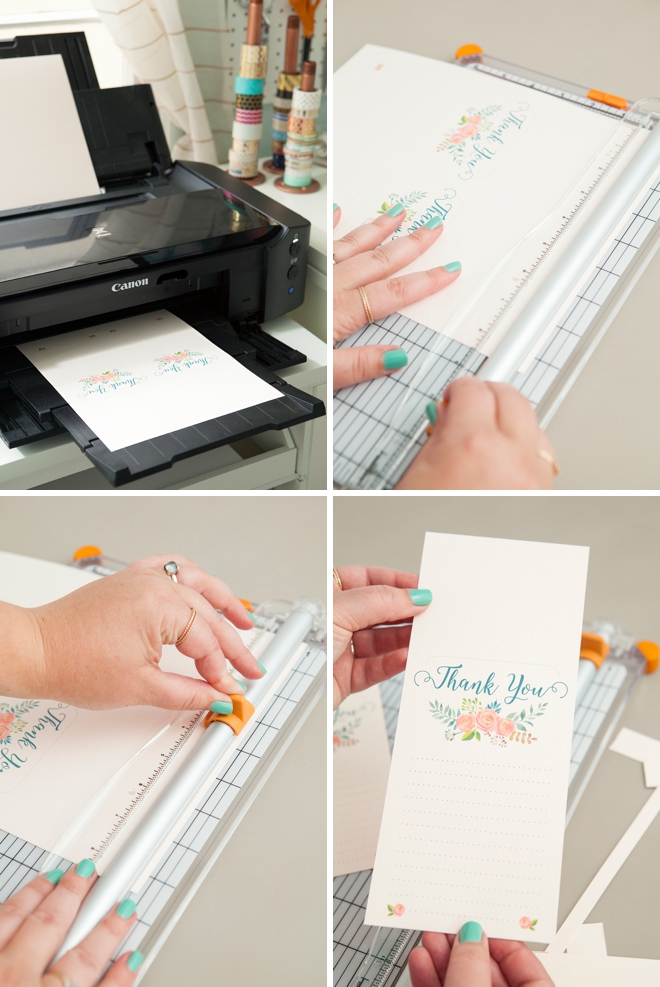
First, you’ll need to download your favorite thank you card design at the end of the post and save it to your computer. Then using your Canon PIXMA iP8720, print your thank you cards onto the cardstock – you’ll get 2 cards per 8.5″ x 11″ sheet. The biggest question I get is “Can that printer print on cardstock? Even the super think kind?” – and the answer is YES! The paper is fed straight from the back (instead of being fed from the inside, pushed around a roller) so it can even handle chipboard!
Using the crop lines provided, trim your cards down to 3 7/8″ x 9 1/4″.
Print + Trim The Photo
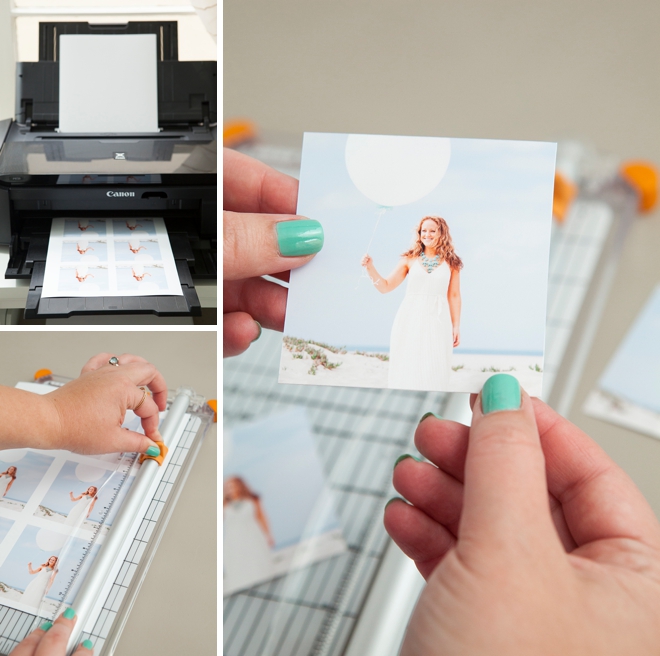
Using your favorite design software, or maybe even your phone, print a 3″ square photo for each thank you card onto Canon Photo Paper Plus Semi-Gloss. This paper has a stunning shine to it, mixed with the perfect amount of matte finish, that makes your final image look professionally printed.
Cut Along The Lines
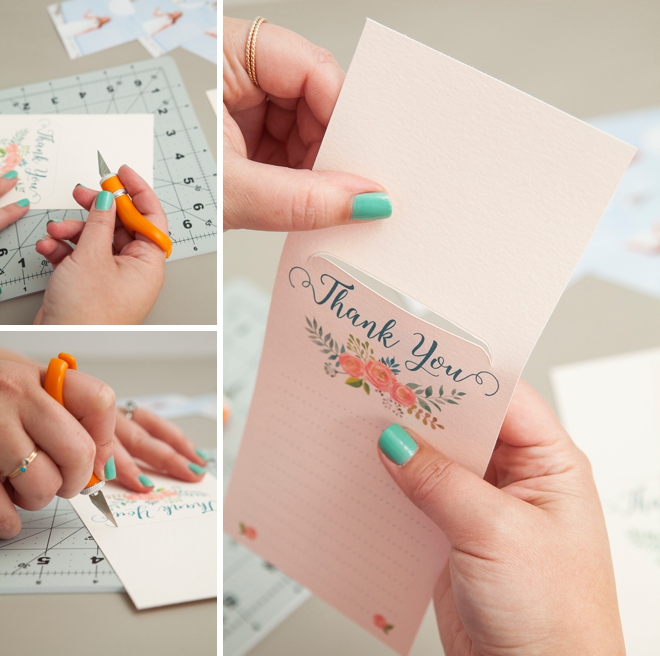
Each of the 3 designs has a different cut line that the photo will fit into. Using a craft knife, I’m using one that fits on my finger tip, slice through the paper along the thin gray line, but slice closer to the thank you design, not on the other side. Why? Because once your photo is put in place – you won’t see that tiny gray line!
Add The Photo
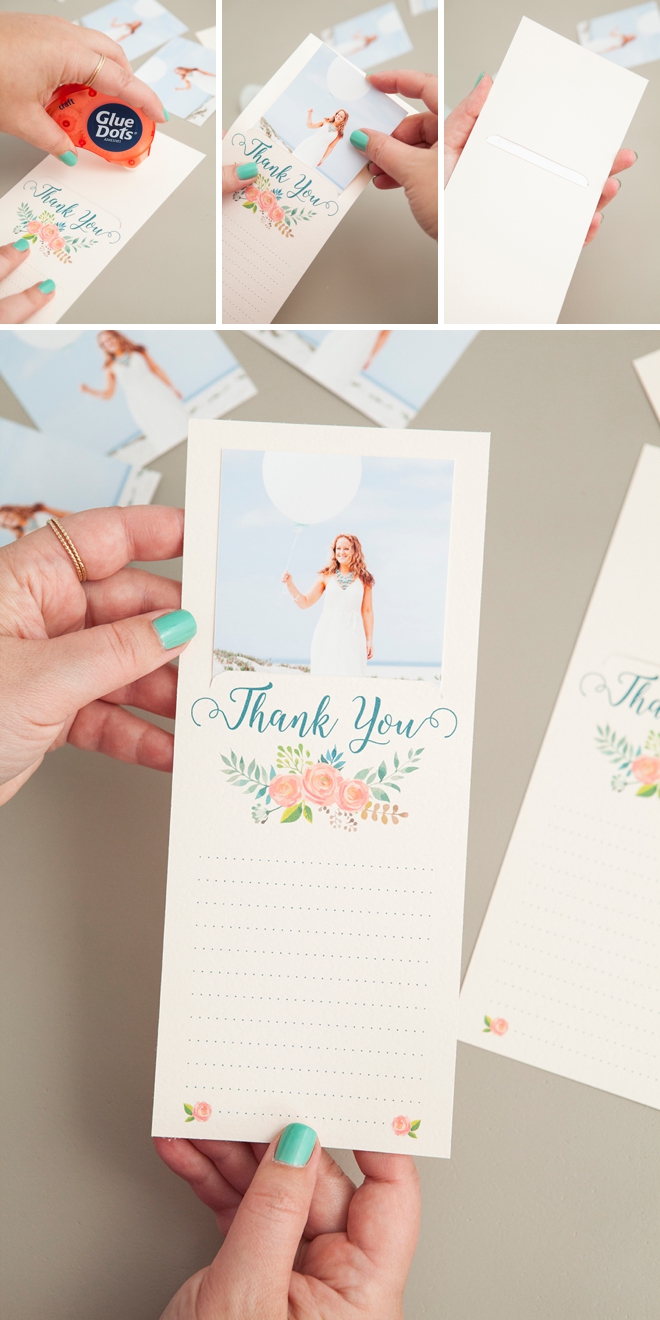
Your 3″ square photo will now perfectly fit into the cut line. Add one little Glue Dot to secure the photo in place… and then admire your creativity!
Print + Trim + Slice + Assemble
The steps are the same for each design. First download and print onto cardstock. Then cut out each card. Print your photo. Slice the photo line and secure the photo. Then all you have to do is write your thank you!
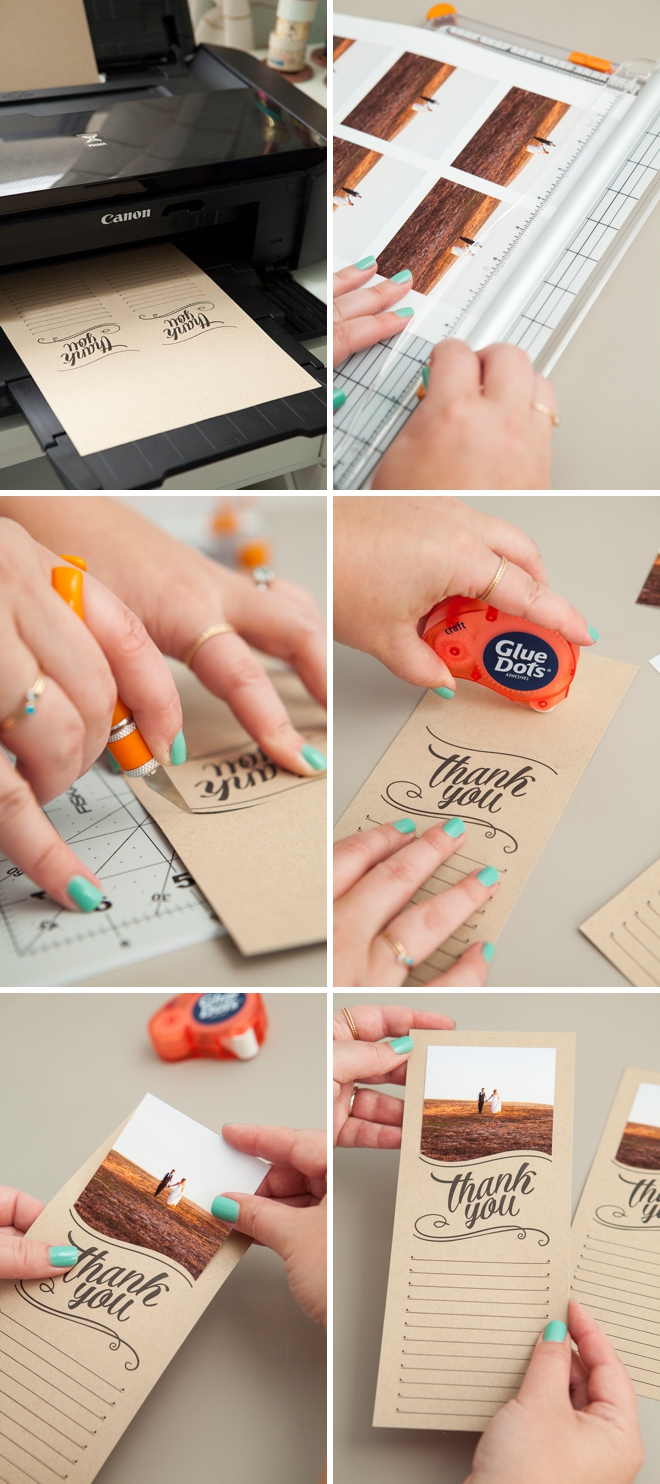
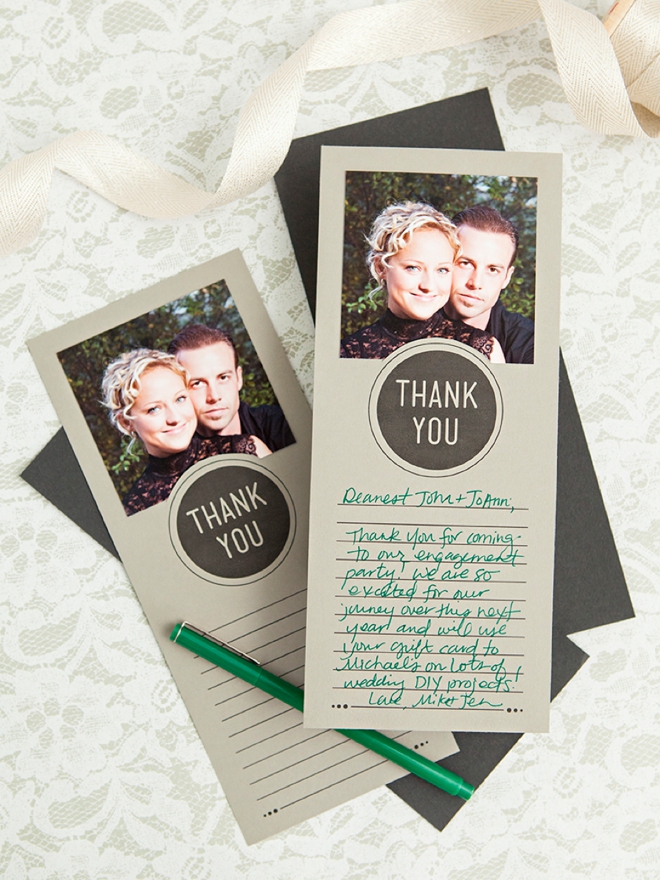
Print + Trim + Slice + Assemble
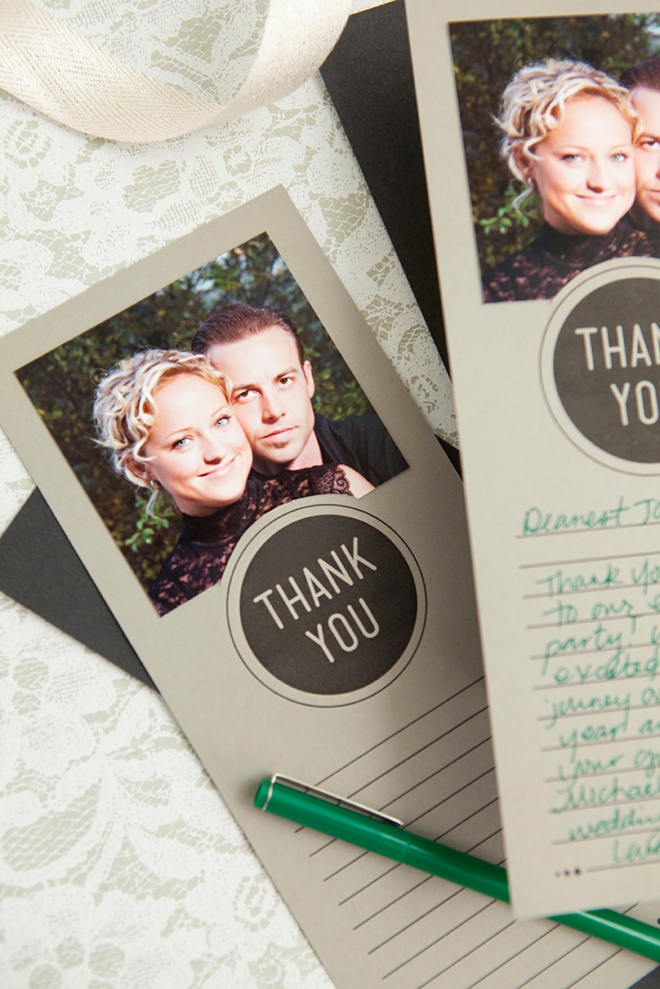
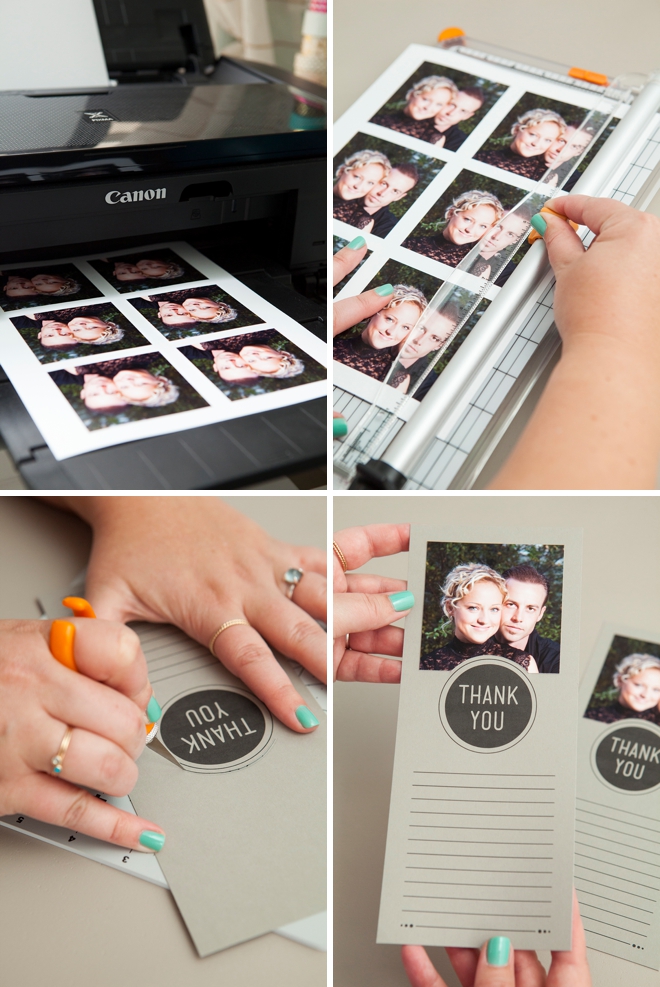
Woah! Who is that cute young couple? …haha, that’s me and the hubs about 8 years ago… time sure does fly by. I love this photo paired with this design!
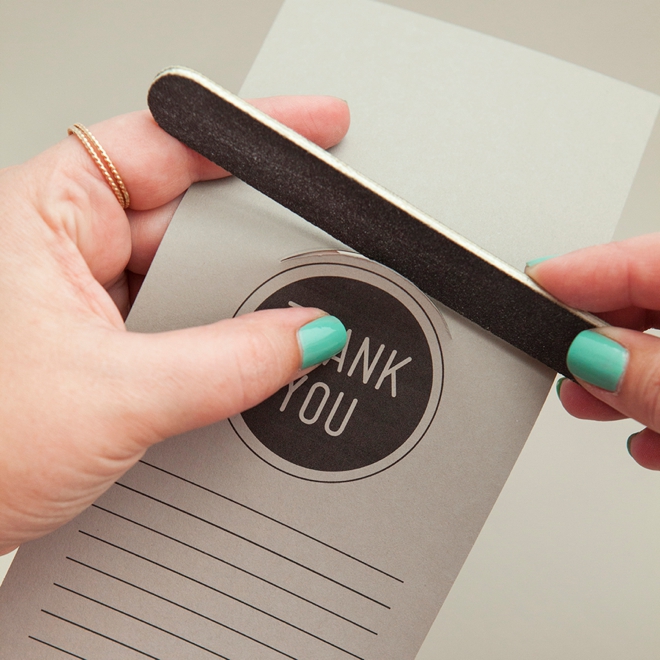
File To Smooth
If your slice line is jagged or not perfectly straight, you can file it smooth using a nail file!
Which Is Your Favorite?
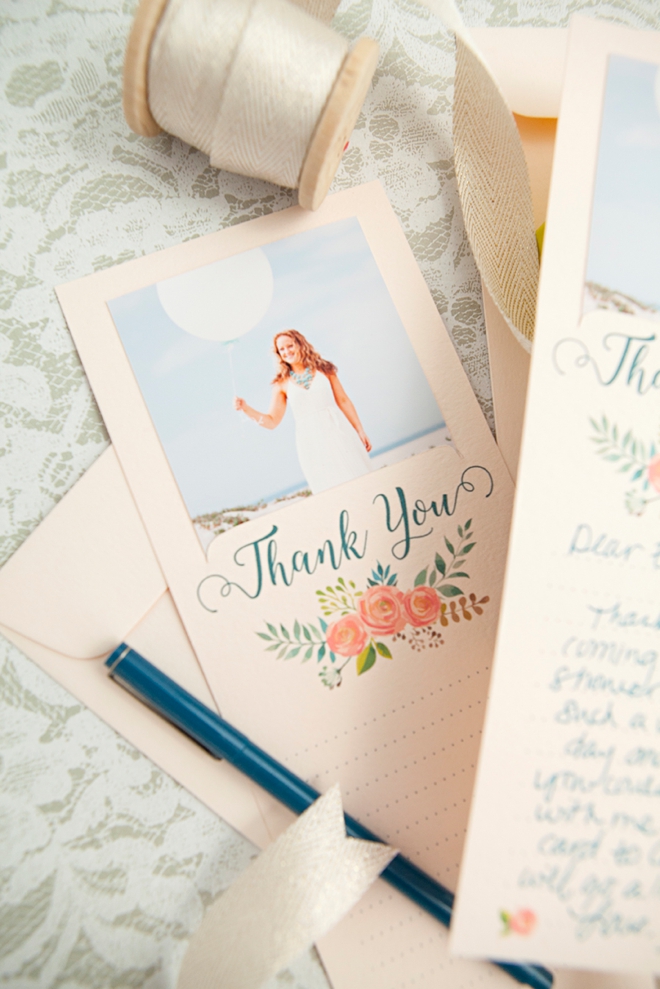
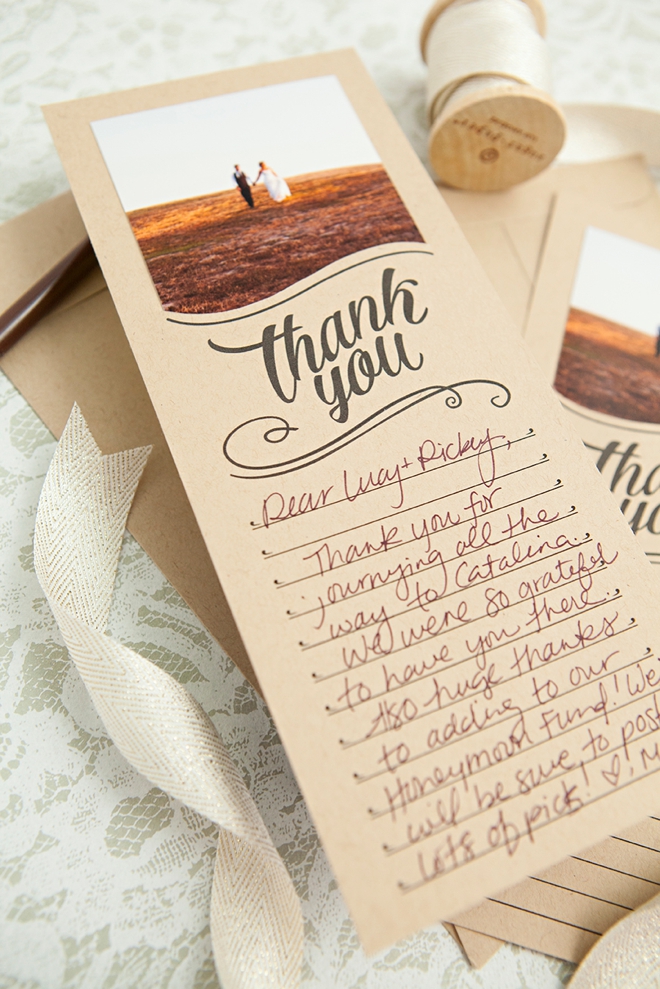
I love something about each one of these designs because they are so different! They can look modern or romantic or even rustic. The color of paper you use and what photo you pick will determine your overall look and I absolutely can’t wait to see what you end up making!
DIY TUTORIAL SPONSORED BY:

Canon U.S.A., Inc. prides itself on allowing consumers to create and preserve beautiful imagery, from capture to print. With wireless technology and seamless printing capabilities, you can print your photos and printables with precision and ease.
As with all our DIY tutorials, if you create one of our projects please send us a picture – We Love Seeing Your Creativity! If you use Instagram or Twitter please use the hashtag #SomethingTurquoiseDIY and it will show up on our Get Social page. Happy Crafting!
DIY Tutorial Credits
Photography + DIY Tutorial: Jen Carreiro of Something Turquoise // Canon PIXMA iP8720 Crafting Printer and Photo Paper Plus Semi-Gloss: courtesy of Canon // #10 Envelopes and 8.5″ x 11″ Cardstock in Paper Bag, Luxe Blush and Gravel: Paper Source // Card Design: Julia Ensign // Fiskars Cutting Mat, Fingertip Craft Knife and Paper Trimmer: Amazon // Glue Dots: Amazon // Nail Polish: OPI – Withstands the Test of Thyme
Shop The Supplies:
Find the supplies you’ll need for this project from our affiliate links below:



Comments