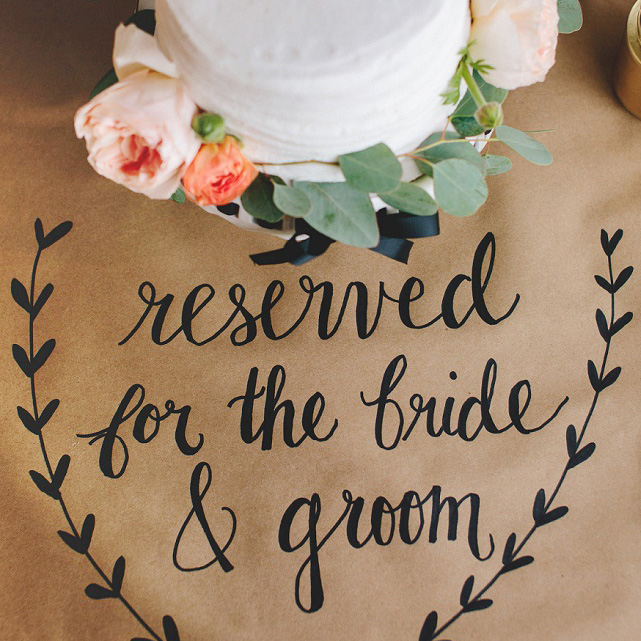
DIY | Kraft Paper + Sharpie Detailed “Tablecloths”

Hello and welcome! For those of you who haven’t been following along this week or for those who might be finding this post later on… we have been celebrating our first bridal blogger Shea Shoemaker and her gorgeous wedding this week! To say thanks for bringing her voice and ideas to ST during her planning process, I created a two fresh DIY projects for her wedding which you can find here and here. But today’s project was inspired by an awesome handmade detail at her actual wedding!
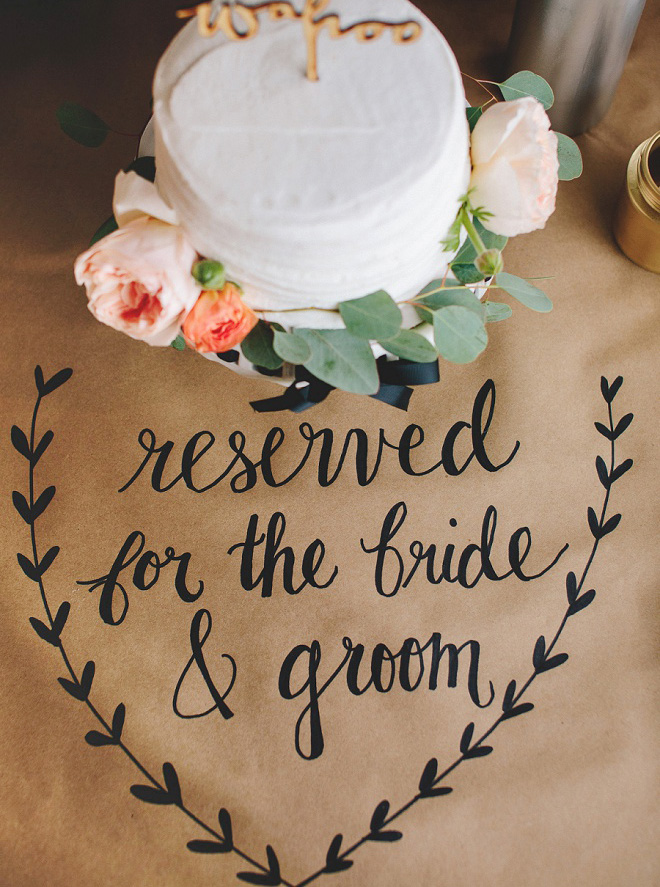
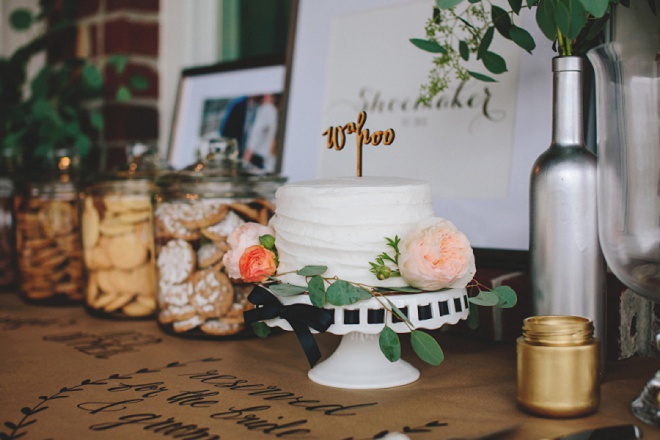
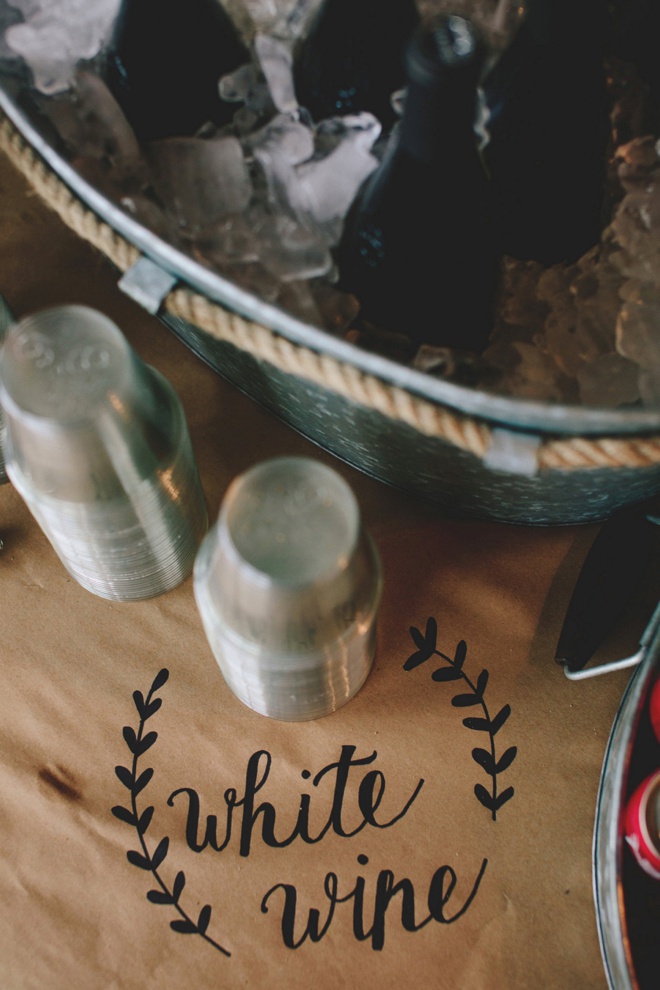
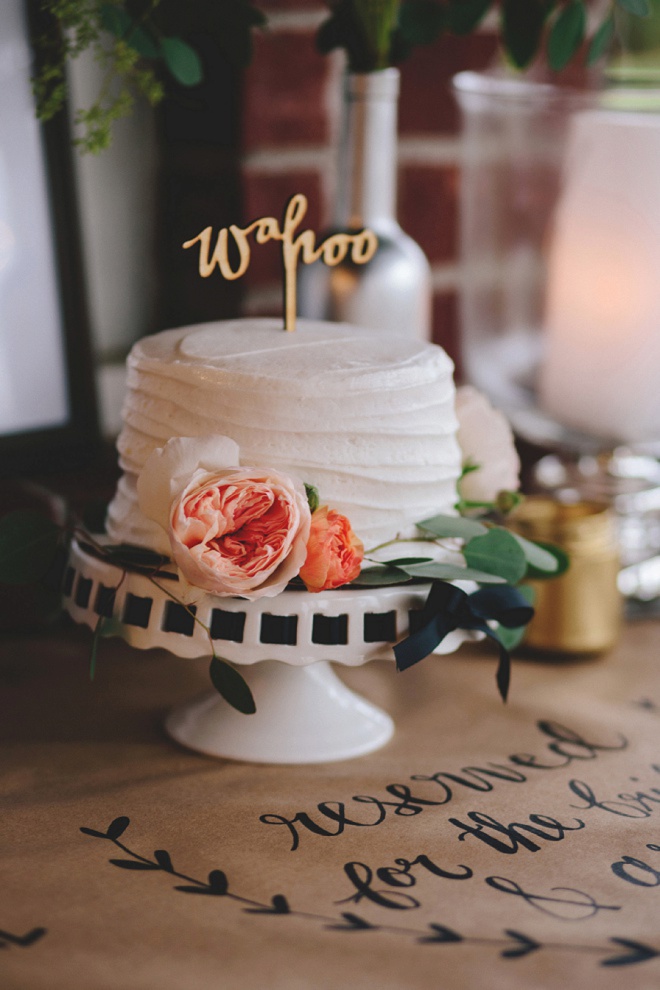
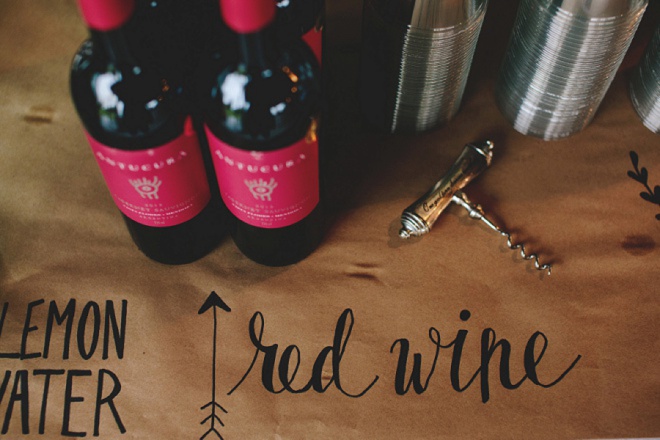
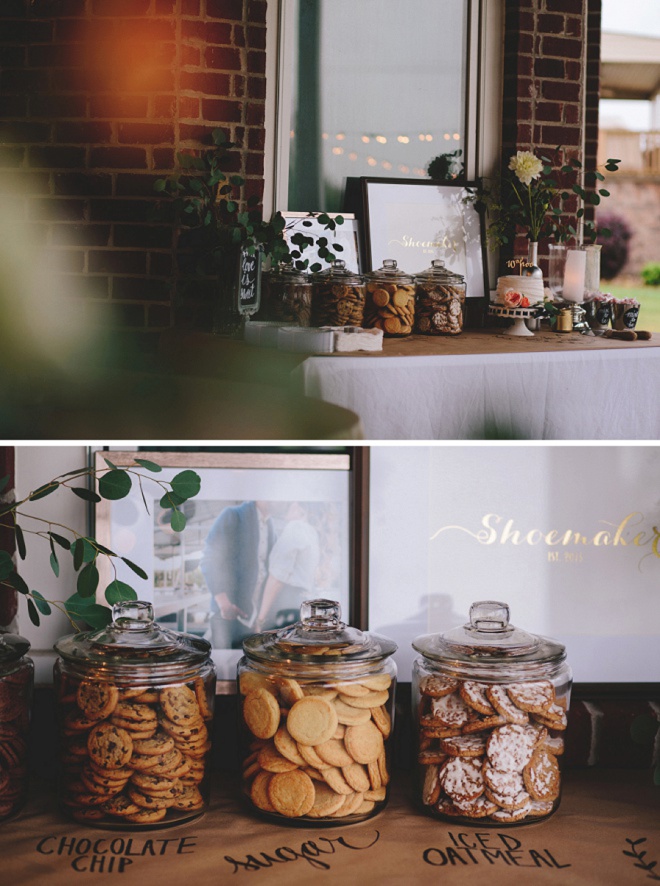
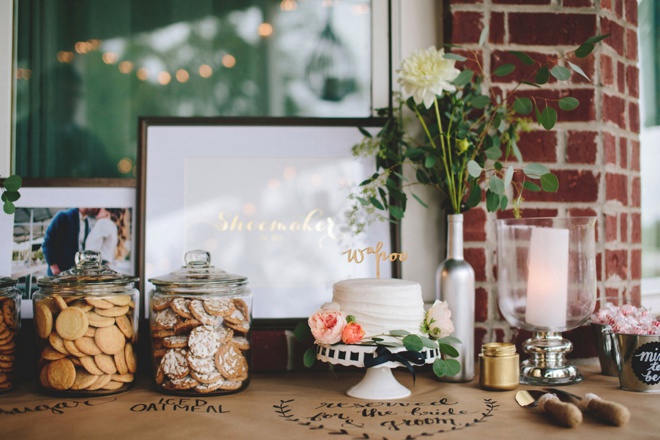
“This was one of my favorite wedding DIY’s! I found the idea on Pinterest where it had been used at a dinner party. I love anything kraft paper and loved the idea of being able to label + decorate our “self-service” tables at the same time! Our event stylist, Elizabeth, from Stockroom Vintage took this idea to another level as her hand lettering was perfection. I just showed her the idea and she brought it to life. So I love that Jen is showing you how to do-it-yourself today!” – Shea


SUPPLIES:
- Roll of 36″ Kraft Paper
- Black Sharpies
- Transfer Paper (optional)
For those of you who are gifted in the skill of hand-lettering, you won’t need transfer paper and all you need to do is draw on the kraft paper with a Sharpie, it’s awesome!
Transfer Paper Perfection
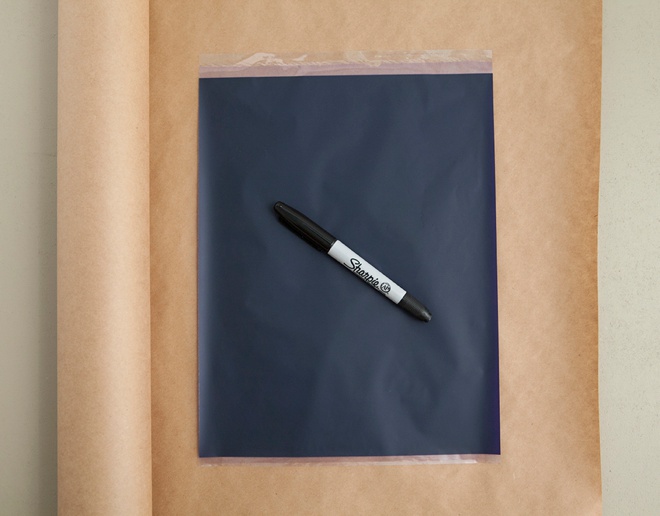
For those of you who aren’t fabulous hand-letterers, this transfer paper technique is going to be your best friend! For starters, rip off all the additional sheets of paper, leaving just the indigo transfer sheet.
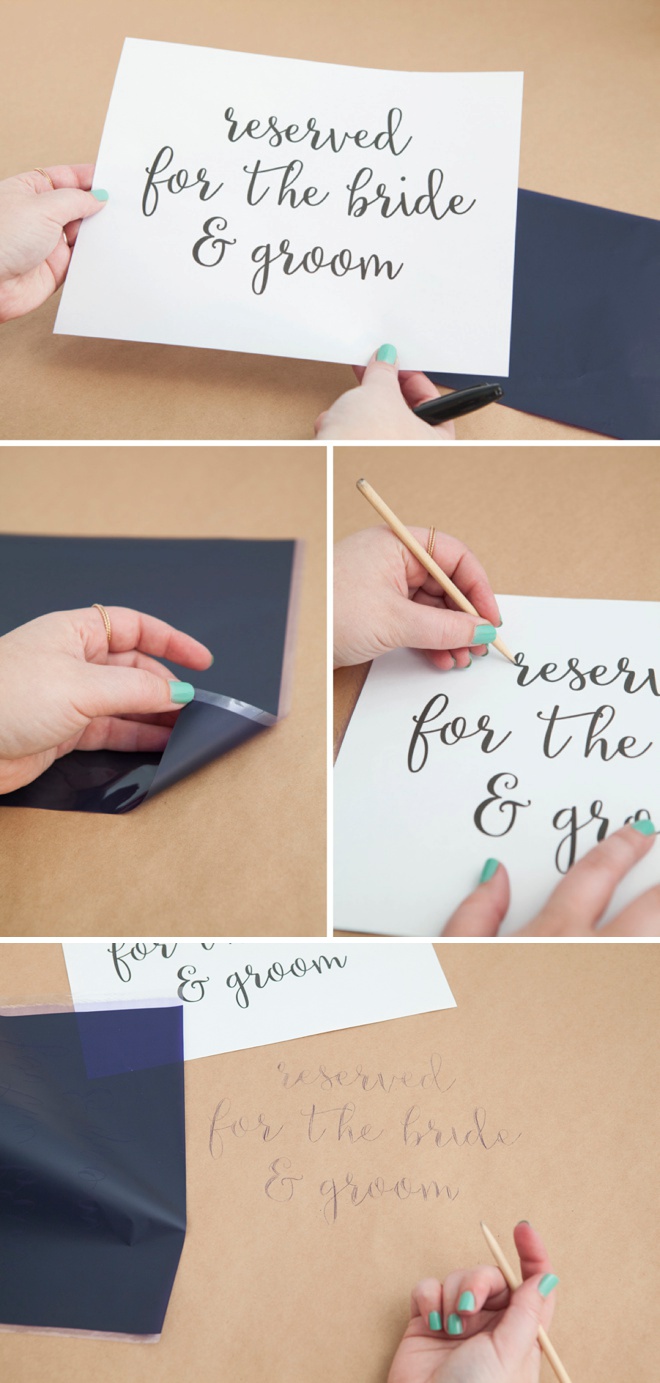
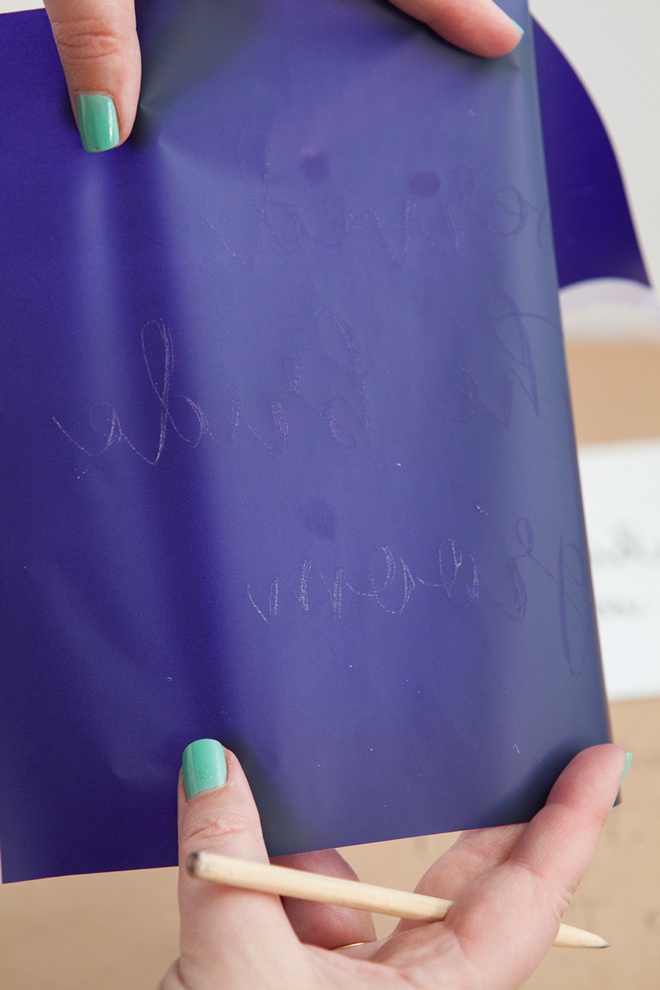
Here I designed my saying and printed it onto regular printer paper, which you can do as well using your favorite design program. With the matte side of the transfer sheet down, place your design on top, carefully hold it in place and using a fairly firm pressure – trace the entire design. To trace I’m using a little wood stick, but you can use a pencil or the tip of a pen, or anything that has a point really. Once removed you’ll have a perfect outline that you can trace with your Sharpie!
CRAFTERS TIP // Don’t press too hard or scrape the transfer paper while it’s down on your kraft paper – otherwise you’ll transfer that mark as well!
Trace The Design In Sharpie
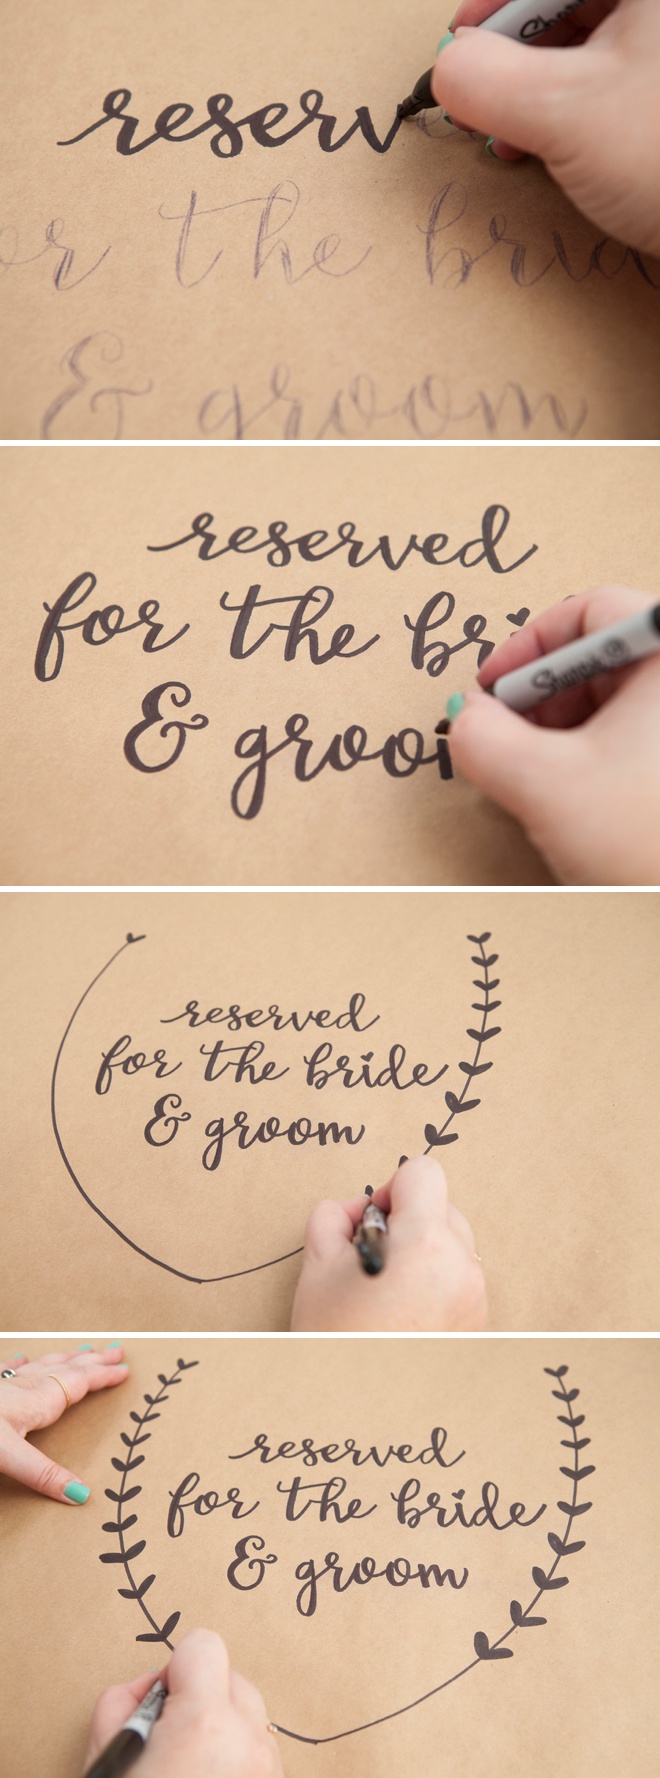
Simply trace over your guidelines using a Sharpie, it’s that easy! Any medium to dark colored Sharpies will work, but black looks hot.
Refer Back To Your Design
Keep your design close by to refer back to as you trace over the transfer – it really helps!
Use Over And Over
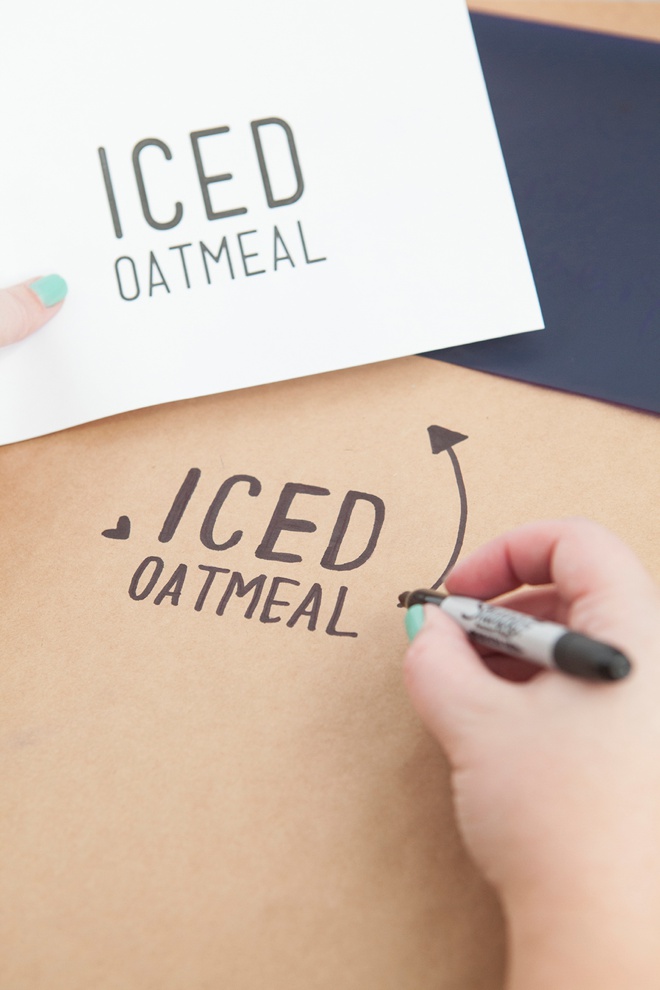
You can use one sheet of transfer paper over and over. From this picture you can see hardly any of the transfer material was used, so there is PLENTY left. Don’t waste, reuse!
Looks Just As Good In Person
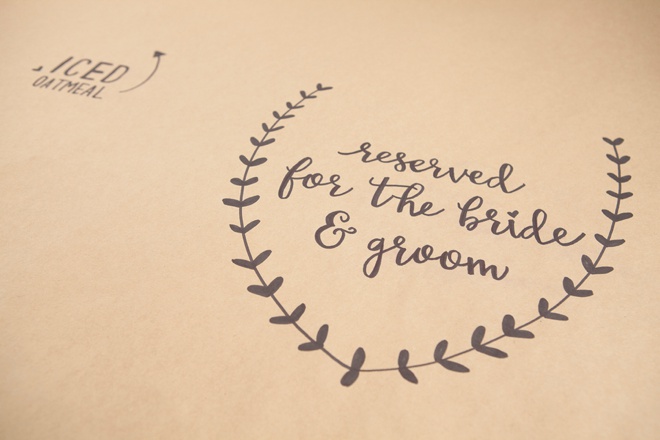
You might be thinking really, just a Sharpie on kraft paper can’t look this good. How did I know that? Because I thought the same exact thing. I actually had to ask Shea what she used for this because I loved it and didn’t even think it was a Sharpie. I was expecting some type of special pen, but no. There is something about the heaviness of the kraft paper that makes it so the Sharpie hardly bleeds, I’m talking almost no bleed. It’s rad.

As with all our DIY tutorials, if you create one of our projects please send us a picture – We Love Seeing Your Creativity! If you use Instagram or Twitter please use the hashtag #SomethingTurquoiseDIY and it will show up on our Get Social page. Happy Crafting!
DIY Tutorial Credits
Step-Out Photography + DIY Tutorial: Jen Carreiro of Something Turquoise // Event Photography: Shots by Cheyenne and Event Styling: Stockroom Vintage of Shea Shoemaker’s DIY Wedding // 36″ Kraft Paper Roll: Amazon // Transfer Paper: Amazon // Sharpies: Amazon // Nail Polish: OPI – Withstands the Test of Thyme
Shop The Supplies:
Find the supplies you’ll need for this project from our affiliate links below:


Comments