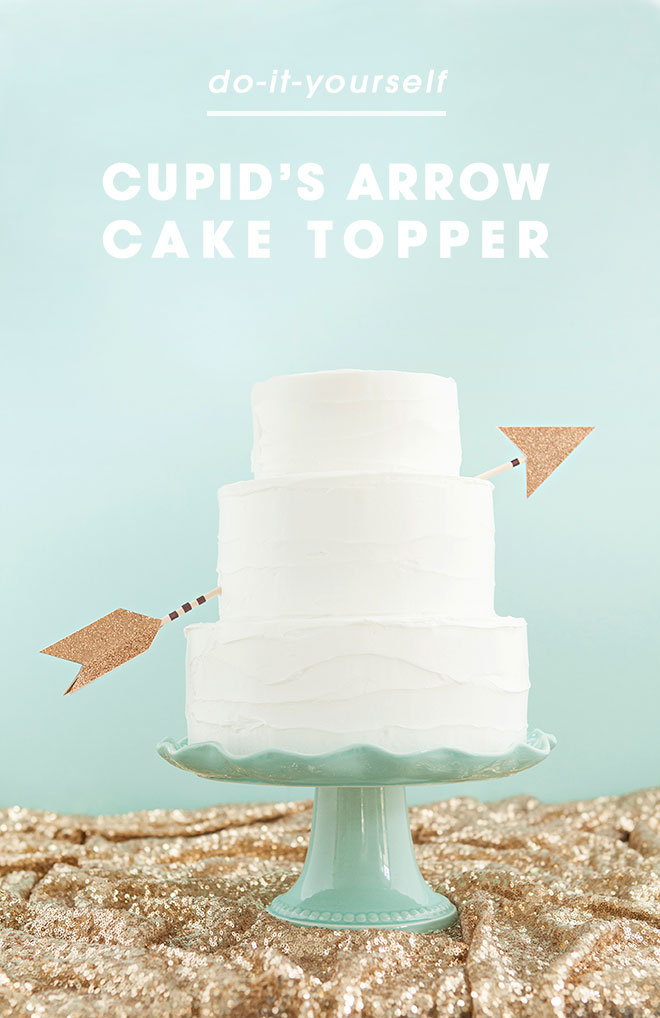
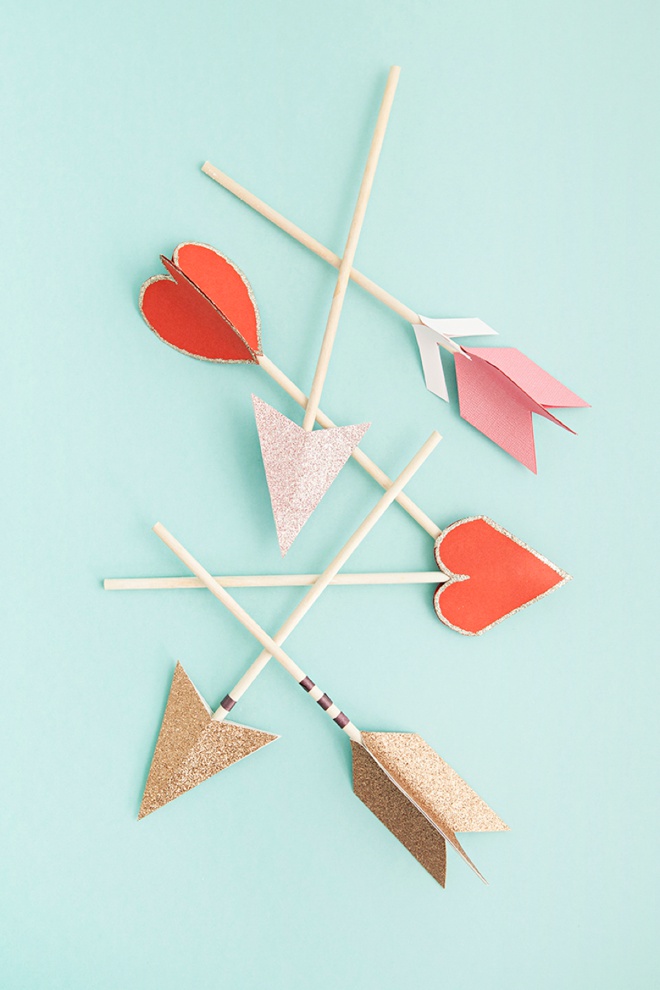
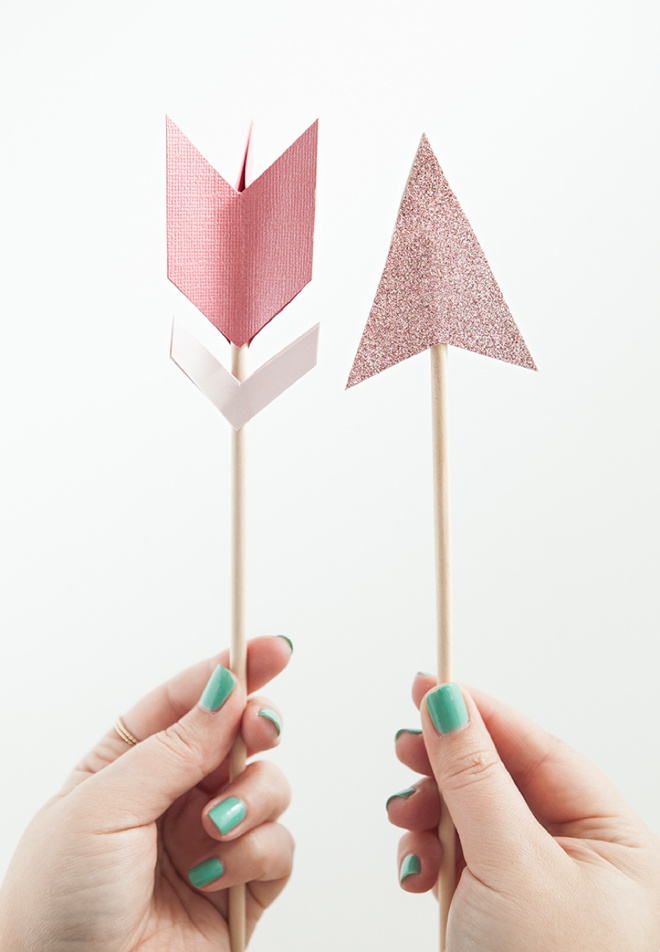
Have you seen a few shots of these adorable arrow cake toppers floating around Pinterest? I have and ever since I’ve been trying to bring you this project, but I thought that sharing it during this month of LOVE was the perfect fit. I guess we could call it a cake topper, but it isn’t really, it’s more of an embellishment. So today I’m breaking down how crazy easy it is to make yourself a totally custom, Cupid’s Arrow Cake Decoration. I’ve created 4 different patterns for the arrow tips and tails, so you can mix and match to create something that is totally you including the color palette. In under 30 minutes (and for hardly any $$) you’ll be able to turn a few pieces of scrap paper into a detail that will make your guests swoon!
Get It Straight
The hardest part about this project is making sure that both the arrow pieces are straight and on the same axis once stuck into your cake… since they aren’t one piece like a normal arrow would be!
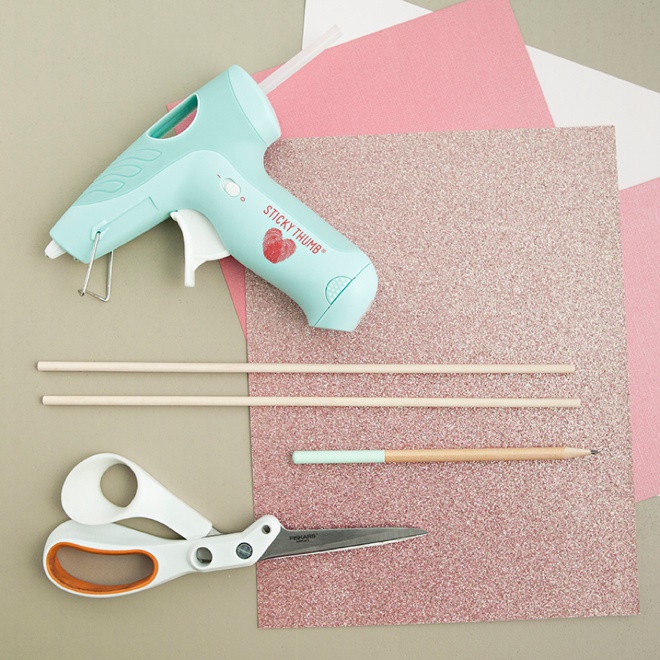
SUPPLIES:
- Two 3/16″ x 12″ wooden dowels
- Cute Cardstock
- Glue Gun
- Scissors
- Pencil
- My free patterns below!
Print + Cut
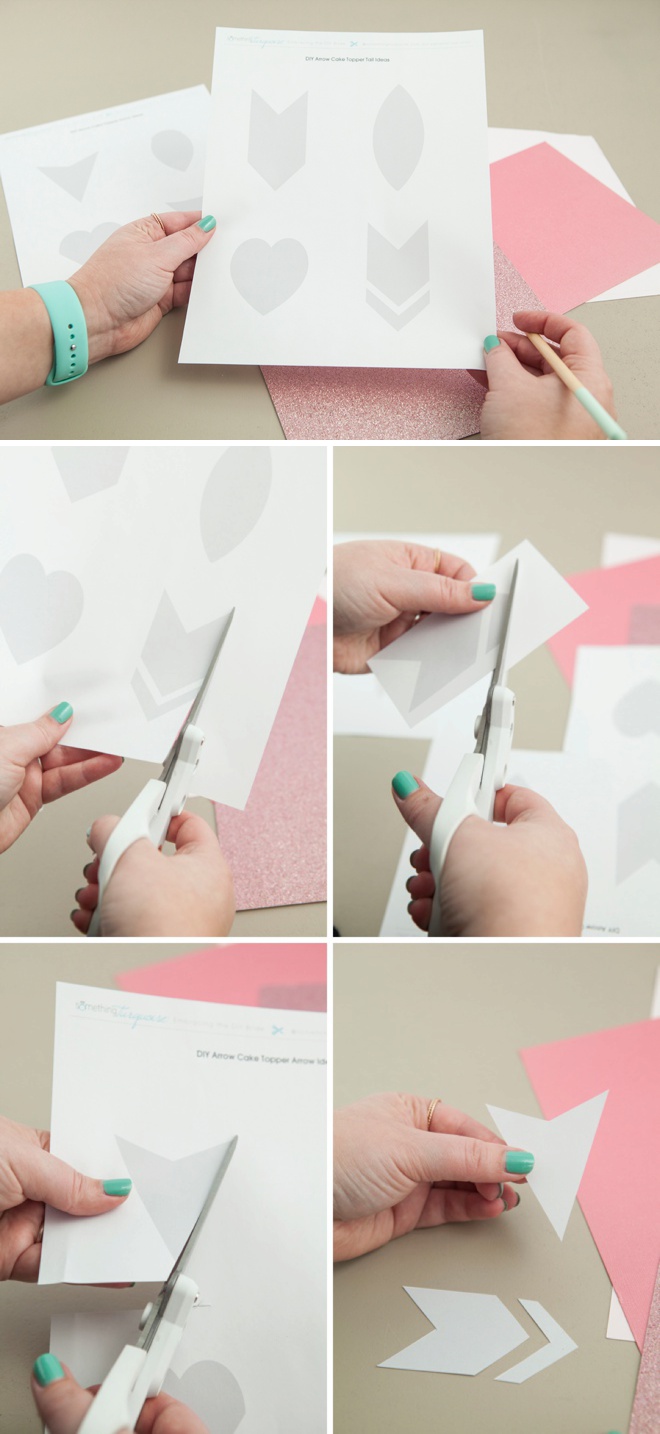
I’ve created 8 patterns for you; 4 arrow tips and 4 arrow tails that you can mix + match! Download them at the end of the post and print onto regular printer paper. Then cut out the tip + tail of your choice.
Trace + Cut
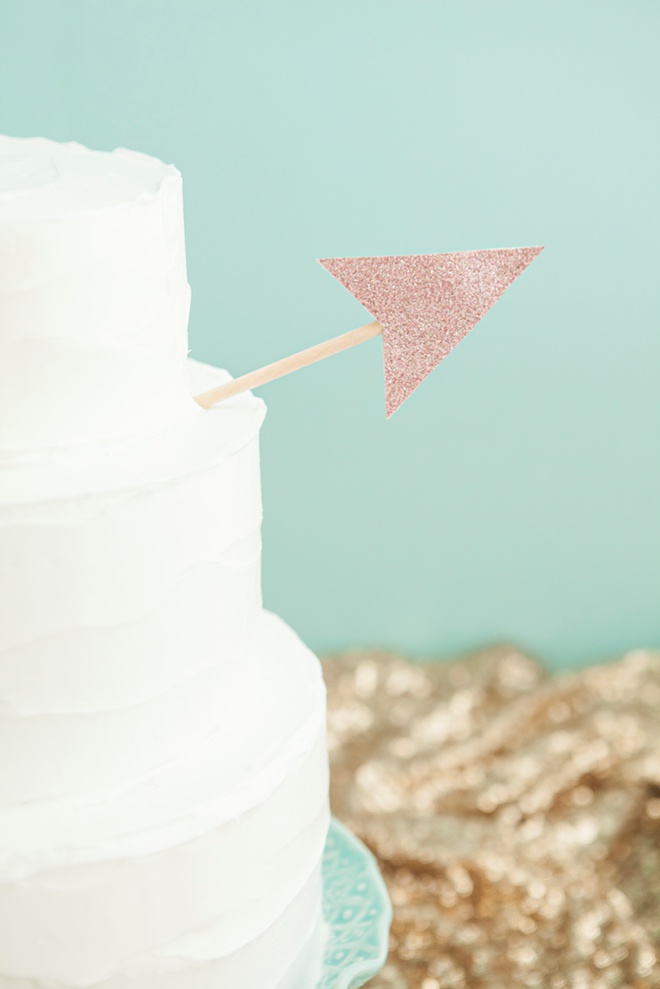
Simply trace the tip pattern onto your choice of cardstock and cut. You will need to cut out 2 of the same pieces for the arrow tip. Use any type of cardstock, chip board, or glitter paper you’d like.
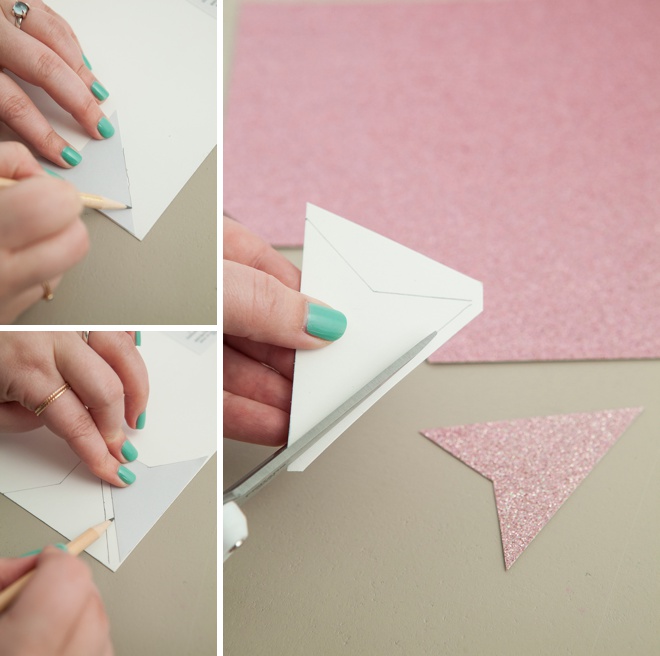
Trace + Cut
Simply trace the tail pattern onto your choice of cardstock and cut. You will need to cut out 3 of the same pieces for the arrow tail. Here I’m using glitter cardstock for the tip and regular colored cardstock for the tail.
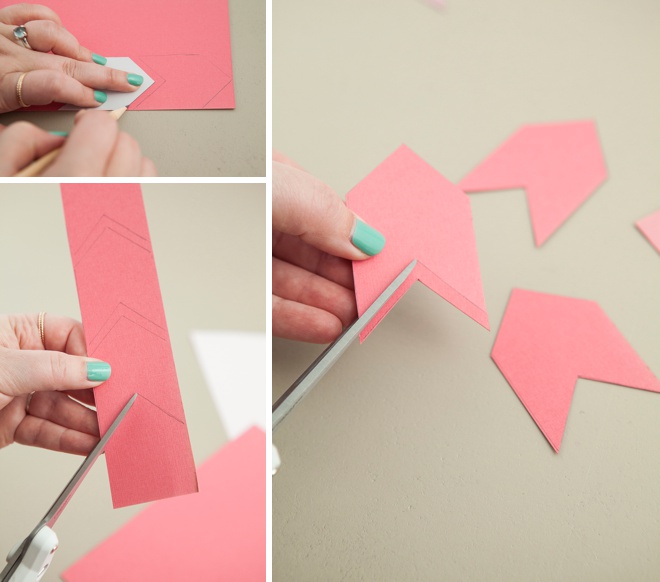
Trace + Cut
This arrow tail has two pieces to trace and cut. Again, for all patterns you’ll need to cut 2 of the same “tip” pieces and 3 of the same “tail” pieces.
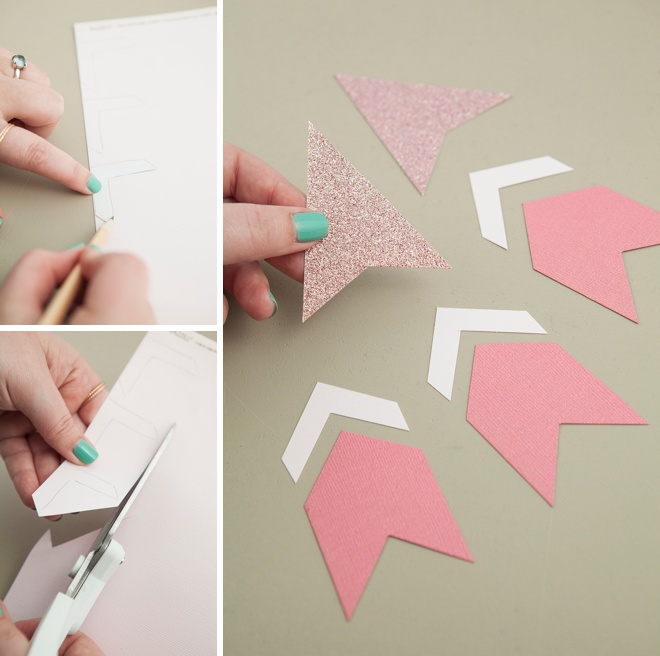
Make The Arrow Tip
Crafters Tip: Slightly bend the arrow tips inwards towards the middle, as this is where the wood dowel will go.
Using a glue gun, add glue to one tip, then add the wooden dowel and then glue the second tip on top and hold until cool.
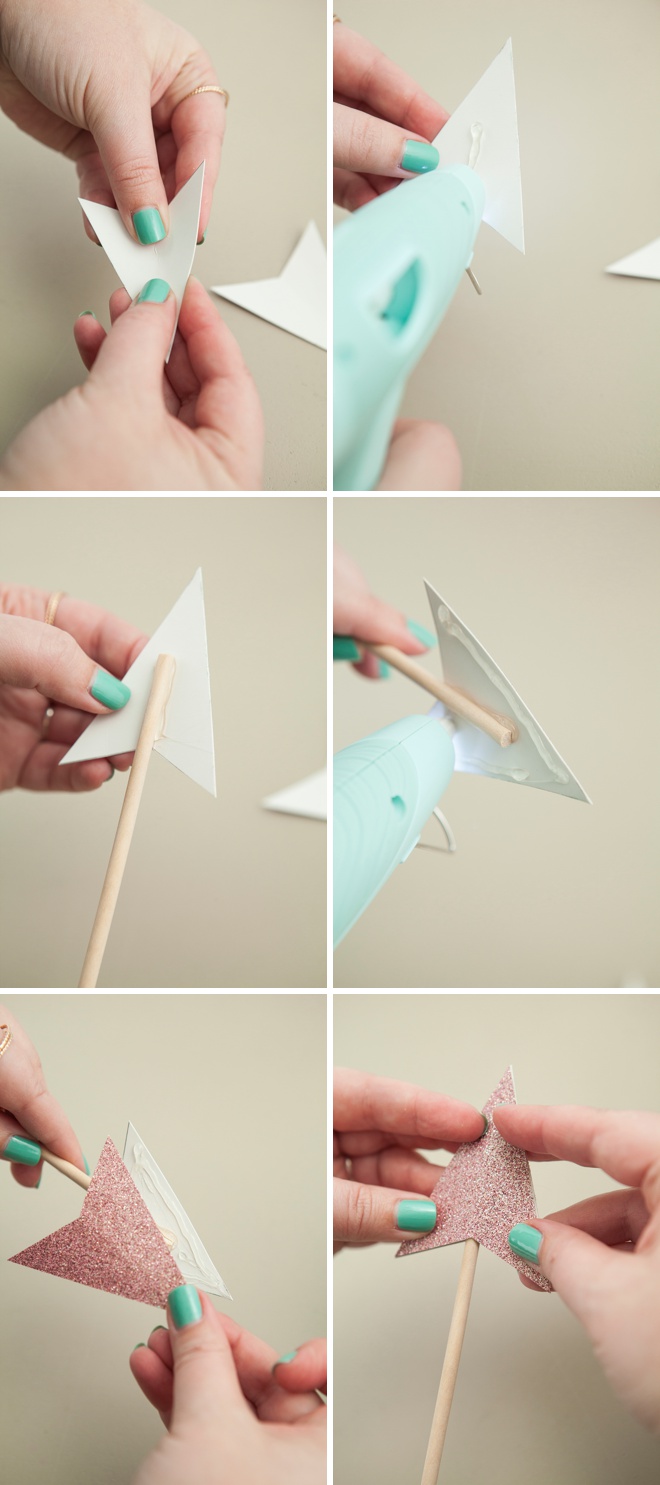
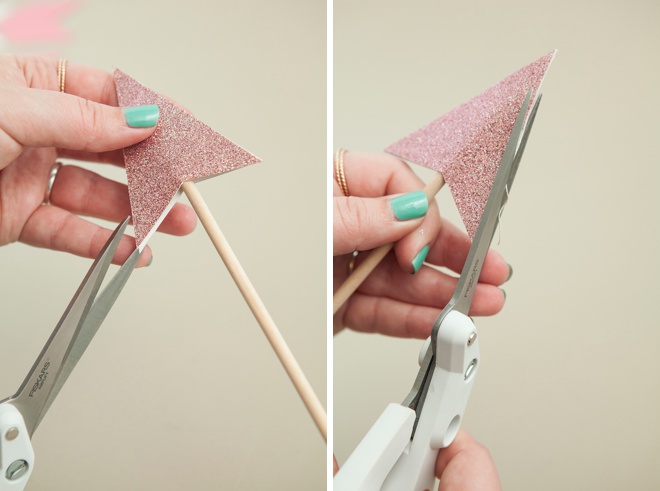
Trim To Make Perfect
Once you glue the pieces together, their might be slight differences in the cuts – so just trim excess bits away.
Make The Arrow Tail
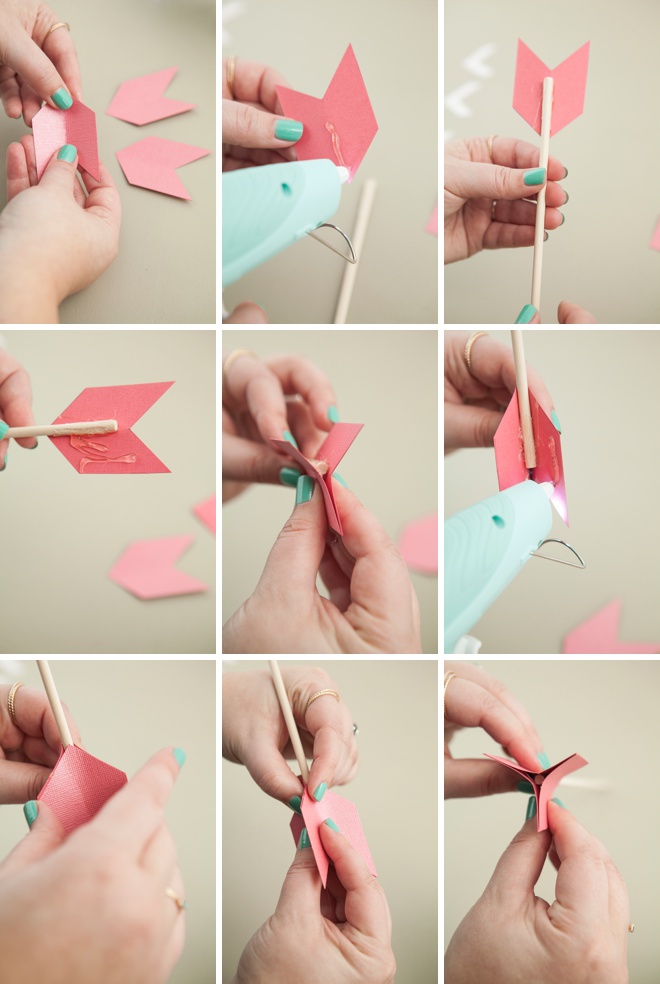
Crafters Tip: Slightly bend the arrow tails outwards towards the middle, as this is how they will bend around the dowel and glue to each other.
All three tail pieces are going to wrap around the wooden dowel. Using a glue gun, add one tail to the wooden dowel. Then carefully add the next tail piece, but off to one side. Then as pictured, add the third and hold until the glue has cooled.
Finish The Arrow Tail
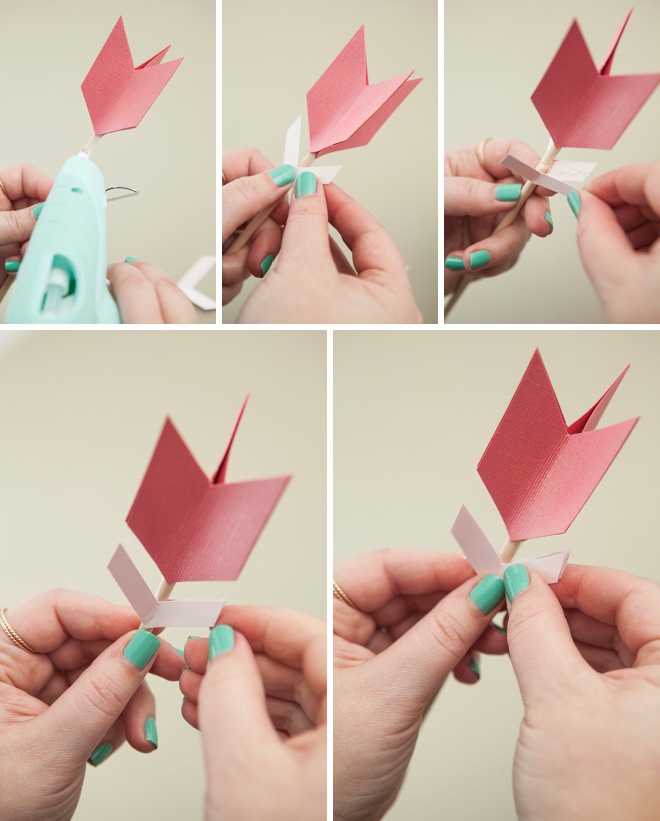
This tail has a second little piece, add it just as you added the first. Glue one piece to the dowel and then the second and third.
Just Adorable!
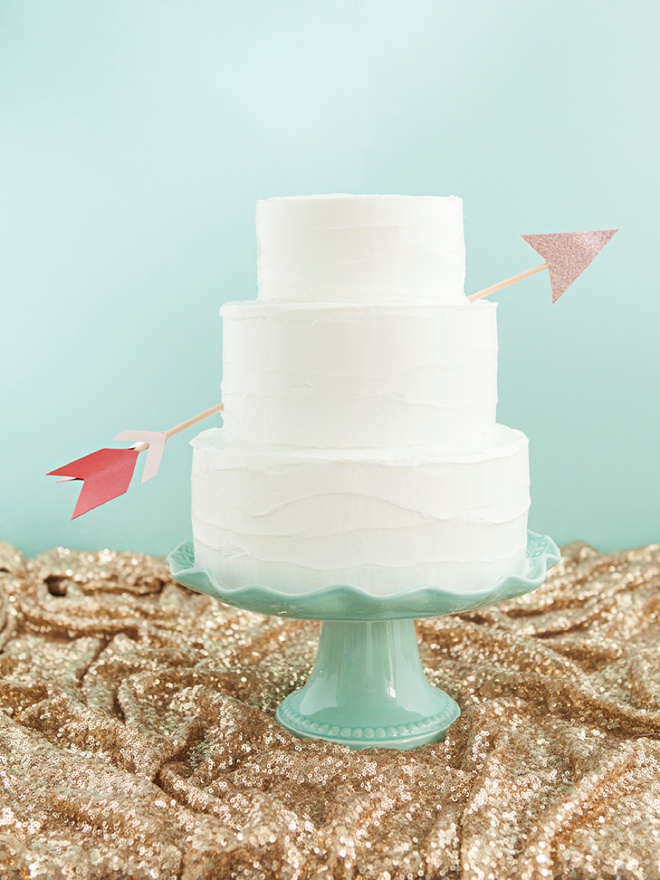
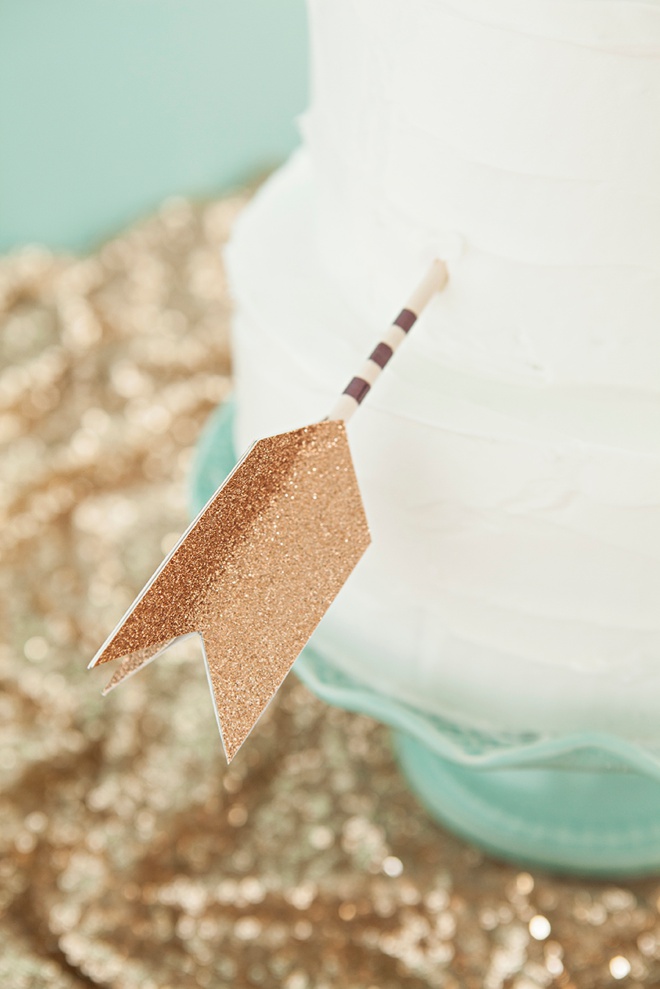
Washi Tape Stripes
For this arrow design I used copper glitter paper and 1/4″ bronze washi tape to make the stripes; which was WAY easier than trying to paint them on!
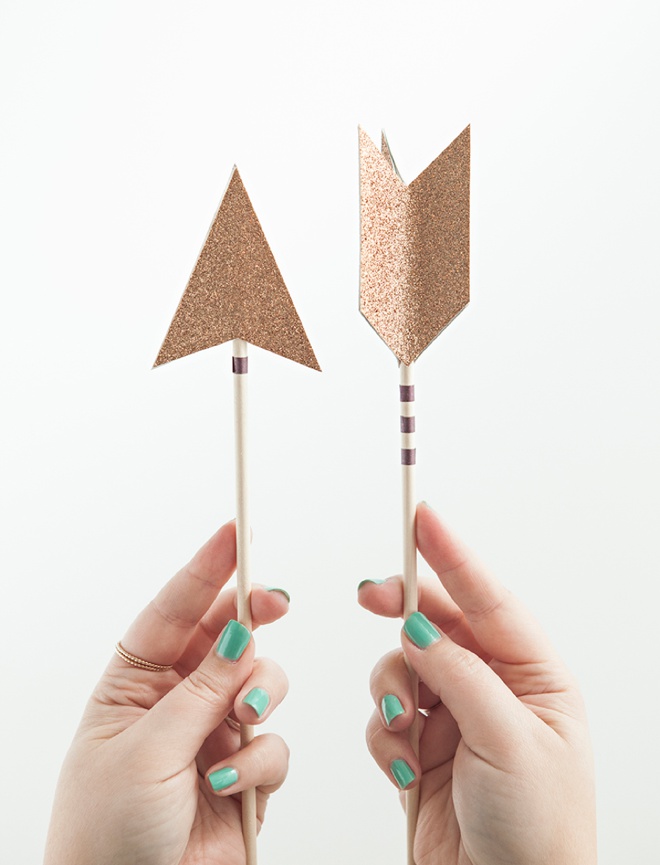
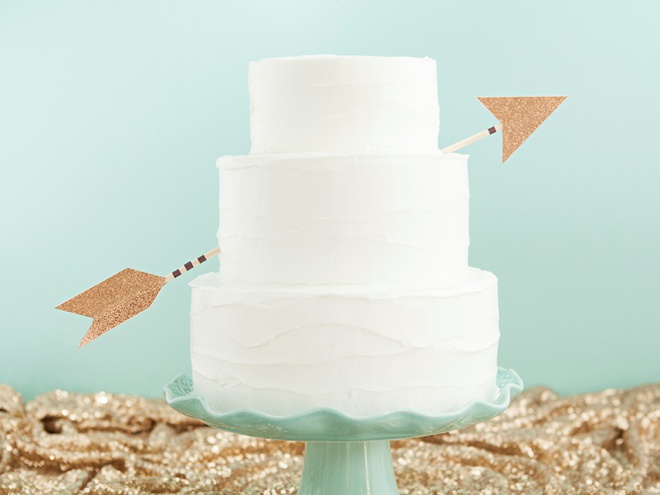
Dowel Cutting
I’m recommending using 12″ dowels but you can use shorter and you might even have to cut them down to stick in your cake, but it will really depend on the size of cake you are going to have. So, your choice!
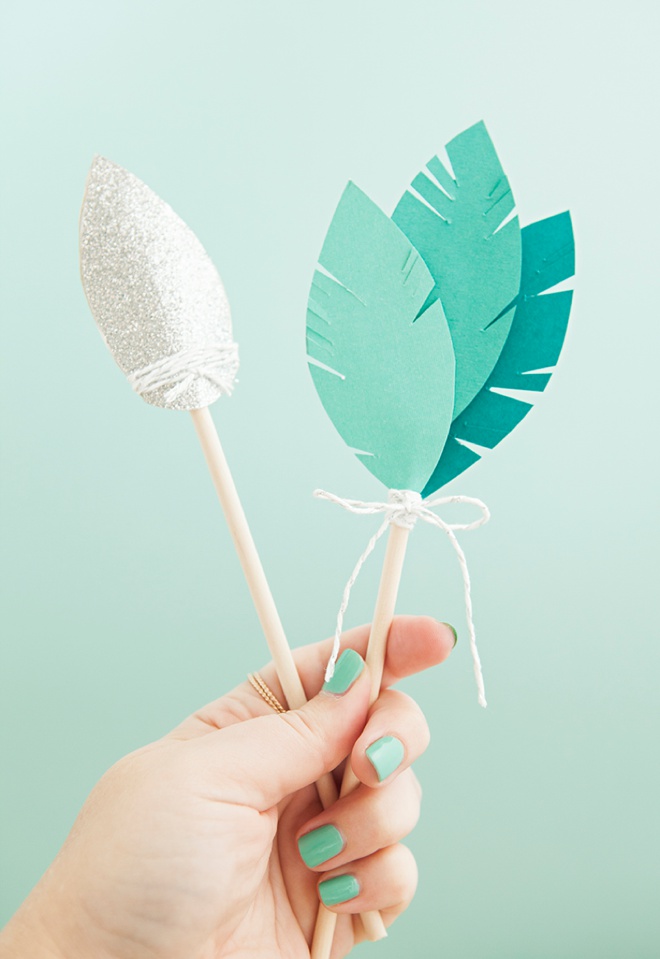
Tail Feathers
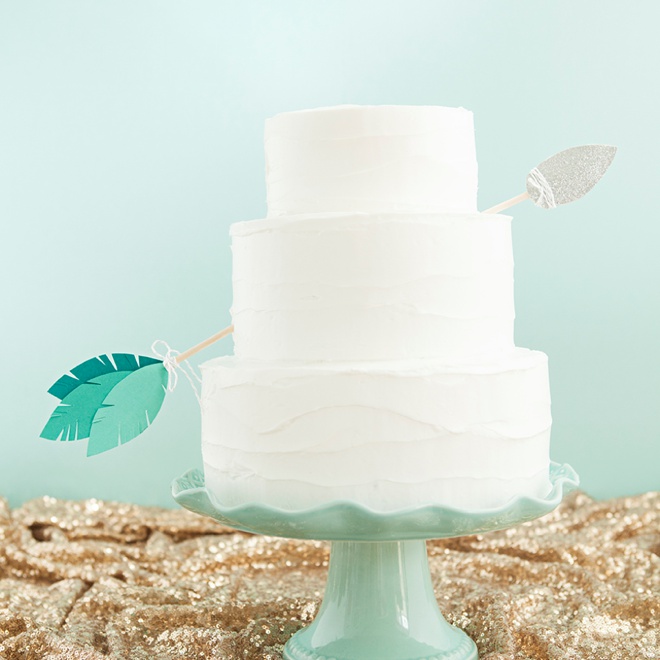
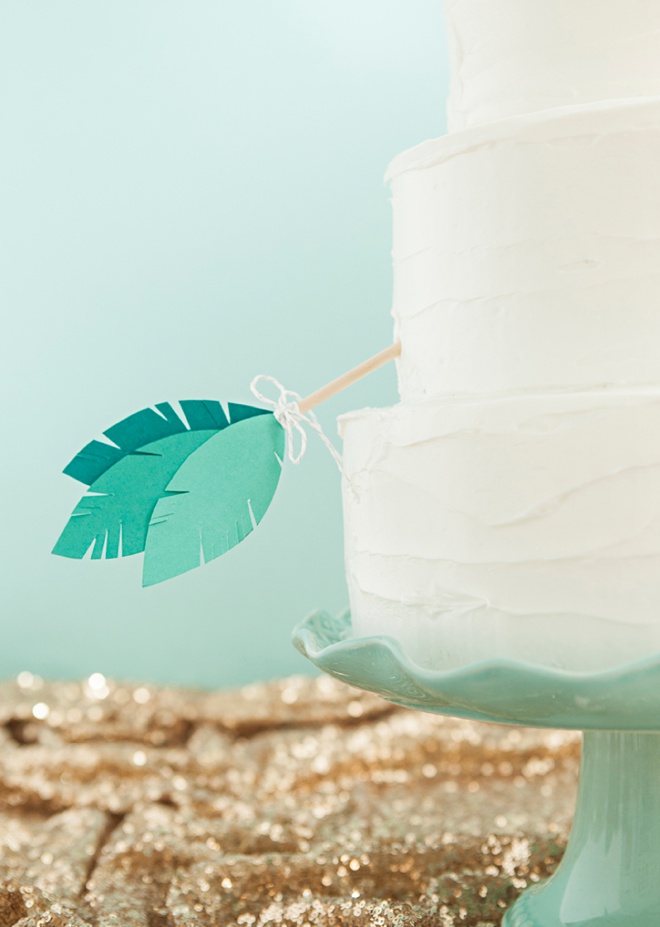
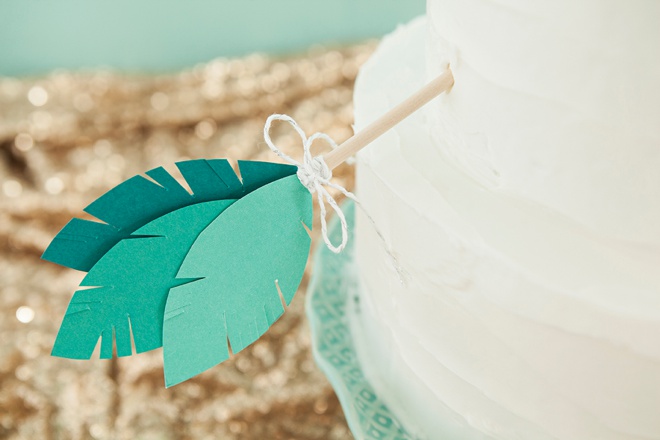
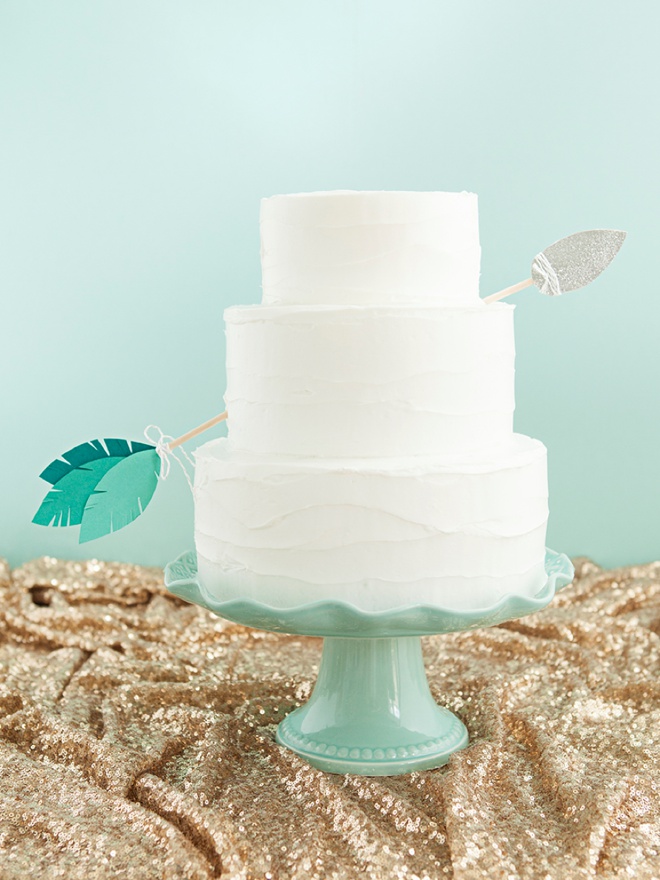
For this arrow design I had Pocahontas in mind… with a little stone-like tip and feather tails. I trimmed little notches in the feathers to add dimension and then I glued one feather on the backside of the dowel and two on the front. Next, I simply wrapped some metallic twine around the base to finish the look.
Painting The Dowels?
I chose not to paint my dowels because paint isn’t food safe; and I knew that if I did – you all would harp on me for it. So if you want to paint your dowels to match your theme and you aren’t concerned about the potential toxins, I’m with you!
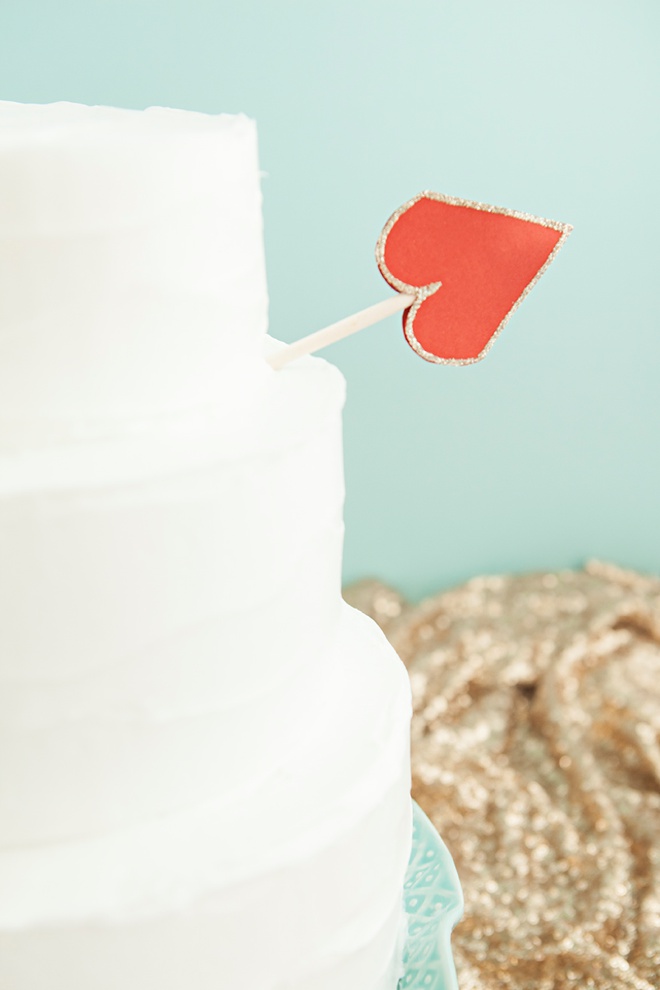
Cupid’s Arrow
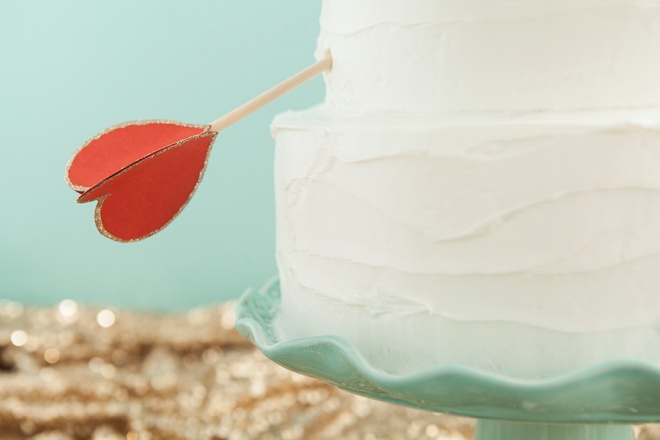
For the embellishment to this legit Cupid’s arrow, I used my favorite glue pen to trace the edge and then sprinkled on some gold glitter.
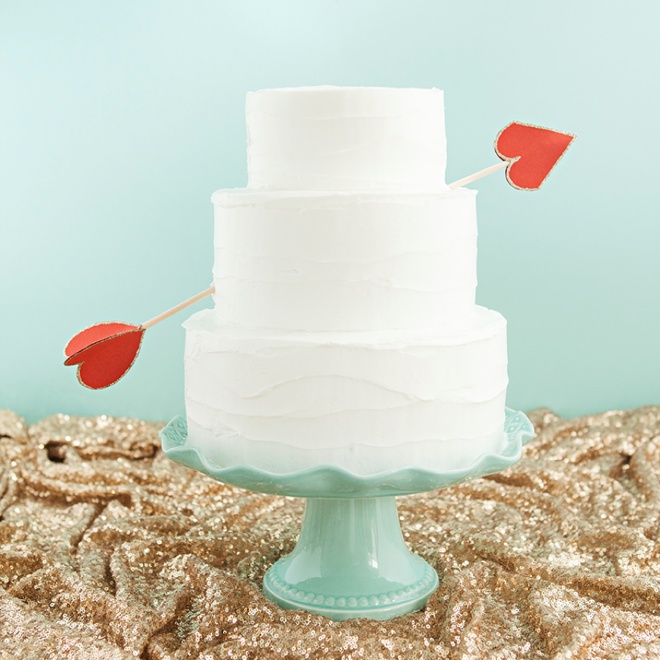
Perfect For Your Bridal Shower Too!
Already have a wedding cake topper? Why not whip this up for your bridal shower instead!
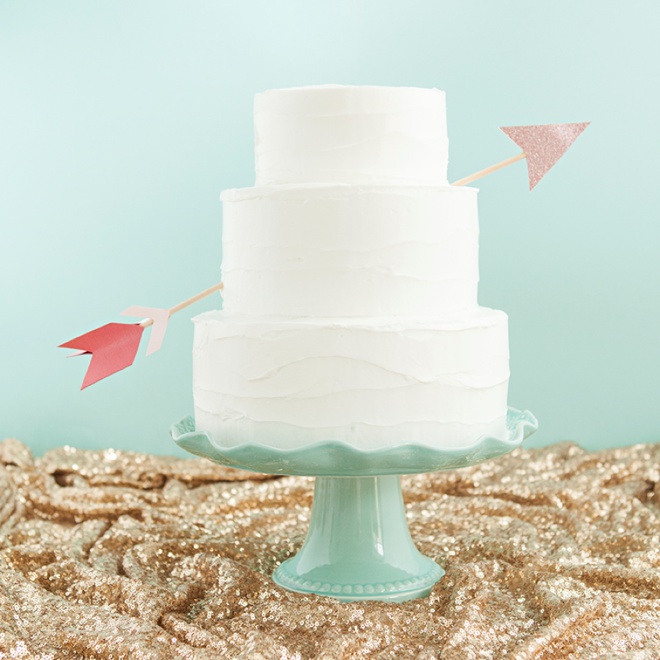
As with all our DIY tutorials, if you create one of our projects please send us a picture – We Love Seeing Your Creativity! If you use Instagram or Twitter please use the hashtag #SomethingTurquoiseDIY and it will show up on our Get Social page. Happy Crafting!
DIY Tutorial Credits
Photography + DIY Tutorial: Jen Carreiro of Something Turquoise // Sticky Thumb Cordless Glue Gun: Amazon // 3/16″ x 12″ Wood Dowels: Amazon // Fiskars 8″ Amplify Shears: Amazon // Scrapbooking Papers: are from all over, some old, some new! // Nail Polish: OPI – Withstands the Test of Thyme
Shop The Supplies:
Find the supplies you’ll need for this project from our affiliate links below:


Comments