-Sponsored Post-
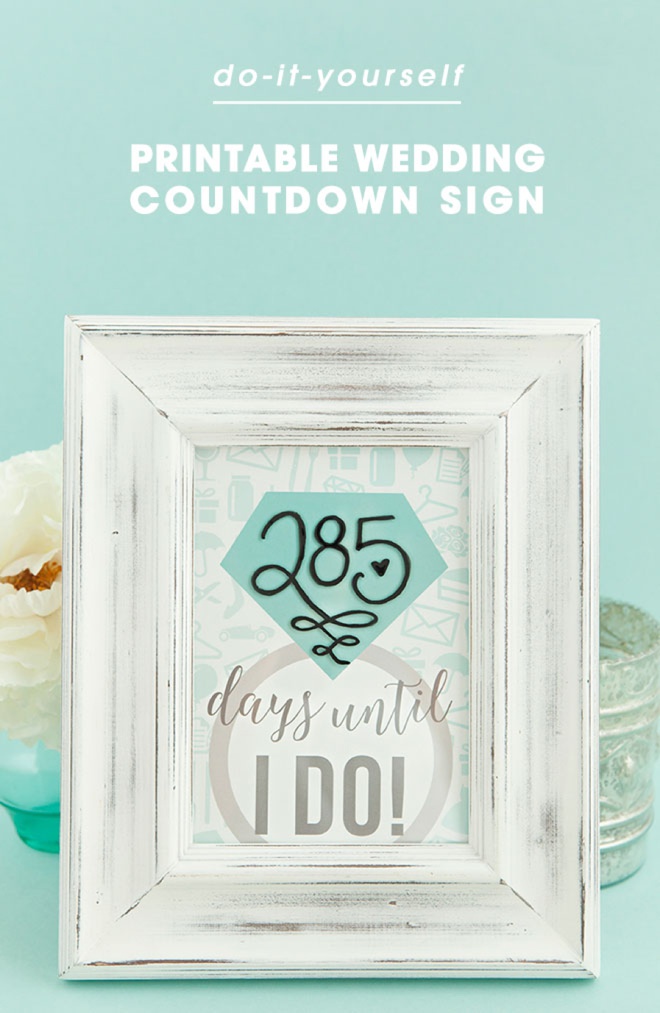
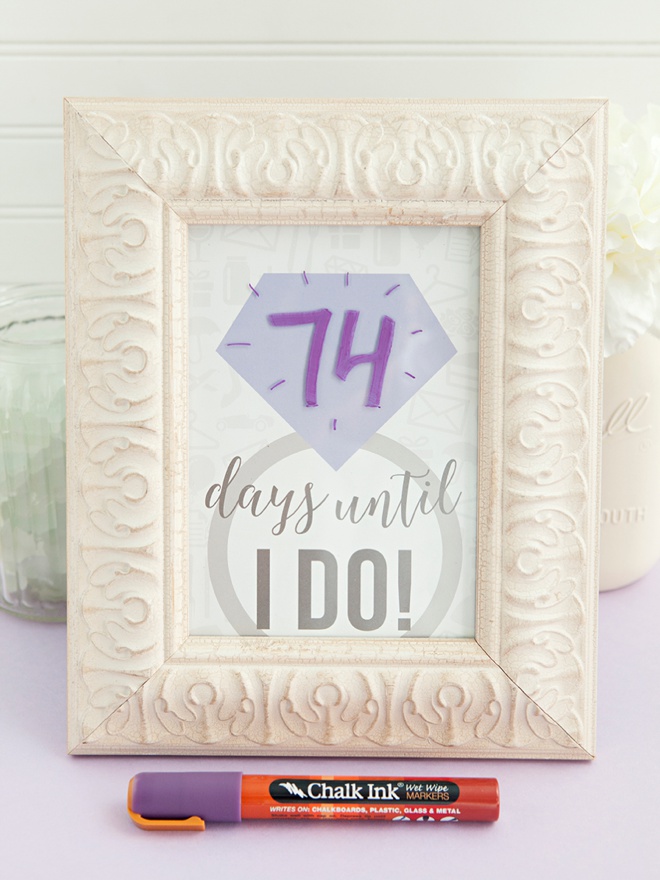
Just a few weeks back, I had the opportunity to visit the headquarters of Chalk Ink in Austin, TX. and I immediately fell in love! These chalk markers are the freaking bomb. They are by far, my favorite new crafty item because there are so many amazing uses for them, way beyond what you might think of “chalk”. I’m thrilled to have been able to partner with Chalk Ink to bring you some super fabulous ideas on how to use these markers throughout your wedding planning, because I know how much you are going to LOVE using them. Last week’s DIY Friday feature was a bit intense, so I’m toning down the crafty volume with today’s simple idea for a Wedding Countdown Sign that literally anyone can make, no matter what crafting skills you possess. The trick to this project is that your wedding date is written and erased on the glass of the frame using a chalk marker, and not on the printed design. From 10 to 1,000 this little frame will bring you joy and excitement as you count the days until you become a Mrs!
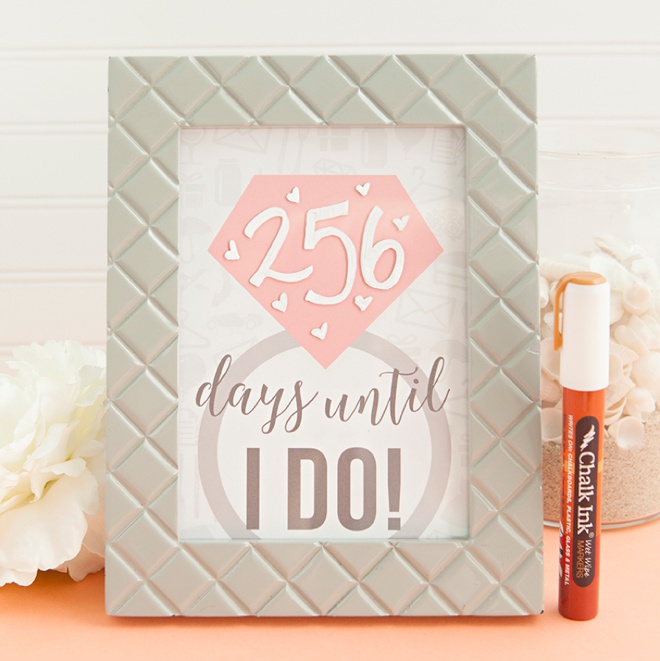
Awesome Bridal Shower Gift Idea
Do you have a new bride in your life? Putting together this framed print and gifting it to her with a few Chalk Ink markers would be such an amazing gift!
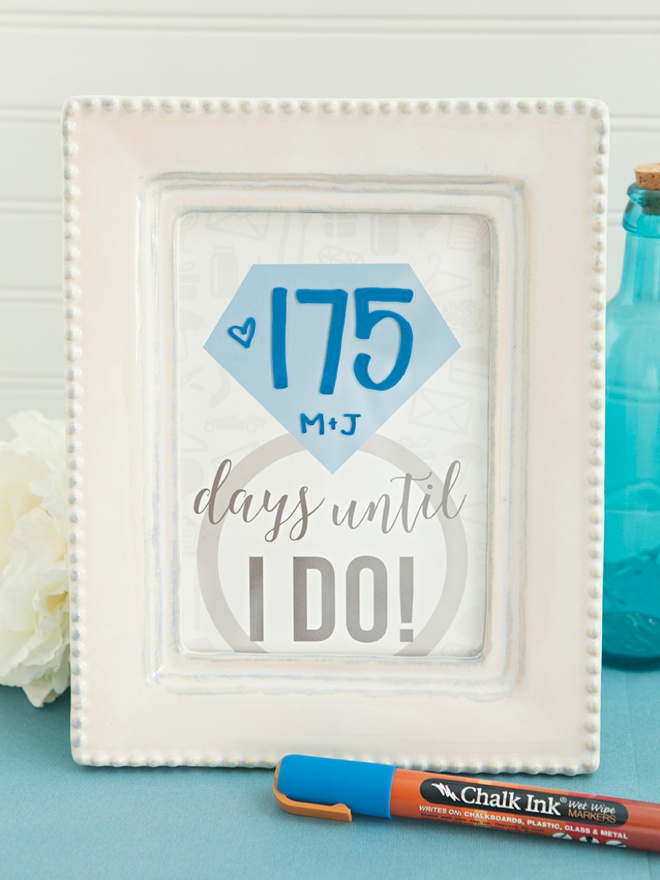
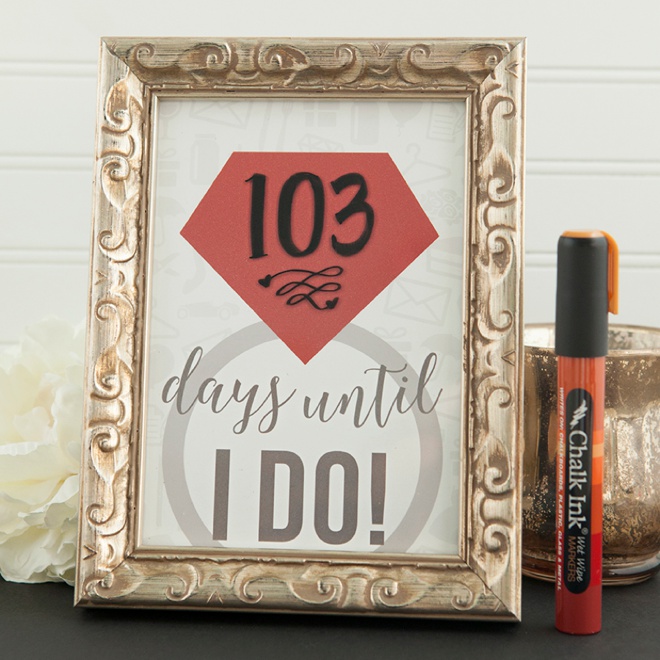
Use Any Color Of Chalk Markers That You Like
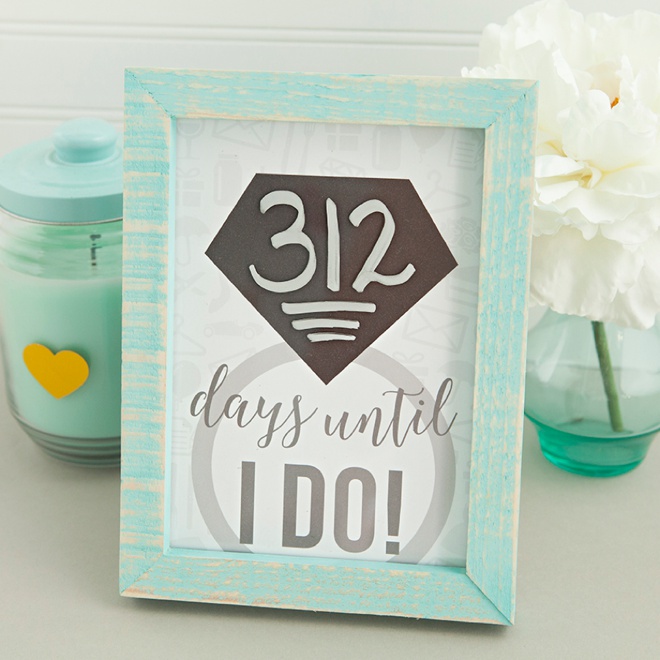
When I say that I’m obsessed with these markers I’m totally not exaggerating; I am the proud owner of all 30 shades they produce! So I really had a fun time pairing the frames with the different marker colors. The exact colors that I used here are: White, Jet Black, Sheet Metal, Grape Jelly and Grover Blue… but please feel free to pick and choose whatever color marker you think will pair well with your sign choice!
You can purchase them straight from ChalkInk.com or on Amazon; they are sold individually and are also available in fun colored sets.

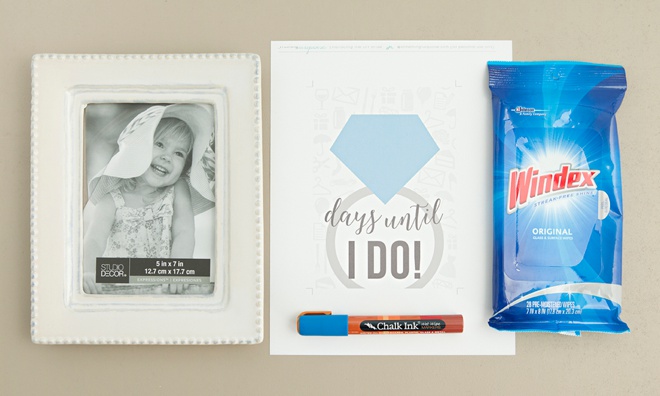
SUPPLIES:
- Chalk Ink Wet Wipe Markers in your favorite colors
- 5 x 7 Frame
- Windex Wipes (optional)
- 8.5″ x 11″ Photo paper
- Home printer
- My free printable design!
Print + Cut + Frame
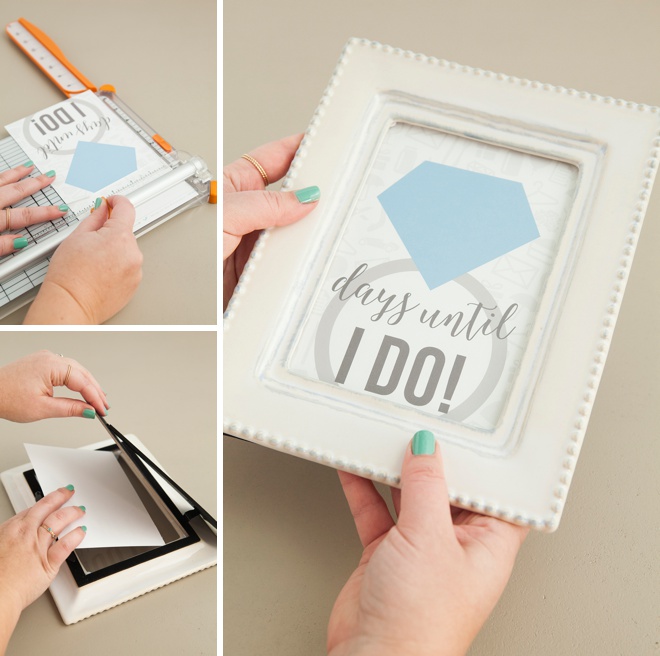
At the bottom of this post you can grab my free printable sign designs in your choice of 6 colors. Print onto 8.5″ x 11″ photo paper of any kind, then trim down to 5″ x 7″ using the lines provided and frame. Glass, clear plexiglass or clear acrylic frames will all work the same for this project.
Add Your Days Until “I Do”
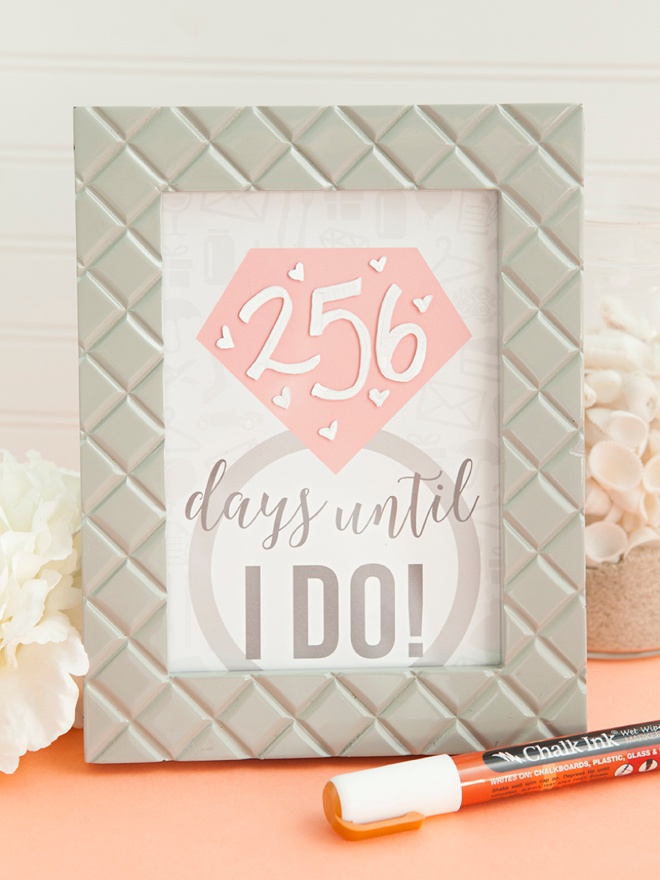
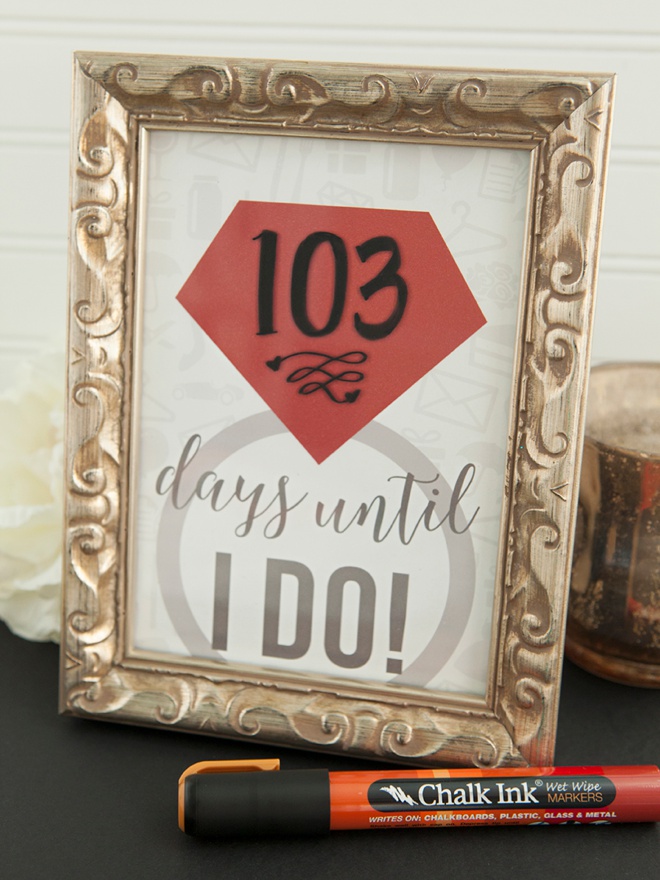
Using the Chalk Ink markers, simply write your “days until I do” on the glass itself, within the blank space of the diamond. These chalk markers are specifically designed to be used on different surfaces, including glass. The benefit being you can write and erase your countdown days on the glass, over and over and over!

Erase With Water
Easily remove the prior days chalk maker date with just a paper towel and water… and write in your next countdown date! Or if you write your date and mess up, no biggie – just erase!
If you are lazy like I am, you can also use Windex Wipes or any wet wipe for that matter to remove the chalk marker from the glass. I have that little packet of wipes in my craft room so that I don’t have to walk down the hallway to my kitchen… but seriously, water absolutely does the job.
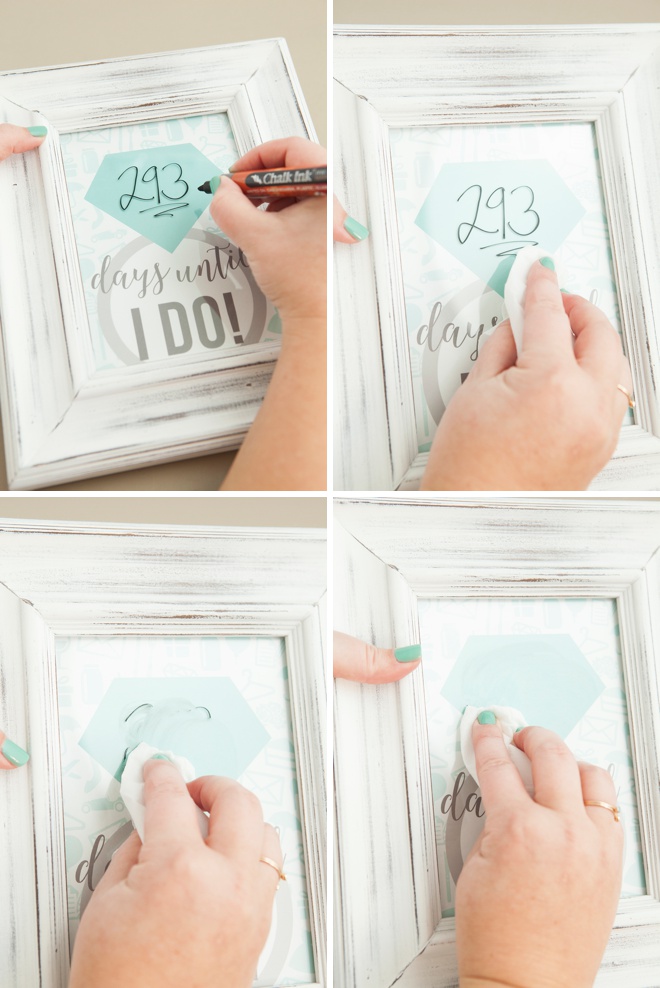
CRAFTERS TIP // The only tip worth mentioning is that if you have an unfinished wood frame that is light in color, or at least lighter than the chalk marker you are using, try not to accidentally wipe the frame edges with the paper towel or wet wipe while you are cleaning off the date as the marker residue could stain the wood frame. If you are using a porcelain, acrylic or plastic frame it’s no big deal and you could even write on the frame itself with the marker.
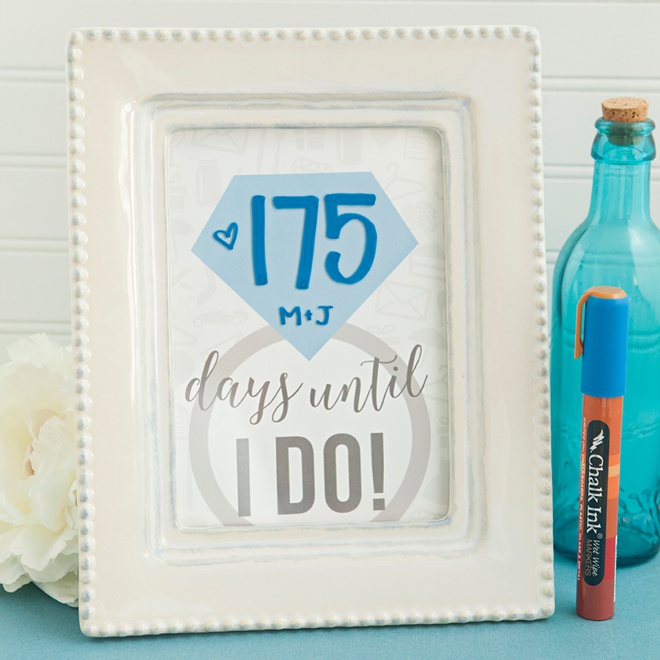
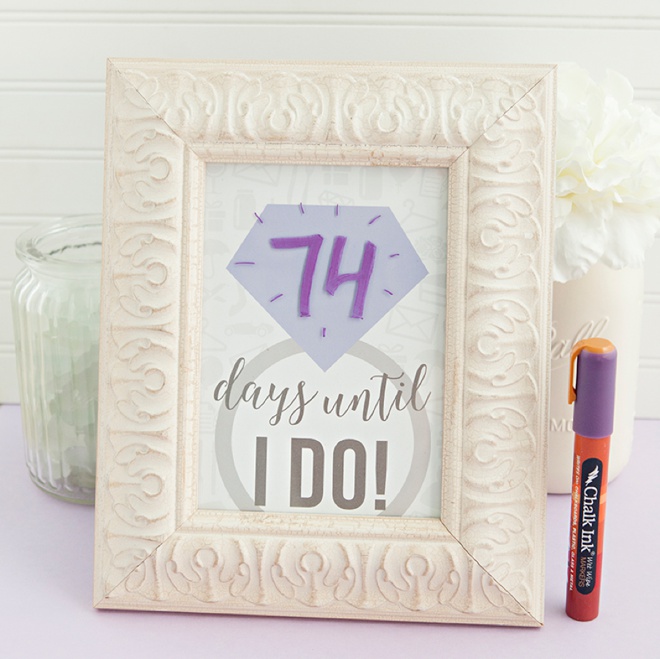
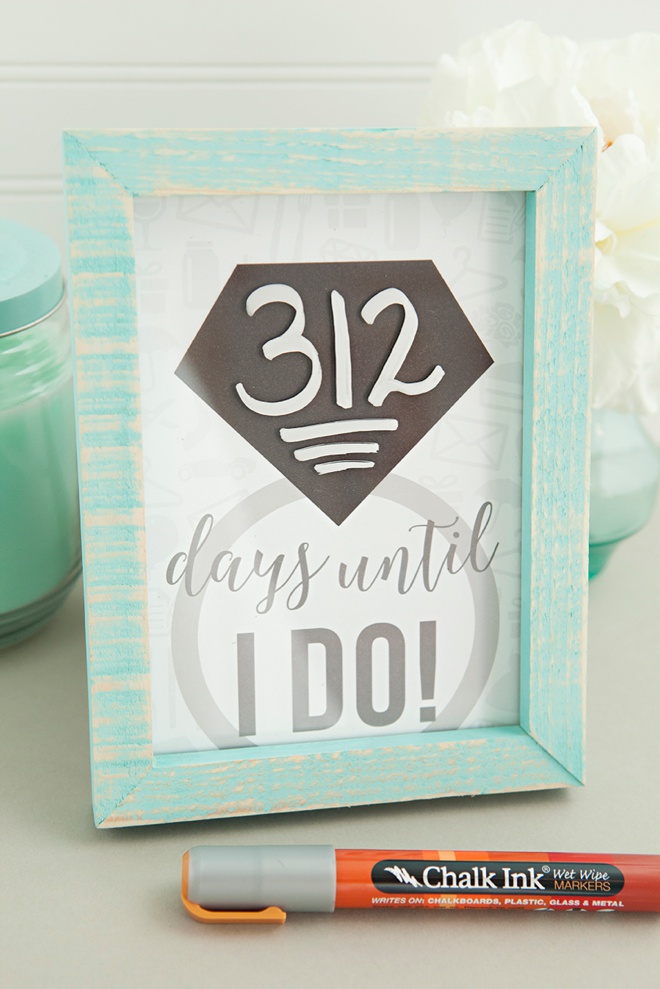
Write + Draw Anything
The font is up to you! Change it up daily! Add your names and little hearts or keep it modern… that’s part of what is so fun about this project. Change the countdown date daily, weekly or whenever you have time!
DIY Tutorial Sponsored By:

Chalk Ink is your one stop shop for all things DIY! From erasable chalk markers to colorful chalkboards and even chalkboard wallpaper. Chalk Ink is the creator of the original and premier liquid chalkboard marker that, unlike traditional chalk, produces zero dust and mess, won’t swear once dry, and is easily removed using water.
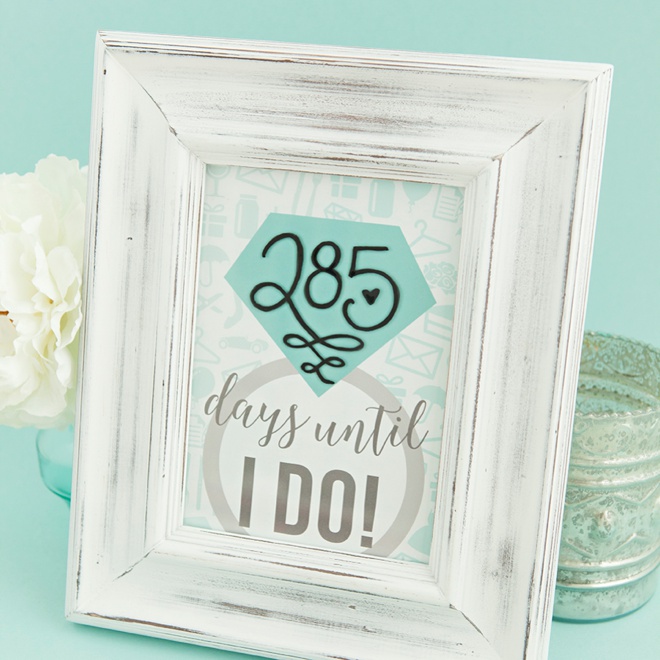
Click To Download Your Favorite Color Sign Below:
As with all our DIY tutorials, if you create one of our projects please send us a picture – We Love Seeing Your Creativity! If you use Instagram or Twitter please use the hashtag #SomethingTurquoiseDIY and it will show up on our Get Social page. Happy Crafting!
DIY Tutorial Credits
Photography + DIY Tutorial + Free Printable Design: Jen Carreiro of Something Turquoise // Chalk Ink markers courtesy of: Chalk Ink // Frames: from all over; Target, Michaels, JoAnn and Amazon // Windex Wipes: Amazon // Paper Trimmer: Fiskars // Nail Polish: OPI – Withstands the Test of Thyme
Shop The Supplies:
Find the supplies you’ll need for this project from our affiliate links below:


Comments