
Simple DIY | Free Printable Alphabet Banner #2
-Sponsored Post-
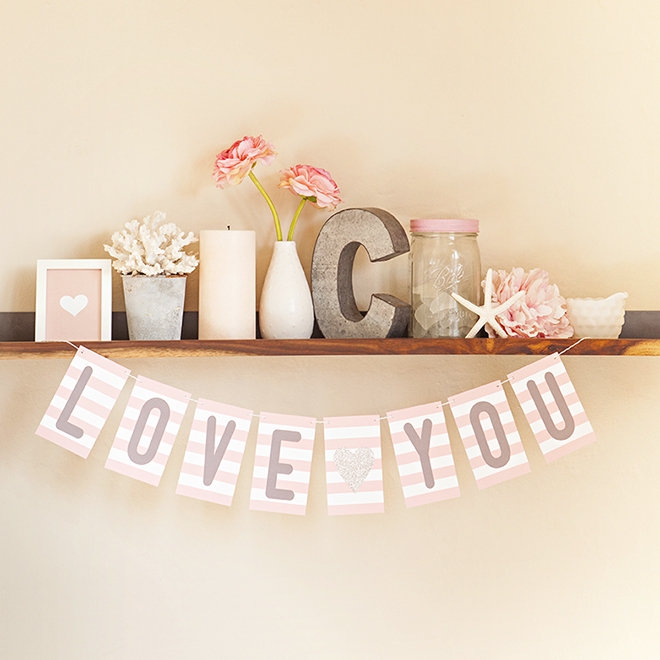
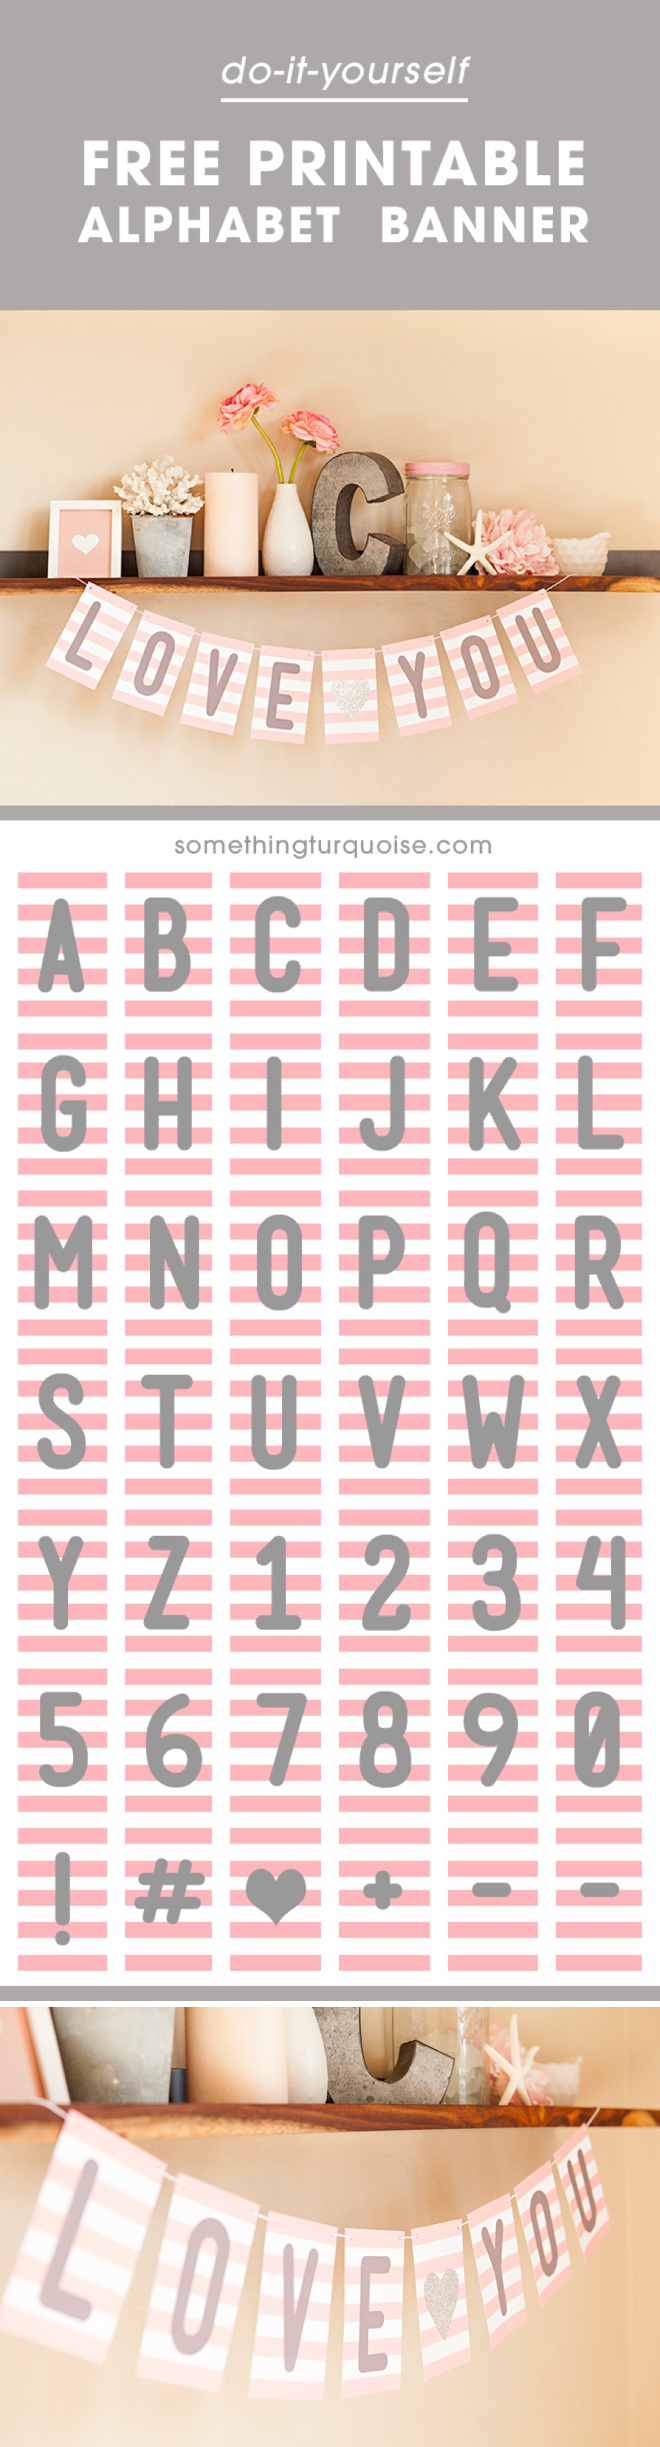
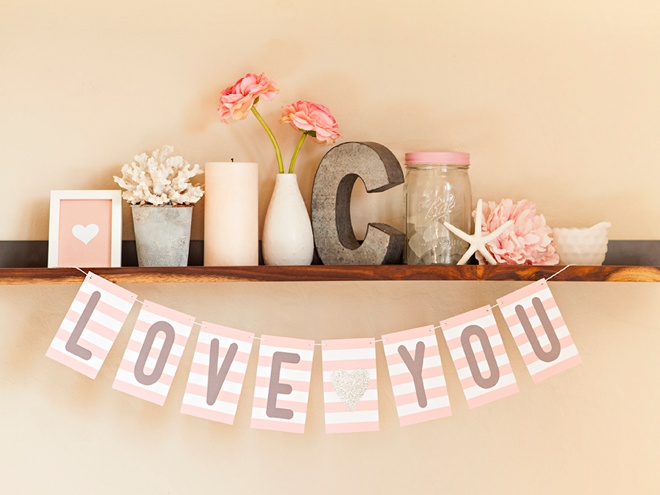
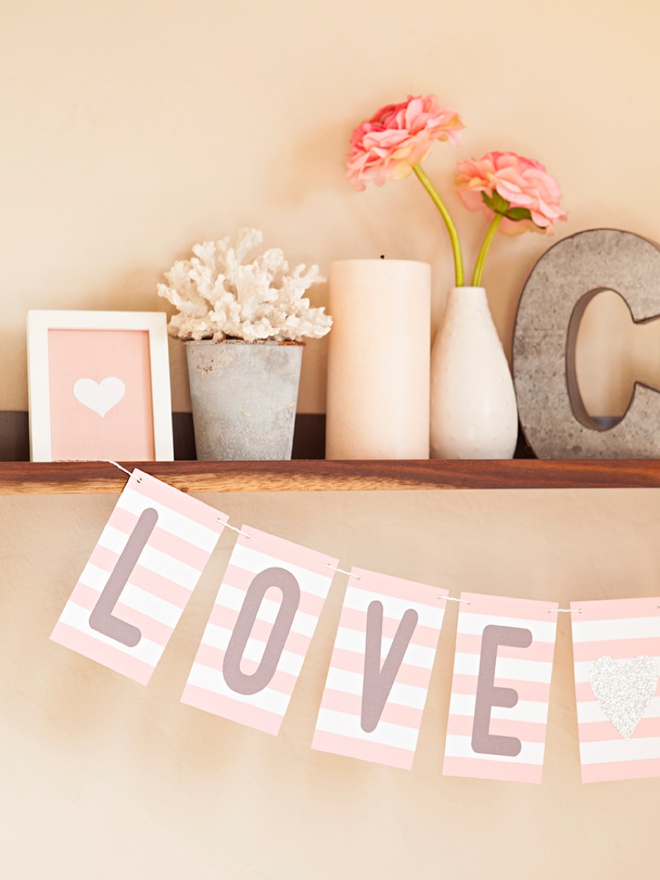
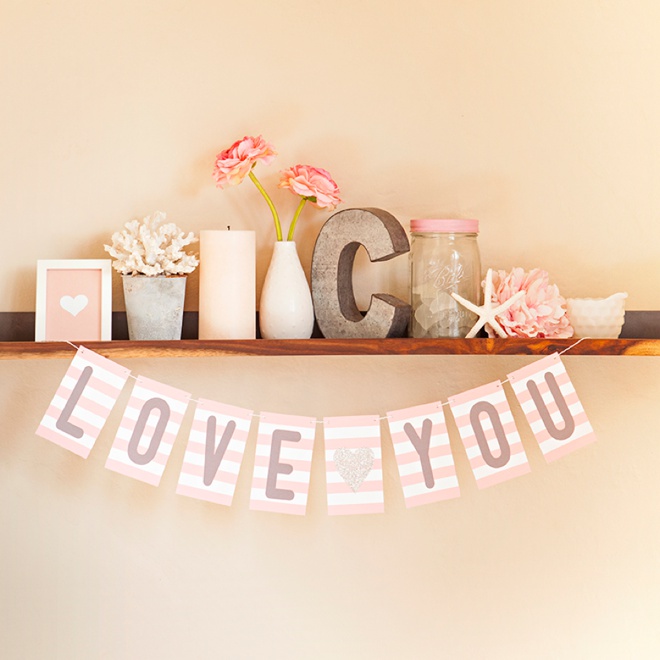
Custom banners of all shapes and sizes reading sentiments from “Save the Date” all the way to “Thank You” are a big part of wedding decor for good reason – they are adorable! I’m thrilled to have partnered with Canon to bring you a new free printable banner each month that will include letters, numbers and symbols so y’all can get creative and make something extra special for your unique wedding events! Each one will have a different shape, font and color to appeal to all our wonderful readers. Whether you need to make a banner for your engagement shoot that reads “love you” or your bridesmaids want to make a banner for your bachelorette party that reads “last fling”… the choice is up to you and it’s pretty much endless. Heck, you could even use these letters to make a banner for a baby shower or Valentines Day. Having every single letter and number means the creativity is truly in your hands! Don’t forget to share your creations with us on Twitter and Instagram using the hashtag #SomethingTurquoiseDIY as I love to regram my favorites!
SUPPLIES:
- Canon PIXMA iP8720 Crafting Printer
- 8.5″ x 11″ white cardstock
- Paper Trimmer and/or scissors
- Hole Punch
- Ribbon or twine
- Tape
- My free printable designs at the end of the post!
There are only a few quick and easy steps for this project:
- Decide what your banner will say
- Download the files at the end of the post
- Print each design onto the white 8.5″ x 11″ cardstock
- Cut along the lines provided
- Hole punch the corners
- String onto ribbon and hang!
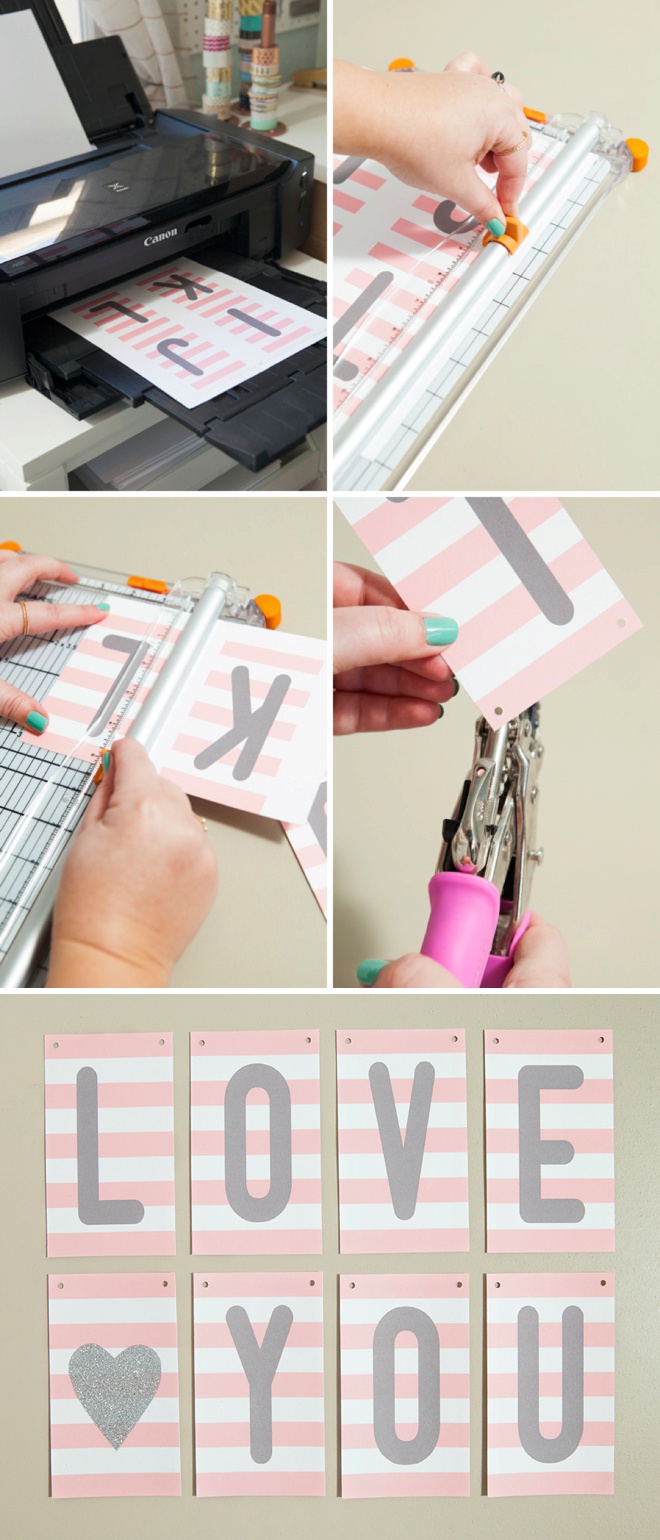
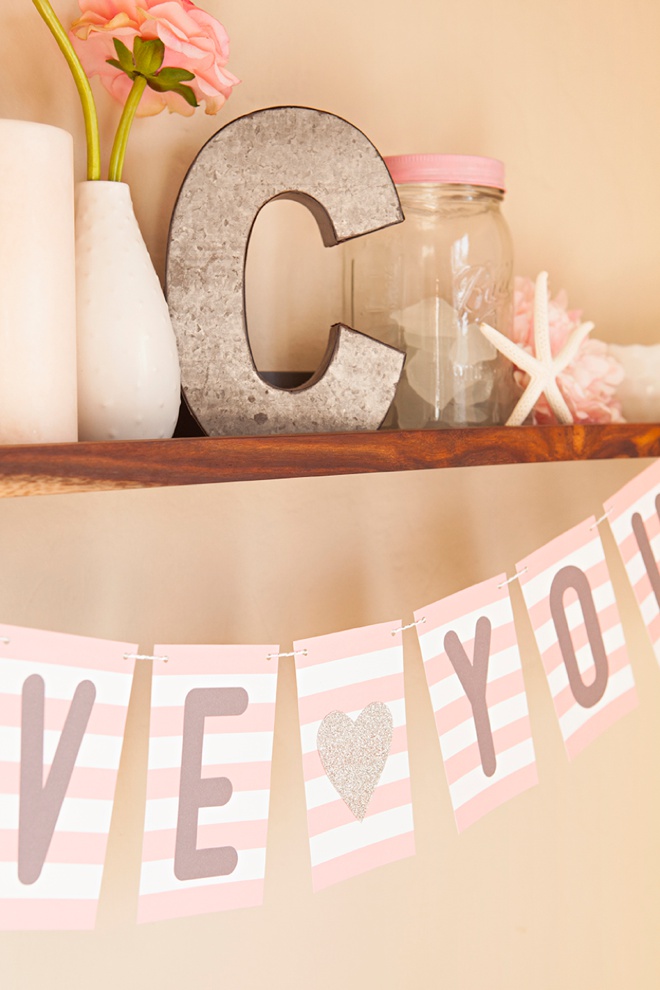
Glitter Heart Spacer
Within the design files I’ve left one banner tag blank so that you can use it as a spacer. On my blank tag I added a heart that I cut out of glitter cardstock!
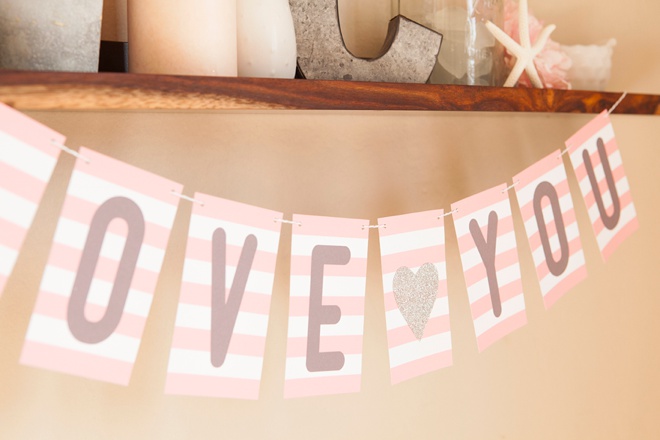
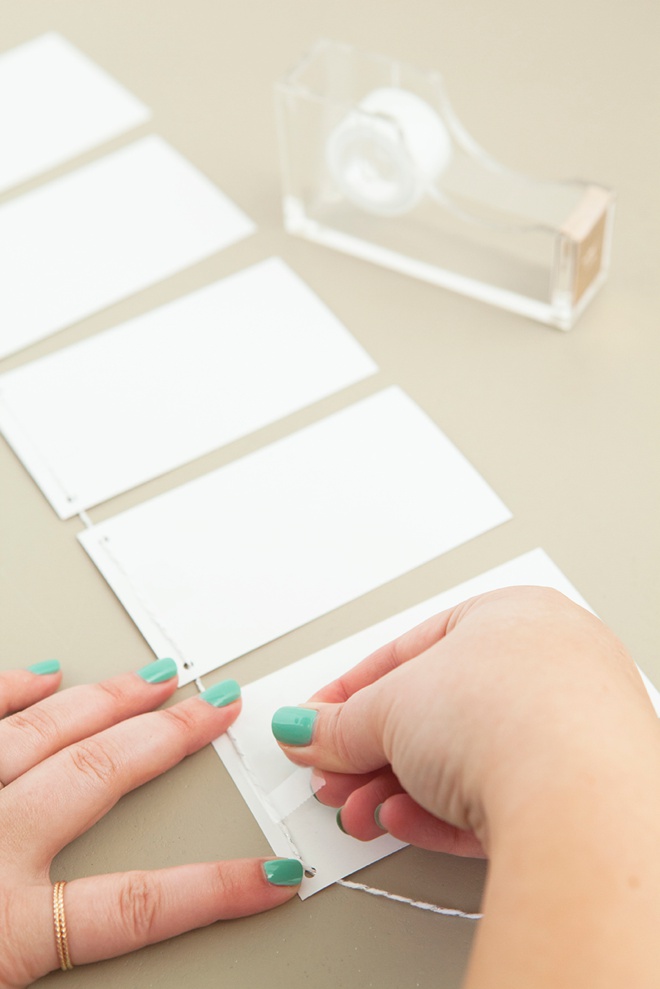
Banner Spacing Trick:
To keep the spacing perfect along your banner twine, simply tape the twine to the back of each letter – that way the letters won’t shift or move!
DIY TUTORIAL SPONSORED BY:
Canon U.S.A., Inc. prides itself on allowing consumers to create and preserve beautiful imagery, from capture to print. With wireless technology and seamless printing capabilities, you can print your photos and printables with precision and ease.

As with all our DIY tutorials, if you create one of our projects please send us a picture – We Love Seeing Your Creativity! If you use Instagram or Twitter please use the hashtag #SomethingTurquoiseDIY and it will show up on our Get Social page. Happy Crafting!
DIY Tutorial Credits
Photography + DIY Tutorial + Free Downloads: Jen Carreiro of Something Turquoise // Printer: Canon PIXMA iP8720 (prints up to 13×19″!) // Paper Trimmer and Scissors: Fiskars // 8.5×11″ Coverweight Paper In Eco-White: Paper Source // Twine: Divine Twine // Crop-a-Dile Hole Punch: Amazon // Nail Polish: OPI – Withstands the Test of Thyme
Shop The Supplies:
Find the supplies you’ll need for this project from our affiliate links below:

Comments