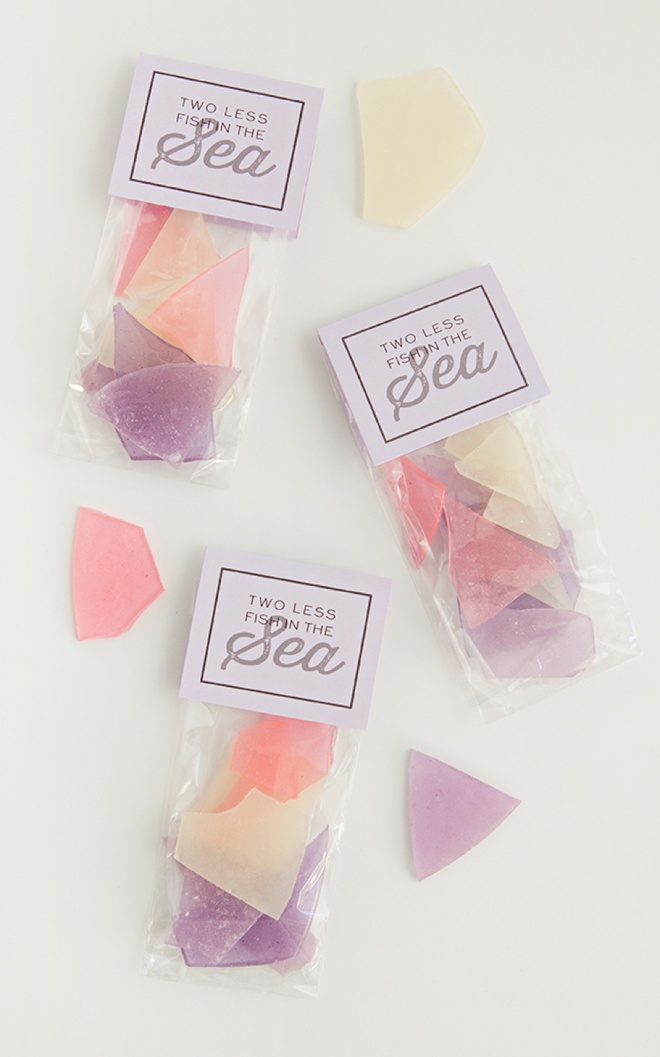
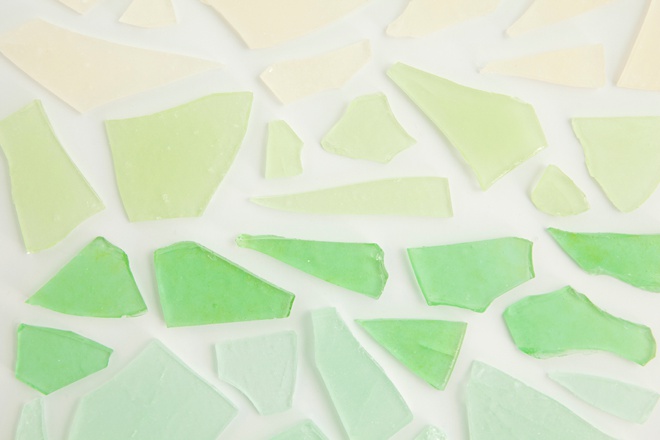
Is there anything more magical than sea glass? A sharp specimen of trash tumbled by the ebb and flow of the sea, taking years to be reborn as a smooth and remarkable piece of treasure. This masterpiece of the deep holds my affection and for me, finding a small bit in the sand is like finding gold. Most beach loving gals like myself would feel the same and for those planning a beach, nautical or tropical destination wedding I have created the perfect favor for you! Today you will learn how to make the most beautiful (and tasty!) Sea Glass Candy Favors and how to get the coloring of this sugary treat just right. When I was searching the internet on how to make hard candy I found next to nothing that helped me learn how to actually color the candy, so today that’s what you are getting. Fill up your cup, whether it be coffee or wine and get cozy because this post is crazy long but packed full of fabulous info!
My detailed directions fully break down what it takes to make gorgeous sea glass hard candy. If you are someone who has never made hard candy before, please read the entire tutorial before you begin as I’ve taken my time to lay out all the facts for you. I promise if you follow my tips, you’re friends will think you’ve been making hard candy for years! Leave your questions in the comments and I’ll do my best to answer.
Gorgeous + Cheap
Once all the hard candy supplies are added up (I’m not including the regular stuff like foil, pan, and spatula), each 2oz. favor will cost an average of $1.15. Making these a stunning favor for an amazing price. Hey, sugar is cheap!
SUPPLIES:
- Candy Thermometer
- Granulated Sugar
- Light Corn Syrup
- Water
- Hard Candy Flavoring Oils
- Liquid or Gel Food Coloring
- Tart & Sour (optional)
- Powdered Sugar
- Non-stick Pan
- Sauce Pan
- Rubber Spatula
- Measuring Cups
- Canola Oil or Cooking Spray
- Wax Paper
- Foil
FOR THE FAVORS:
- 8.5″ x 11″ Cardstock In Your Choice of Beachy Color
- 2.5″ x 7.5″ Cello Treat Bags
- Paper Trimmer
- Glue Dots
- My Free Tag Download At The End Of The Post!
Right now you might be thinking, oh my – is she kidding! That’s a ton of stuff. But it’s really not a lot of stuff, you probably have most of the items in your pantry already. I’m going to go into detail about the important ones next.
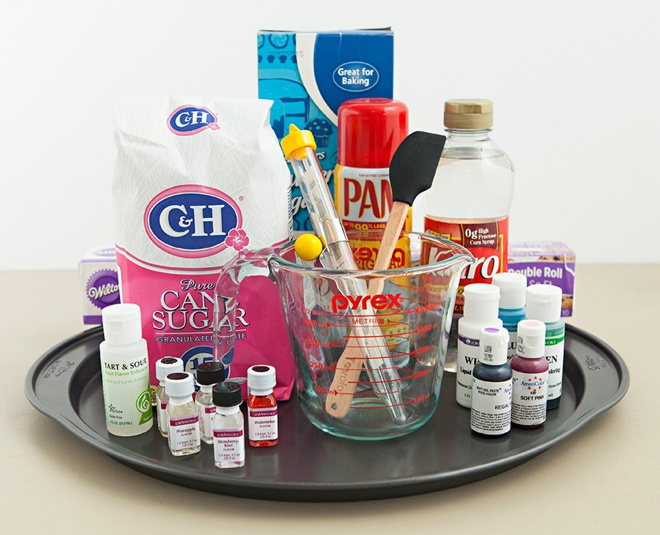
Supplies Decoded
Sugar, water, corn syrup, foil, pan etc… need no explanation. But a few items do:
Candy Thermometer: 100% necessary. This recipe relies on proper candy temperature and this thermometer I bought on Amazon was only $7.
Candy Flavoring Oils: These can be found at your local craft store, baking store and of course on Amazon. This is what makes your candy taste YUMMY! Candy flavor is incredibly subjective. All the LorAnn Flavoring Oils I used were great but a few stood out as my favorites: Pineapple, Sparkling Wine (aka. Champagne), Lemonade, Blueberry and Tutti Frutti. There are TONS of different favors to use and I would recommend trying a few out before you decide on the ones to buy and use for your wedding favors.
Tart & Sour: This liquid solution is added to make the candy tart or sour, as flavoring oil doesn’t do this. Add a little for a bit of tartness or add a lot to get that sour pucker. Tip: I found when working with this (as I’m crazy for sour candy) that it almost always adds a yellow/green tint to the candy coloring if added when the mixture is above 260ºF. From what I’ve read, to avoid the green color you are supposed to add this liquid at 250ºF and below, but in my experience as your candy mixture nears this temperature it starts to harden – so this was a rock in a hard place. To be safe, I only added it to my green colored candy.
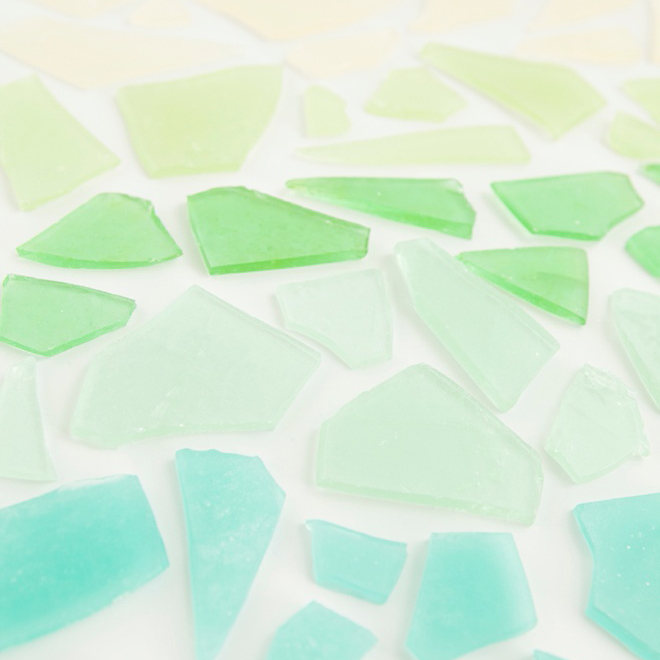
Powdered Sugar: Powdered sugar is a must for this recipe. It coats the candy giving it that cloudy sea glass look and keeps the candy from sticking together. Moisture is the enemy, more on that later.
Non-Stick Pan: Yes you can use an old pan lined with foil. Yes you can pour the mixture onto a Silpat. Yes you can pour it onto wax paper. However, a squeaky clean (or new) non-stick pan will give you the ultimate glass “look”. Foil might leave bumps on the underside of your candy as might wax paper. Your call, but I’m OCD so I bought a new pan. This 14″ pizza pan held the full recipe perfectly!
Liquid vs. Gel Food Coloring: For the most part: gel food colorings are going to be more pigmented, meaning you’ll need less drops – while liquid food colorings will be less pigmented and you’ll need more drops. The easiest way to visually see this would be to add both to a piece of paper and swish them around with a toothpick, it might sound weird but you’ll totally see what I mean about thickness and pigment strength.
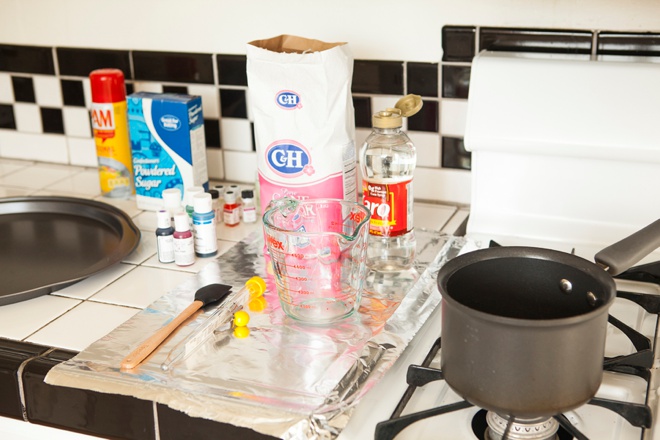
Set Up Your Workspace
Here you can see I have set out all my supplies and covered a bit of my counter and stove in foil. Candy making can be messy, although clean up is easy with soap and hot water.
Recipe
- 2 Cups Granulated Sugar
- 2/3 Cup Light Corn Syrup
- 3/4 Cup Water
- 1 dram (1 teaspoon) Candy Flavoring Oil
- 1 teaspoon – 1 tablespoon of Tart & Sour (optional)
- Food Coloring
- Dusting of Powdered Sugar
This recipe yields 1 pound of sea glass candy. Or essentially 8 – 2oz favor bags. More on that later. Recipe courtesy of Lorann Oils.
Add Your 3 Main Ingredients
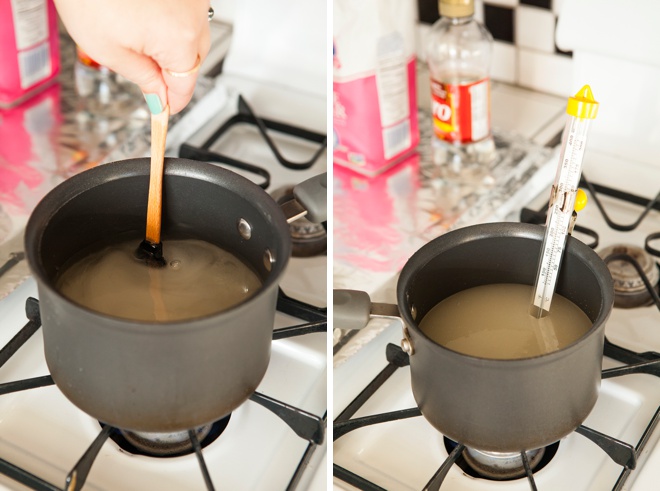
Add the sugar, water and corn syrup to your sauce pan.
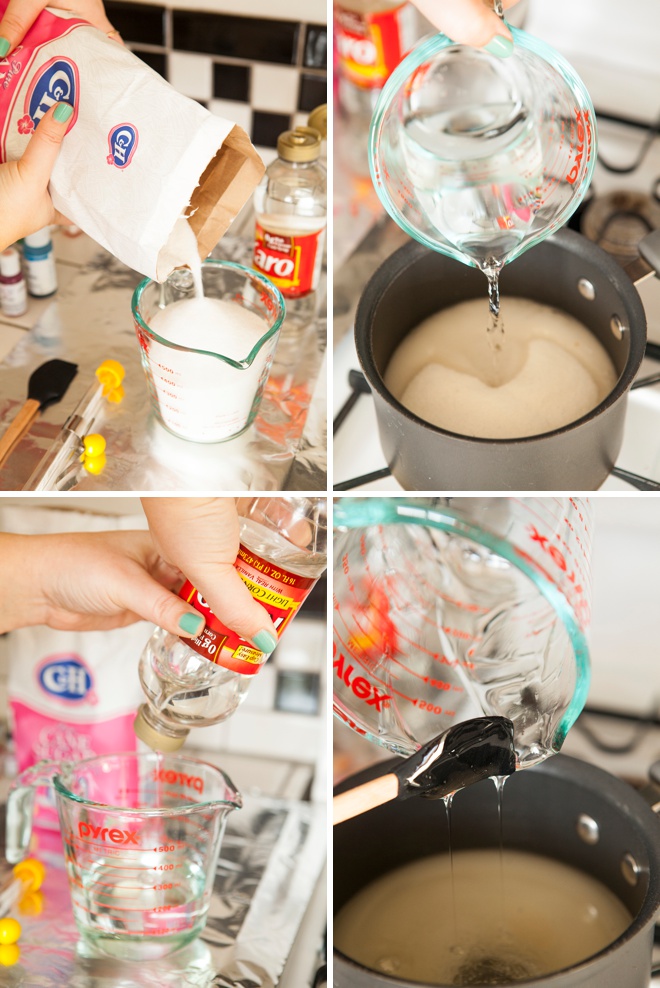
Stir + Thermometer
Stir the mixture over medium heat until the sugar dissolves and then add the thermometer to the side of your pan, making sure the tip isn’t touching the bottom. You will not stir your mixture again until you remove it from the stove.
Bring To A Boil
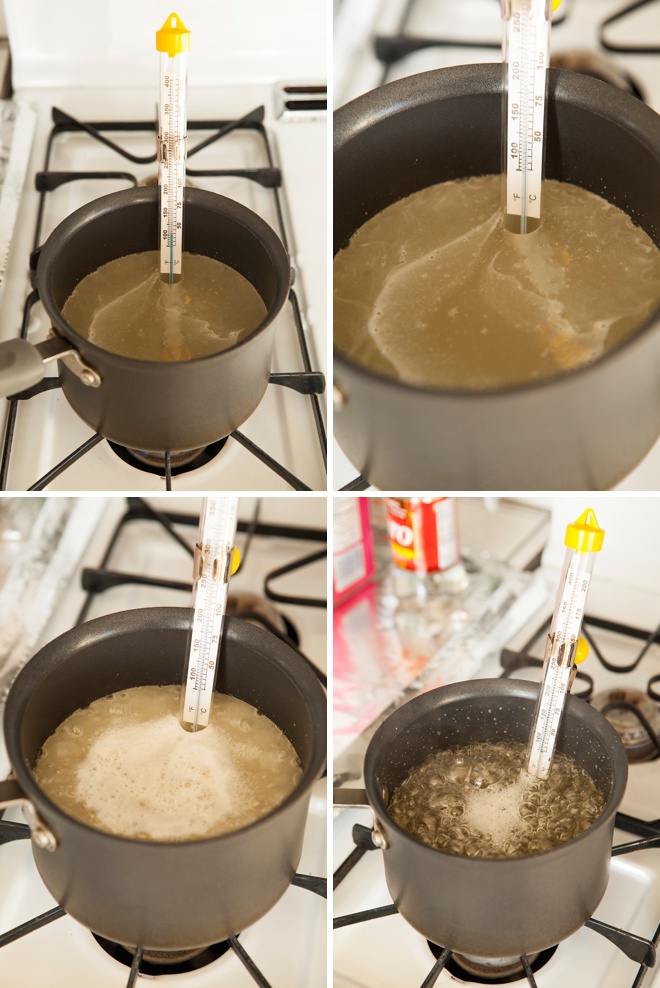
Over medium to medium-high heat, bring your mixture to a boil. Watching carefully that it doesn’t boil up and over.
Let the mixture boil on medium to medium-high heat until it reaches 260ºF. This could take 9-12 minutes. From 220ºF to 260ºF it can feel like forever. If it’s been 10 minutes and the temperature isn’t rising steadily, you’ll need to up the flame little by little until you start to see it rise.
Oil Your Pan
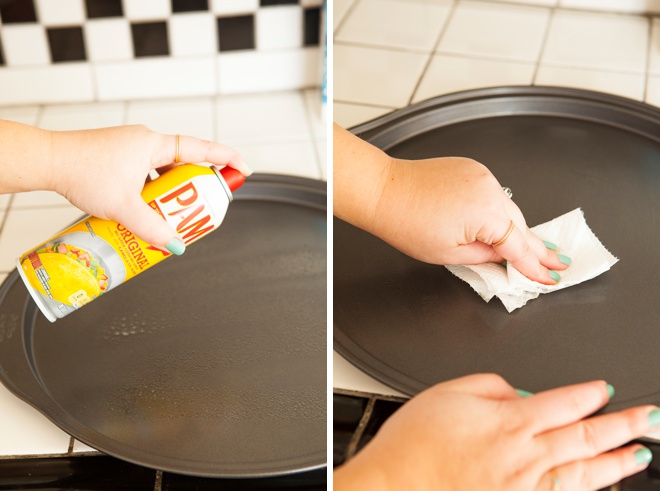
While waiting for your mixture to reach it’s high temp, oil your pan with canola oil or Pam and get yourself set up to pour. Don’t let beads of oil build up as I noticed that it can then adhere to the candy and/or cause bubbles to formon the backside. A little goes a long way. If it’s humid where you are the candy might stick more to the pan than it would somewhere that is dry, but no big deal.
Add Food Coloring
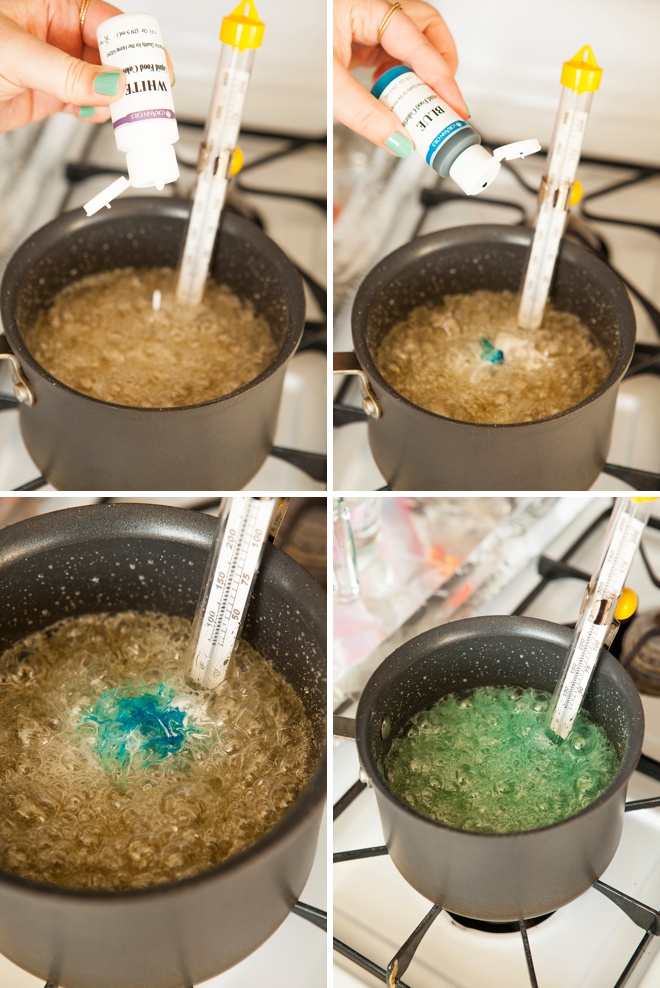
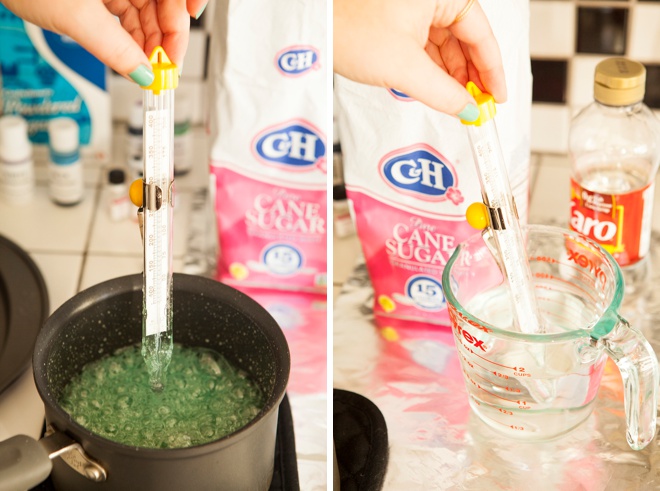
Once the temperature of your mixture reaches 260ºF you are ready to add the food coloring! For this exact batch (which is the shade of candy between the turquoise and green, the soft turquoise) I added 2 drops of liquid blue coloring to 8 drops of liquid white and it still came out this green. DO NOT STIR. The bubbling of the mixture will do that for you and any color not fully mixed can be taken care of at the end.
Confused why blue + white = pale turquoise? The reason is the base color of this candy mixture is yellow or amber, so think about what you get when you mix blue and yellow = green. To get the frosty, pastel look and to get better color results on the whole, always add white. I didn’t add white to was the dark pink and dark green but I still liked them, see the difference? More coloring tips below. Always keep in mind the base color of your mixture is yellow.
Remove From The Stove
Then continue to boil until the mixture reaches 300ºF and remove it from the stove immediately. This happens super quick compared to the last rise in temperature, so keep a close eye. I placed mine on a pot holder on the counter. Fill up a glass dish with hot-hot water and place the candy thermometer in it. If the water isn’t super hot it can crack your thermometer glass. I did this to have a place to cool the thermometer while aiding in the cleaning process. If you just set it on the counter the candy will harden on it and you’ll be running it under hot water to clean forever.
Let The Boiling Calm Down
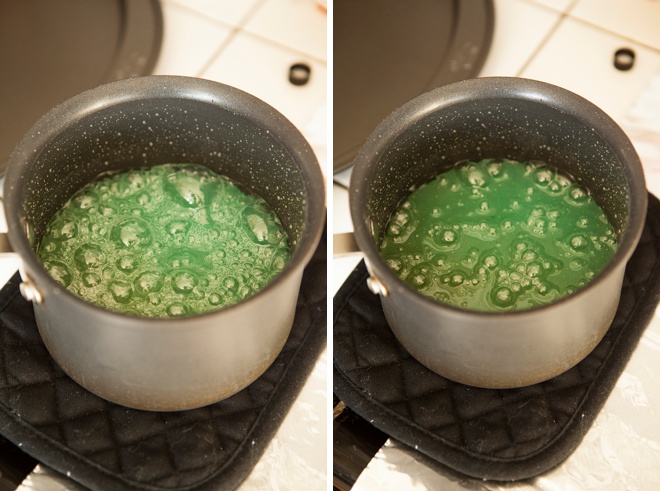
Let the mixture sit on your counter until the boiling action calms down. In this time I ran the thermometer under hot water to wash, cleaned up my area, etc. About 5ish minutes.
Add The Flavor
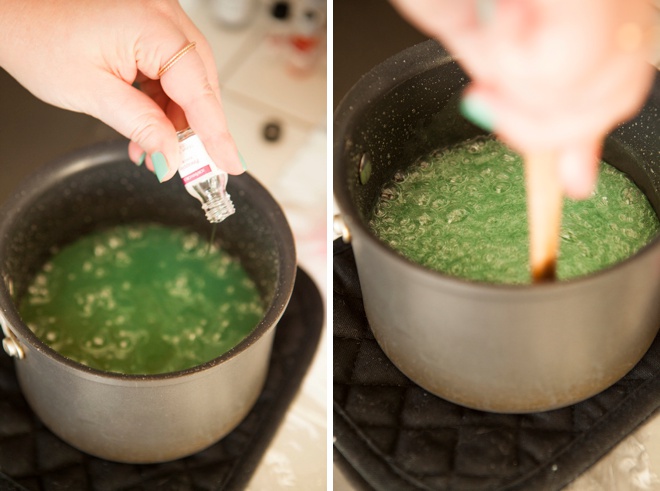
The LorAnn flavoring oils I used come in 1 dram glass jars so it’s easy because you just add the whole thing. Then stir. This is where you will fully incorporate the color (if it hasn’t been already) and flavor. Watch out for a bit of steam and more bubbles.
OMG – Pour
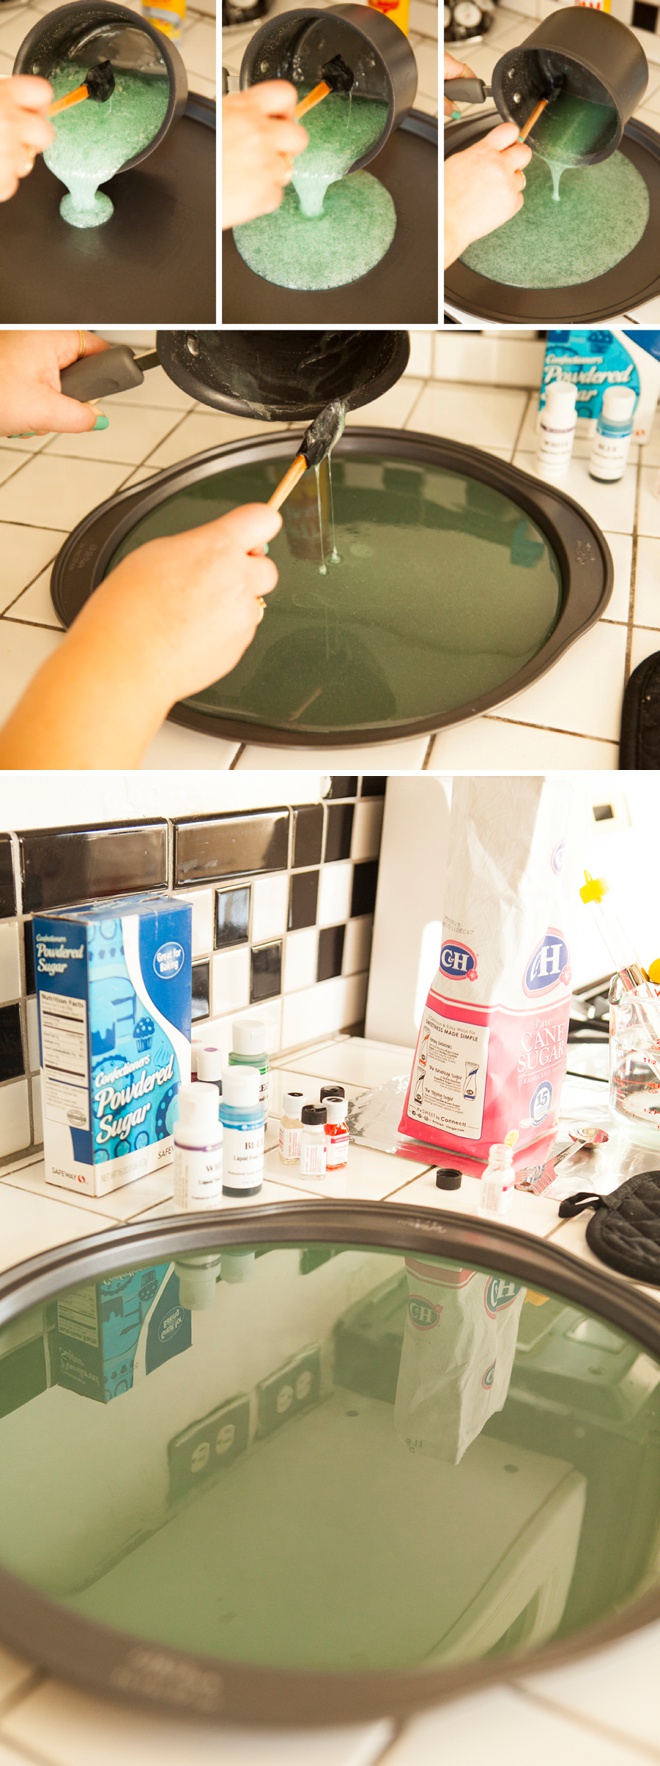
Once fully stirred you can pour! Scrape it all out of the pan using your rubber spatula. Make sure that your pan is on a flat surface for even cooling. Let it cool for 15-20 minutes. Doesn’t it look amazing?
Powder Your Candy
Once cooled, pour and wipe powdered sugar all over your hard candy. I know it looks like there is nothing on this pan but there is. Wash your hands first please.
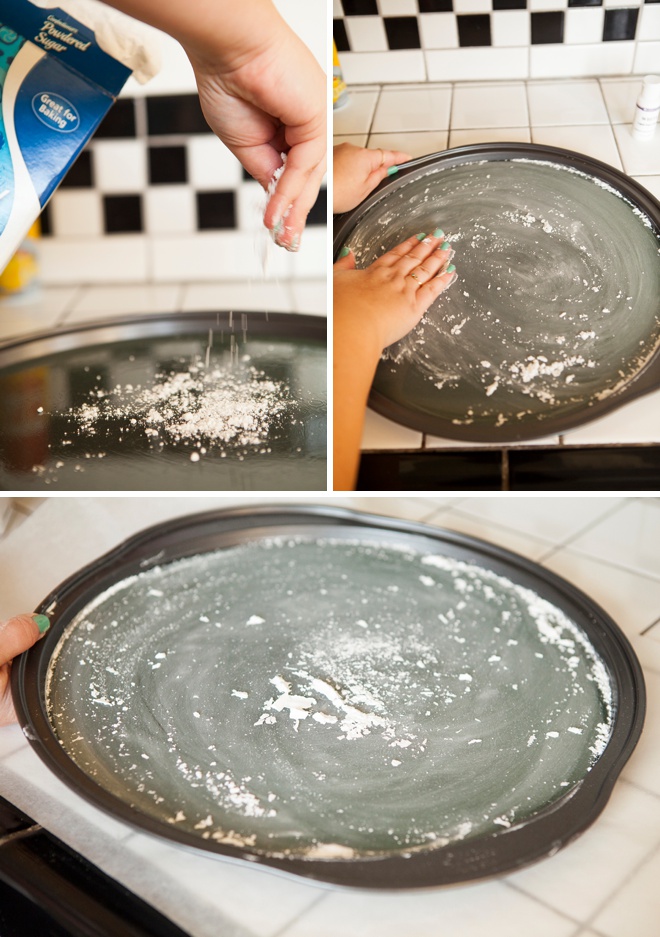
Crack Your Candy
Once cool, break into sea glass! I found it was easiest to drop my candy onto a sheet of wax paper with powdered sugar on it, then smash. You might have to knock yours off your tray or it might come off easily.
1 Pound Yield
This recipe makes about 1 pound of candy. But each time I measured mine it was exactly 17 ounces, so one ounce more than a pound – bonus!
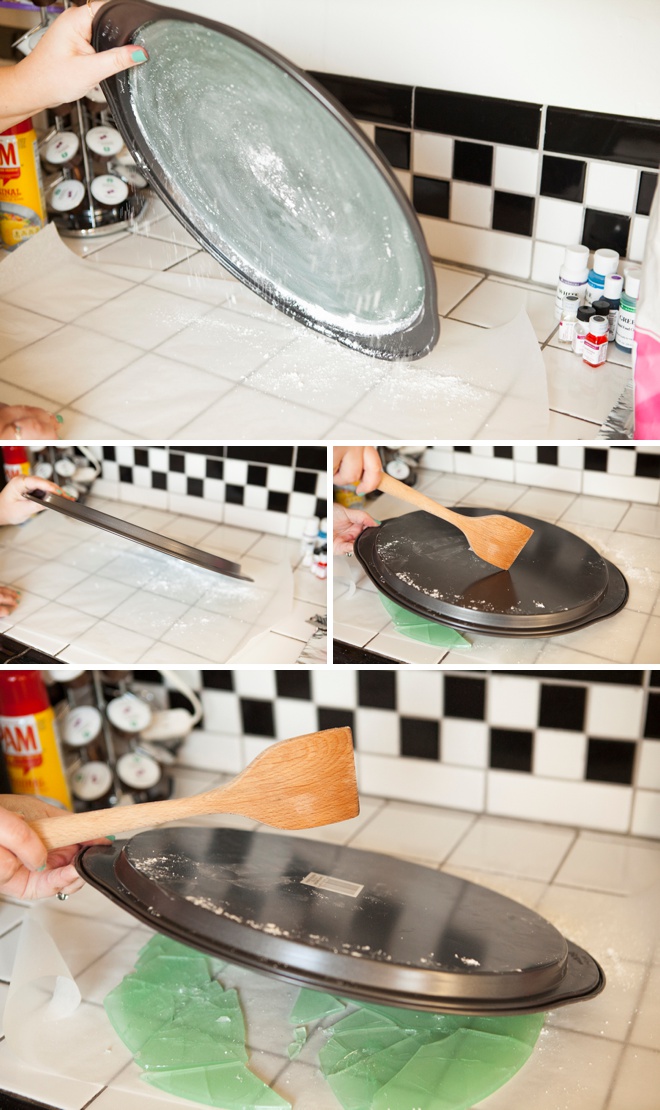
Break Up The Bits
Continue to break up all the little pieces of your candy. Quickly add to a ziplock bag and store out of the sun and heat!
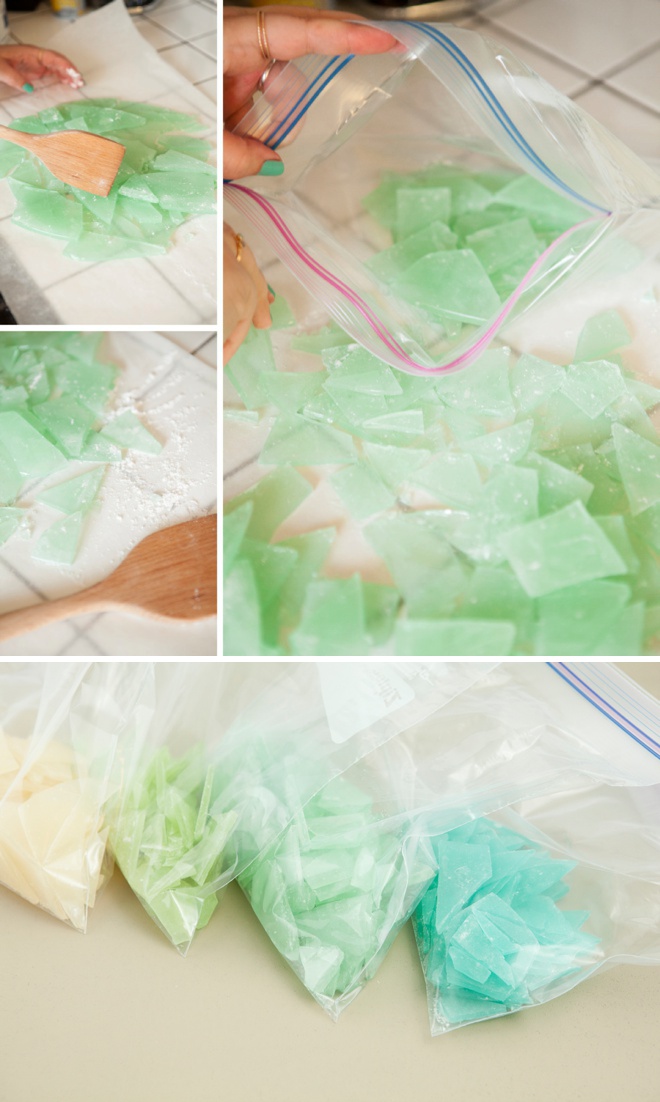
Seal Your Favors Tightly
The biggest problem with this candy is that air is basically it’s kryptonite. The more air, especially humid air, that hits this candy the more it’s going to sweat and get sticky – which is no good.
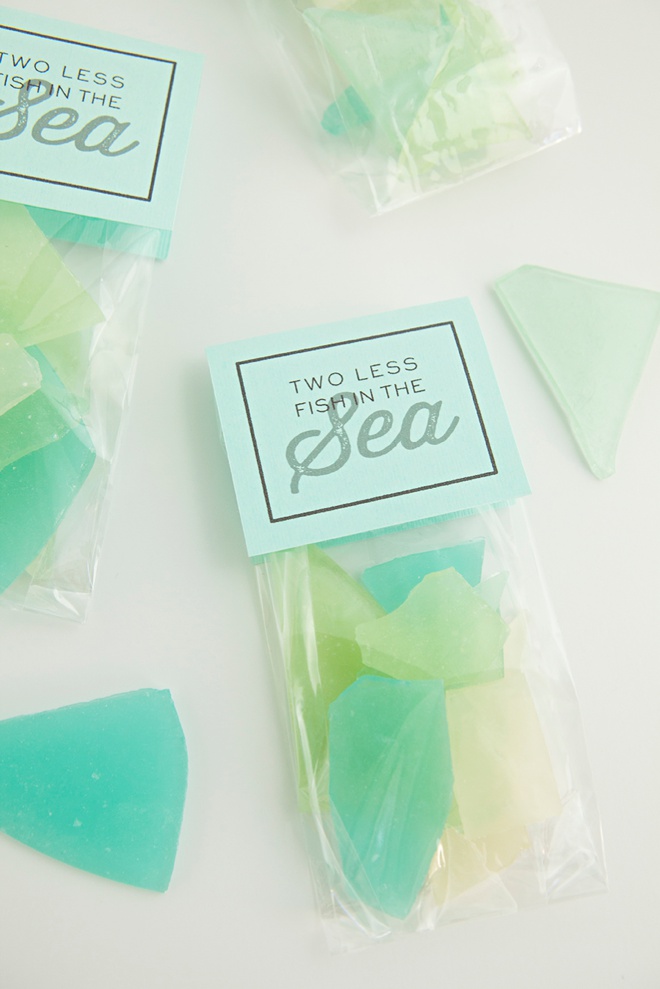
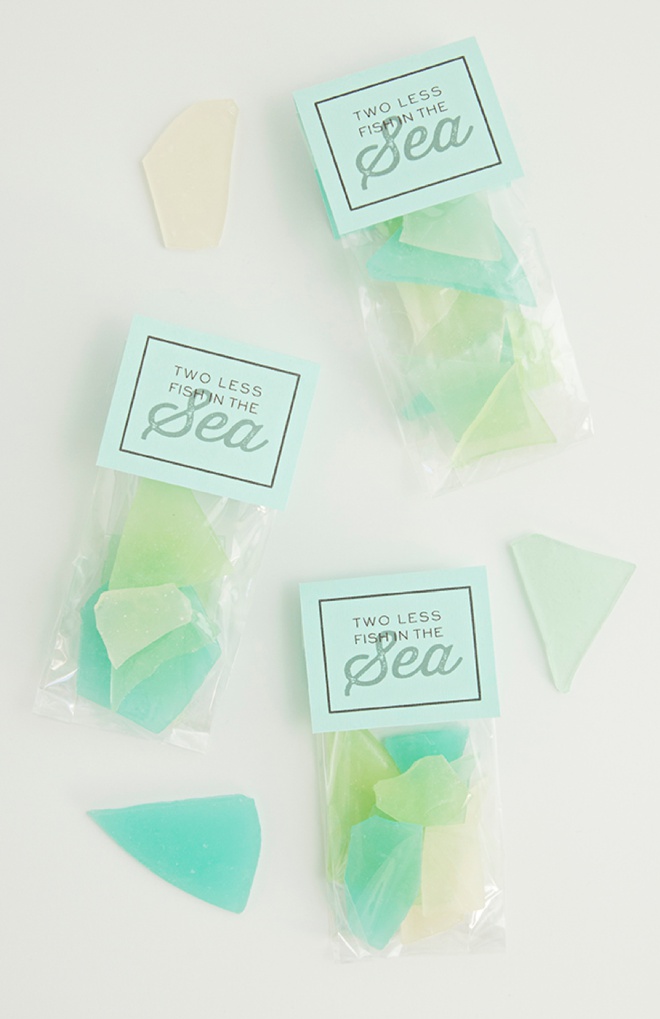
I used these 2.5″ x 7.5″ cello treat bags to package my sea glass candy because they were tall enough to fold down about 4 times. Fold the bags down and fully tape across all seams. Let no air in or out!
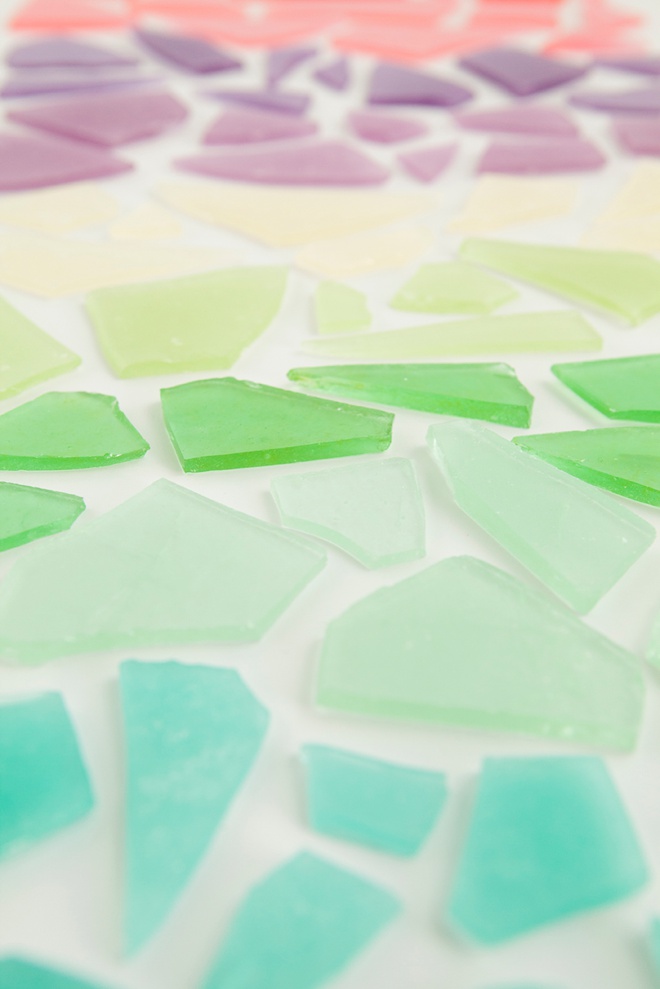
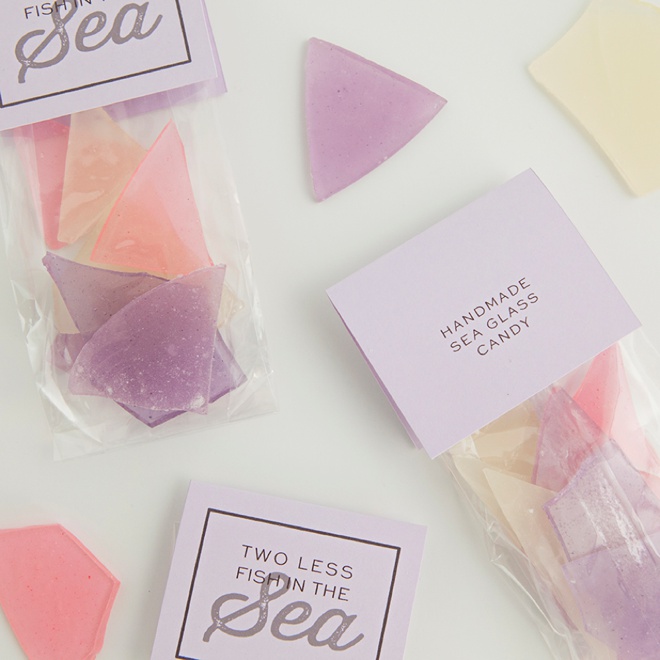
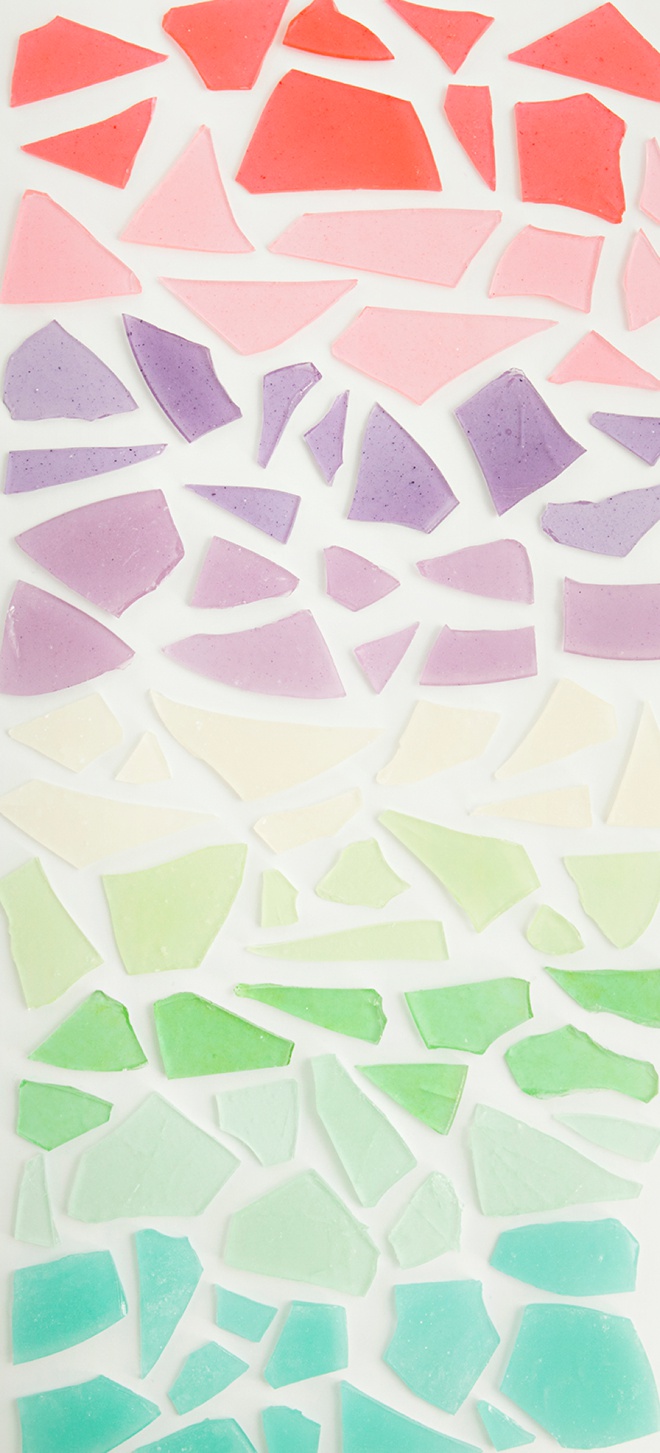
The perfect amount of candy per person/couple is 2 ounces. I’m stacking mine ombré style.
If you remember from above I noted that although this recipe claims to yield one pound, all my batches measured 17 ounces. Meaning you’ll get roughly 8.5 favors per recipe or, 34 favors per 4 pound sack of sugar!

Make + Package Before Your Event
For optimal freshness, try to make the candy within two weeks of your event and package the favors no more than a week before your event. Although the plastic bag + tape is fairly air tight, air will make it’s way in eventually. Also there’s no preservative in the candy so fresh is always best. Store away from sun and heat.
Cut Your Favor Tags
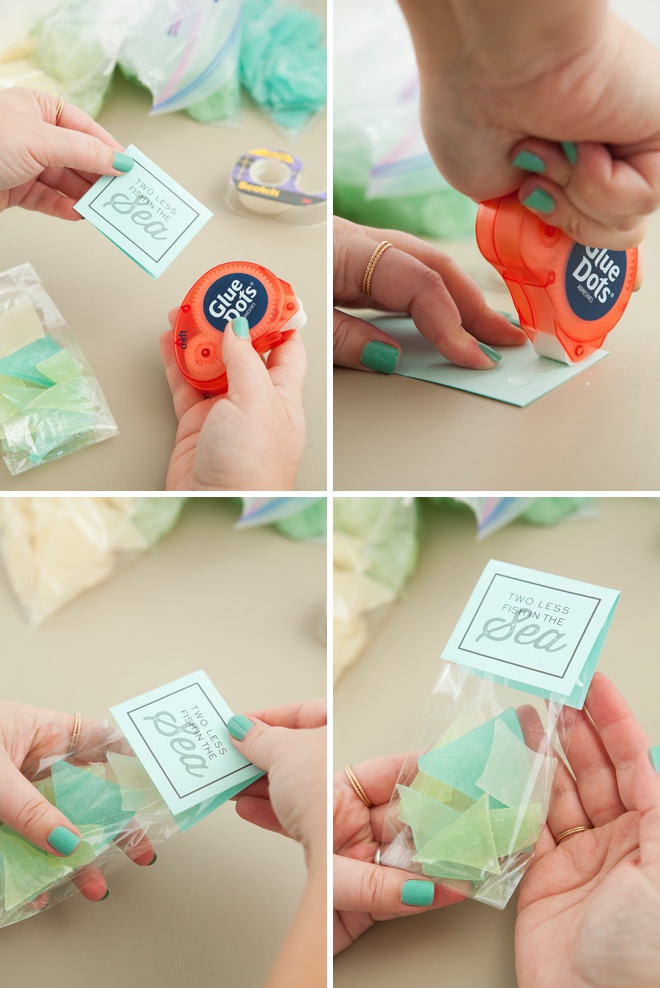
At the bottom of the post you can download my favor tag design. Print onto 8.5 x 11 cardstock of your choice, cut on the lines provided and fold in half.
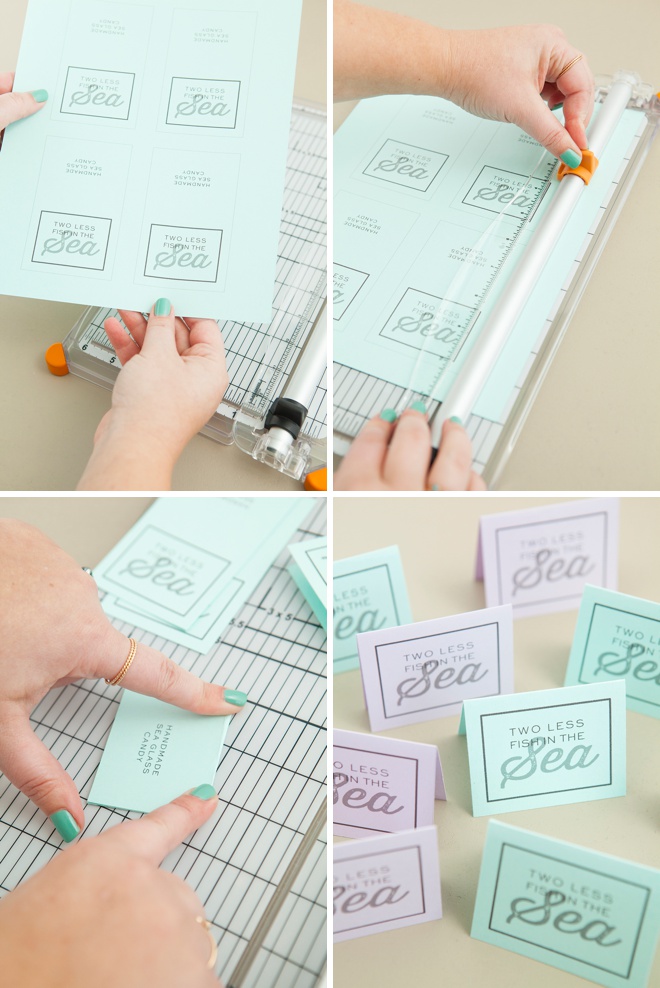
Add The Tags
Add Glue Dots to the inside of your tags and adhere over the top of each bag. This technique uses NO stapling of the bags on purpose. Stapling = holes in the bags. Holes in the bags = air getting in. Air getting in = sweaty candy. Sweaty candy = yuck. Get it?
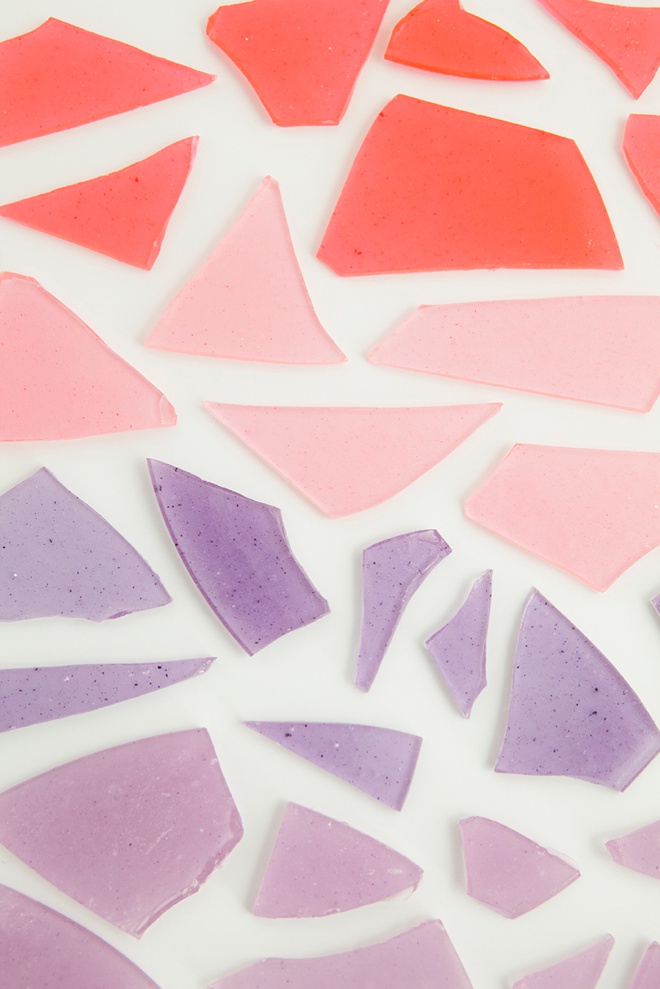
Rare Reds and Lavenders
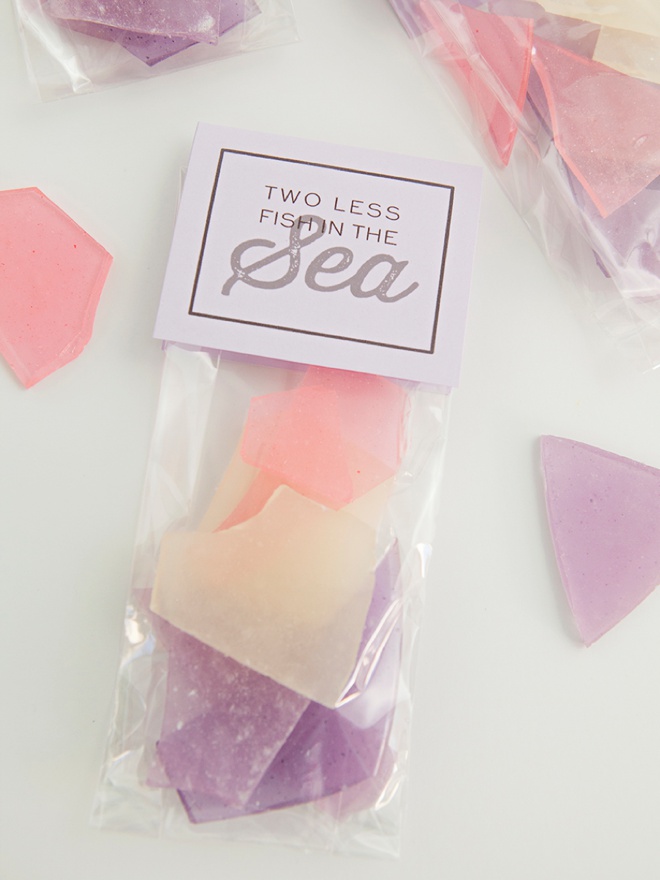
Did you know that lavender and red sea glass is some of the most rare to find? To learn more about sea glass, it’s colors and origins you can visit this interesting post on By The Sea Jewelry.
Candy Color Theory
To start you must use white food coloring. Remember how I said that if using gel coloring you’ll need less and when using liquid coloring you’ll need more? I found that when compared you’d need about double liquid coloring to gel coloring. Just like I did here, feel free to mix gel and liquid coloring in the same batch. Every drip and drop is going to be slightly different and so will every food coloring. Do your best, experiment and have fun!
General Ombre Rule For Gel Coloring:
Light: 4 drops of white + 1 toothpick dip of color (what I mean by that is dip a toothpick into your gel coloring and pull it out, then dip and swirl it for a second or two into your hot candy mixture)
Medium: 4 drops of white + 1 drop of same color
Dark: 4 drops of white + 2 drops of same color
General Ombre Rule For Liquid Coloring:
Light: 8 drops of white + 2 drops of color
Medium: 8 drops of white + 4 drops of same color
Dark: 8 drops of white + 8 drops of same color
My Color Formulas:
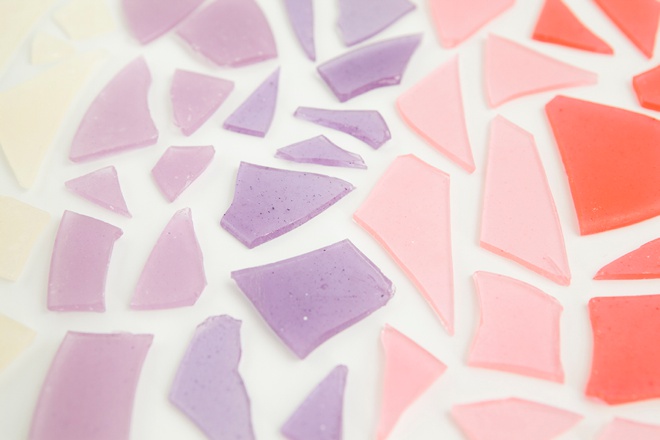
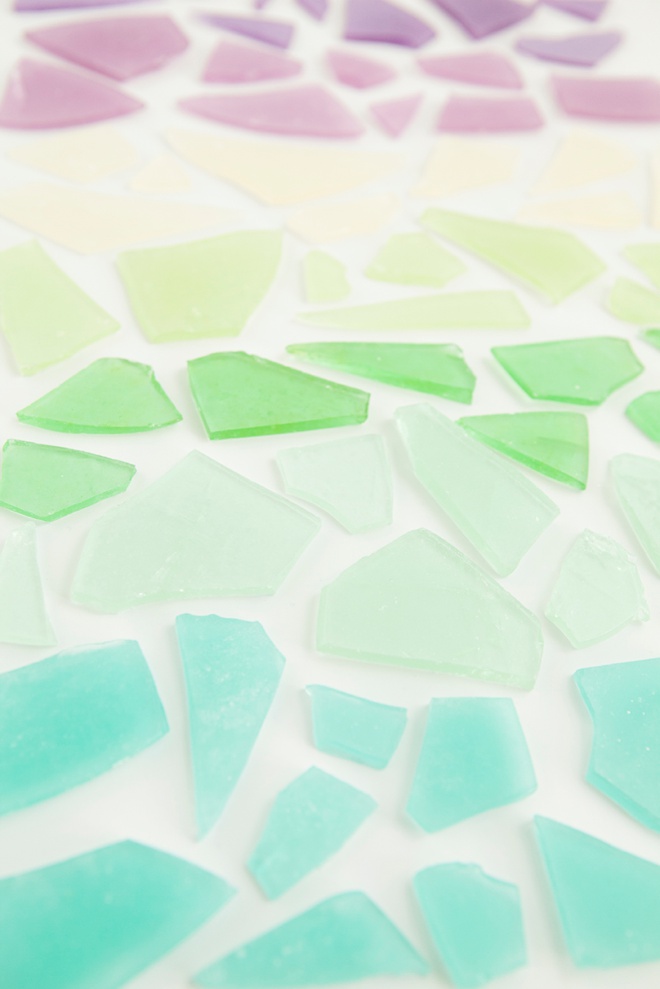
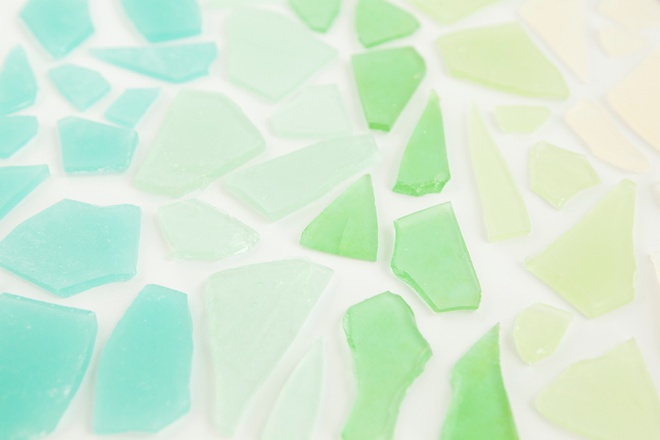
I used White, Green and Blue LorAnn liquid food coloring and Soft Pink and Regal Purple gel food coloring by AmeriColor. Only 5 food colors made all these pretty shades of candy. Although I share the general rule for ombré coloring above, feel free to go beyond it and test out your own custom shades!
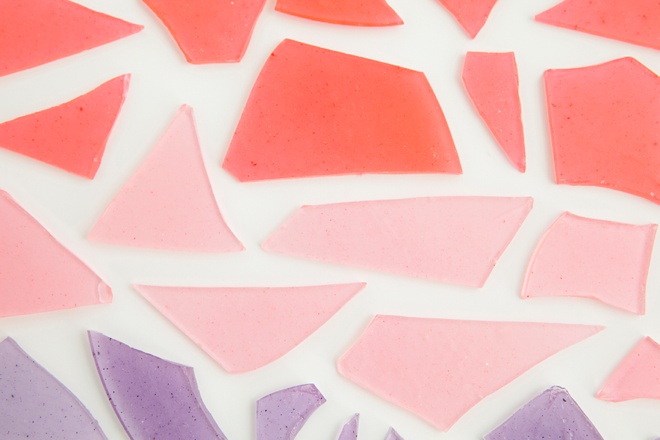
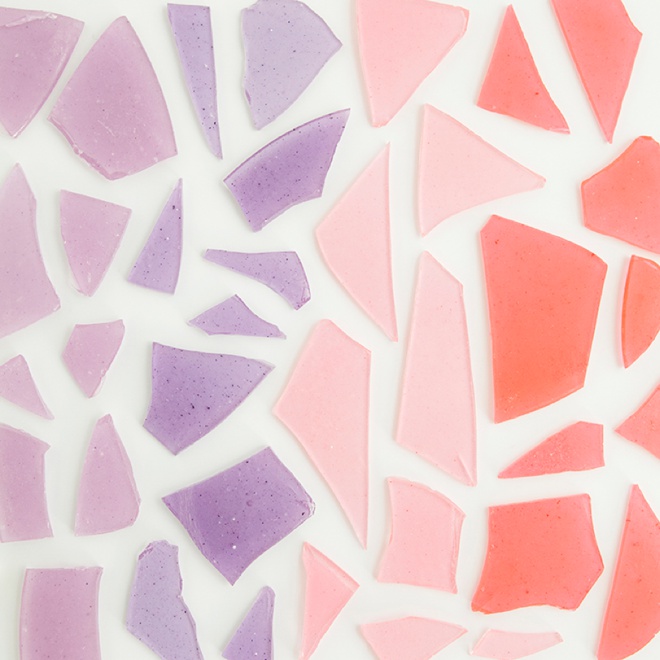
Dark Pink: 4 drops gel soft pink only
Pale Pink: 8 drops liquid white + 1 toothpick gel soft pink
Medium Purple: 10 drops liquid white + 2 drops gel regal purple
Lavender: 12 drops liquid white + 1 drop gel regal purple
White: 4 drops liquid white
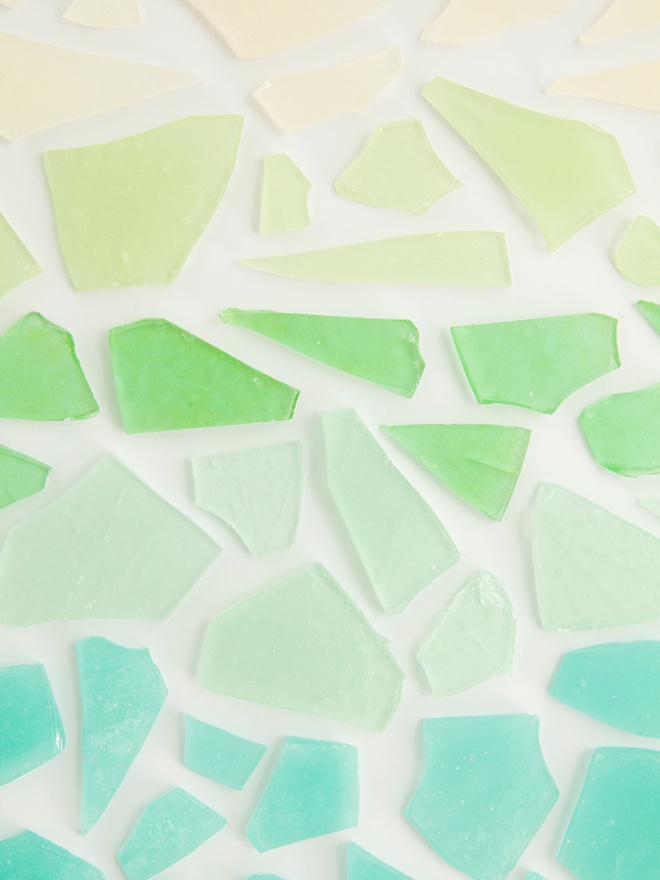
Pale Green: 8 drops liquid white + 1 drop liquid green
Green: 8 drops liquid green only
Pale Turquoise: 8 drops liquid white + 2 drops blue
Turquoise: 8 drops liquid white + 8 drops liquid blue
What Colors Make Good Candy?
Let’s just say that most people don’t want to eat things that look highly pigmented… or that are dark green or dark brown. Unless the dark brown is chocolate. So while sea glass might come in those colors, psychologically your guests might prefer to eat pastel candy.
As with all our DIY tutorials, if you create one of our projects please send us a picture – We Love Seeing Your Creativity! If you use Instagram or Twitter please use the hashtag #SomethingTurquoiseDIY and it will show up on our Get Social page. Happy Crafting!
DIY Tutorial Credits
Photography + DIY Tutorial + Free Downloads: Jen Carreiro of Something Turquoise // Candy thermometer, Flavoring oils, Liquid Colorings, Tart and Sour, and Cardstock: Amazon // Cello treat bags and Gel Colorings: Classic Cake Decorations (my local fine baking store) // Pizza pan and cardstock: Michaels // Sugar, Corn Syrup, Foil, and Pyrex measuring cup: Gelsons // Nail Polish: OPI – Withstands the Test of Thyme
Shop The Supplies:
Find the supplies you’ll need for this project from our affiliate links below:


Comments