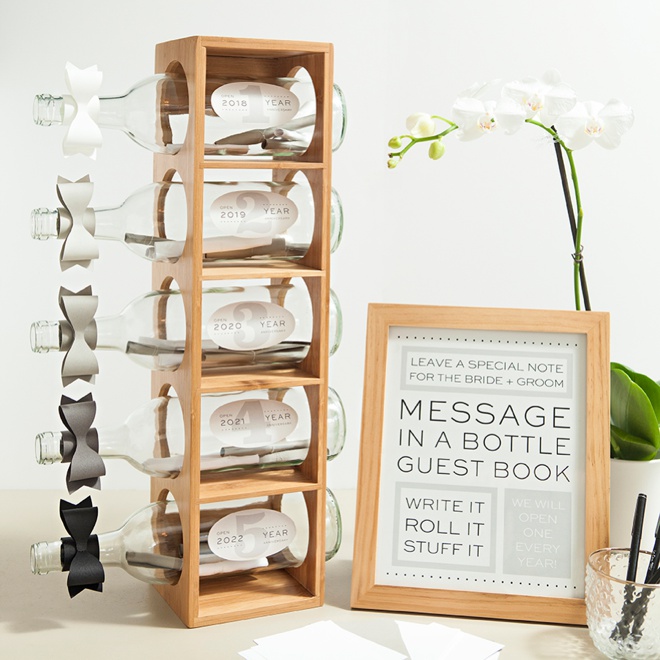

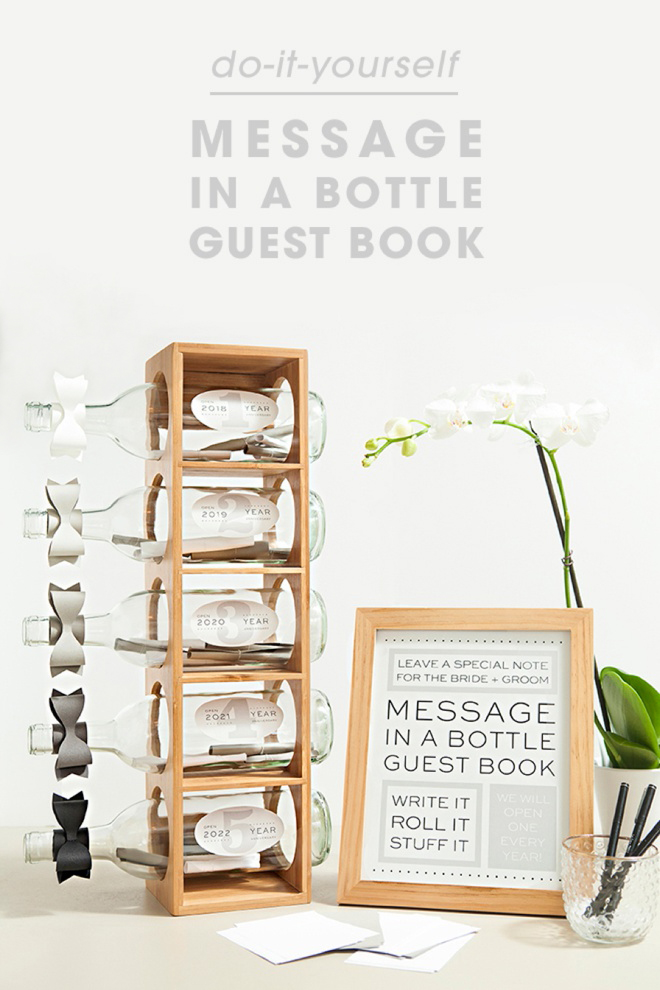
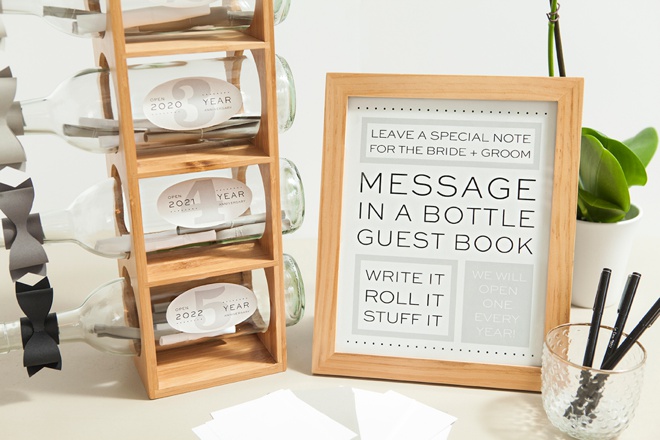
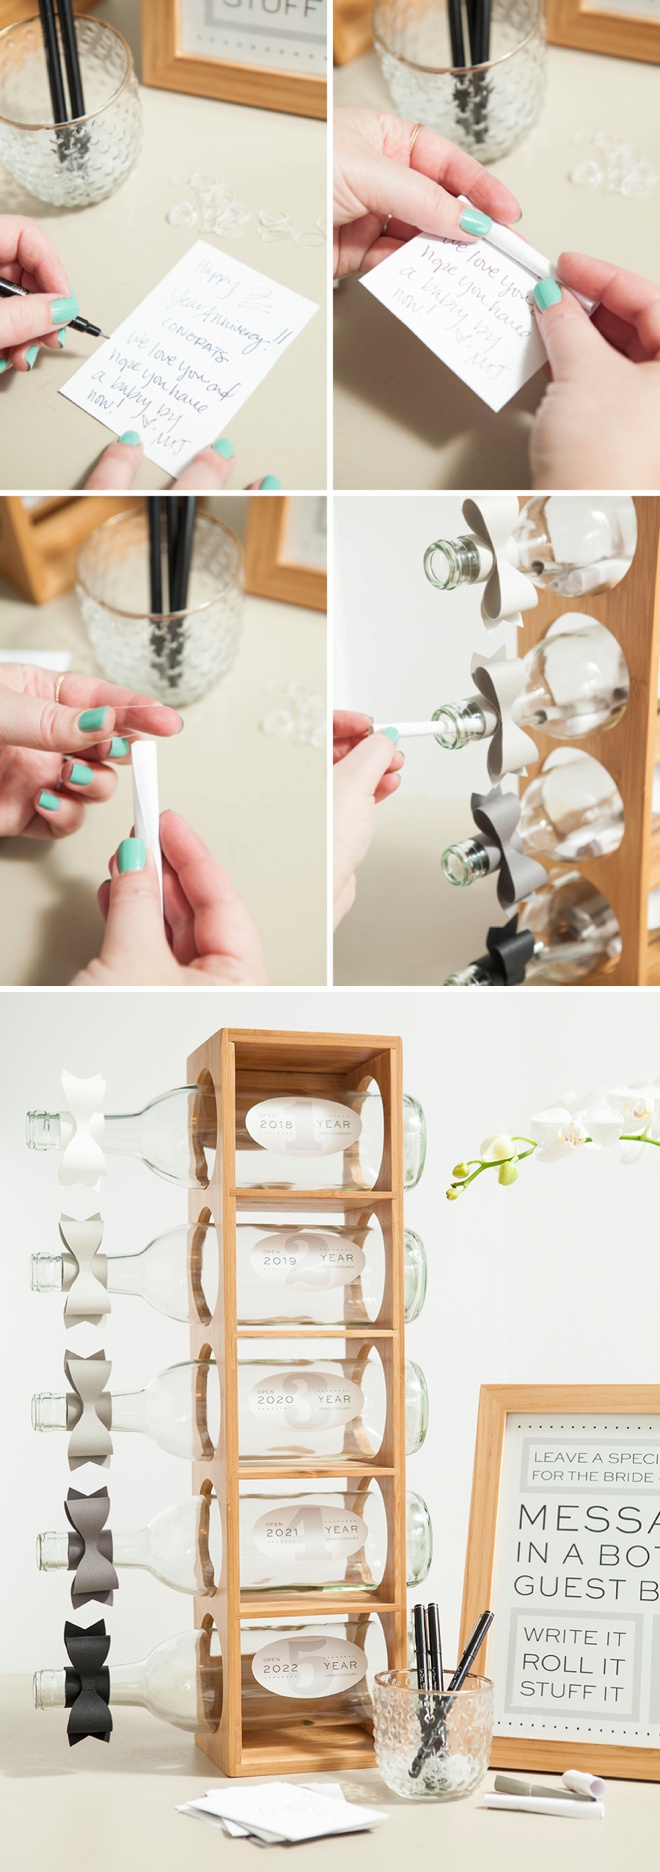
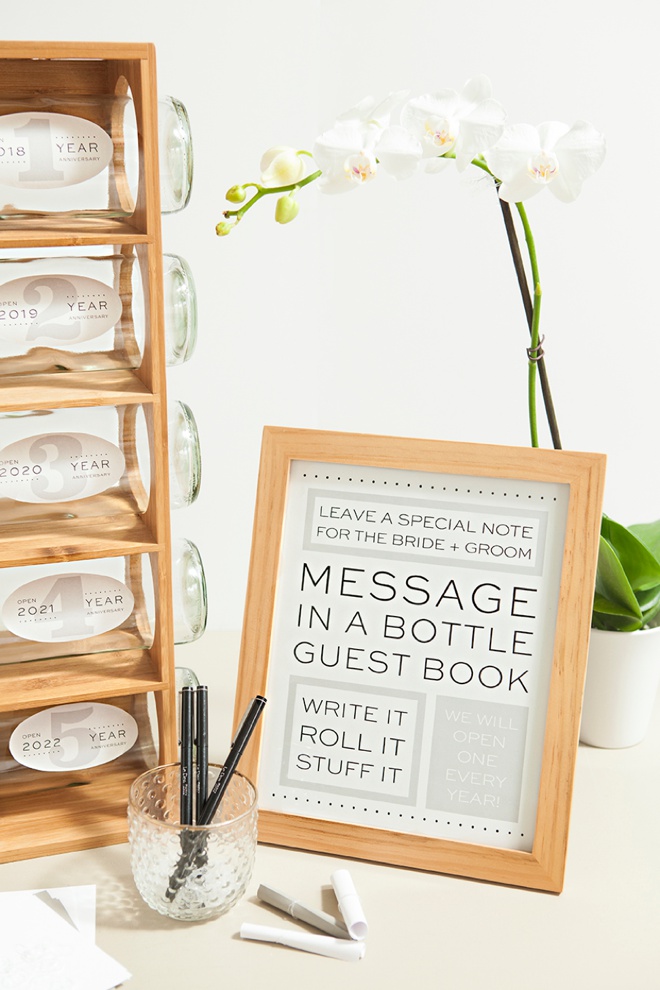
I’m a beach + wine loving gal so I adore the idea of a Message In a Wine Bottle Guest Book… especially the type that you get to continually enjoy! Here I’ve created a bottle display with free design downloads that will allow you to collect sweet messages from your guests and enjoy them over your first five years of marriage. I designed labels especially for those getting married this year and next, with the actual year that each bottle messages are to be read – so you don’t get confused. If this idea would have been around way back when I said “i do” I would have been saying I do to this guest book too!
1 – 2 – 3 – 4 – 5
I’ve seen a few ideas like this online that span many more years like 10, 15, and 20 – but personally I would loose interest and might even loose the bottles by my 20th anniversary so I just stuck with 5 ;-)
SUPPLIES:
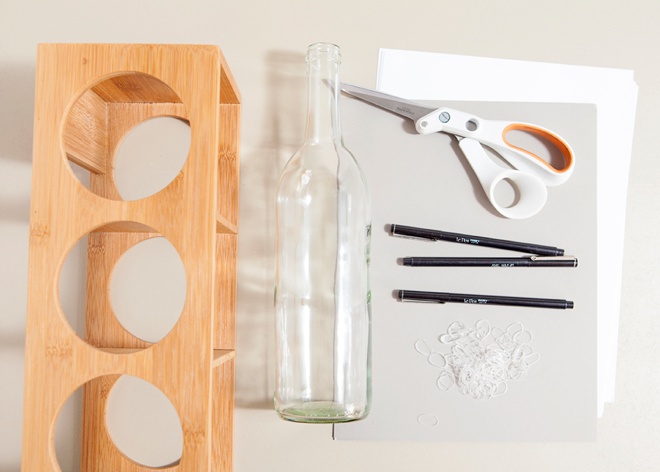
- 5 Tier Wine Rack (mine is from Amazon)
- Empty + Clean Wine Bottles
- 8 x 10 Frame
- Cardstock (for the bows)
- Regular Paper (for the sign and message papers)
- Label Sheet (aka. sticker paper for the bottle labels)
- Paper Trimmer
- Scissors
- Tiny Rubber Bands (to hold the notes together)
- Pens + Cute Cup
- Our FREE downloads below!
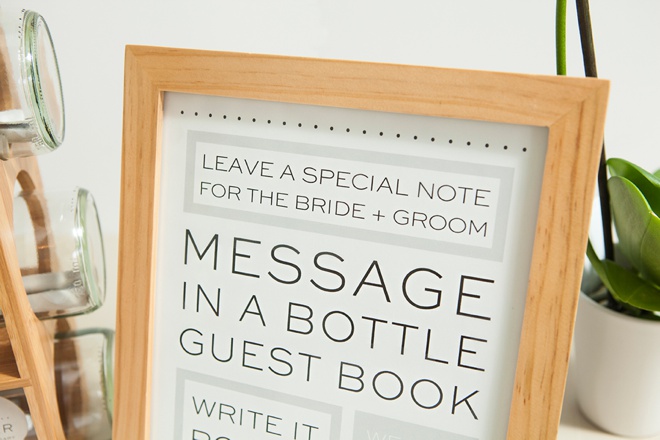
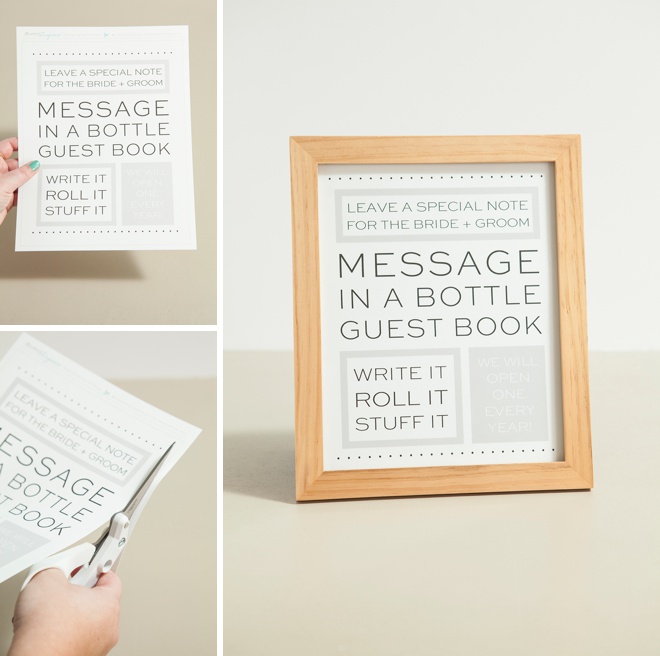
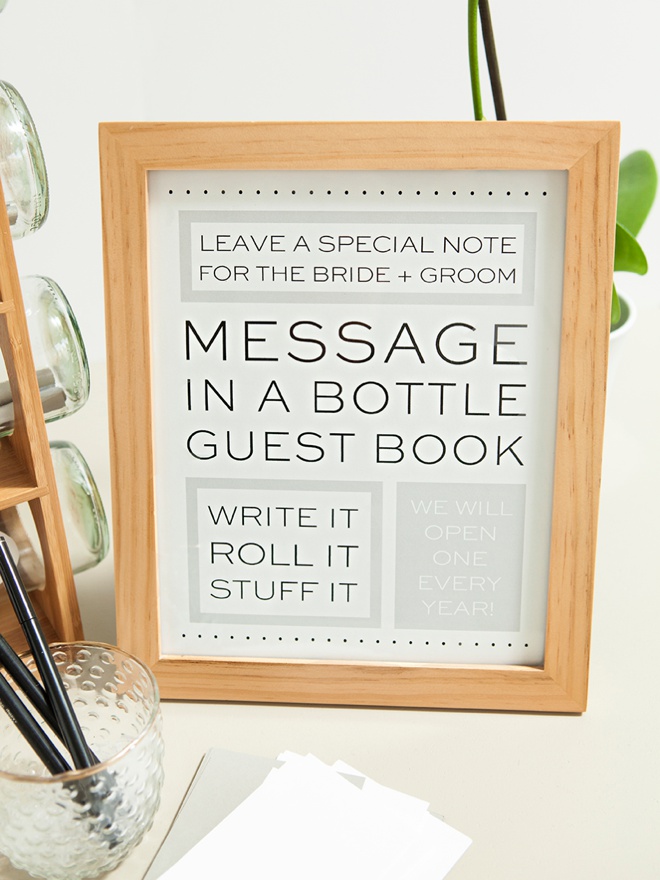
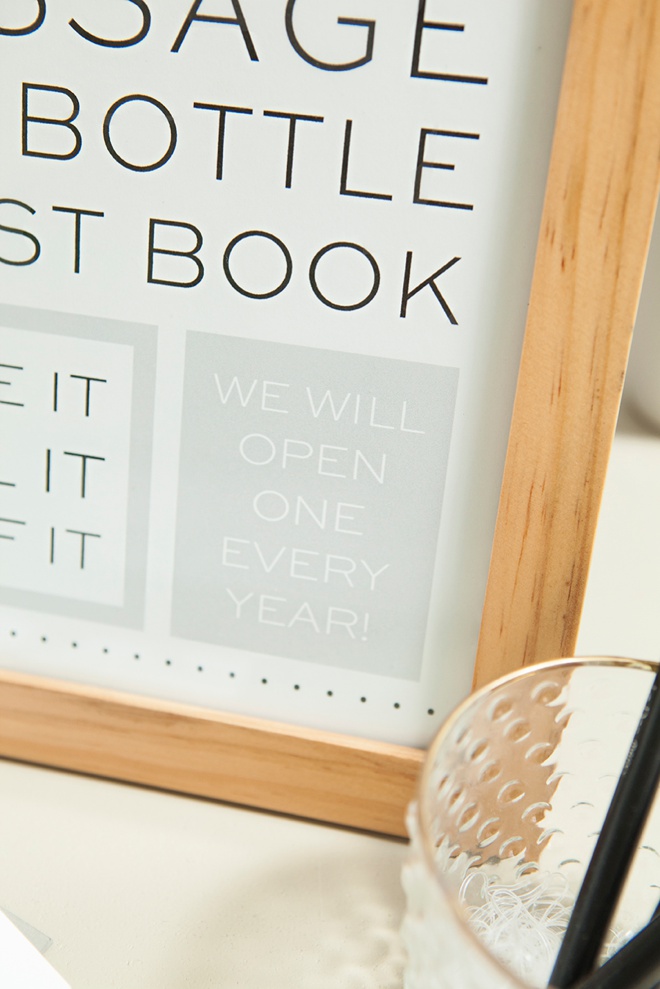
Print + Frame The Sign
Print my free sign design onto 8.5″ x 11″ paper, trim to 8 x 10 and frame!
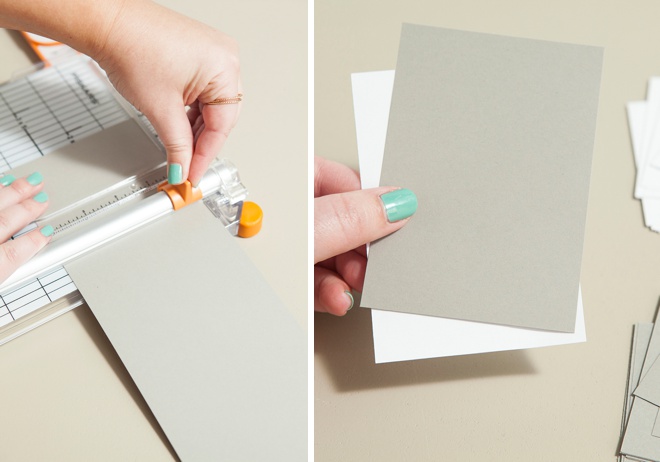
Cut Your Message Papers
Using regular old text weight paper, cut little squares for your guests to write their messages on. I trimmed these down to 3″ x 4.5″ and got 5 per page.
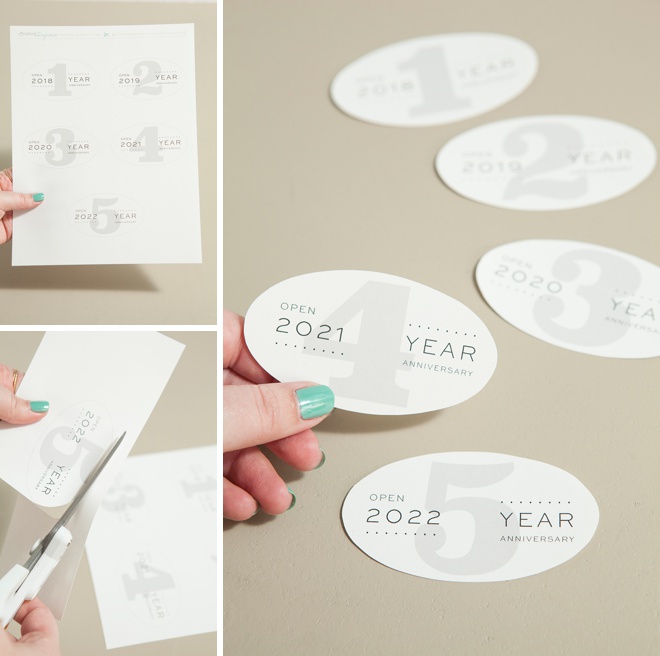
Print + Cut Your Bottle Labels
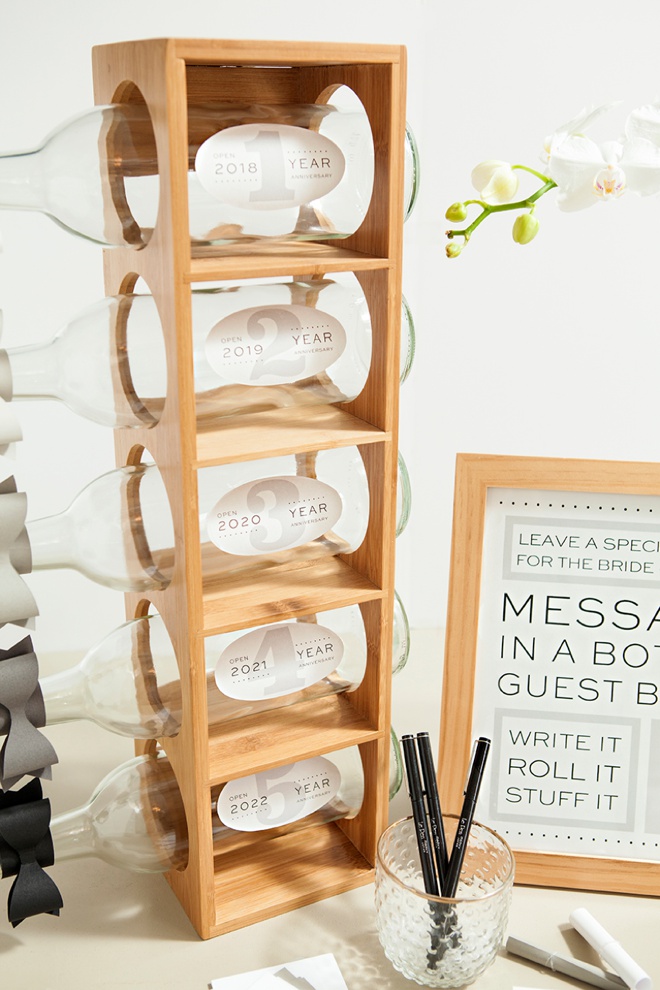
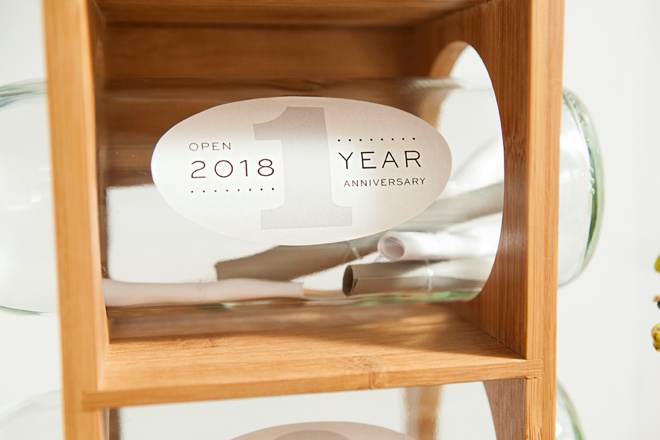
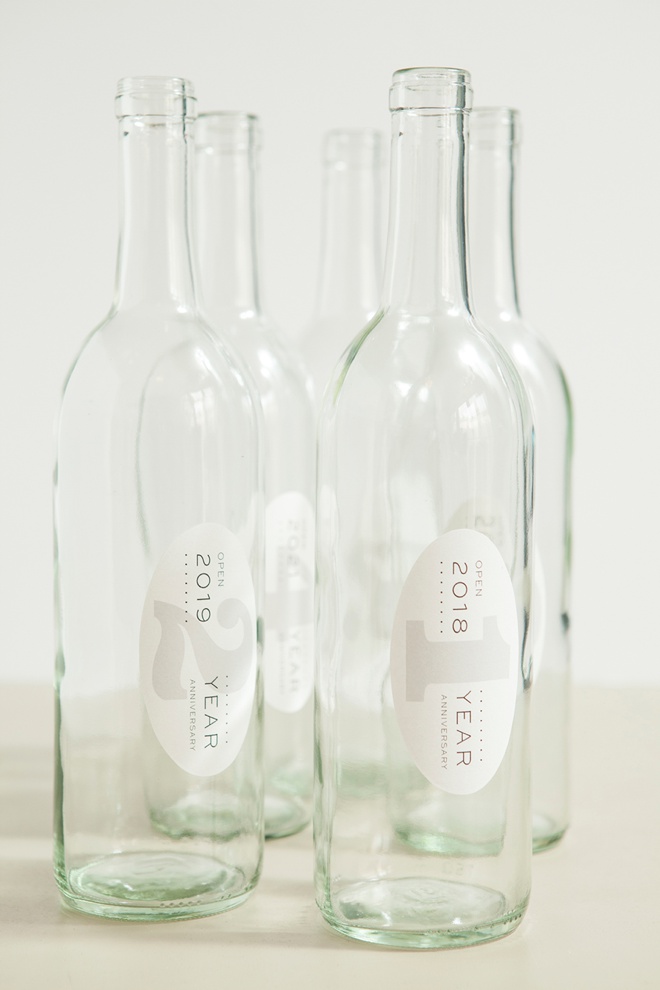
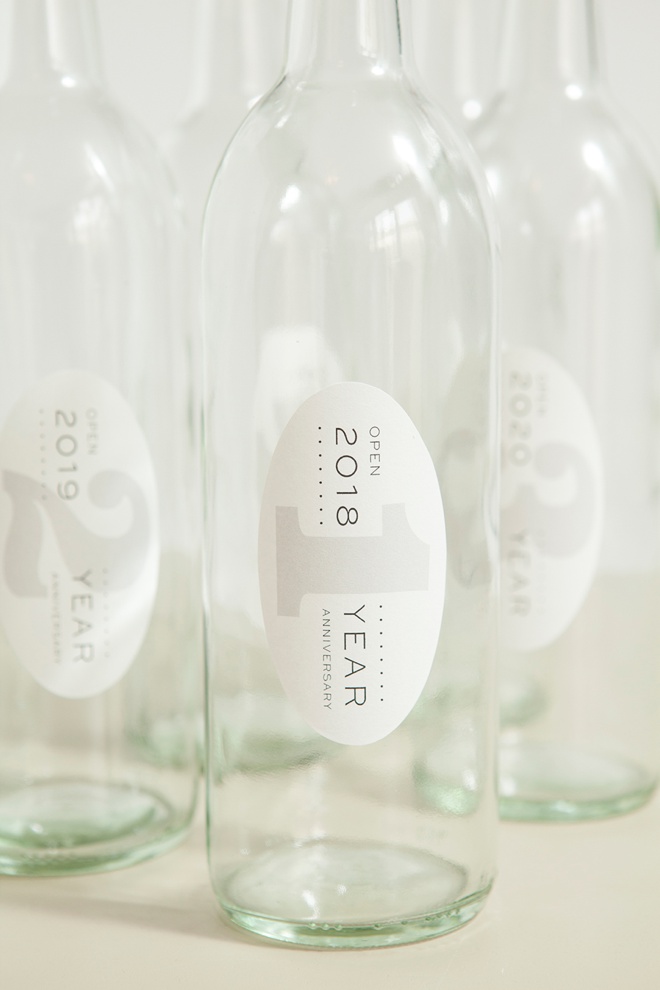
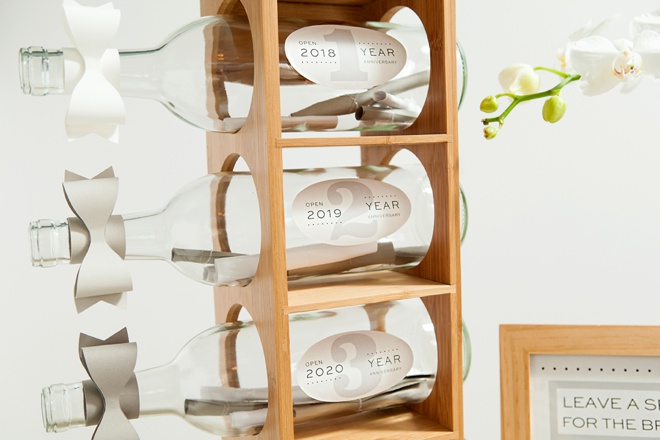
Print the correct year “bottle label” design onto either 8.5″ x 11″ sticker paper or label sheet and then cut out each oval label. I’ve created designs for each year to correspond to the years you will be opening each bottle!
The benefit to using label/sticker paper is that the entire sheet is one solid “sticker”, meaning there is no worry of buying the correct labels and getting the printing alignment just right. Sticker paper is one of my favorite crafting supplies!
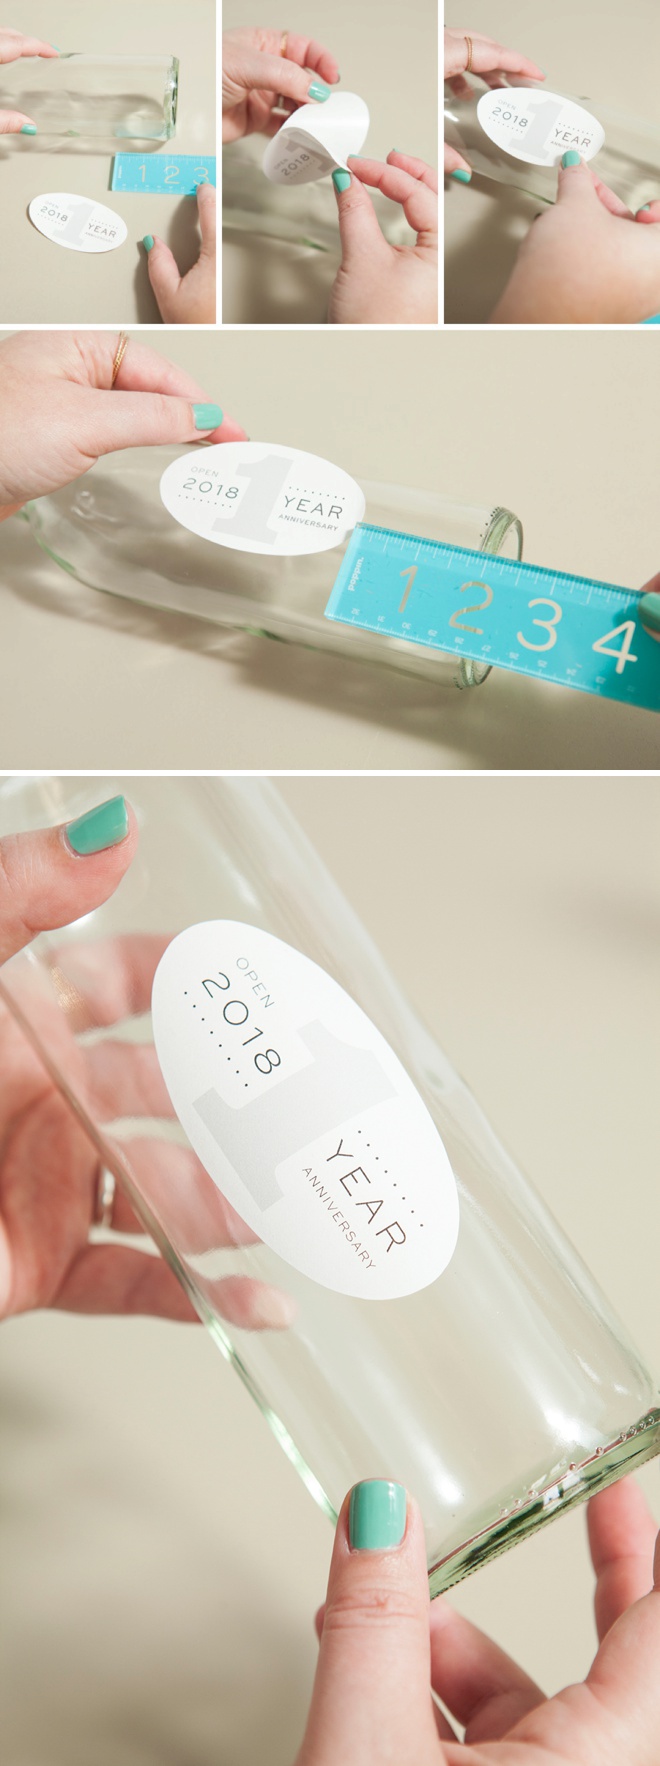
Labels + Bottles
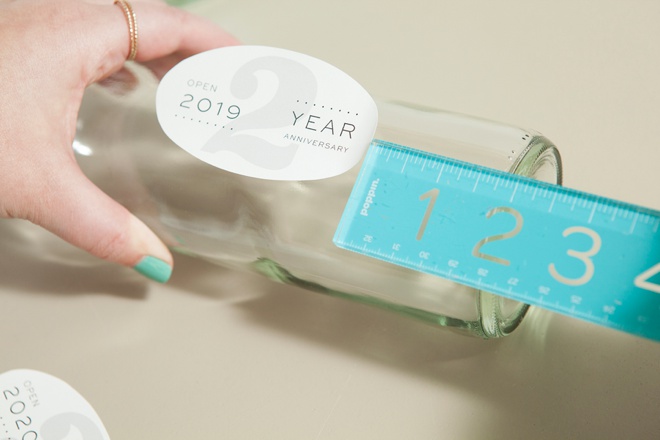
First put your bottle in your wine rack to determine where the label should be. For me this was exactly 2″ from the bottom of the bottle, but yours might be different. Then peel and stick!
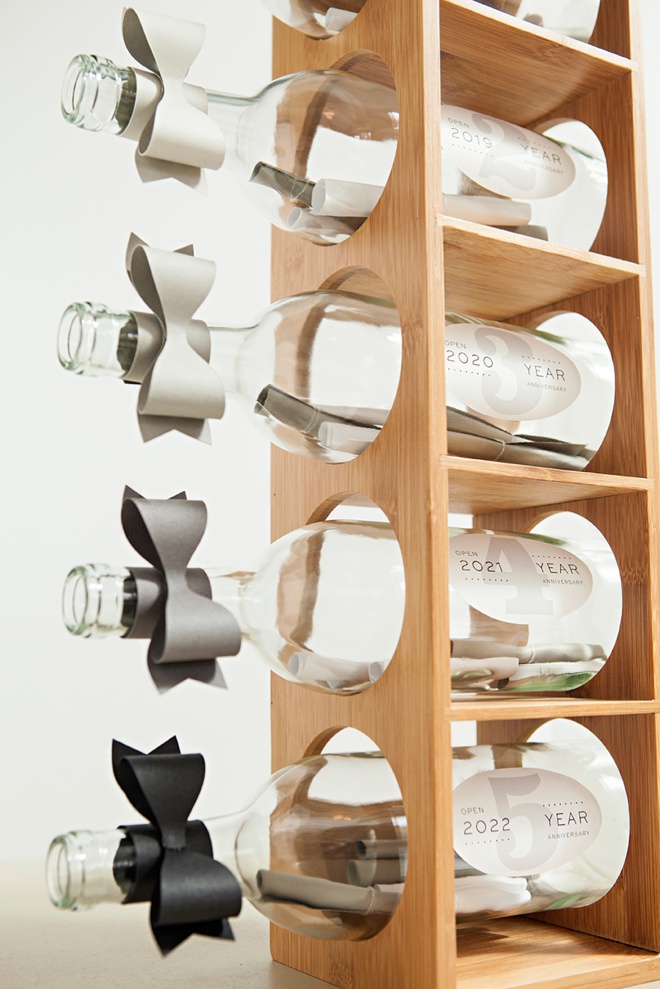
Don’t They Look Gorgeous?
Lia’s Paper Bows
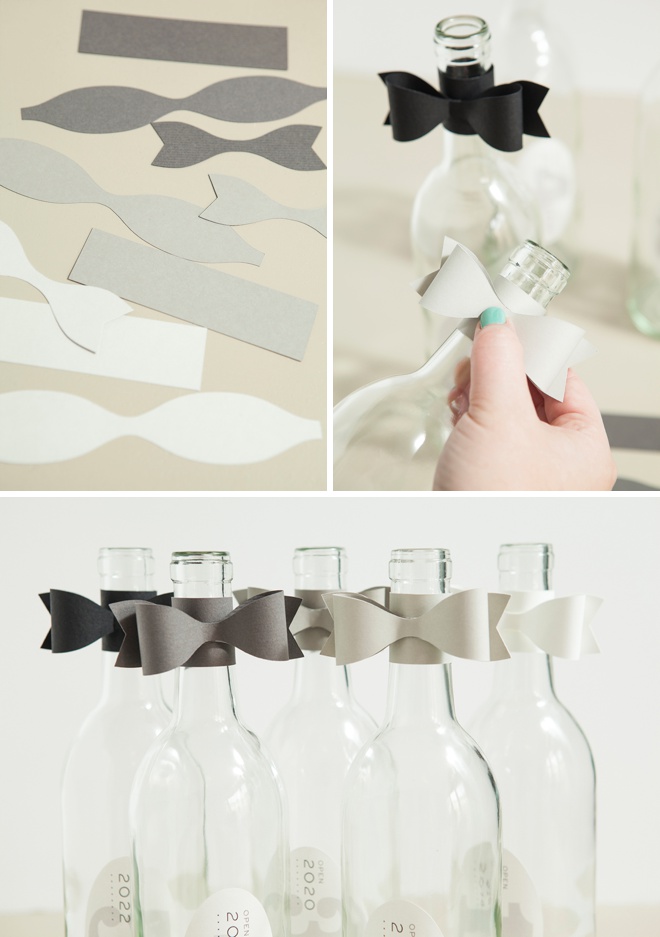
One of my favorite craft bloggers, Lia Griffith shared this adorable free pattern for paper bows and it’s one of my favorites. Here I’m using the second to the largest pattern to embellish the bottle necks using ombré colored cardstock. I cut mine out with my Cricut Explore Air but she also provides a print and cut pattern. Totally optional but totally cute.
Write It + Roll It + Stuff It
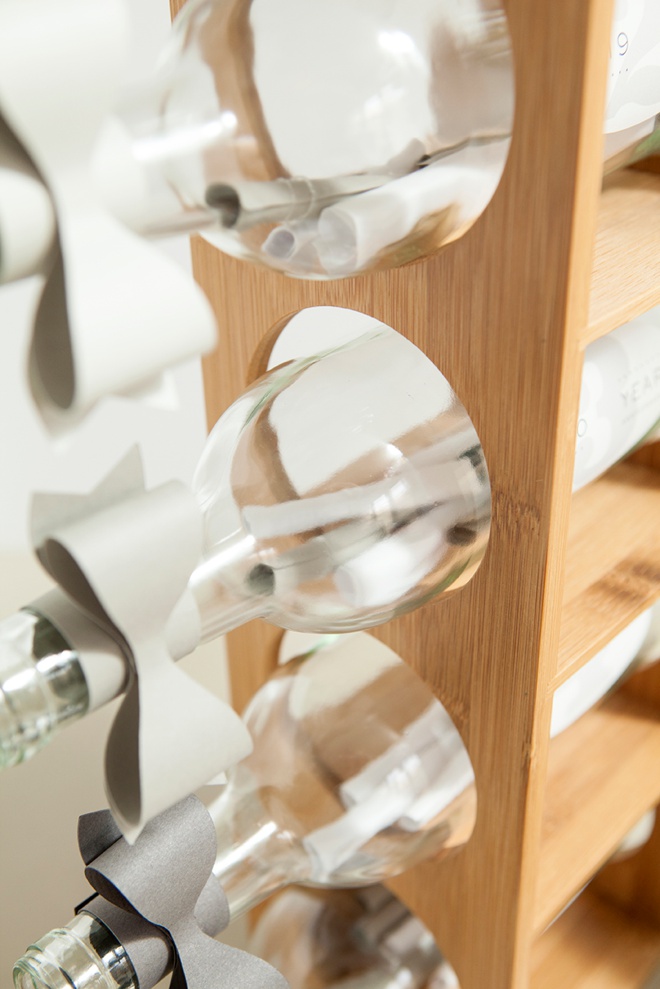
Display your darling Message In A Wine Bottle Guest Book at your reception and watch as each bottle fills up with sweet notes! To make each message easy to shake out of the bottles when the time is right, encourage your guests to secure each note with a tiny rubber band. Otherwise once those little rolled messages get inside the bottles, they will expand making them virtually unable to retrieve.
Read On Each Anniversary!
When that special day comes each year, open some bubbly, take your bottle and SHAKE all it’s notes out! Then happily read them and reminisce with your MR or MRS. If you really don’t want to shake the notes out, I guess you can break the bottle.
Notes From Beyond
I pray that the story I am about to share is not what happens to you, but it’s sweet none the less. A bride I know created something similar to this for her guest book except they were more along the lines of time capsule swing top jars like these. Unfortunately as the years went on, she lost a few of her beloved family members including an aunt and grandmother. However both had added messages in multiple jars. She explained to me that reading those notes, after her loved ones had passed was a priceless gift that she was eternally grateful for. Although this thought never crossed her mind before it was reality, it definitely crossed mine while creating this project. I say this to share that you never know what a special project like this could mean to you in years to come. xoxo

Grab Our Free Downloads:
As with all our DIY tutorials, if you create one of our projects please send us a picture – We Love Seeing Your Creativity! If you use Instagram or Twitter please use the hashtag #SomethingTurquoiseDIY and it will show up on our Get Social page. Happy Crafting!
DIY Tutorial Credits
Photography + DIY Tutorial + Free Downloads: Jen Causey of Something Turquoise // Wine Rack: Amazon // Clear Empty Wine Bottles: Amazon // 8 x 10 Frame: Aaron Brothers // 8.5 x 11″ Text and Cover paper: Paper Source // Bow Template: Lia Griffith // Tiny Rubber Bands: Amazon // Le Pens: Amazon // Small Hobnail Glass Jar: Afloral
Shop The Supplies:
Find the supplies you’ll need for this project from our affiliate links below:


Comments