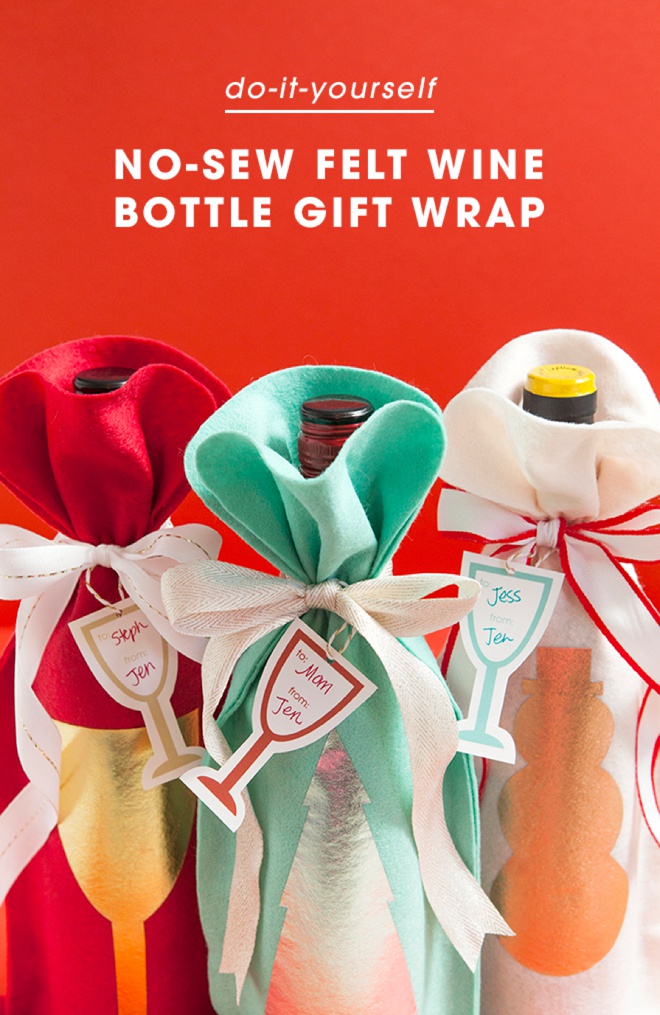
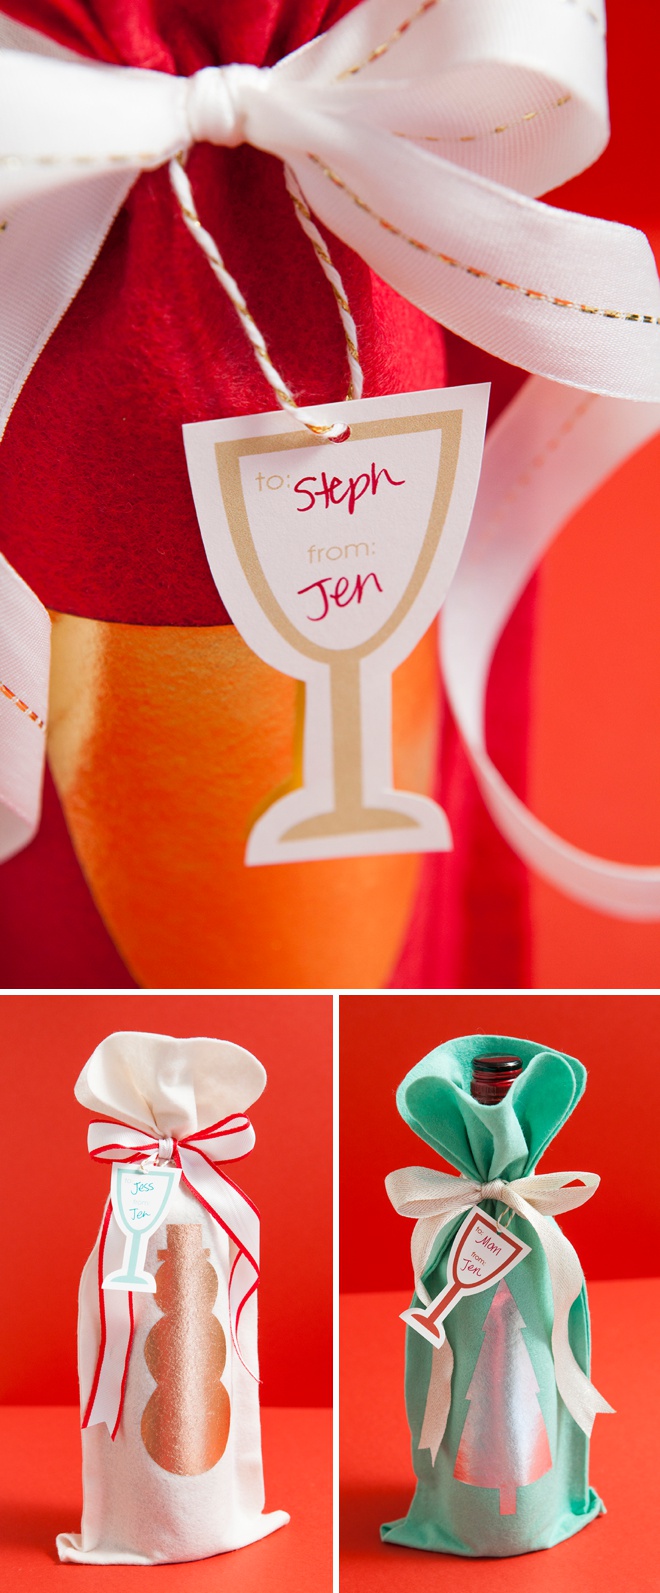
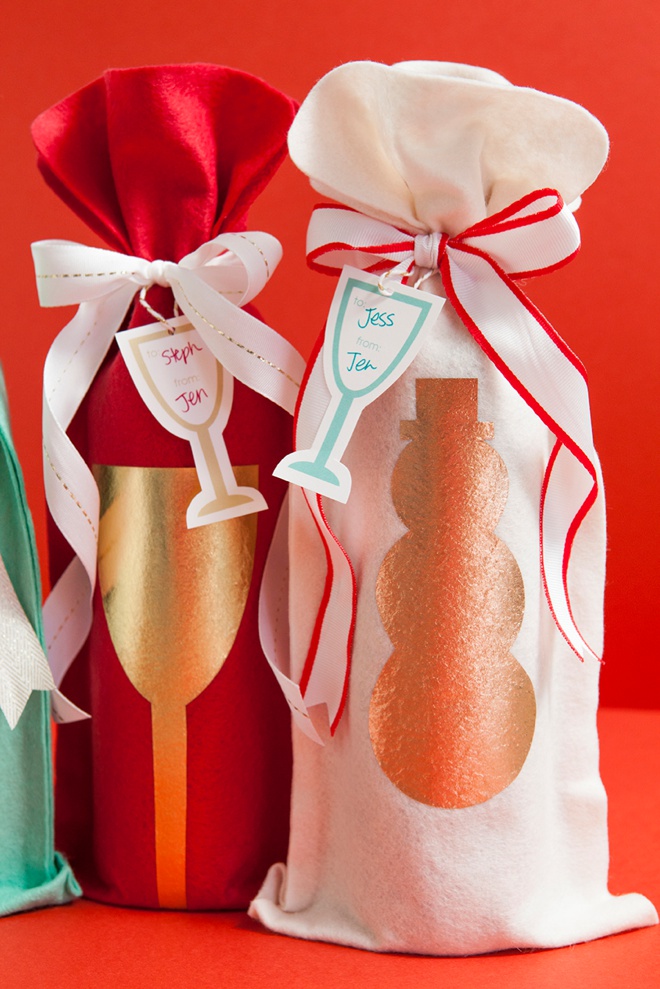
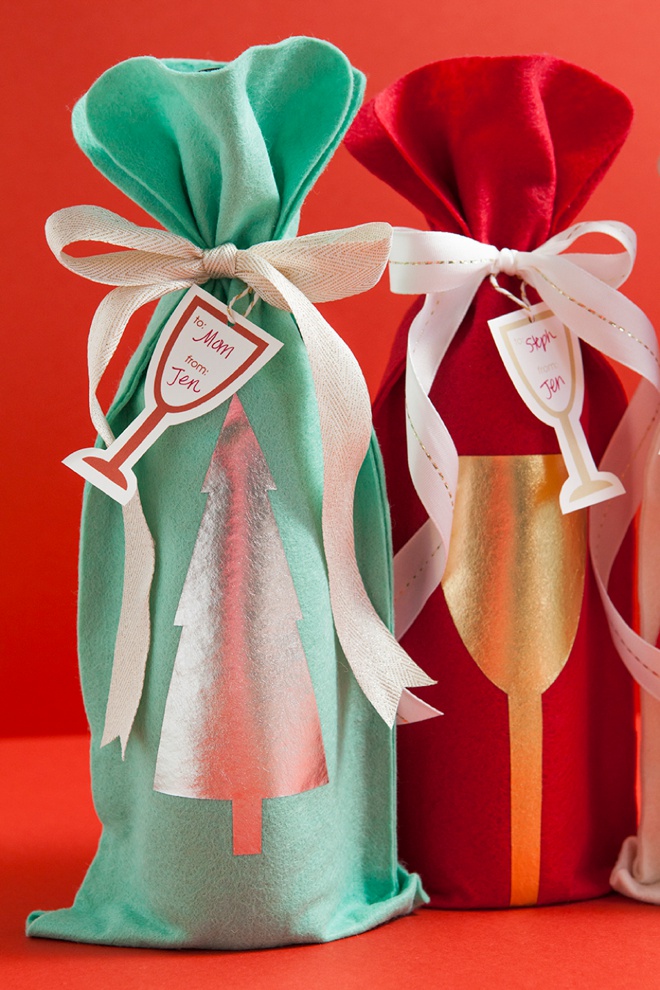
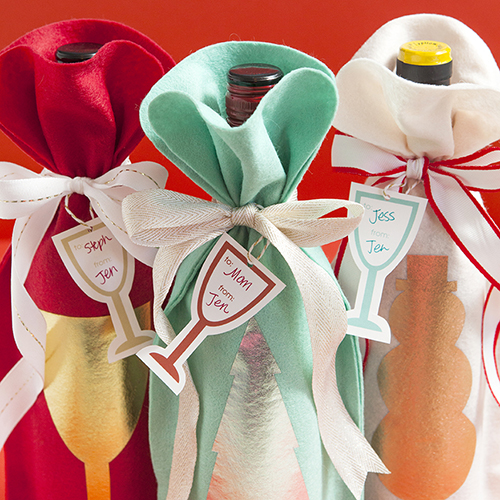
This has been such an awesome week, packed full of fabulous DIY Gift Wrap Ideas and I’m thrilled to finish it off with today’s project. This adorable No-Sew Felt Wine Bottle Gift Bag is an absolute must-make for all your holiday alcohol gifting – and good news – these bags will fit all 750ml wine bottles including champagne! I’ve embellished each bag with a metallic iron-on design that you can customize to your hearts desire! Minus the ribbon, these bags only cost $2.50 each – you can’t even buy certain store bought gift bags for that price. Make sure to top with my free wine gift tags to impress your favorite wino this holiday season… ok, but seriously these bags are fab for wine gifting no matter what time of year it is! Don’t forget to share your versions of this project with us using the hashtag #somethingturquoisediy on Instagram and Twitter! Happy Holiday Crafting!
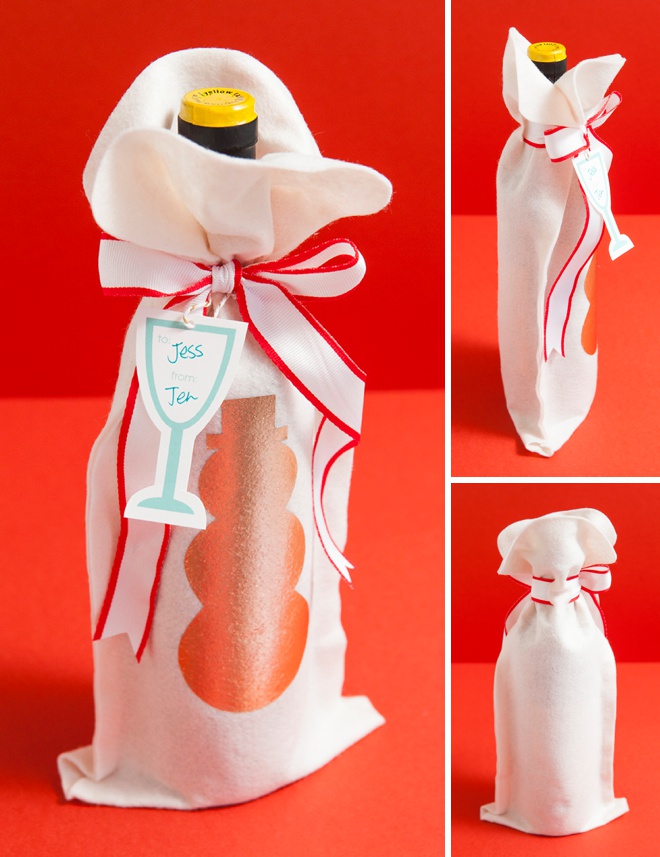
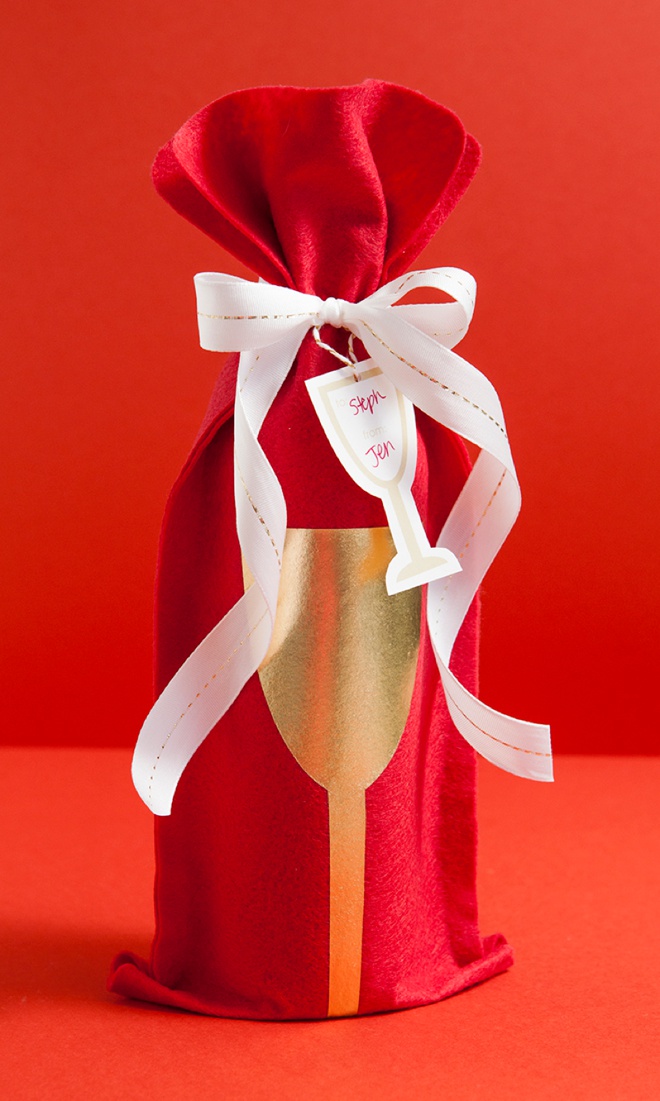
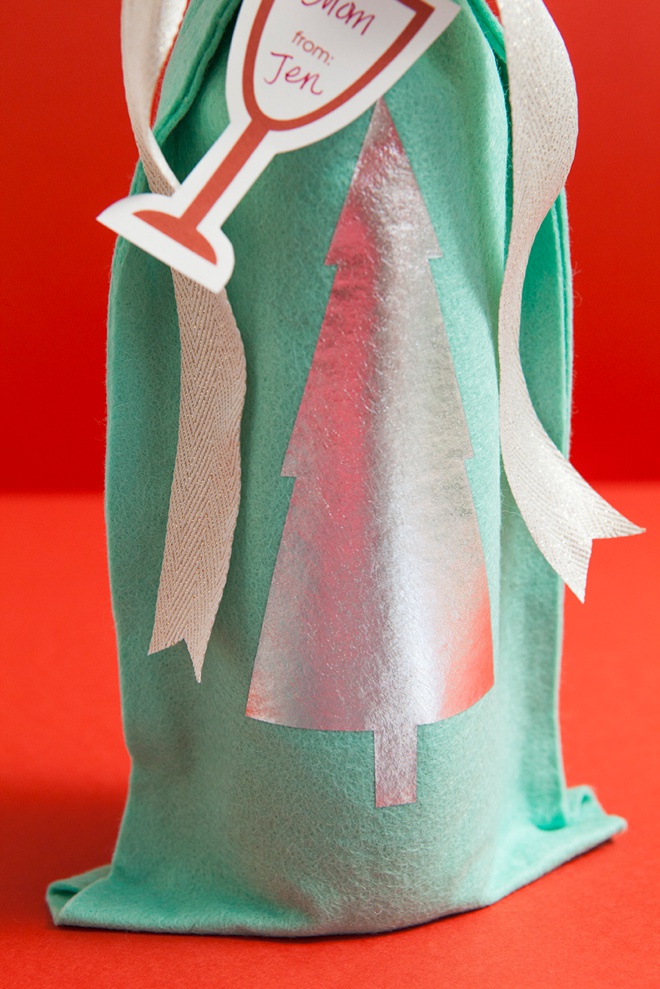
Fits All Types Of Wine Bottles!
The free pattern I offer below works for every 750ml bottle of wine, from red to white and everything in between including champagne!

SUPPLIES:
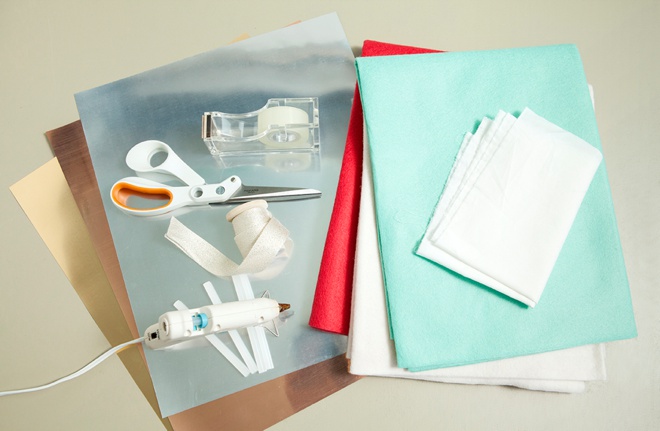
- Wool Felt (1/2 yard makes exactly 3 wine bottle sleeves)
- Metallic Felt Iron-on Sheets
- Glue gun that does “low heat” (to save your fingers)
- Good scissors
- Twine and Ribbon
- Wooden cutting board
- Thin pressing cloth
- Iron
- Tape
- Your home printer
- My free pattern + tag designs at the end of the post!
Wool felt colors I used here: Linen, Strawberry, Seafoam for the Christmas styles and Coral, Peach and Thistle for the wedding styles. The metallic iron-ons are copper, gold and silver.
Print + Cut + Tape Your Pattern
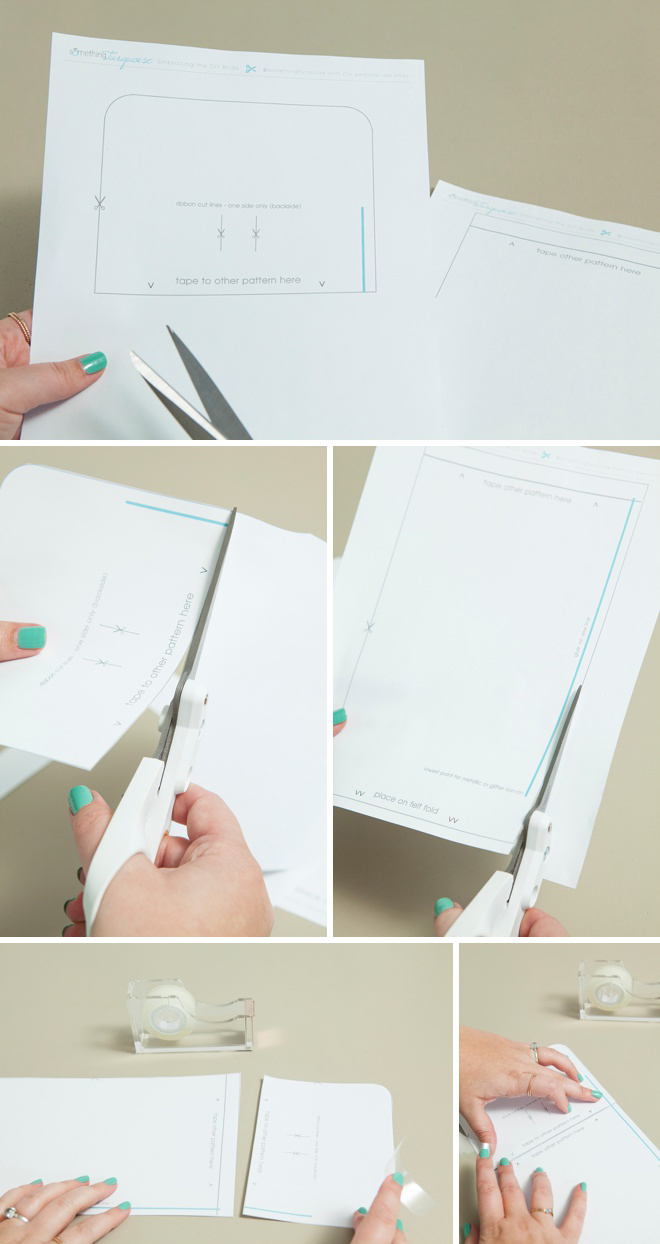
I created a simple and easy to use pattern for this felt wine bottle project, but it needs a little help. Download and print Part 1 and Part 2 onto regular printer paper, then cut out both pieces. Following the instructions on the pattern tape them together to create the 6″ x 14″ pattern.
Pin Your Pattern
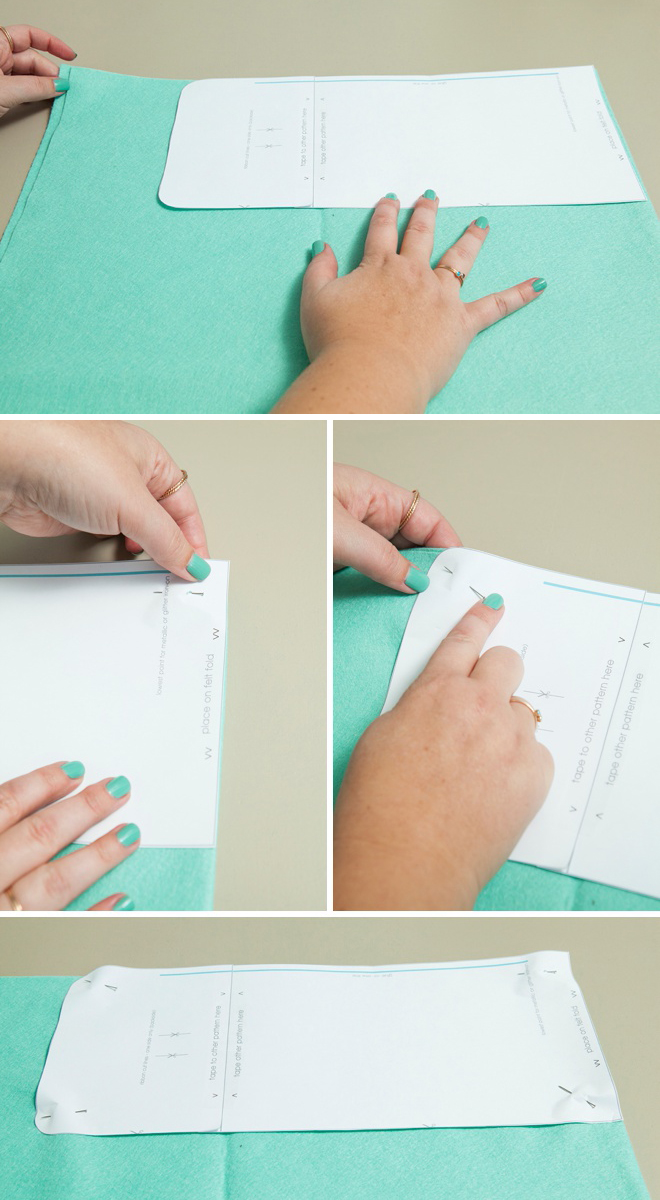
NOTE: 1/2 yard of felt from Benzie Design will get you exactly 3 wine bottle sleeves! So naturally 1 yard will make 6 – the more felt you buy the cheaper it is.
Fold your felt in half; this will create an 18″ x 18″ square of felt. Place your pattern on the fold and pin it to the felt.
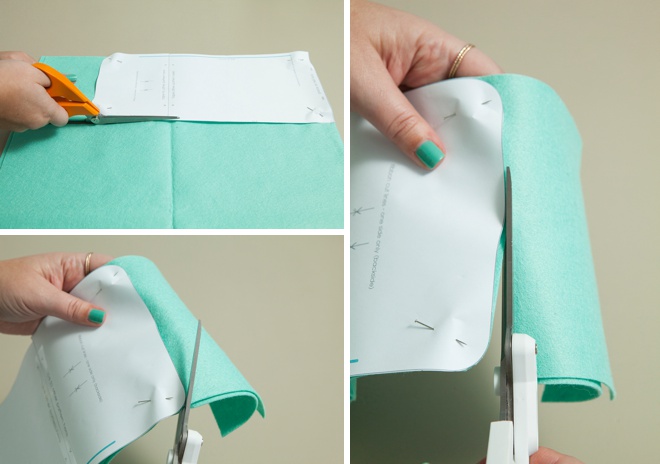
Cut Out Your Gift Bag
Cut The Ribbon Slits
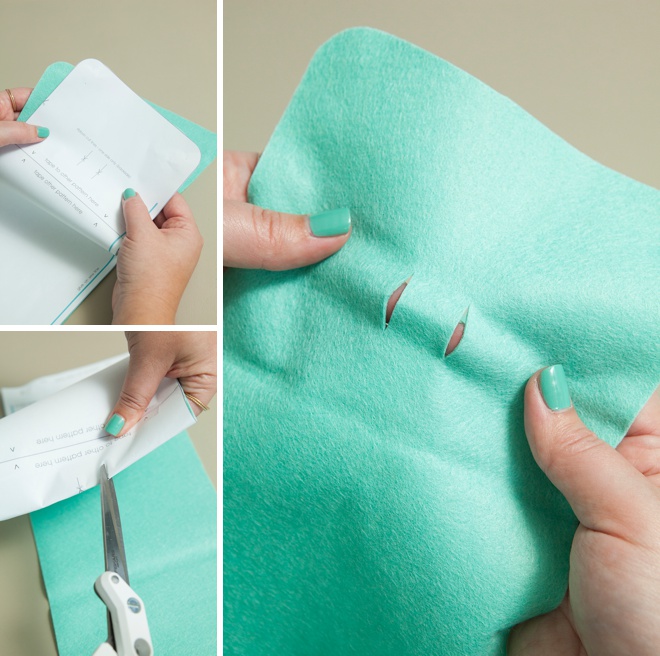
Remove the pins from your felt and pattern, but keep holding the pattern against ONLY one of the sides of your felt. Fold it in half along the “ribbon cut lines” and cut. This is now the backside of your bag and these little slits will be where you add the ribbon!
Cut + Create Your Metallic Iron-On Design
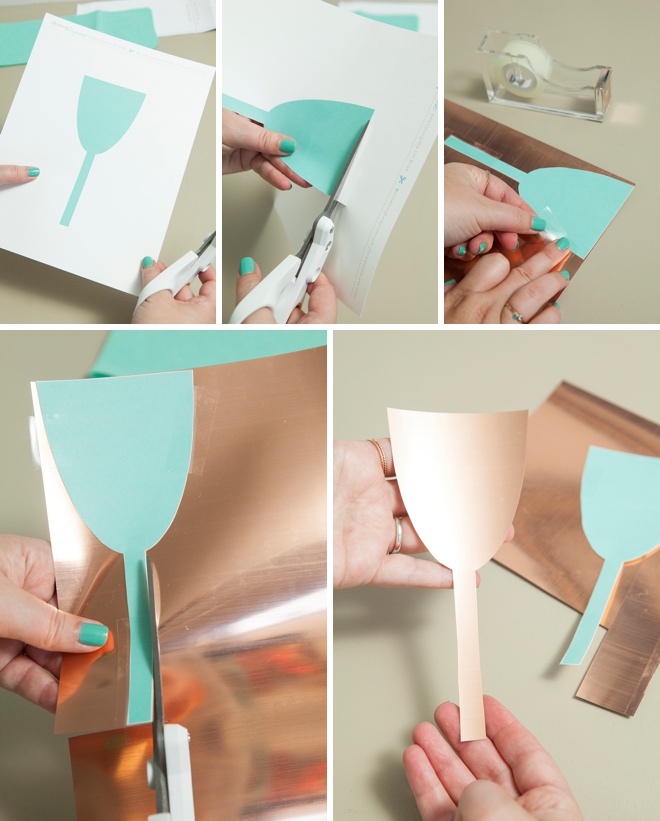
I’m obsessed with this iron-on metallic for felt! The best part is you can make almost ANY design imaginable with it! They come in 12″ x 14″ sheets, so you can get anywhere from 2 – 10 designs from each sheet, depending on the size of design you create. You can get 6 wine glasses out of each sheet.
I’ve created a wine glass, Christmas tree and snowman design that you can download, and print onto regular 8.5″ x 11″ printer paper at the end of the post. Here I’m demonstrating the wine glass. Simply cut out the design, tape it to the metallic sheet and cut it out again!
Get Ready To Iron
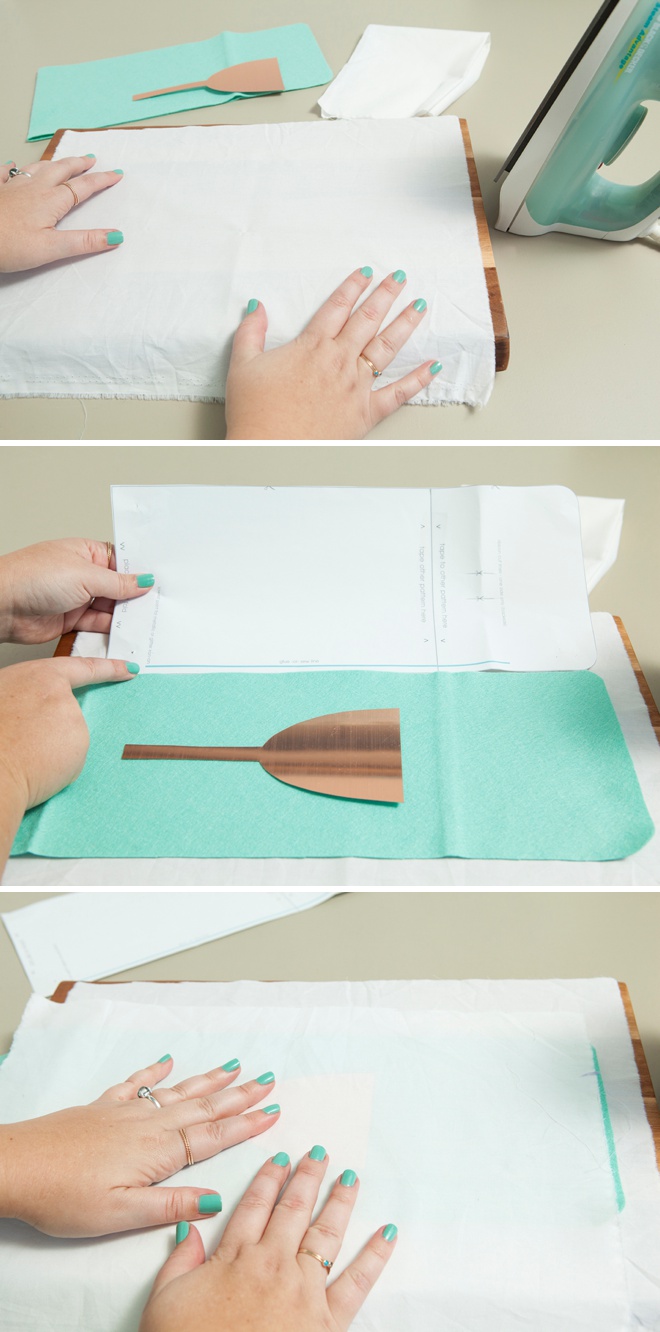
This “iron-on” technique is a bit different than others as you MUST iron on a hard + smooth surface like this wooden cutting board. Most regular ironing boards have a metal pattern underneath their fabric cover which will appear on the metallic once ironed, so don’t use a regular ironing board!
I found what works best is a thin cotton cloth (I’m using a piece of muslin) on top of the cutting board – then felt, then metallic design and then another piece of cloth on top of the entire bag. This piece of material is called a “pressing cloth”.
NOTE: I’ve added a note on the pattern of the spot at which the felt will fold on the bottom with the bottle inside. For the wine glass to look like it’s “touching” the table it’s sitting on, the stem should start at this line. For other designs, make sure they are ironed above this line. To figure this placement out, simply hold your pattern against your cut bag.
Iron Your Metallic Design
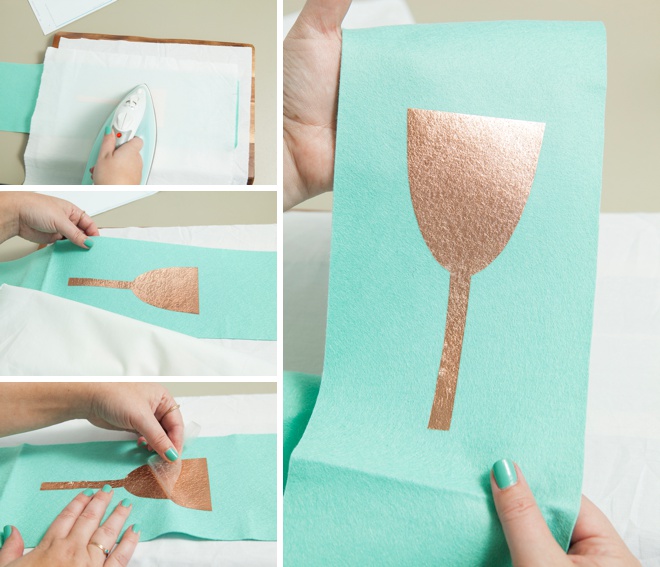
No matter what metallic design you choose, you must iron each area of it for at least 20 solid seconds on the highest heat that your iron can do. I’m talking a full-mississippi 20 seconds. If your iron fits over your entire design, you’re golden. If not, carefully move it around making sure to hit every single spot for 20 seconds.
Let your freshly ironed design cool down completely (about 1 minute) before you remove the plastic backing. If you peel while it’s still hot, it can take some of the metallic sheet with it.
NOTE: if the plastic backing is not easily releasing – you didn’t iron the design long enough!
Glue Your Bag Together
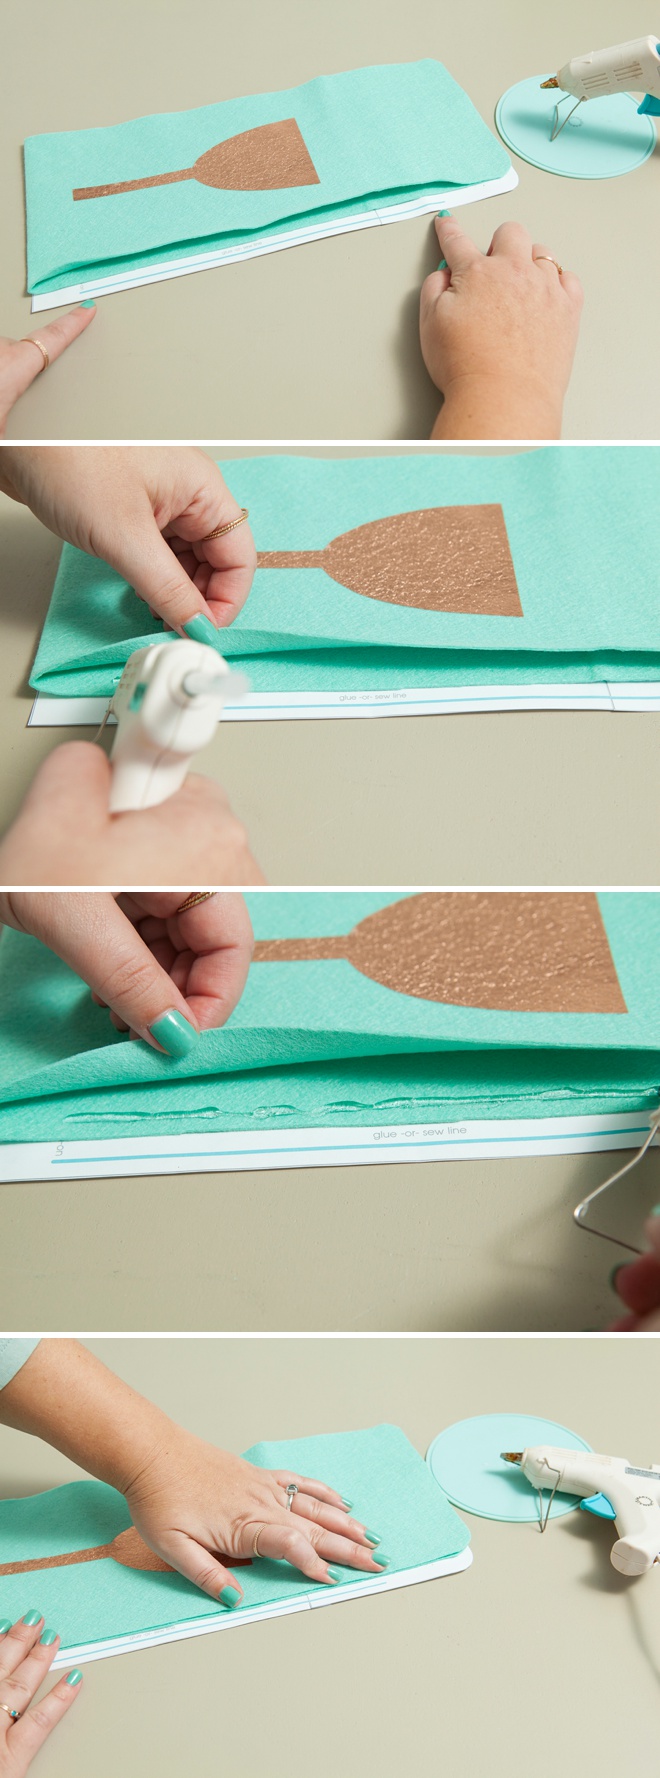
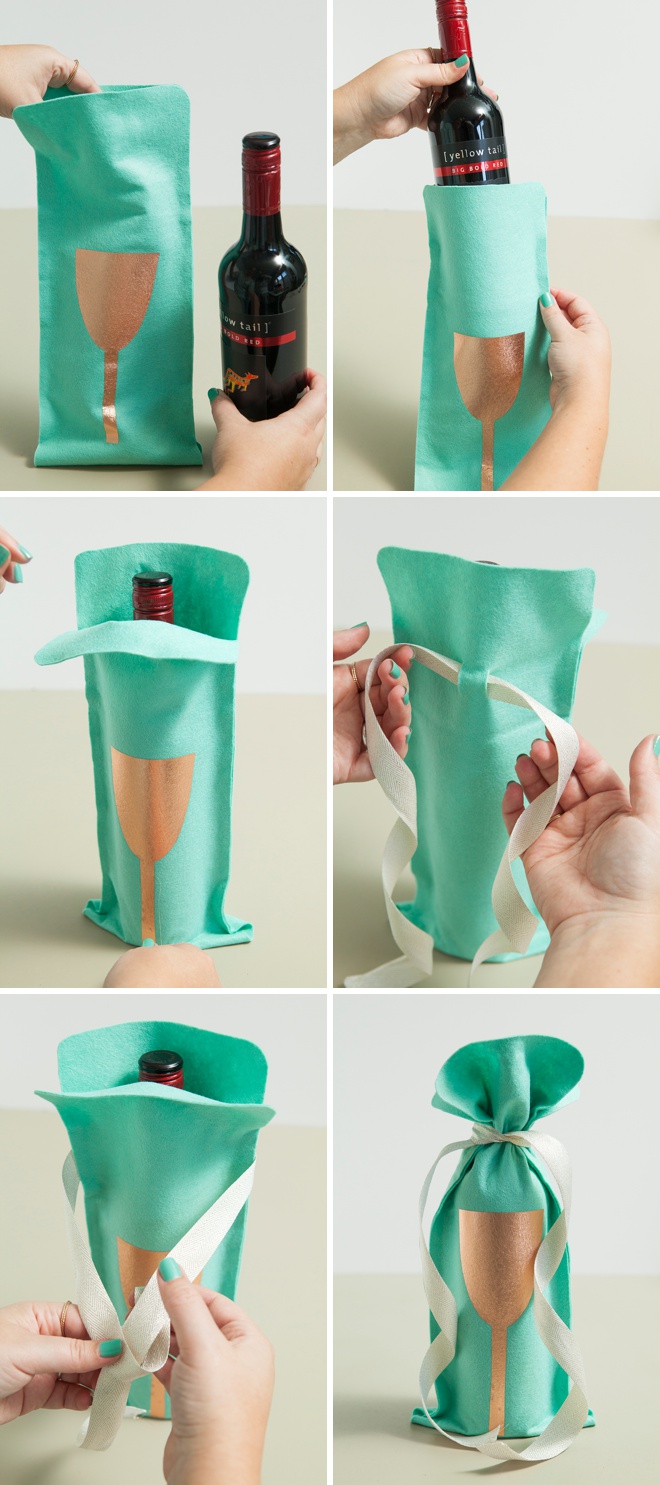
Place your folded bag on top of the pattern with the turquoise line sticking out so you can see it. This is the glue line. All you have to do is add hot glue to your bag along the length of this line! Press the edges of your bag together to seal. Try to keep the glue within a 1/4″ of the edge of the bag – the further in your glue goes, the less room your bottle has. I like to use my hot glue gun on low-heat because I won’t burn my fingers holding the felt together.
NOTE: if you would prefer to sew your bag together, maybe using the blanket stitch – this is also the sew line!
Add A Bottle + Ribbon
Slide your gifting wine bottle into it’s pretty new bag, add ribbon through the slits on the backside and tie!
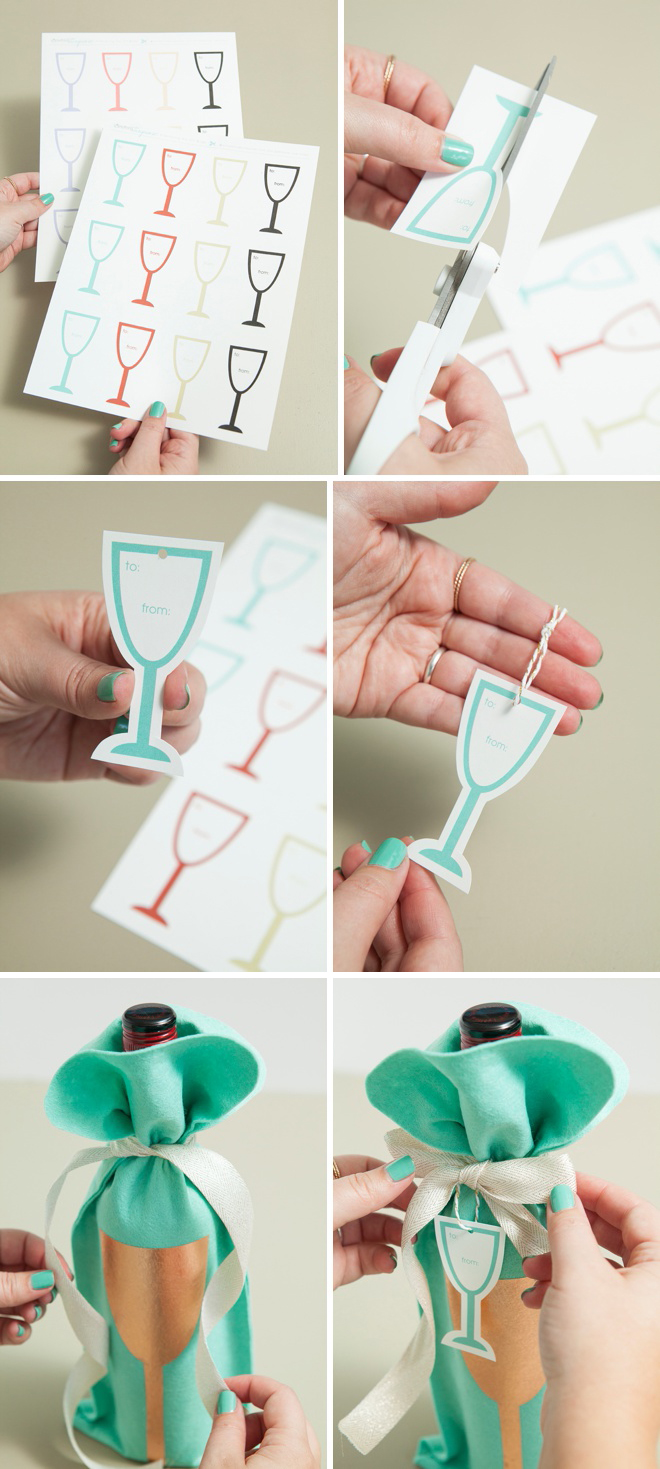
Print + Cut Your Wine Bottle Gift Tags
To go along with your wine bottle gift – you need wine bottle gift tags of course! Download your choice of color at the bottom of the post and print onto 8.5″ x 11″ cardstock. Cut around the bottle, hole punch, add a piece of twine and tie onto your cute bottle!
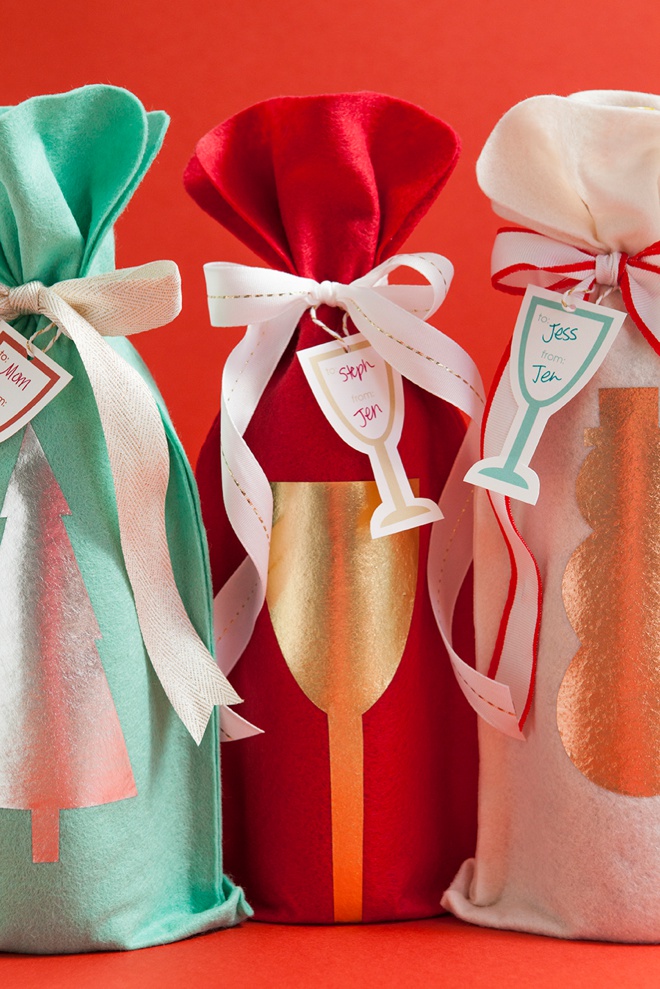
Obsessed
These Wine Bags Are Not Just For The Holidays!
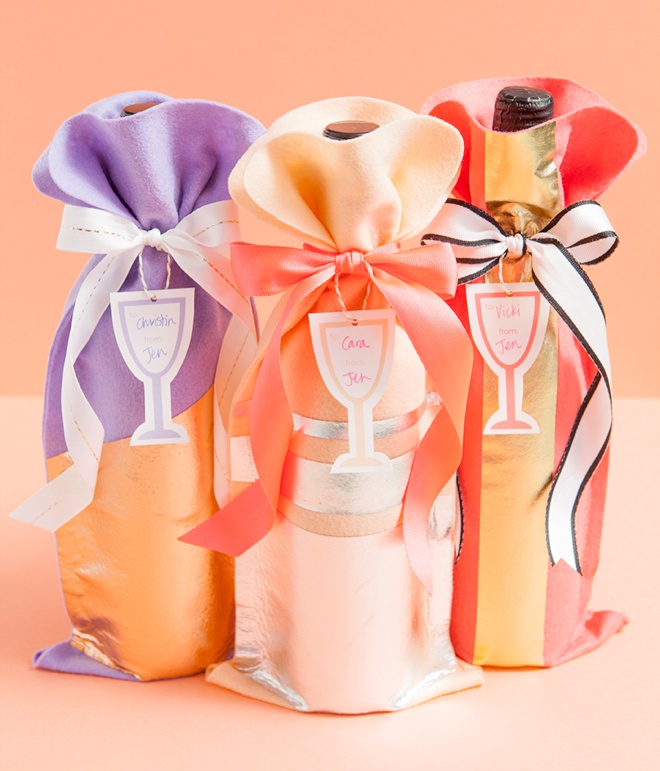
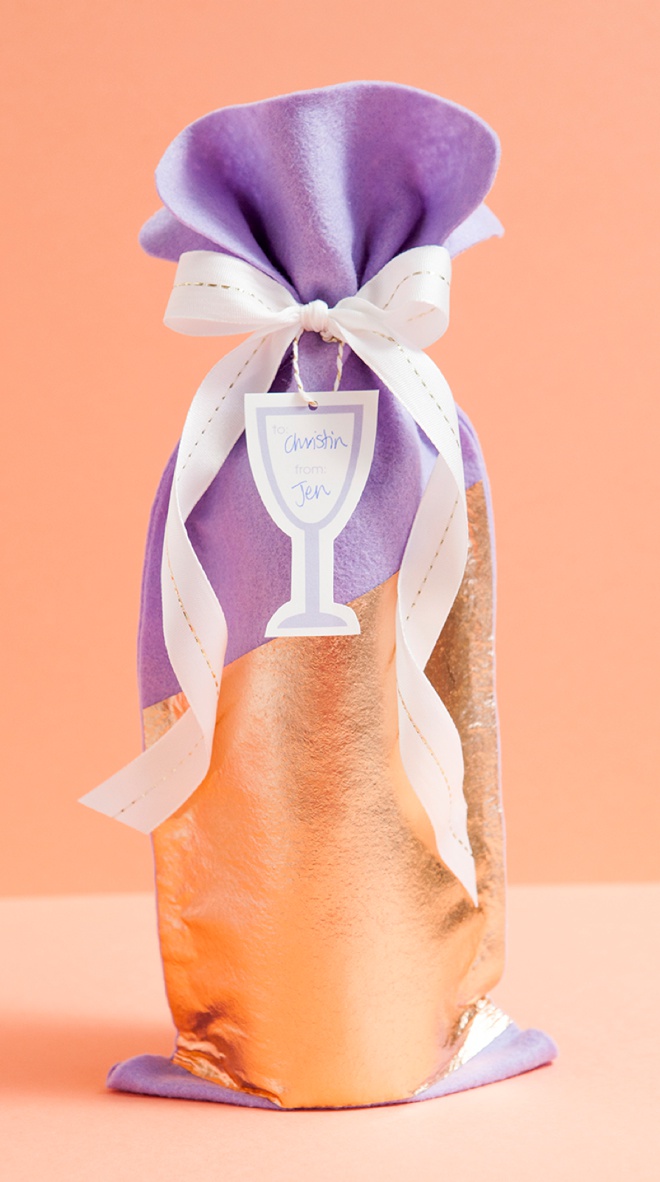
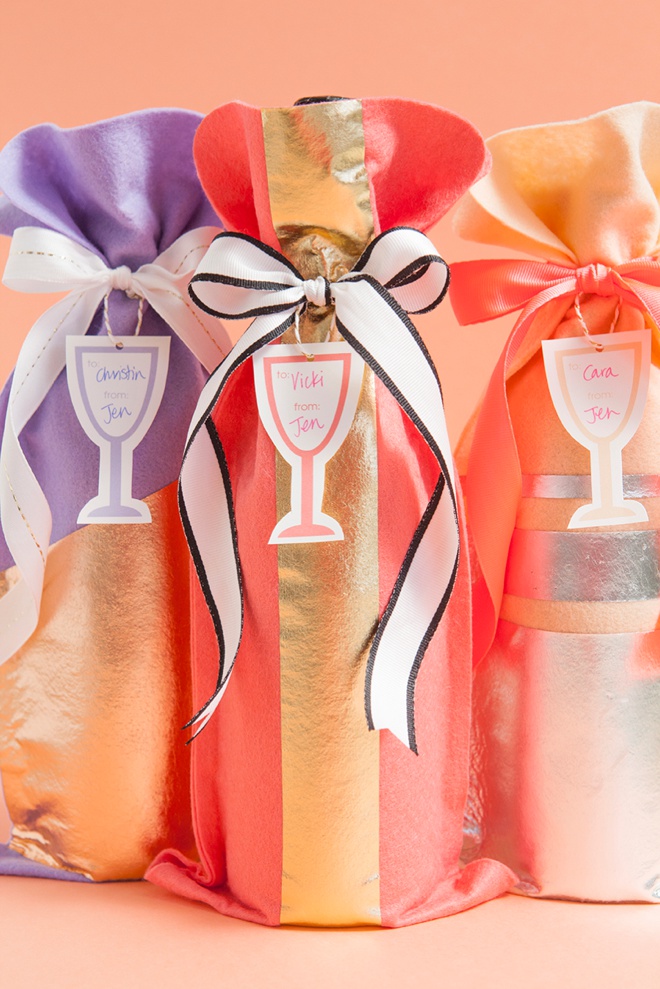
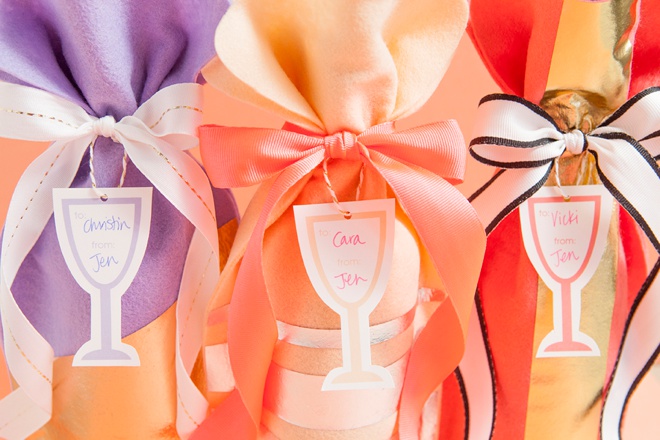
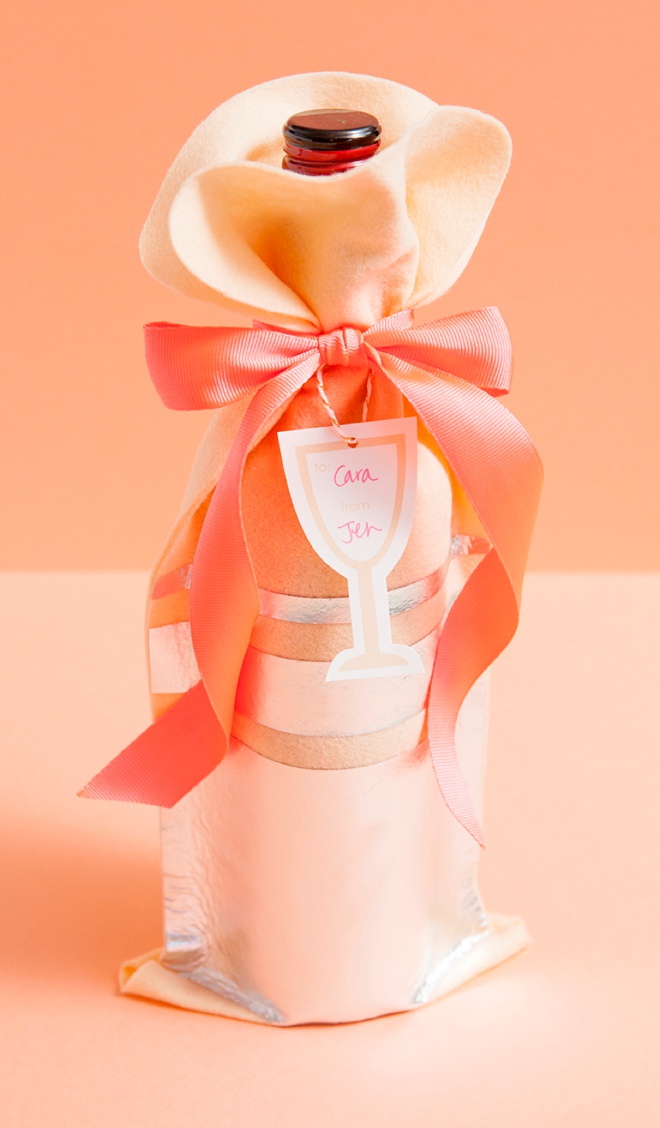
Here I made a few simplistic designs using the metallic sheets – that are perfect to gift wine bottles to your bridesmaids in! Like I said above, you can create ANY design you’d like with these iron-on metallic sheets.
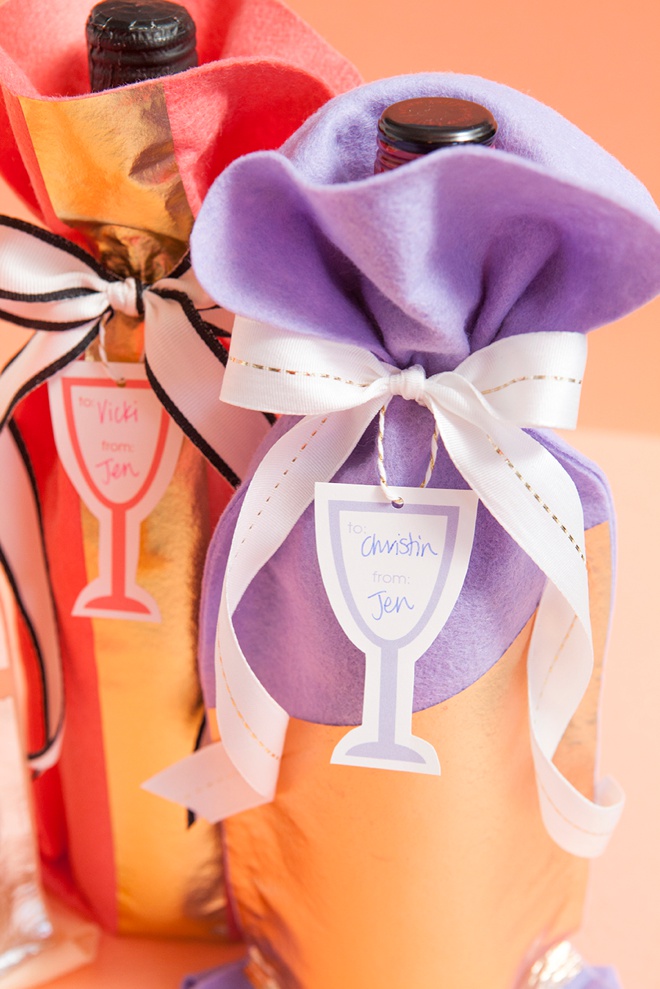
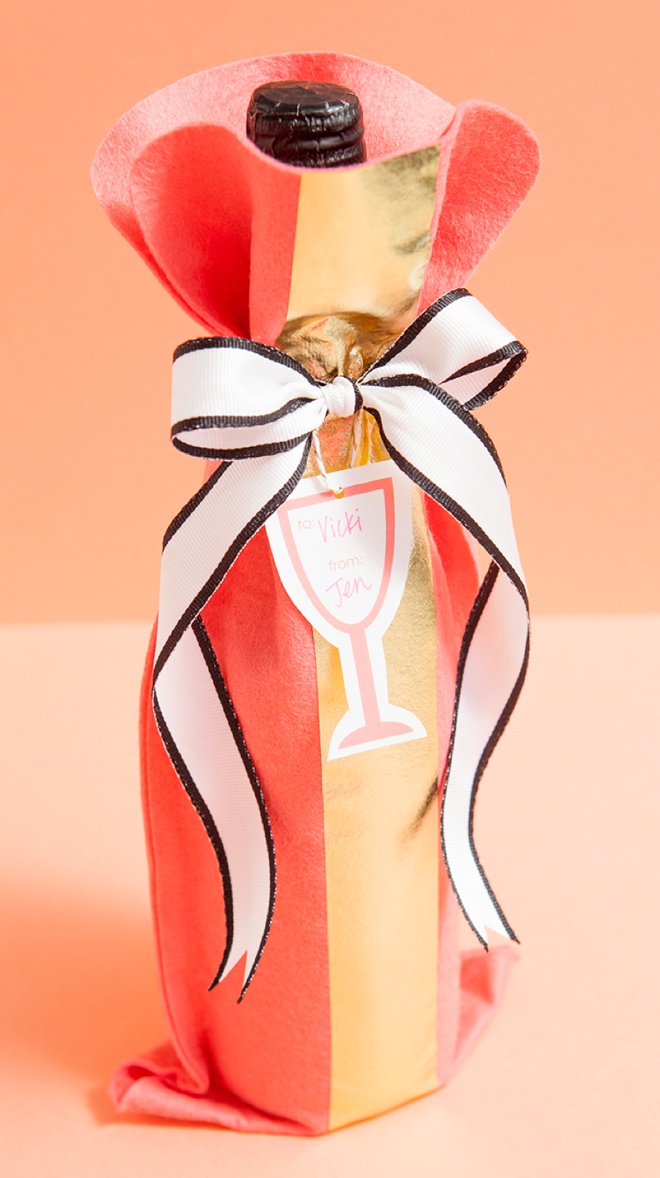
This design was inspired by my favorite wine spritzer Bon Affair… and has a bottle of it inside!
Gift Bag Patterns
Holiday Design Patterns
Gift Tag Printables
As with all our DIY tutorials, if you create one of our projects please send us a picture – We Love Seeing Your Creativity! If you use Instagram or Twitter please use the hashtag #SomethingTurquoiseDIY and it will show up on our Get Social page. Happy Crafting!
DIY Tutorial Credits
Photography + DIY Tutoria + Free Download Design: Jen Carreiro of Something Turquoise // Wool Felt in (Linen, Strawberry, Seafoam, and Coral, Peach, Thistle) and Metallic Iron-on in (Copper, Gold, Silver): courtesy of Benzie Design // All ribbons: Sugar Paper for Target // Martha Stewart Low-heat Hot Glue Gun: Amazon // Fiskars 8″ Amplify Mixed Media Shears: Amazon // Rachel Rae Cutting Board: Amazon // Nail Polish: OPI – Withstands the Test of Thyme
Shop The Supplies:
Find the supplies you’ll need for this project from our affiliate links below:



Comments