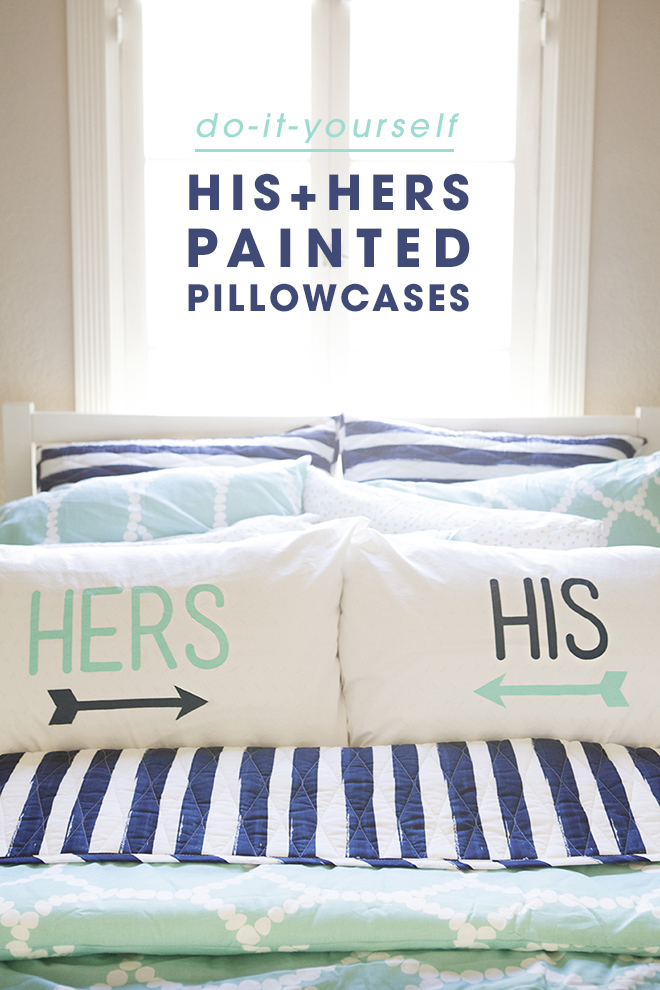
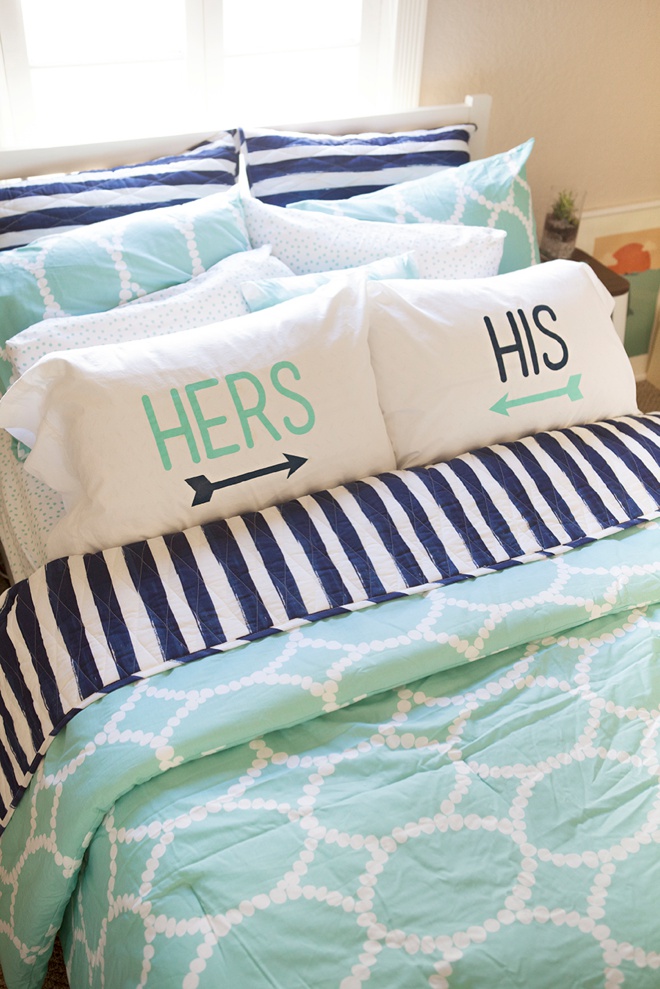
So what do you do when your wedding is over and you are a teeny tiny bit sad that the planning is too? You keep crafting but switch to “home” items… like these darling personalized His + Hers Painted Pillowcases! The technique is the same no matter what you want your saying to be and the best part is you can wash them over and over and over – and they are comfortable to lay on. So beat the post-bride blues by adding some creative flair to your new bedroom with this fun and easy project. Don’t forget to share your creations with us using the hashtag #somethingturquoisediy! Sweet, crafting dreams!
Whim by Martha Stewart Collection
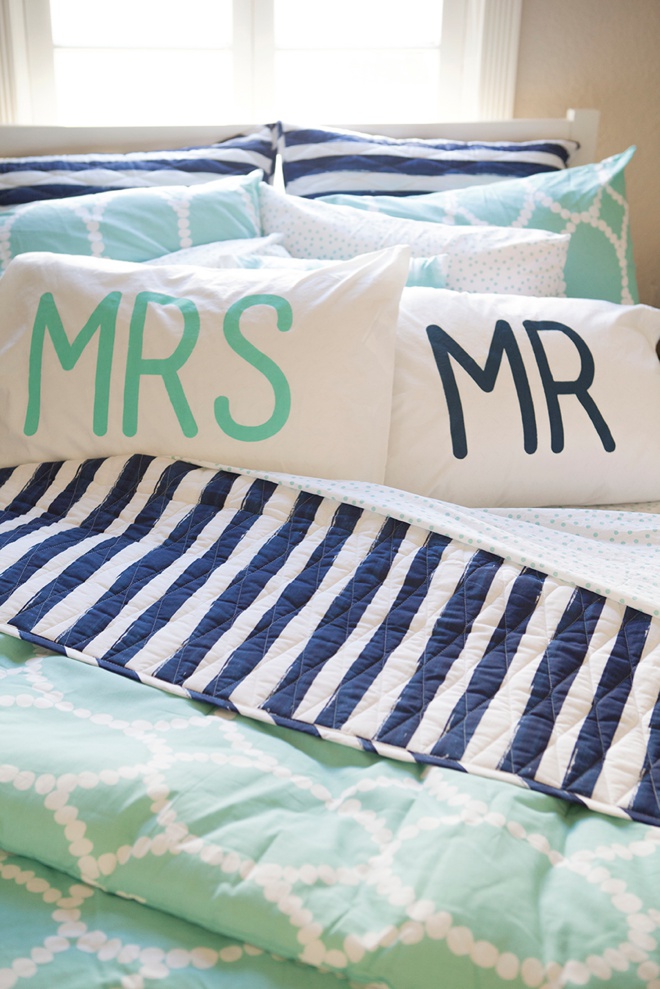
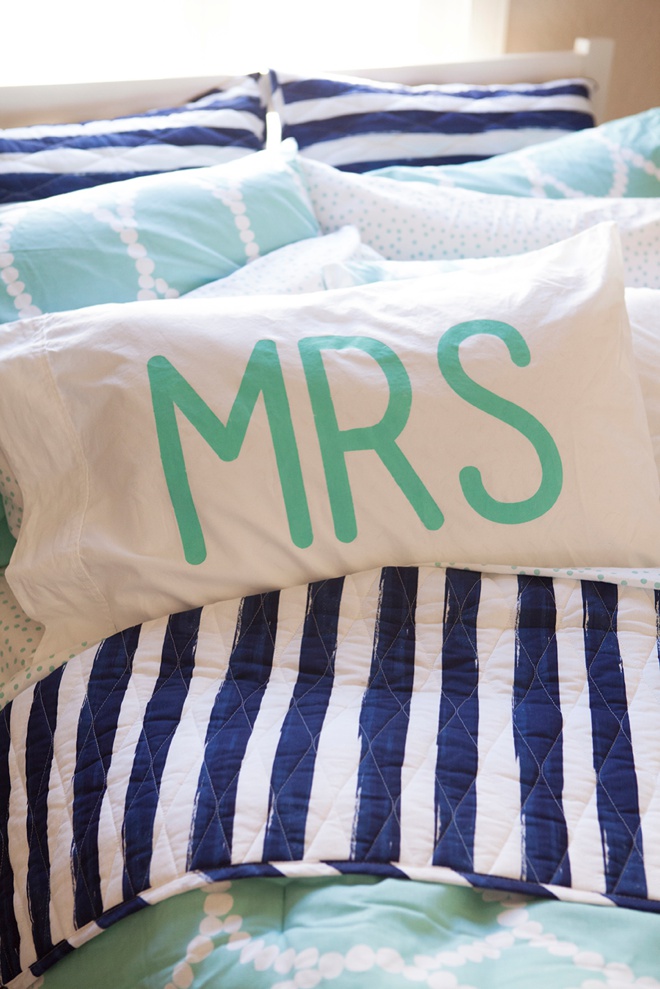
How adorable is this new bedding!? It’s from the Whim by Martha Stewart Collection and I mismatched the “Mirror Mirror” line and the “Different Strokes” line to get my favorite color combo: turquoise + navy blue. It’s available at Macy’s!
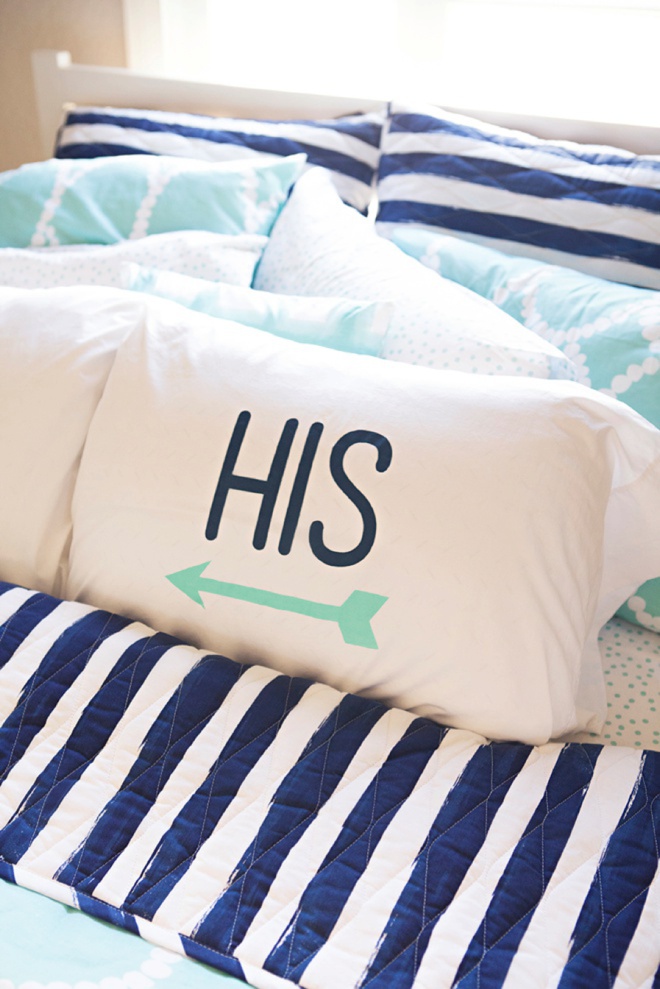
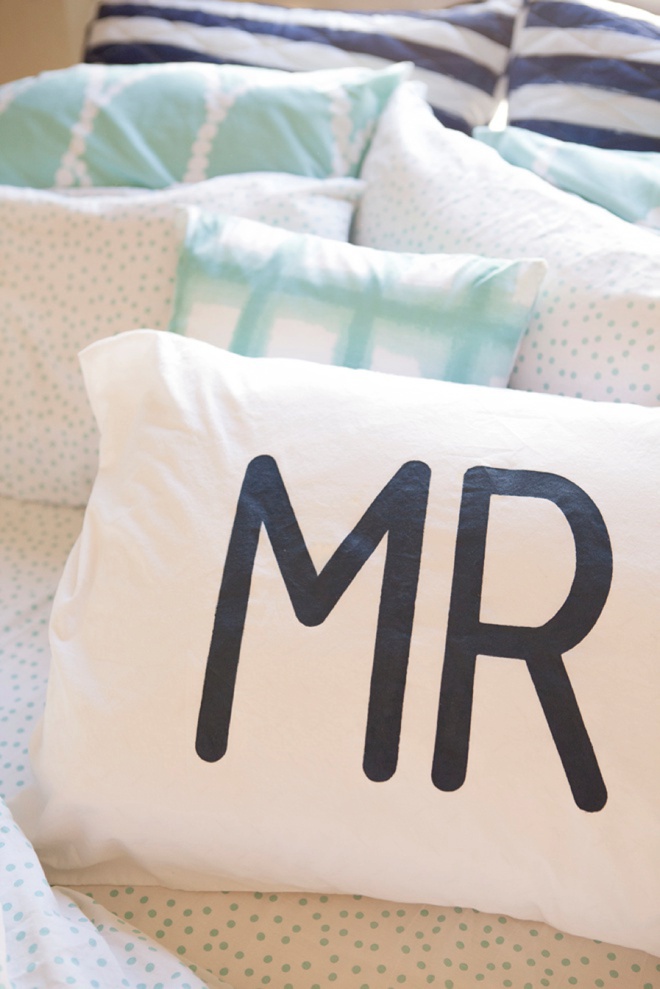
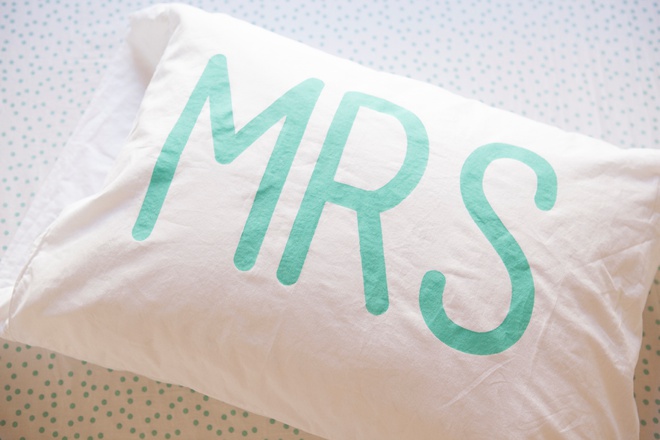
What are you going to do when your His + Hers pillowcases are in the wash? I guess you better make a pair of MR + MRS too!

Perfect For Bedding Or Wedding Decor
Maybe not painted pillowcases – but painted pillows are all the rage on adorable cocktail furniture. Whip up a few using these same techniques to have out as decor for your reception!
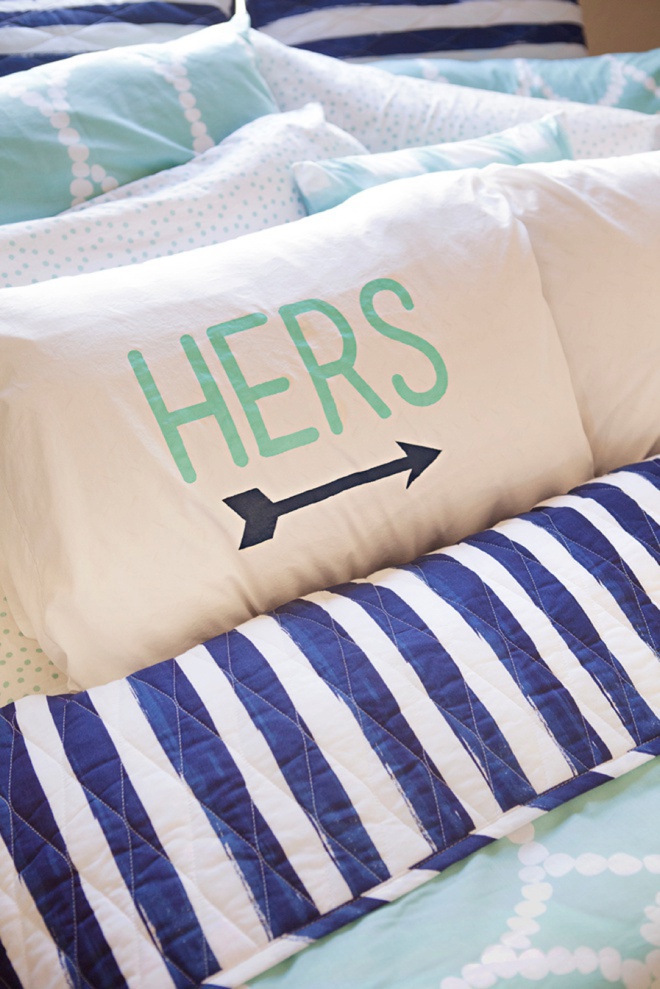
Who Sleeps Where?
You’ll need to think about who sleeps where and what direction your arrows and pillowcase openings need to face before painting :-)
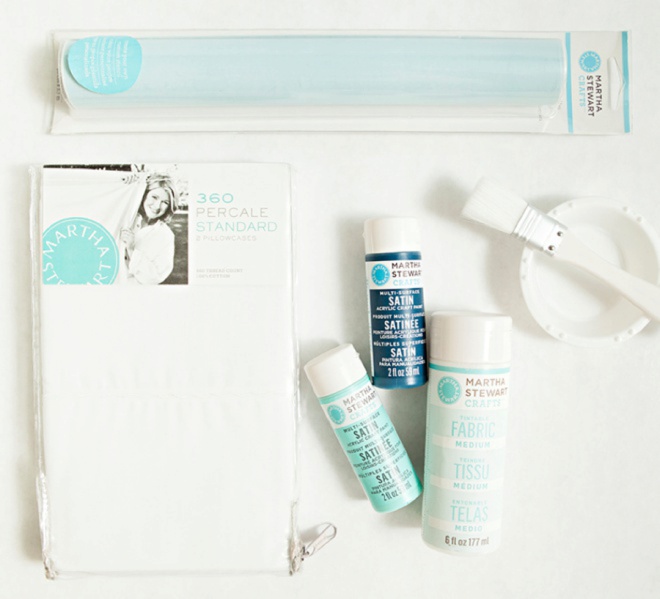
SUPPLIES:
- Martha Stewart Collection 360 Thread Count Percale Pillowcases, White
- Martha Stewart Crafts Adhesive Stencil Film
- Martha Stewart Crafts Satin Paint (I used Caribbean Blue + Wild Blueberry, the perfect match for the bedding!)
- Martha Stewart Crafts Tintable Fabric Medium
- Martha Stewart Crafts Paint Brushes
- Little paint dishes
- Cardboard
Cut Your Stencil
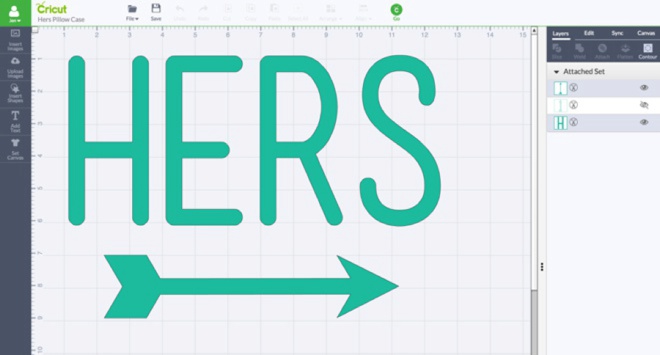
This adhesive stencil film can be cut with scissors, a craft knife, the Martha Stewart Multi Purpose Heat Tool or a Cricut.
I’m all for the easiest way possible so I used my Cricut to design my stencils. I used the font Mensch and the Up Arrow #M41794 from the Cricut library. I used the dot right under Vinyl to cut the stencil film with the blue side facing up.
Protect Your Pillowcase
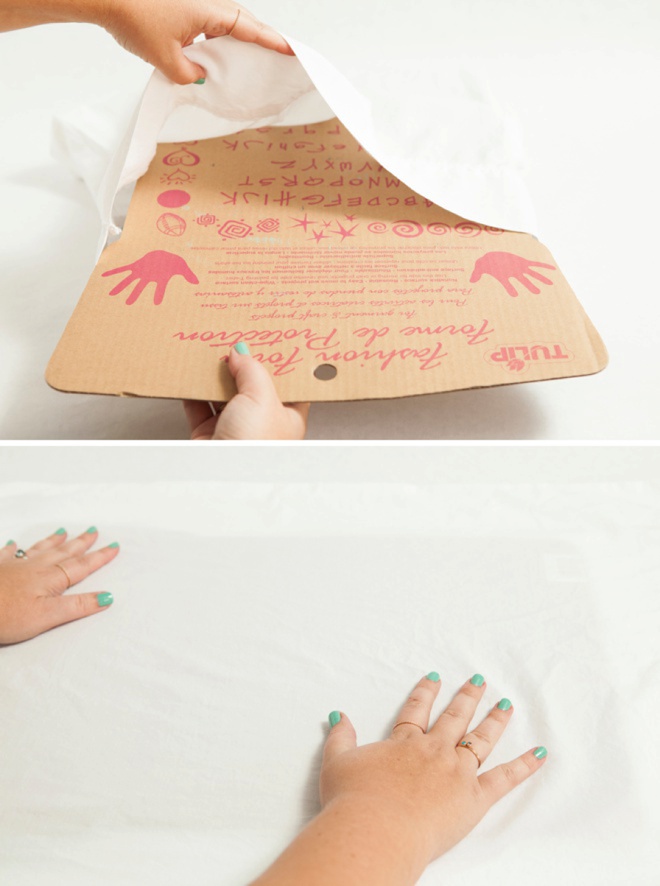
Place a piece of cardboard (or something similar) inside of your pillowcase to prevent the paint from seeping though to the other side. This is not an “incase” type of thing, it will seep through fyi.
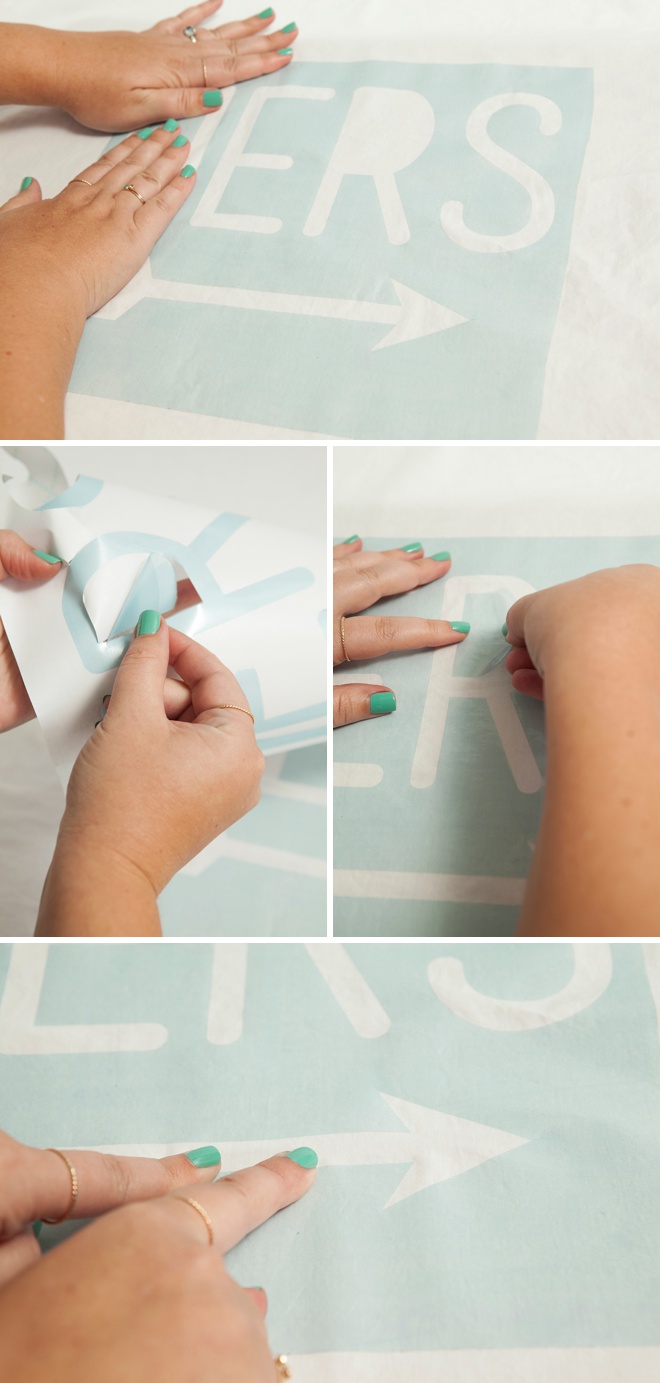
Peel The Stencil From The Backing
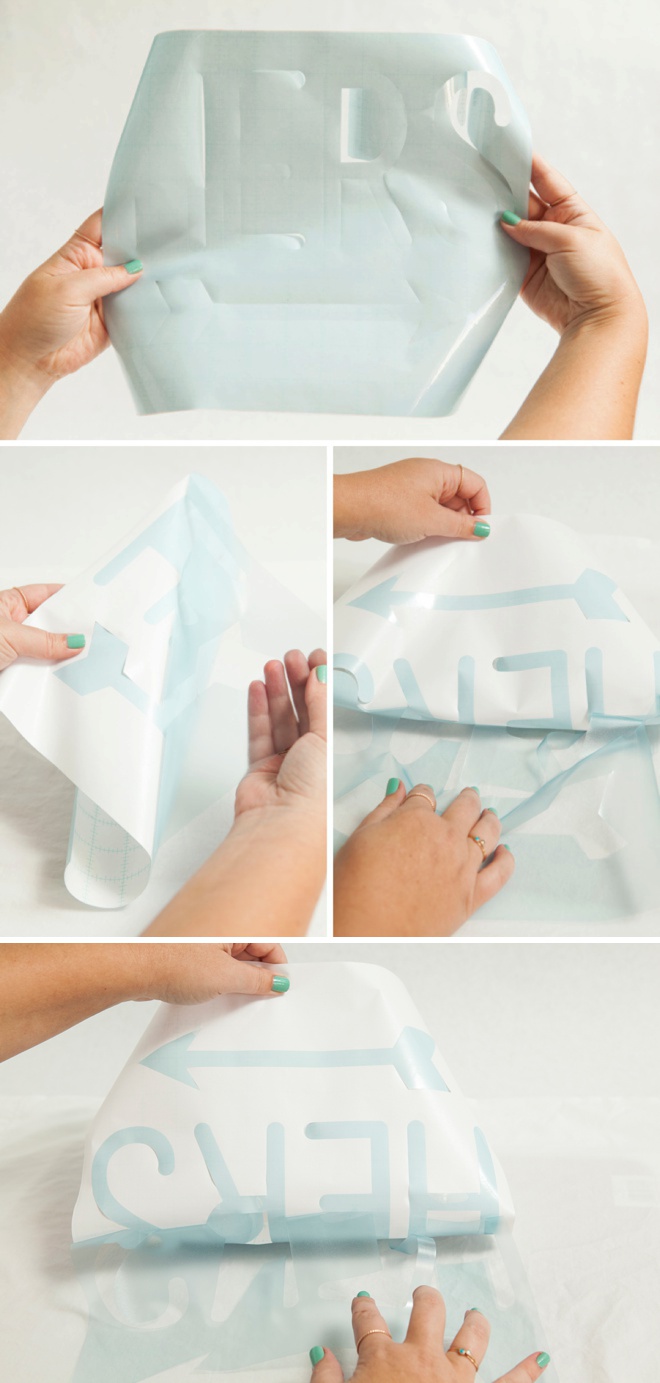
Very carefully peel the stencil sticker from it’s backing, I found it easiest to do this upside down. Save the letter cutouts as you might be able to use them for a different project.
Apply To Your Pillowcase
Working carefully and evenly, apply the stencil sticker to your pillowcase. Smooth and press every single edge into the pillowcase. Gaps = Paint Bleeds.
Mix Your Paint
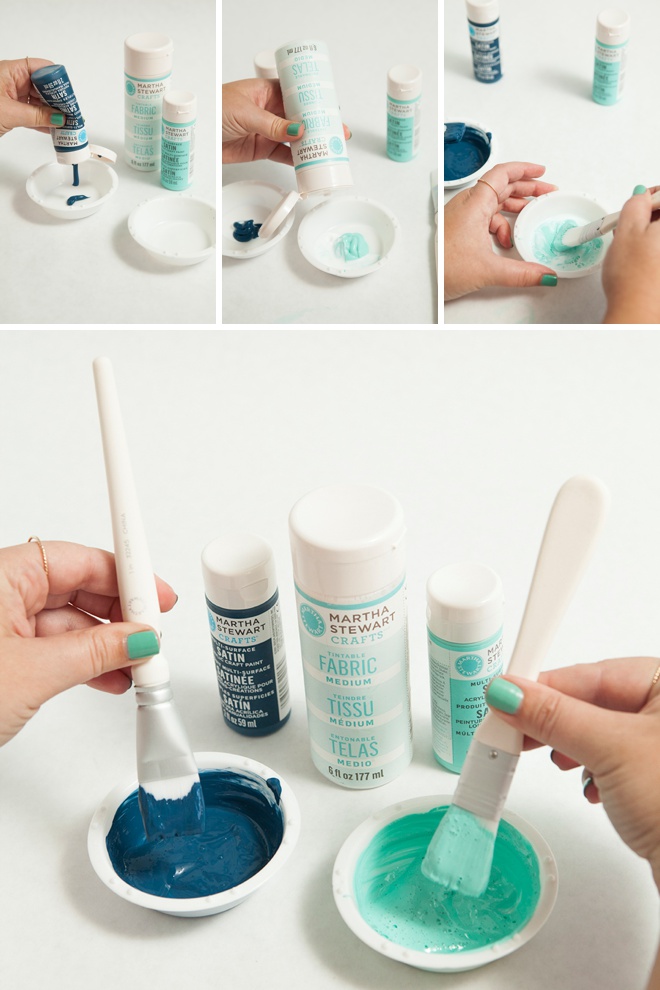
This paint is legit. It’s strong and DOES NOT rinse out of fabric unless you wash it while it’s still wet. I know as I have lost many a t-shirt to painting mistakes and messiness.
However, if you want the paint on your pillowcases to be of a smooth texture – one that you can feel comfortable putting your lovely face on each night… you’ll want to mix it with the Fabric Medium. It’s one part medium to two parts paint; all that means is if you use 2 teaspoons of paint – you add 1 teaspoon of medium 2:1. It does not make the color lighter, but it does make the paint thinner.
Carefully Paint Your Stencil
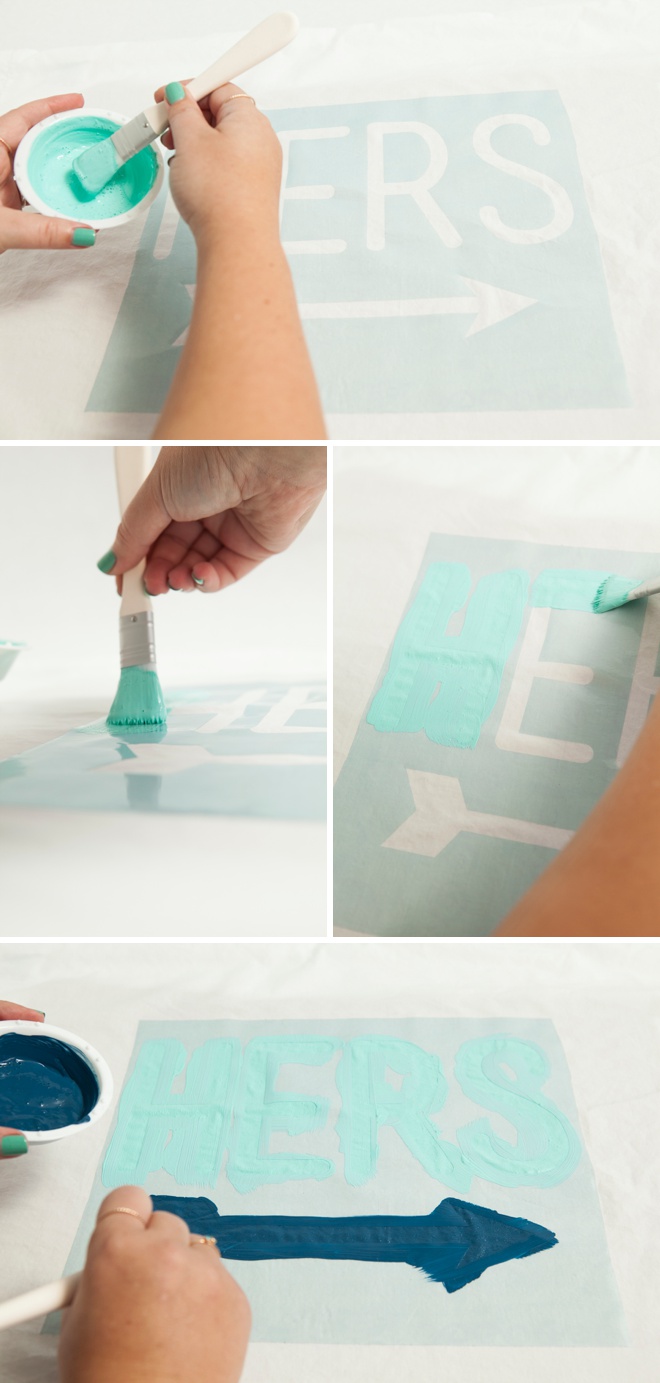
Quickly and carefully paint through your stencil. Keep a light touch and only paint each area once, meaning you don’t need to go back over it. Pressing too hard will give you more chance of paint bleeding under your stencil design – and no one wants that.
Carefully Remove Your Stencil
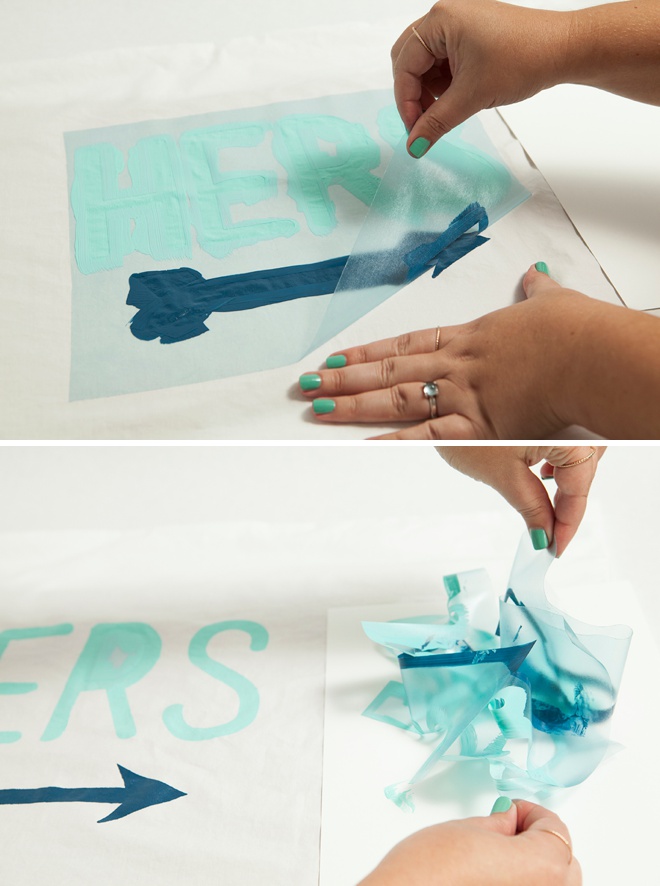
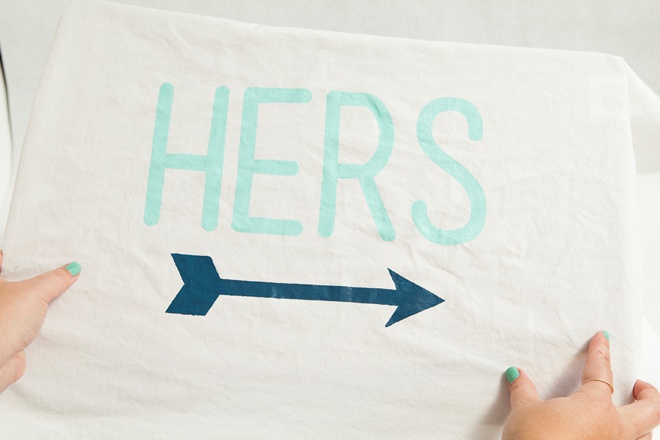
As soon as you are done painting remove the stencil – you don’t want the paint drying to the stencil and your pillowcase. Working with a stencil this large, you might need some help pulling it off – the hubby helped me hold the pillow case down firmly while I peeled it up. Then I put it on top of a scrap piece of paper. It’s still covered in wet paint so be careful.
Done! Yay!
Heat Set Your Painted Design
The manufacturers instructions say to let the paint dry for 24 hours and then heat set the design for durability, aka. washing over and over. This can be done in two ways:
- Place the pillowcase in your clothes dryer for 30 minutes on the highest heat setting allowed for the type of fabric you used.
- Using an iron and a pressing cloth, lay the pressing cloth over the painted fabric and iron the entire painted design for 10 seconds. Your iron should be set at the highest setting allowed for the fabric you used.
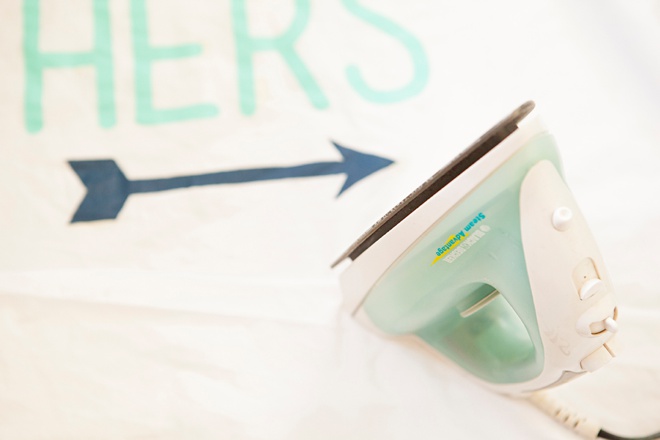
You might want to wash them a few times to break the paint in before you sleep on them… or at least that’s what I did.
You Don’t Have To Use A Stencil
If you are a crafting rock star and feel confident in your hand painting skills – you totally don’t need a stencil! You will still need the cardboard, the Fabric Medium and the heat setting – so freehand paint to your hearts content!
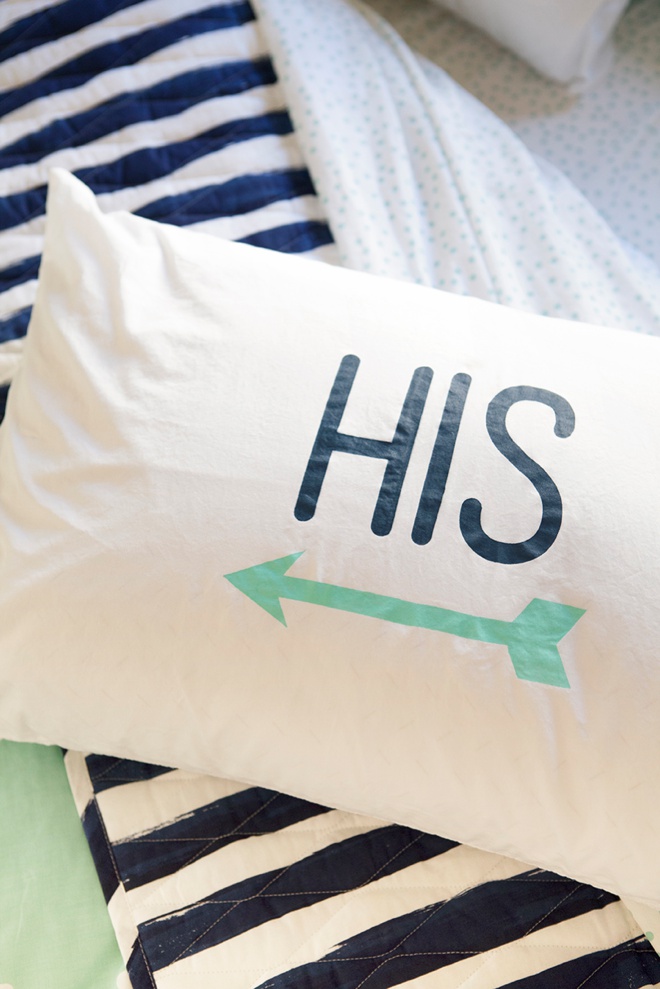
How freaking adorable are these!?! And with all the amazing shades of Martha Stewart Crafts paint, you’re sure to find one that will perfectly match your bedding!

As with all our DIY tutorials, if you create one of our projects please send us a picture – We Love Seeing Your Creativity! If you use Instagram or Twitter please use the hashtag #SomethingTurquoiseDIY and it will show up on our Get Social page. Happy Crafting!
DIY Tutorial Credits
Photography + DIY Tutorial: Jen Carreiro of Something Turquoise // All craft supplies used in this project: courtesy of the Editors at Martha Stewart Living // All bedding: courtesy of Whim by Martha Stewart Collection, available at Macy’s // nail polish: OPI – Withstands the Test of Thyme
Shop The Supplies:
Find the supplies you’ll need for this project from our affiliate links below:



Comments