-Partnered Post-
Today’s DIY project is long overdue. I have glittered almost everything here on the blog, but have yet to tackle the oh-so-popular glittered wine + champagne bottles. The main reason being the glue issue as I hadn’t found a glue and sealer that would actually work like I needed it to; ie. being able to withstand the bottle being put in the fridge and the condensation that follows. But, I am excited to tell you that I have found the two golden products that make this crafting task a breeze – and I share all that goodness below. I am also super jazzed to share that I have recently been deemed a brand ambassador for one of my favorite wine labels, Bon Affair. Which is hands down, the ideal wine spritzer to drink while you are getting ready on the morning of your wedding – so I just had to glitter their sexy bottle! This post is all kinds of fab and I can’t wait for you to read on – so please do!
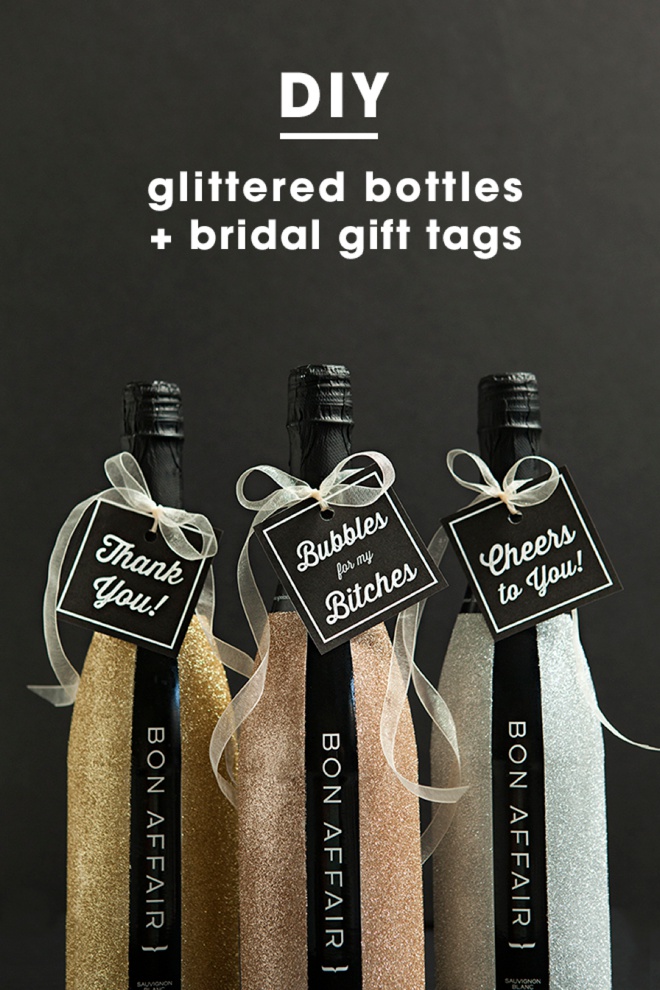
About Bon Affair
Bon Affair is a new wine spritzer that only has 6.5% alcohol by volume, with zero sugar, added electrolytes, grape seed extract and only 100 calories per serving. To me, this makes Bon Affair the ultimate beverage to enjoy while you are getting ready on the morning of your wedding! The buzz won’t get on top of you, no sugar eliminates the crash, and the electrolytes will help you stay hydrated. Which means you can fully celebrate in the morning and still truly enjoy the rest of your special day!
If you are thinking that it sounds familiar, you might have seen them when they made a deal with Mark Cuban on Shark Tank last year!
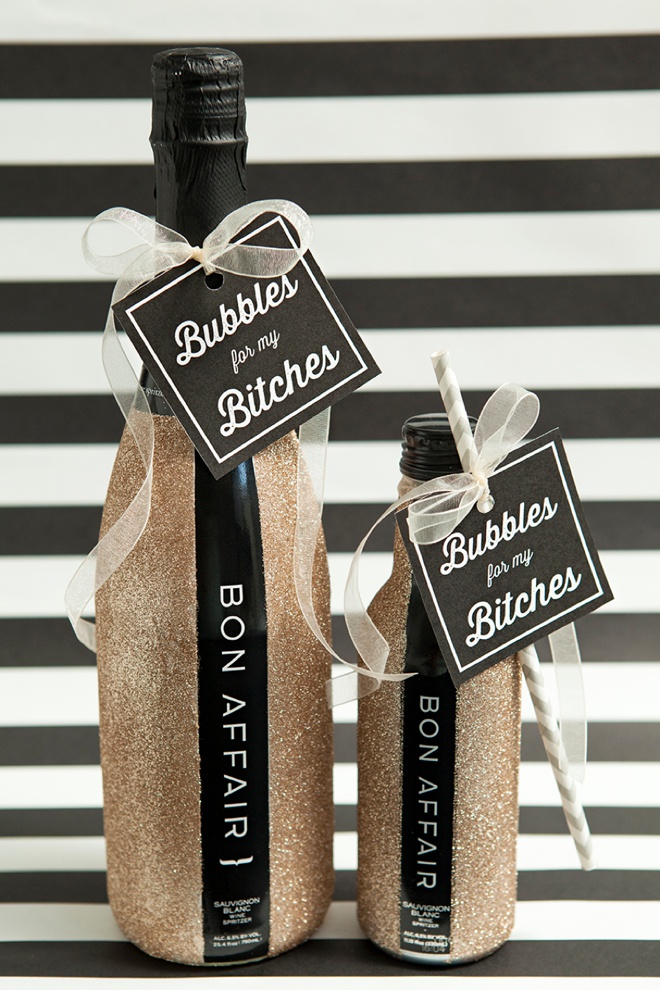
SUPPLIES:
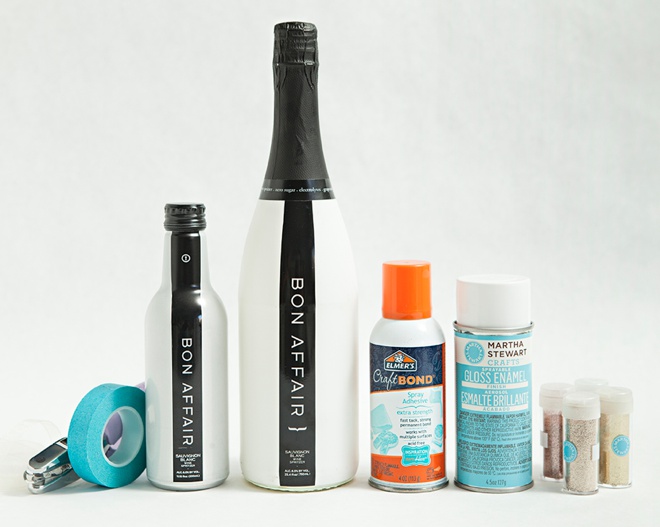
- Bon Affair (or your choice of alcohol bottle)
- Elmer’s Craft Bond, Spray Adhesive Extra Strength
- Martha Stewart Crafts Sprayable Gloss Enamel Finish
- Martha Stewart Crafts Patterning Tape
- Glitter in your choice of colors
- 8.5″ x 11″ white cardstock
- Hole Punch
- Scissors
- Ribbon
- Cute paper straws
- Our free printable tags below!
Grab Our Free Tags
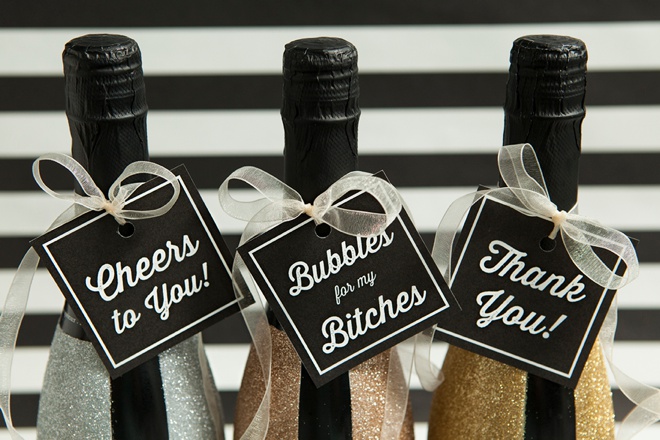
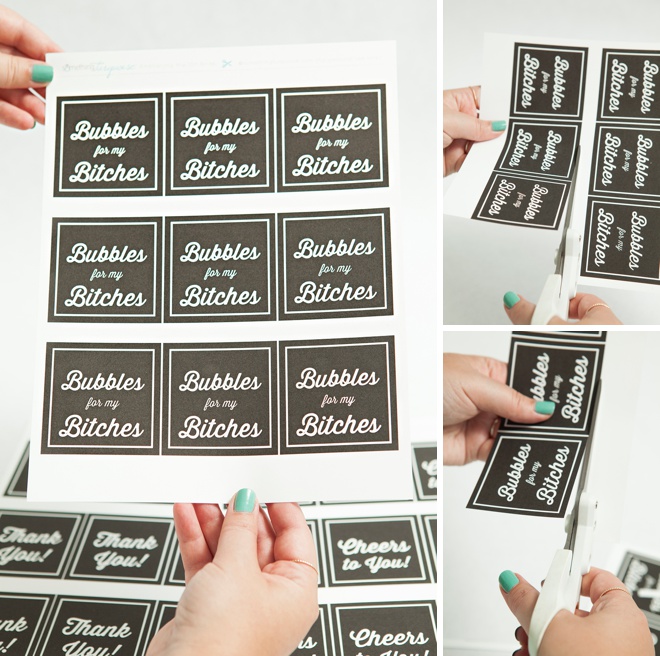
I’ve designed 3 cute tags for you to download and print onto white 8.5″ x 11″ cardstock. Simply cut each one out with scissors or a paper trimmer.
- Bubbles For My Bitches
- Cheers To You
- Thank You
Punch A Hole
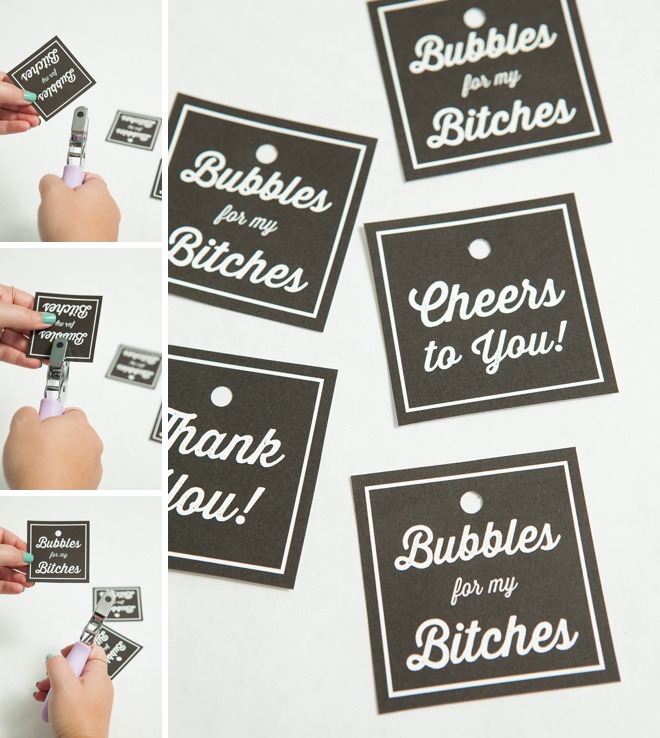
To complete the tags, punch a hole in the top of each one.
Glue + Sealer
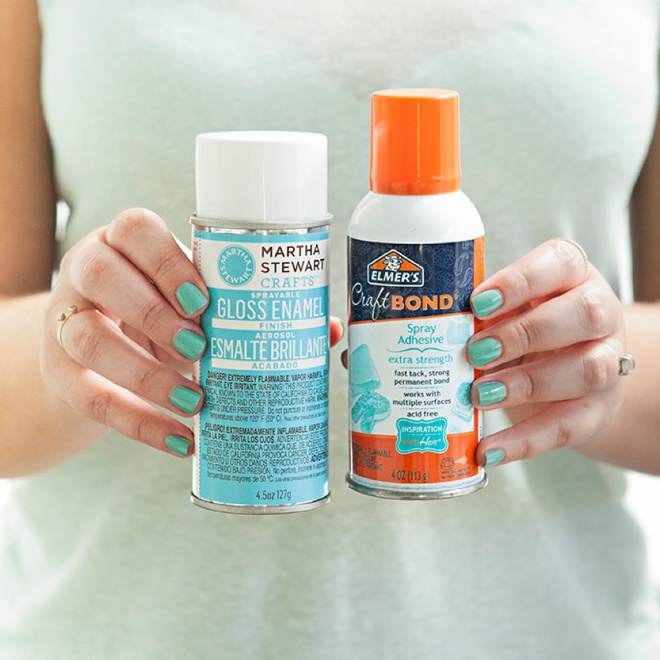
I’ve tried a few different spray adhesives and sealers – and these two are the ones you want to buy for this project: Elmer’s Craft Bond, Spray Adhesive Extra Strength and Martha Stewart Crafts Sprayable Gloss Enamel Finish. The stick + finish stands up beautifully to cold + condensation when your bottles are put in the fridge! Although I did not try them chilled in a champagne bucket with ice. No glitter bottle should be put on ice – it’s just a bad combo. Keep that in mind when choosing what varietal to glitter!
I was able to make 12 bottles (6 large + 6 small) with each and I still have some adhesive/sealer left in both bottles for reference.
Tape Off Your Bottle + Prepare Workspace
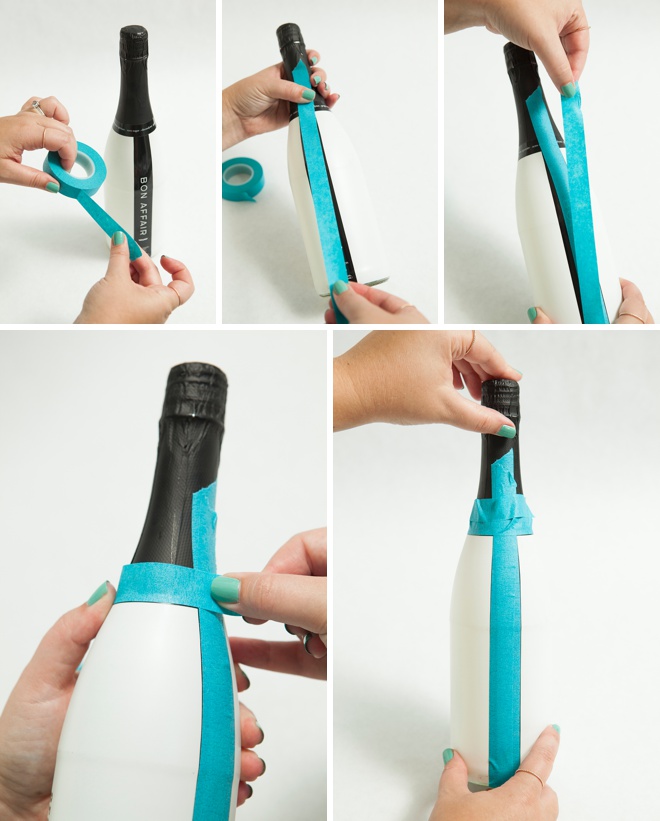
Tape off areas of your bottle that you don’t want glittered. The patterning tape I’m using is low-tack which is terrific for using on top of labels of all kinds, as it peels of gently.
This is a bit of a messy project with the spray glue + glitter so cover your workspace with kraft paper or something similar.
Glue + Glitter
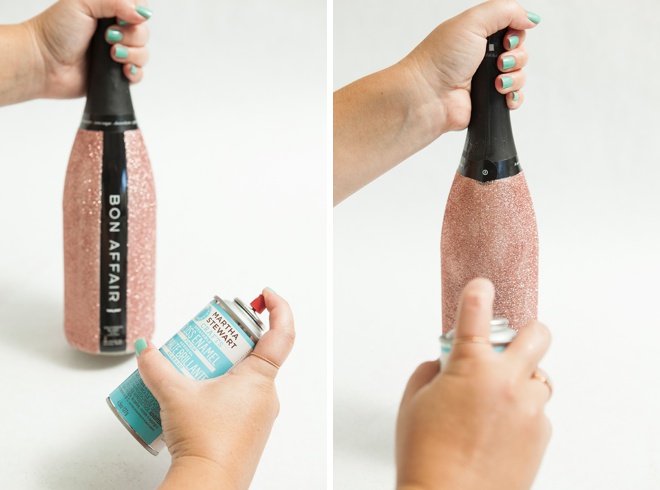
Working in sections, spray the adhesive onto the bottle and quickly shake on the glitter.
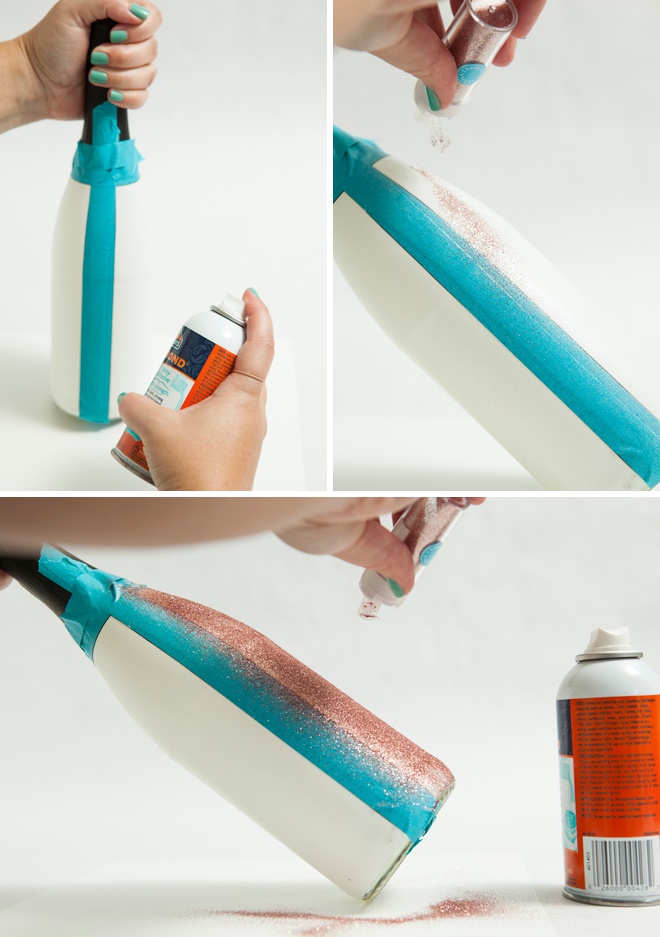
For the large bottle I did 3 sections; for the small bottle I only did 2. Take your time with this project. Don’t rush. Try to keep your hands out of the glue and glitter as it can be quite messy!

Remove The Tape Right Away
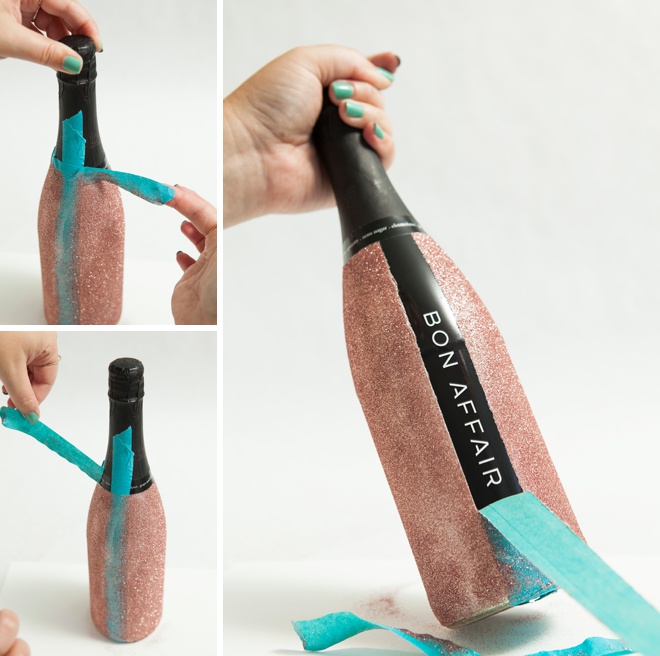
As soon as you are done glittering, remove the tape. Otherwise the spray adhesive will dry onto the tape and it could peel your glitter off when you go to remove it. If it’s already dried, carefully take a craft knife to the edges before you peel.
Seal Your Glitter 2x
This is the most important step. Unless you want glitter all over the place; on your hands, in your glass, and maybe even in your mouth – you need to seal the glitter coat two times! Spray to cover all glittered areas and let each coat dry for at least 10 minutes in between coats. If you feel that the glitter is still coming off – spray another coat!
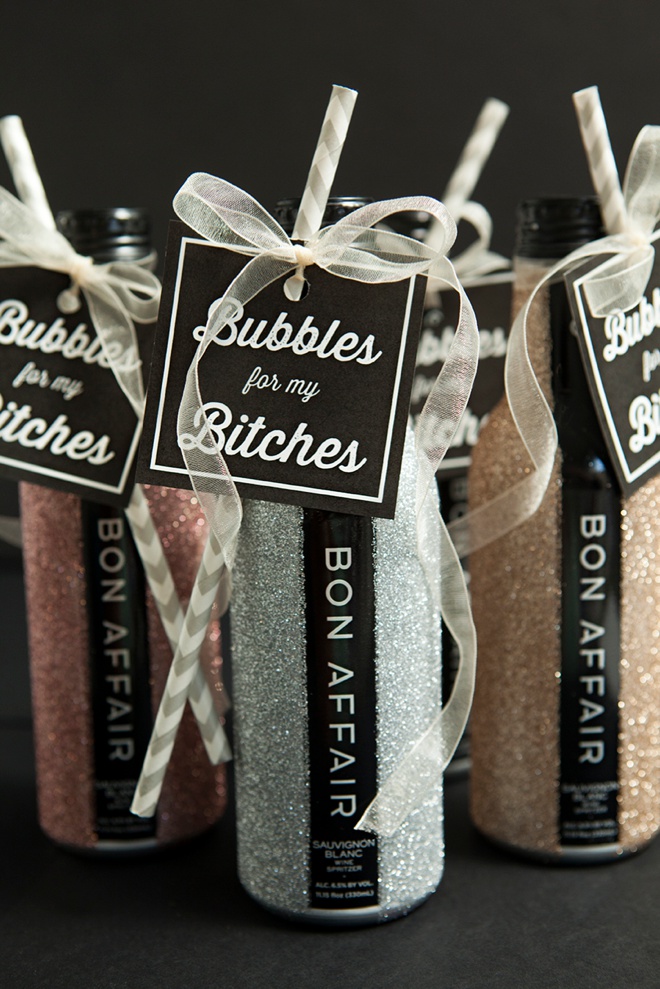
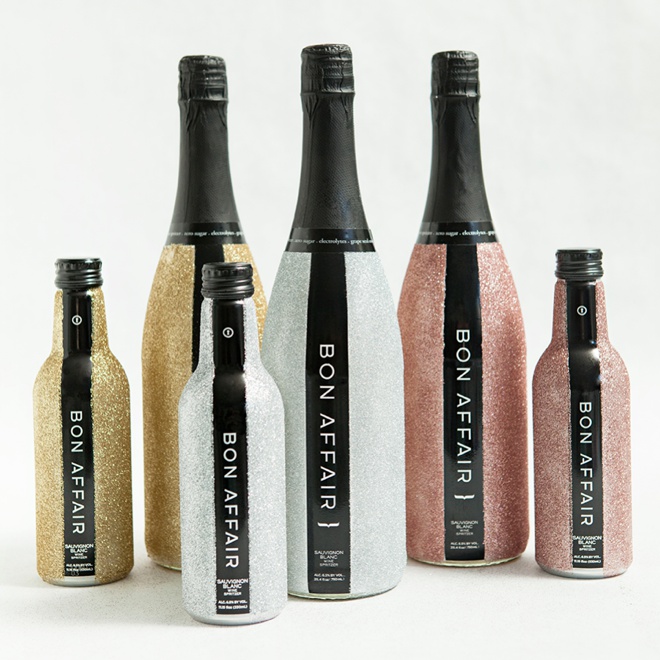
So Many Pretty Bottles!
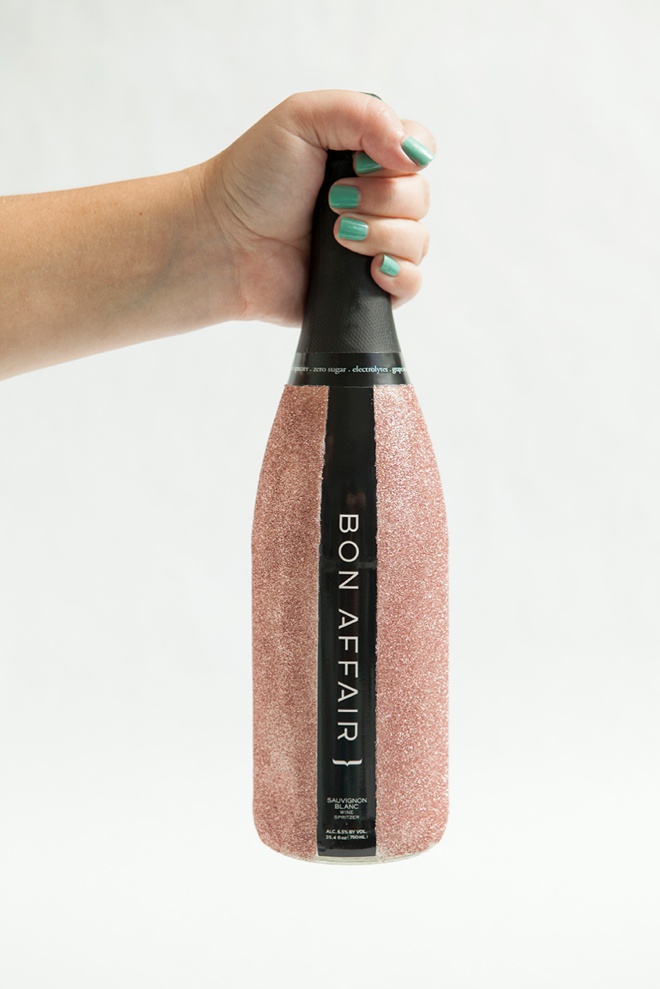
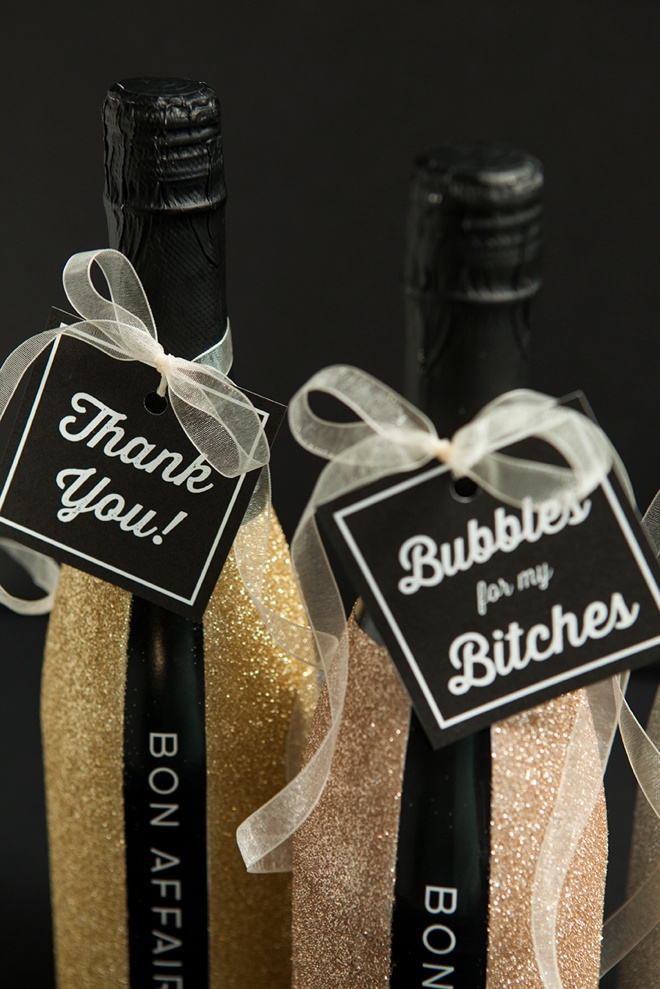
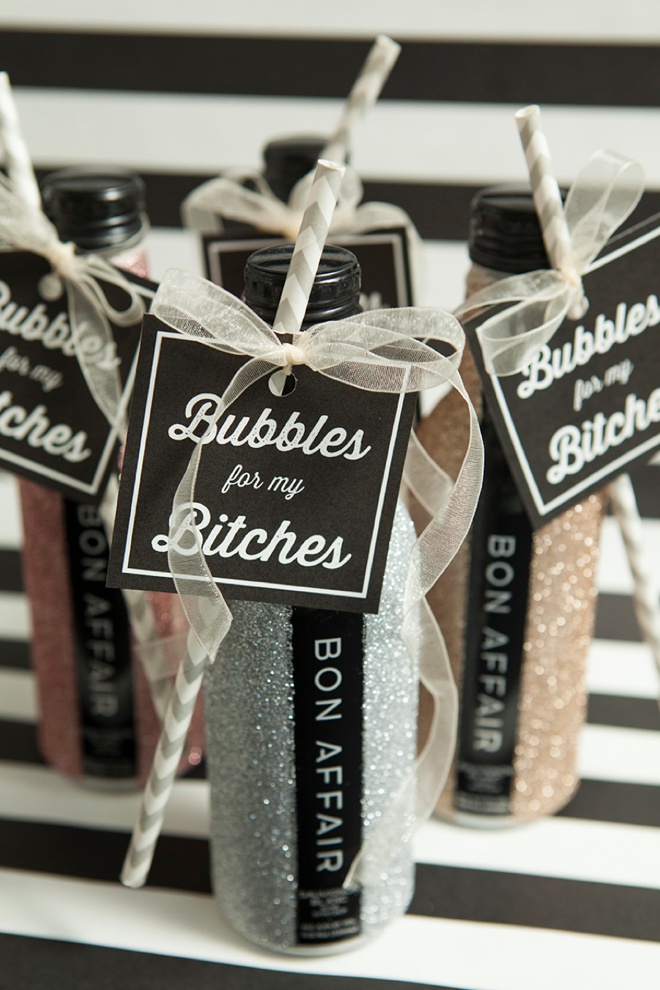
The white, Sauvignon Blanc – Bon Affair bottle is the perfect canvas for all colors of glitter!
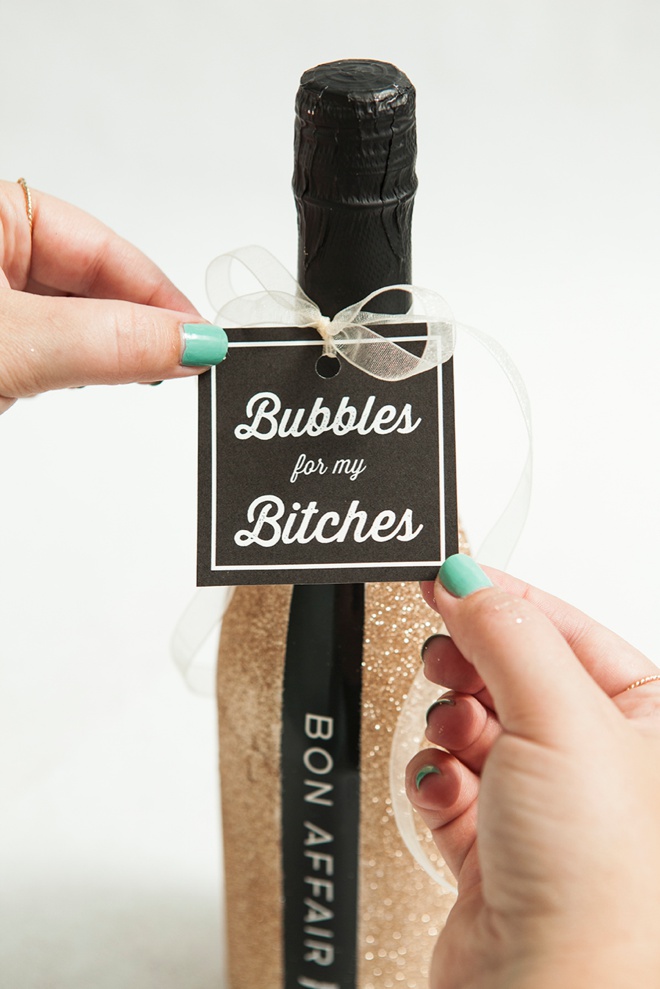
Add Your Tags
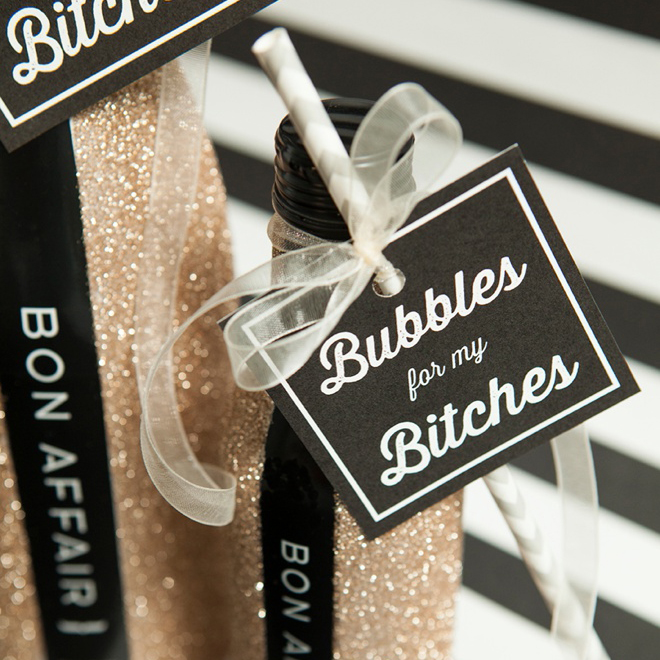
Using ribbon or twine, tie your super fun tags onto your glittery bottles!
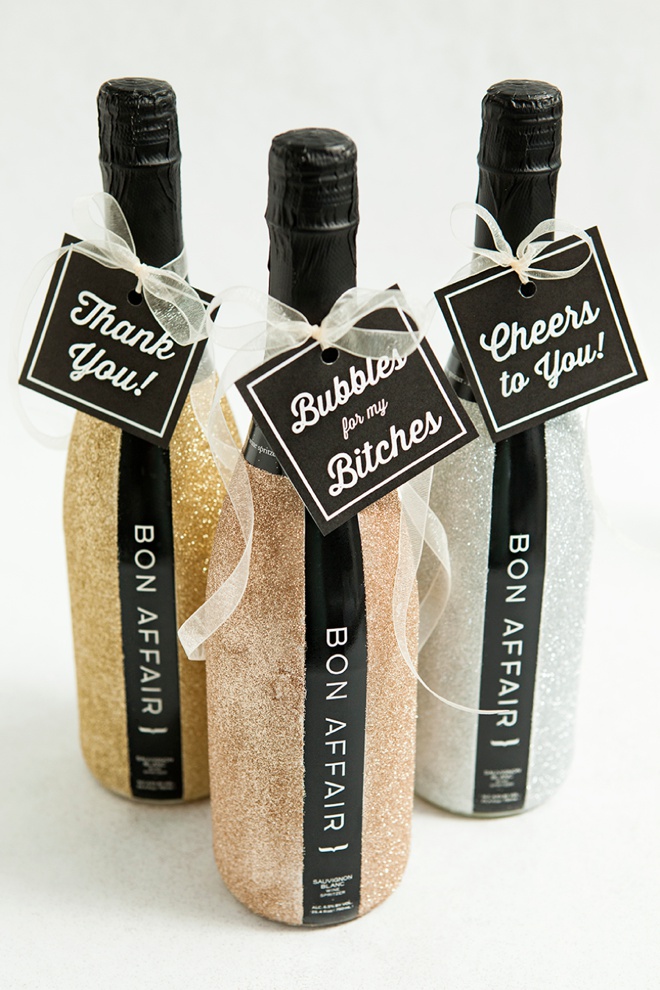
What shade of glitter is your favorite? Will you make them all the same, or maybe use a unique shade of glitter for each bridesmaid?
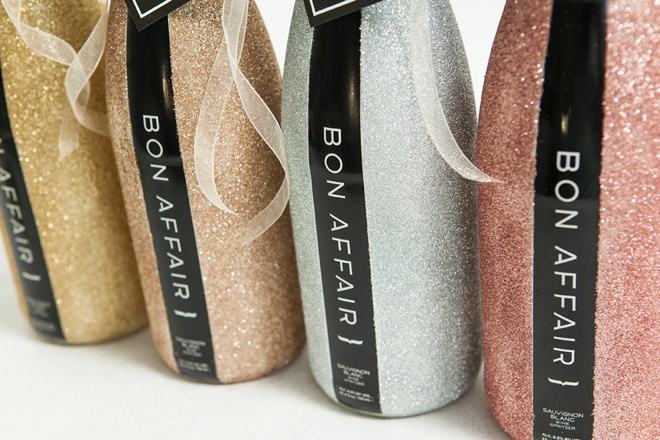
Bubbles For My Bitches
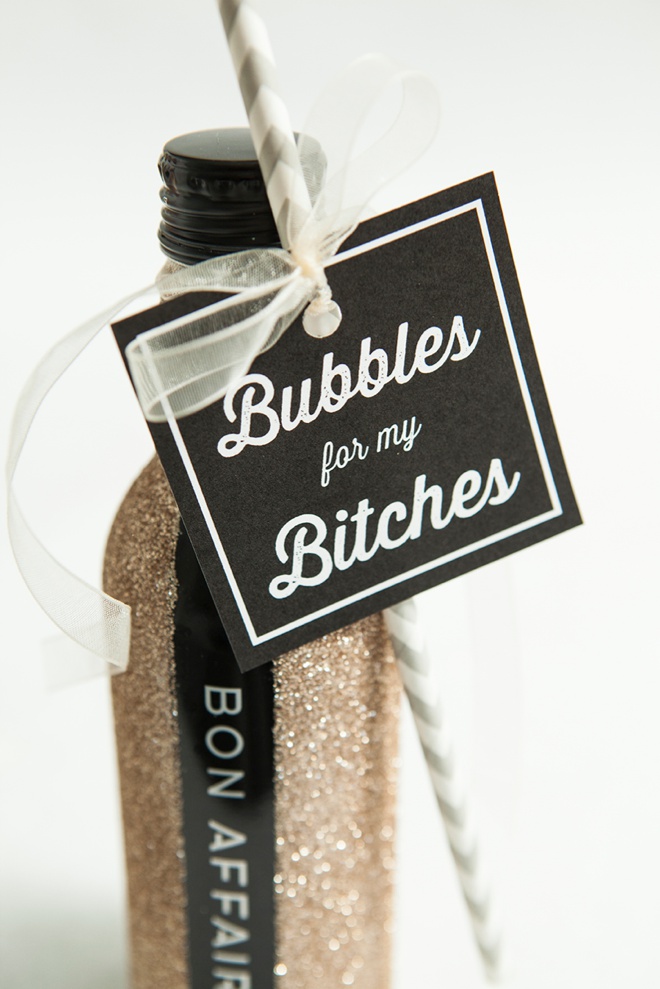
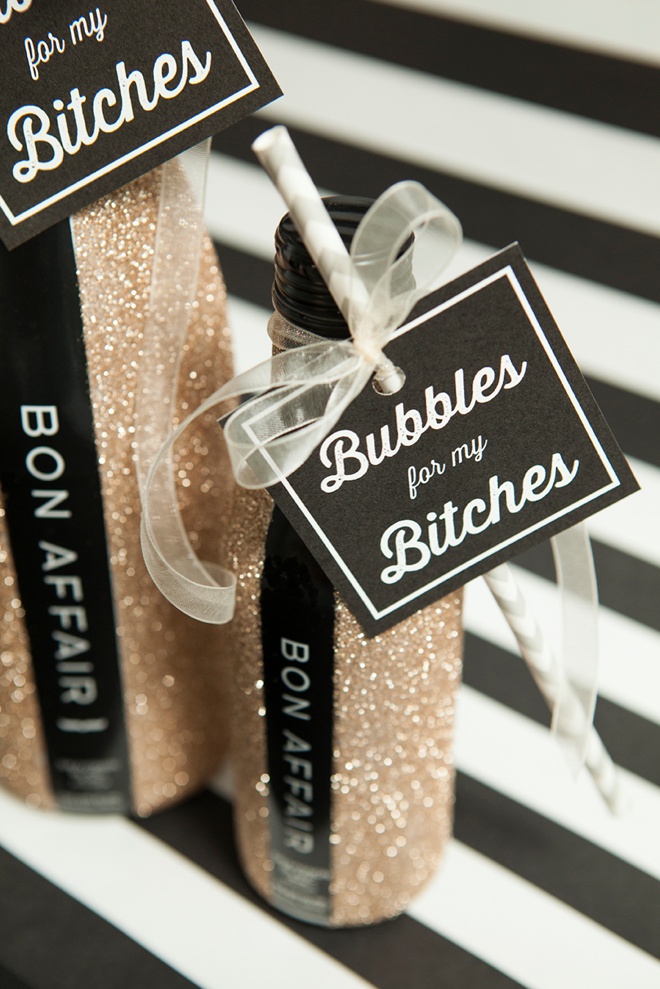
Add a little paper straw to small bottles so you can sip on the go!
Full size glittered bottles make awesome, day-of bridesmaid gifts!
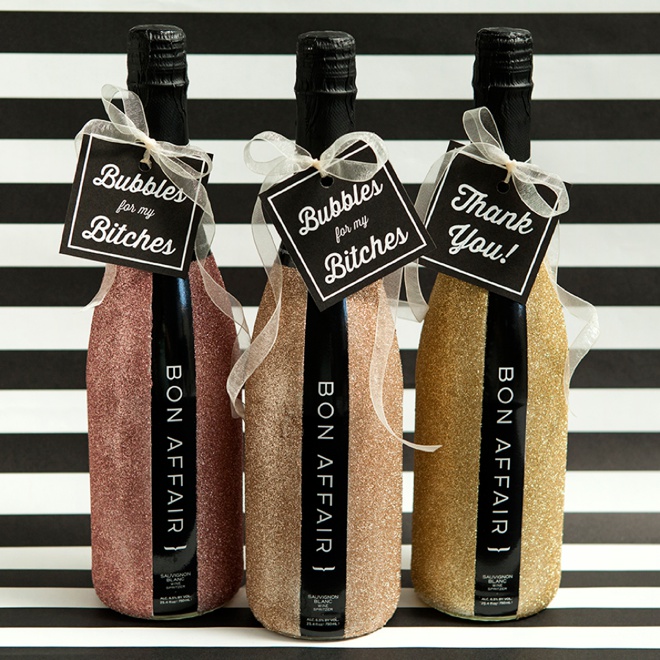
Printable Tag Designs
Grab your free printables here. Print these PDF’s onto 8.5″ x 11″ white cardstock and make sure to click “print actual size” so they fit on the paper!
As with all our DIY tutorials, if you create one of our projects please send us a picture – We Love Seeing Your Creativity! If you use Instagram or Twitter please use the hashtag #SomethingTurquoiseDIY and it will show up on our Get Social page. Happy Crafting!
DIY Tutorial Credits
Photography + DIY Tutorial: Jen Carreiro of Something Turquoise // Bon Affair Wine Spritzer, California Sauvignon Blanc in 750ml and 330ml Outdoor Bottles: courtesy of Bon Affair // Martha Stewart Crafts Gloss Enamel Finish, Patterning Tape and Glitter (Florentine Gold, Smoky Quartz, Rose Quartz, and Sterling): Amazon // Elmer’s Craft Bong Spray Adhesive, Extra Strength: Amazon // Font used: Thirsty Rough // Scissors: Fiskars // nail polish: OPI – Withstands the Test of Thyme
Shop The Supplies:
Find the supplies you’ll need for this project from our affiliate links below:




Comments