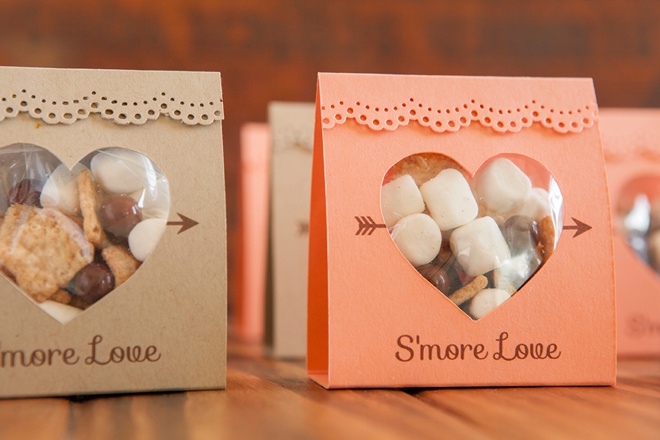
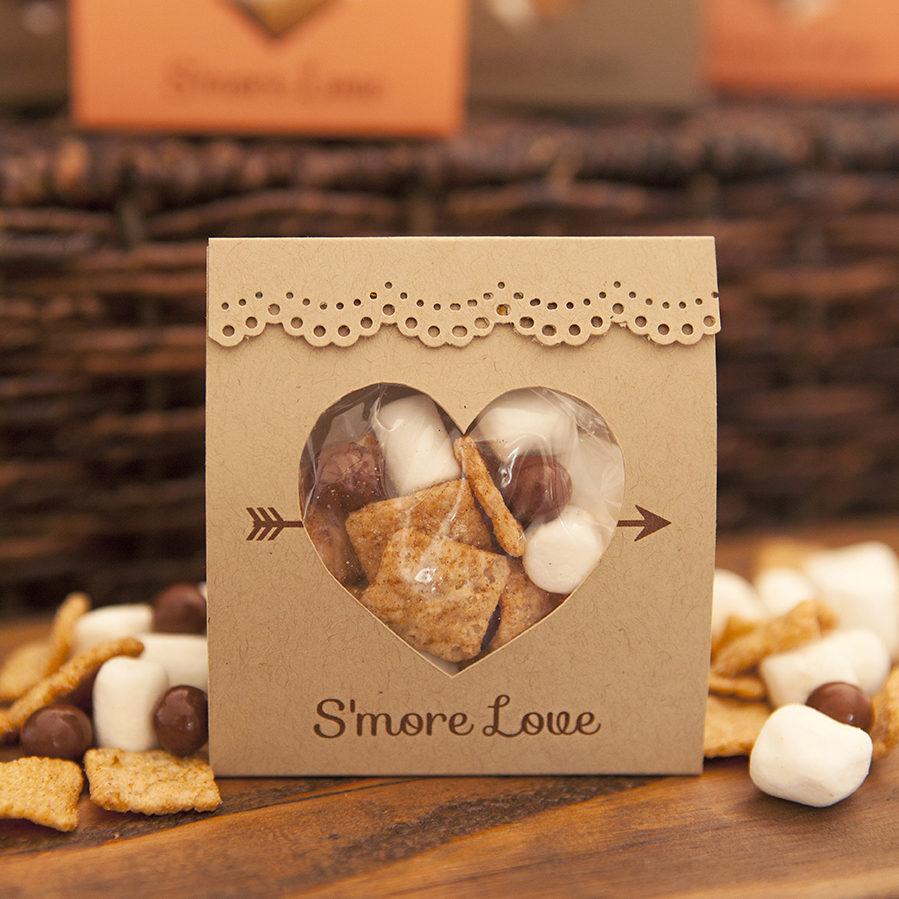
I love making favors because I love giving gifts! Being able to make darling mini-presents to say “thank you” for spending the day with us, no matter what the event, is not only rewarding for you but it’s an absolute treat for your guests. Raise your hand if you are a s’mores lover… ok, you won’t see my hand raised… but I totally get it. They are nostalgic, american, adorable… and they feel like summer but taste like fall. I’m really not a fan of the regular old s’more – but I’m crazy for the flavor profile and love recipes like this and this. Since you guys went a bit crazy for my Diamond Ring Candy Pouch favors I shared a few months ago, I figured that turning them into S’mores Wedding Favors was a logical idea. Make up some s’mores trail mix, customize my editable design, grab your bridesmaids and get to crafting!
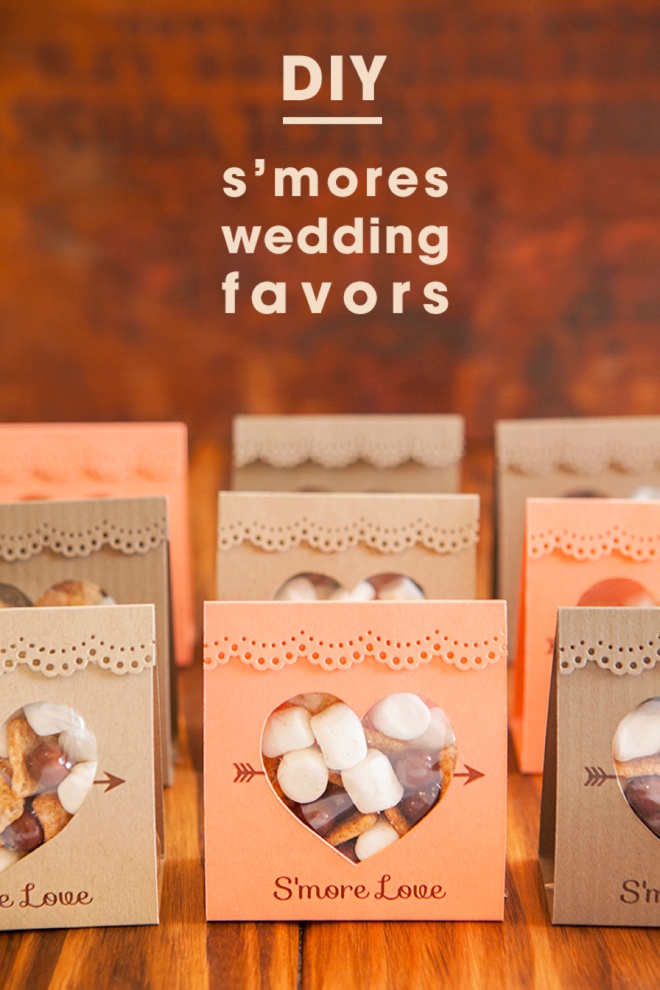
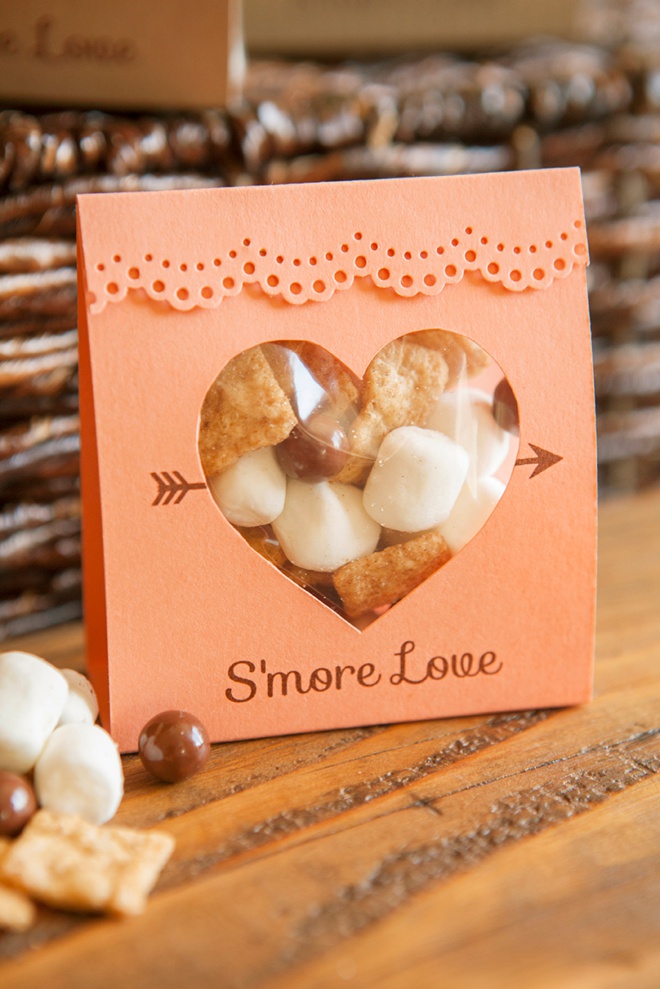
When tackling a large DIY wedding project like favors I always recommend enlisting some help by throwing an assembly party with your favorite gals. Your little gifts will come together quicker with more hands, you’ll laugh and enjoy each others company and then you’ll be able to look back on that fun time for years to come.
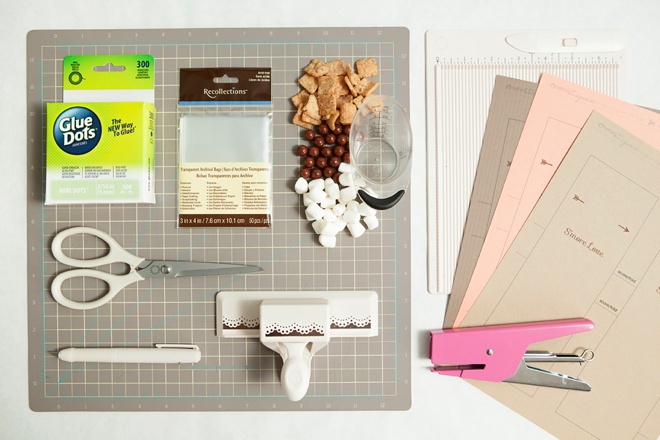
SUPPLIES:
- S’mores items: chocolate candies, Cinnamon Toast Crunch, and mini-marshmallows
- 3″ x 4″ Treat Bags
- 8.5″ x 11″ cardstock in your choice of color
- Glue Dots
- Edge Punch or Decorative Scissors
- Paper Trimmer/Scissors
- Scoring Board
- Craft Knife
- Stapler
- Our FREE download design at the bottom of the post!
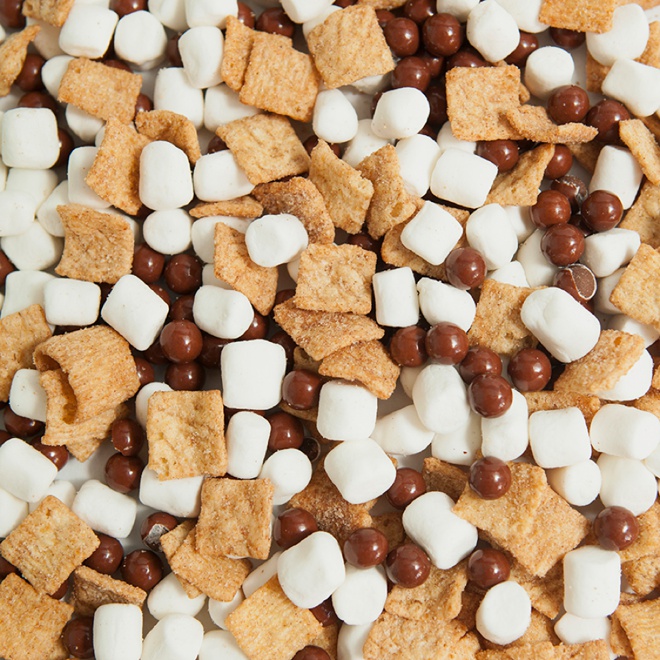
Make Your Mix
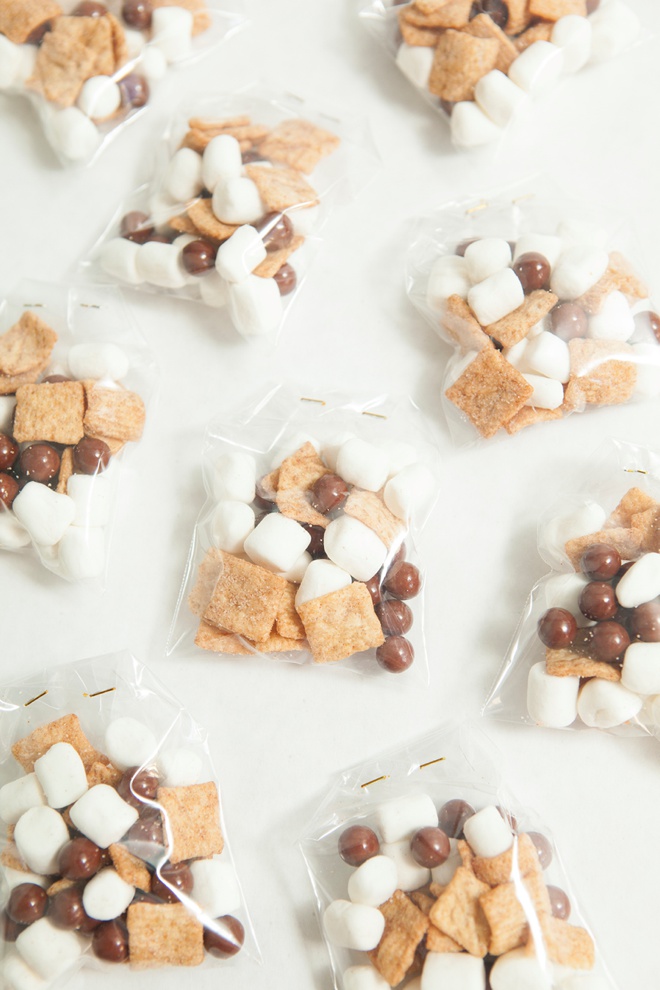
Here I mixed up Cinnamon Toast Crunch, Brown Sixlets and mini-marshmallows! You can put anything you want in your s’mores mix though… maybe mnm’s, teddy grahams, or other yummy things.
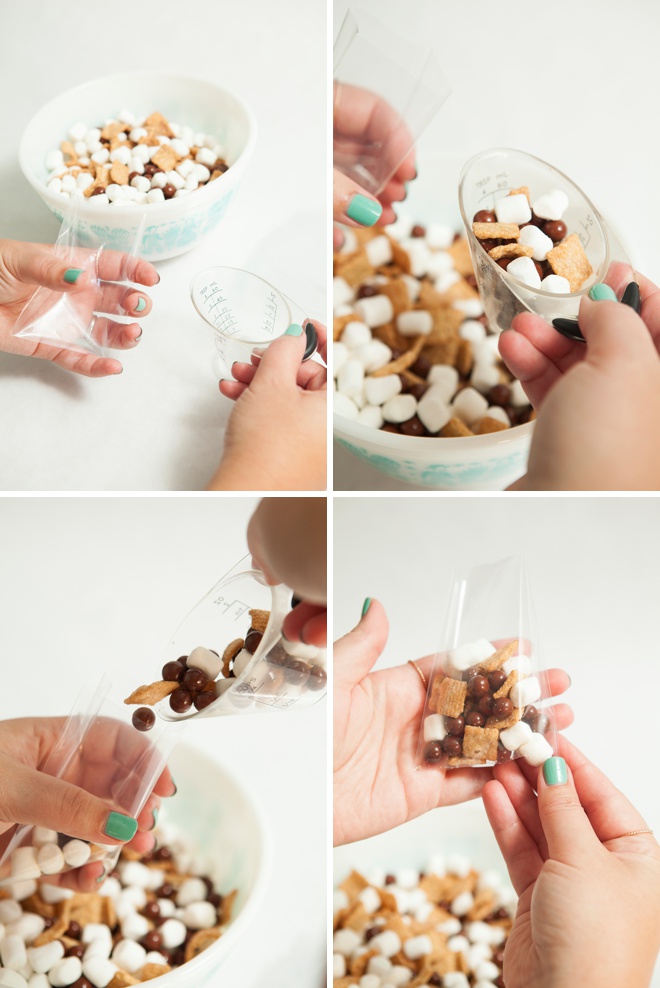
Fill Each Treat Bag
Each of the 3″ x 4″ treat bags will take about 1/4″ cup of s’mores mix.
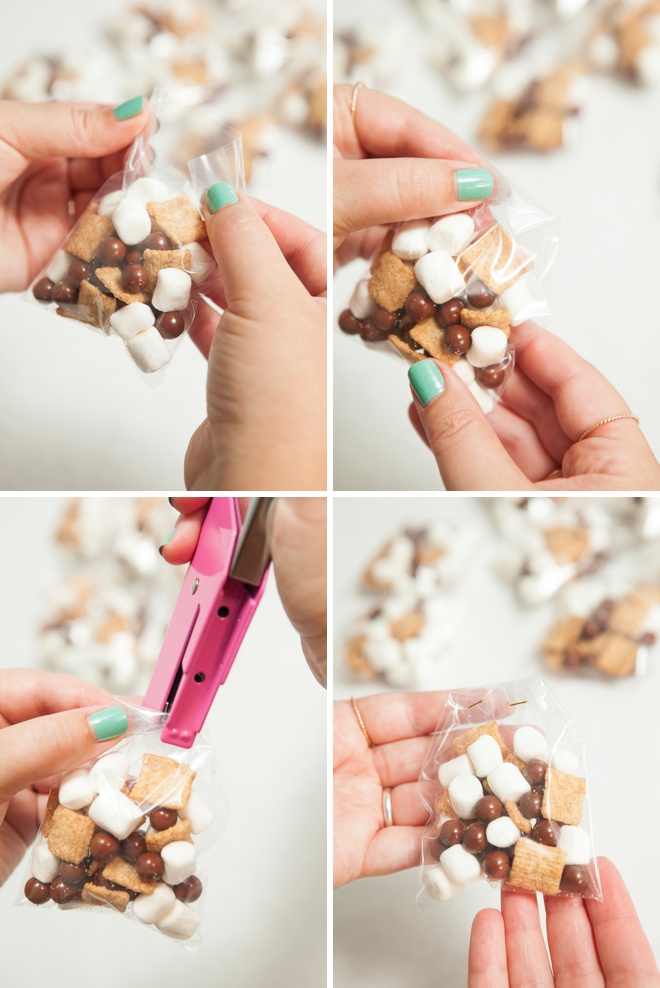
Fold + Staple
Fold the edges in first and then fold the top of the bag over itself and staple a few times. You want to get the best seal possible so your cereal doesn’t go stale. I would recommend making these as close to your event as possible, and of course – keep them out of the heat and sun!
Create Your Treat Pouch
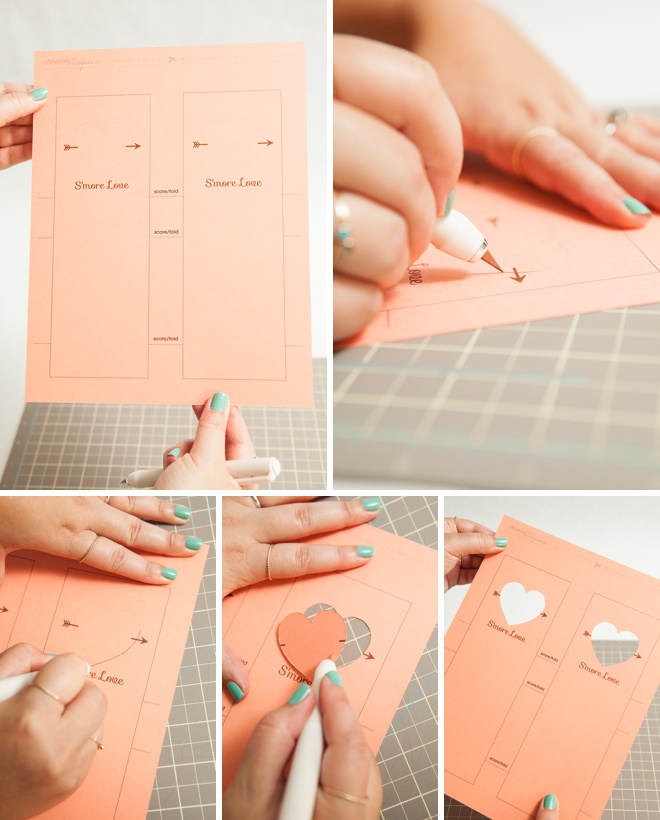
Download, edit and print my free design onto 8.5″ x 11″ cardstock. To edit, simply open the pdf. in either Adobe Reader or Adobe Acrobat and double click on the “S’more Love” box to add your own custom text! If you like the free font I used Sofia, you’ll need to download it before you edit the pdf.
Using a craft knife, carefully cut out each heart design.
Score the Cards
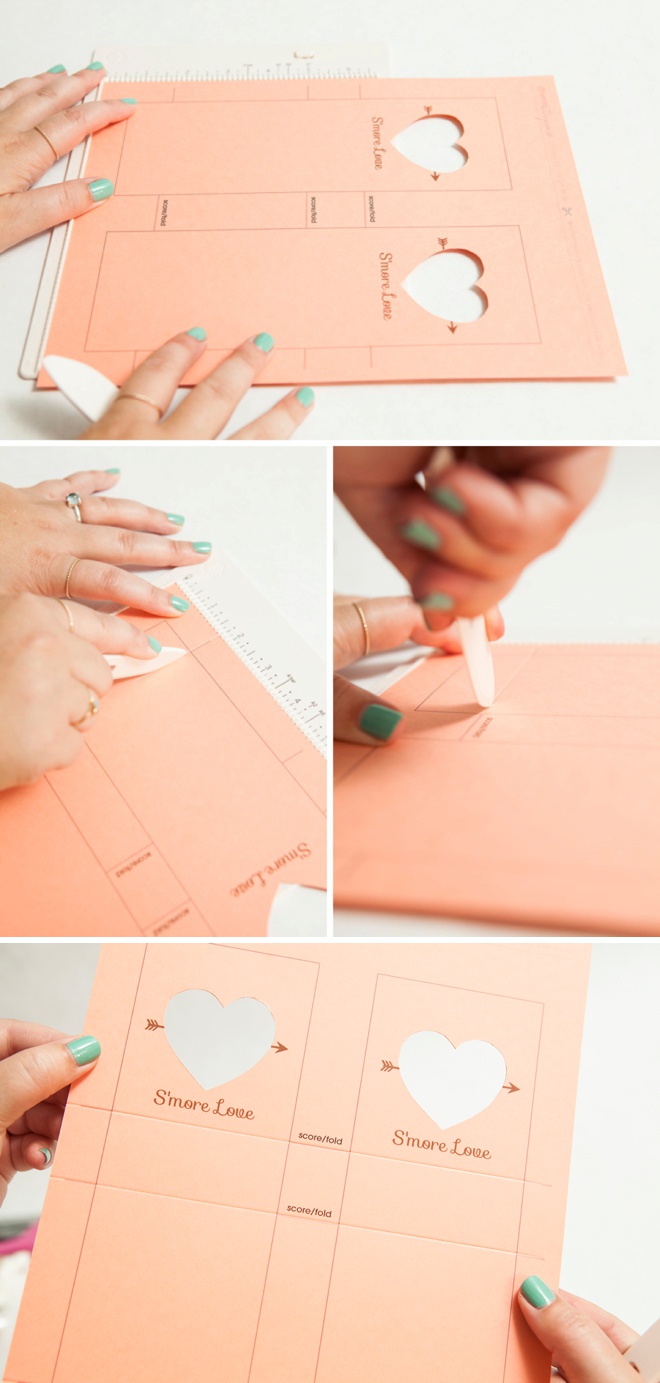
Using a scoring board, line up the design and score on the lines provided. This is optional but will make your pouch look professional. You can also just fold on the lines.
Cut Out Each Card
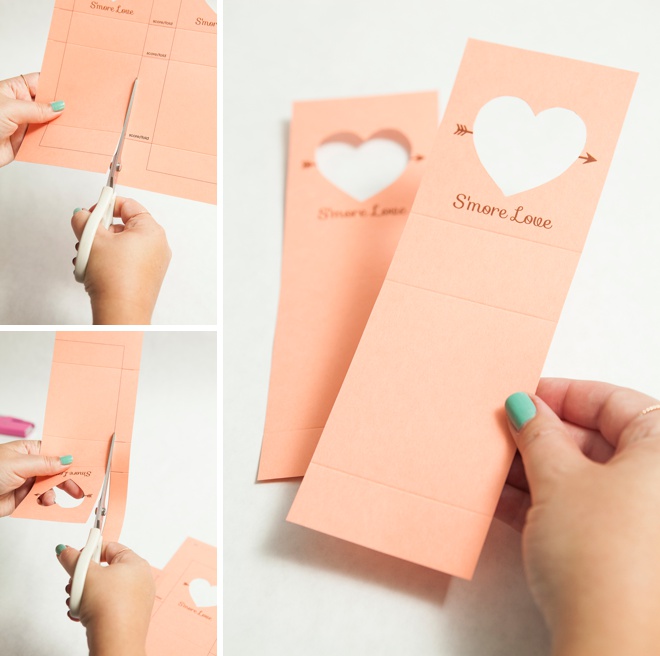
Once your heart and scoring is complete, cut out each card using scissors or a paper trimmer.
Embellish the Top Flap
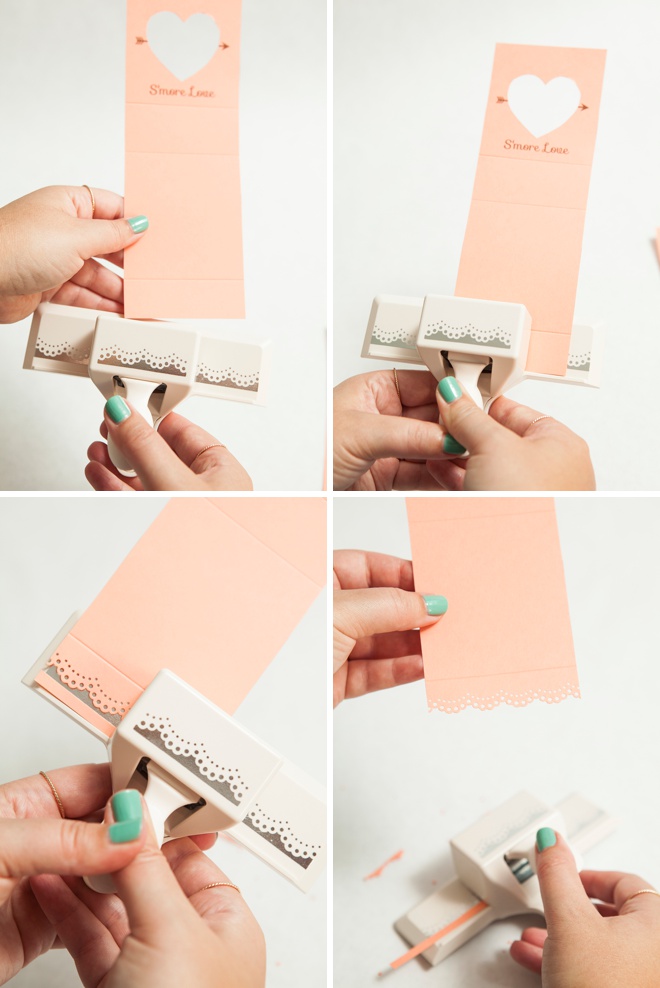
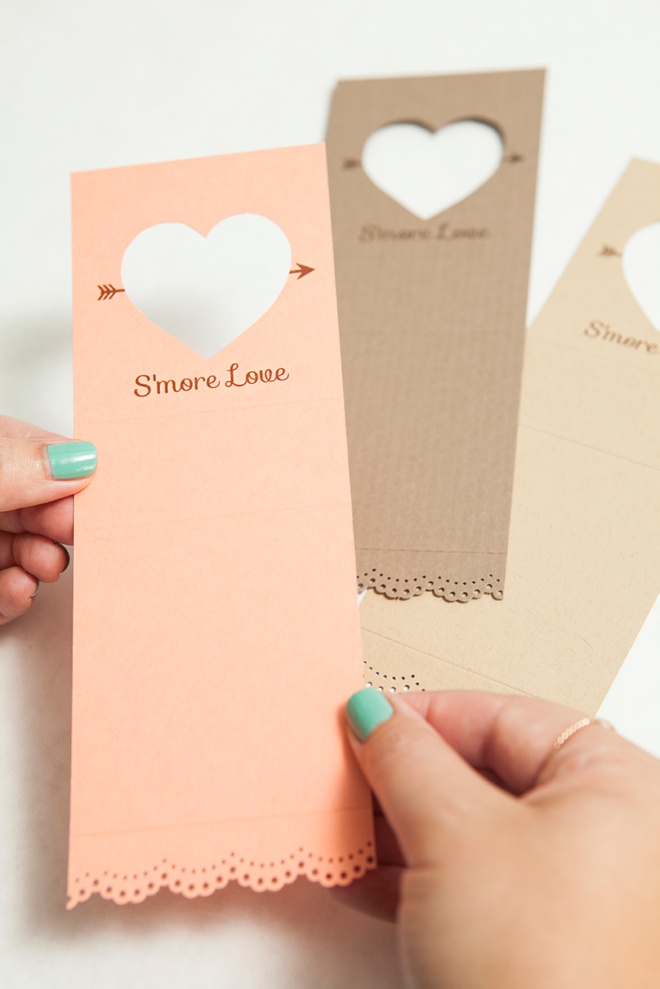
Using either an edge punch like this one from Martha Stewart or decorative scissors, punch across the bottom of the card – this ends up being the top flap.
Fold The Score Lines
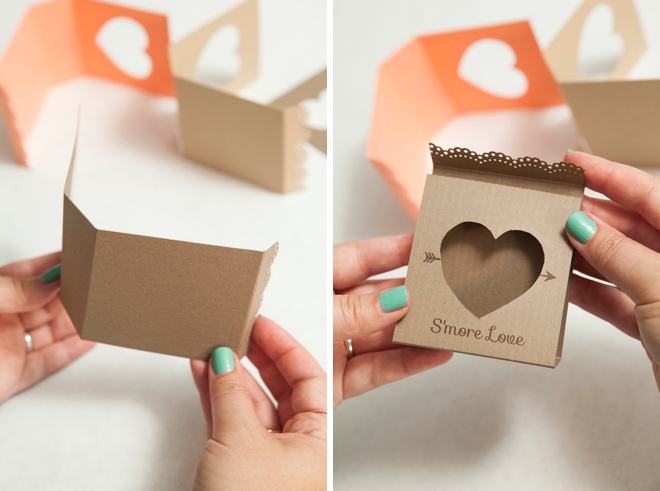
Assemble Your Favors
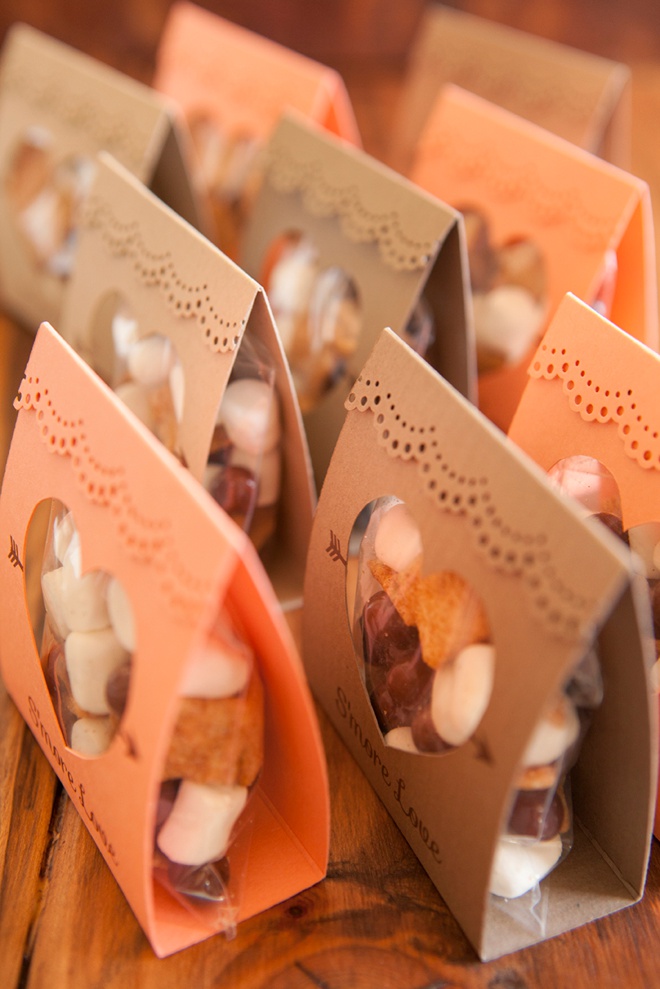
Now we are going to staple the candy bag inside of the pouch…

- Set the s’mores bag right the middle of the folded card.
- Fold the heart cut-out side up to the bag and staple.
- Add 3 Glue Dots right underneath the punched border.
- Fold the back side up and around.
- Fold the flap with the Glue Dots to cover the staples.
- Press firmly to seal!
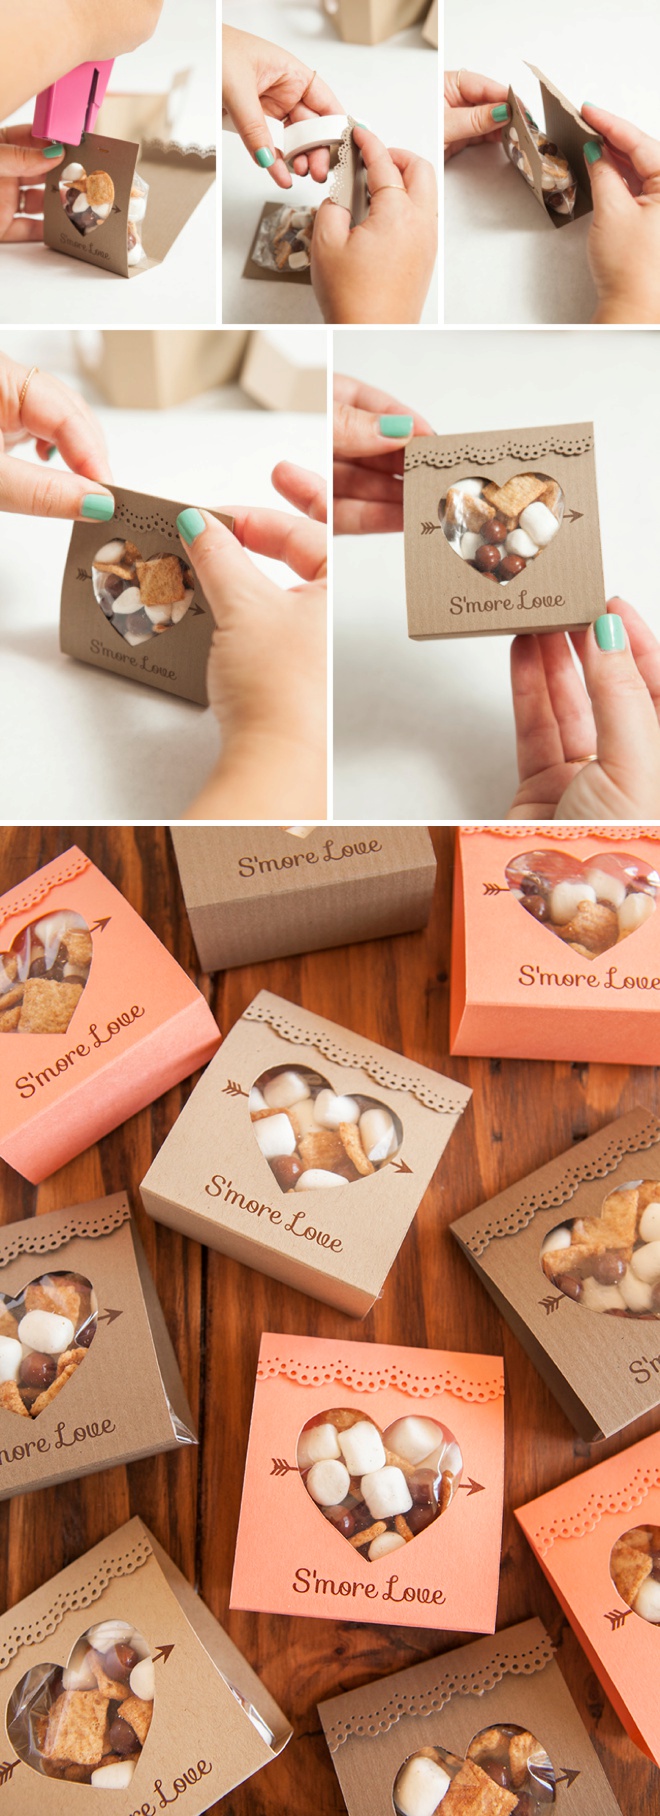
There you have it… a darling DIY favor completely customized for your special event. These are a bit involved and so I recommend enlisting some help when putting them together, like your mom and bridesmaids. Make sure to have a little extra mix on hand so that you can snack while you assemble :-)
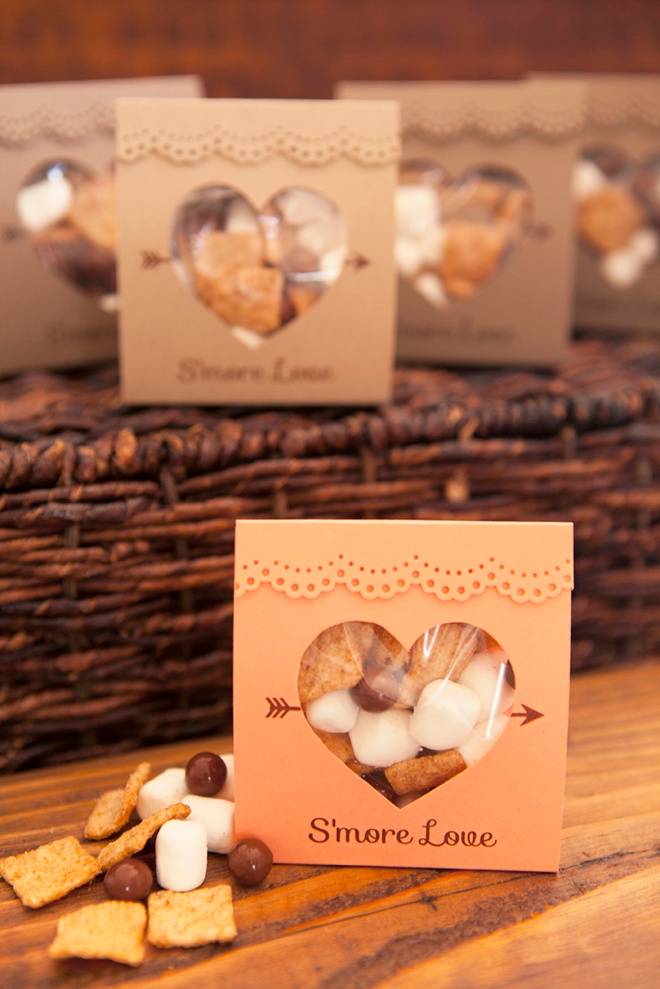
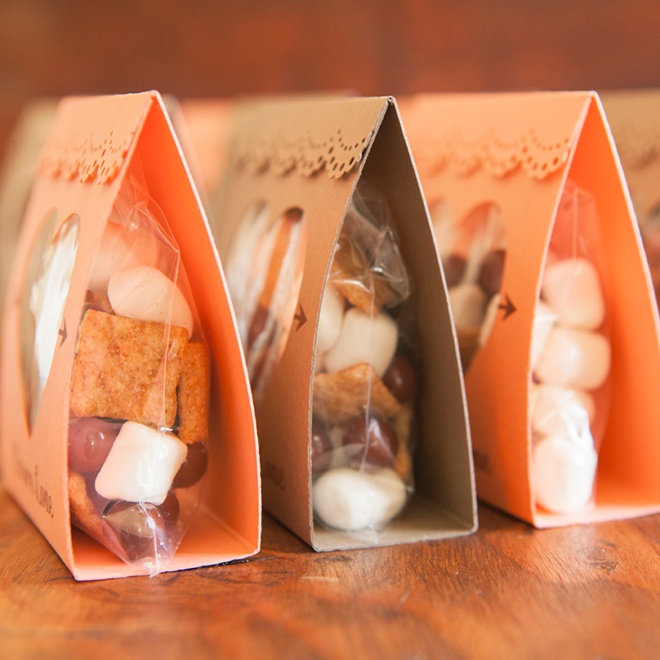
Perfect For Your Fall Wedding
S’mores of all kinds are a popular favor and I think these are just perfect for your fall or winter wedding… how will you customize your favors to fit your event?? I’d love to hear!
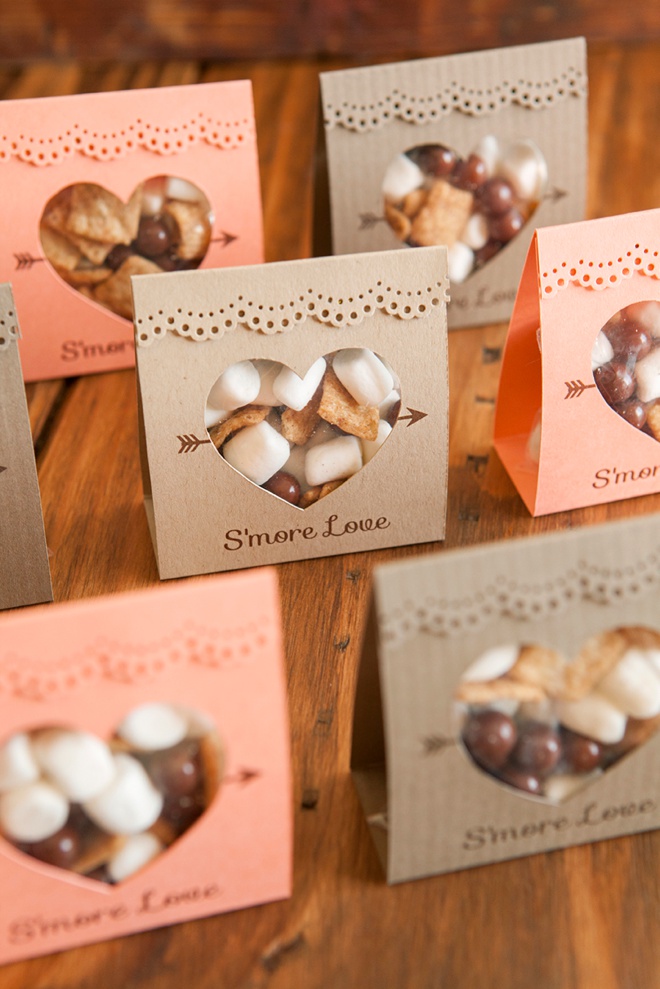

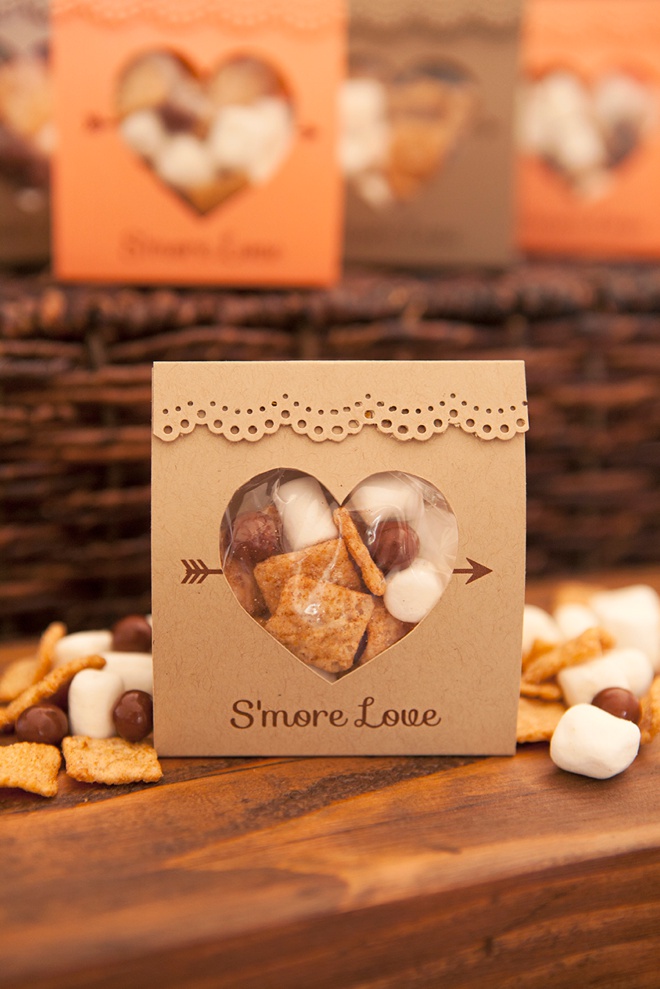
As with all our DIY tutorials, if you create one of our projects please send us a picture – We Love Seeing Your Creativity! If you use Instagram or Twitter please use the hashtag #SomethingTurquoiseDIY and it will show up on our Get Social page. Happy Crafting!
DIY Tutorial Credits
Photography + DIY Tutorial + Free Downloads: Jen Causey of Something Turquoise // Martha Stewart Crafts Doily Lace Punch, scissors and craft board + knife: Courtesy of the Editors at Martha Stewart Living // Pink mini-stapler: American Crafts // Brown Sixlets: Amazon // Mini-marshmallows and Cinnamon Toast Crunch: local market // Mini Glue Dots: Amazon // 8.5″ x 11″ cardstock: Paper Source // Free font used: Sofia // nail polish: OPI – Withstands the Test of Thyme
Shop The Supplies:
Find the supplies you’ll need for this project from our affiliate links below:



Comments