-Sponsored Post-
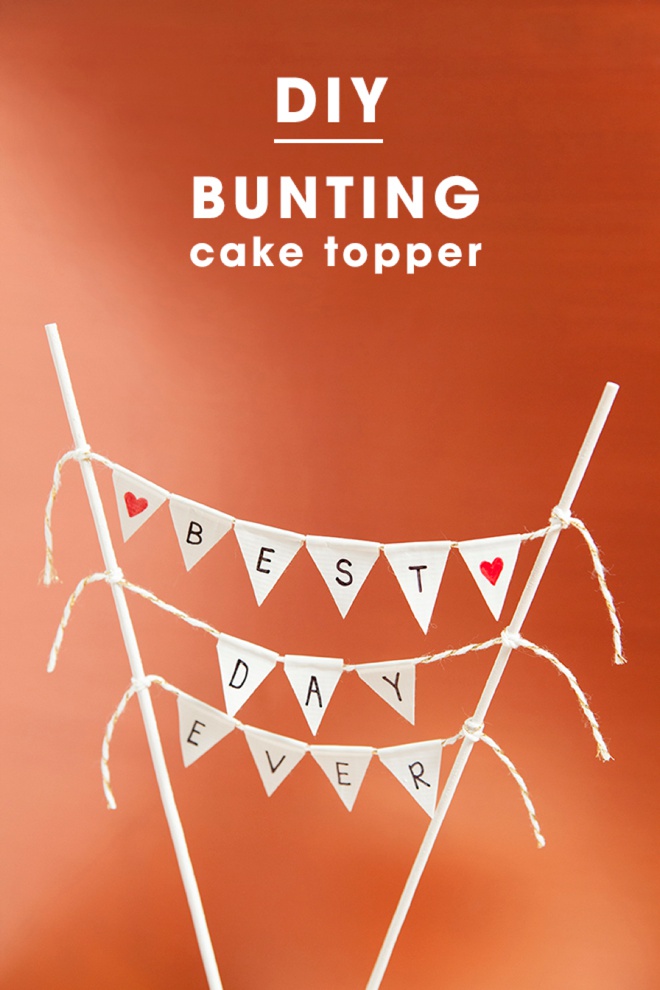
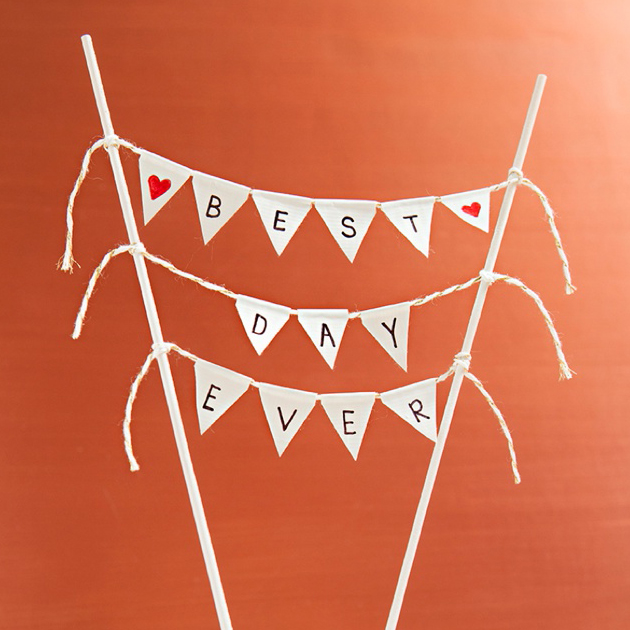
I’ve got super sweet feelings for today’s special DIY feature. I’ve partnered with Fiskars to bring you 6 tutorials inspired by real weddings that have graced our pages – and this is the fourth! I hope you’ve been enjoying this series because these projects have been so much fun for me to make and share. In this post, I’ll be shocking you with how good Duck Tape can look when you are making this adorable Bunting Banner Cake Topper! The best part are the scissors that cut right through that sticky tape as if it were just printer paper… hooray for tools that make crafting a breeze!

Real DIY Wedding Inspiration
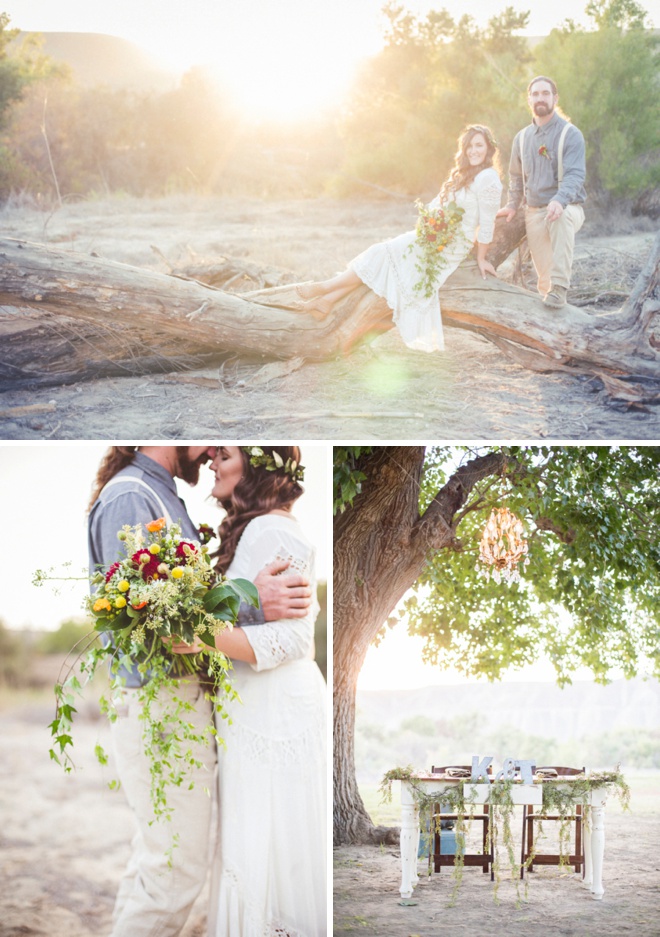
Today’s special edition DIY project was inspired by the real wedding of Tyler and Kaylee, photographed by Ashley dePencier Photography. Their romantic, camp boho wedding was a down to earth dream come true that I know you’ll love!
Best Day Ever Wedding Cake Topper
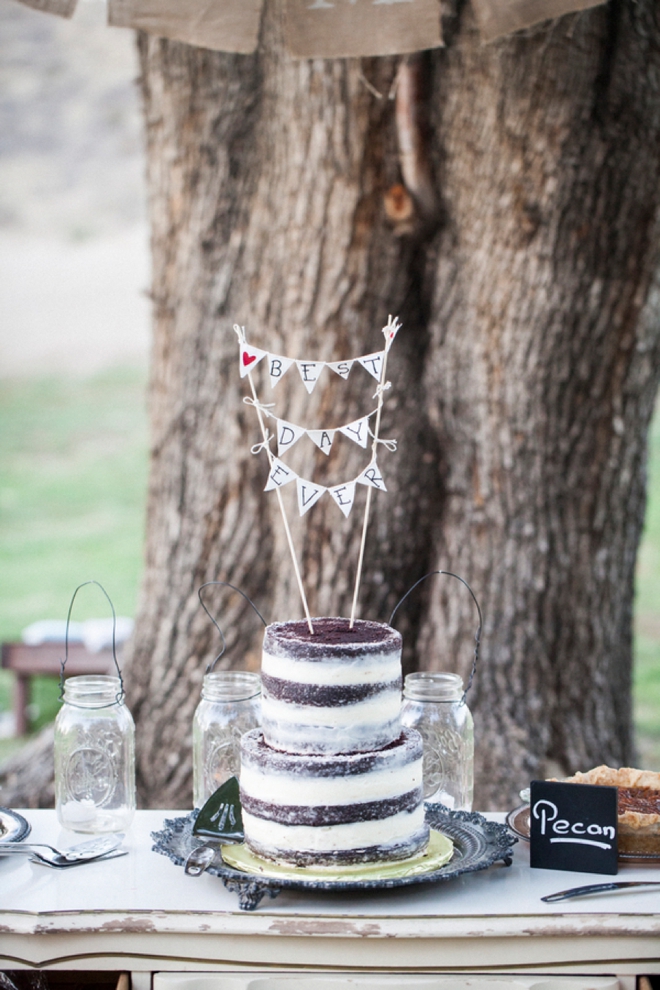
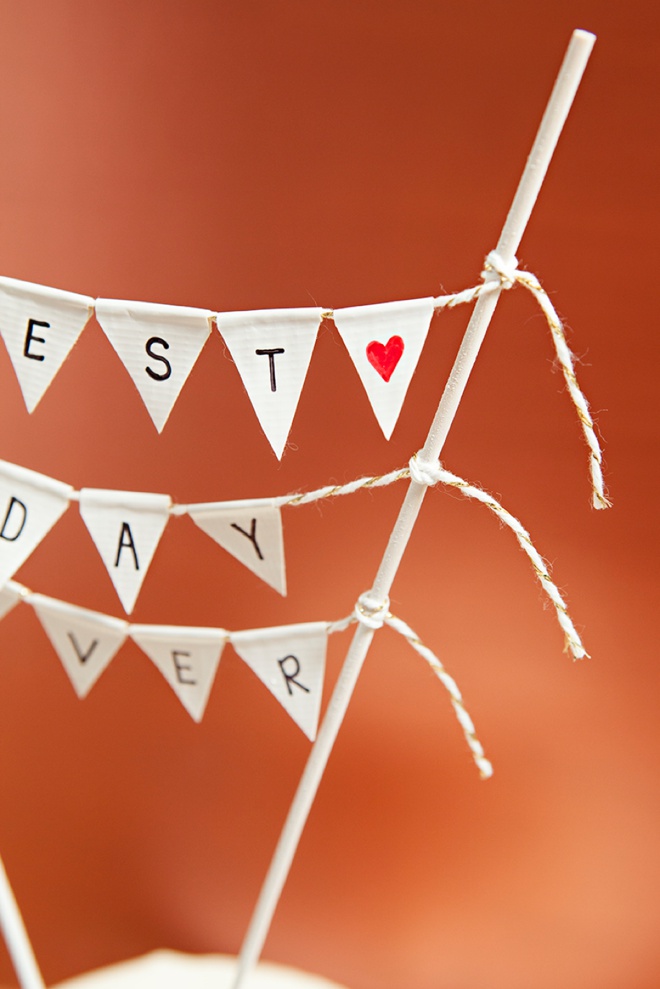
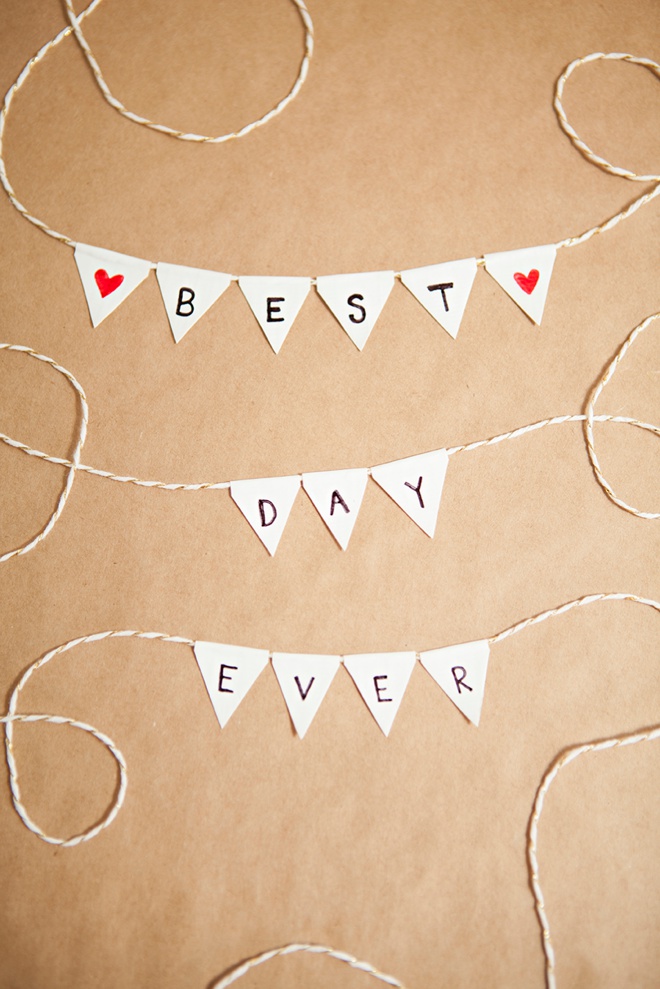
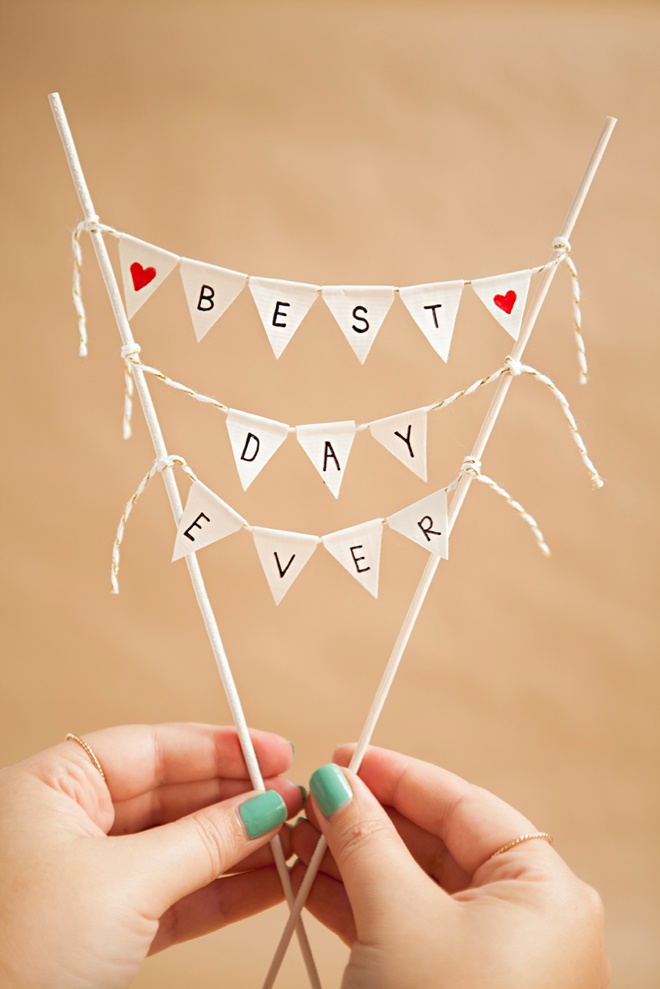
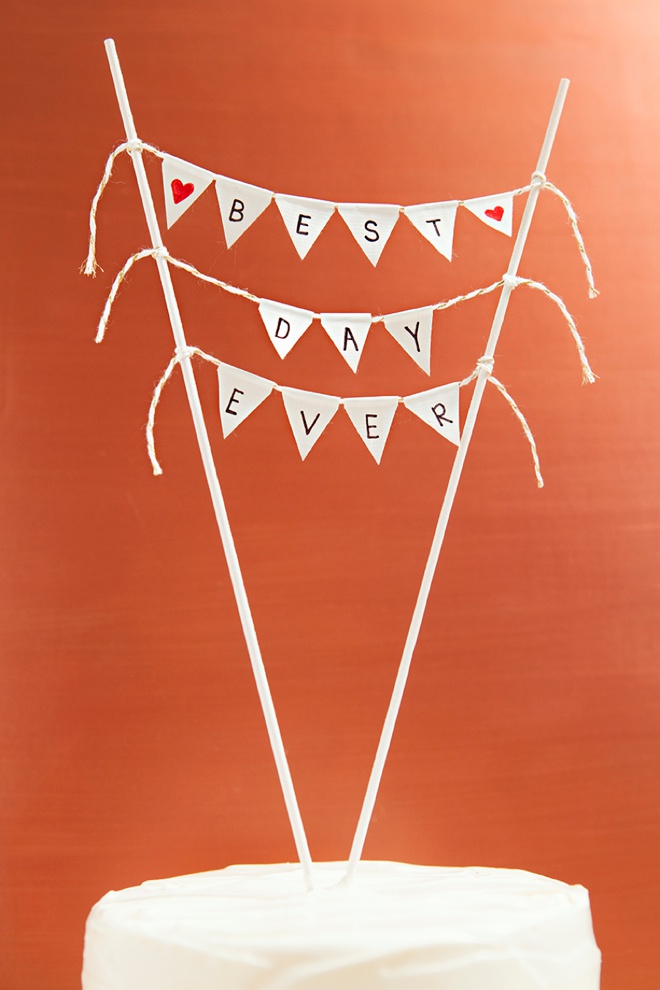
A down right adorable DIY detail from their wedding was this bunting banner cake topper that reads “Best Day Ever”. Which is what your wedding day should be! I’m pretty sure they used fabric for their little flags, but I went a different direction and brought in Duck Tape.
SUPPLIES:
- Fiskars Non-Stick Scissors 8″
- White Duck Tape
- Twin Tip Sharpies
- Metallic Gold Twine
- 2 – 16″ BBQ Skewers
- Ruler
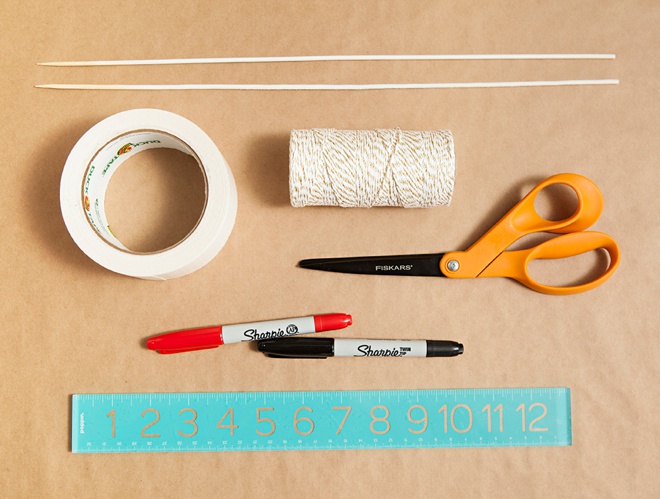
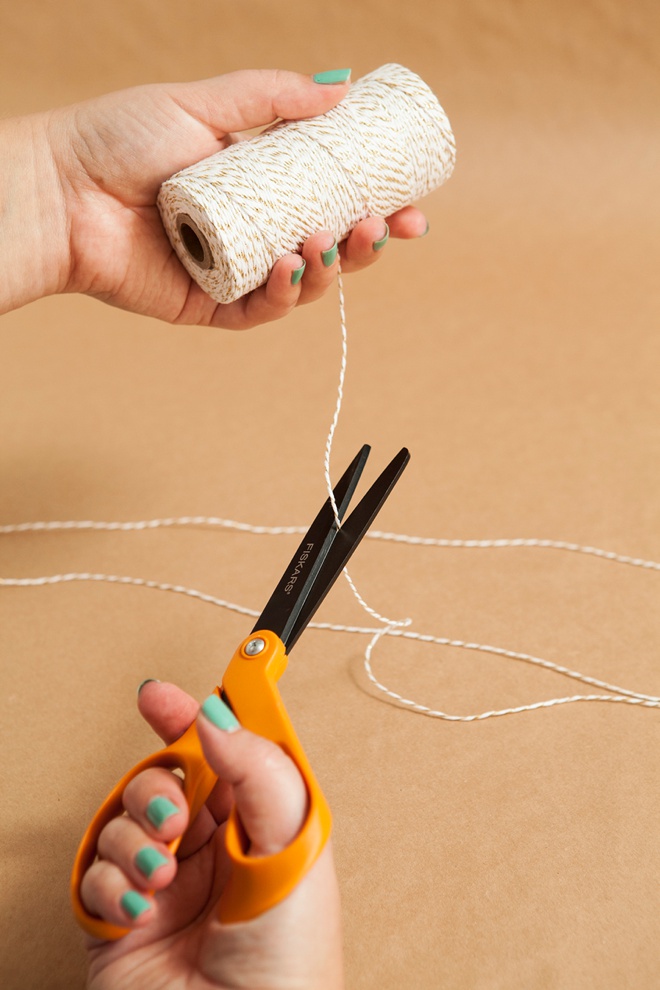
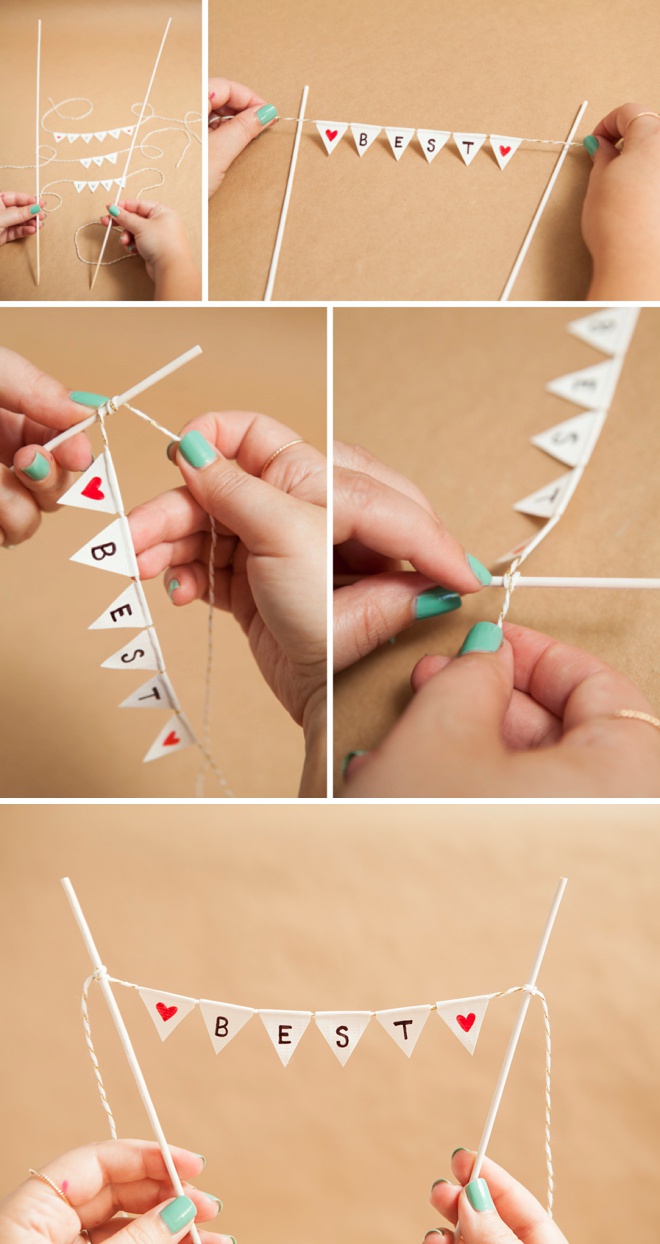
Start by cutting 3 pieces of twine at least 20″ long.
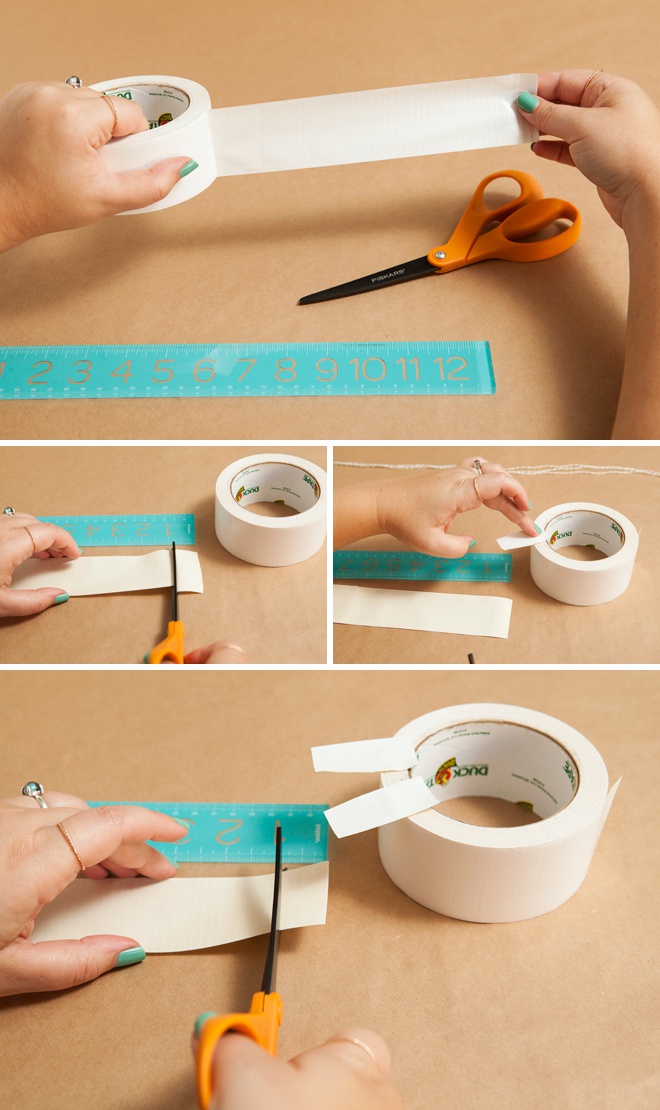
Cut Duck Tape Pieces
Using the awesome Fiskars Non-stick Scissors cut about a 12″ strip of white duck tape off the roll and place it sticky side up on your work surface. These scissors have a unique non-stick coating on the blades that make it possible to cut cleanly through even the stickiest materials. Then trim 3/4″ strips of tape, one for each flag. Place the strips on top of the roll until the next step.
Add The Flags
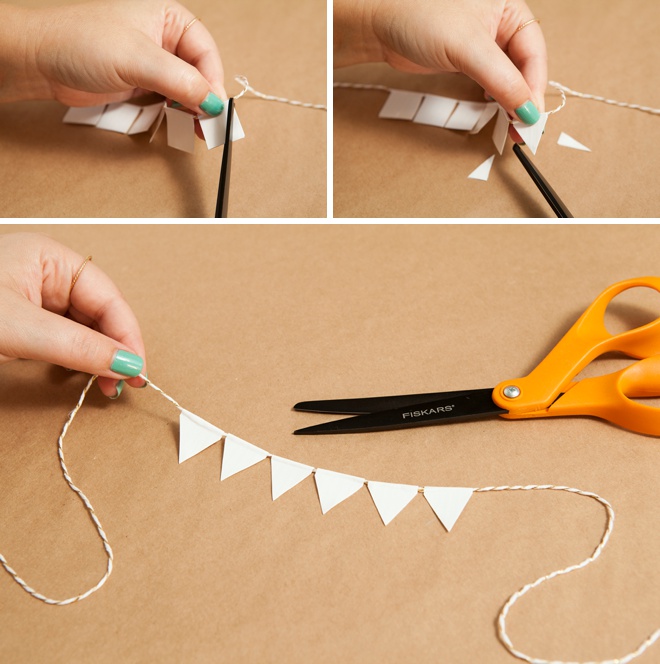
Place each strip of tape under the twine and carefully + evenly fold it over the twine… creating your bunting!
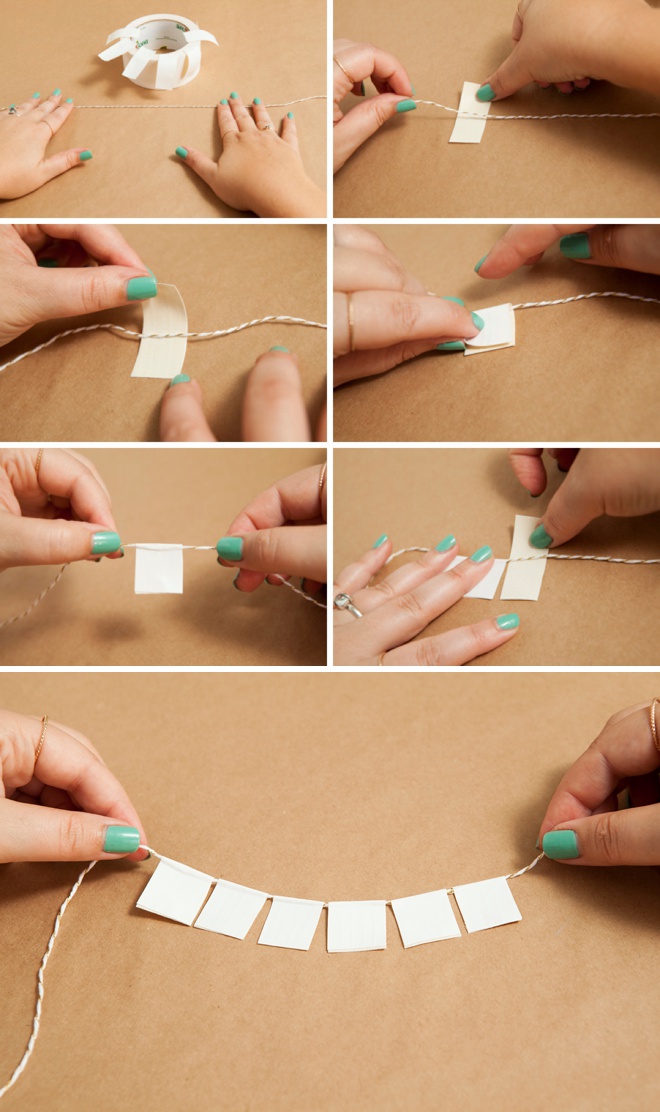
Cut The Flags
Now just trim the edges off each rectangle to form the little flags – aren’t they adorable!?
Write Your Message
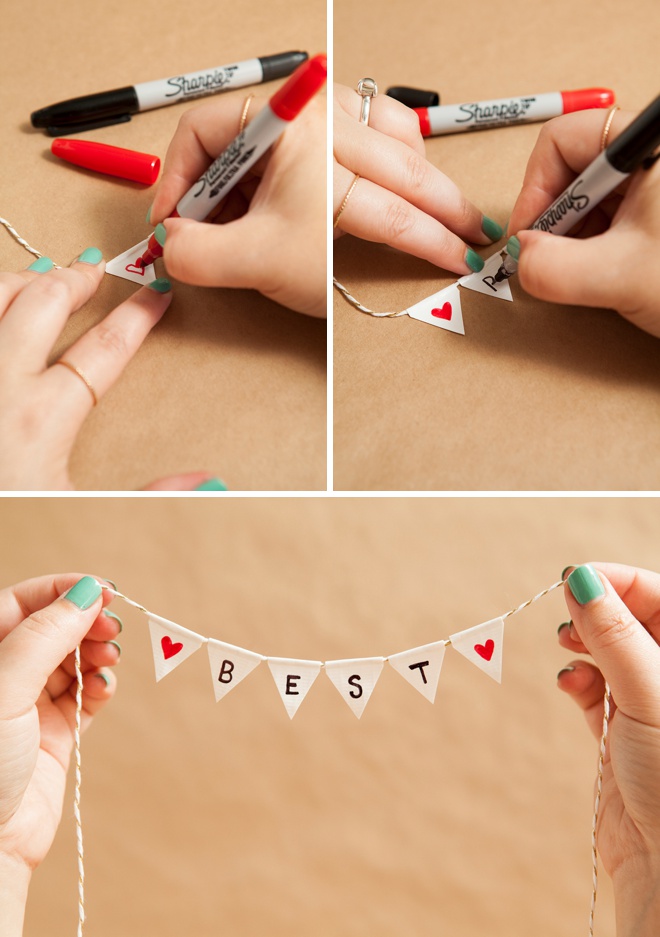
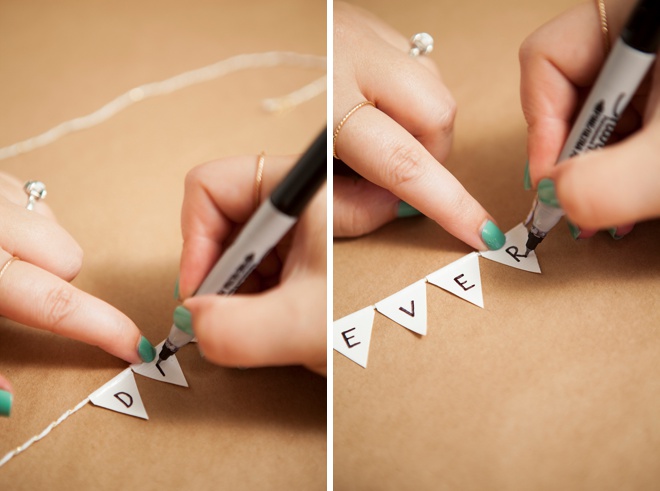
Using your favorite color of Sharpie, add your letters to each flag. This can be done using any permanent marker, but I’m using the new dual-tip Sharpies so that I have extra control of my design.
Best Day Ever
Tie Your Bunting
Carefully tie each bunting strand in between two BBQ skewers. Trim the excess twine after you are done. I actually painted these skewers white beforehand which you can do as well, or you can leave them the bamboo color.
Cupcake Toppers
Folding strips of duck tape over tooth picks in the same method make awesome cupcake toppers to match!
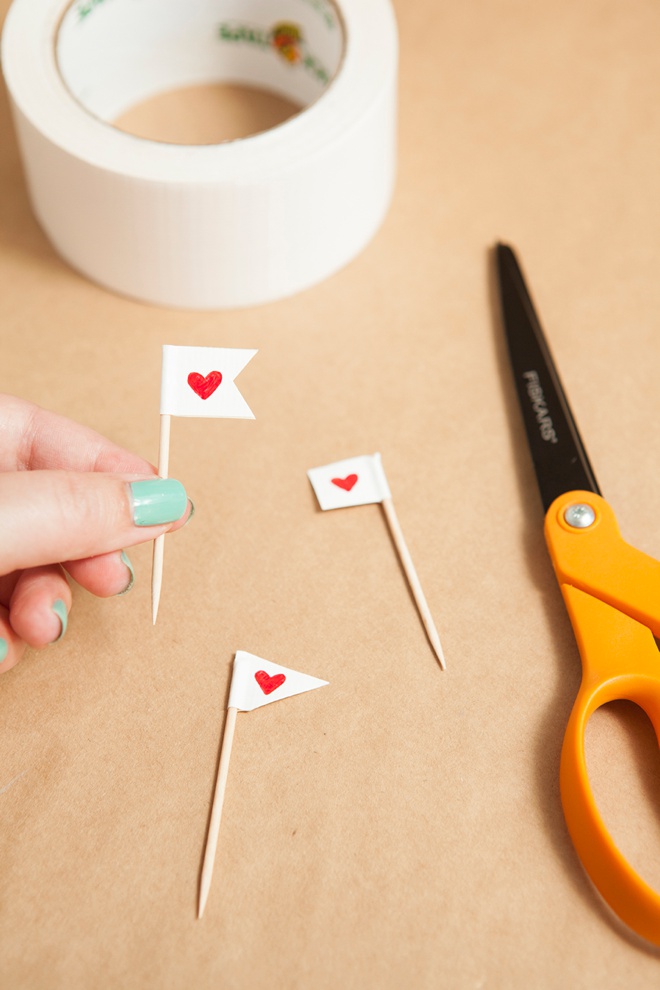

Just adorable… and you can make yours with any saying you want!
DIY Tutorial Sponsored By:
Known for its iconic Orange-Handled Scissors™, Fiskars is a 365-year-old company with a strong heritage of quality and innovation. Fiskars is a leader in the DIY industry with tools spanning the categories of crafting & sewing, gardening & yard care, and kids & school. In addition to providing scissors, punches, trimmers, rotary cutters and many other tools, Fiskars shares inspiring project ideas to help DIY-ers do what they love using tools that make projects easier.

As with all our DIY tutorials, if you create one of our projects please send us a picture – We Love Seeing Your Creativity! If you use Instagram or Twitter please use the hashtag #SomethingTurquoiseDIY and it will show up on our Get Social page. Happy Crafting!
DIY Tutorial Credits
Photography + DIY Tutorial: Jen Carreiro of Something Turquoise // Fiskars Non-stick Scissors 8″: courtesy of Fiskars // White Duck Tape, BBQ Skewers, Sharpies, Metallic Gold Twine: Amazon // nail polish: OPI – Withstands the Test of Thyme
Shop The Supplies:
Find the supplies you’ll need for this project from our affiliate links below:


Comments