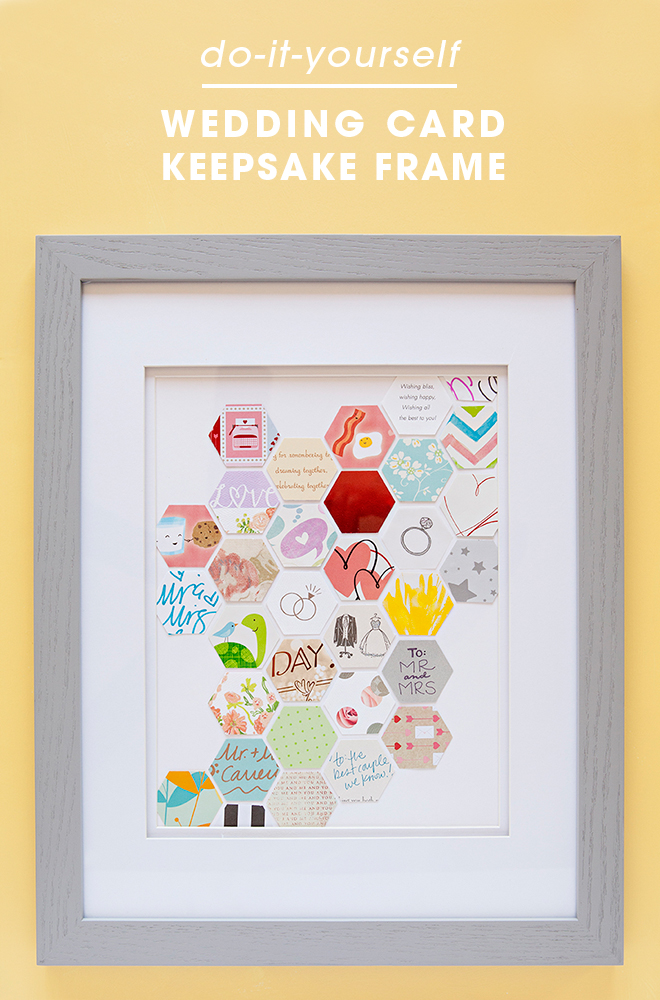
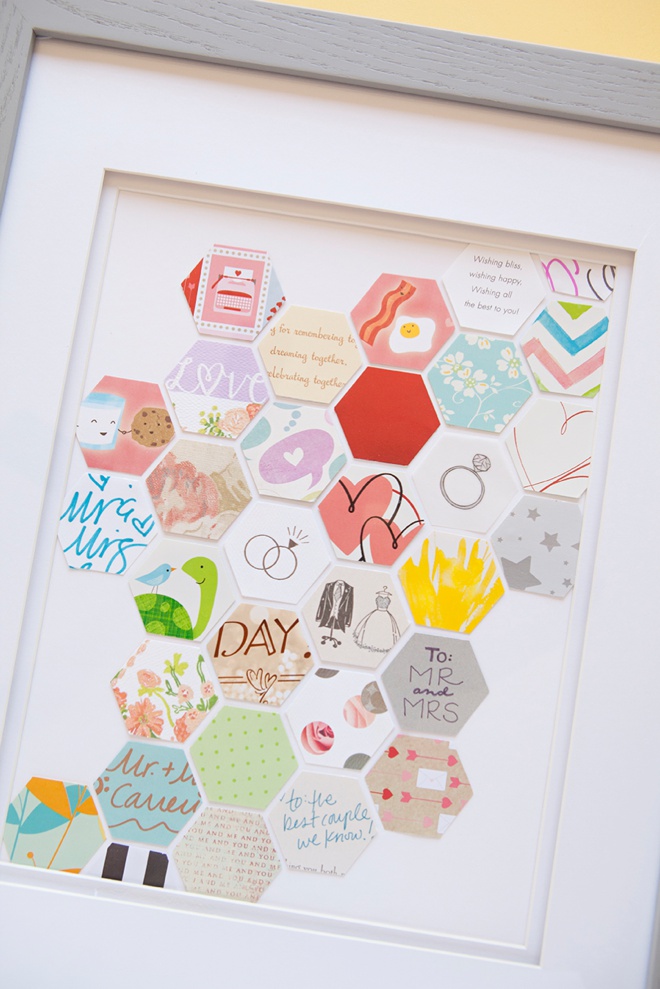
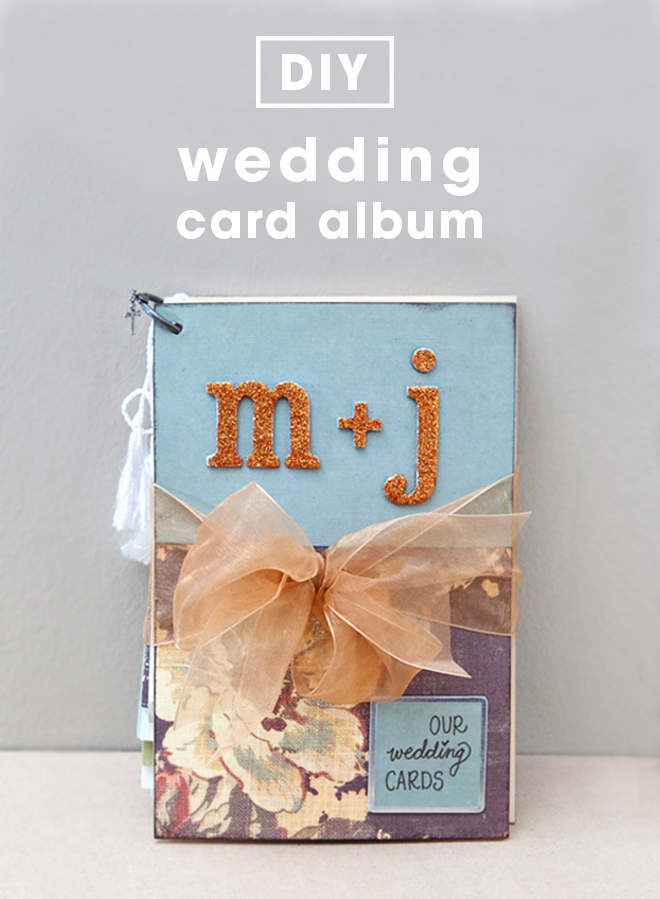
DIY Friday’s are just so fun for me… if I had enough time to make and share a DIY everyday, I totally would. Since I went a little crazy last week and shared two projects that were a little more complicated, I thought I’d bring you a fun, quick, and super easy project today. I love this. I love keepsakes. I love keeping cards. But you just can’t keep them all, so a few years back I shared a DIY Wedding Card Keepsake Album that has been crazy popular and I’ve been wanting to share another one for a long time, so I’m excited that today is the day. Use your favorite paper punch shape, cut out special snippets of your wedding cards (or bridal shower cards) to make a sentimental decor piece. It’s really that easy… and every time you look at it, I promise you’ll smile :-)
ps. If you are on Periscope, follow me (@some_turquoise) and look for an up close, live scope about this project today! Check out our Twitter for updates and the 24 hour replay.
SUPPLIES:
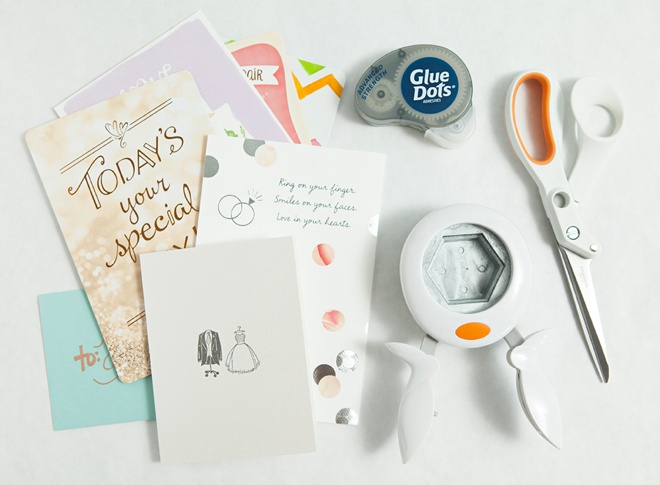
- All your special wedding greeting cards or bridal shower greeting cards
- Fiskars Hexagon Squeeze Punch, X-large
- Advanced Strength Glue Dots
- Large Frame
- Scissors
Gather Your Cards
Once you are back from your honeymoon and a teeny-tiny bit depressed that your wedding is over… this project will cheer you up! Gather all your special cards and look them over. Some of the envelopes might be super cute, some of the sayings on the inside and things your friends wrote to you might be worth a punch.
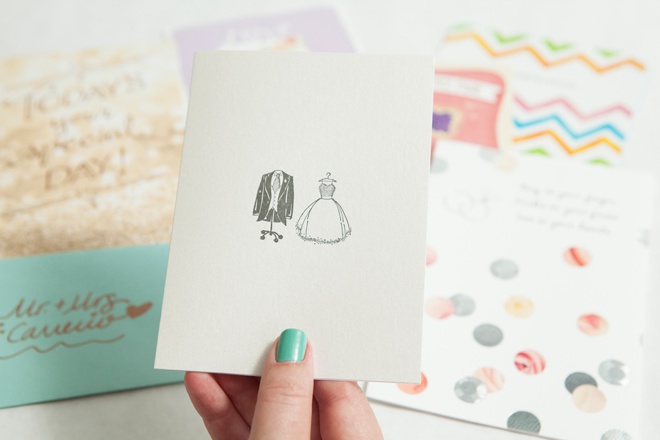
Trim Your Cards
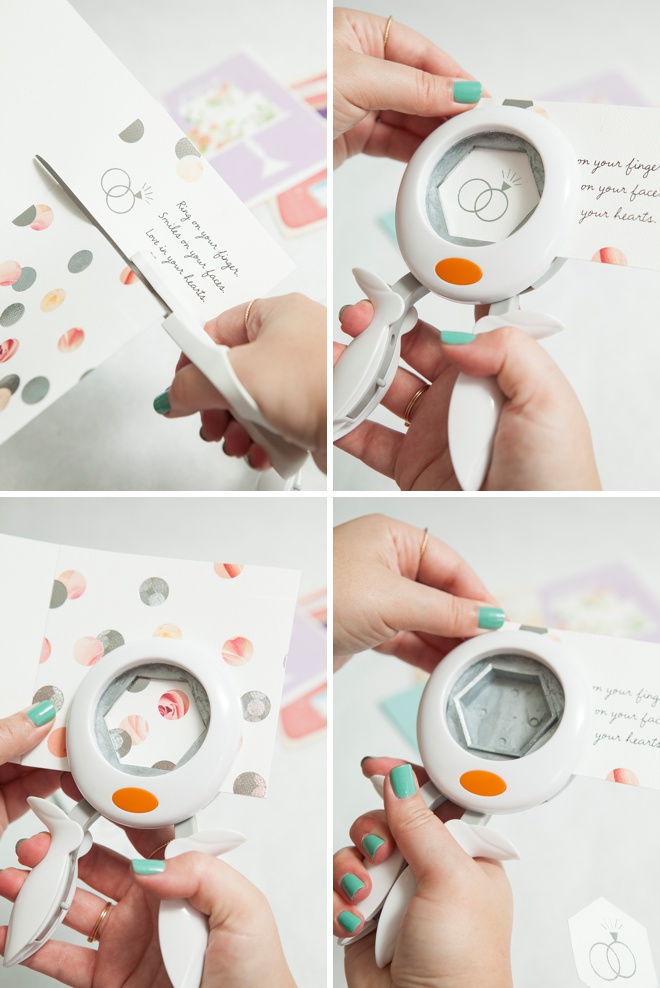
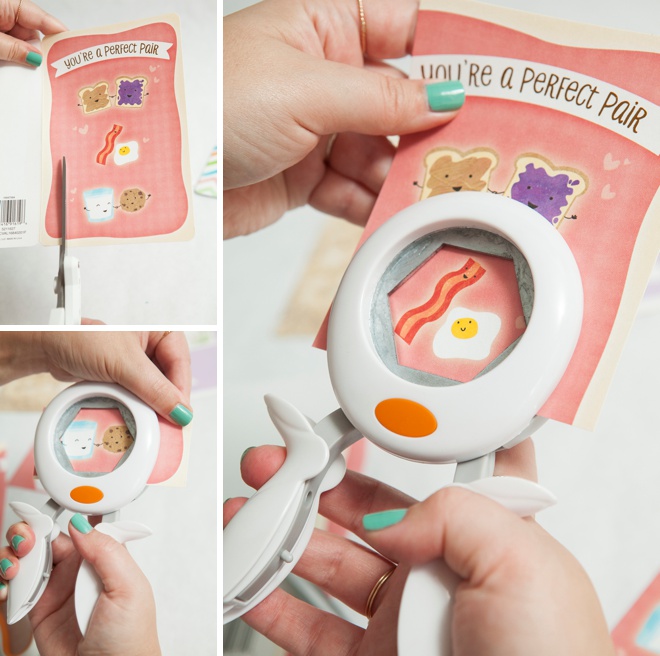
My biggest tip here is that you’ll need to trim almost every single card down so that you can access the area that you’d like to punch. Once the punch can reach it – squeeze away!
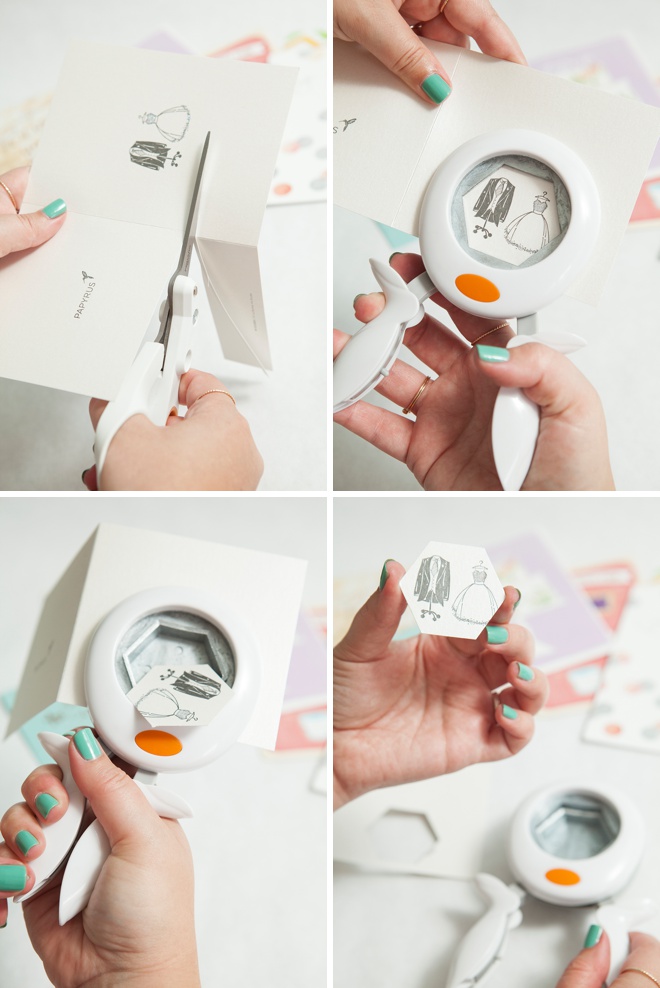
Some of your cards might be really thick, if it doesn’t punch easily – don’t push it. You can simply trace your punch shape and cut it out with scissors as you don’t want to damage your punch.
Save Cute Envelopes Too!
As I said above, some of your envelopes might be pretty enough to punch. You’ll definitely have to cut them open so you only punch one layer.
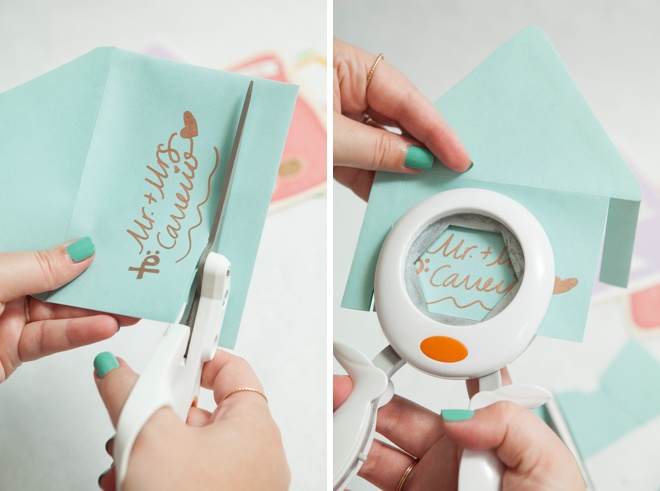
How adorable is this card! If a card is extra cute – punch out more than one area!
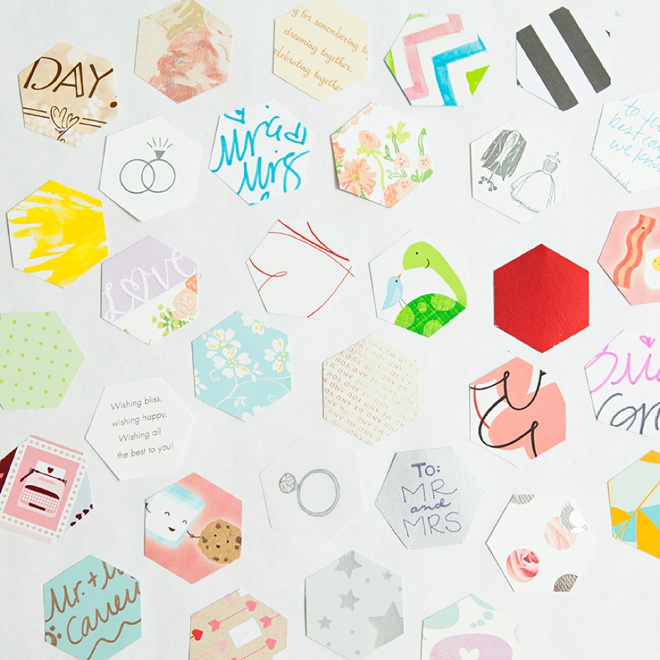
These all look so fun!
Make Your Layout!
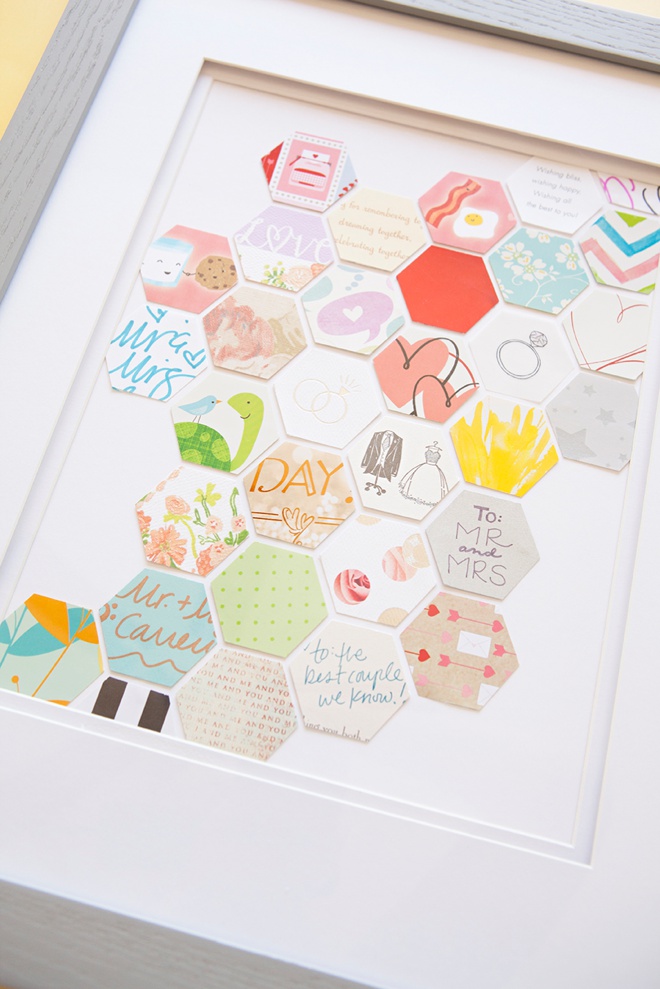
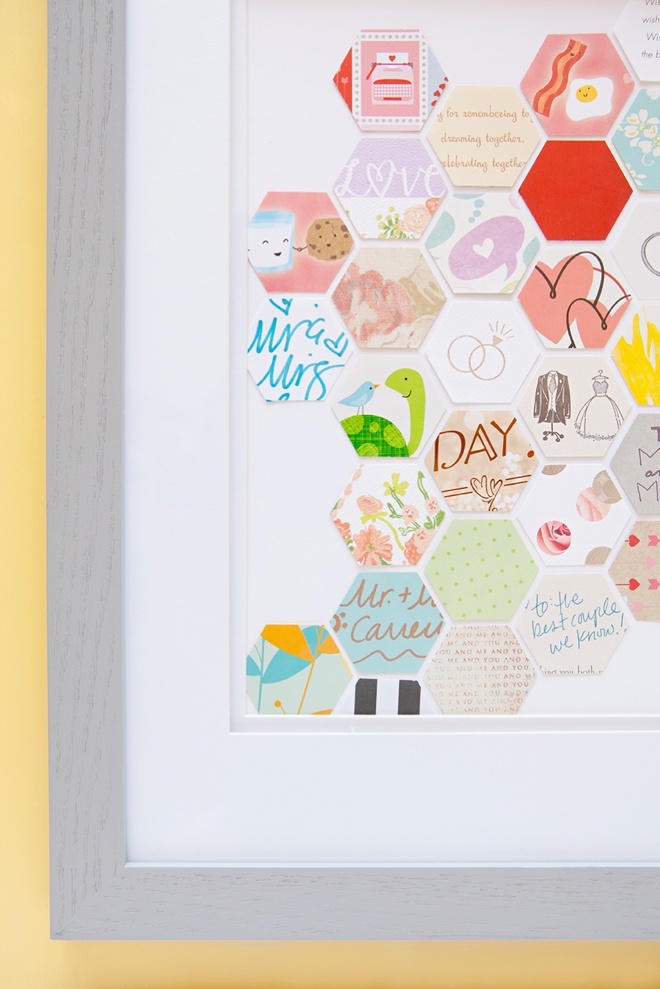
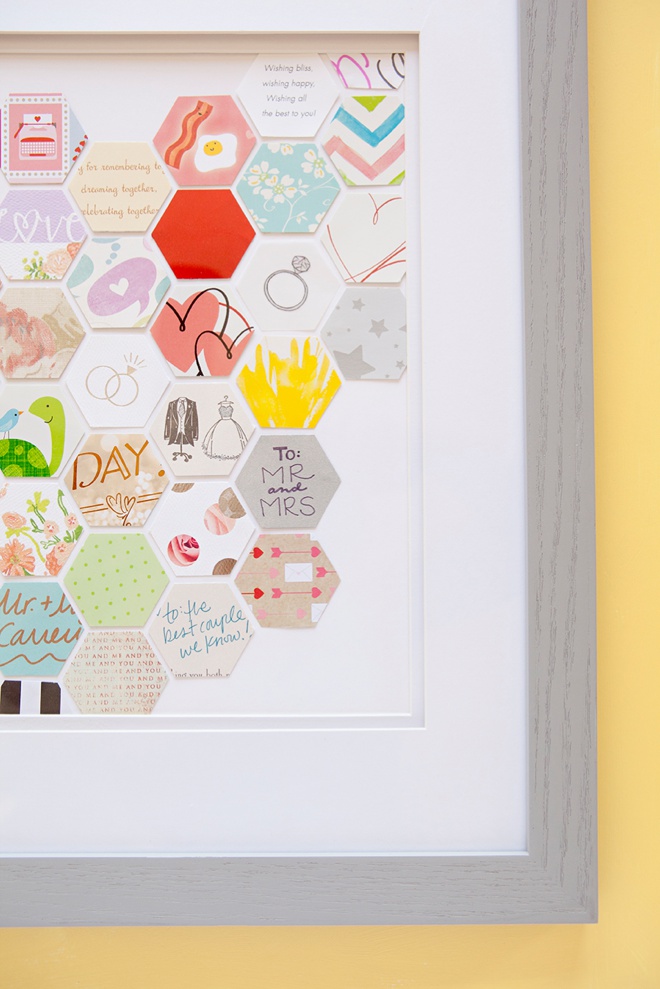
Stack the hexagons together to make a super fun design with all your little wedding card pieces! Play with the colors and the shape of the design – anything goes. Fill the entire area or make a unique design. Keep it monochromatic or super colorful!
I’v taken the mat out of my frame and attached an uncut mat to the backside with Glue Dots. So the backing I’m adhering the card pieces to is a actually frame mat that I purchased separate from the frame. You can do the same, but all frames will be different.
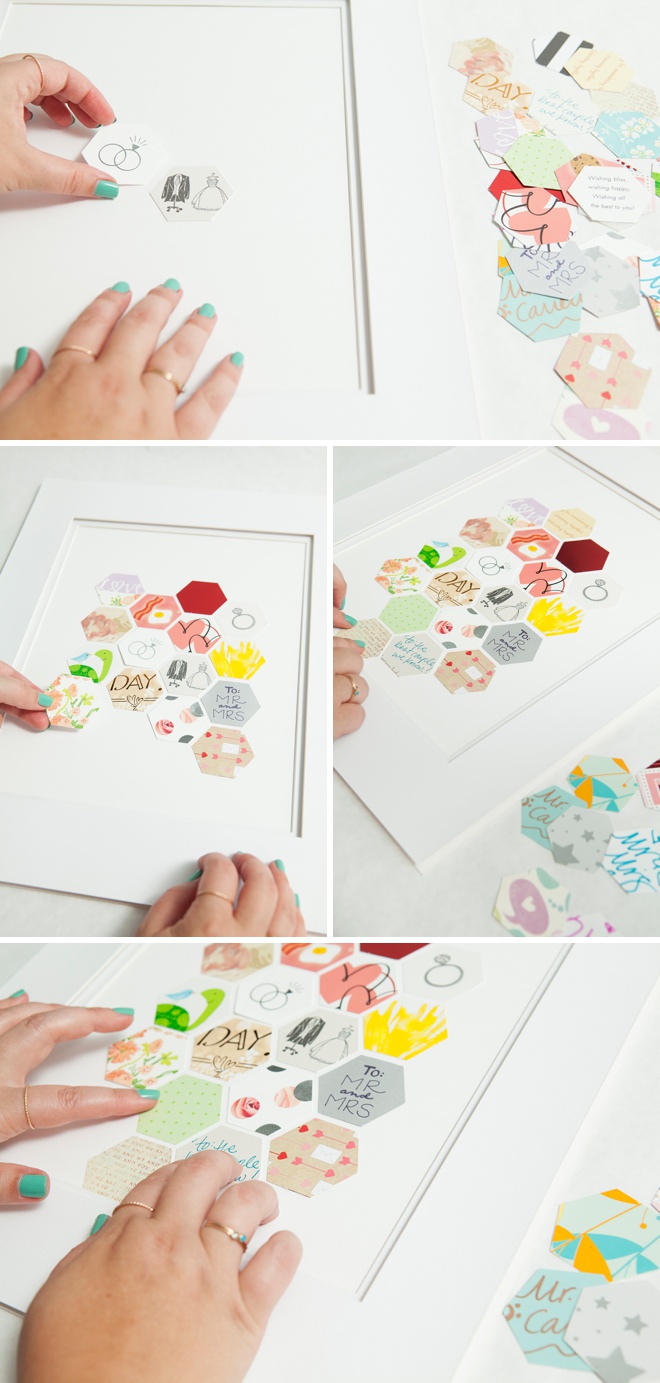
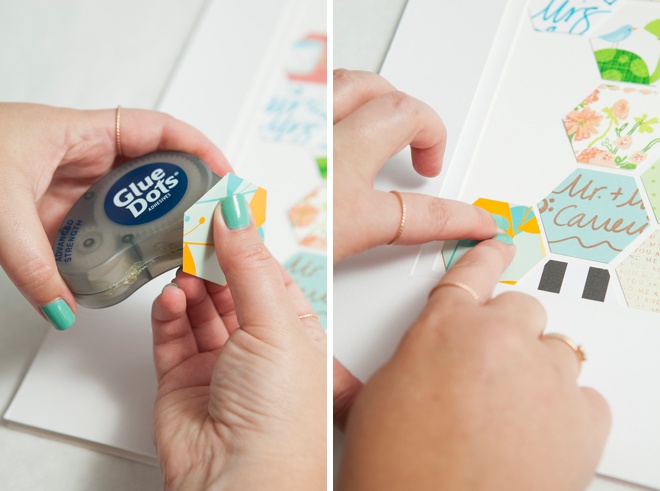
Starting at the bottom of your design, Glue Dot each piece into place – that’s it.
Frame, hang and enjoy for years to come. After seeing this frame complete, it makes me want to take apart the mini-album I made and make this for myself instead because it’s just to cute and colorful.
I have a super funny story about buying all these wedding cards to use for this project that I’m going to share on Periscope today – so tune in!
As with all our DIY tutorials, if you create one of our projects please send us a picture – We Love Seeing Your Creativity! If you use Instagram or Twitter please use the hashtag #SomethingTurquoiseDIY and it will show up on our Get Social page. Happy Crafting!
DIY Tutorial Credits
Photography: Something Turquoise Photography for SomethingTurquoise.com // DIY tutorial: Jen | Something Turquoise // 8″ Amplify Shears and Hexagon Squeeze Punch X-large: Fiskars // Advanced Strength Glue Dots: Amazon // Large 14″ x 18″ Frame: Michaels // nail polish: OPI – Withstands the Test of Thyme
Shop The Supplies:
Find the supplies you’ll need for this project from our affiliate links below:
If you love this idea, you might love my first DIY Wedding Card Keepsake Album even more!



Comments