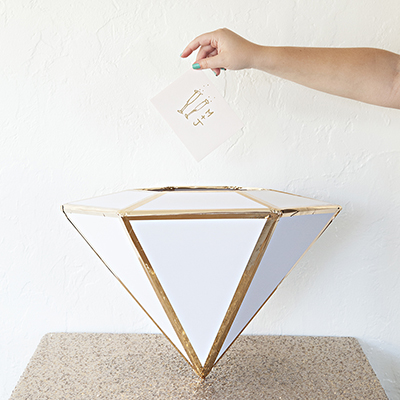
You’ve got to collect your wedding cards somehow, so why not do it in a giant diamond? Wedding card boxes are a great project to DIY since you only have to make one; compared to a large scale project like favors. You could embellish a simple basket, transform a gift bag or take it to the next level and make this Giant Diamond Card Box. I’m going to warn you that this project isn’t simple in technique, but I’ve done my best to break down each step so that it’s at least easy to understand. Having a few specialized tools will make cutting out each facet a breeze, but you can also do it with scissors – your choice. At the very end of the post I have a fun idea of how this box can be used after your event!
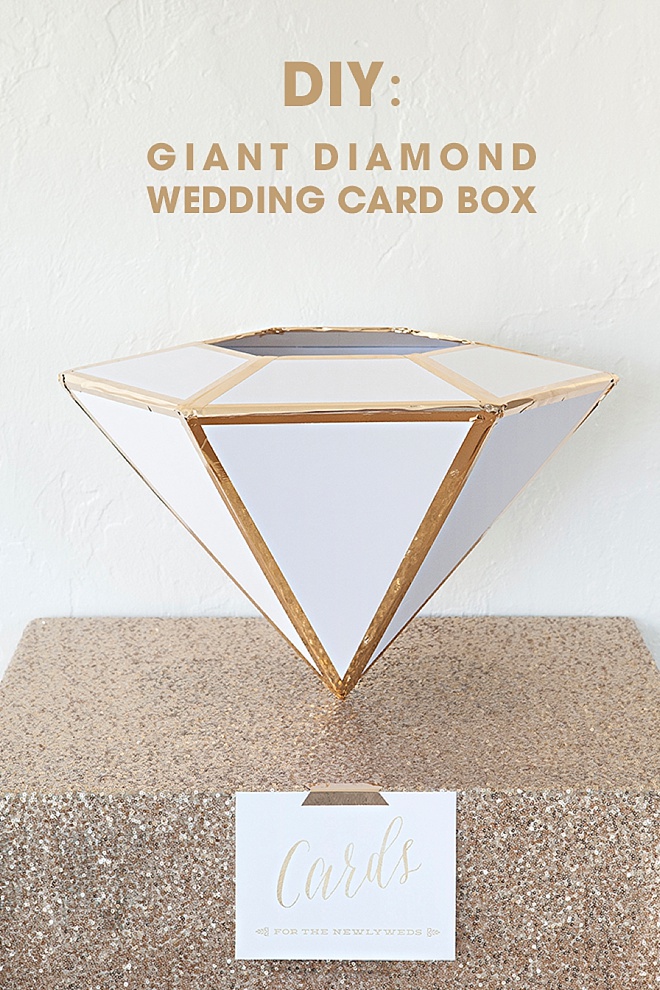
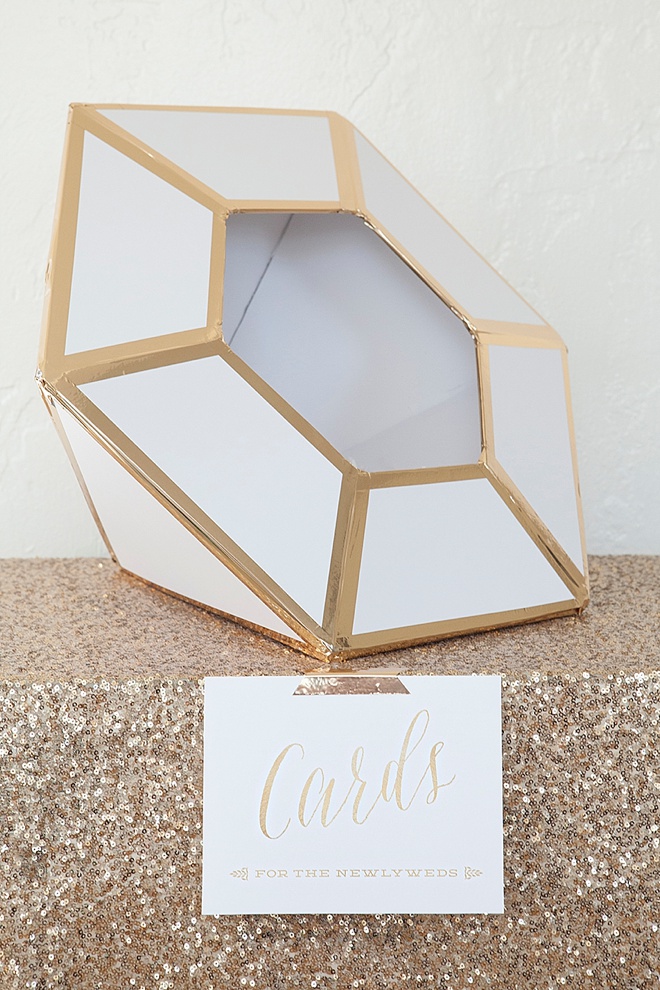
Here my box is leaning against the wall behind it to stand up like that – which looks awesome but might be easy to knock over like this at your event… not to worry, it looks awesome leaning on it’s side too…
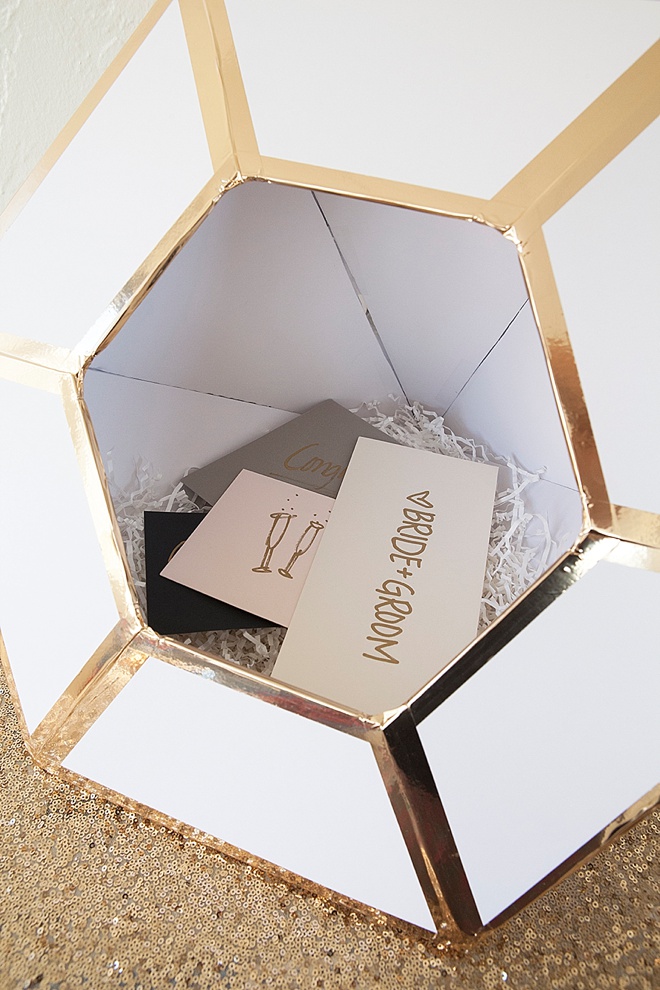
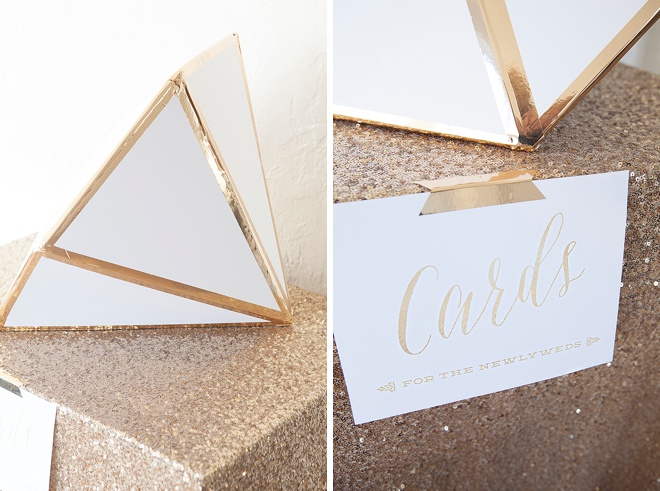
This beautiful “Cards” sign is a $5 instant download purchase from Sweet Peony Press via Etsy. At checkout you get the file instantly and can print it out, just like that!
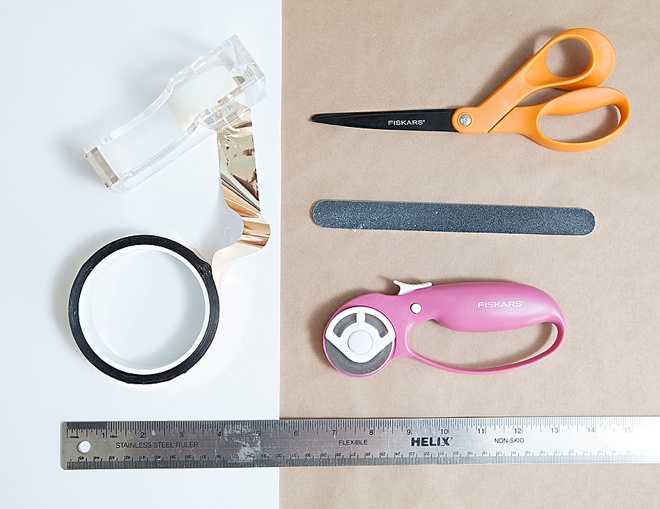
SUPPLIES:
- 2, 20″ x 30″, 3/16″ thick white foam board
- 1″ Mylar Adhesive Tape
- Regular tape
- Ruler longer than 15″
- Non-stick scissors
- Rotary cutter + mat
- Nail File
- Pencil
The foam board keeps the diamond lightweight and sturdy, all at the same time.
Make Your Facets:
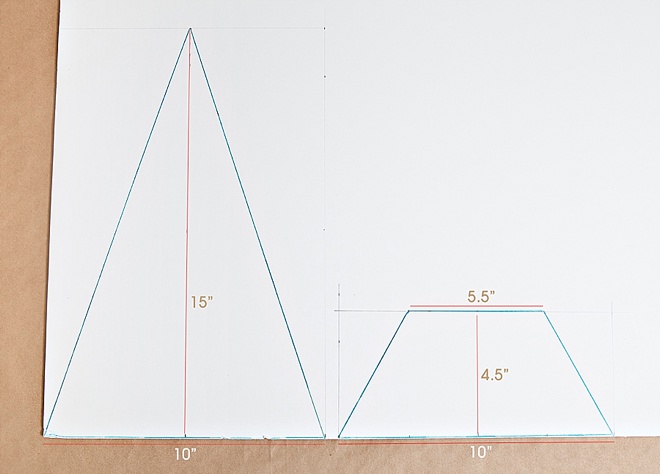
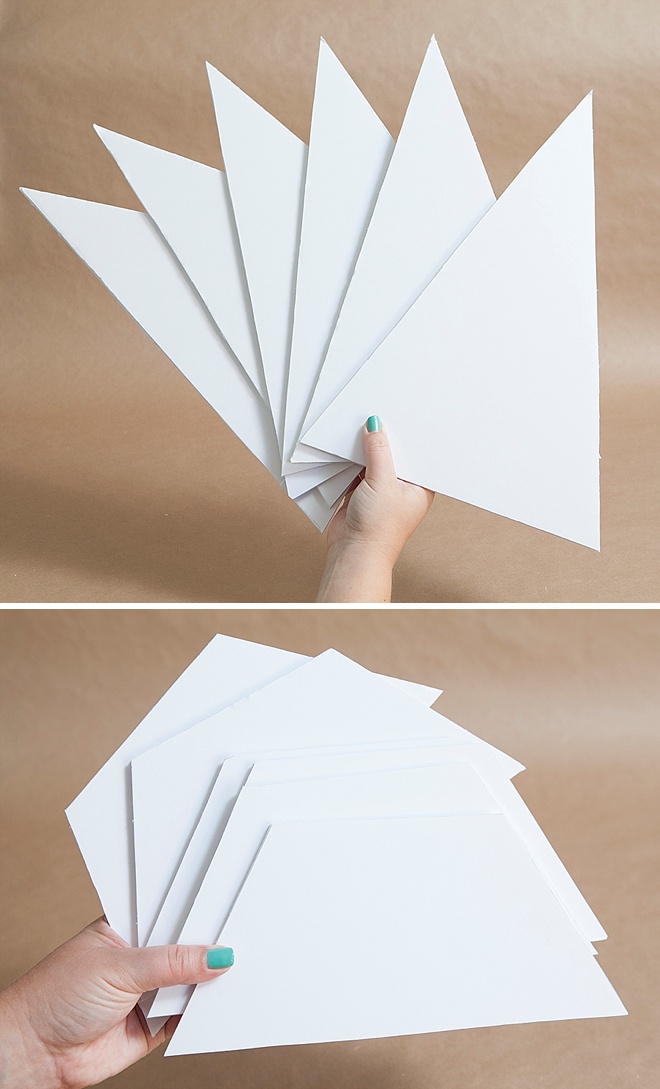
Using the measurements I’ve provided below; create the two shapes that you’ll need for this diamond – a triangle and a trapezoid. You’ll need 6 of each shape.
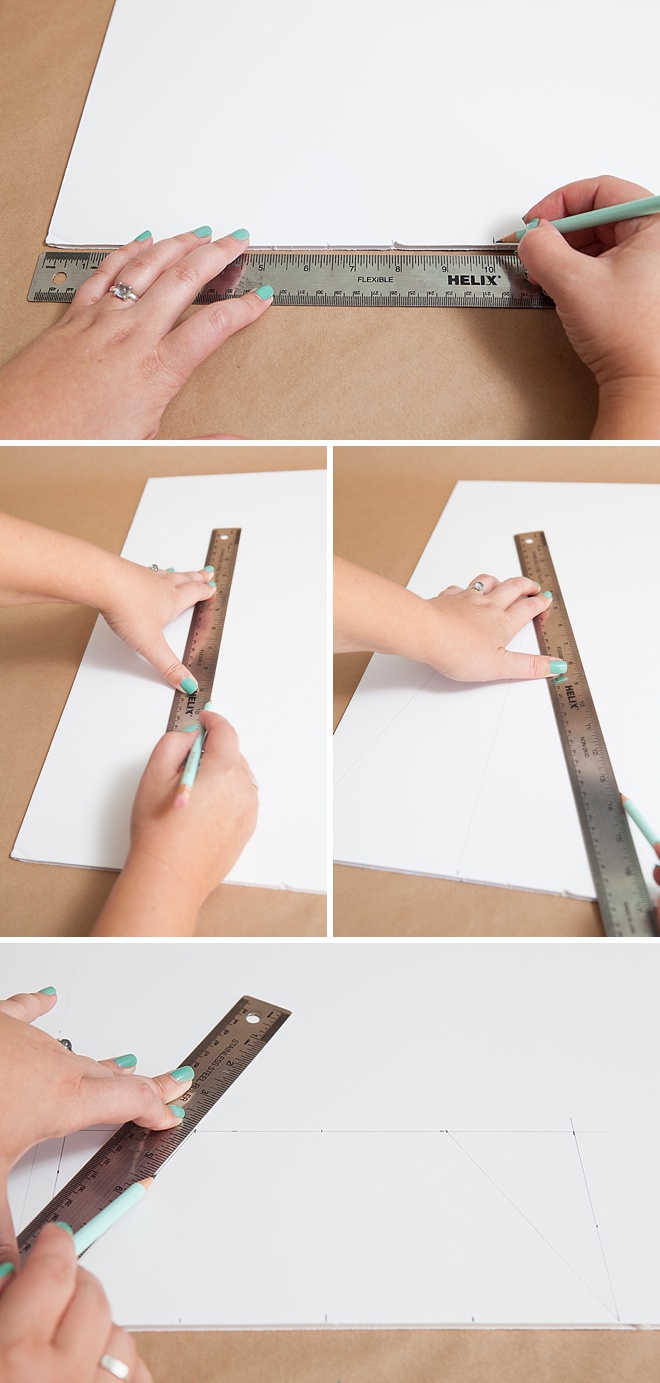
I’ve created a free pdf. that you can download and print at the end of the post so you can have these measurements right next to you while you’re working – here’s what they look like in real life.
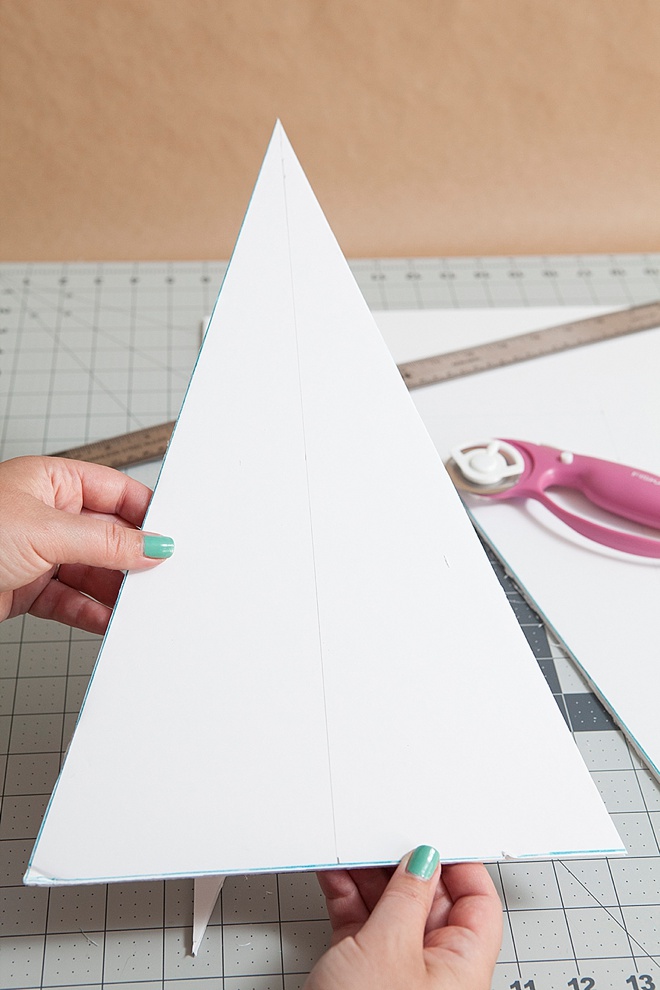
Cut out both shapes. Using a rotary cutter like this one on a self-healing mat is the easiest way to do this, although you can also use an Exacto knife or scissors.
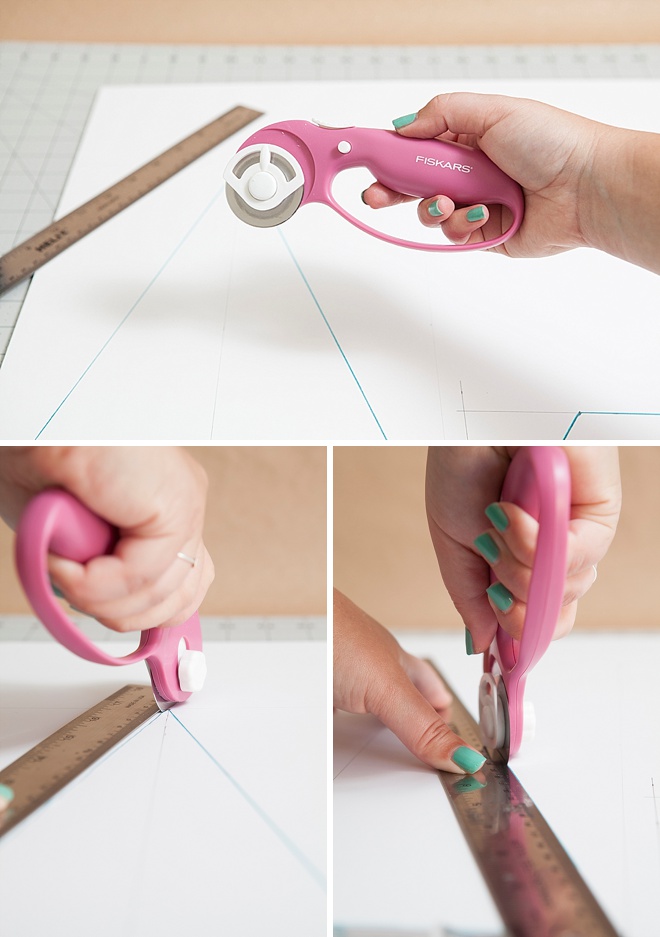
There you have it, one triangle facet! The tracing and cutting of each shape is by far the hardest part of this project.
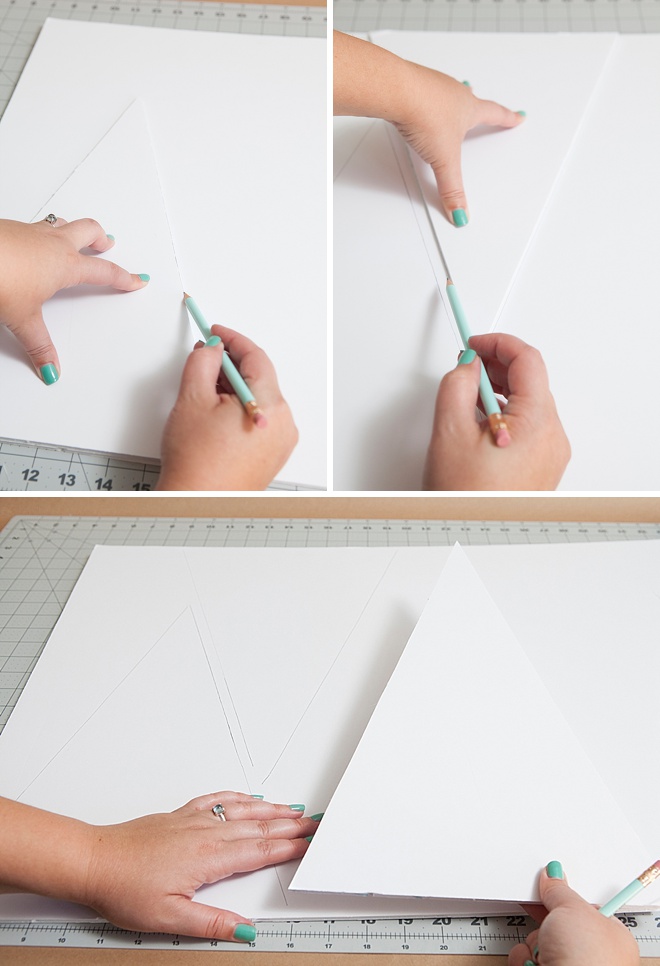
Instead of measuring all 12 shapes; just trace 5 more triangles and 5 more trapezoids.
Clean Up Your Shapes
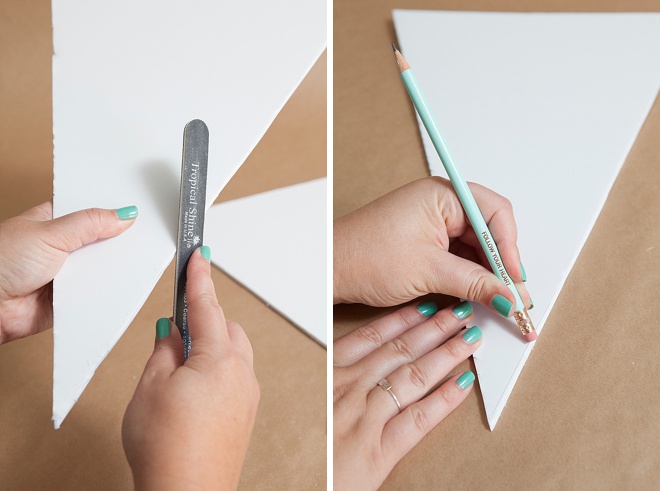
If you feel like the foam board edges are rough you can clean them up with a nail file. Make sure to erase any pencil lines before you move on.
Now the fun part… the cutting is done and it’s time to assemble the diamond!
A few weeks back I tagged along with the hubby to a camera store and within seconds of me spotting this gold mylar tape, it jumped into our cart. It’s absolutely gorgeous and super, super, super sticky. It’s commercial grade tape for film/photography/lighting professionals that need an adhesive that can hold up to high heat and heavy use. That being said, again – it’s sticky. Which means your box won’t come apart, but your scissors might get gunky from cutting it. Fiskars makes these awesome “non-stick” scissors that breezed right through this tape – no problem and no gunk (works for duck tape too!).
Cover the top, short edge of each trapezoid with the gold foil tape.
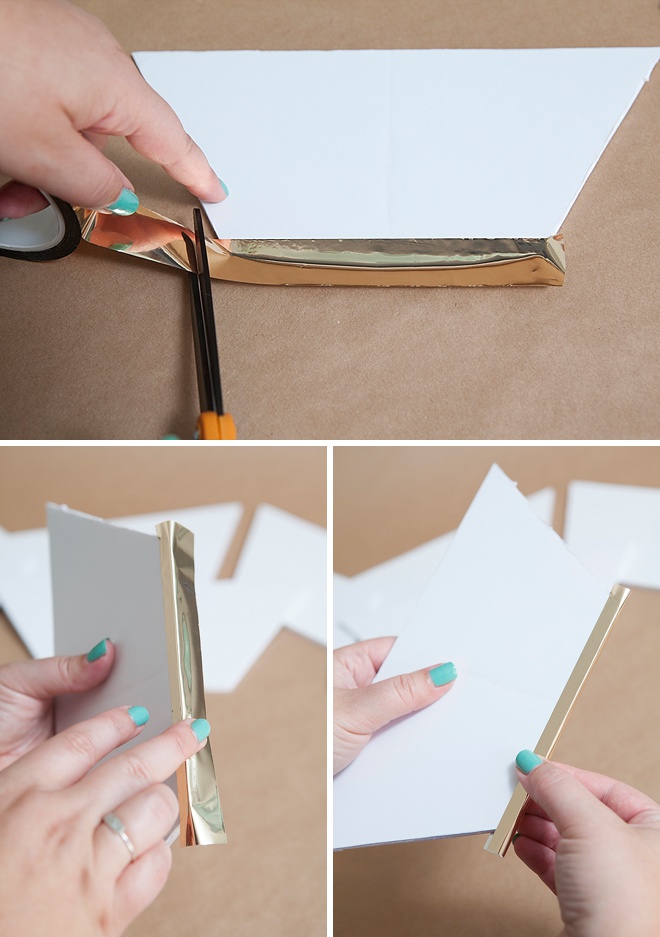
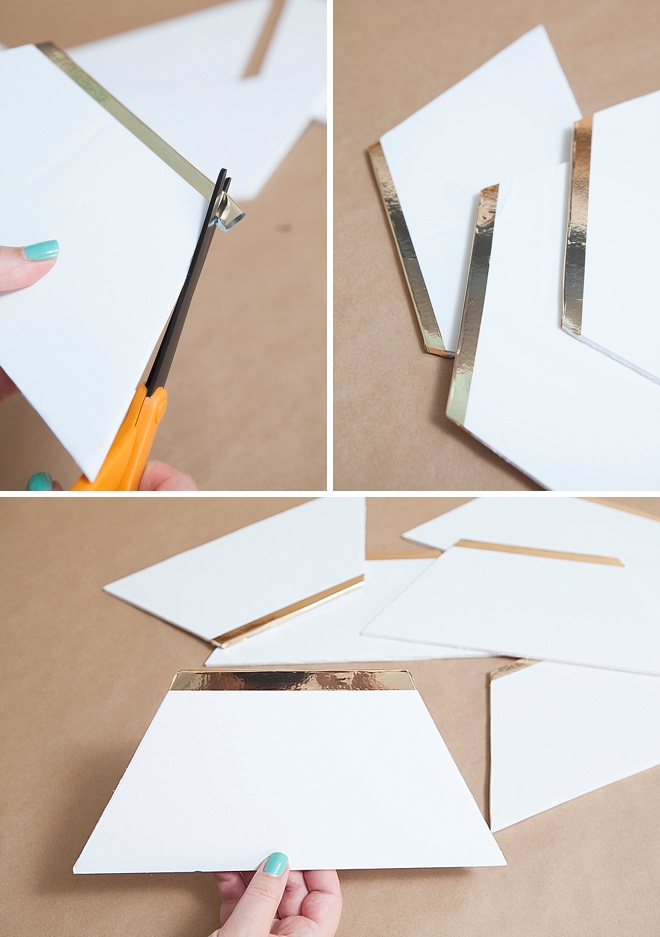
Trim the excess away.
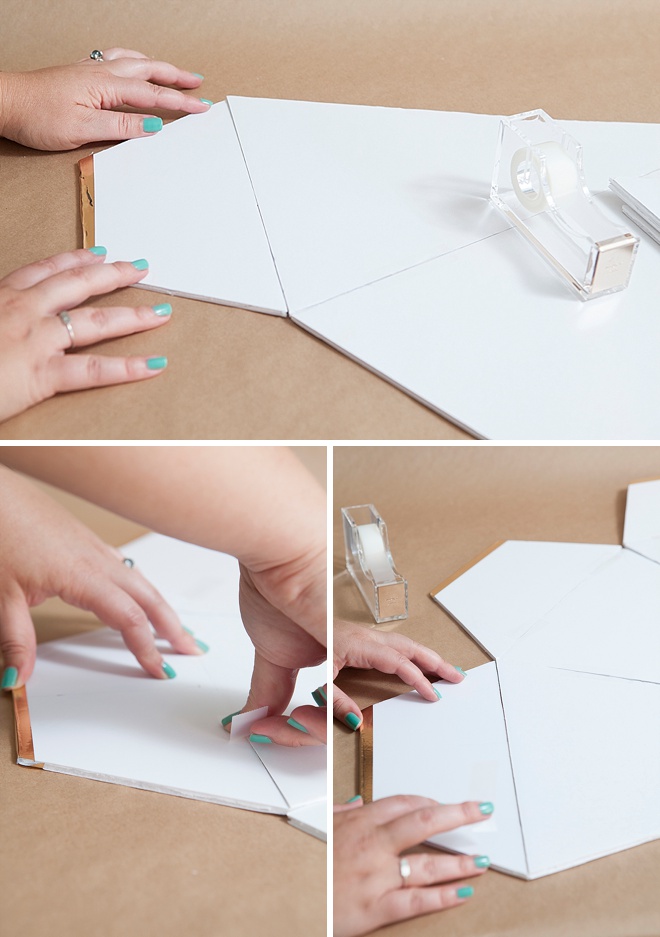
On a flat surface, lay all six triangle facets together with the sides touching…
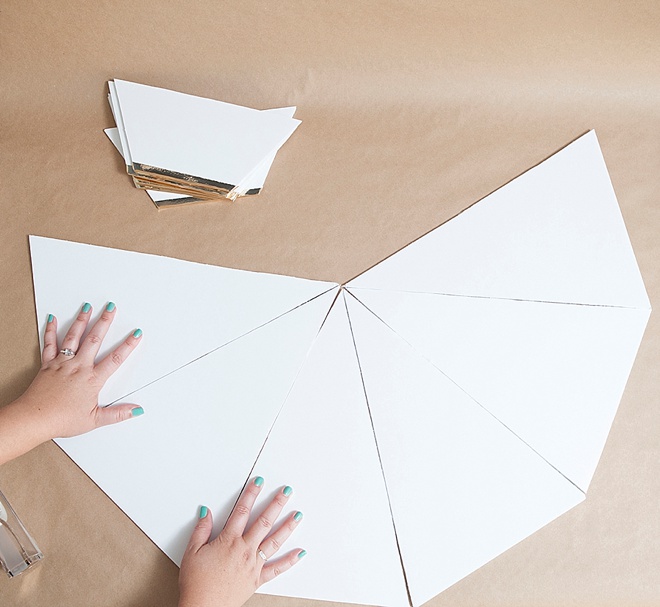
Using regular scotch tape – tape all 6 triangles together in this layout. This will be the inside of your box.
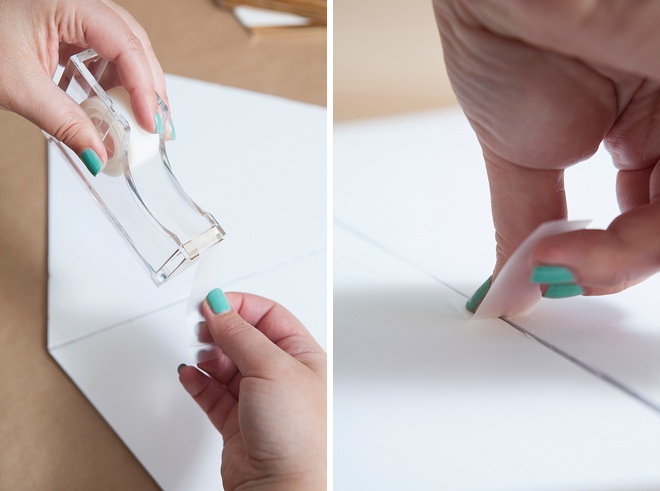
Next, line up each 10″ trapezoid side to the bottom of each triangle and tape as well. The clear tape is merely to hold things together until you get to the gold tape.
The next step is to fully assemble the box. Pull the two free triangle edges together and tape. Then tape each trapezoid side together. All taping should be done on the inside.
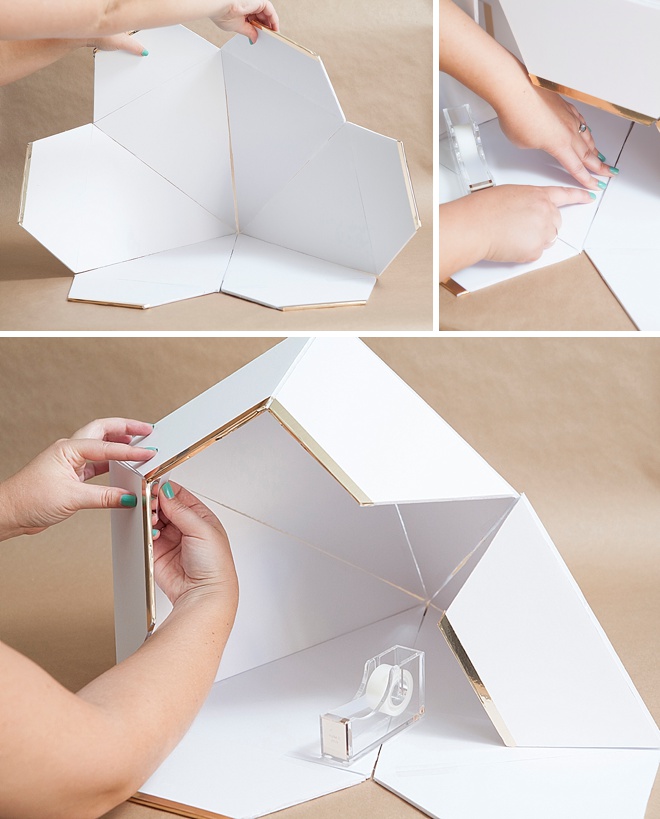
It will feel really crazy and floppy but don’t worry – you’ll tape one side and then like all the sudden it’s a giant diamond box!
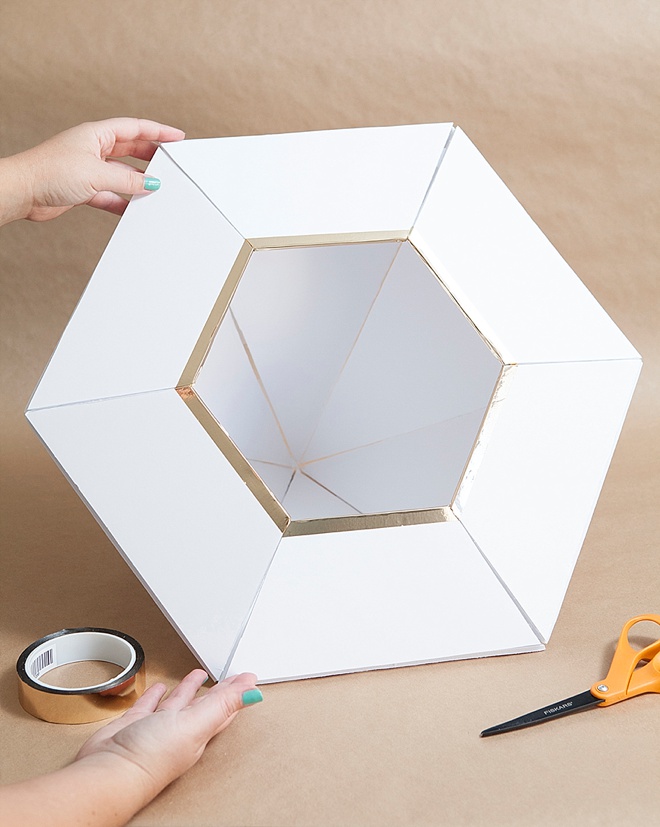
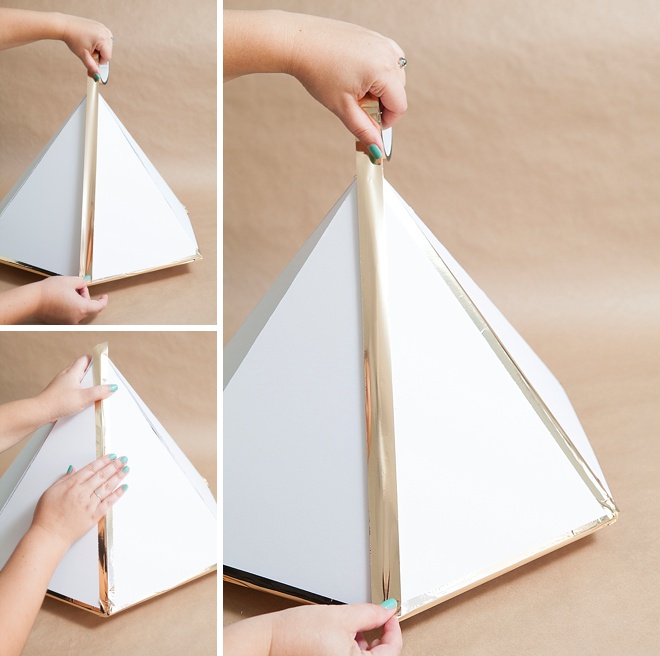
From here we will cover each shape “joint” with a strip of the 1″ mylar tape. I found it best to start with this outer edge first.
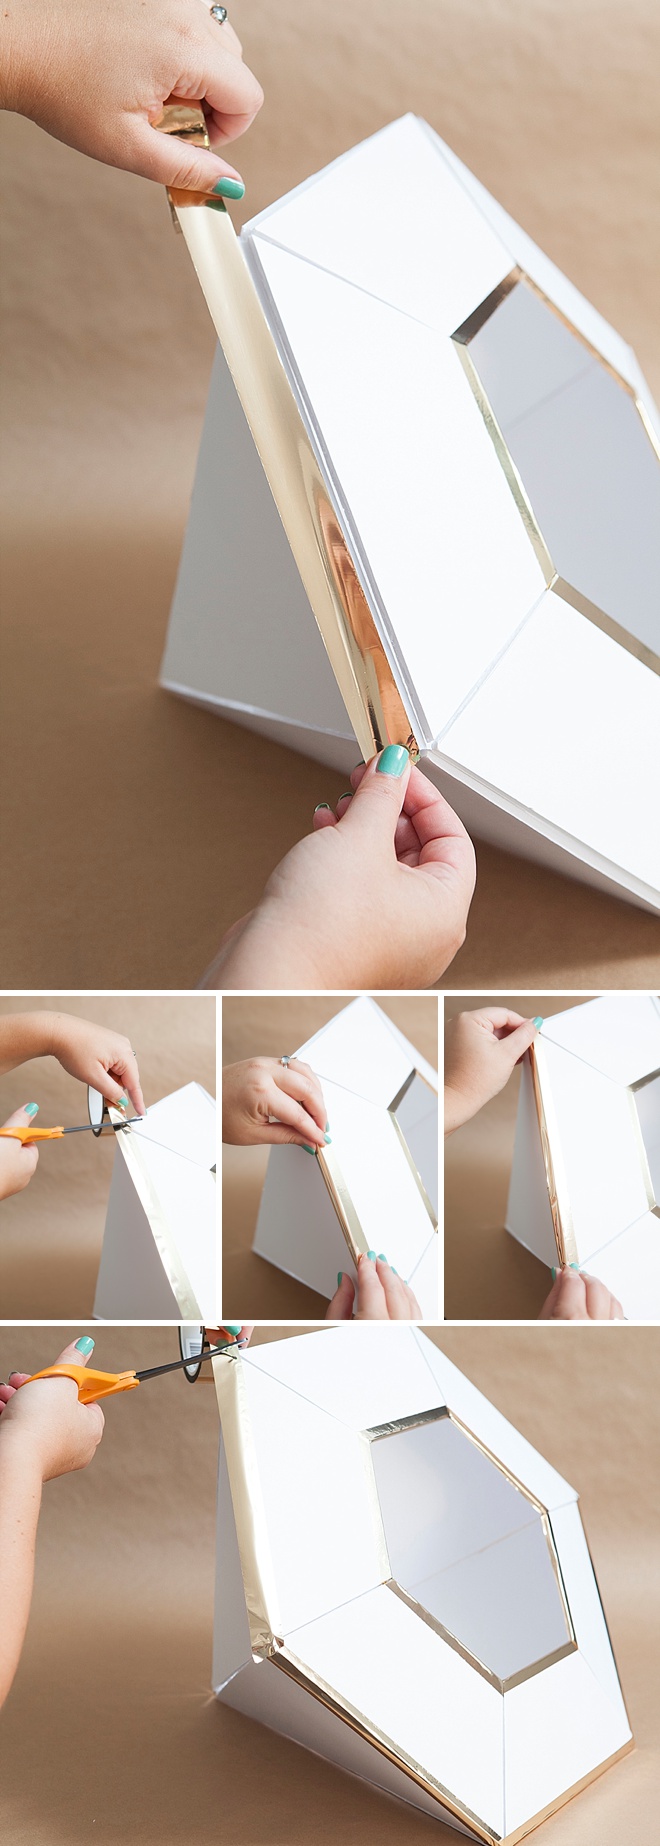
Then tape across each trapezoid side – which is the top of the diamond.

Then turn it upside down and tape each joint here as well.
Using a popsicle stick or bone folder, burnish (rub) the tape into the foam board to finish the seal. Done!
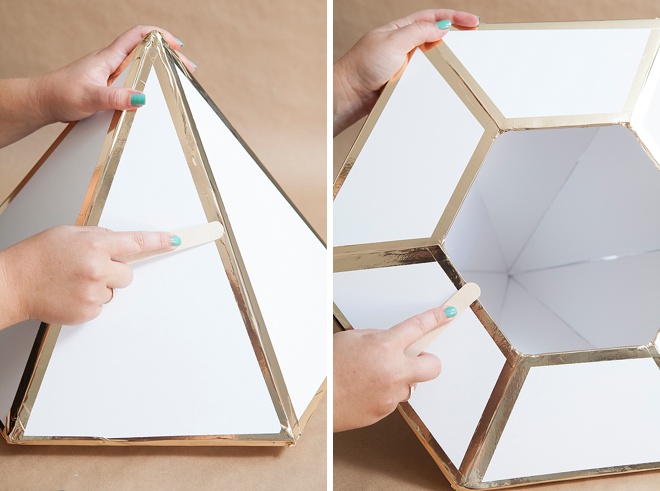
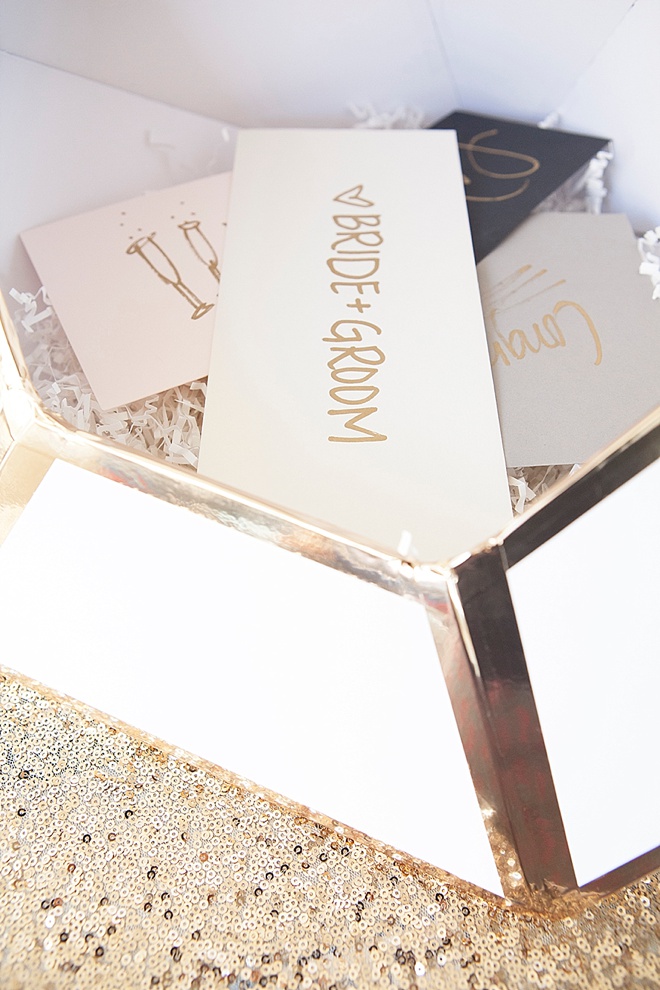
Add some crinkle shred to the inside and leave out at your reception!
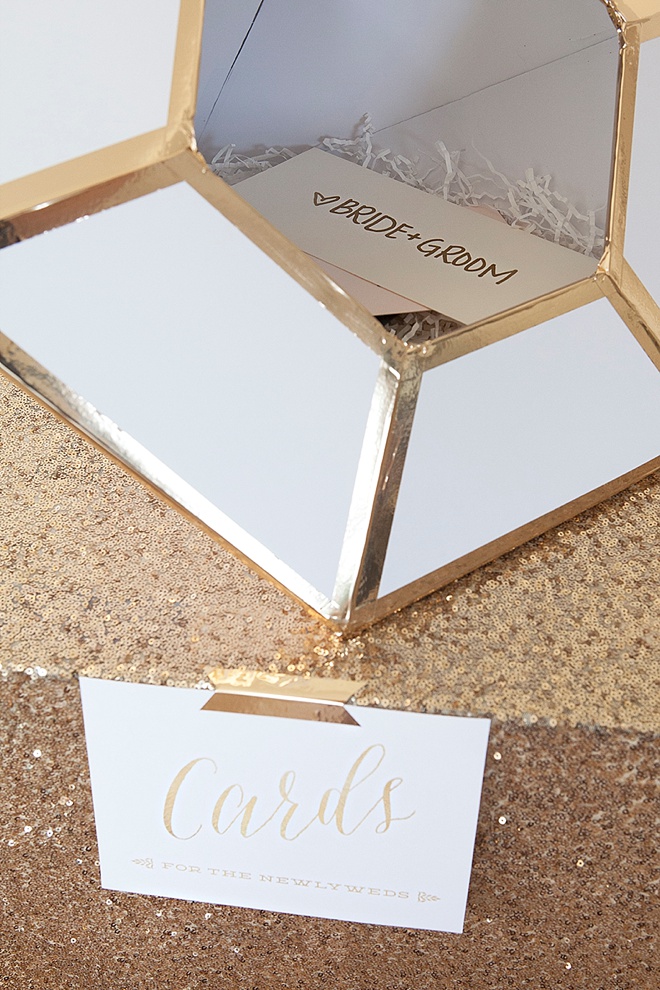
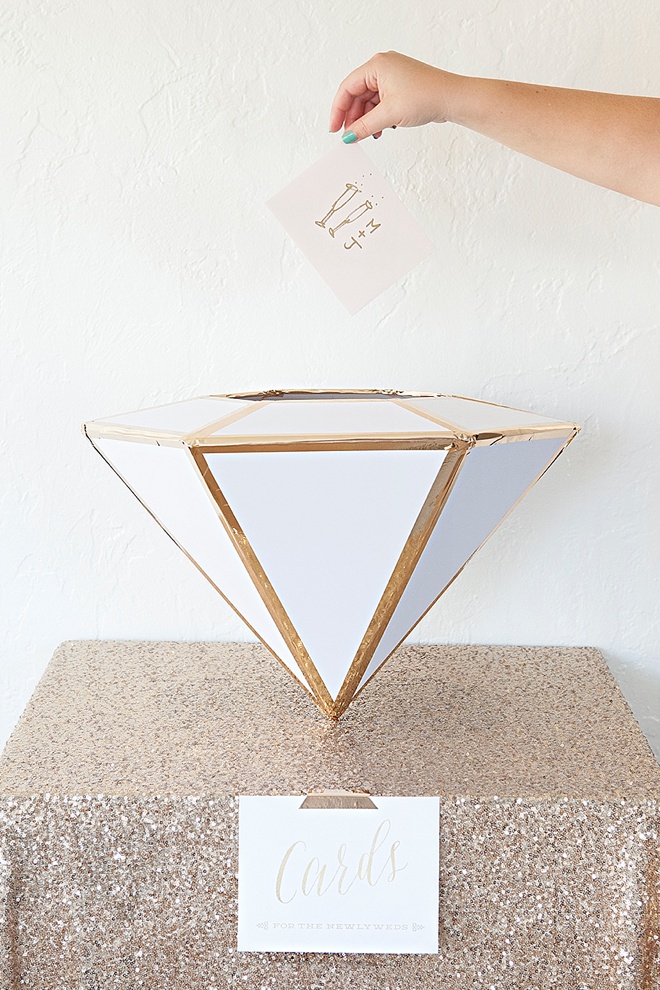
I’m dying to see this super fab DIY card box at your super fab wedding!
Download and print the pdf below, it has the shapes and measurements on it that you need to create the diamond facets. Please be aware that the design is not to scale so you can’t trace it.
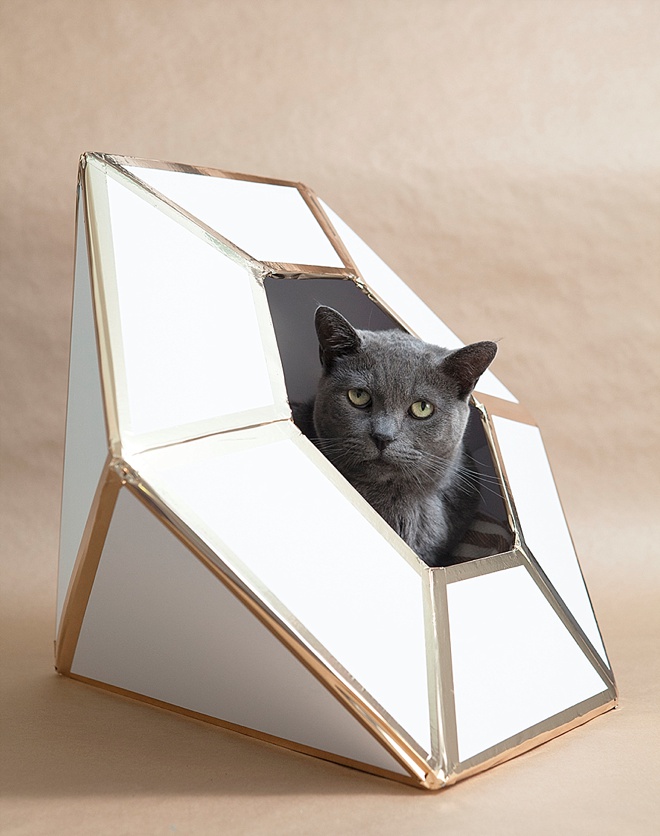
Diamond Cat House!
I definitely didn’t intend for this giant diamond to be a cat house, but as we were wrapping up the shoot my darling baby Marina looked very interested in the box. I tossed in a small blanket, put her on the table and she jumped right in – hilarious! So, just incase you are also a cat mom – this is what you can do with it after your wedding is over, lol!
As with all our DIY tutorials, if you create one of our projects please send us a picture – We Love Seeing Your Creativity! If you use Instagram or Twitter please use the hashtag #SomethingTurquoiseDIY and it will show up on our Get Social page. Happy Crafting!
DIY Tutorial Credits
Photography: Something Turquoise Photography for SomethingTurquoise.com // DIY tutorial: Jen | Something Turquoise // Adorable Card Box Sign: Sweet Peony Press via Etsy // 1″ Mylar Adhesive Tape: Samy’s Camera, available on Amazon // 3/16″ White Foam Board 2-Pack 20″ x 30″: Amazon // Fiskars Rotary Cutter, Self-healing Cutting Mat, and Non-stick Scissors: courtesy of Fiskars // nail polish: OPI – Withstands the Test of Thyme
Shop The Supplies:
Find the supplies you’ll need for this project from our affiliate links below:
Visit our shoppable widget at the end of the post for links to these supplies!



Comments