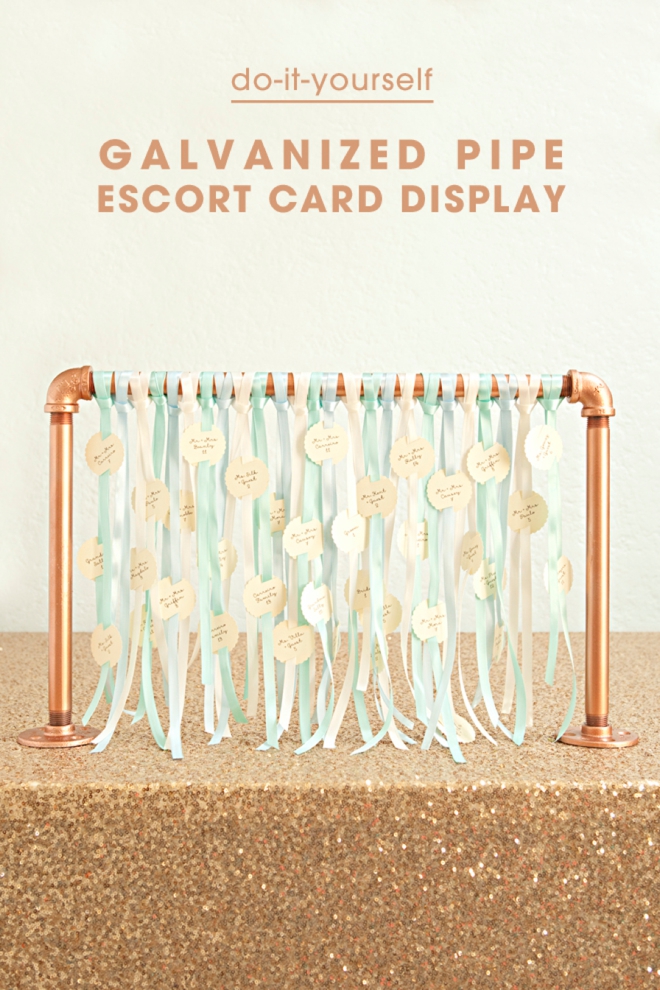
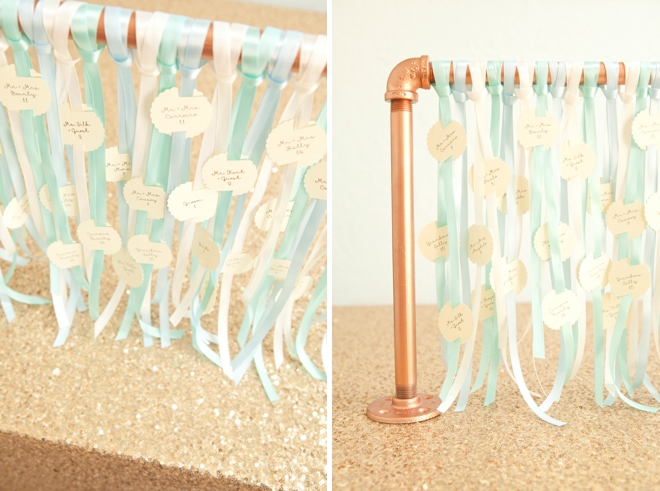
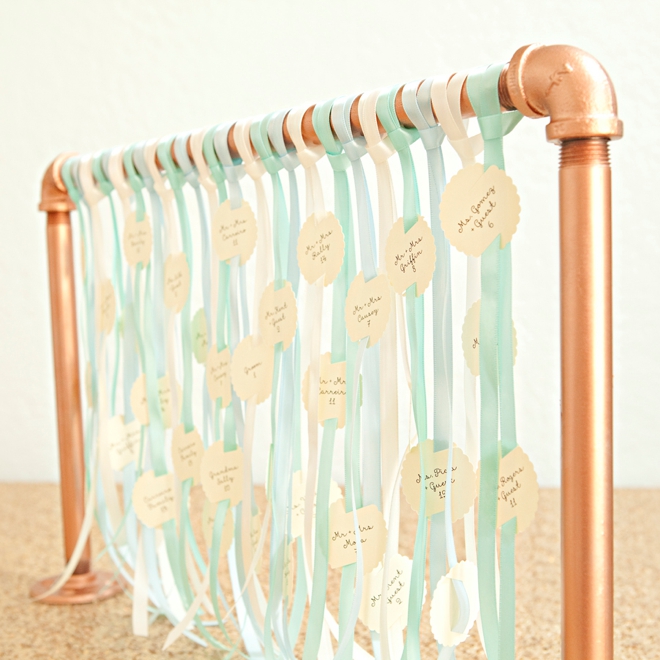
Some of you might have noticed that I’m working on building myself a blog office + dream craft room… and one element I knew I had to have was pipe shelving. Pinterest has really shown us just how amazing “pipe” things can be and since I’ve been working with them recently, I was inspired to bring you this fun Pipe Escort Card Display idea. I love how the pretty ribbons fall from the masculine pipes… and of course the paint and ribbon colors can be customized to fit your theme. This budget friendly project is definitely something your groom can get excited about or even help you create!
SUPPLIES:
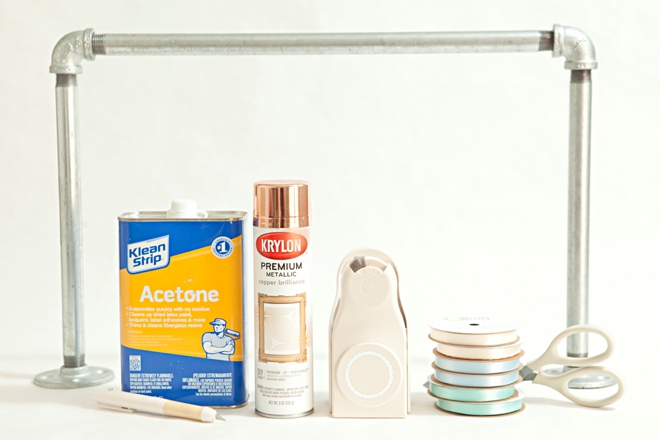
- Martha Stewart Crafts, Layering Punch Scalloped Circle
- Martha Stewart Crafts Scissors/Craft Knife
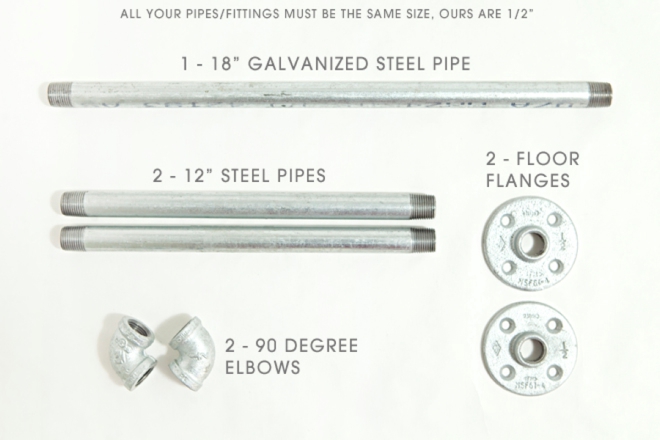
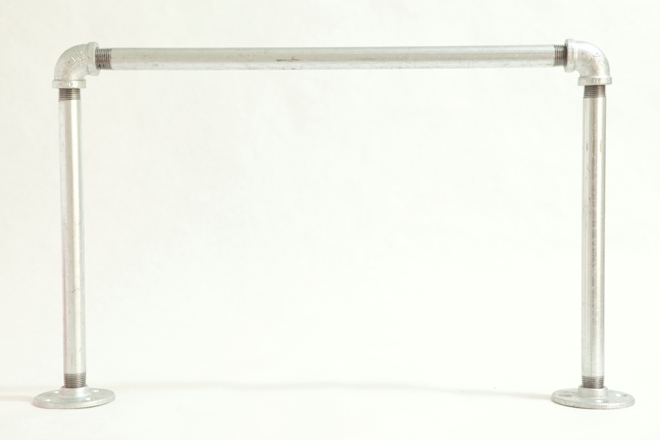
- Pipes + Fittings (see diagram below)
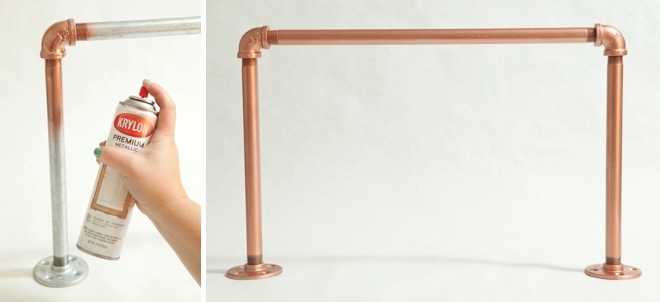
- Krylon Metallic Copper Spray Paint
- 3/8″ Offray Satin Ribbon
- Cardstock
- Acetone
Galvanized Pipe
You can either use galvanized steel pipe, like I did or you can use black gas pipe – for this project there is no difference other than the fact that black gas pipe is cheaper. It’s going to be painted so it doesn’t matter. I only used the silver because they were all out of the black pipe sizes I needed.
To build the stand you will need the items listed below. Keep in mind that all the pipes/fittings need to be the same diameter size to fit together! I used 1/2″. FYI: the pipes are also known as “nipples”.
Clean Your Pipes!
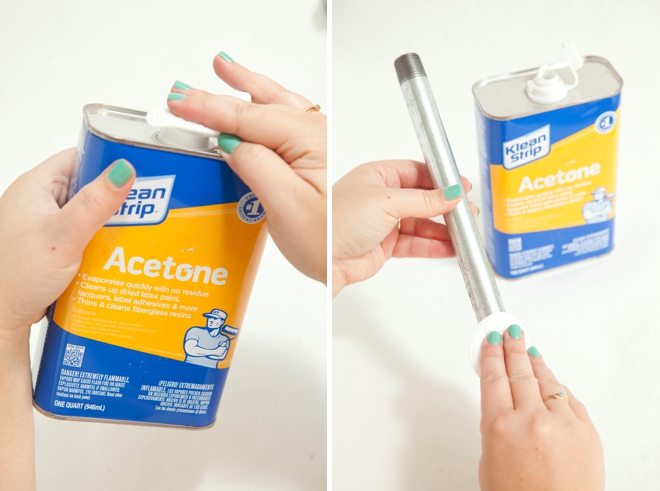
From the machining process, these pipes have a nasty grease on them and usually some dirt and maybe even a price tag taped on with some crazy tape, leaving behind even more mess. You MUST clean your pipes with acetone before you paint them, otherwise the paint won’t stick. I really should be wearing gloves for this step to protect my hands, my Dad would be ashamed, lol.
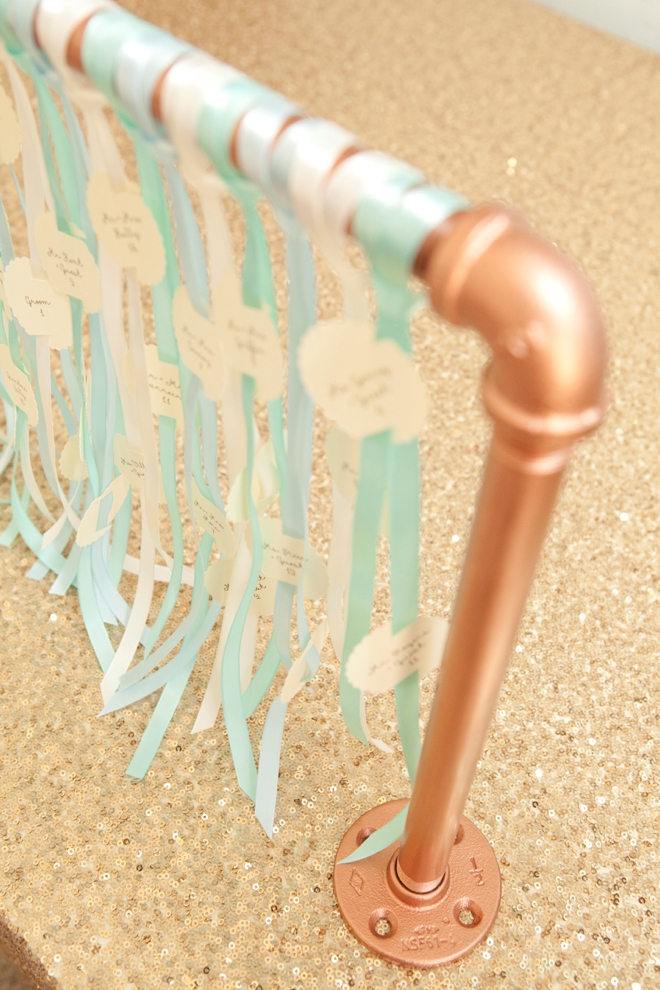
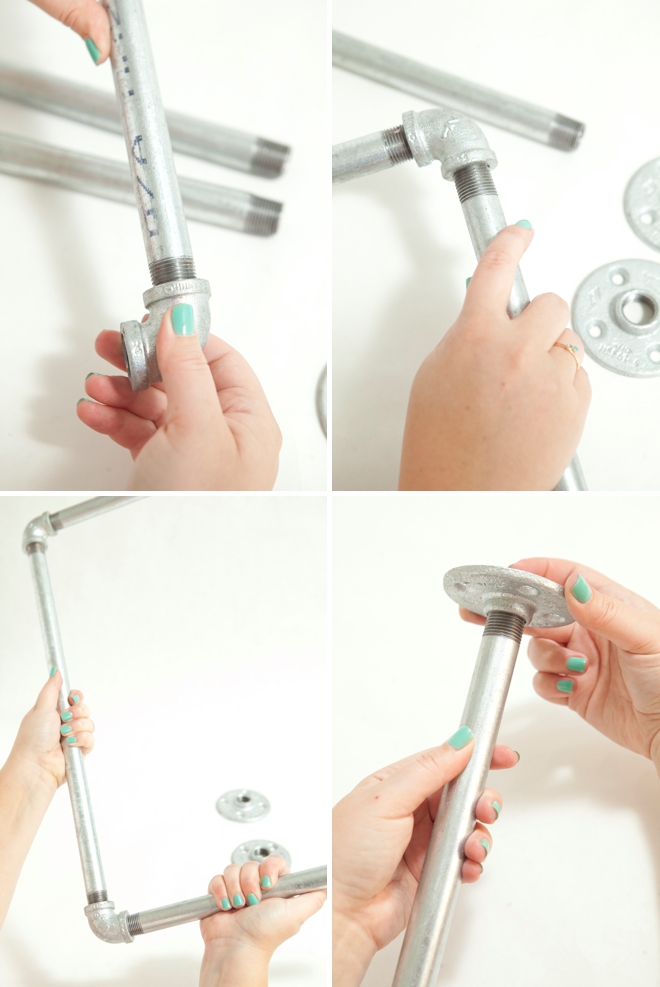
Screw all your pipes and fittings together to assemble your stand.
Spray your pipes!
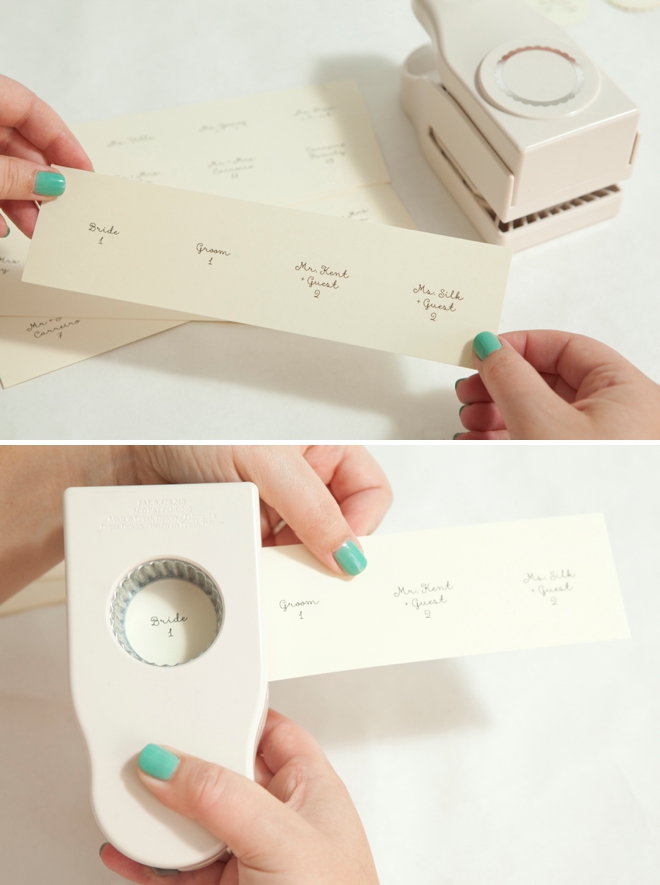
Make Your Escort Cards
Print your guests names and table numbers onto a piece of cardstock, then cut into strips so they are easy to punch out. Here I made sure to design the names within a 1.5″ square so that I knew they would fit within the punch. I love this scallop punch and use it quite often, you might remember it from this project.
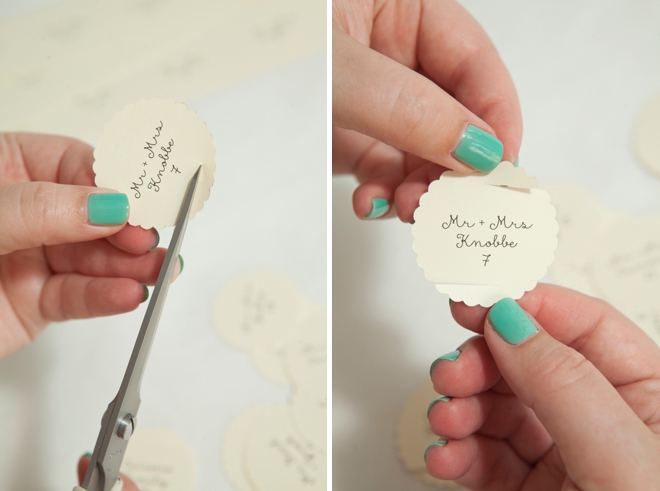
To get these circles to hang on the ribbon, cut two small slits (under 1/2″ long) in the circle – one at the top and one at the bottom, going opposite directions. You can do this step with scissors or a craft knife.
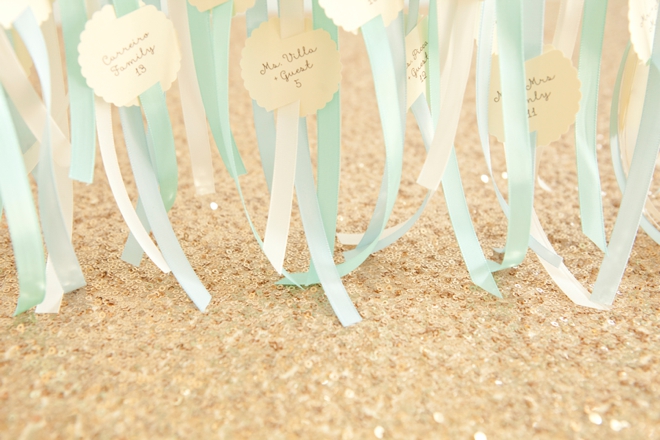
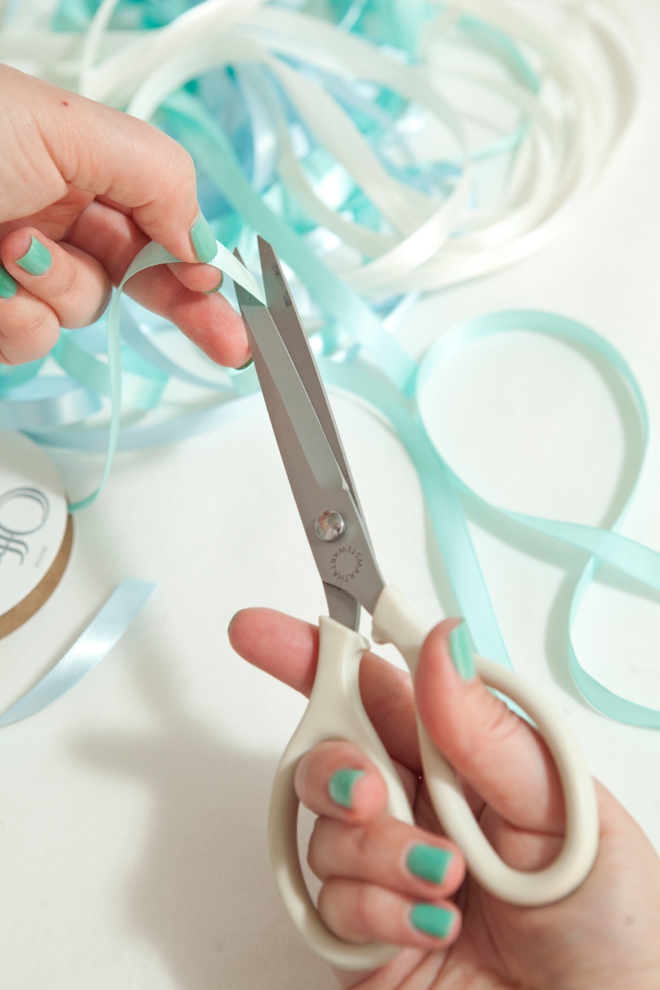
Cut strips of ribbon that are 32″ long.
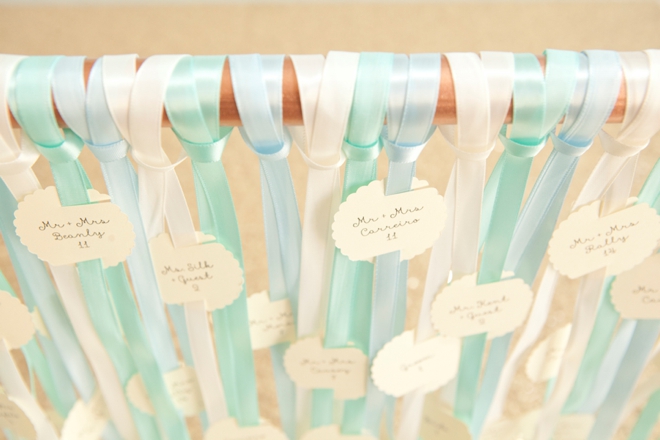
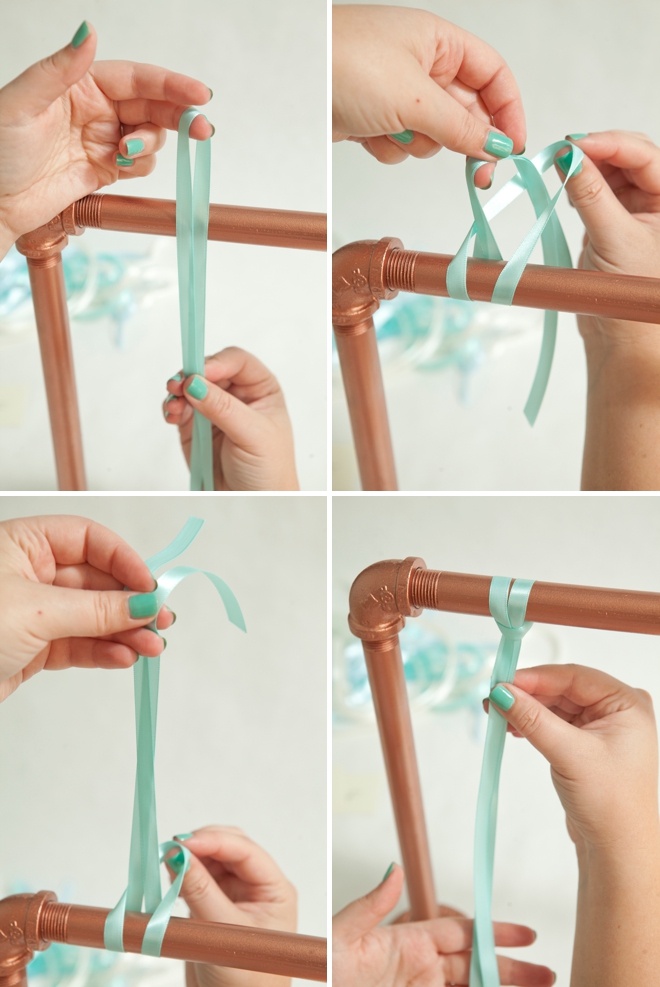
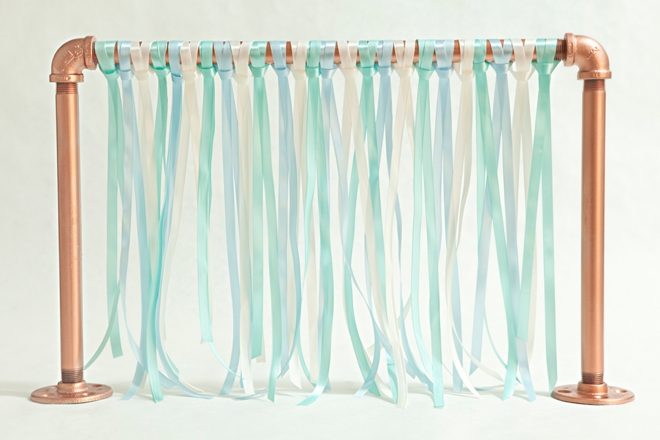
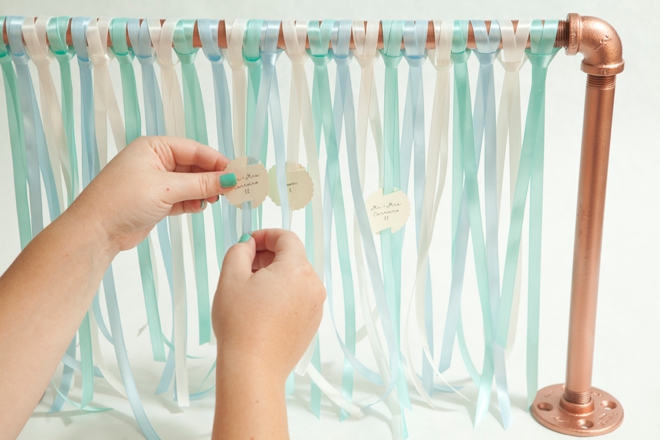
Take each piece of ribbon and tie a wrap-style knot around the top pipe. Do this until the entire pipe is full. I used 25 ribbons.
Gorgeous already…
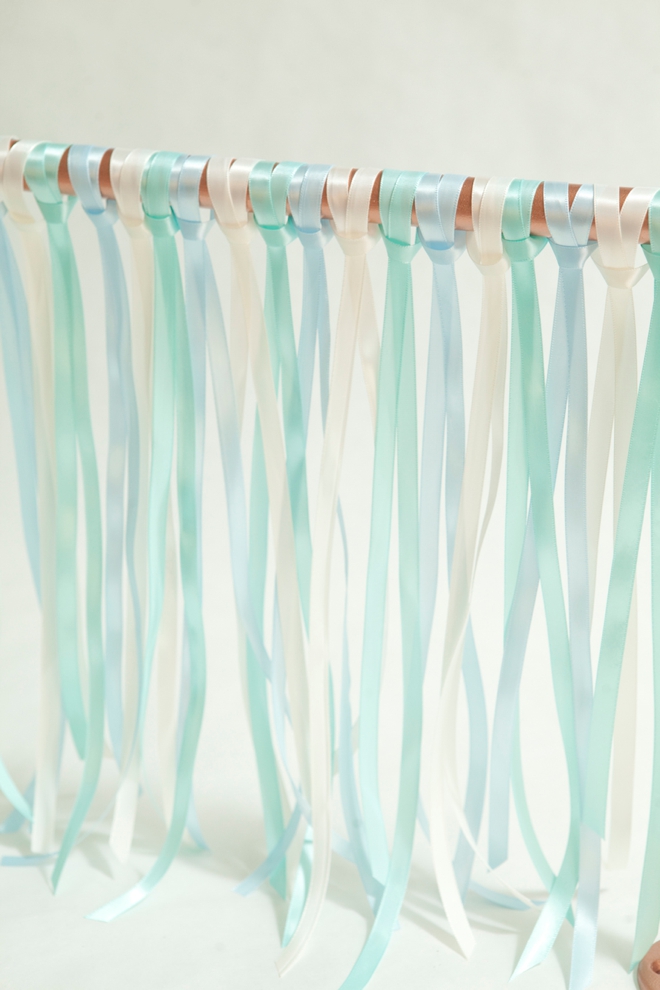
The trick to getting these adorable little cards to stay, is to pull the ribbon tight against the slits in the paper. They hang perfectly.
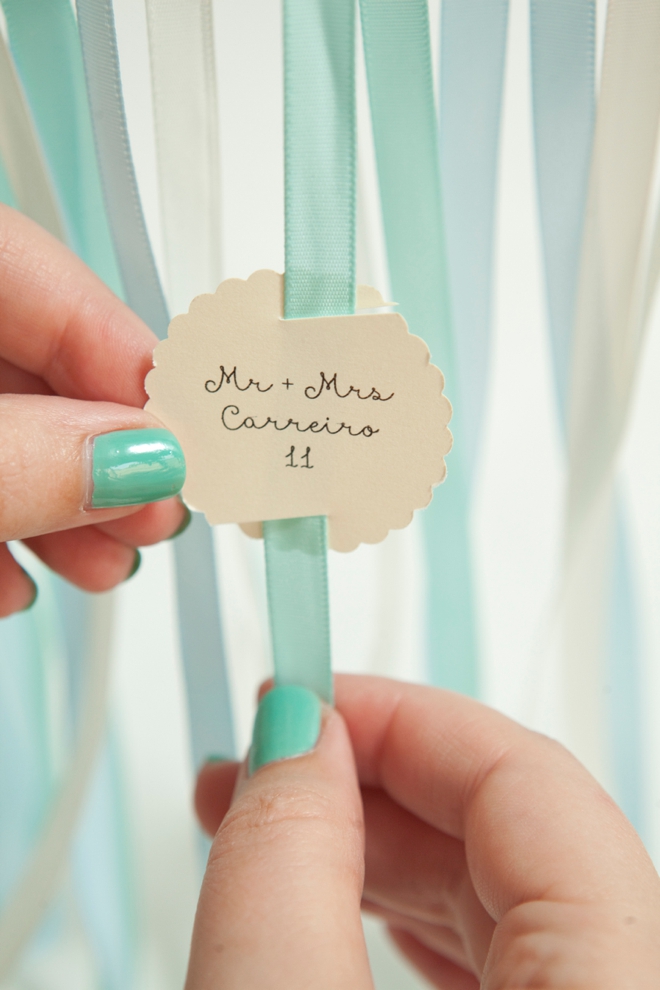
I didn’t tie these cards onto the ribbons thinking that your guests would want to take their cards with them to their seat, but if you’d rather tie them on you can do that too.
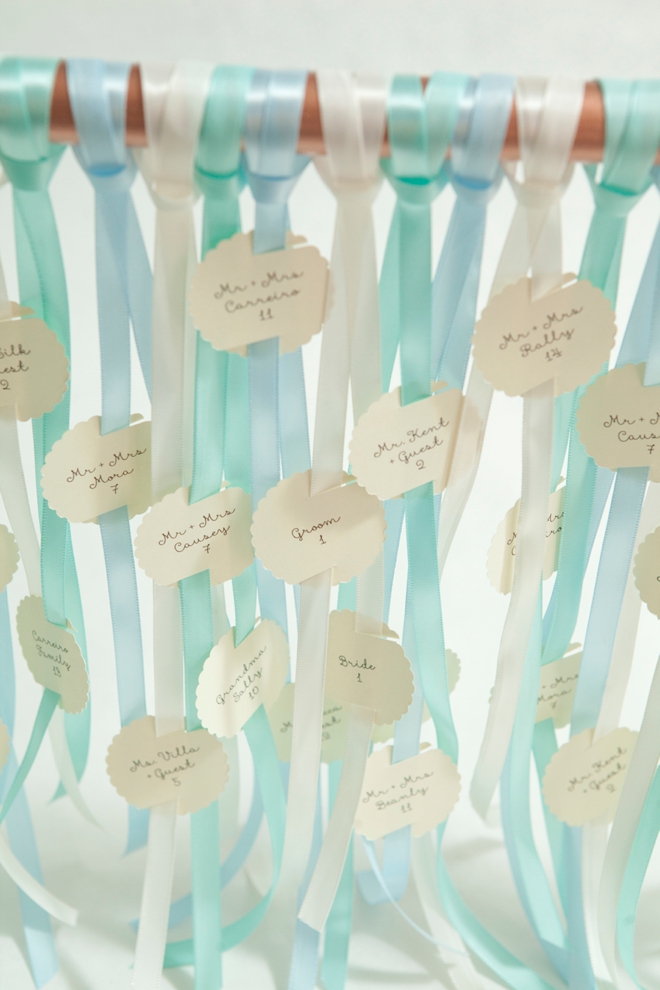
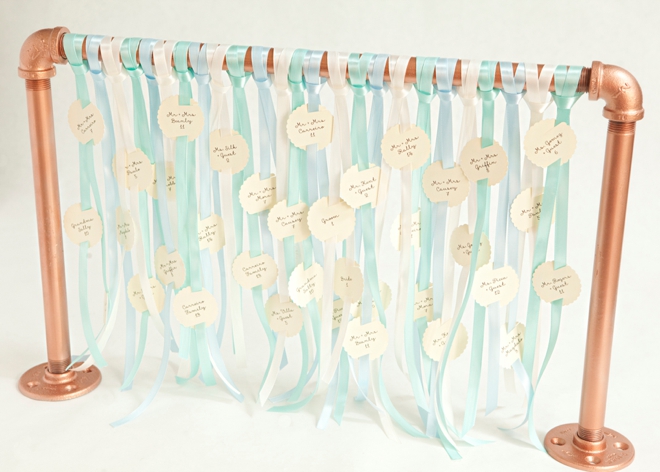
I love how fun and different this is.

As with all our DIY tutorials, if you create one of our projects please send us a picture – We Love Seeing Your Creativity! If you use Instagram or Twitter please use the hashtag #SomethingTurquoiseDIY and it will show up on our Get Social page. Happy Crafting!
DIY Tutorial Credits
Photography: Something Turquoise Photography for SomethingTurquoise.com // DIY tutorial: Jen | Something Turquoise // Martha Stewart Crafts Layering Punch, Scalloped Circle, scissors, and craft knife: courtesy of the Editors at Martha Stewart Living // All 1/2″ pipe, fittings and acetone: Home Depot // 3/8″ Offray Ribbons: JoAnn // Krylon Metallic Spray Paint: Michaels // nail polish: OPI – Withstands the Test of Thyme
Shop The Supplies:
Find the supplies you’ll need for this project from our affiliate links below:


Comments