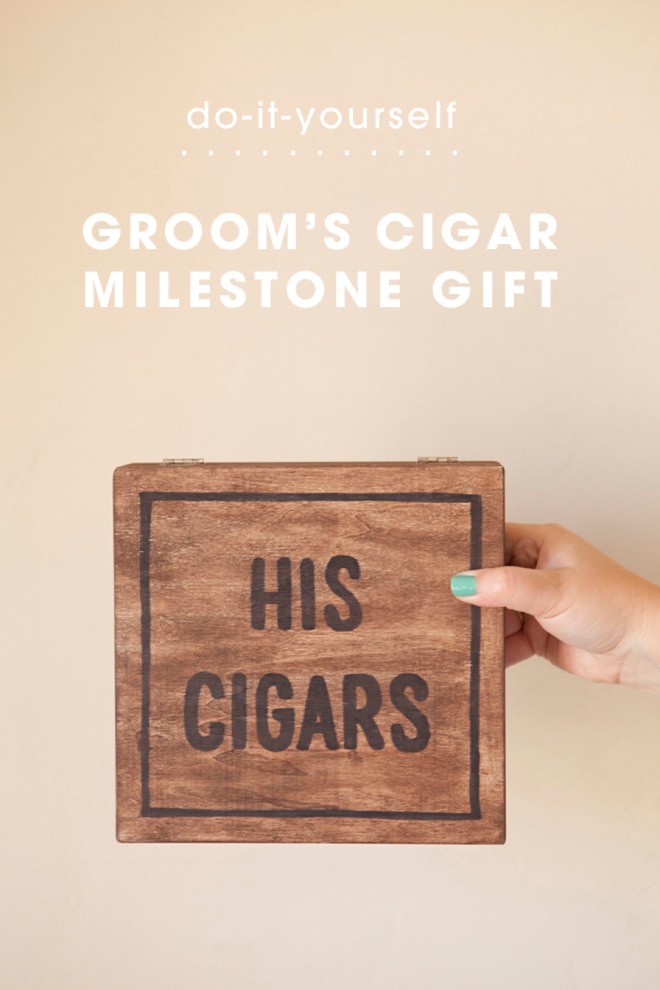
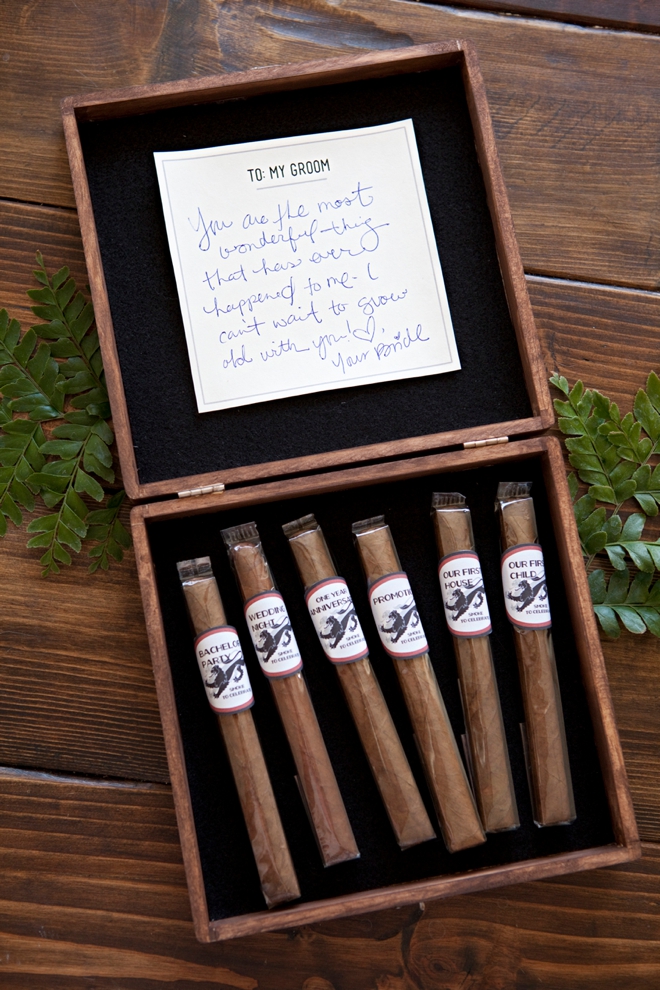
This one’s for the men! I’m sure you’ve all seen those adorable wine milestone gifts, one bottle for your wedding night, first anniversary, first fight, first baby, first house, etc. – love them, so sweet. Sometimes I feel like the guys get the short end of the stick when it comes to wedding “fun” and so I thought why not make a special milestone gift just for them – cigars being the perfect gift idea. But you can’t just give him cigars without an awesome box to keep them in, so for May’s #12monthsofmartha project I give you the Groom’s Cigar Box Milestone Gift. The technique I share on how to customize this box can be done using ANY writing you’d like, it can totally ready anything so if “His Cigars” doesn’t work for you, it’s all good. Let me end by saying that I know nothing about cigars – so if I picked lame ones to shoot for this project (or ones that won’t age well) give me a break, lol. Just make sure that the cigars you purchase are of lasting “gift” quality. Make your man feel special and get your DIY on just for him!
SUPPLIES:
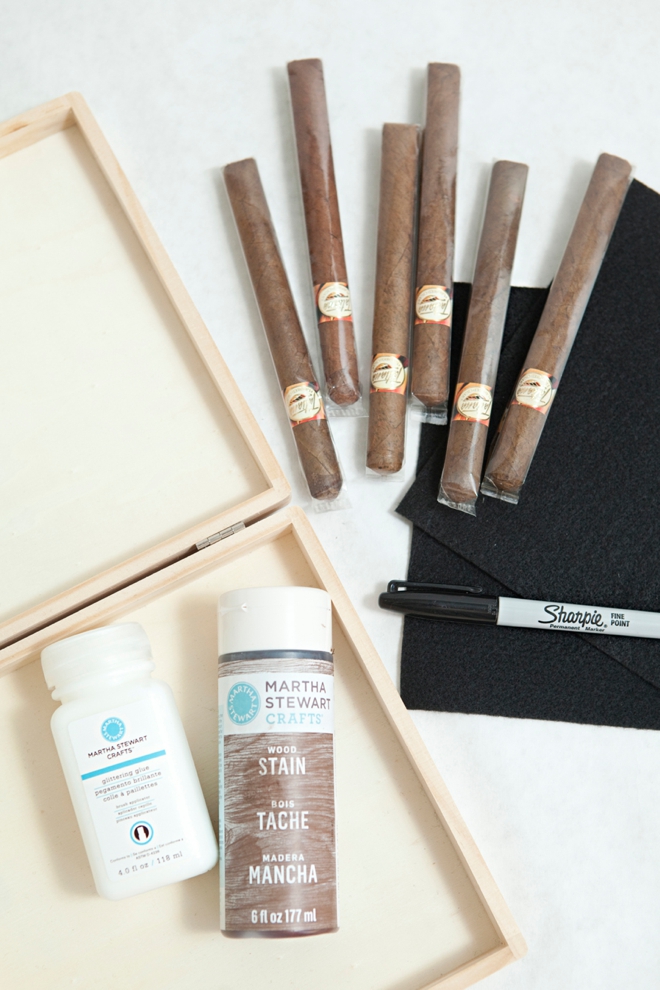
- Unfinished cigar box
- Martha Stewart Crafts wood stain in Chestnut
- Martha Stewart Crafts glittering glue
- Black Sharpie
- 6 Cigars
- 8.5″ x 11″ Label Sheet (or sticker paper) for cigar labels
- 8.5″ x 11″ cardstock for Groom card
- Felt
- Gloves
- Scissors
- Glue Dots
- Tape
- Our free printable designs at the end of the post!
Simple Transfer Technique
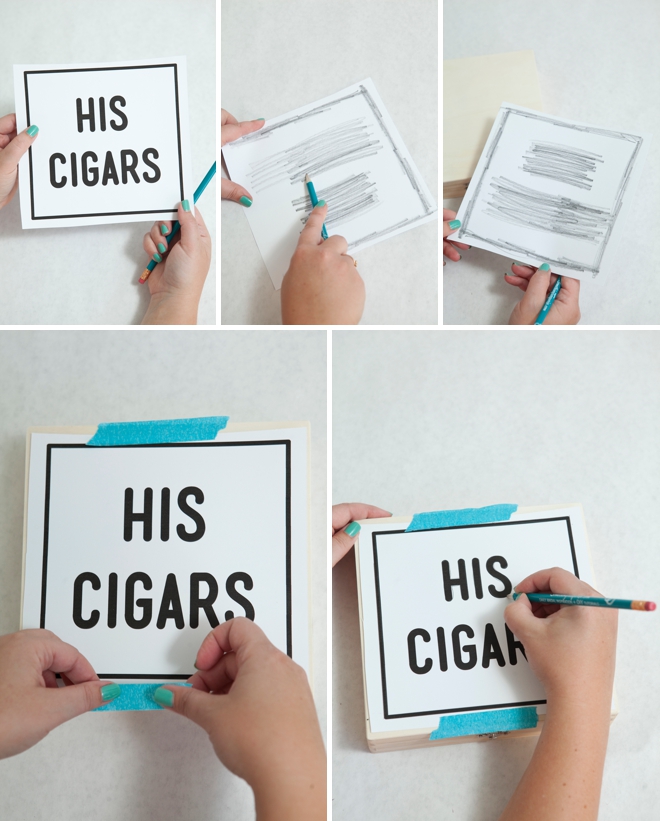
I’ve shared this graphite transferring technique many times, it’s simple and I love it. The only skill it requires is following the lines. Print out our “His Cigars” design or any design that you would like, trim it down to fit the box. On the backside of the printout, color the design with a pencil. Tape the design to the box so it stays put and carefully trace the entire design. This transfers the design right onto the box!
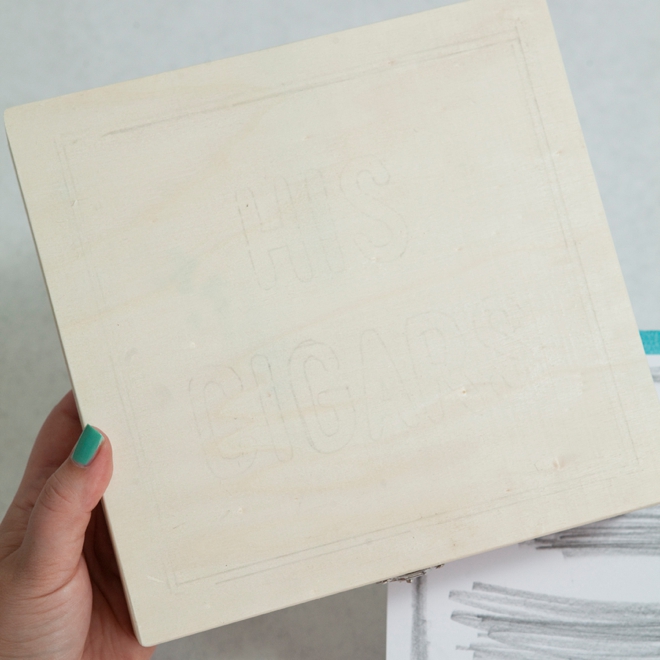
Remove the printout and you are left with a simple outline of your design.
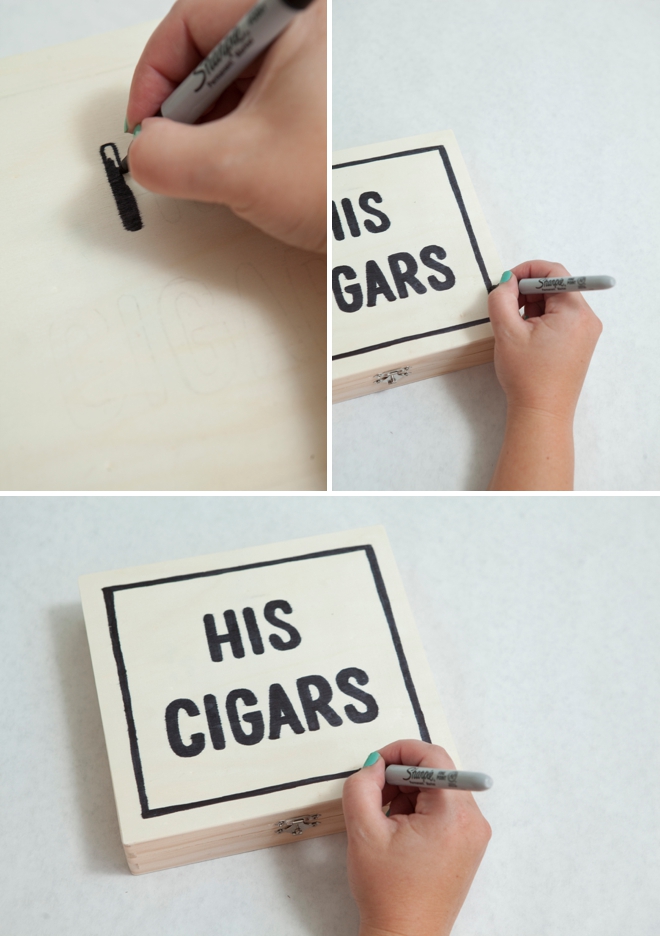
Now just fill in your design with a Sharpie. Don’t worry about the ink bleeding, you totally won’t see it once it’s stained. I like that the finished look isn’t perfect, it’s handmade.
Stain The Box
This is a messy job so protect your surface and your hands! Here I’m using a piece of muslin cloth to wipe the stain onto the box.
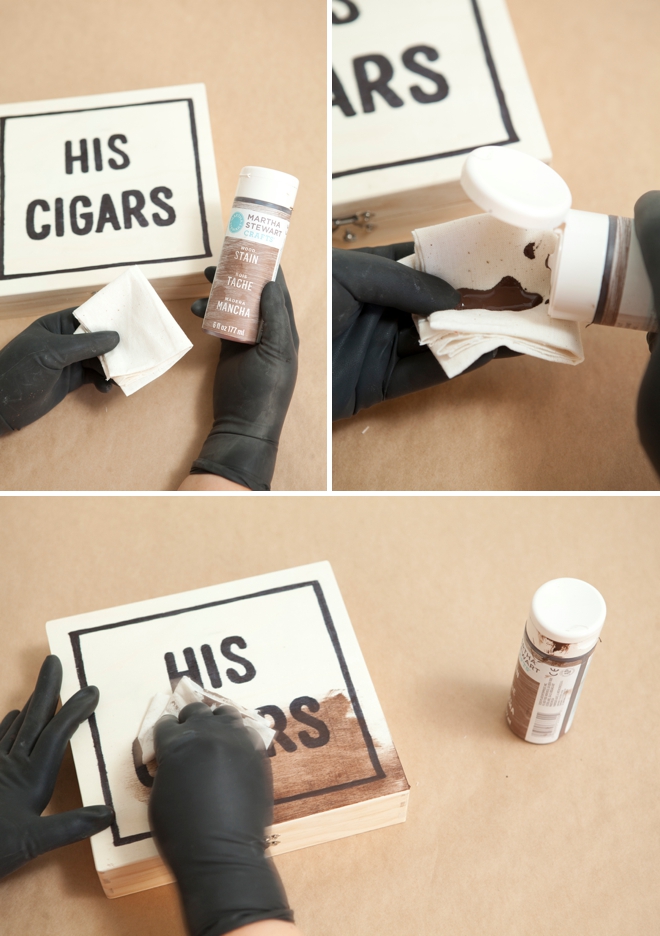
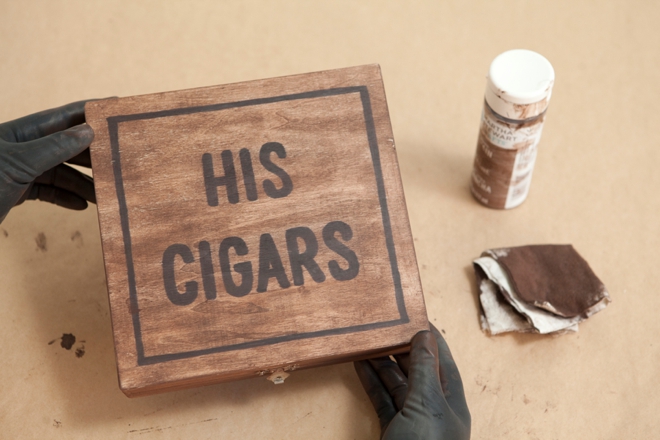
Make sure all the nooks and crannies are covered. I was happy with the stain color after one application, but if you’d like it darker you can do two – with an hour of dry time in between.
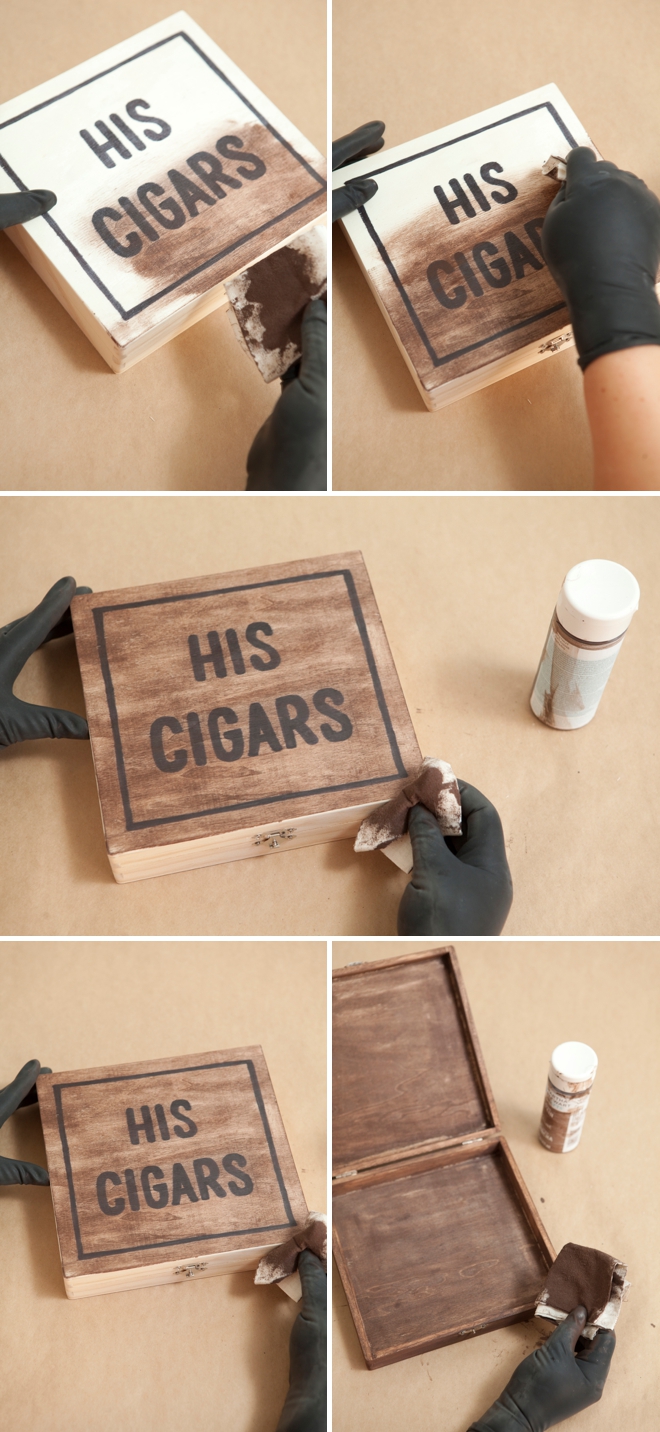
Let your freshly stained box dry for at least an hour before the next step.
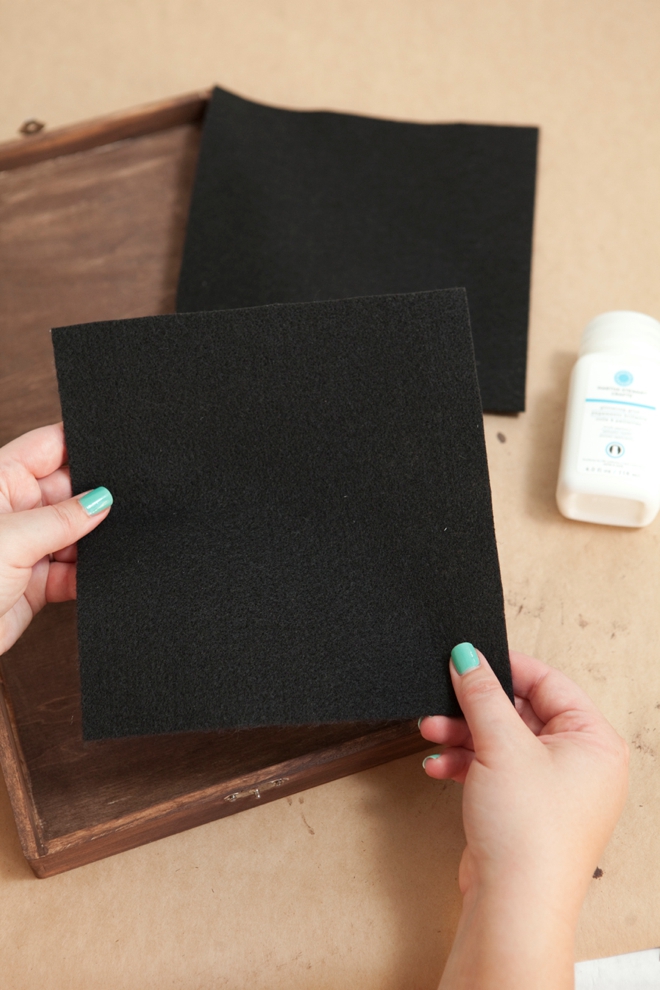
Cut your felt pieces down to fit perfectly inside the box.
I love the MSC glittering glue because it has this little brush right in the bottle, making it super easy to use. Add a generous amount of glue to the inside of the box, not on the sides – just the bottom.
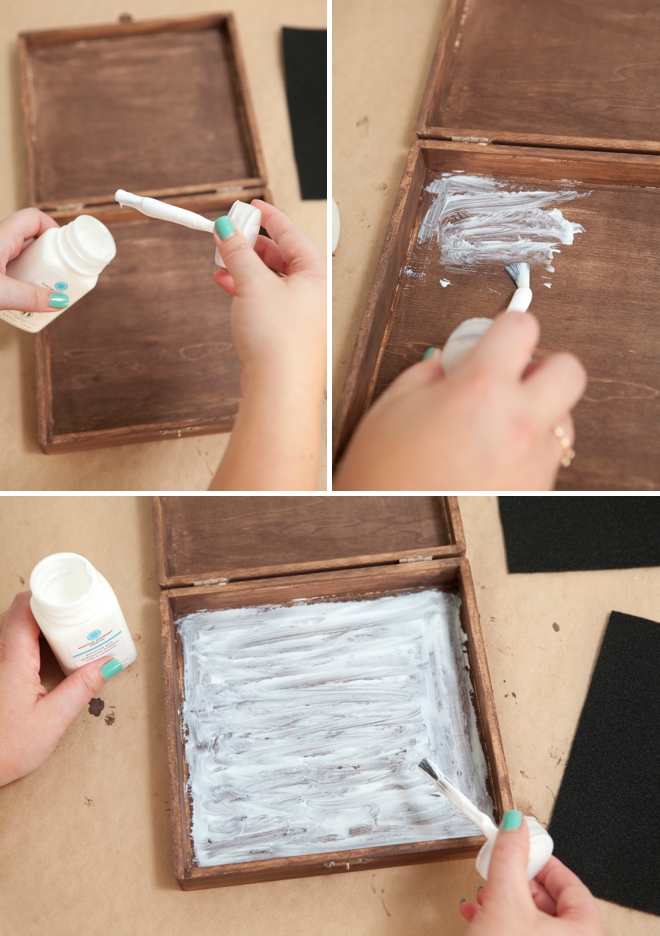
Then place your felt on top of the glue. As long as the wood surface is completely covered with glue, there is no way this felt will lift up over time.
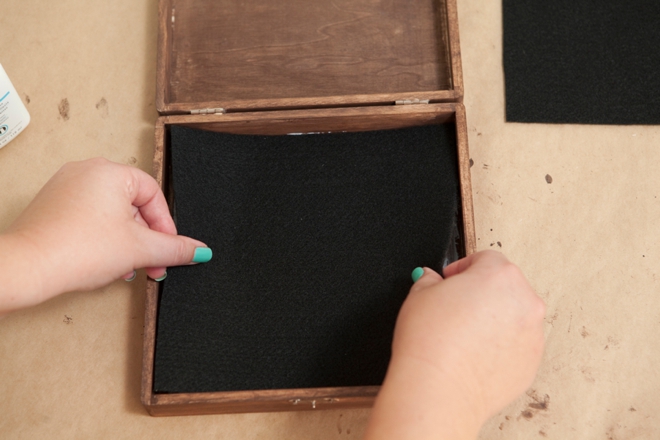
Now do the same thing to the top half of the box.
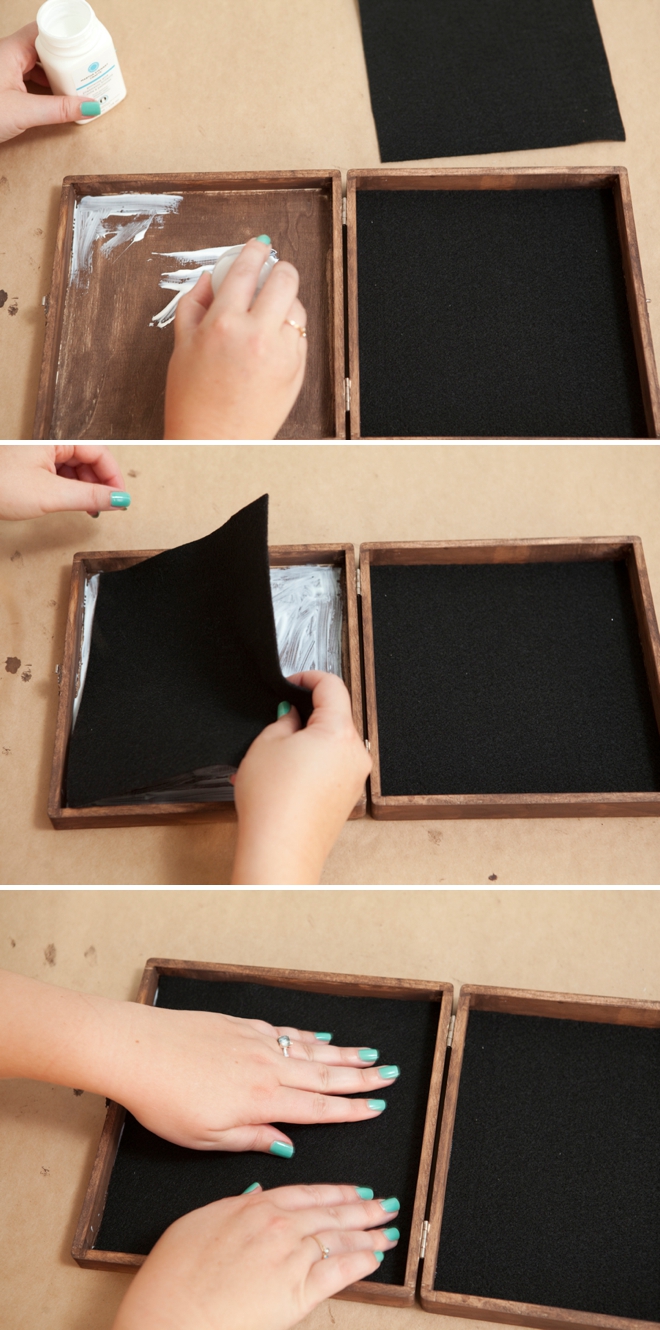
Lined and looking fine.
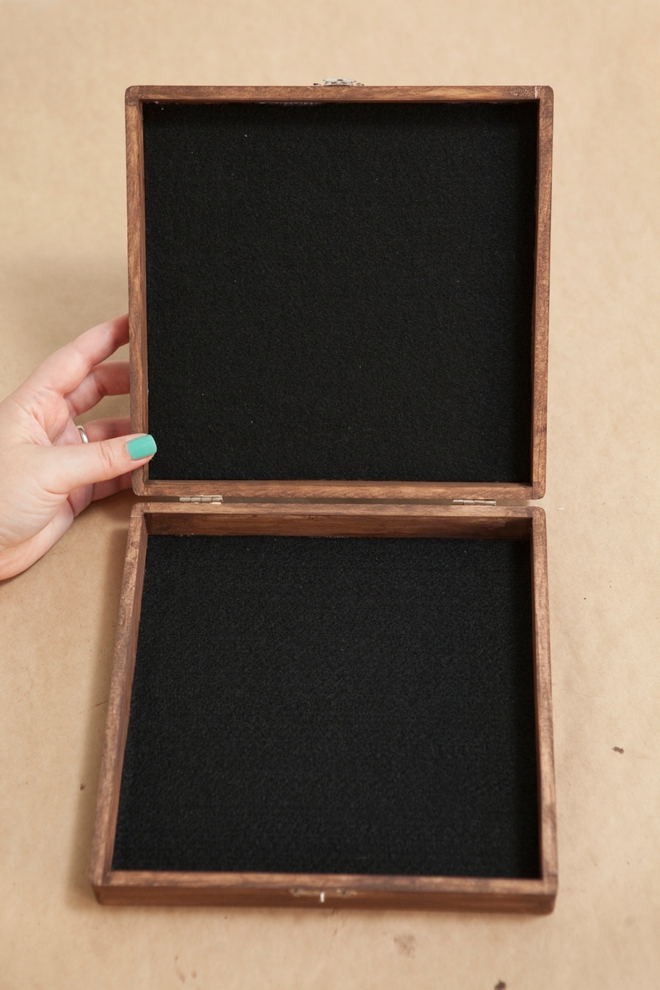
Important: It takes some time to let this glue dry and air out. I recommend leaving the box open to dry for at least 48 hours if not longer.
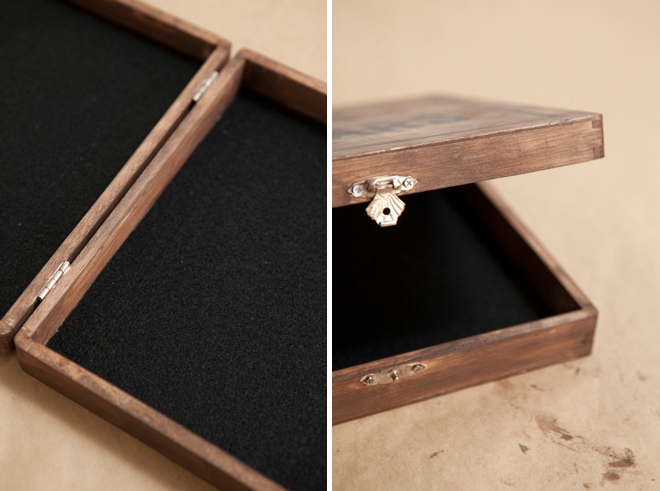
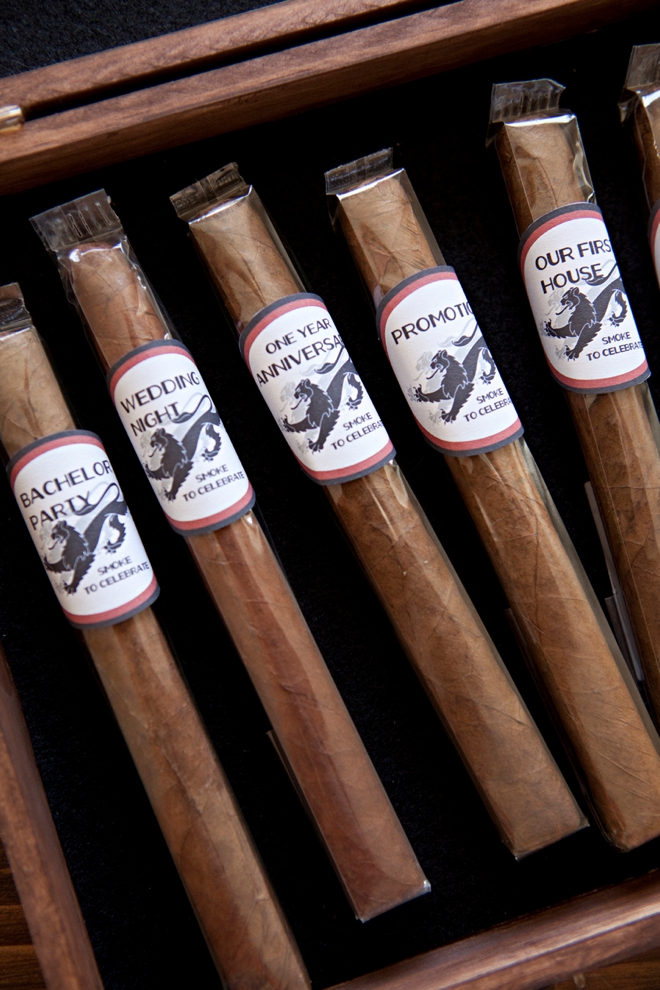
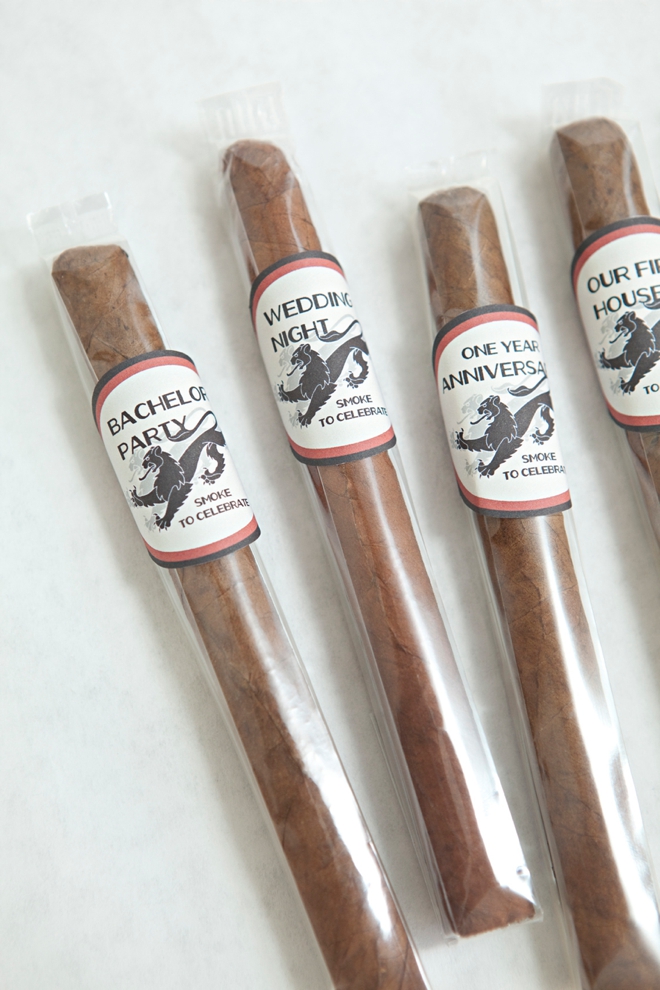
While your box is drying, download and print our cigar label designs onto the label sheet. Cut around each one.
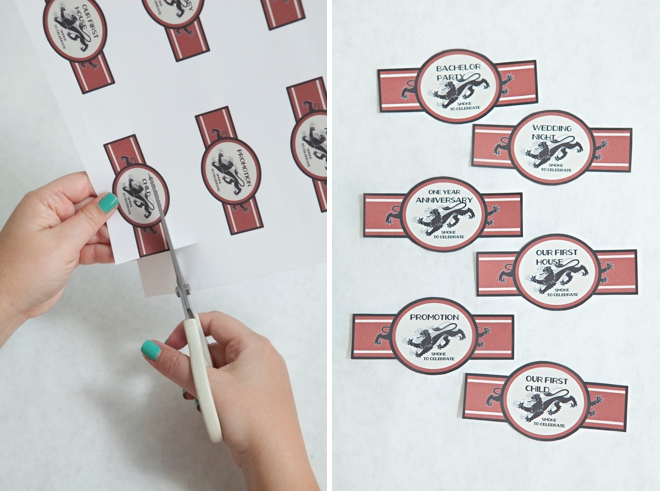
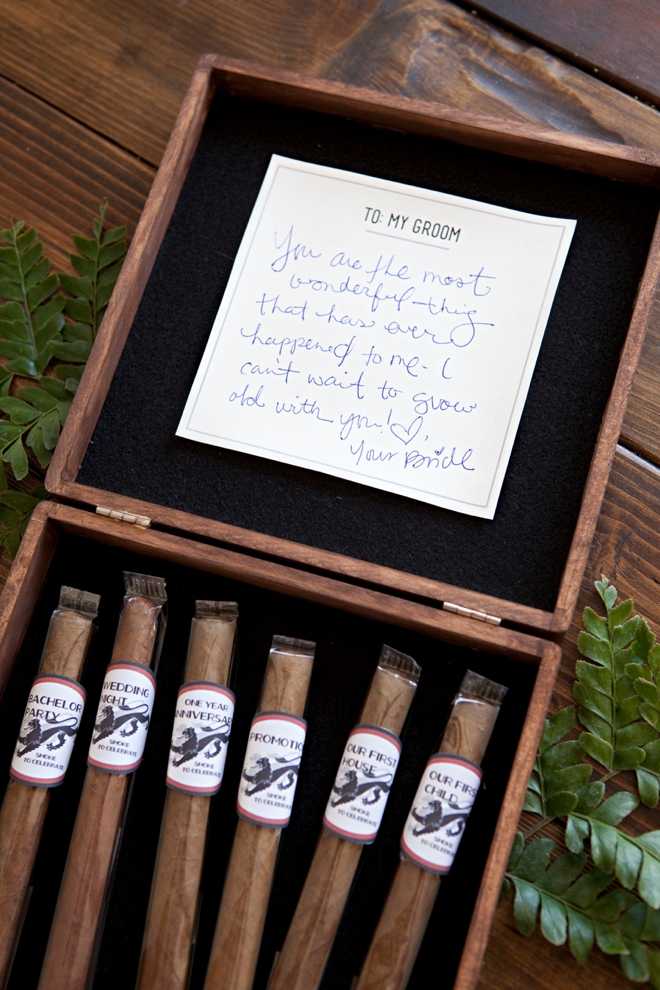
Then wrap around your choice of cigars!
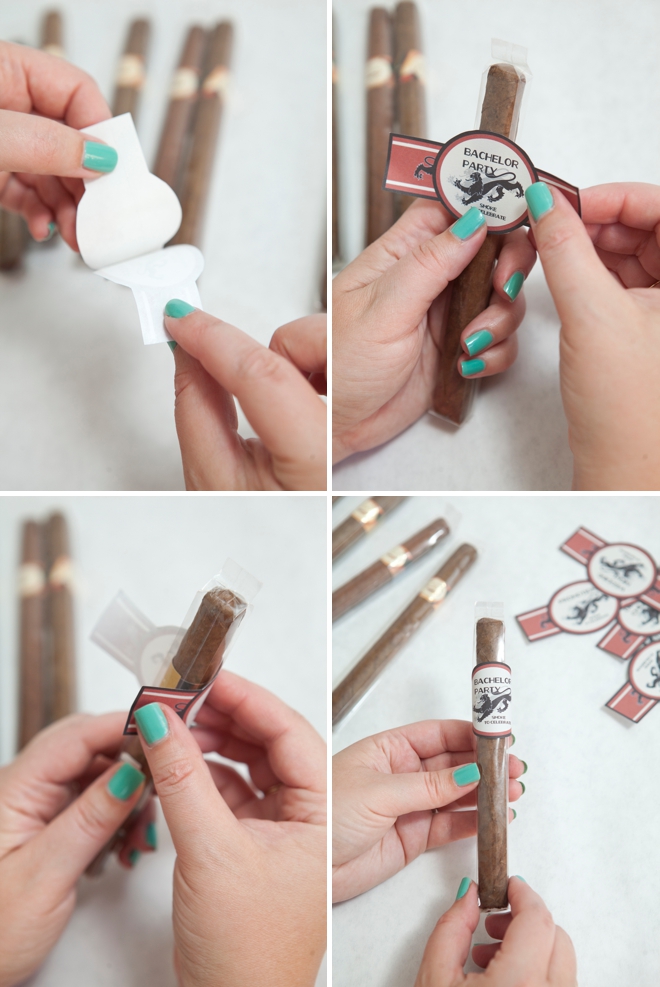
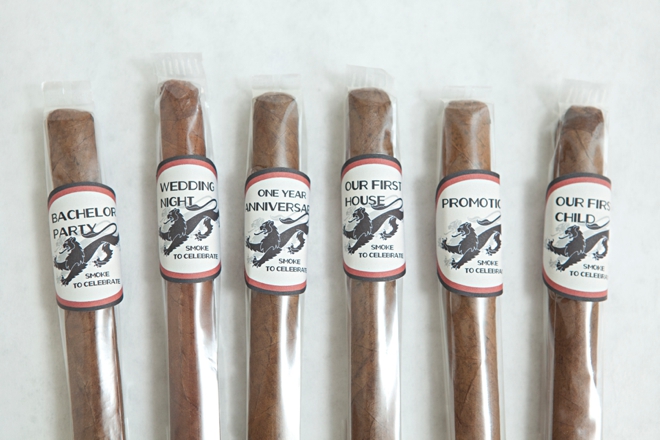
There is one for:
- Bachelor Party
- Wedding Night
- One Year Anniversary
- First Promotion
- First House
- First Child
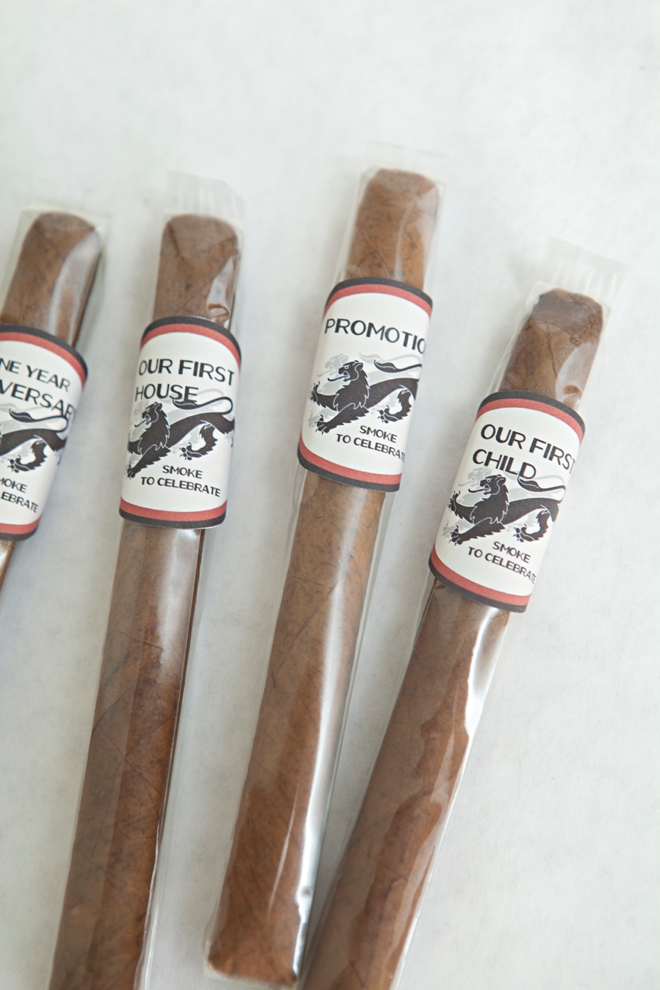
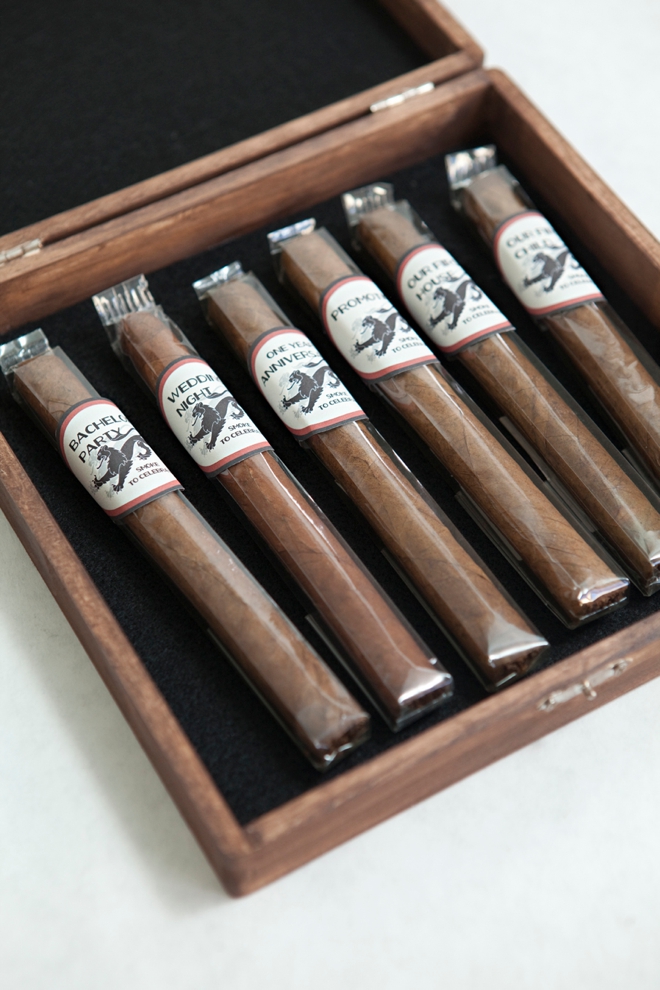
Place all your special cigars into their special box.
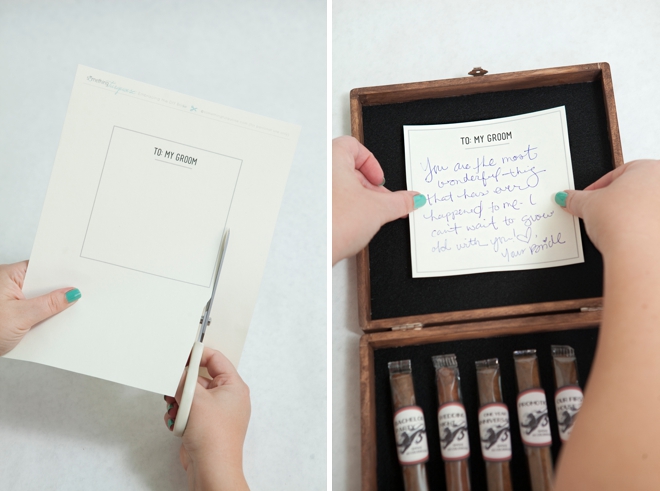
Print out our “groom card” design onto cardstock, write a special note and adhere to the inside of the box using Glue Dots. This card isn’t meant to be a permanent addition to the box, but it can be kept inside if he wants.
Now your ultra-personal and deeply thoughtful Groom gift is complete.
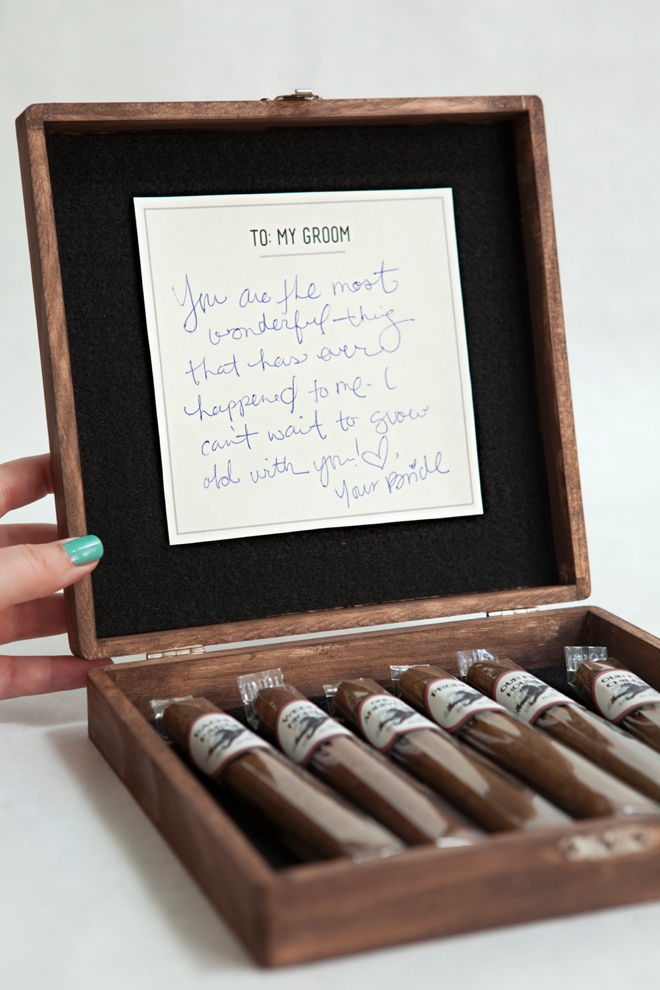
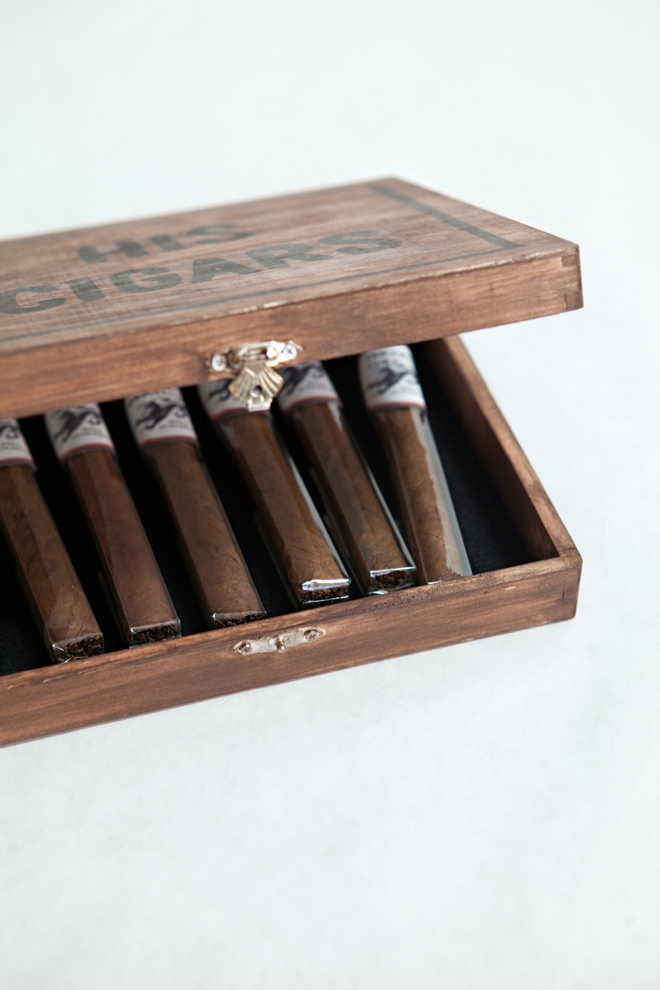
Since the first milestone cigar is meant for his bachelor party, the perfect time to give him this amazing gift would be the day before his party… a wonderful way to start the celebrations for the rest of your life together.

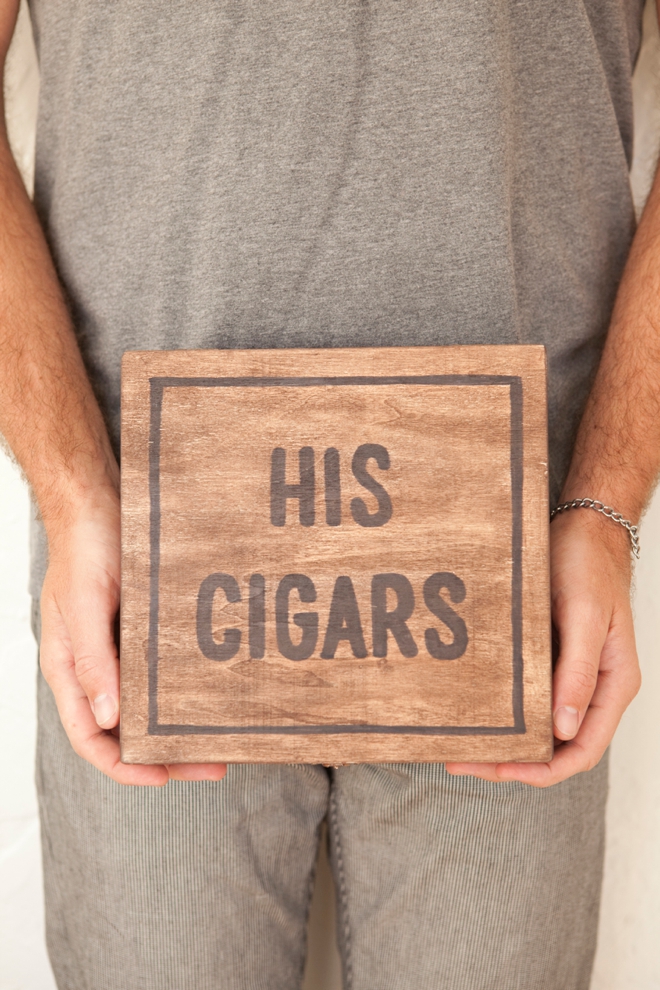
As with all our DIY tutorials, if you create one of our projects please send us a picture – We Love Seeing Your Creativity! If you use Instagram or Twitter please use the hashtag #SomethingTurquoiseDIY and it will show up on our Get Social page. Happy Crafting!
DIY Tutorial Credits
Photography: Something Turquoise Photography for SomethingTurquoise.com // DIY tutorial + free downloads: Jen | Something Turquoise // unfinished cigar box (8 3/8″ x 8 1/8″ x 1 7/8″): Michaels.com // Martha Stewart Crafts Wood Stain in Chestnut, glittering glue and scissors: courtesy of the Editors at Martha Stewart Living // black felt: Benzie Design // 8.5″ x 11″ label sheet in eco-white: Paper-Source // nail polish: OPI – Withstands the Test of Thyme
Shop The Supplies:
Find the supplies you’ll need for this project from our affiliate links below:



Comments