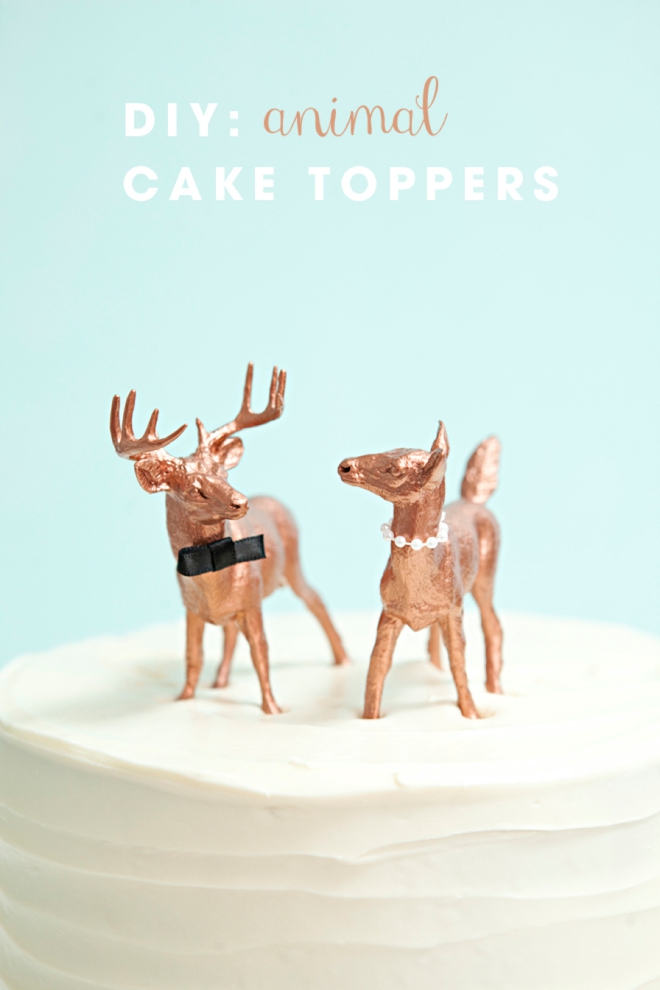
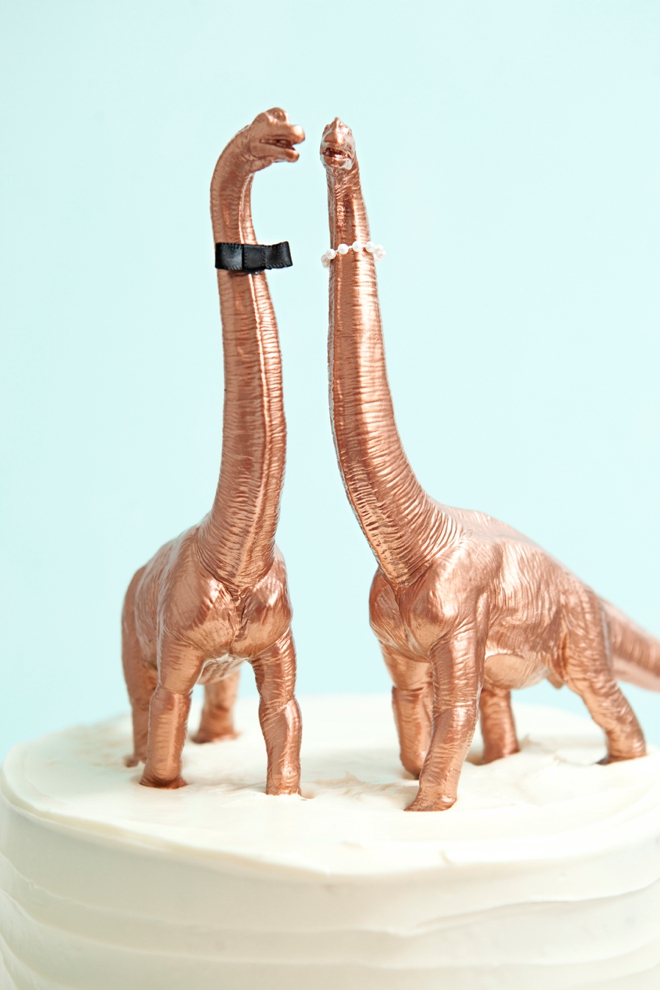
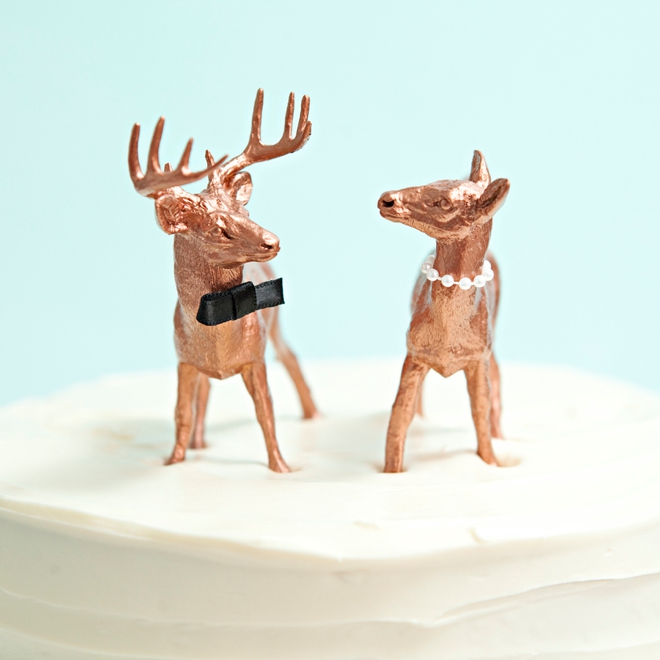
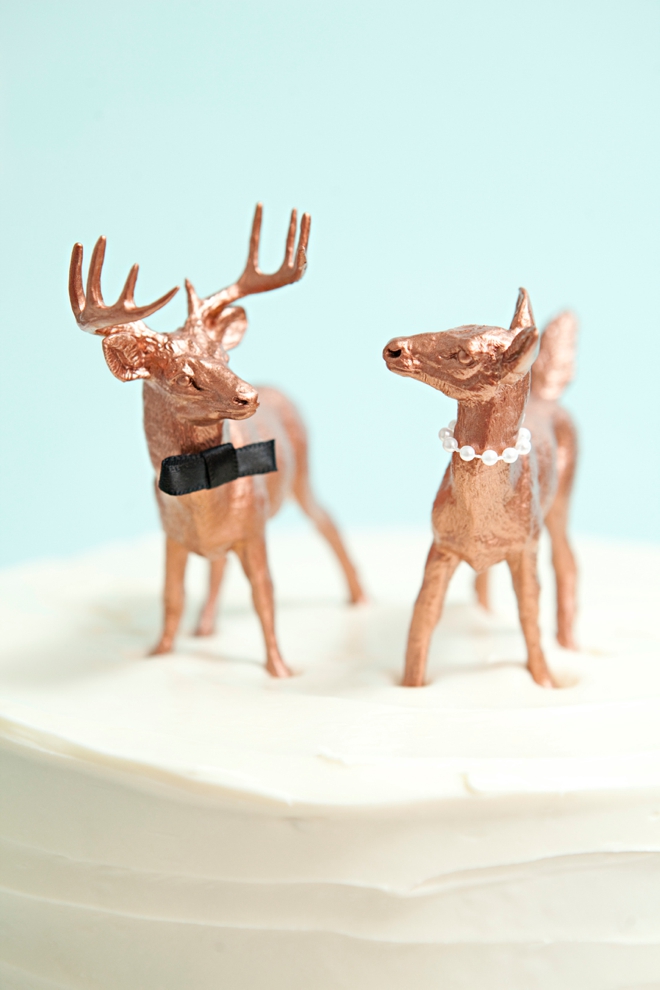
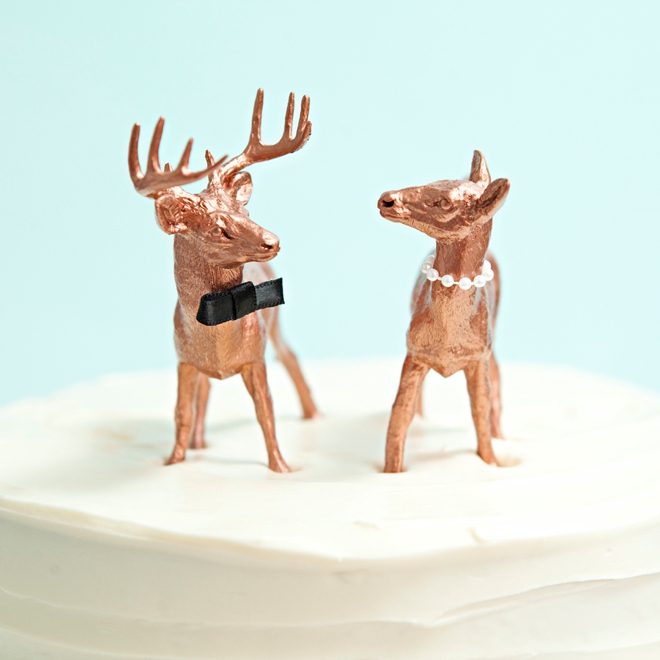
Gold animals have been quite the rage over this last year, but for some reason they haven’t quite made it onto the top of cakes. We’ve seen them as escort cards, favors, and in lots of different decor… so today I bring you the painted animal cake topper! These have been sprayed in copper paint, but of course any solid color would look fabulous. Cake toppers can be a great DIY project because you only have to make 1, and not 150 like favors. Plus, since couples usually save their toppers as mementos, yours will mean a little more since you made it by hand. I think the doe and buck are beyond adorable and just perfect for a rustic affair, but my undying love for dinosaurs got the best of me and so I had to include the beautiful Brachiosaurus. The question is, what animals will fit your personality or wedding style?
SUPPLIES:
- Cute toy animals
- Krylon Premium Metallic Copper Brilliance Spray Paint
- Hot glue gun
- 1/8″ satin ribbon
- 3mm faux pearl string
- Sissors
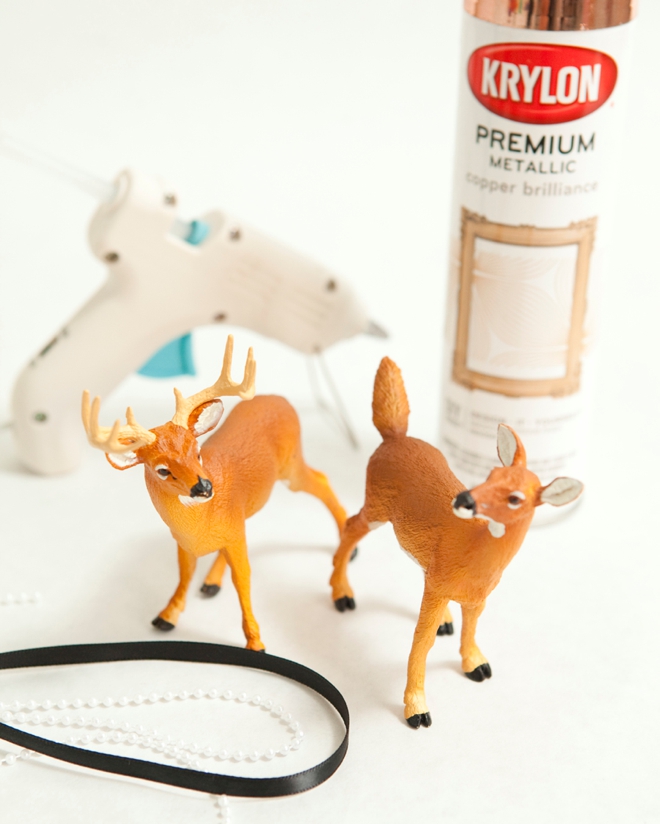
The animals I’m using here are the Whitetail Buck, Whitetail Doe and Brachiosaurus all from Safari LTD who sells the most awesome, life-like, and comprehensive toy animals you will find online! Find links to all these items at the end of the post.
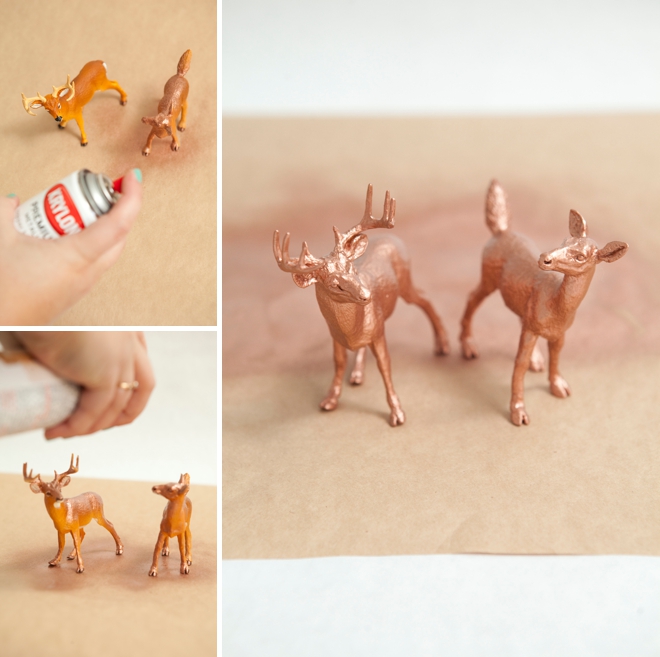
Spray Paint Your Animals
Using light, even coats – completely cover your animals in metallic copper. It might be appealing to quickly spray and glob the paint on all at one time to cover, but it won’t dry evenly that way and can remain tacky for weeks. It’s better to do 10 super light, even coats – then 1 drippy coat. It dries really quickly, like within minutes so it really won’t take that long.
No, this paint is not food safe. Yes, it contains lead. Yes, it is toxic. Personally I wouldn’t be worried with the tiny feet of these toxically painted animals pressing into the frosting on the top of my cake — but that is your choice.
Make the Bow Tie
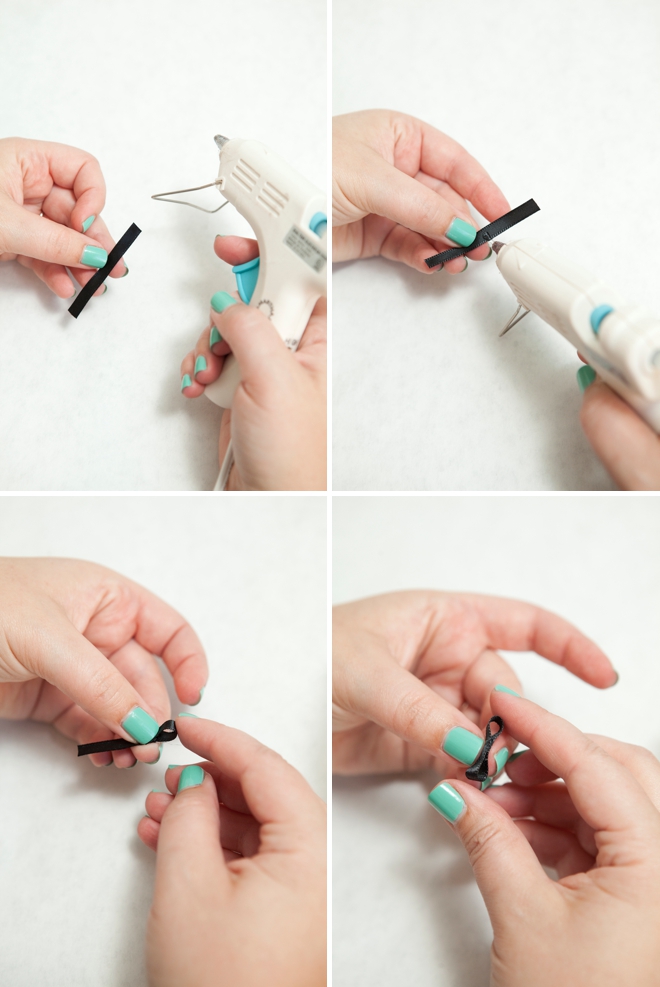
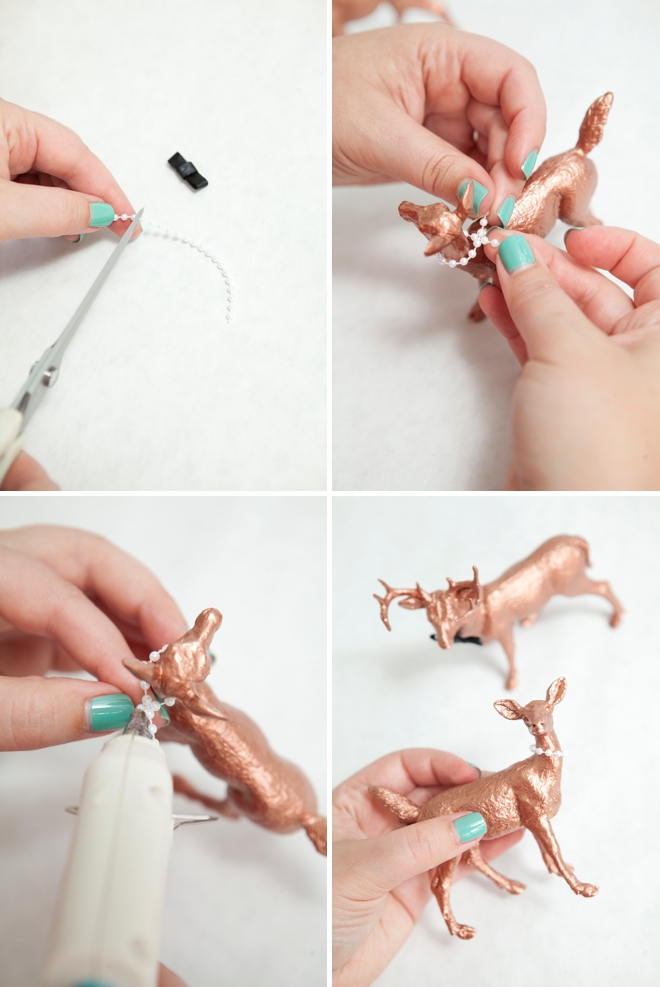
To start, you’ll need about a 1.75″ piece of 1/8″ ribbon. Add a little dot of hot glue to the middle and fold each end into the glue, forming the bow.
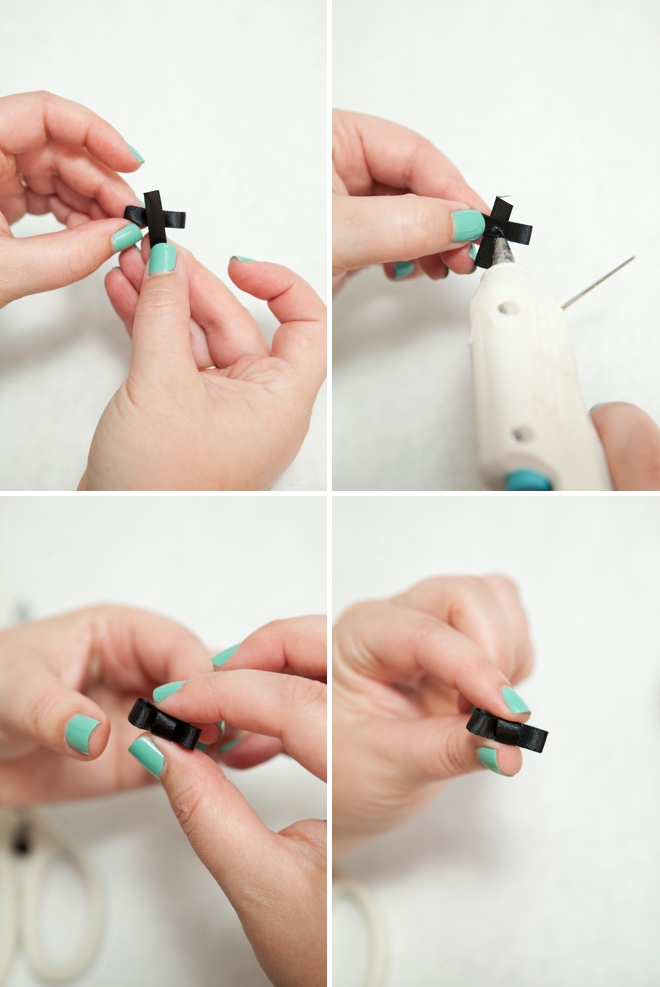
Using a second piece of 1″ ribbon, glue and wrap it around the middle of the bow you just made, forming the center. Voila ~ ribbon bow tie!
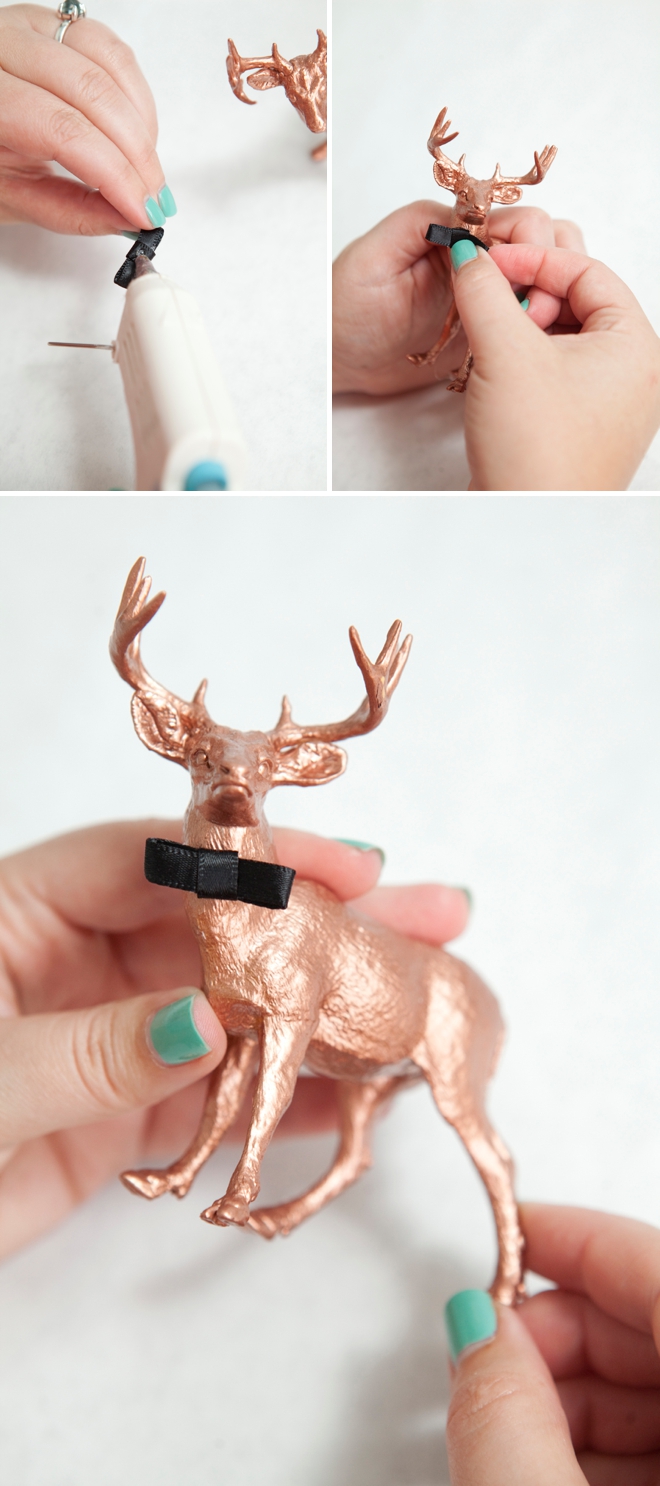
Add a spot of hot glue to the back of the bow tie and adhere to the neck of the “groom”.
Make the Pearl Necklace
Cut about 2.5″ of pearl string, wrap around the “brides” neck and set it into itself to form and ‘x’. Hold tight and glue it together. Snip off the excess pearl string. It’s up to you, your animal and the placement, if the necklace needs to actually be glued to the brides neck or not.
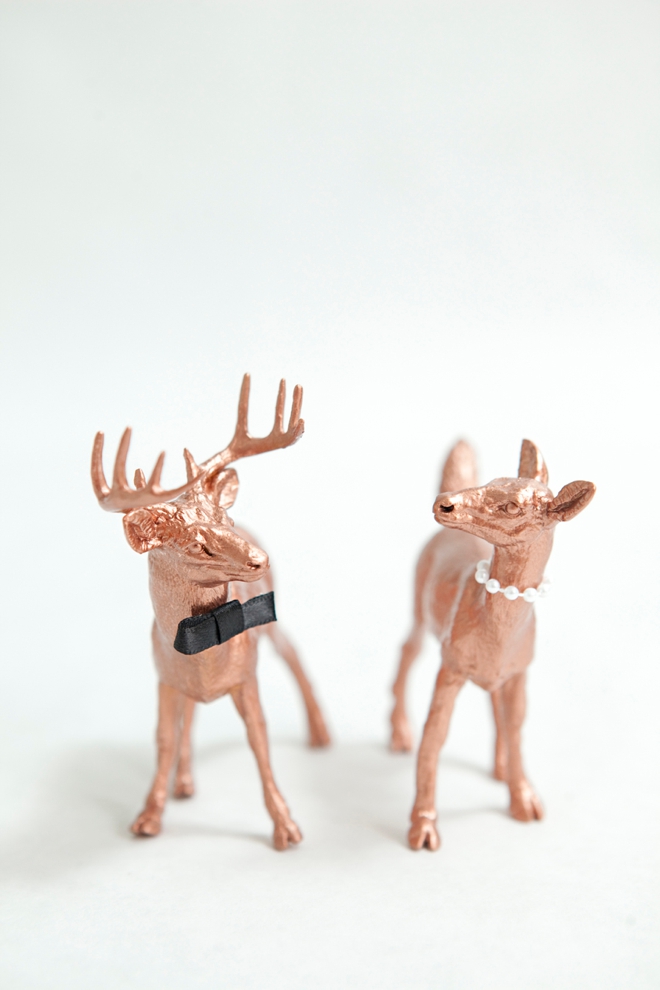
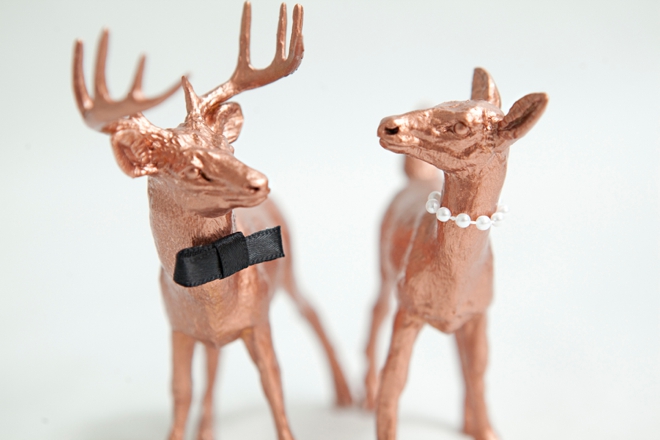
Dying over their cuteness.
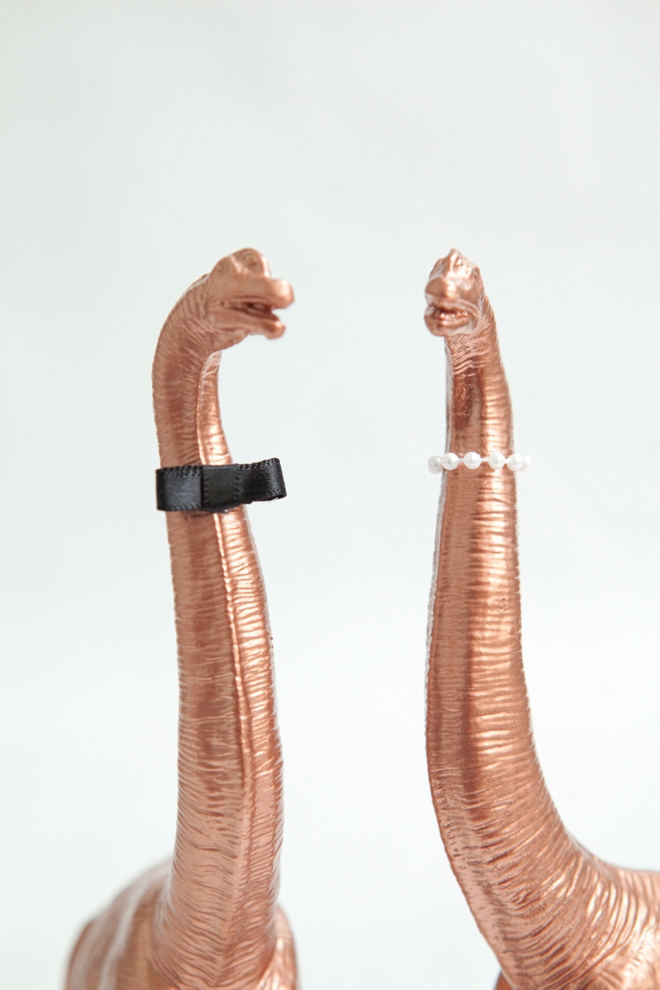
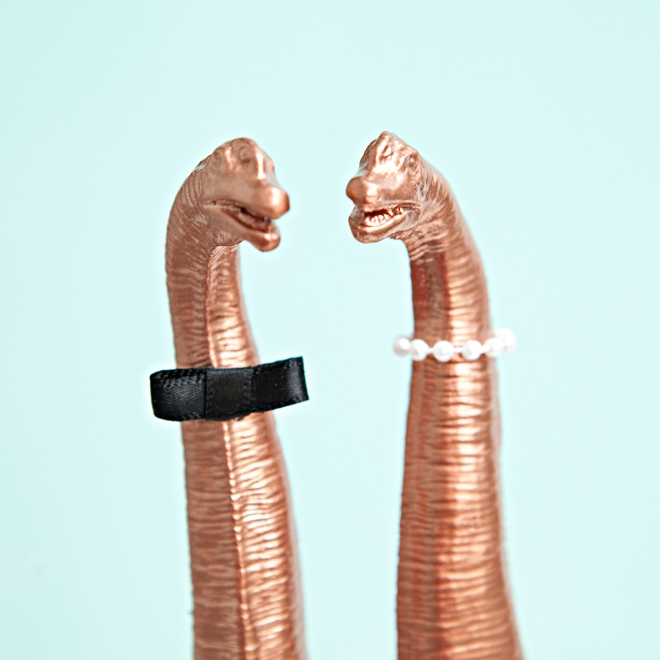
I’ve been in love with dinosaurs ever since I was little, especially the T-rex… but these Brachiosaurus made the perfect bride and groom!
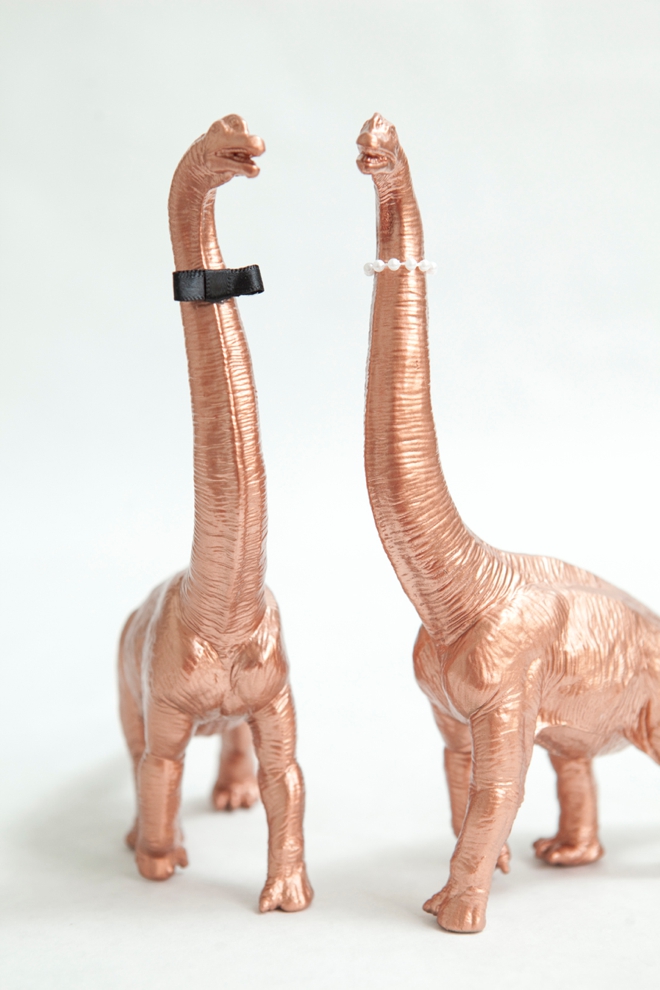
So again I ask… what “animal spirit” will fit your personalities or wedding theme?
As with all our DIY tutorials, if you create one of our projects please send us a picture – We Love Seeing Your Creativity! If you use Instagram or Twitter please use the hashtag #SomethingTurquoiseDIY and it will show up on our Get Social page. Happy Crafting!
DIY Tutorial Credits
Photography: Something Turquoise Photography for SomethingTurquoise.com // DIY tutorial: Jen | Something Turquoise // plastic toy animals: SafariLTD.com // Krylon Premium Metallic Copper Brilliance Spray Paint: Amazon // Martha Stewart glue gun, scissors, ribbon and pearls: Michaels // nail polish: OPI – Withstands the Test of Thyme
Shop The Supplies:
Find the supplies you’ll need for this project from our affiliate links below:


Comments