Welcome Budget Savvy Bride readers, we are so glad you are here!
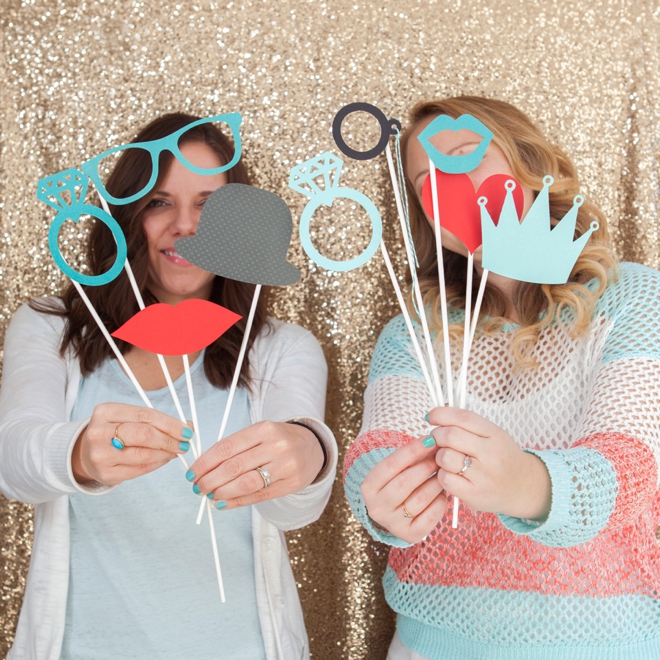
It’s always awesome when my friend Jessica from The Budget Savvy Bride (who lives in New York) comes to visit me in Los Angeles! We love collaborating on DIY projects and after a major brainstorm-sesh we came up with this idea! How to easily make your own photo booth stick props and the best part is that Jessica has designed some amazing files that you can download for FREE!!! Whether you’d like to print + cut them out yourself, or upload + cut them using your Cricut Explore — we’ve got a file for both! Or should I say The Budget Savvy Bride does – you’ll just have to pop over to their blog to grab the file(s) you’d like!
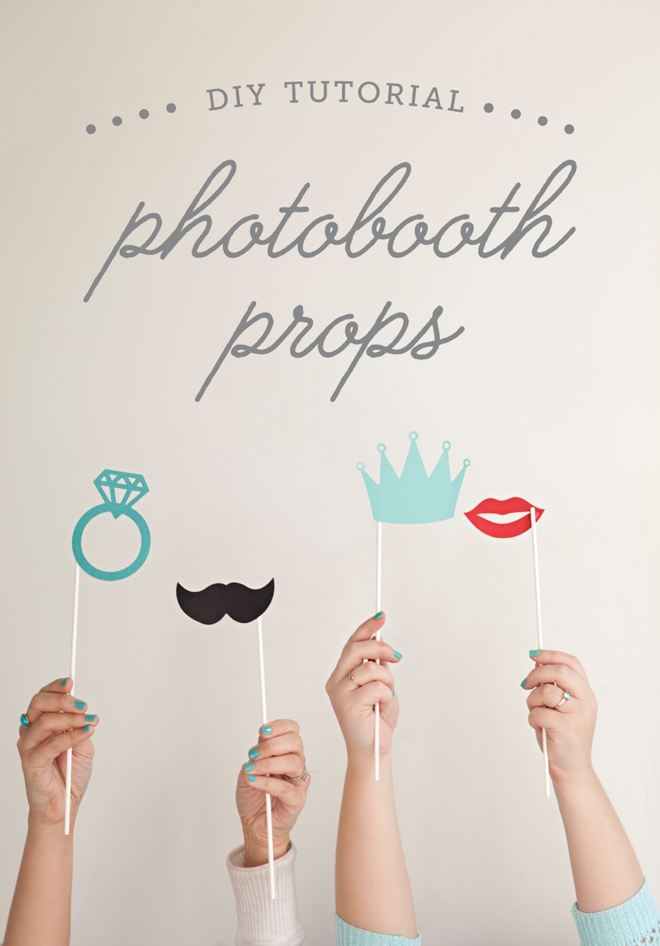
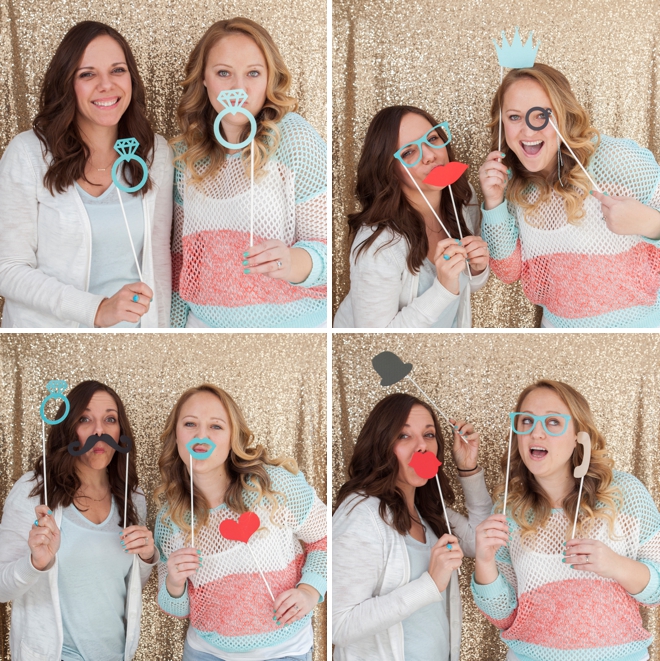
I love photo booths. Having adorable props make your guests experience the best that it can be and there’s no need to buy them when you can easily make your own!
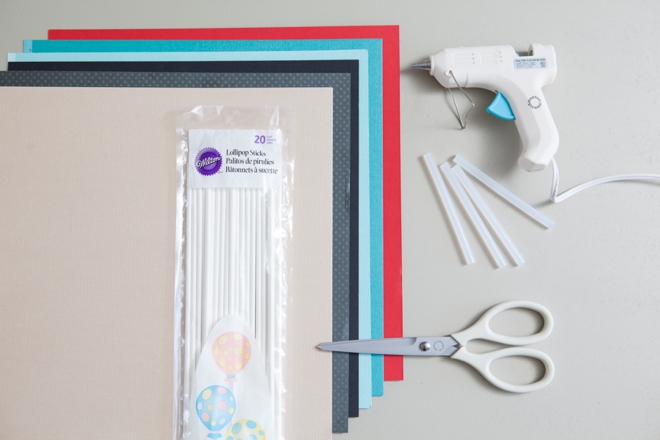
SUPPLIES:
- Heavy weight cardstock in your favorite colors
- Glue gun
- 11.75″ lollipop sticks (or the like)
- Cricut Explore or Scissors + Exacto Knife
- Our free files!
How to upload to cut with your Cricut Explore:
Jessica has created 3 different svg. files for you to download from her website and then upload to your Cricut Design Space. Once added to your project, drag the design as big as you’d like it. There will be a few logos that need to be “turned off” or else the machine will try to cut them. Do this by selecting the “eye” in the tool bar and watch it disappear from your canvas.
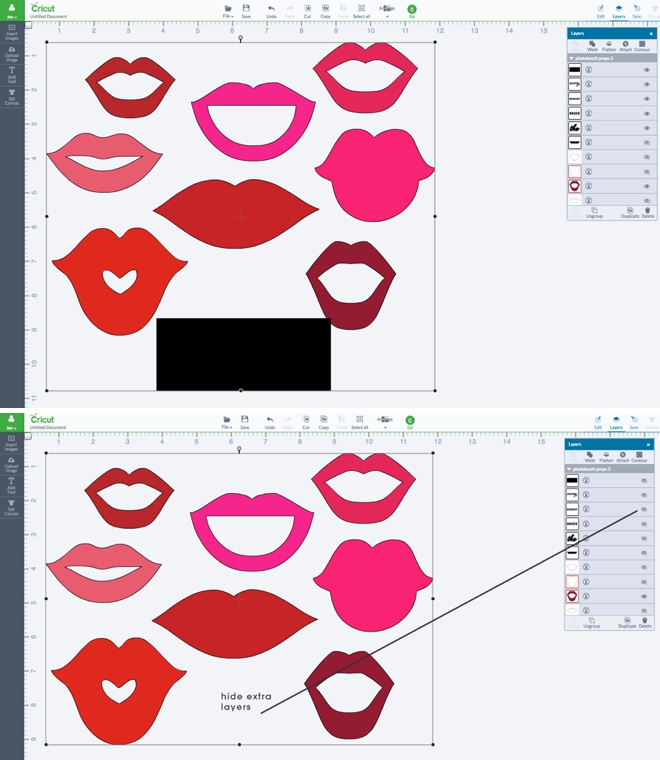
Next, individually color code each design to match the of color paper you want it to be cut out of. Let’s say you are using 5 different colors of paper, make sure each design element (in this case, each lip) corresponds to one color of paper. Once you’re ready to cut, the machine will automatically ask you to load each different colored paper and arrange each file to save space on the sheet. It’s SO awesome!!!
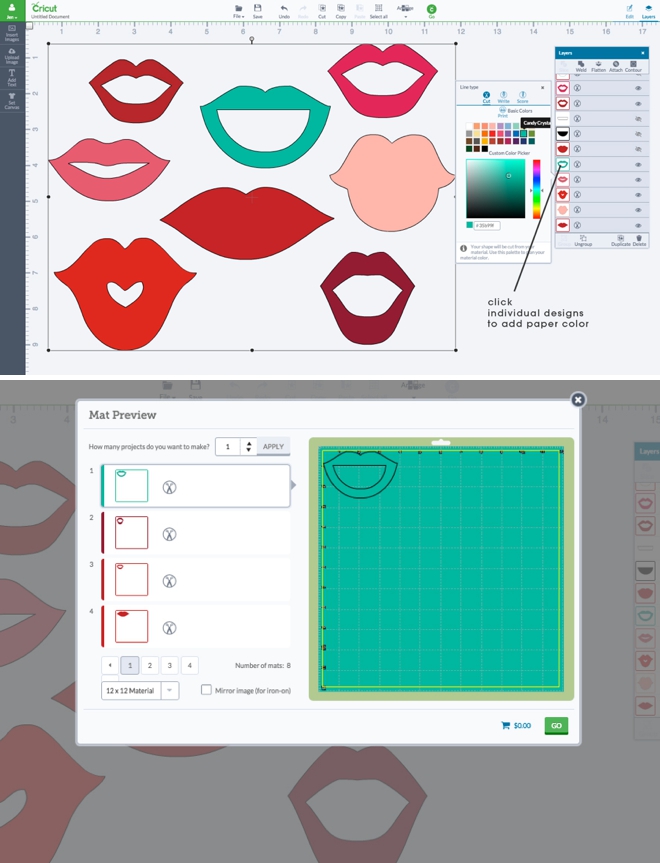
Once your machine is done cutting, carefully remove each design from your cutting mat. In seconds you’ll have beautifully cut out shapes that are any size you’d like!
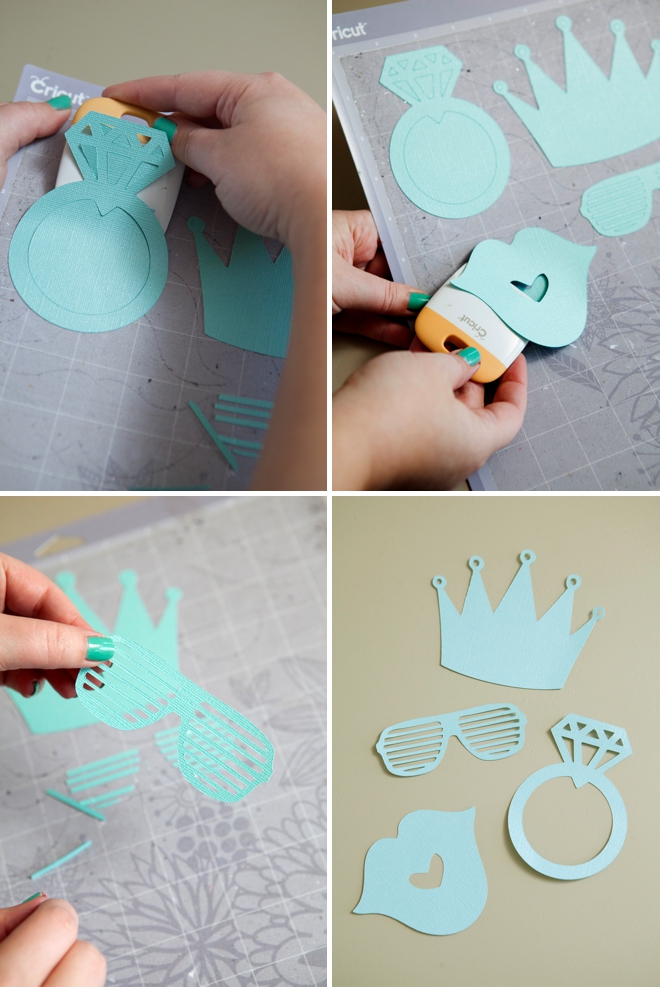
How to Print + Cut:
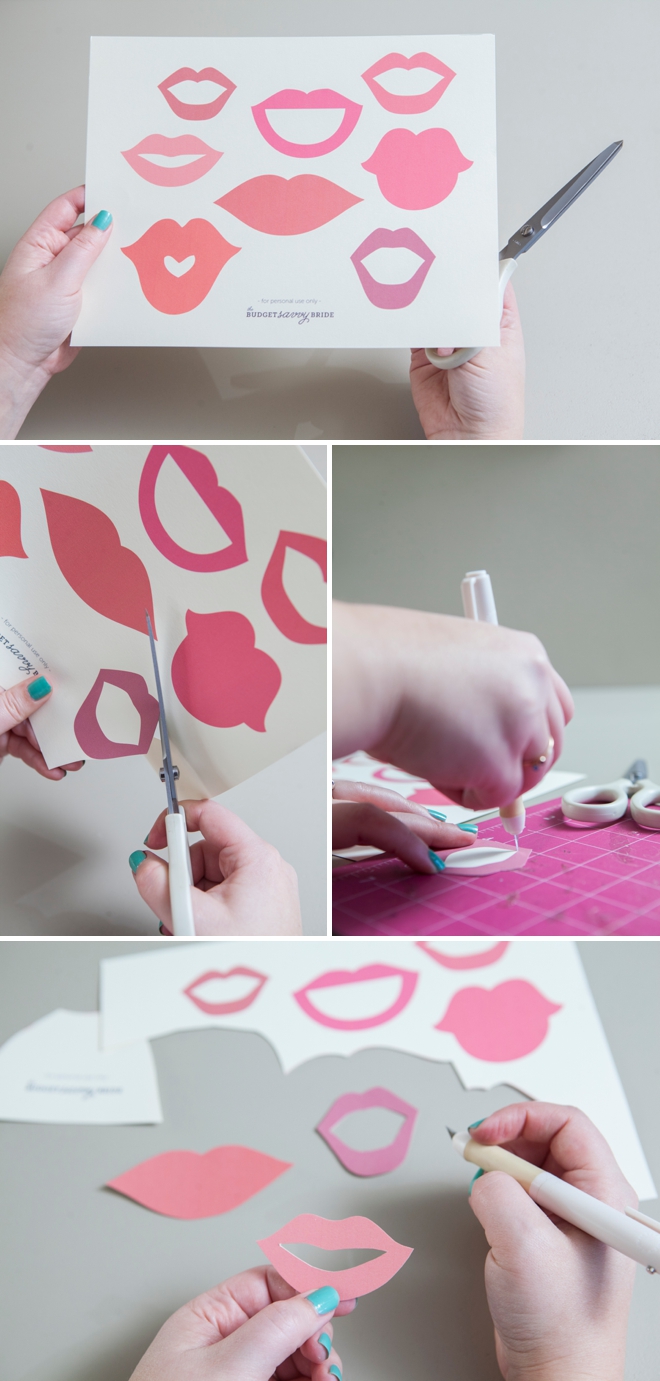
Jessica has 3 different files for you, all colored and ready to print onto your choice of white 8.5″ x 11″ cardstock. Simply download and print as many times as you’d like – then cut out each design. Some are a little more tricky than others. Scissors and an Exacto knife will do the job.
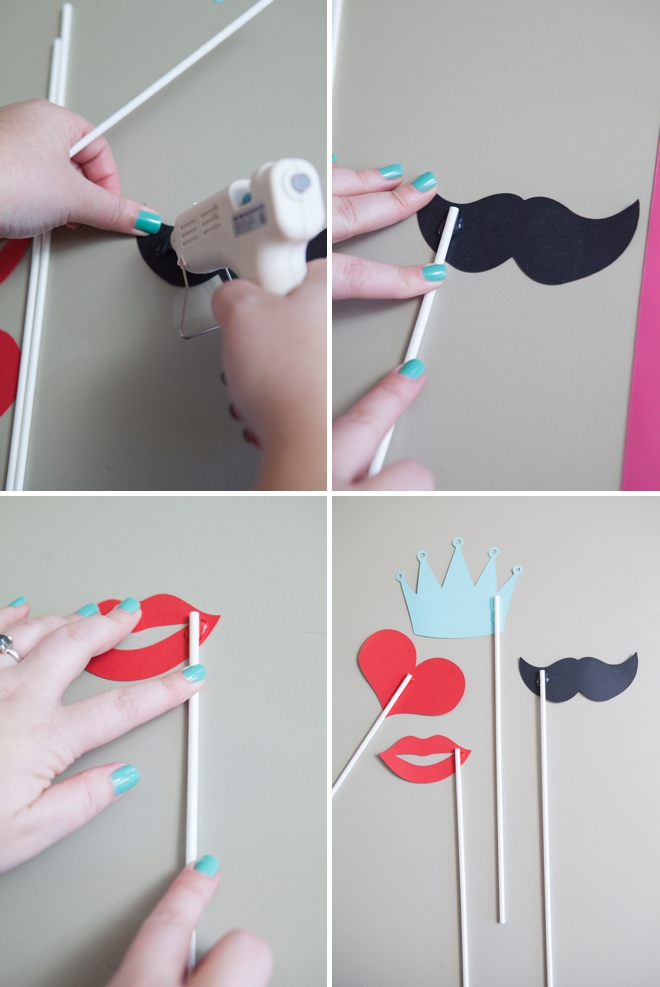
After you have all your designs cut, simply hot glue a lollipop stick to the backside! That’s it – super simple. These will easily withstand one event if not two. They are made of paper and can rip + bend so keep that in mind while storing and transporting.
We had SO much fun making these free designs for you and we hope that you have just as much fun with them at your next event!!!
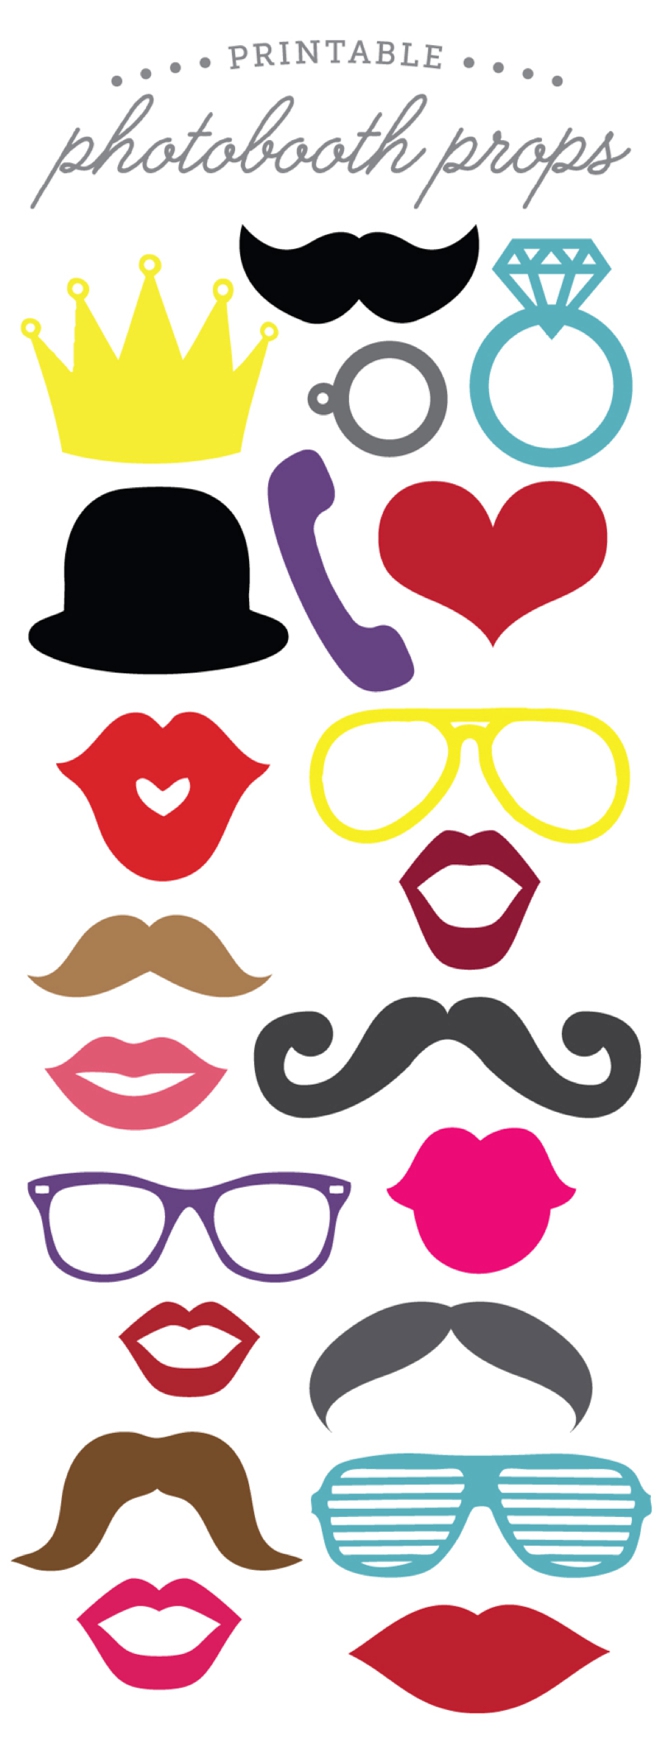
The Designs We Have For You:
The designs shown below in the graphic are the exact shapes and colors of the print/cut pdf. files available for download. The shapes shown are also available in svg. format to upload/cut with the Cricut Explore and can be used with ANY color paper! Make sure to visit The Budget Savvy Bride to get these files!
As with all our DIY tutorials, if you create one of our projects please send us a picture – We Love Seeing Your Creativity! If you use Instagram or Twitter please use the hashtag #SomethingTurquoiseDIY and it will show up on our Get Social page. Happy Crafting!
DIY Tutorial Credits
Photography: Something Turquoise Photography for SomethingTurquoise.com // DIY tutorial: Jen | Something Turquoise // FREE downloads and prop design files: Jessica of The Budget Savvy Bride // lollipop sticks: Amazon // glue gun and scissors: Martha Stewart Crafts // nail polish: OPI – Withstands the Test of Thyme
Shop The Supplies
Find the supplies you’ll need for this project from our affiliate links below:
All design files are copyright of The Budget Savvy Bride. They are intended for personal use only and cannot be sold or used to make a profit of any kind.



Comments